It is not often considered, how many ways can I work into a foundation chain? The answer can be a bit surprising as it is six.
Typically when you start a crochet project, it doesn’t really matter how you work into the chain. As long as you are consistent and work into the chain the same way every stitch, everything is fine. However the chain has a unique structure and how you work into it can give you a little different result.
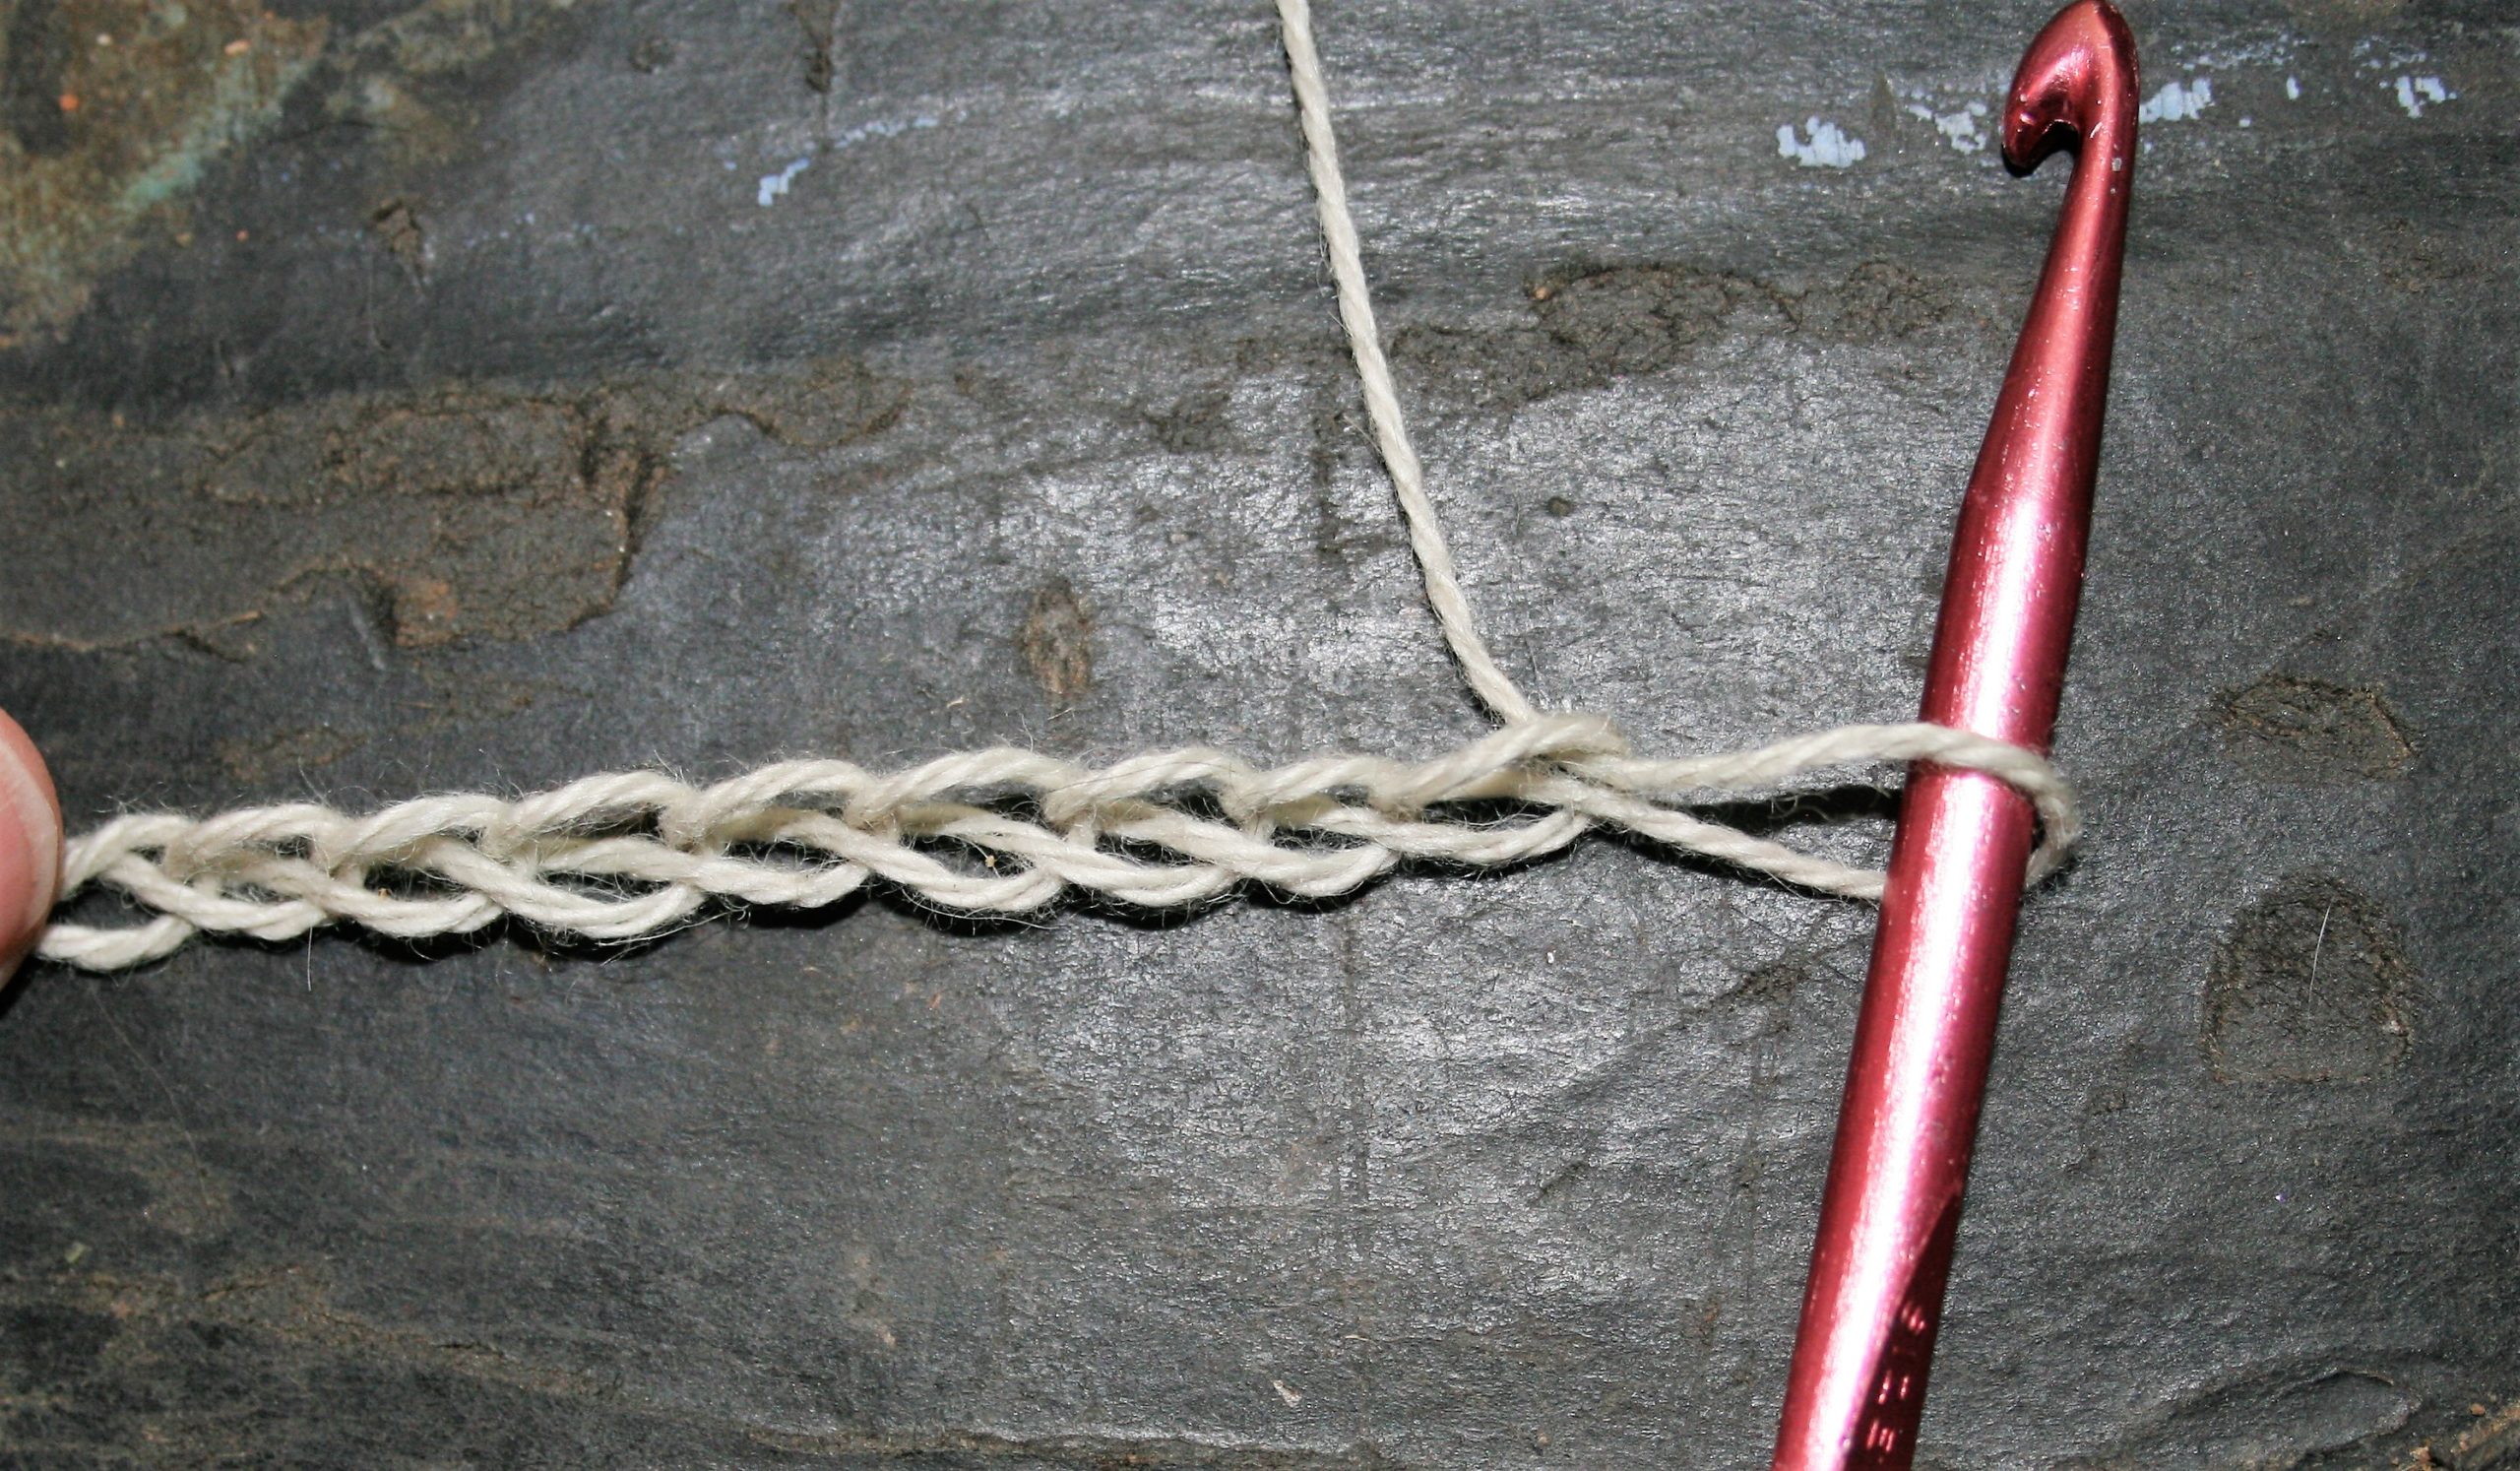
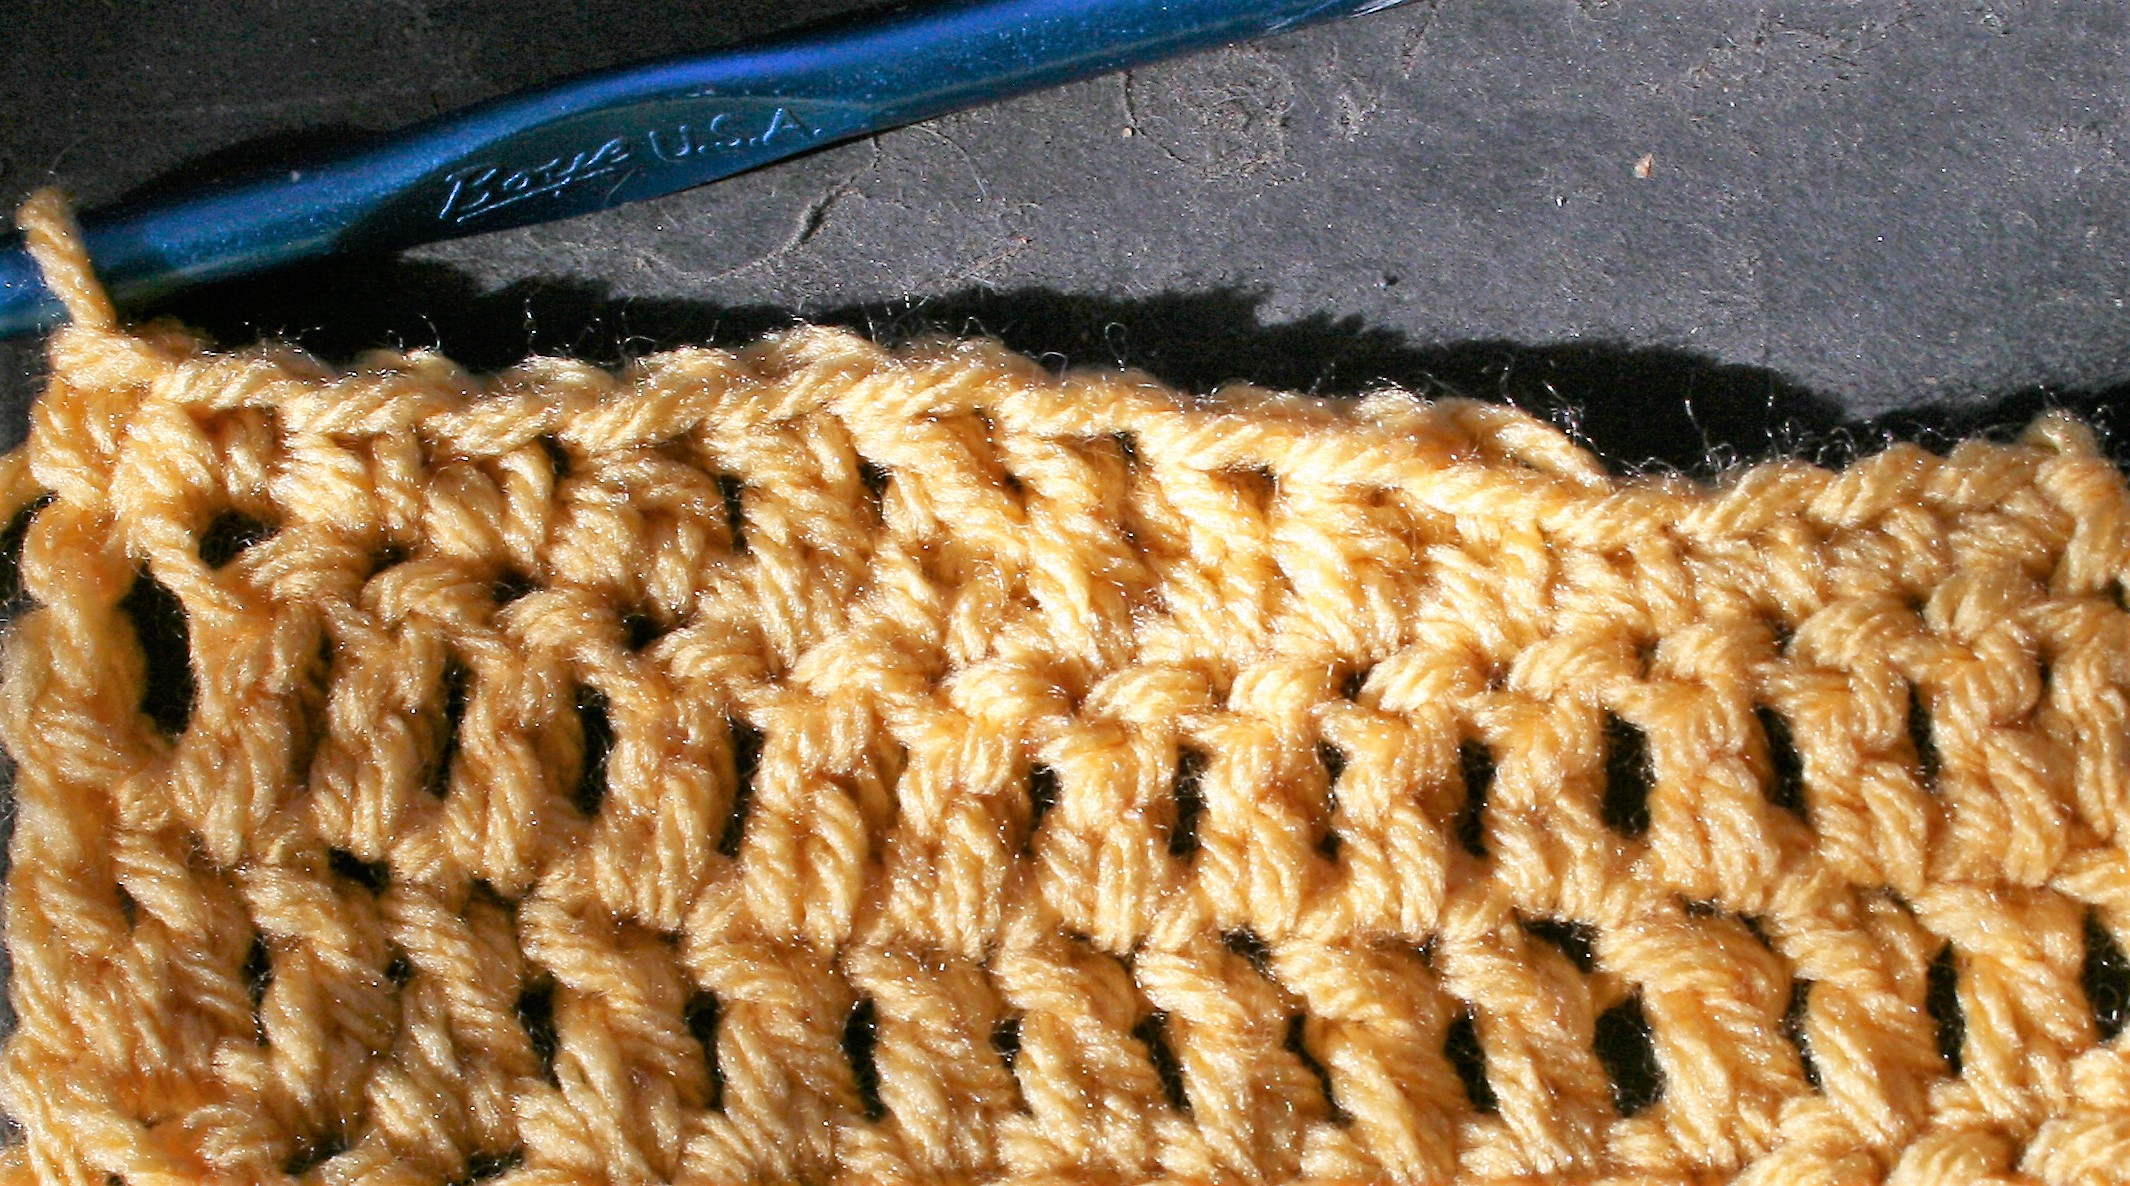
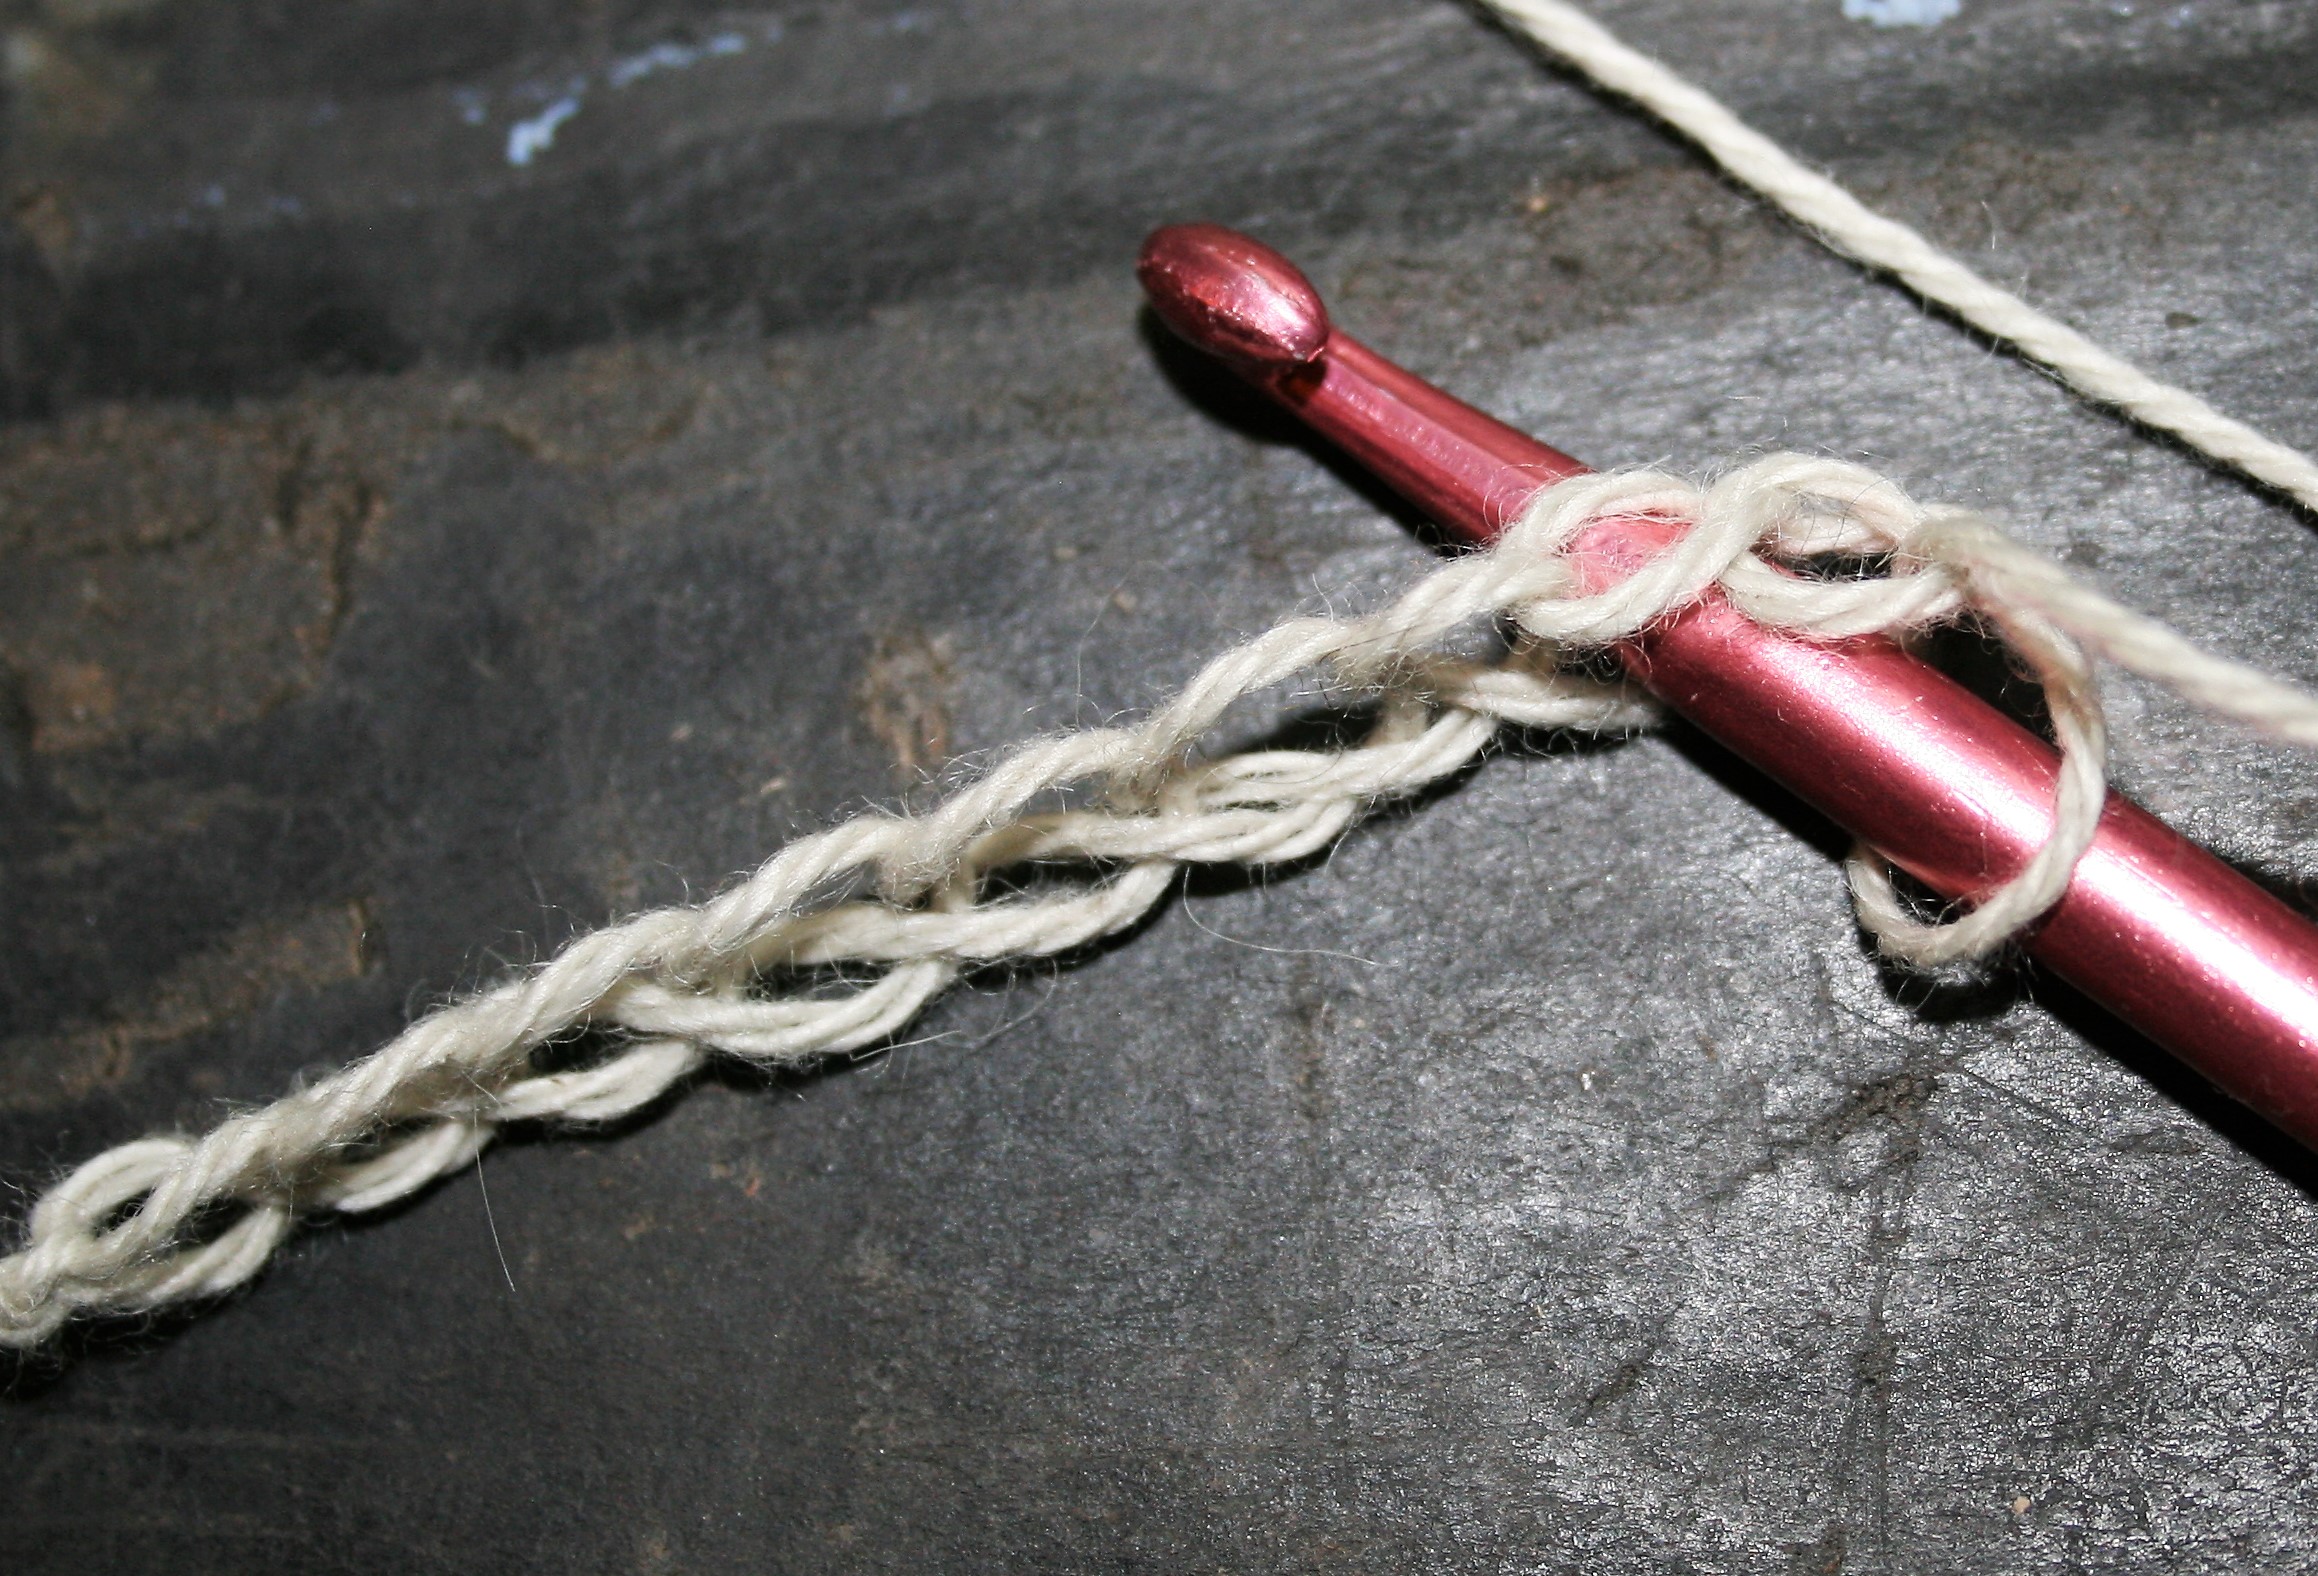
There are 3 parts to every chain. Often these are referred to as the top loop, the bottom loop, and the back bump. This is referenced by looking down at the chain seeing a “V” that looks like the top of a completed row of crochet.
Yet it may make more sense to think of the chain as the top of a crochet row. In which case the “top most loop” would be the back loop. The “bottom most loop” would be the front loop. While the Back Bump would be where the post of the crochet stitches would be located.
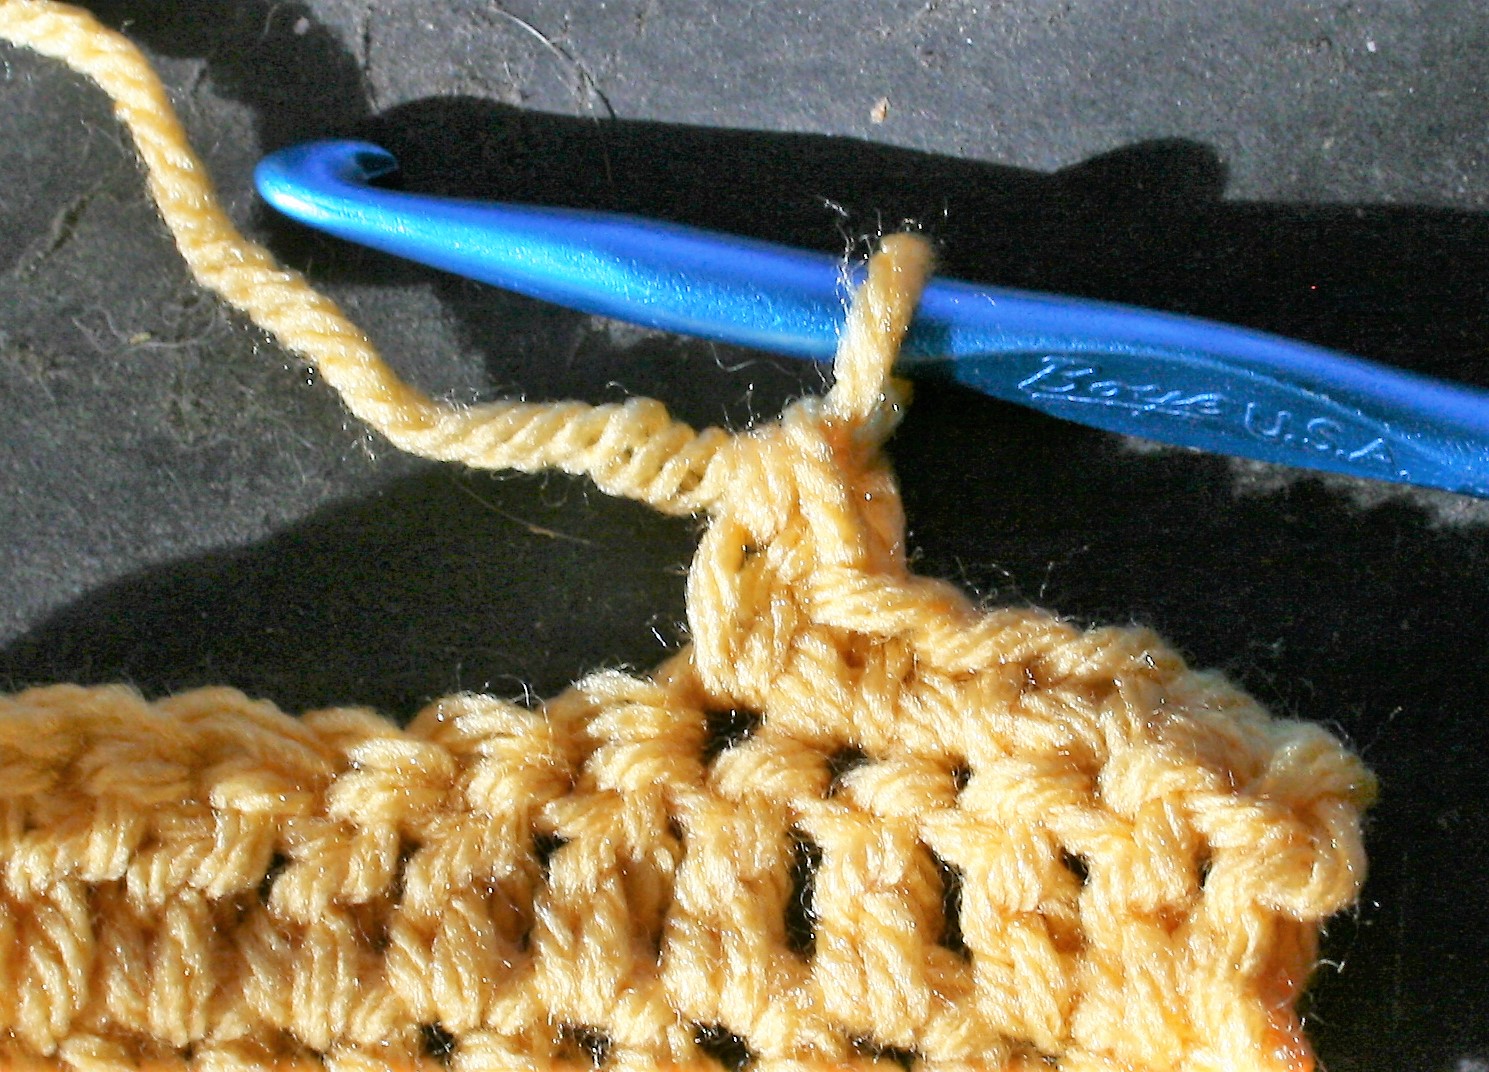
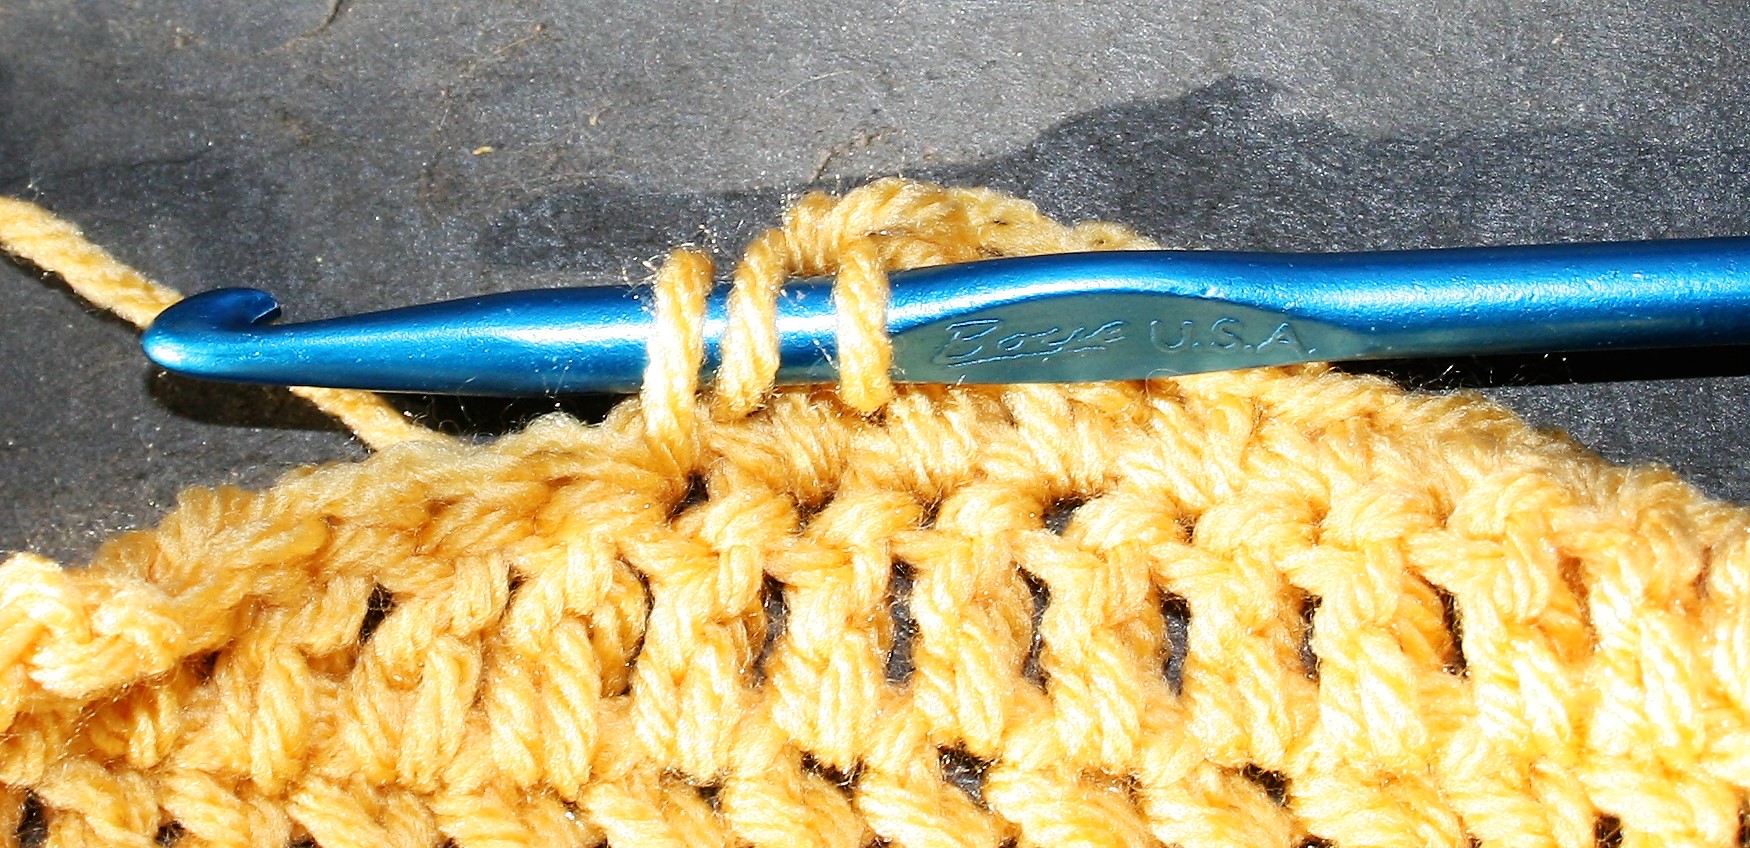
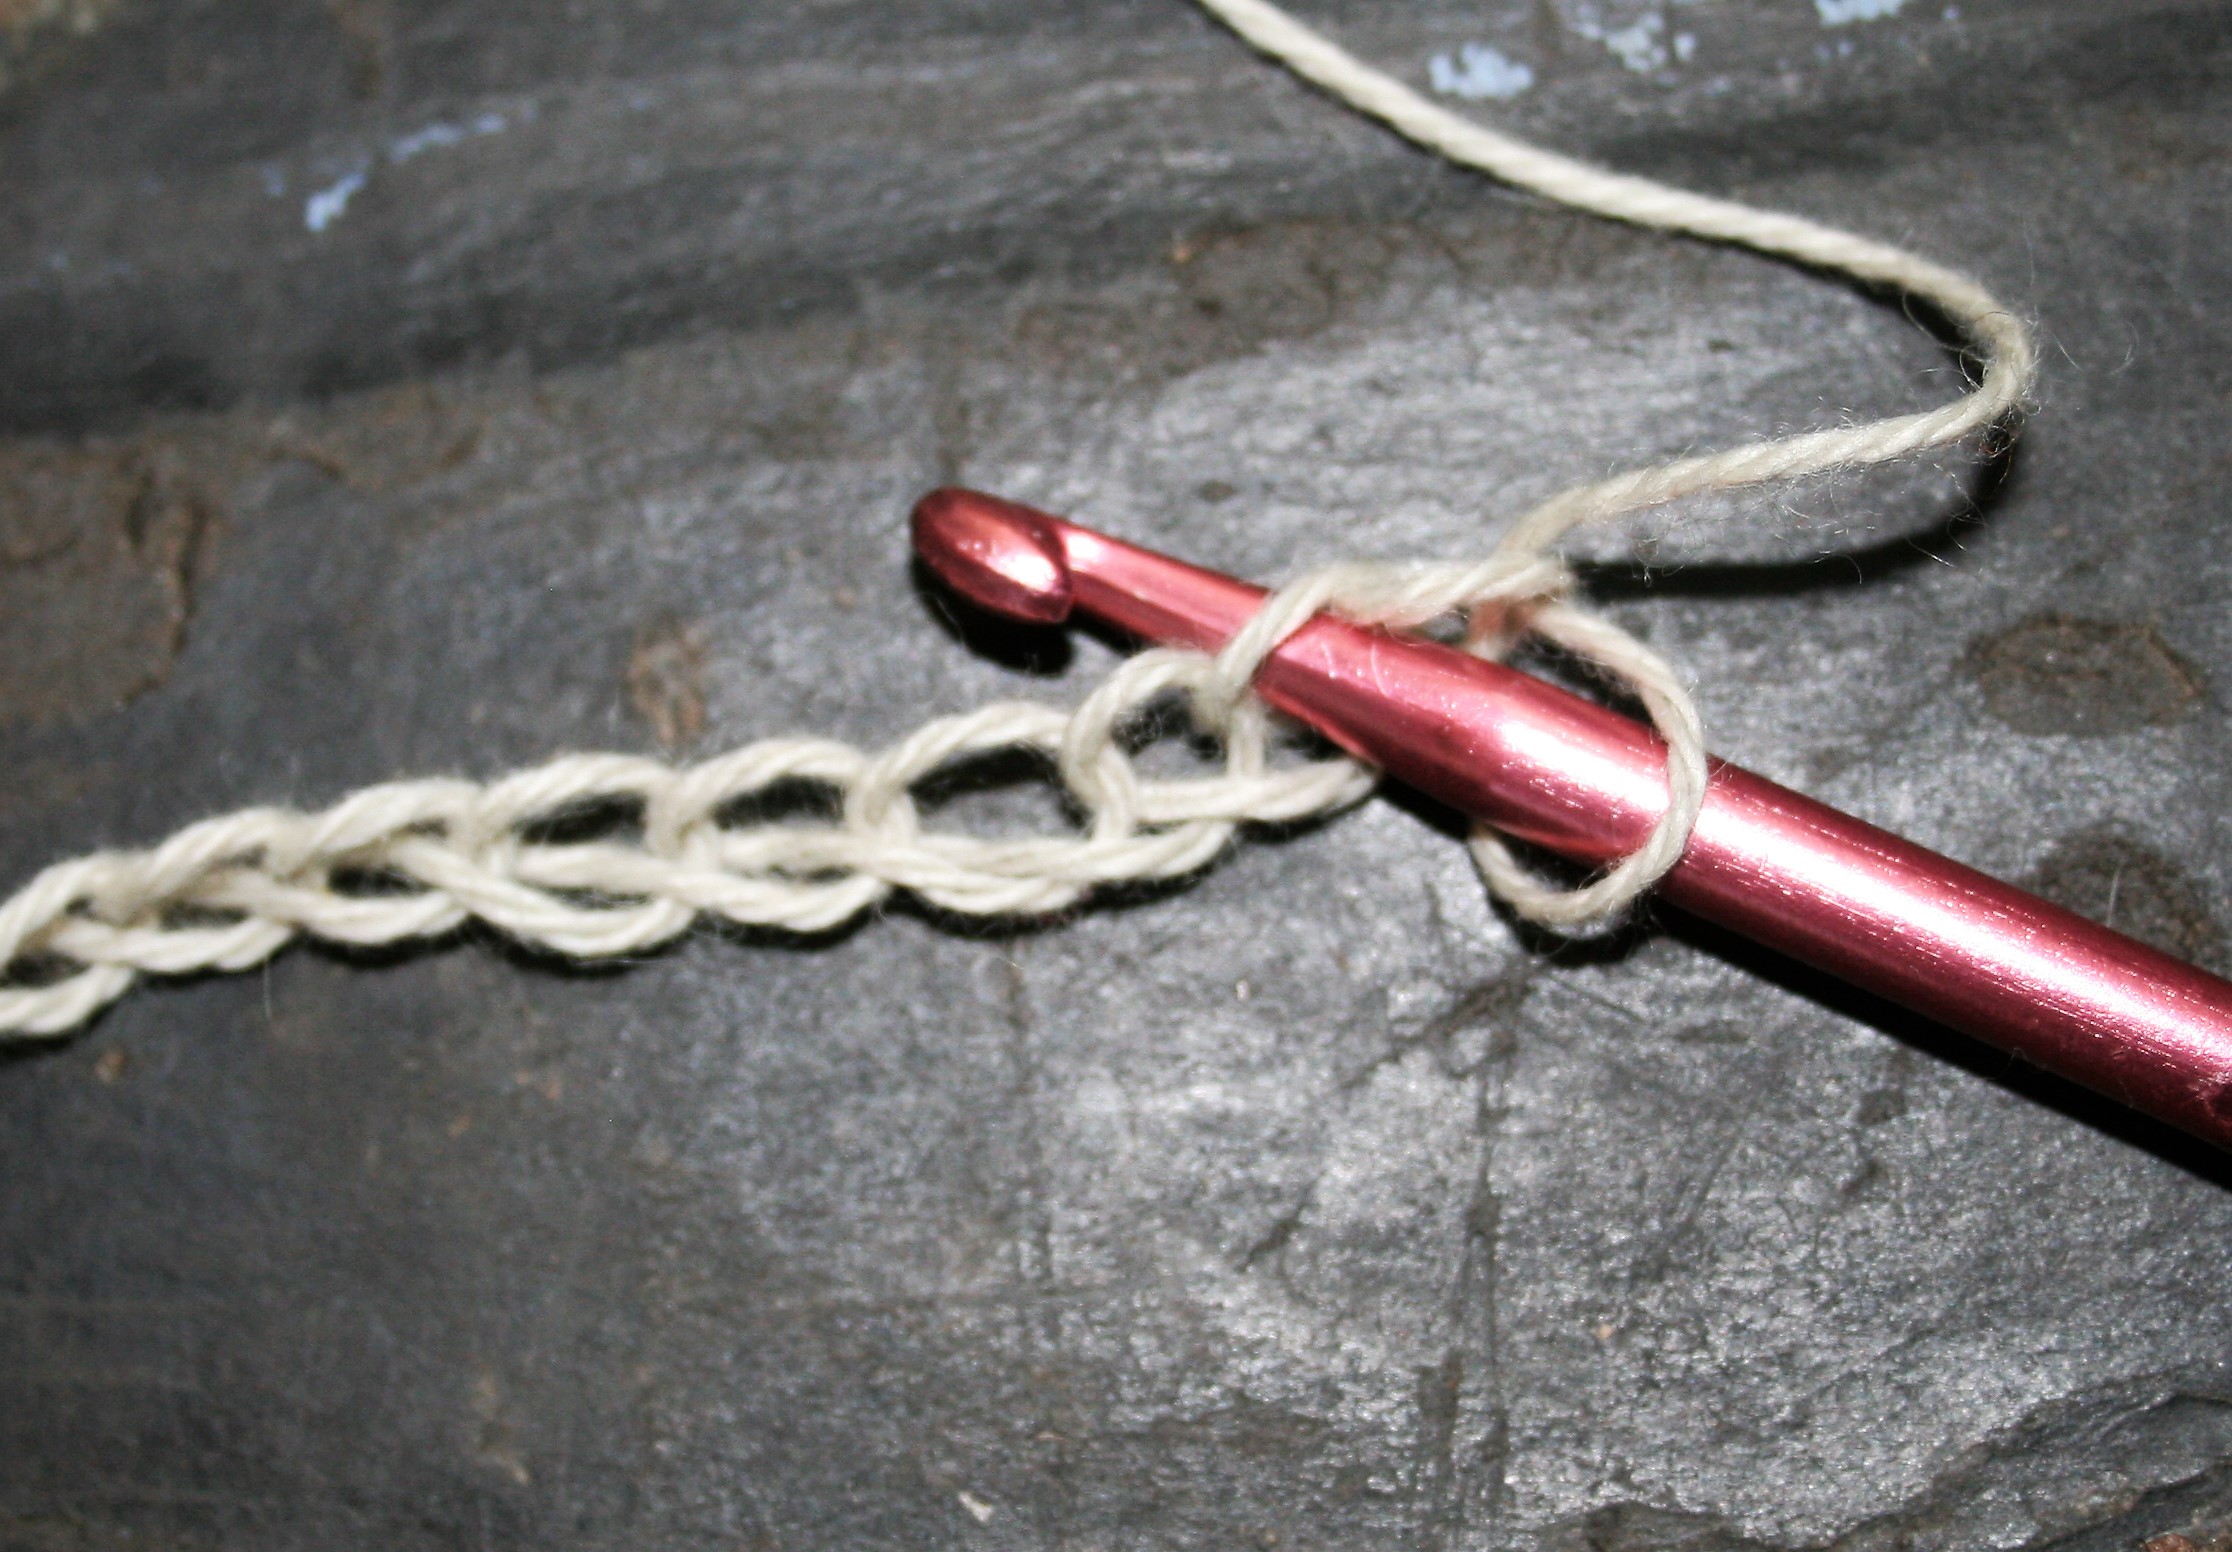
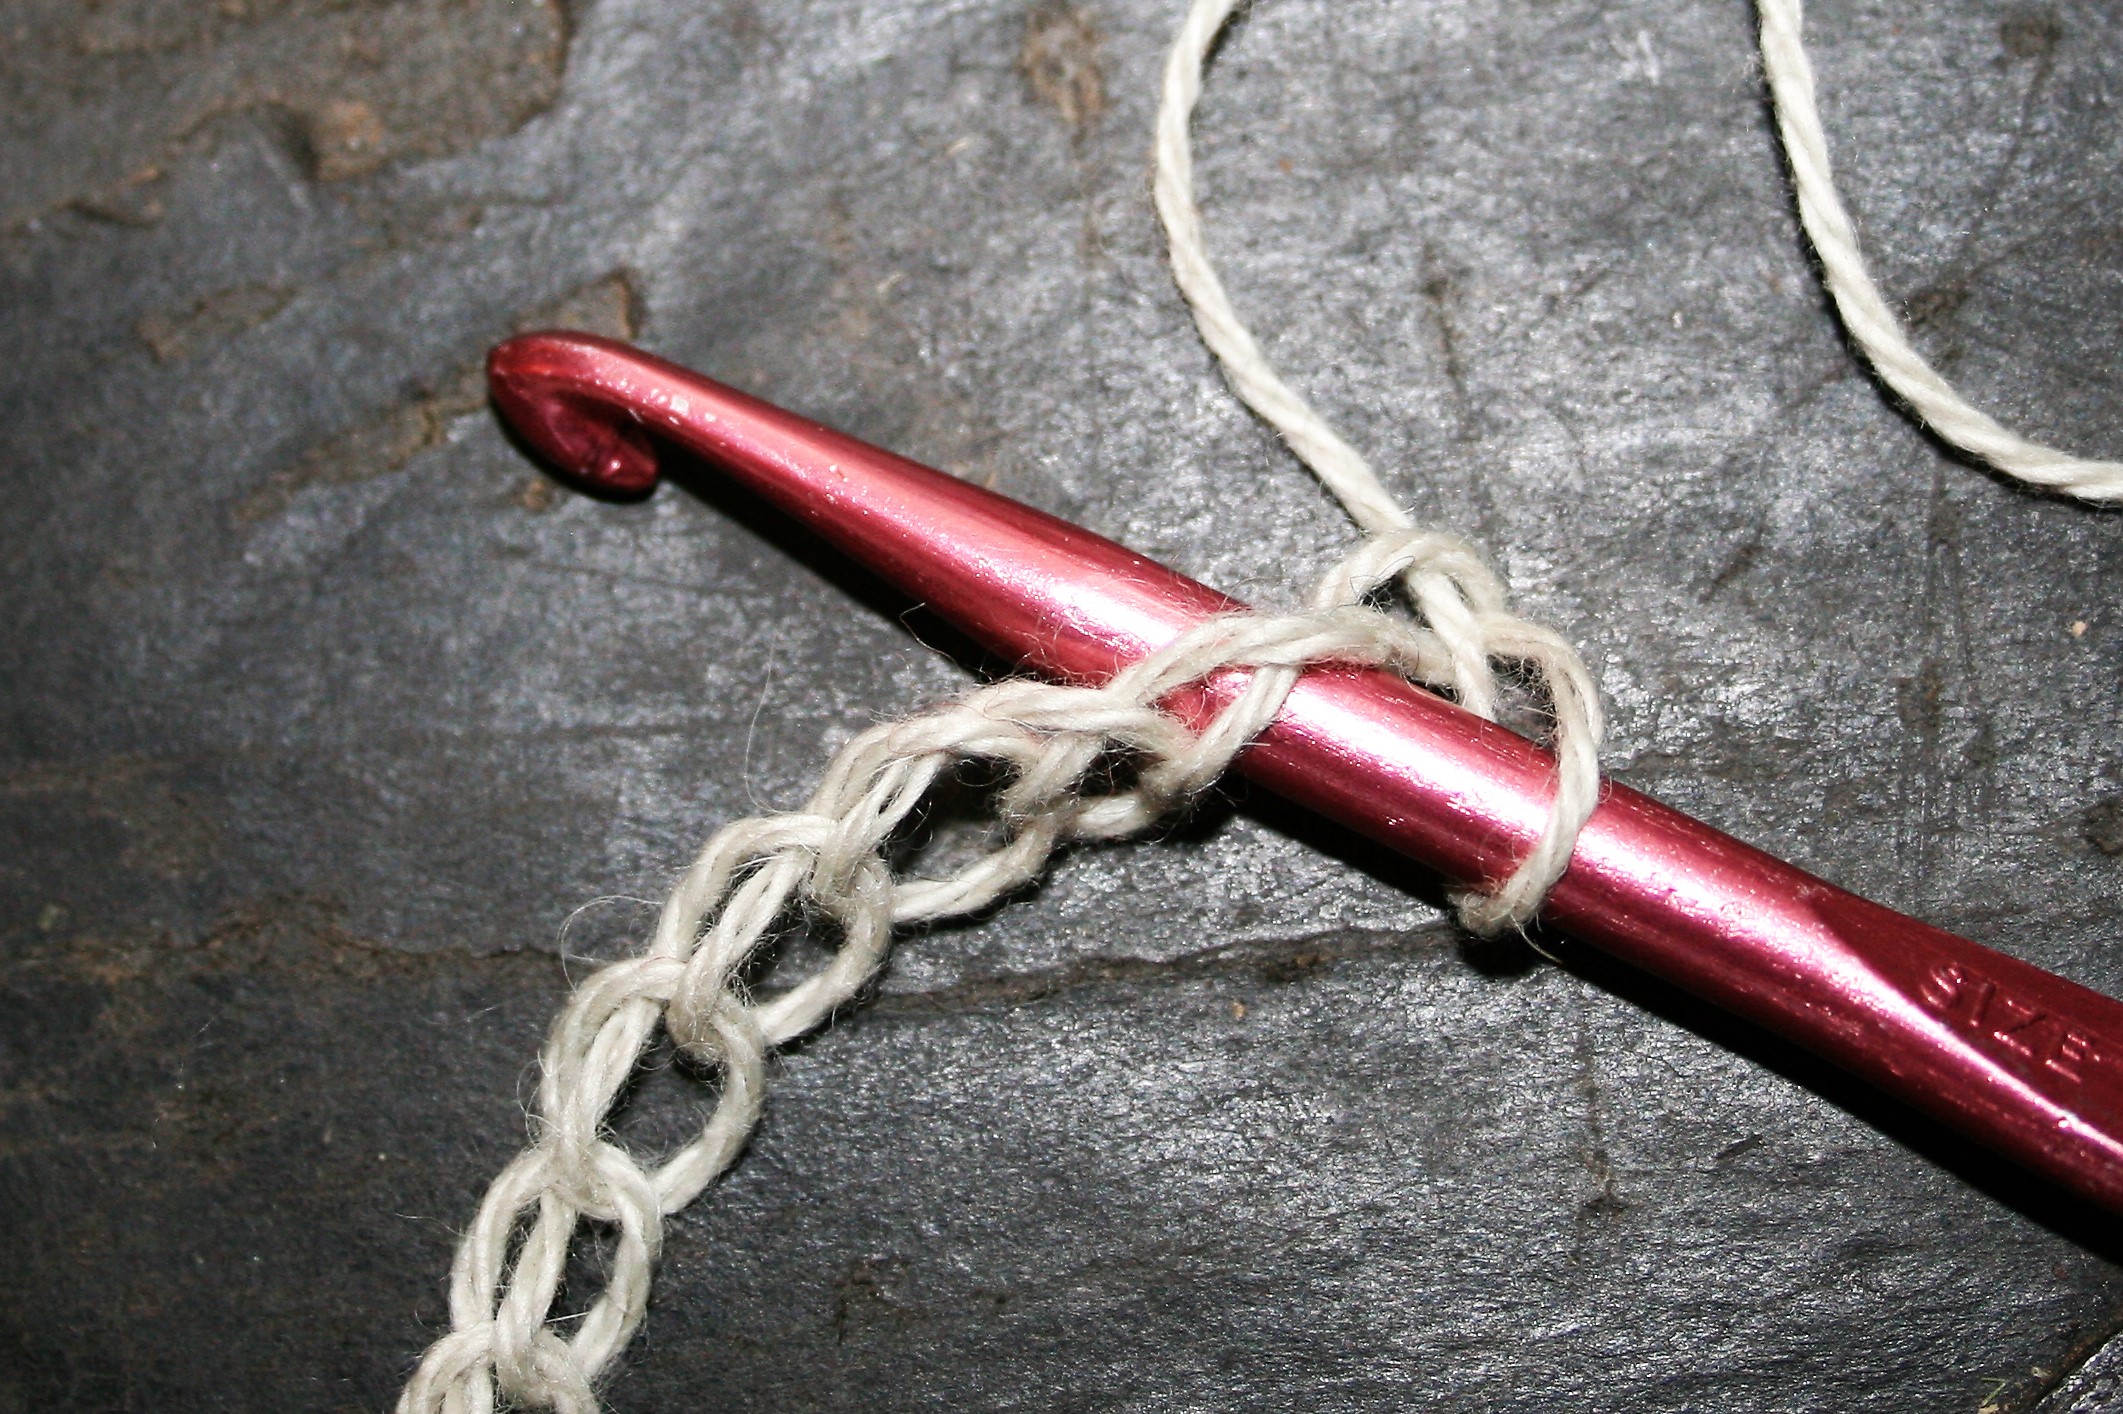
The most common ways to start a chain utilize inserting the hook into 1 or 2 loops. Inserting the hook under just 1 loop can be a really good option if you crochet tightly. Working in either to top/back loop, the back bump, or the bottom/front loop allow for the yarn from the remaining 2 loops to be pulled up. This gives a bit more flexibility in your fabric.
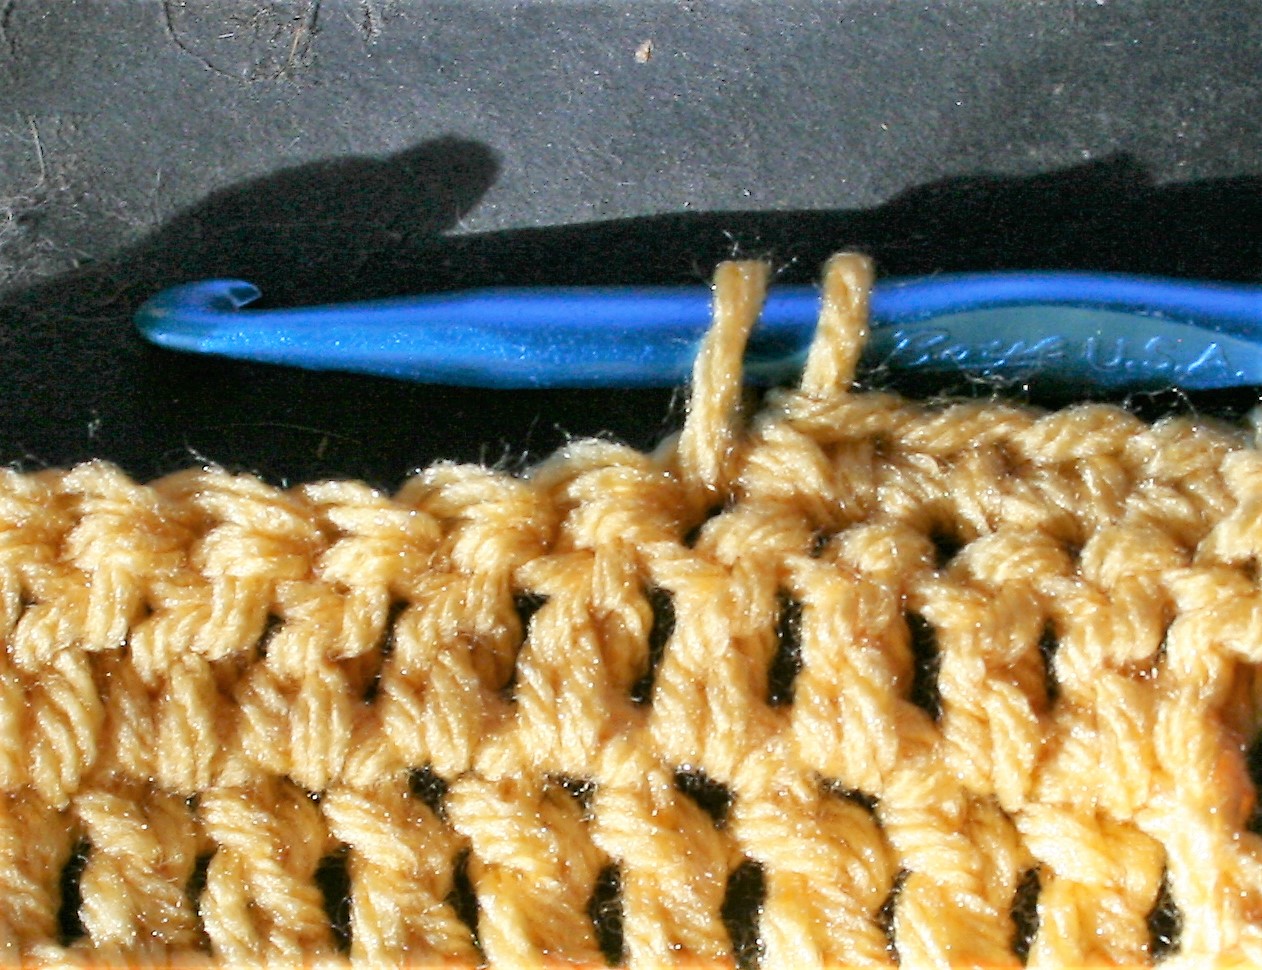
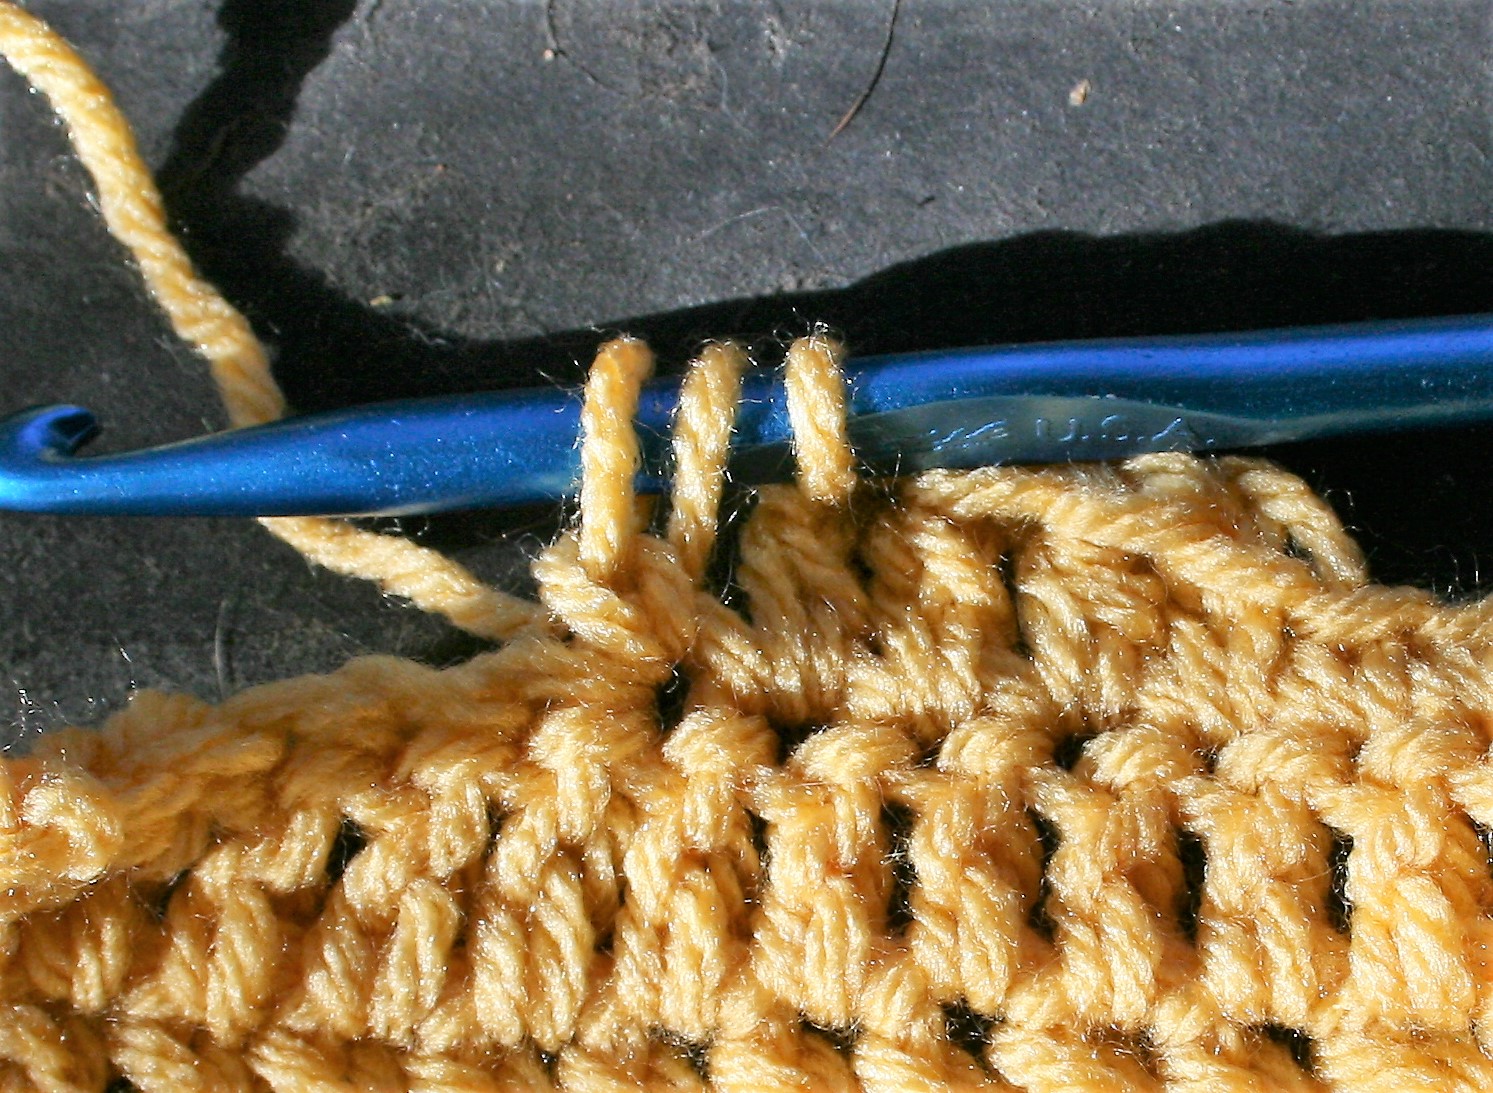
Working in 1 loop of the foundation chain

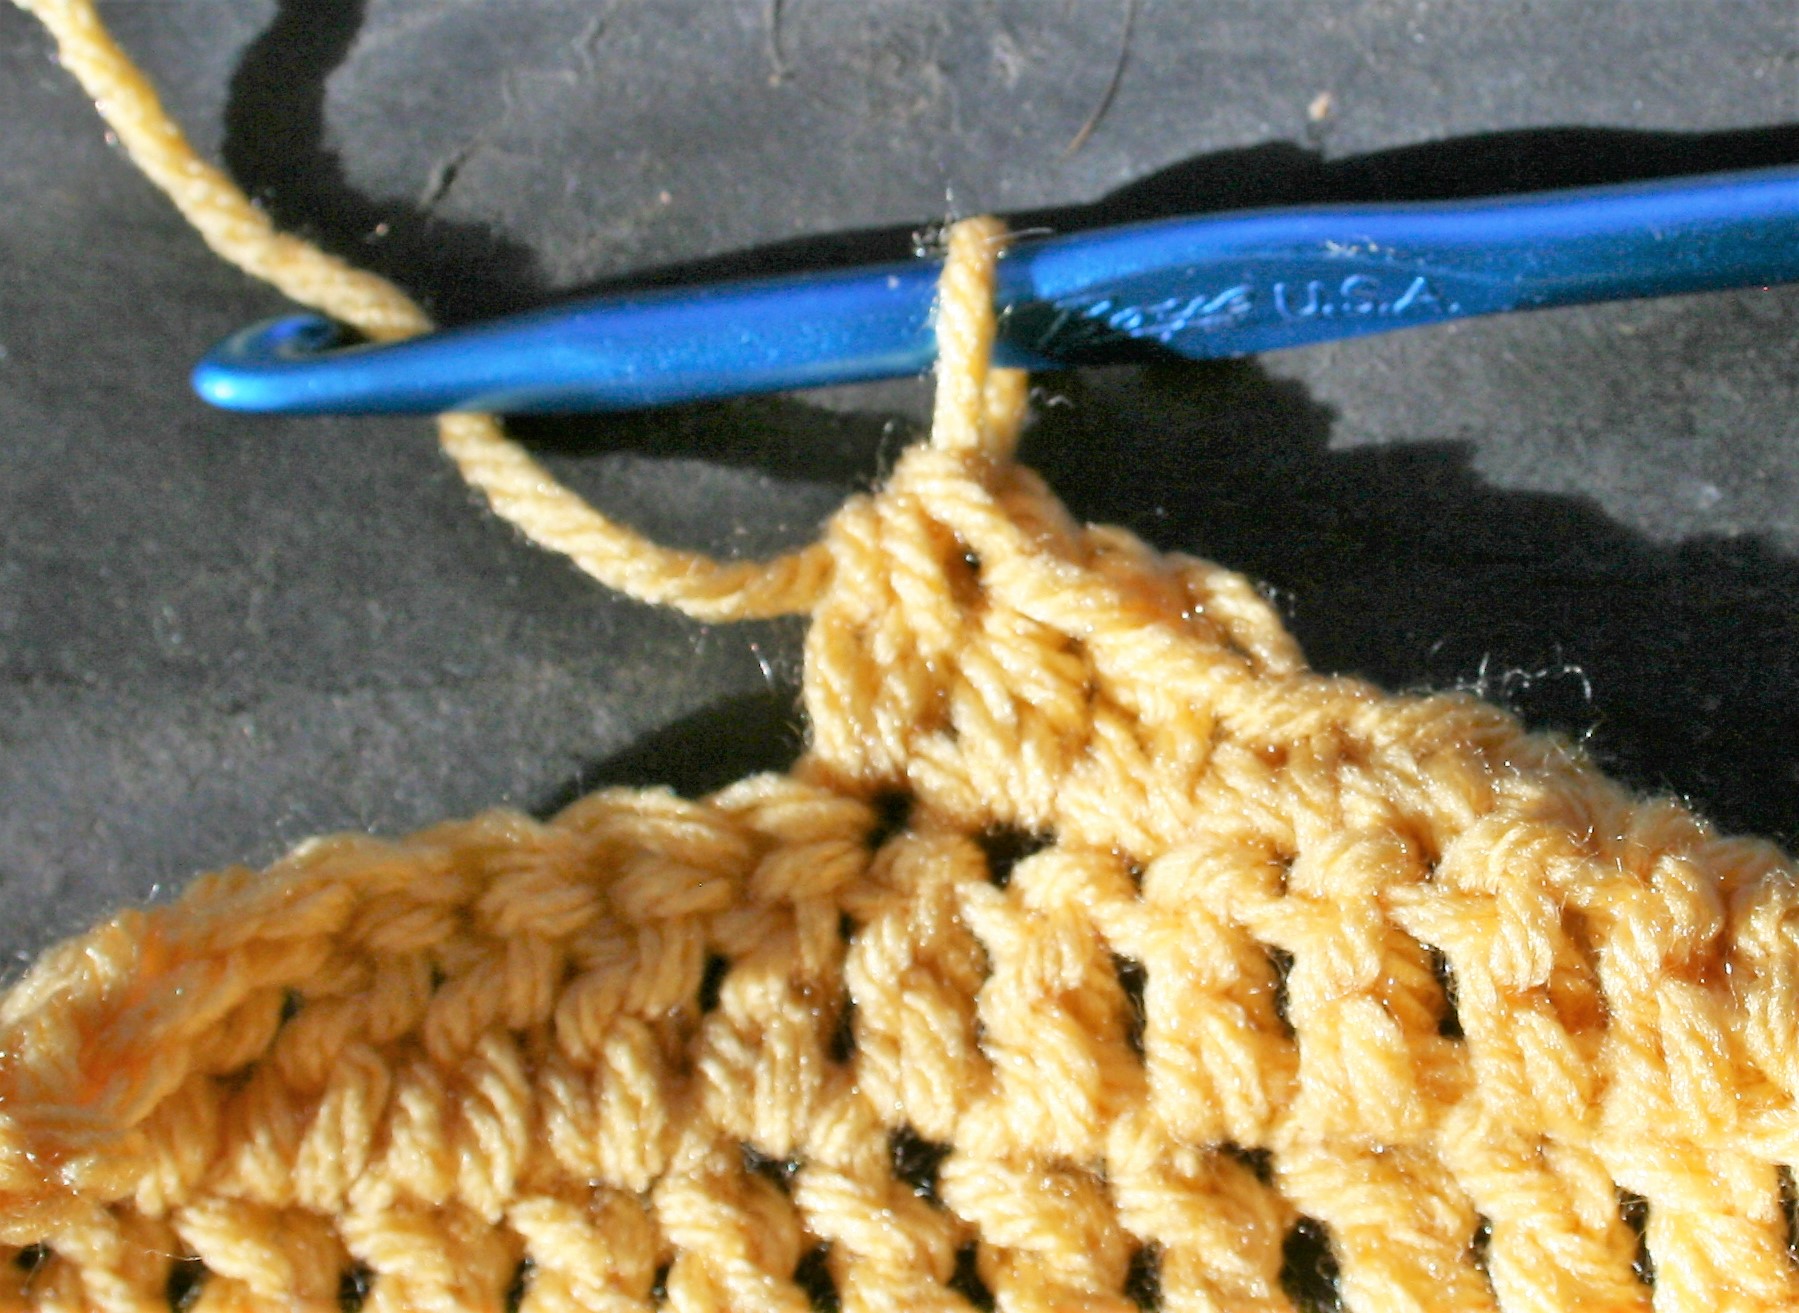
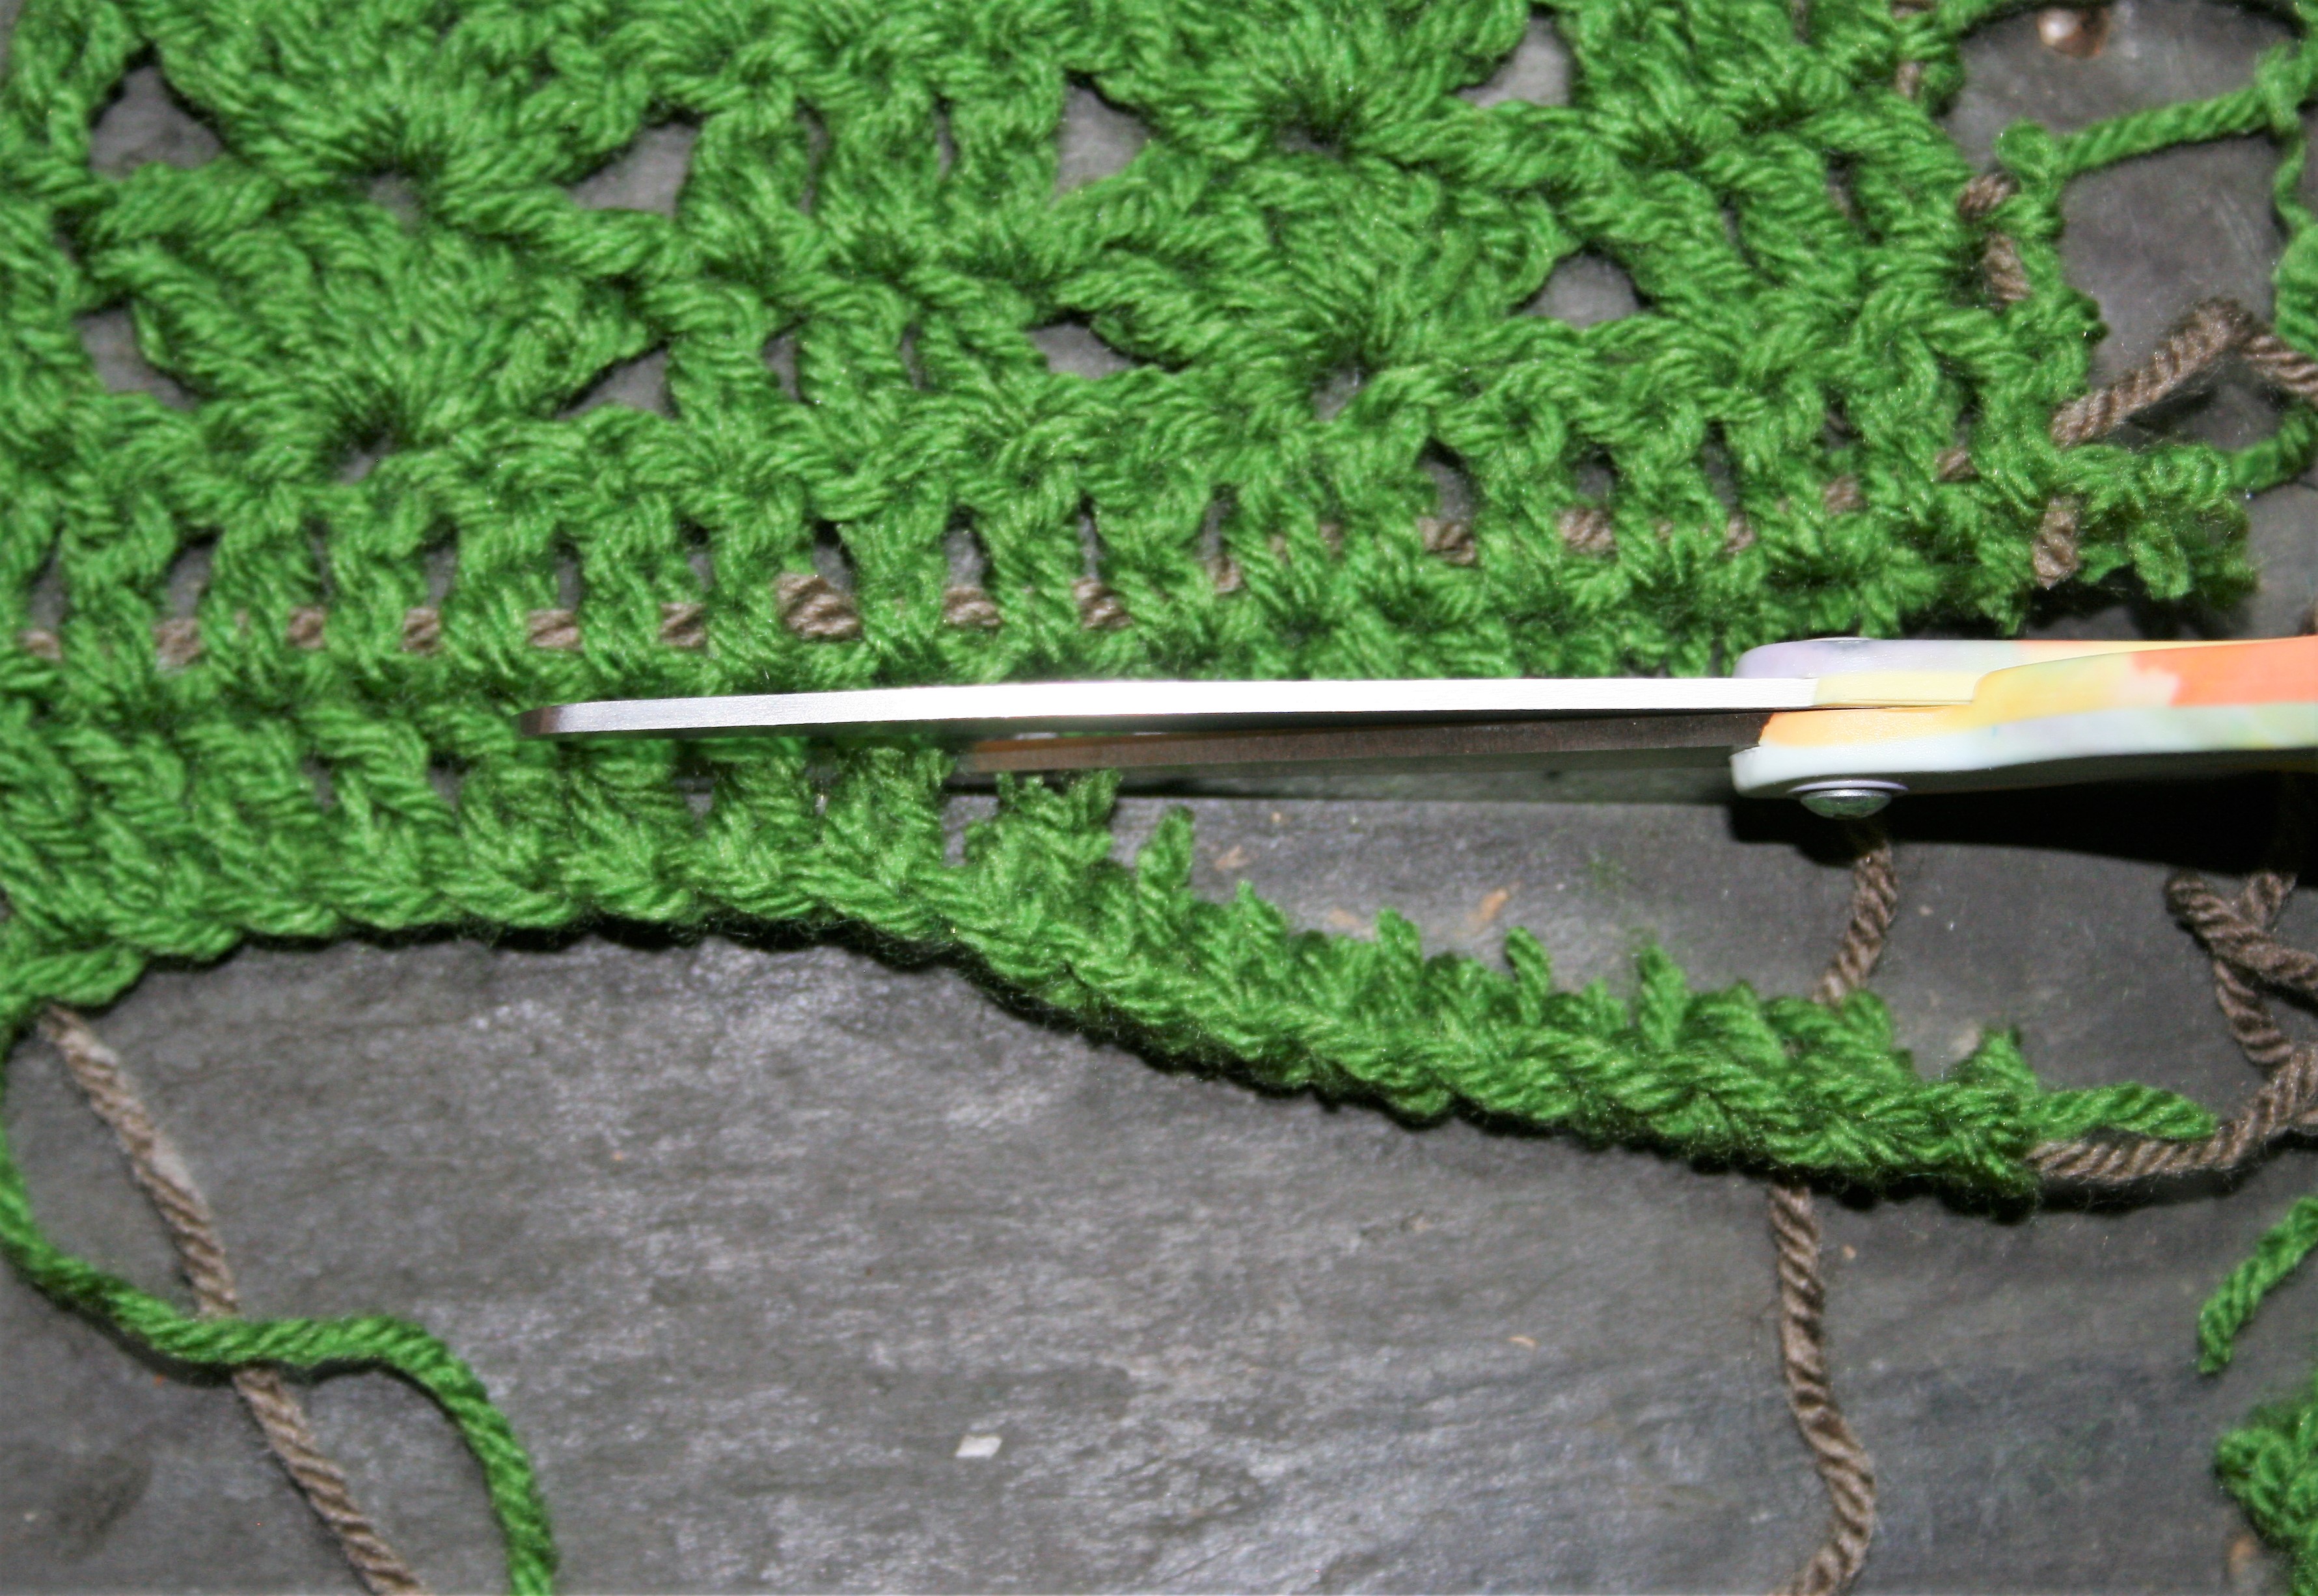
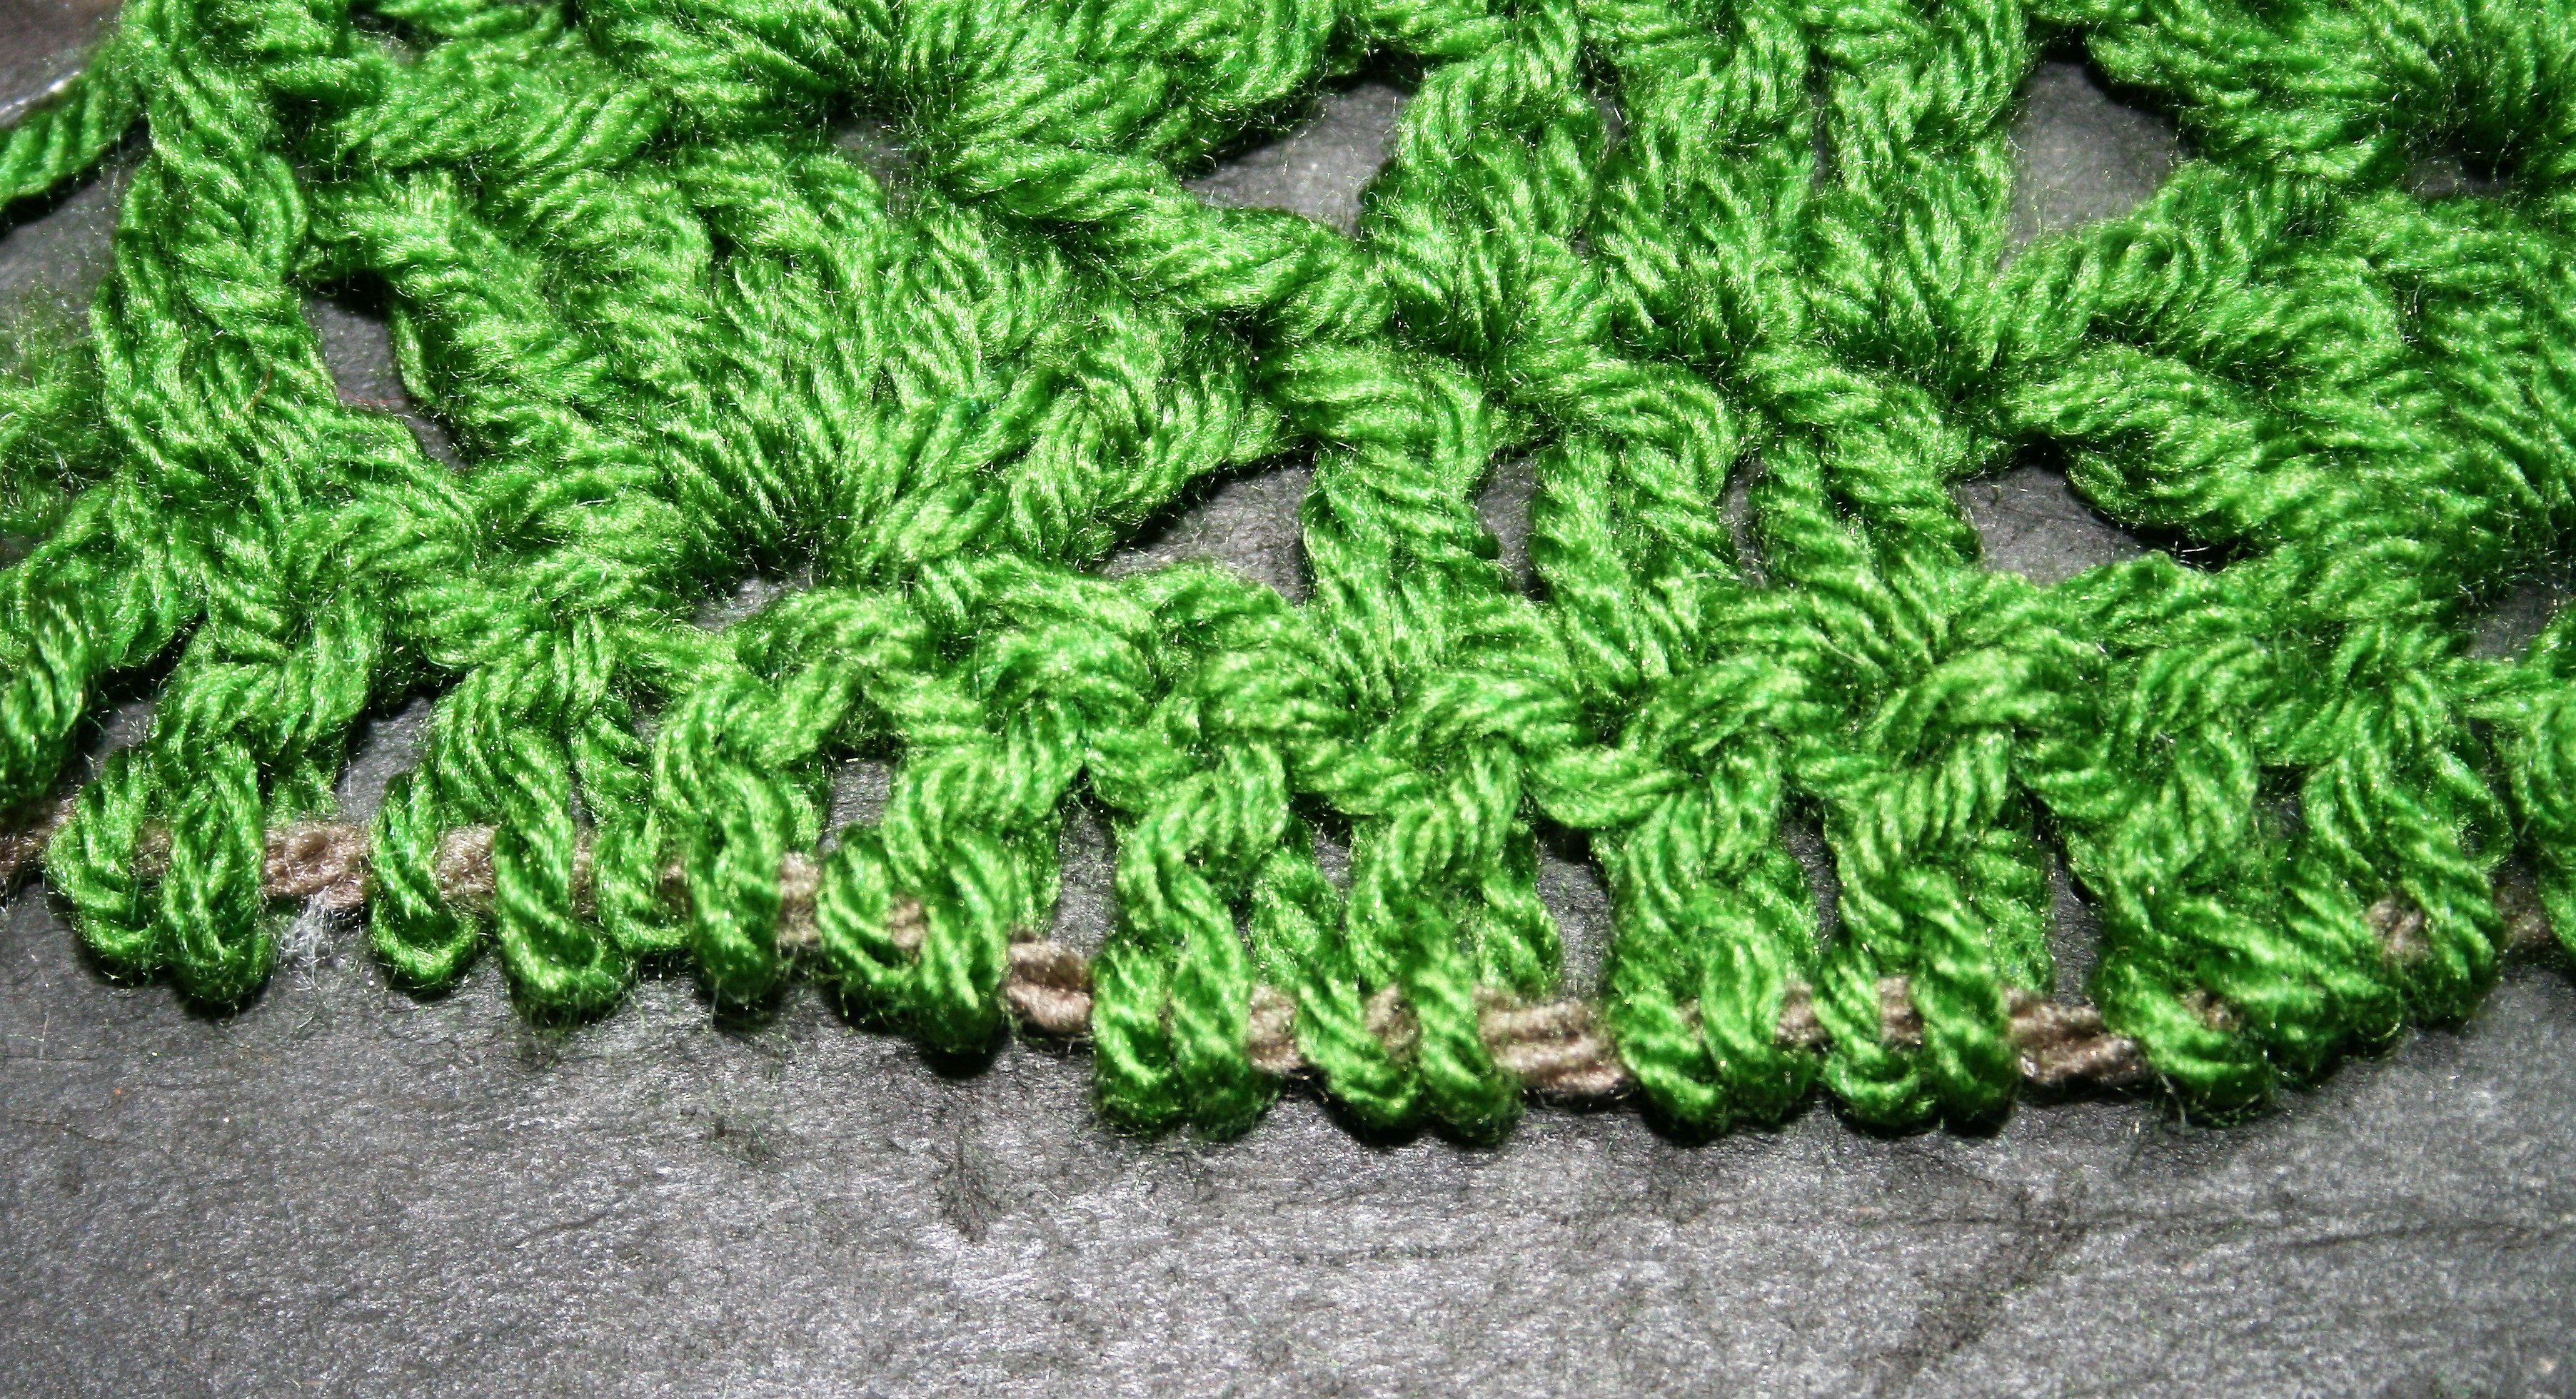
An additional consideration for working only in the back bump is that the bottom of the stitch fabric will resemble the top of the crochet stitches. This can be a very nice finishing trick.
If you happen to be a loose crocheter using only 1 loop can cause there to be a wide gap between the bottom of the crochet stitch and the unused 2 loops of the chain. It might feel a bit flimsy.
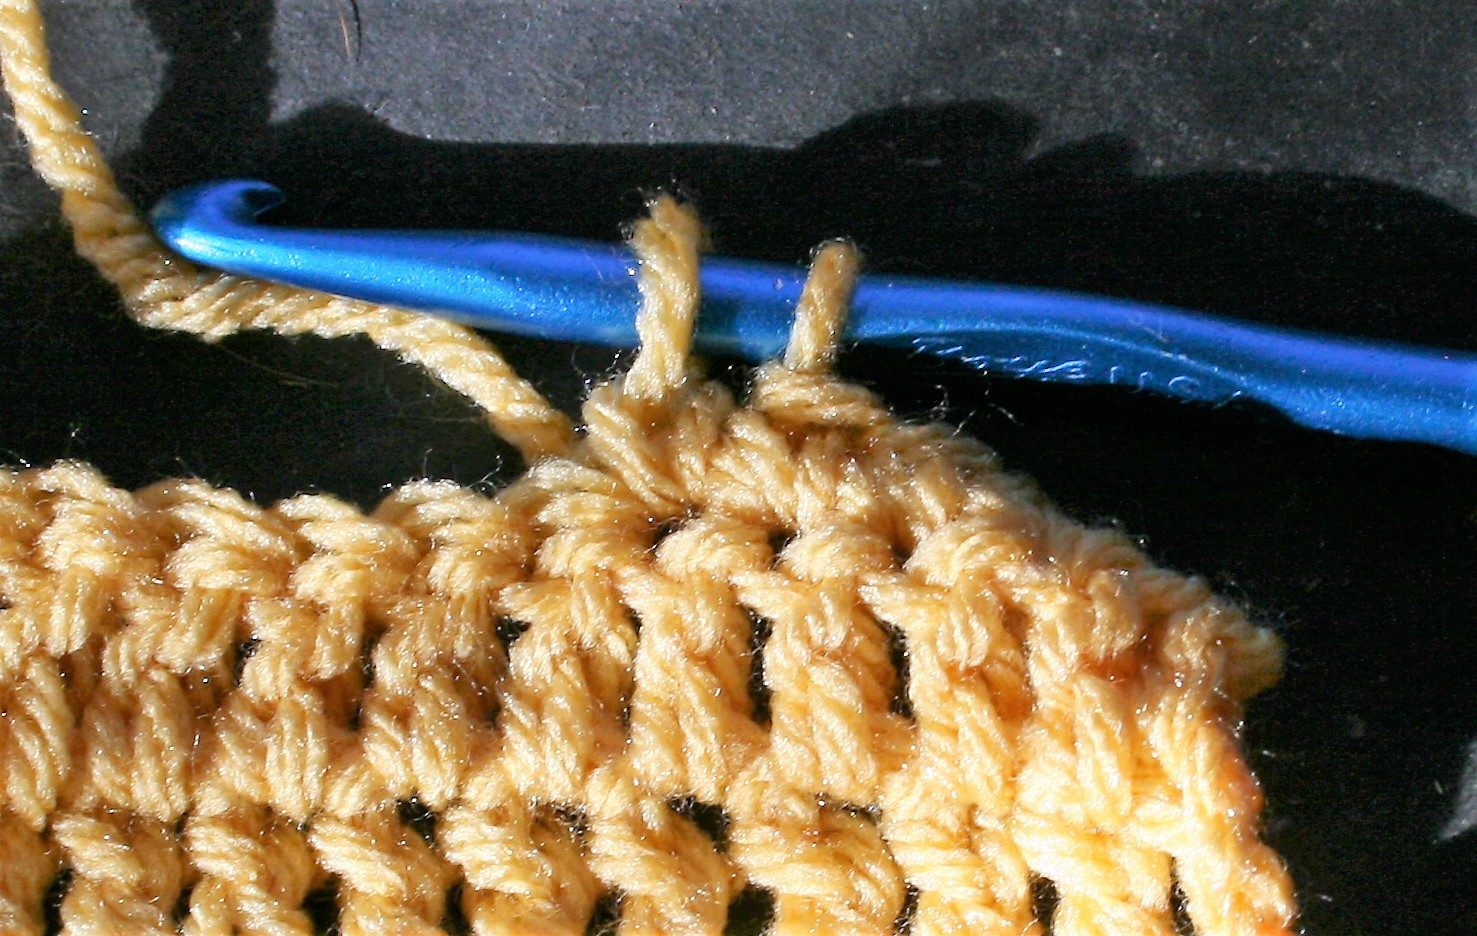
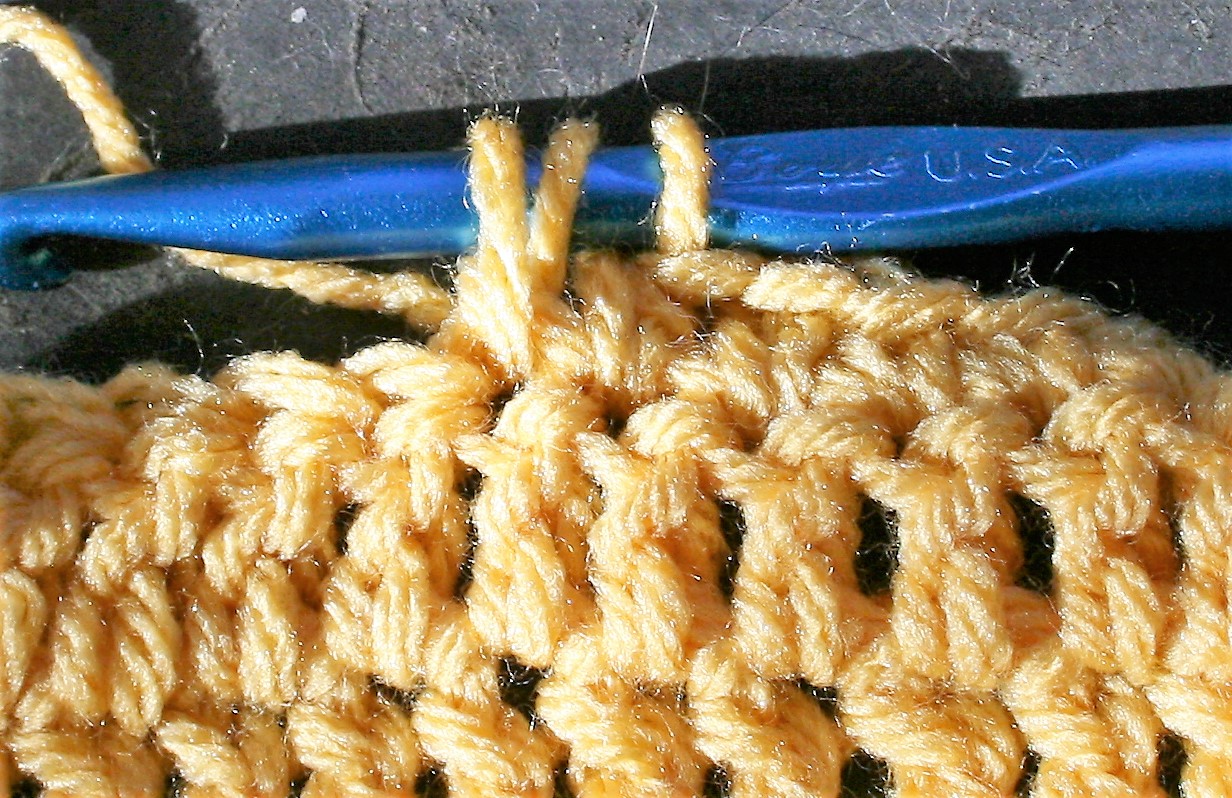
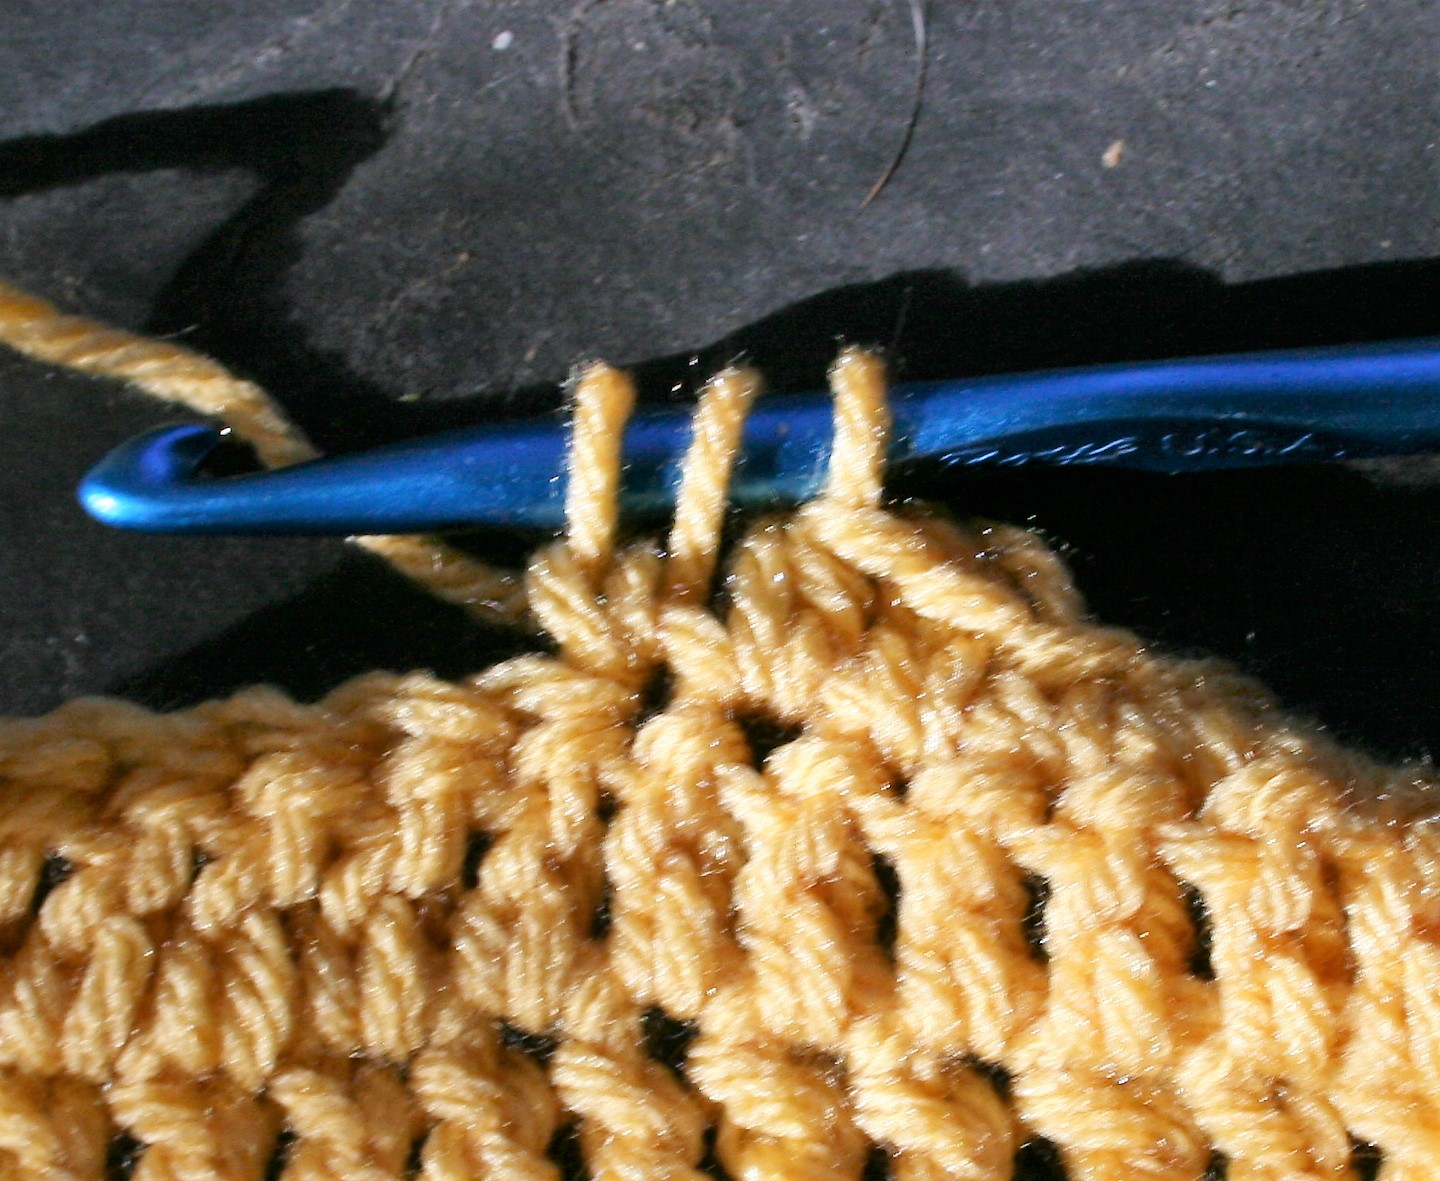
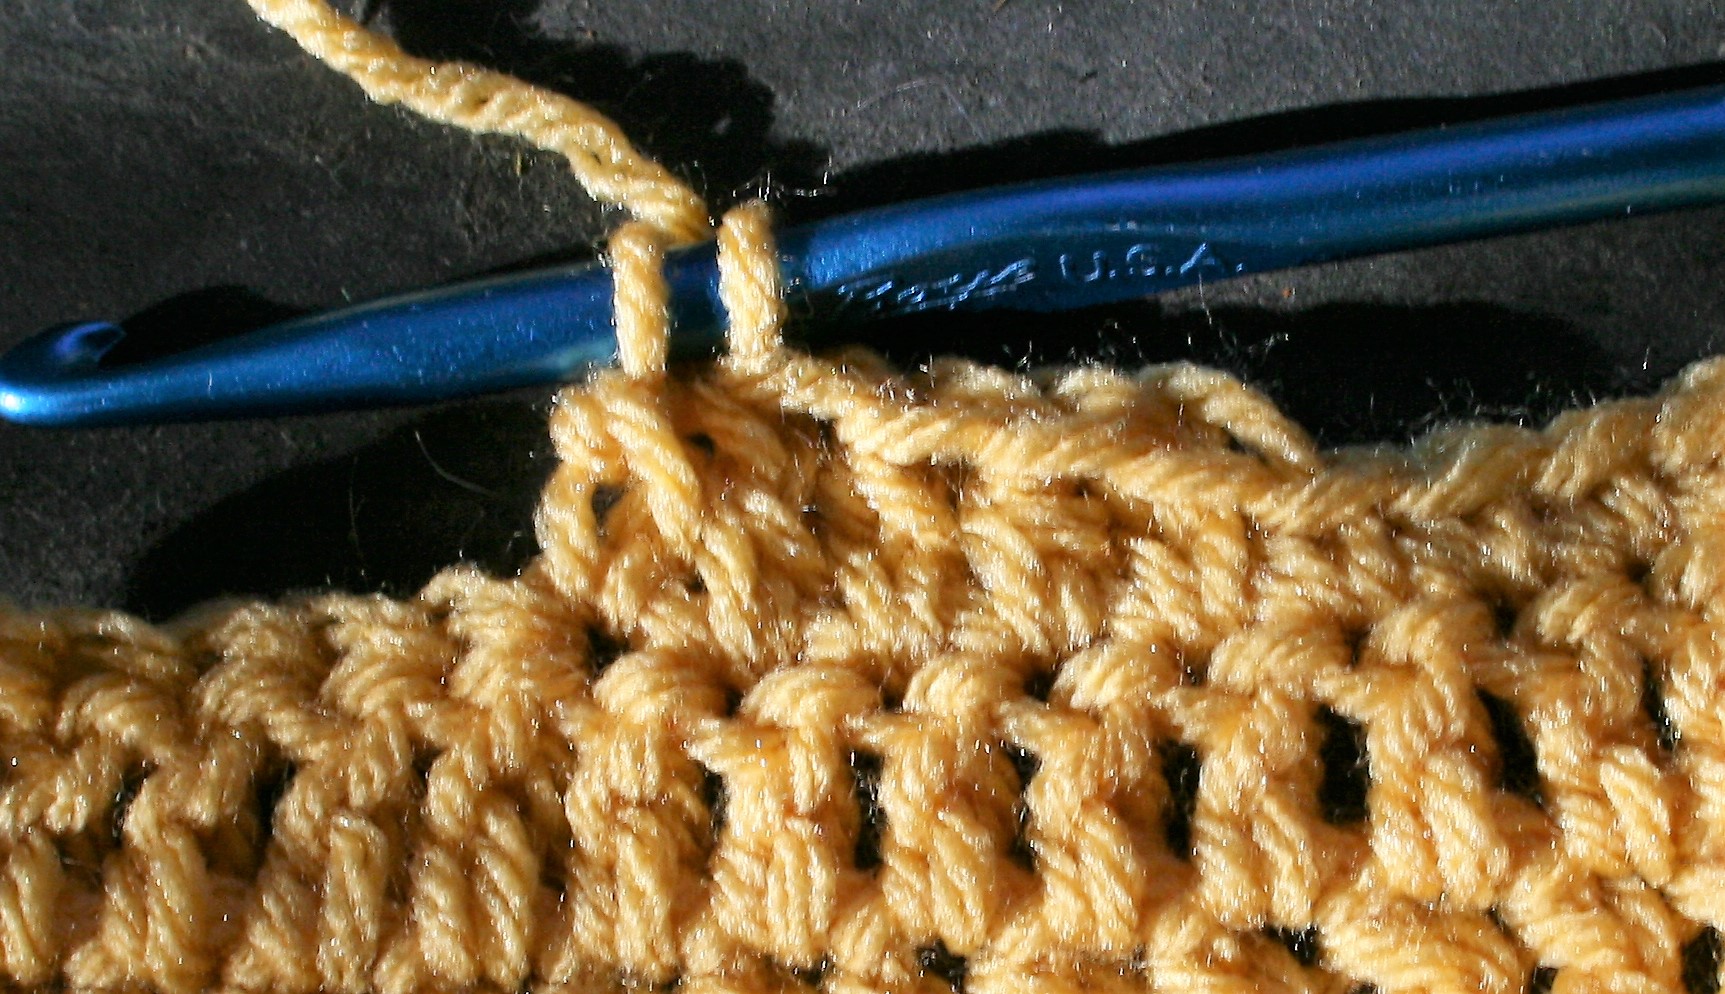
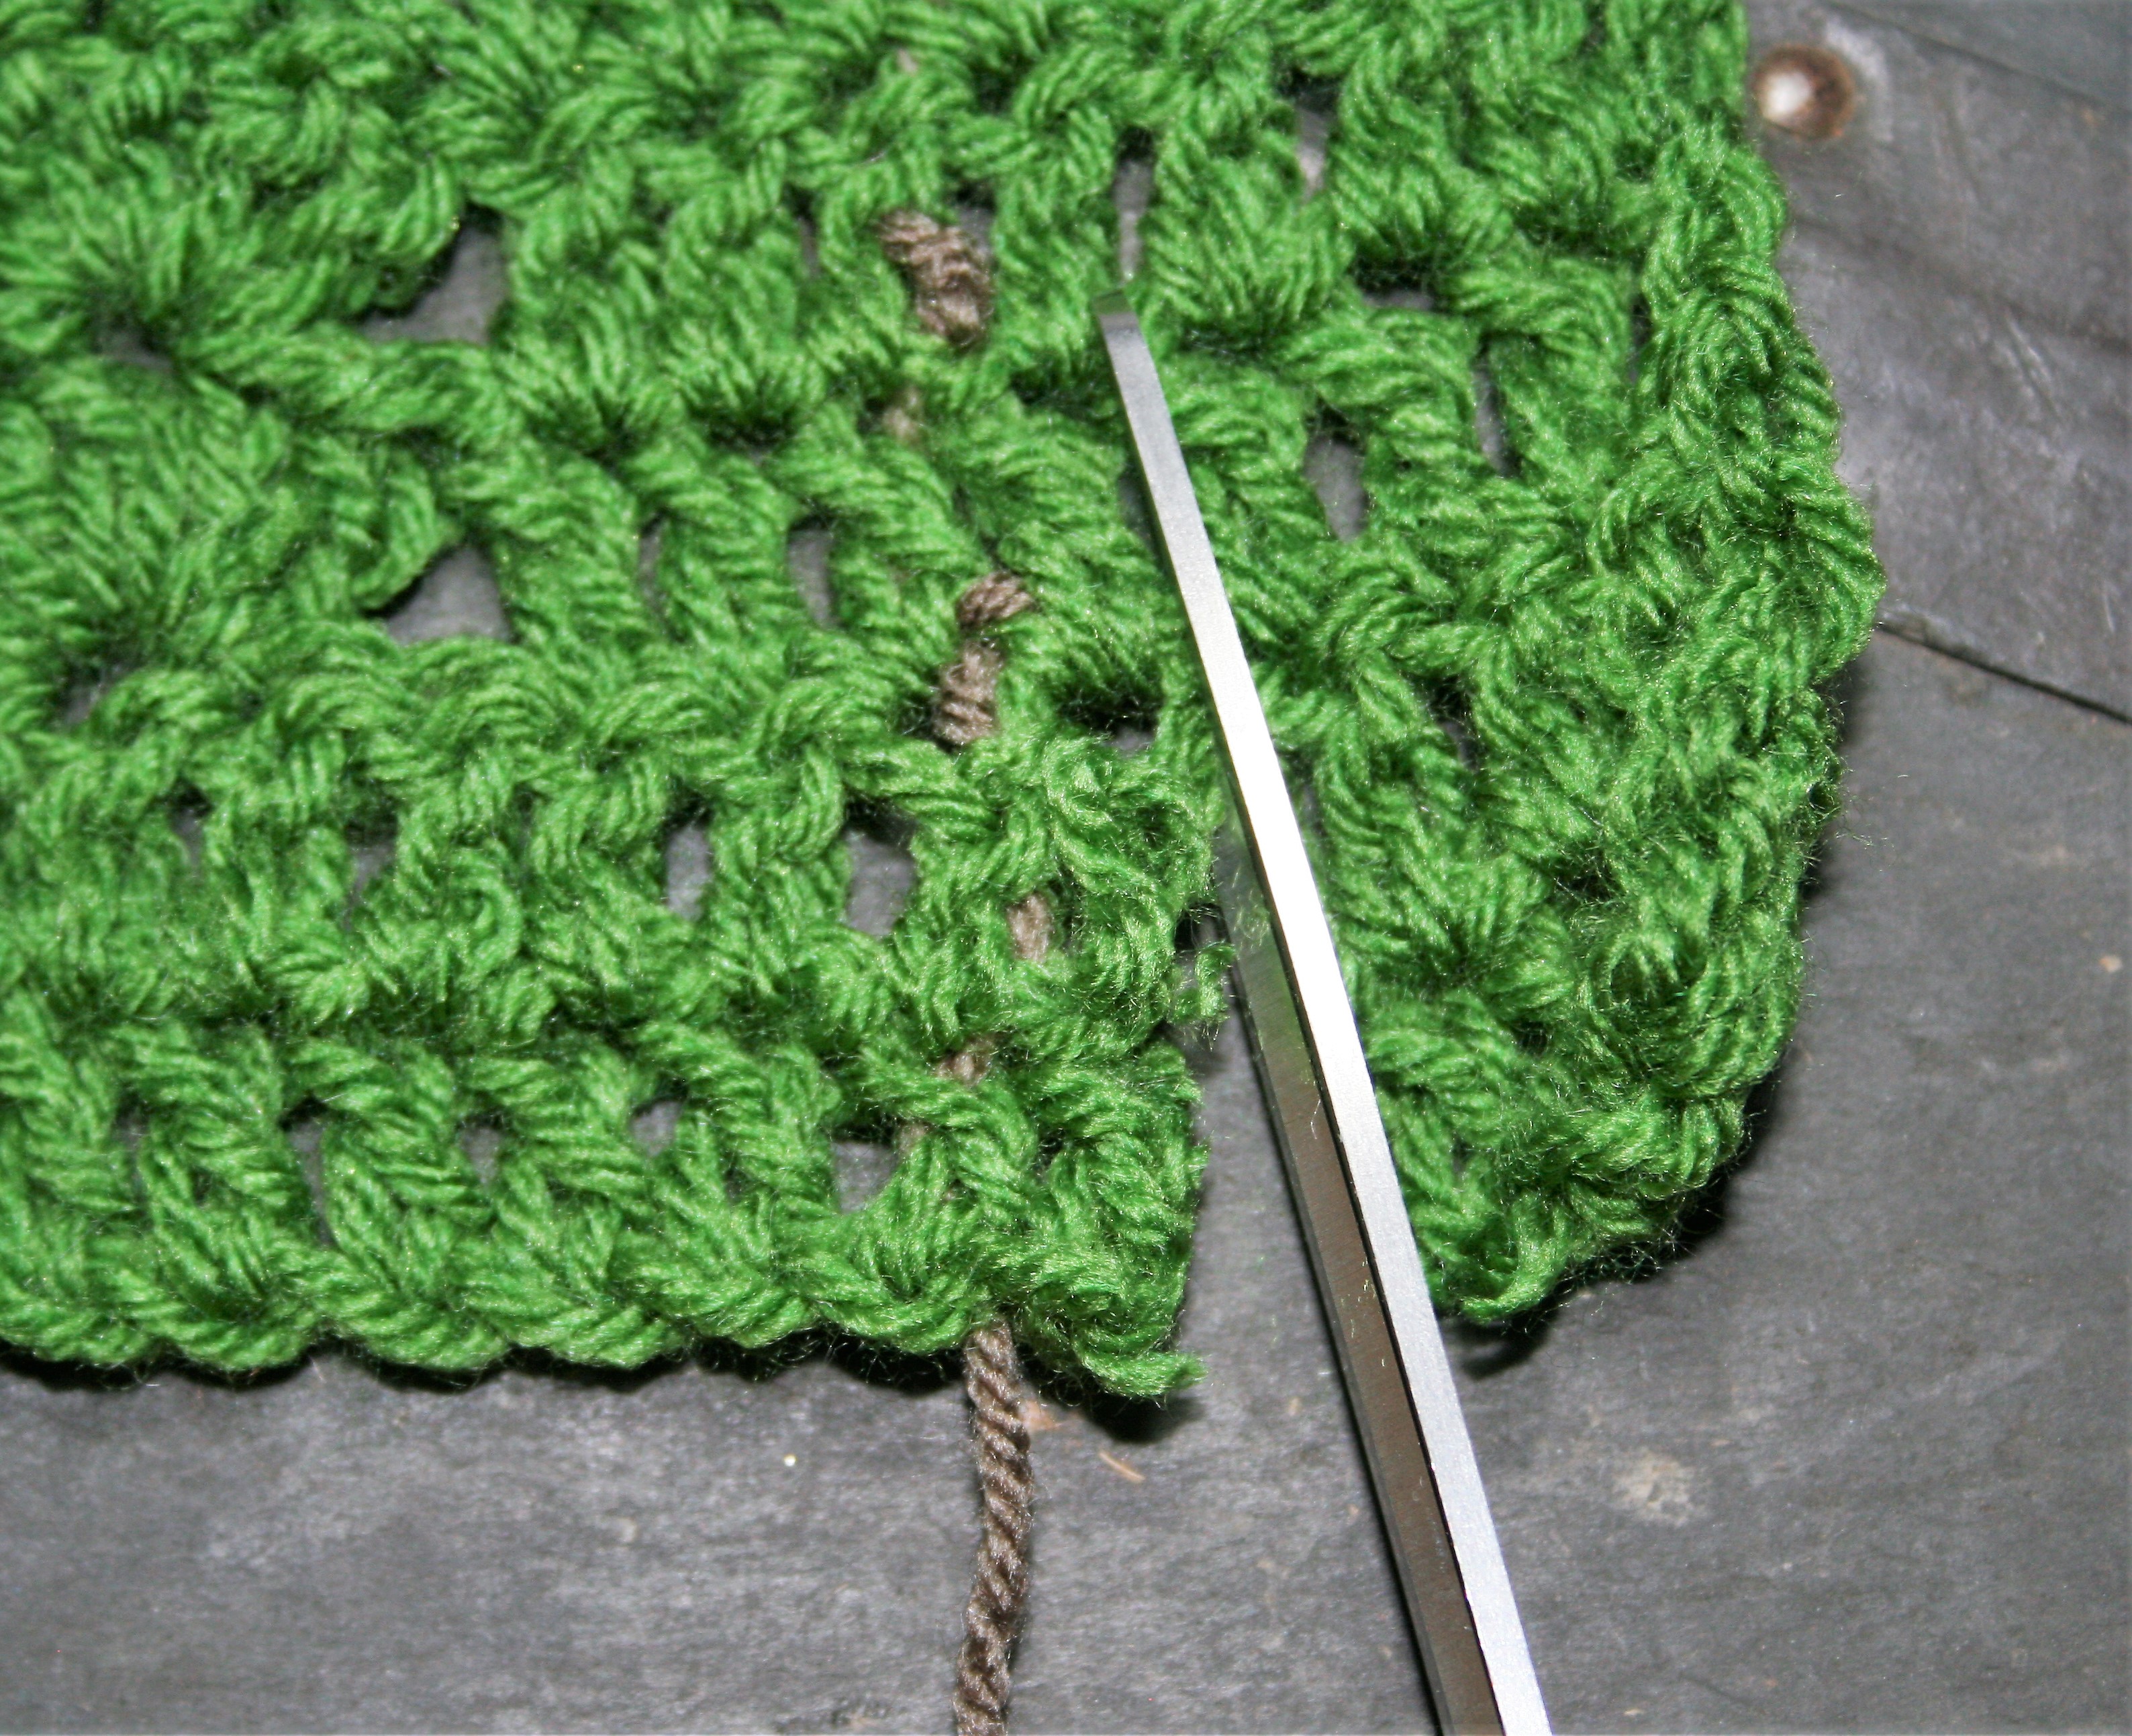
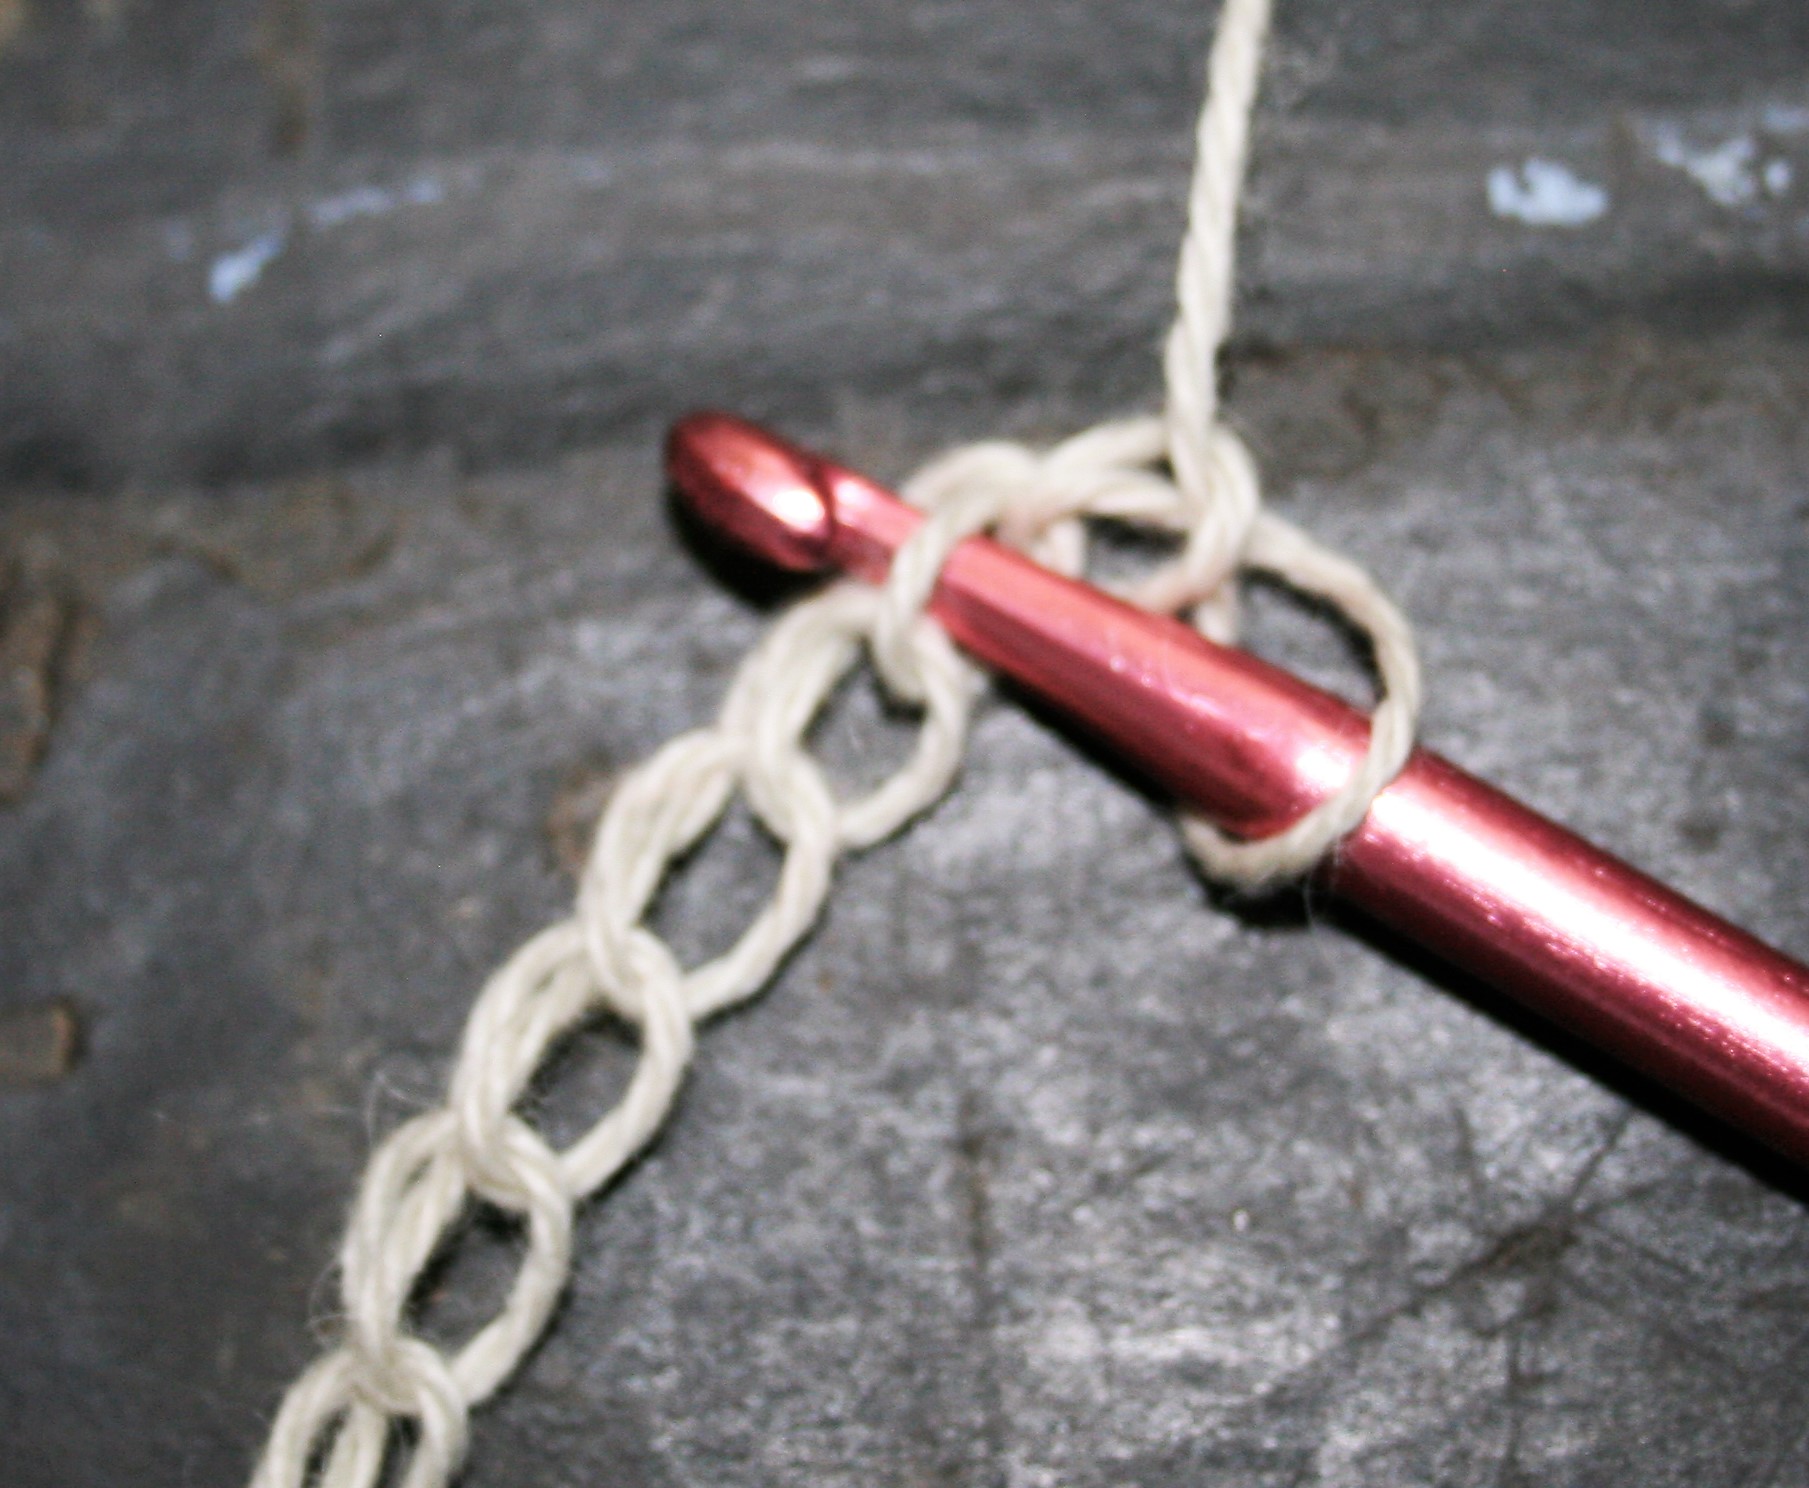
Working into 2 lops of the foundation chain
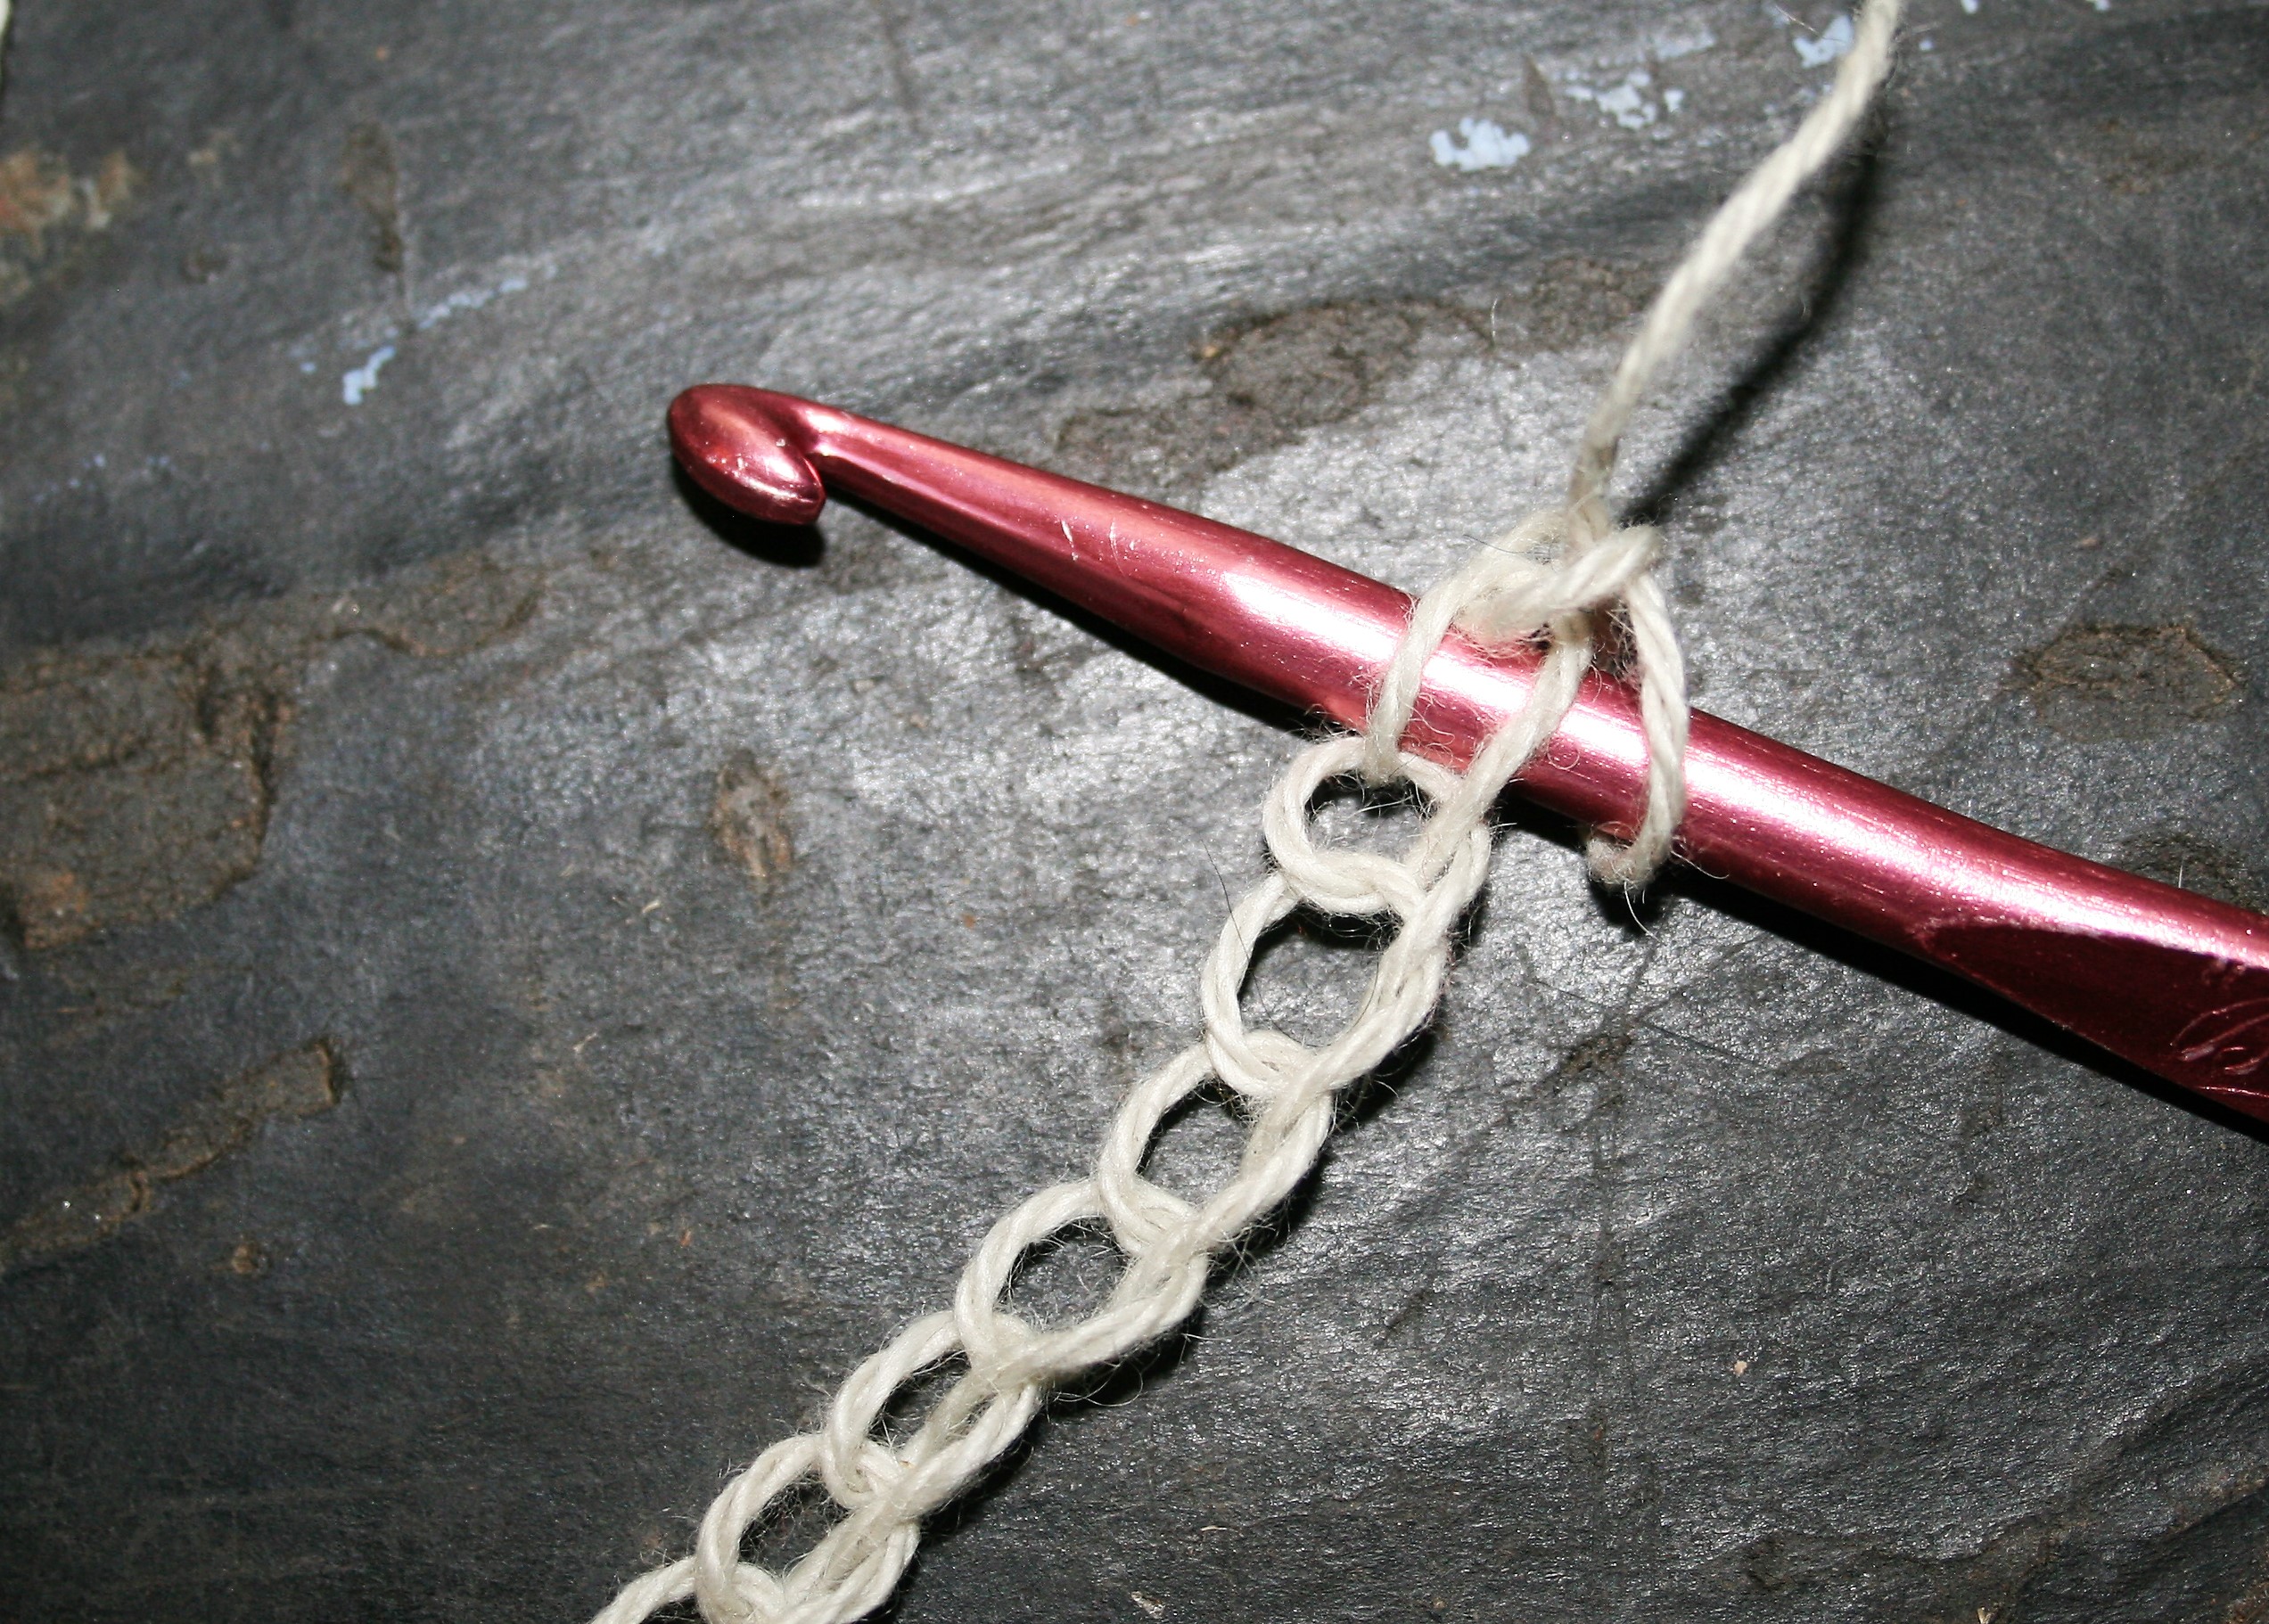
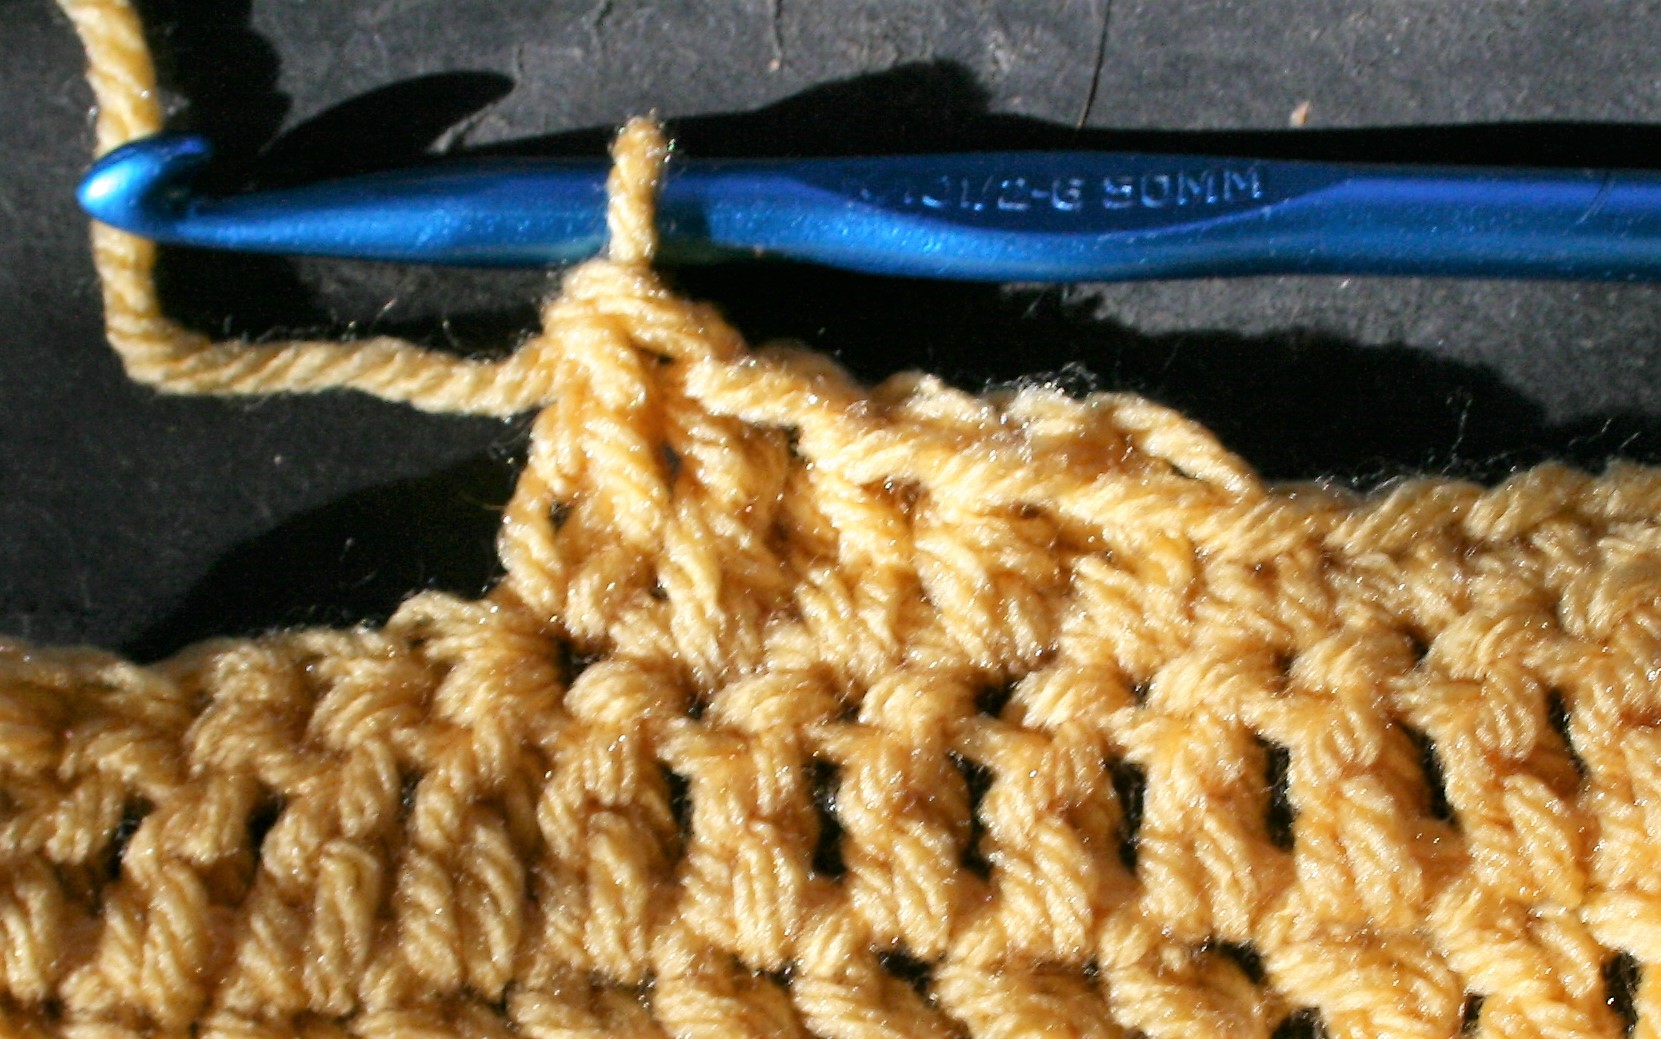
The methods of working in 2 loops, be it the top/back loop & back bump, or the top/back & bottom/front loop, or the bottom/front loop and back bump results in less flexibility. This may be a bit more stable, but if you are a tight crocheter this might be a little difficult to work. For a loose crocheter this approach may offer the least amount of “gapping”.
In the large scheme of things, each of these approaches offer just a little subtle difference. So, play with it and see what you may like.