 In all my crochet repairs I have learned some simple truths…there are points of crochet stitches that are more likely to break, disintegrate, or fail. Granted this is only understanding a “natural” break after wear or use, not the type of repairs that occur after the puppy finds a new toy in grandma’s afghan. Understanding where these points of natural breaks occur are really help in making repairs, and it also helps me understand how my stitches work together in the final fabric.
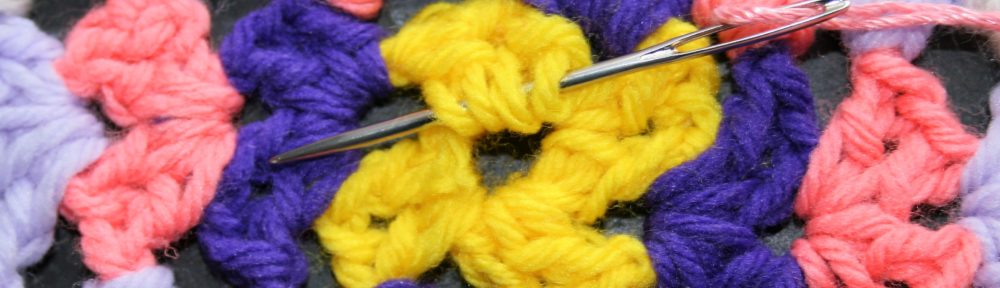
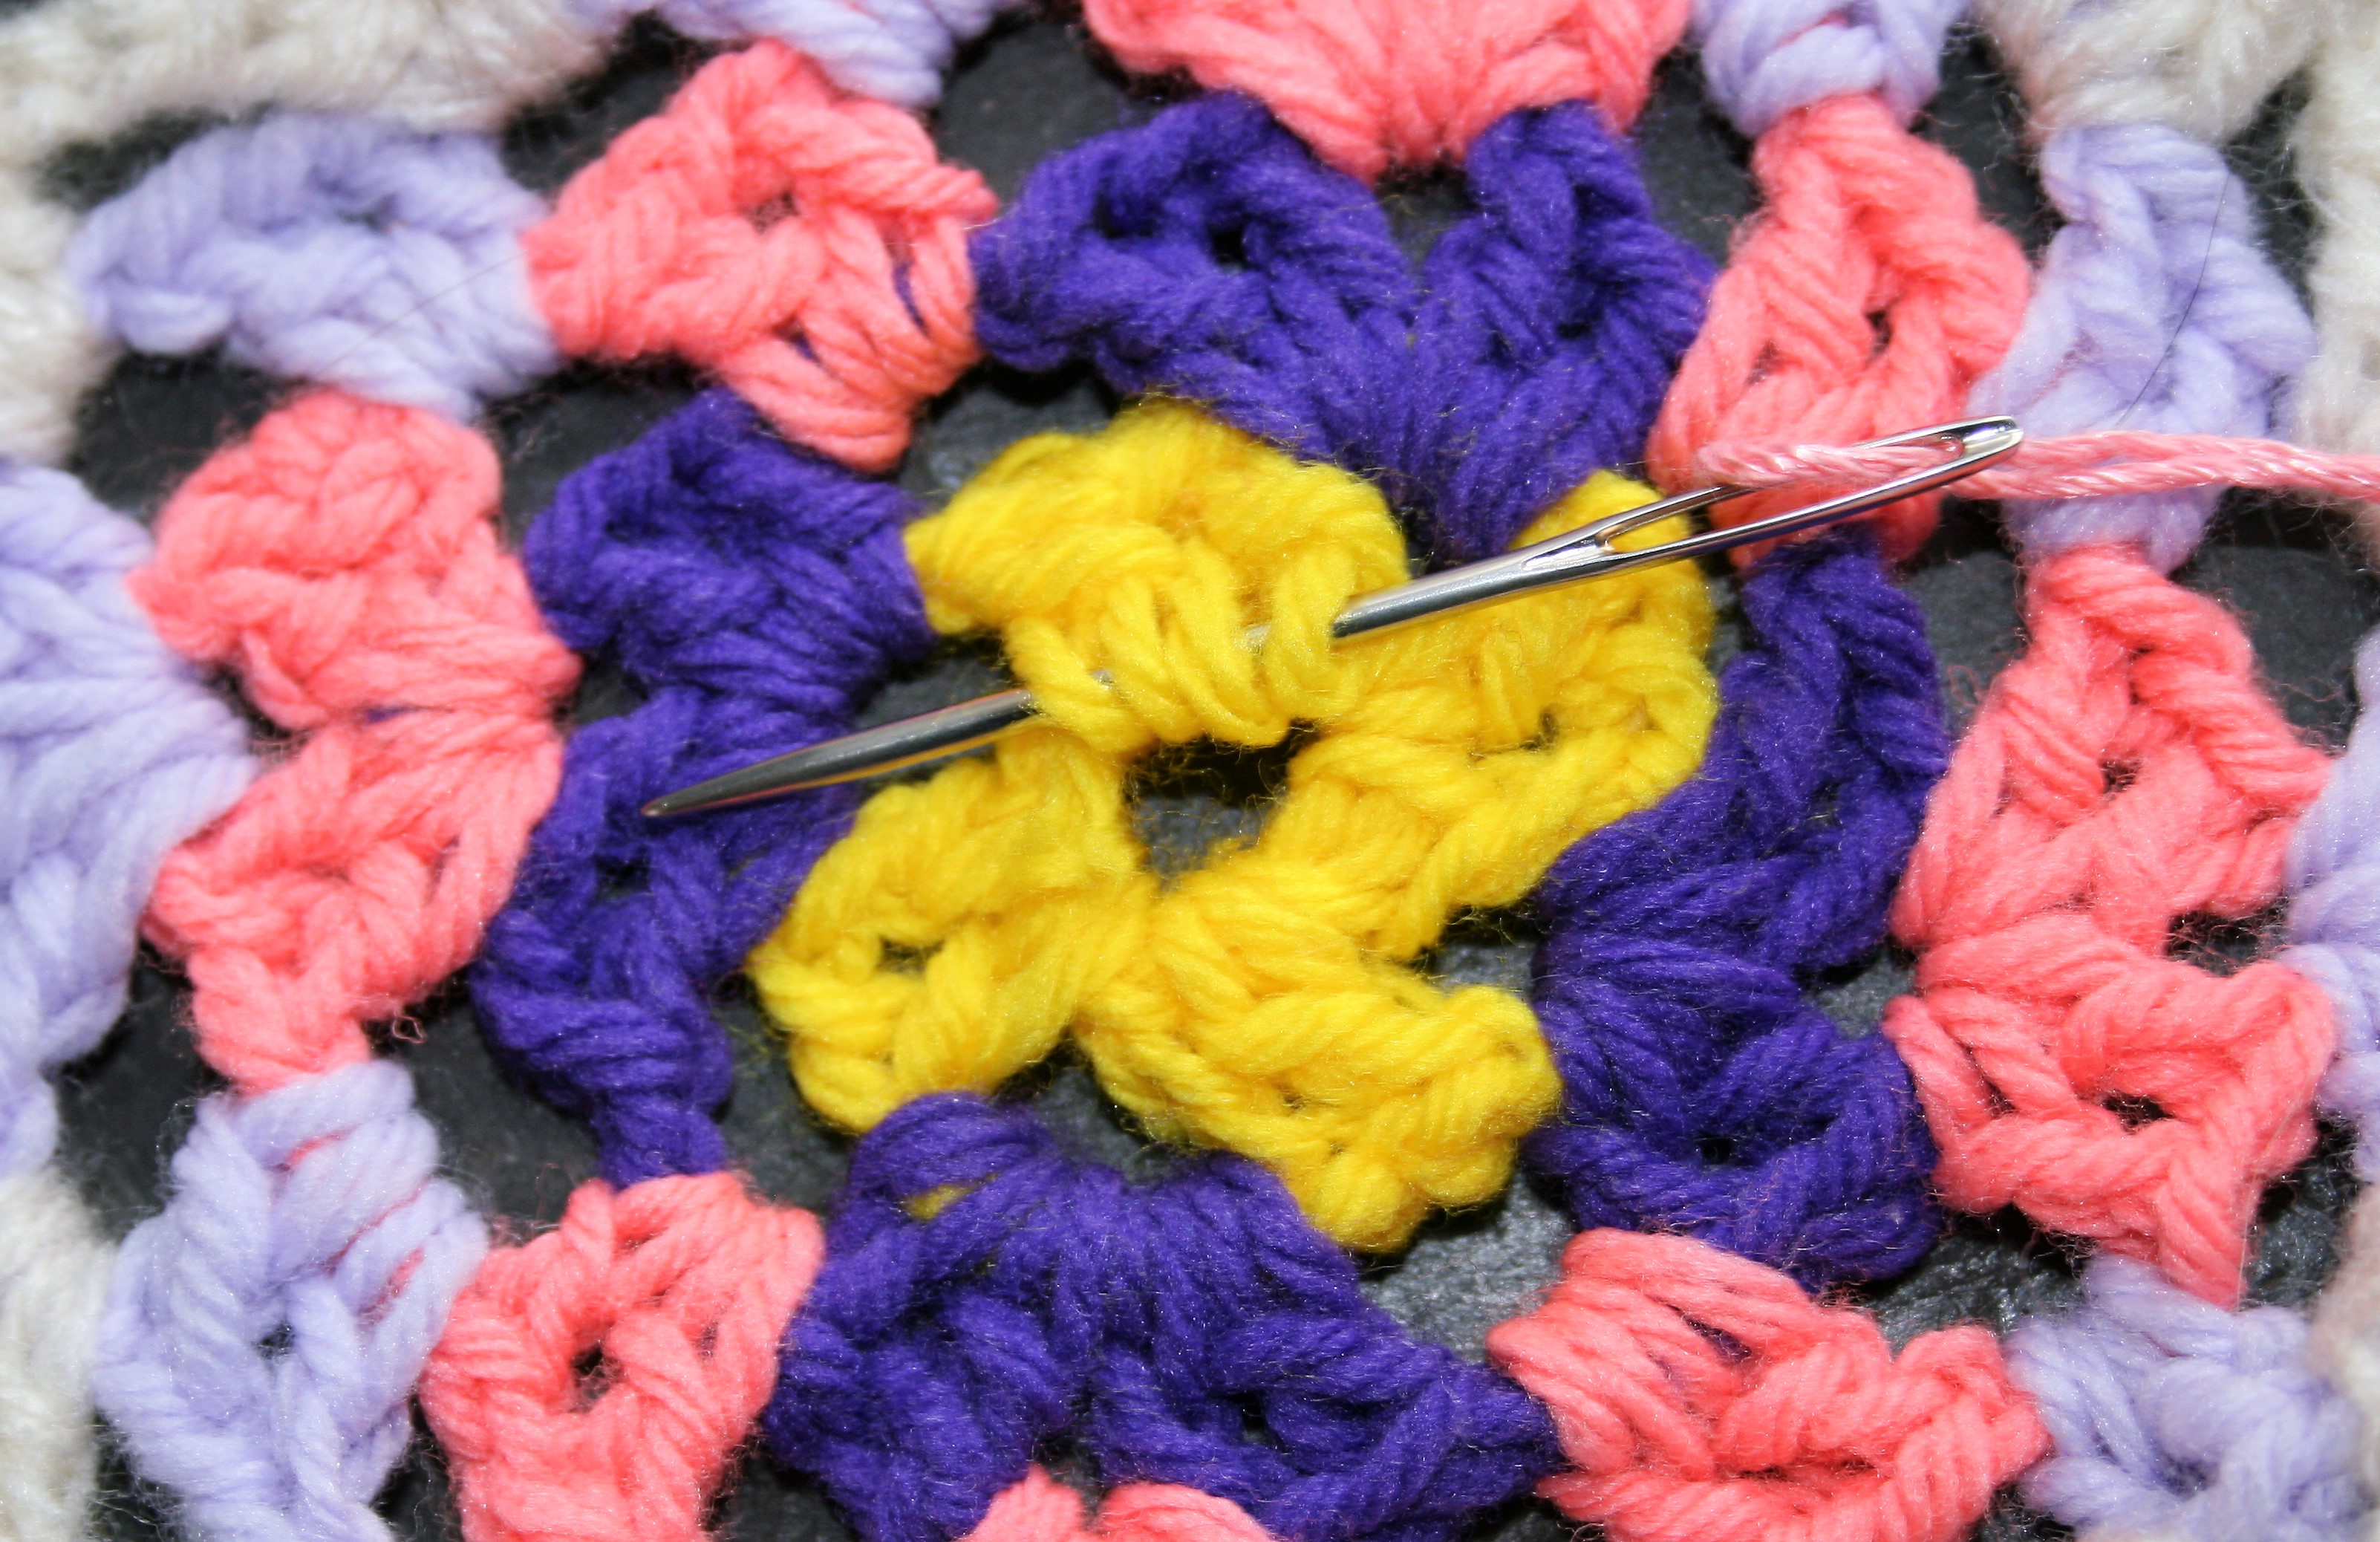 If you think of your crochet fabric as the construction of a building it is much easy to see that there are some points that are “load bearing” and where future repairs might need to happen. These “load bearing” points usually happen in a place that stitches are worked into. For example, the center of a motif is a classic area for a structural fail. Working multiple stitches in this one point puts a strain on the yarn, especially when the stitches are worked only over 1 strand of yarn.
Working in one loop, either front or back loops, of a stitch also is a point of stress on the yarn. This one strand of yarn is bearing all the stress of any tugs or pulls, and depending upon the composition of the yarn, or the twist of the ply on the yarn, some fibers do not handle this stress as well as others.
If you encounter these points of stress beginning to fail in your fabric, there are some simple ways to make the repair.
The first step if to thread a yarn needle and catch all the loose loops from the base of the stitches that affected.
After securing these loops, the next task depends upon the stitch that has failed. If it is a center of a motif, one can usually thread yarn around the join or center of the motif, working under all the stitches in the center and essentially creating a new center loop, and secure this new loop.
If it is the top of another stitch that has failed, well this become a bit more of an operation. Dependent upon how damaged the stitch is, you may need to remove the stitch and re-stitch it, or simply catch its loose loops and using a threaded yarn needle “sew” in the manner of which the yarn would be pulled through if being stitched. This process takes a bit more confidence, and maybe some practice, but you can save history with a bit of patience.
The best tip I can share for fixing the disintegration points, is not to attempt to work everything in one sitting. I find that I can only work for about 15 minutes at a time, as it is such focused work. Do not feel that it is a quick undertaking. Be patient, and it will come.