Latest Designs, Different Names and Stunning Results

In this last few weeks I have released a couple of new designs and I wanted to share my thought about them with you.

The first is Robert’s Vowel Wrap. Yes, it is a bit of a different name, but it reflects my son’s first comment when seeing the final piece of “awe”. Apparently he likes this one, and to get a positive comment on crochet from a teenage boy…that says something.
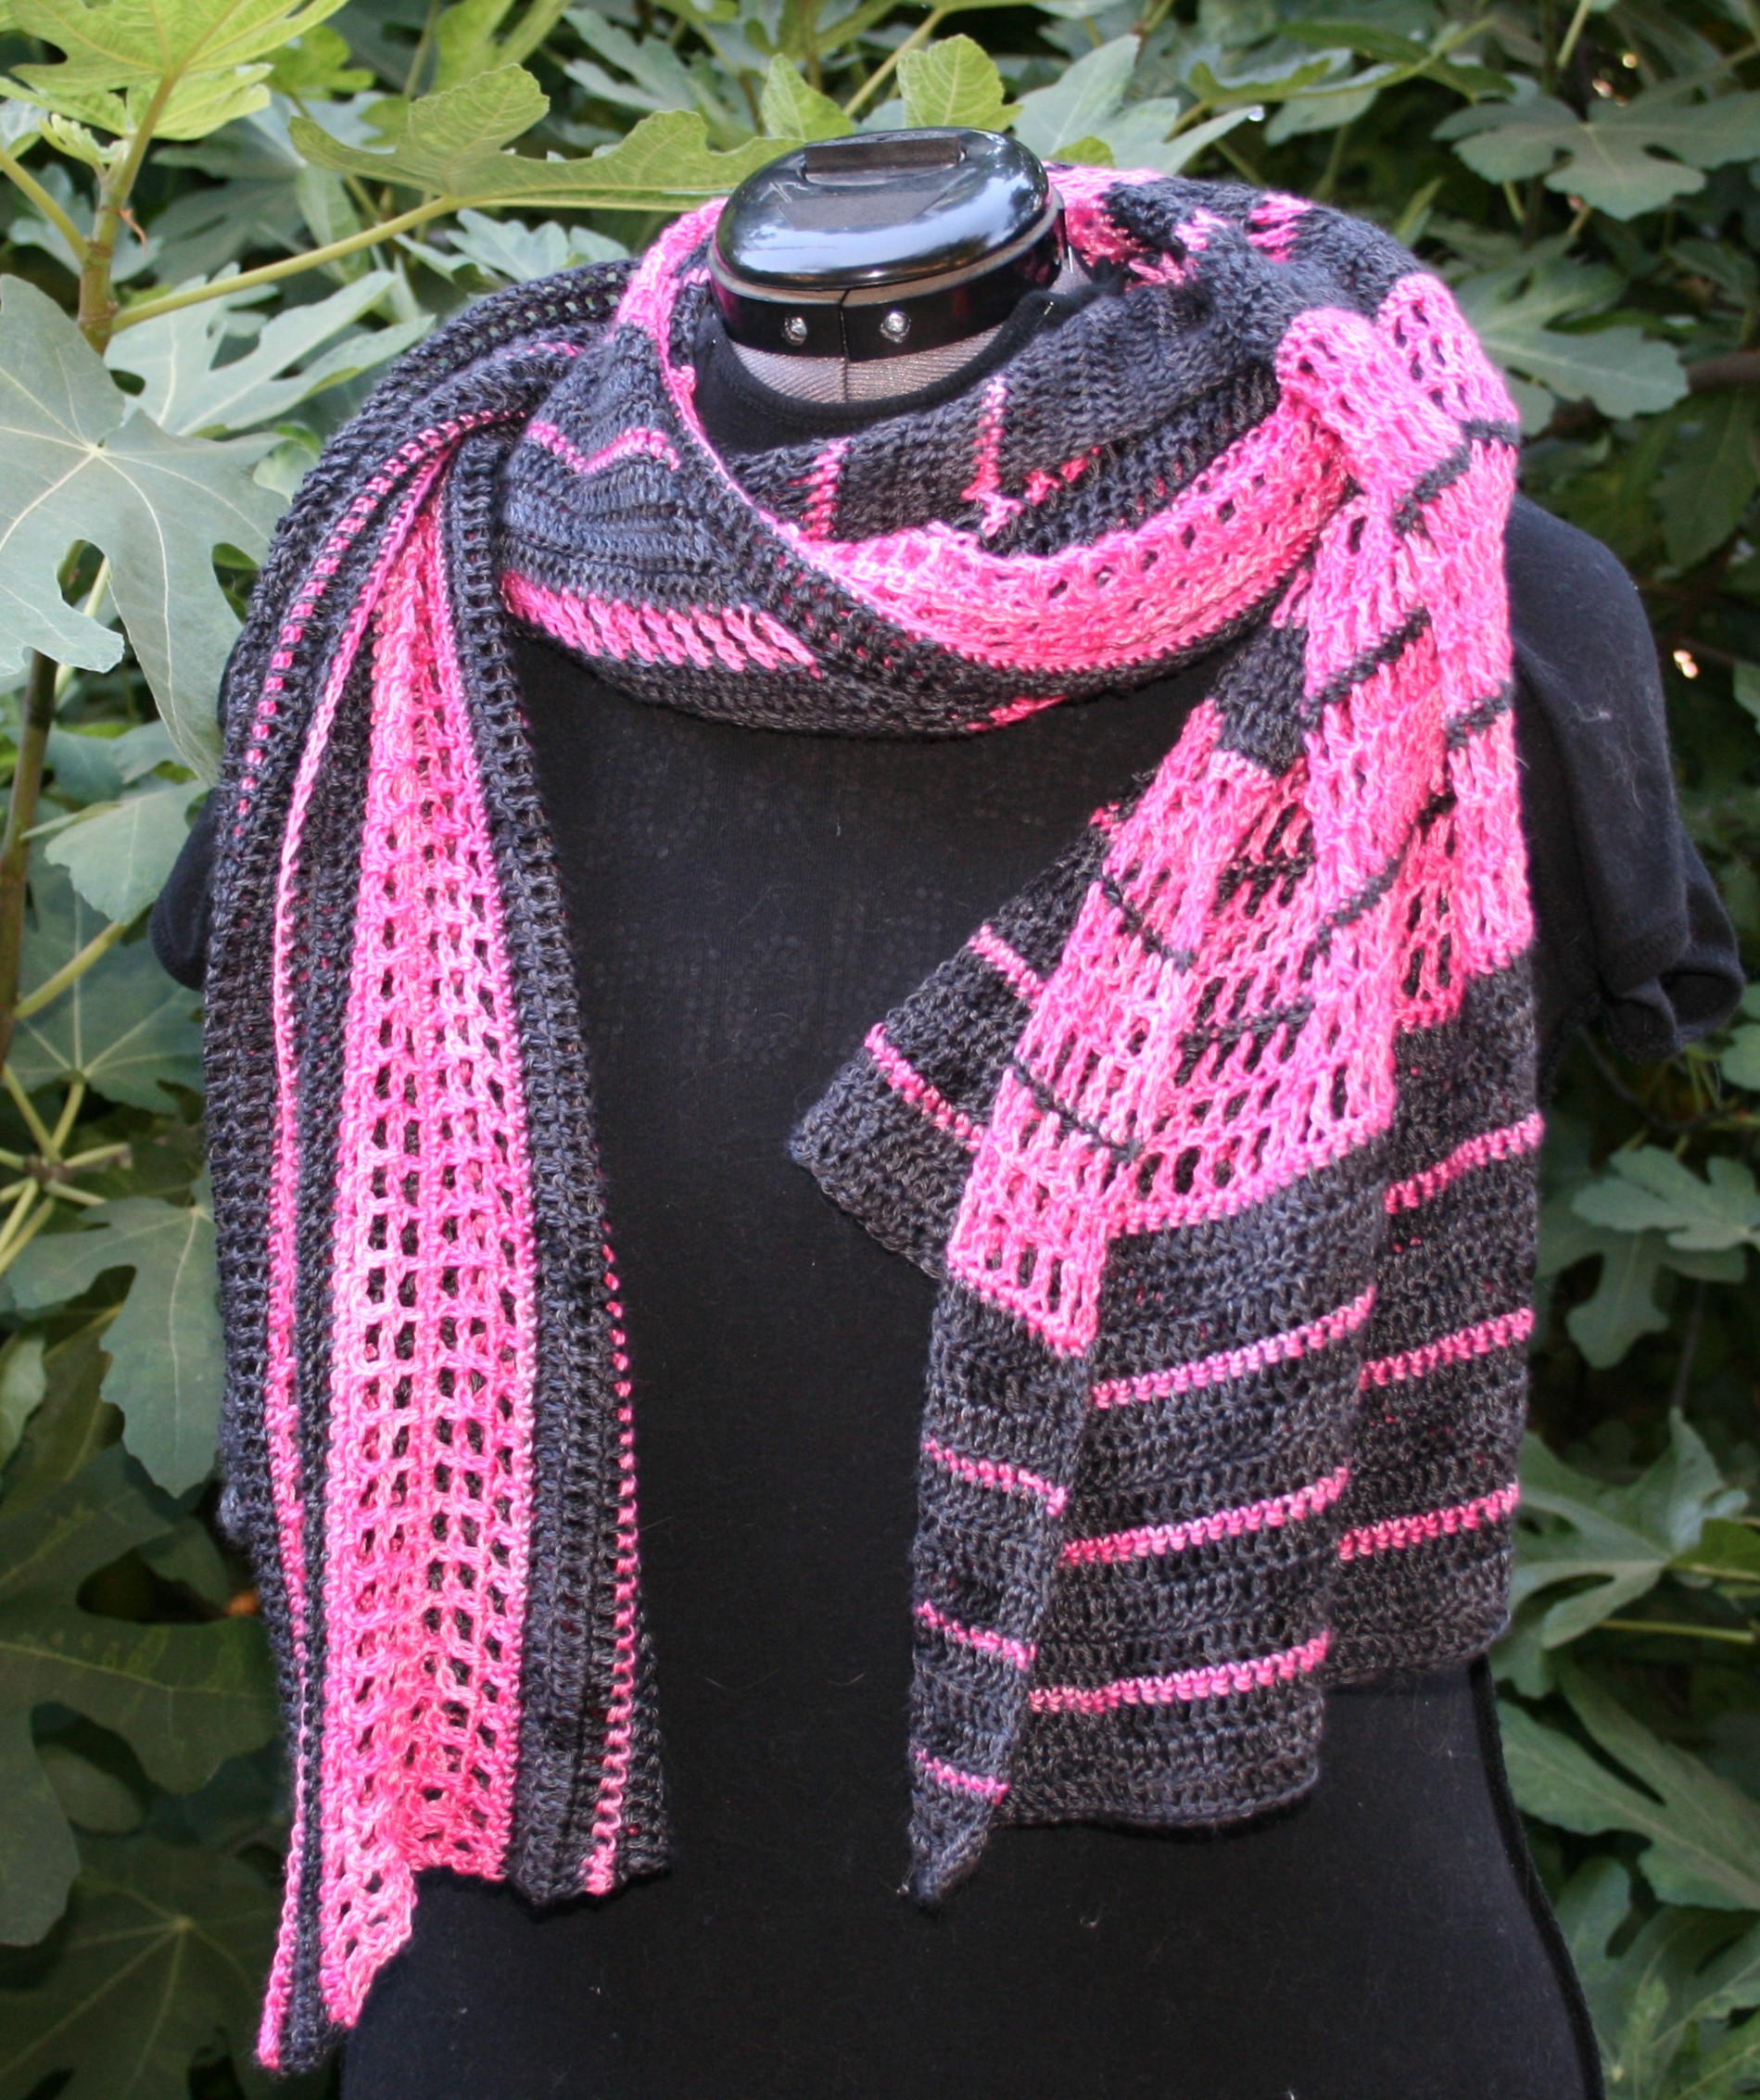
Robert’s Vowel Wrap

This design was a bit of a challenge for me to get the math to work out for the increases, but once I found it, I am quite happy with the way it works up. Essentially it is a reverse miter rectangle, starting with a small rectangle and increasing on 2 sides until you get the nice wide width. Then the length is finished off on one edge.

The contrasting colors really are set against each other in this design, and gives a bold statement, but if you wanted to change colors to something more subtle I think you would be just as happy. (The sample is worked up in Anzula Milky Way yarn, colors Petunia and Black)

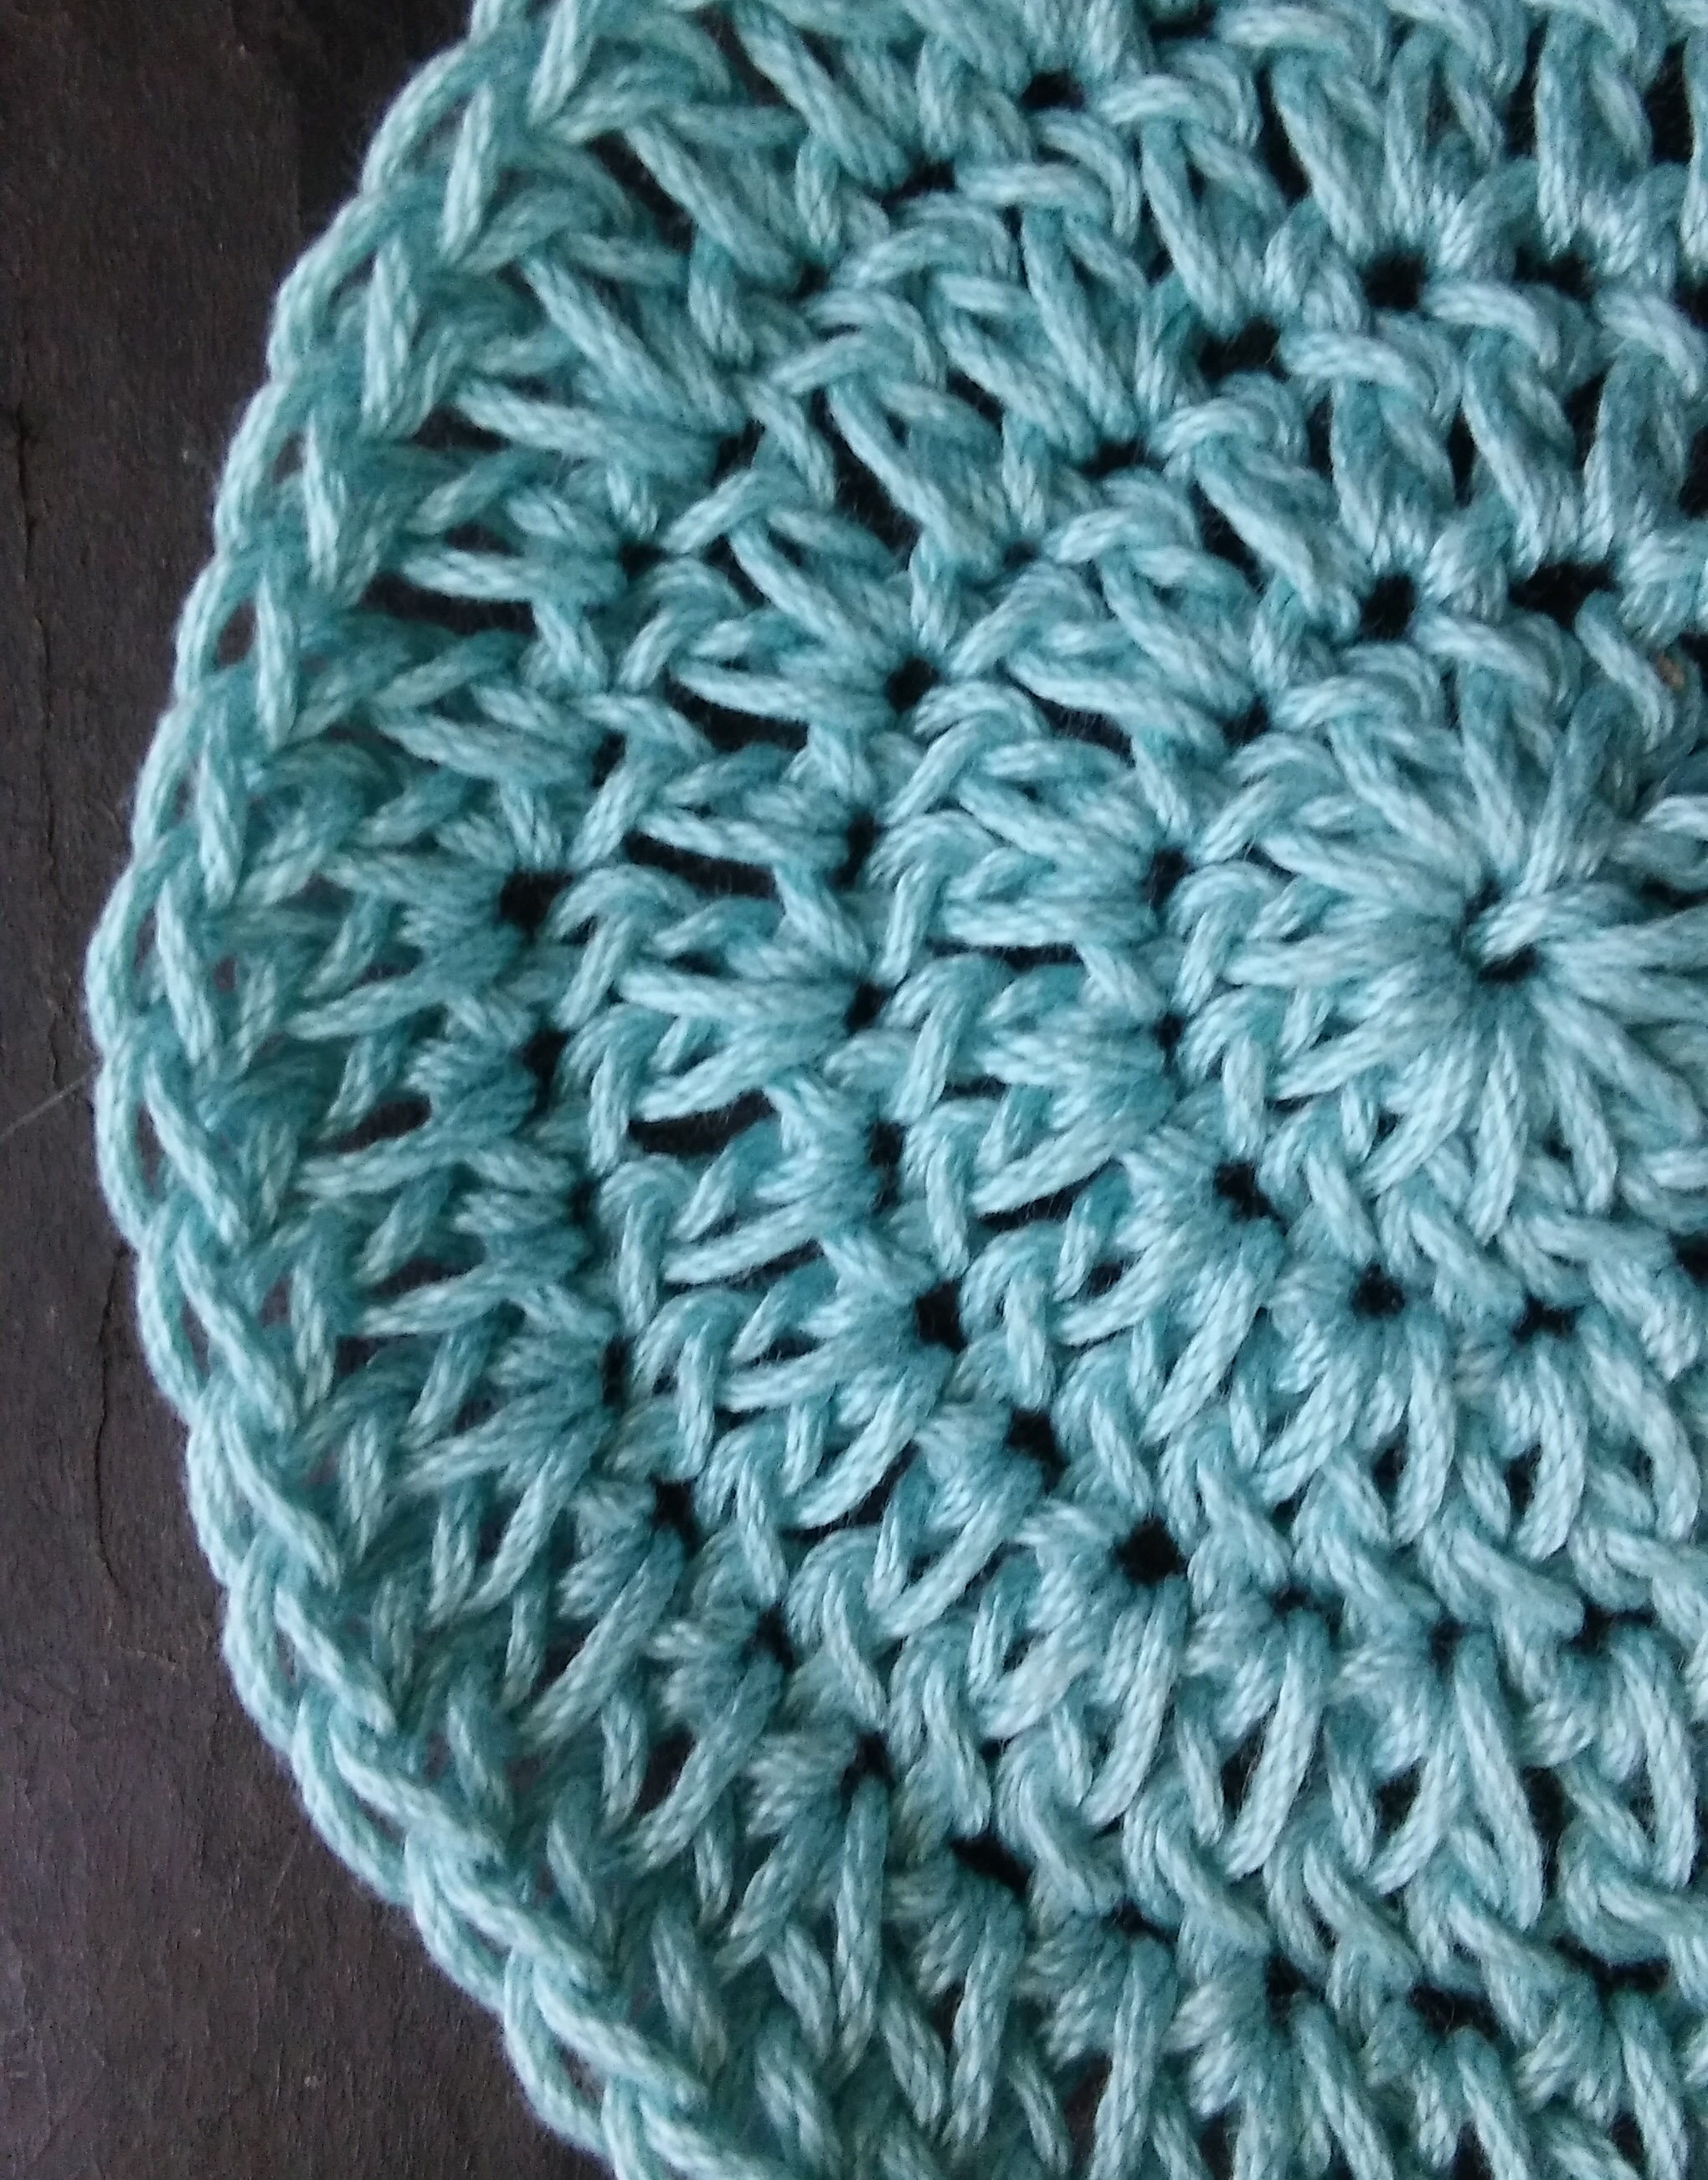
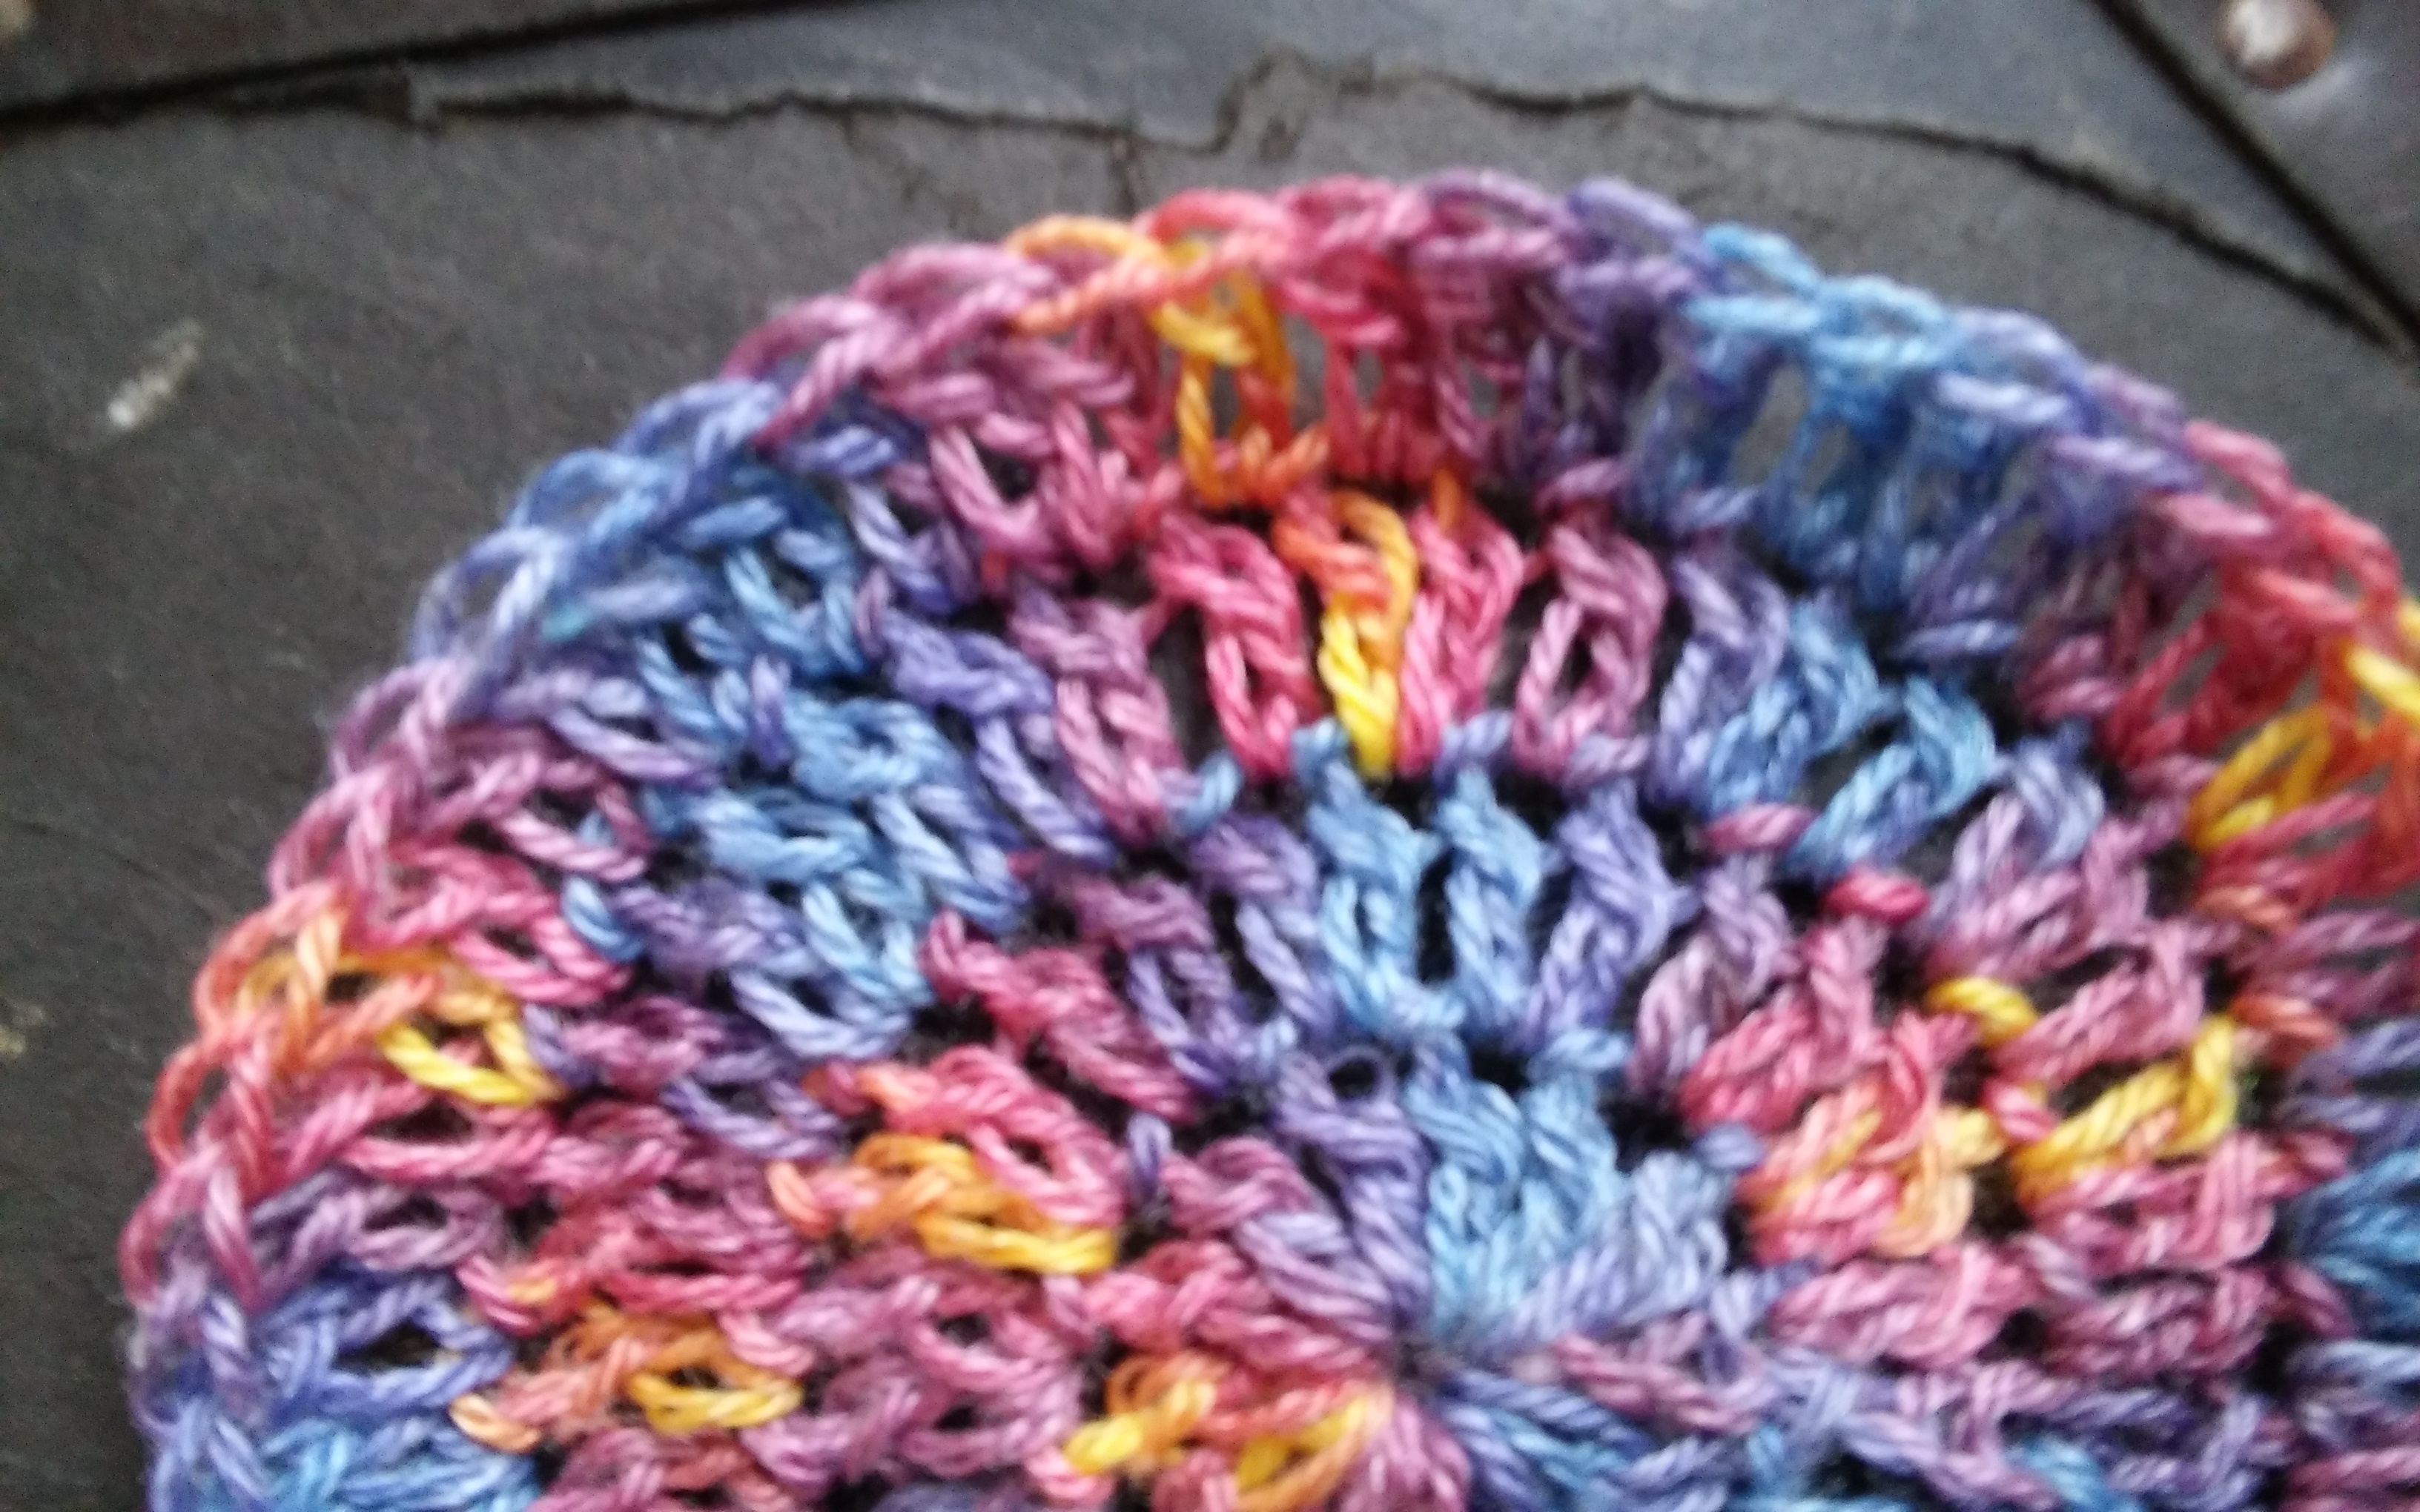
Gee Circle Shawl received its name from my daughter, because “Gee I want I one” was her statement. I guess I will have to place this design on my hook again and fulfill her request.

Gee Circular Wrap

The half circle design actually holds the shoulders, as it is slightly over a true half circle size and then quits the increase, causing the design to gently pull inward to stay in place on your shoulders. It actually works up fairly quickly and really allows two colors to play off of each other well. (The sample is worked up in Anzula Gerty yarn, colors Orchid and Victoria)

Get these patterns for yourself at my Ravelry store here,  and create some stunning projects for yourself or someone special in your life.

Creating Love Knots

As summer approaches my design mind begins to drift toward stitches that are light and airy. With the change of season coming upon my region I have found myself playing with a classic crochet stitch referred to as a Love Knot (it is also recognized as a Solomon Knot).

This is a really airy stitch that highlights yarn in a very unique way. Yarn really has an opportunity to show its true nature be it springy or limp, squishy or firm, heavy or light. One of the things I really love about this stitch is how it really allows you to “stretch” the usage of the yarn, it is really easy to create an entire wrap (of a substantial size) with a mere 400 yards of light weight yarn. It feels like the yarn could go on forever.

Working the stitch might at first seem a bit cumbersome, but really you are essentially securing loose chain stitches.

To create a Love or Solomon’s Knot you simply pull a loop through the stitch you have just completed, pull it up to a height you feel comfortable with repeating, I find I usually pull up a loop of about 1” (2.5cm) in height. Now yarn over and pull through the loop, just as if creating a chain stitch, I try to pinch the base of the “pull through” so that I can distinguish the yarn being pulled through the loop.

You then insert your hook between the “loop” and the “Pull Through”, yarn over and pull through a loop, you now have 2 loops on your hook. Yarn over and pull through both loops. This process is essentially creating a single crochet (a double crochet in UK) in the space between the “loop” and “pull through” of the long chain. This completes the stitch.

You repeat the process of these long chains with single crochets worked between the loop and pull through for as long as you want to work this stitch. This process creates a long chain, so create a fabric you have to work these stitches over themselves.

To work into a second row of the Love or Solomon Knot, after a knot is created, a stitch (a single (UK double) crochet is most common, but any stitch can really be worked) is then worked into the closing “single crochet” of another knot. Various patterns offer different approaches of when and what stitch to work into, but this is the basic process.

I find myself playing with technique lately, hoping to share something with you soon.


Crochet Disintegration- Knowing the Points

In all my crochet repairs I have learned some simple truths…there are points of crochet stitches that are more likely to break, disintegrate, or fail. Granted this is only understanding a “natural” break after wear or use, not the type of repairs that occur after the puppy finds a new toy in grandma’s afghan. Understanding where these points of natural breaks occur are really help in making repairs, and it also helps me understand how my stitches work together in the final fabric.

Fixing Disintegrating crochet stitchesIf you think of your crochet fabric as the construction of a building it is much easy to see that there are some points that are “load bearing” and where future repairs might need to happen. These “load bearing” points usually happen in a place that stitches are worked into. For example, the center of a motif is a classic area for a structural fail. Working multiple stitches in this one point puts a strain on the yarn, especially when the stitches are worked only over 1 strand of yarn.

Working in one loop, either front or back loops, of a stitch also is a point of stress on the yarn. This one strand of yarn is bearing all the stress of any tugs or pulls, and depending upon the composition of the yarn, or the twist of the ply on the yarn, some fibers do not handle this stress as well as others.

If you encounter these points of stress beginning to fail in your fabric, there are some simple ways to make the repair.

The first step if to thread a yarn needle and catch all the loose loops from the base of the stitches that affected.

After securing these loops, the next task depends upon the stitch that has failed. If it is a center of a motif, one can usually thread yarn around the join or center of the motif, working under all the stitches in the center and essentially creating a new center loop, and secure this new loop.

If it is the top of another stitch that has failed, well this become a bit more of an operation. Dependent upon how damaged the stitch is, you may need to remove the stitch and re-stitch it, or simply catch its loose loops and using a threaded yarn needle “sew” in the manner of which the yarn would be pulled through if being stitched. This process takes a bit more confidence, and maybe some practice, but you can save history with a bit of patience.

The best tip I can share for fixing the disintegration points, is not to attempt to work everything in one sitting. I find that I can only work for about 15 minutes at a time, as it is such focused work. Do not feel that it is a quick undertaking. Be patient, and it will come.


Cotton Classic- a Little Different than “Traditional”

Some yarns always inspire me, some always tell me what they want to be, others, well maybe not so much. Cotton Classic by Tahki Stacy Charles is one of the former, it can always find a design in my mind.

Cotton Classic is 100& Mercerised Cotton and this sometimes causes people to pause. The term cotton is generally understood, it had a great marketing campaign throughout the 1980’s about how it is a naturally grown product that lets the fabric breath. Cotton also is stronger when wet, has limited stretch, and many think of it shrinking when first washed. This first wash shrinking, is not like felting of wool, this is essentially because cotton, being a short in length fiber, has more “twist” worked into the yarn in order to hold the fibers together (if a strand is long it does not need to be twisted together as much to hold, while something short needs to have more twists to ensure the hold) this puts a lot of tension on the fiber. When the yarn (of cotton shirt) finally gets fully submerged in water it actually allows the fiber to relax, this allows it to release the tension, and this caused the fiber to contract. So cotton will only shrink in the first washing whereas wool will continue to shrink with washings.

Cotton Classic by Tahki www.lindadeancrochet.com

Cotton Classic by Tahki Stacey Charles

The term that confounds many is Mercerised. Mercerised is a process that removes the slight halo effect that can accompany a cotton fiber, this is essentially the tiny ends of the fiber protruding from the yarn. To Mercerise the yarn, or thread is brought over an open flame to burn off the fibers. This creates a yarn that has a nice smooth finish that has great stitch definition. Another side effect of this process is that it does not allow the cotton to absorb water as is normally considered. Thus Mercerised Cotton is not recommended for dish clothes, where regular cotton will work wonderfully.

I find Cotton Classic is wonderful for warm weather projects, dressy scarves, home décor items, a great market bag. I even love it for tank tops and cover ups. This yarn has a wide arrange of colors available, and it shows of lace work stitches and textural stitches fabulously. It comes in small hanks of 1.75oz/50g with 108 yds/100m. It is a light weight and has nice drape on larger hooks.

Consider it for your next summer weather project, and don’t worry about this cotton reminding you of a dish rag.

Timaru- Yarn Fun with Bamboo

In the world of yarn there can be many really exotic fibers, but at the end of the day we all usually fall back to the most affordable and common. That is why it is a treat to come across a yarn that offers so much to a design, and can take the basic to extraordinary.

One of these extraordinary yarns is Timaru from Lisa Souza Dyeworks. It is a fingering weight yarn that is comprised of 65% Superwash Merino and 35% Rayon of Bamboo. It has a very generous 500 yards per 100 gram hanks, so it goes a long way.

Timaru....www.lindadeancrochet.com

Timaru by Lisa Souza Dyeworks Merino with Bamboo yarn

The Superwash Merino ensures that this yarn is going to be soft, and can have some warmth, as well as being treated so that it does not felt or shrink. Merino is a great wool, but it is not what makes this yarn so special, in this case it is the Bamboo.

The bamboo in this yarn indicates that it is a Rayon, this means that the bamboo is made into a pulp, using the leaves, and some stem. It is ground down and added to a chemical bath to create “goo”. If you ever made homemade paper, it is a little similar. This pulp is then extruded through small holes to create a long filament. Another name you can find for bamboo processed this way is Viscose.

The way it comes together in Timaru with the Superwash Merino lends itself to a yarn with a great drape. Bamboo gives a cool touch to this yarn, so it makes it very warm weather friendly. It also does not take the dye the same as the wool (a protein fiber, whereas the bamboo is a cellulous fiber), this causes a really beautiful lustrous sheen.

I can easily see this yarn worked up as a shawl, a wrap, a tank top…I even know people that love it as a sock yarn. It has a great amount of versatility without sacrificing its integrity in any project. It might actually be difficult to find a project that this yarn will not shine in.