Candy Cane Lace

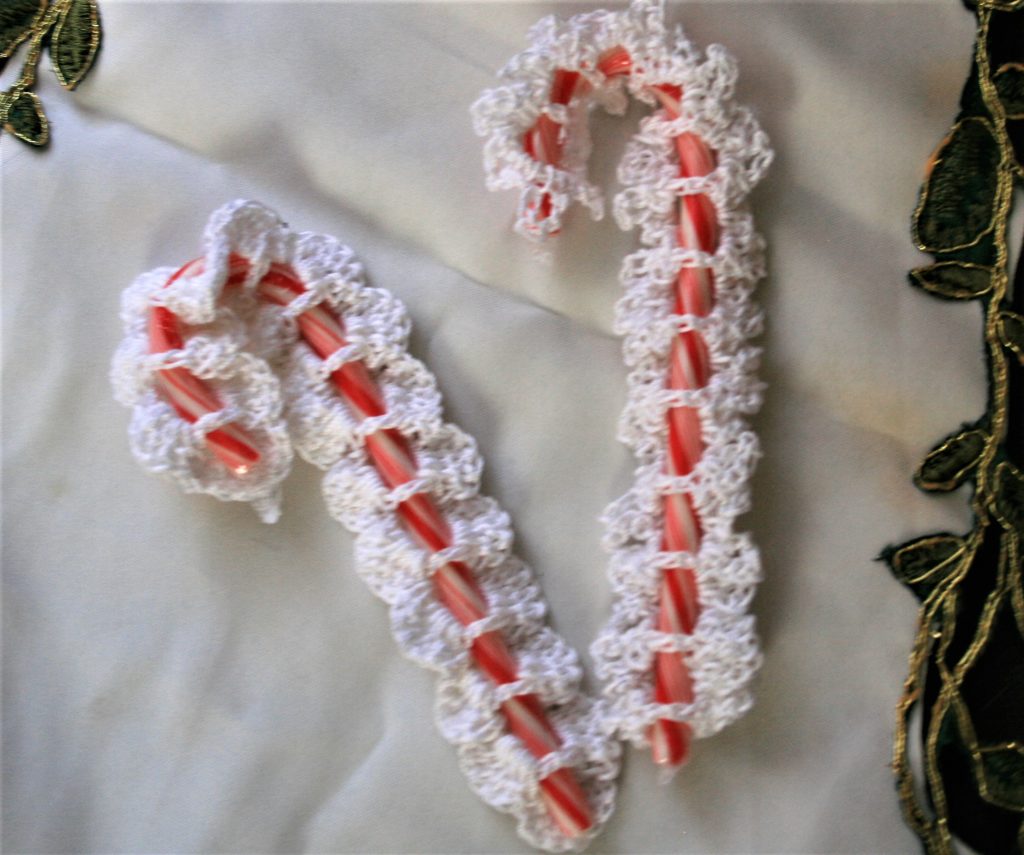
I have begun decorating candy canes with lace to help get into the mood for a great holiday season.

Honestly, I am not a fan of the candy cane. It is a candy that I usually pass on, but I have a couple of candy canes that have decorated my tree for decades. A friend created these decorated candy canes and I treasure them.

Candy Cane Lace Solid Shells and Lacy Loops

I want to share my own approach to these decorations to help adorn your tree or even a package or gift. Since it is a simple two row pattern that you can be altered and personalized many ways it is great way to spread cheer.

Materials

  • #10 Crochet Cotton Thread (or a lace weight yarn)
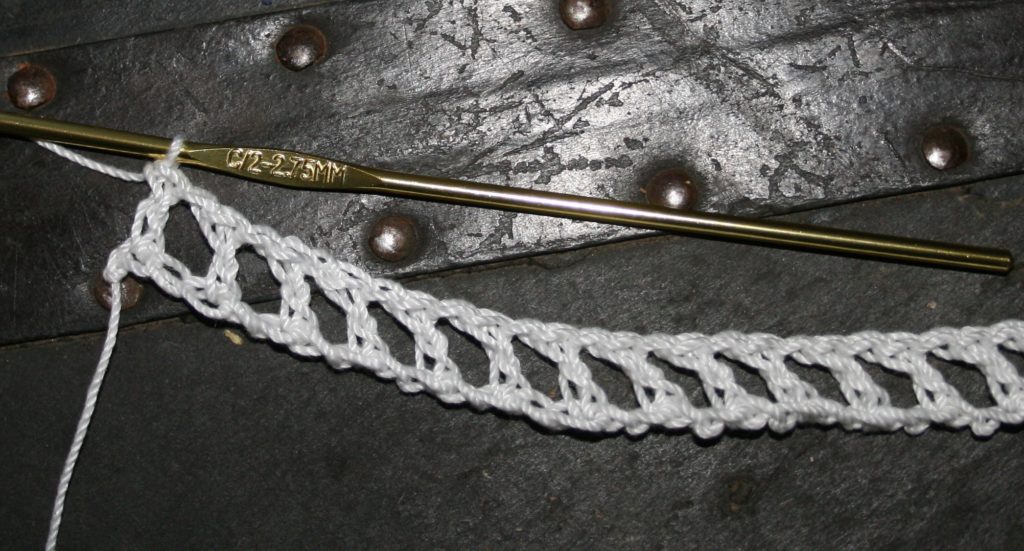
  • C/2/2.75mm crochet hook

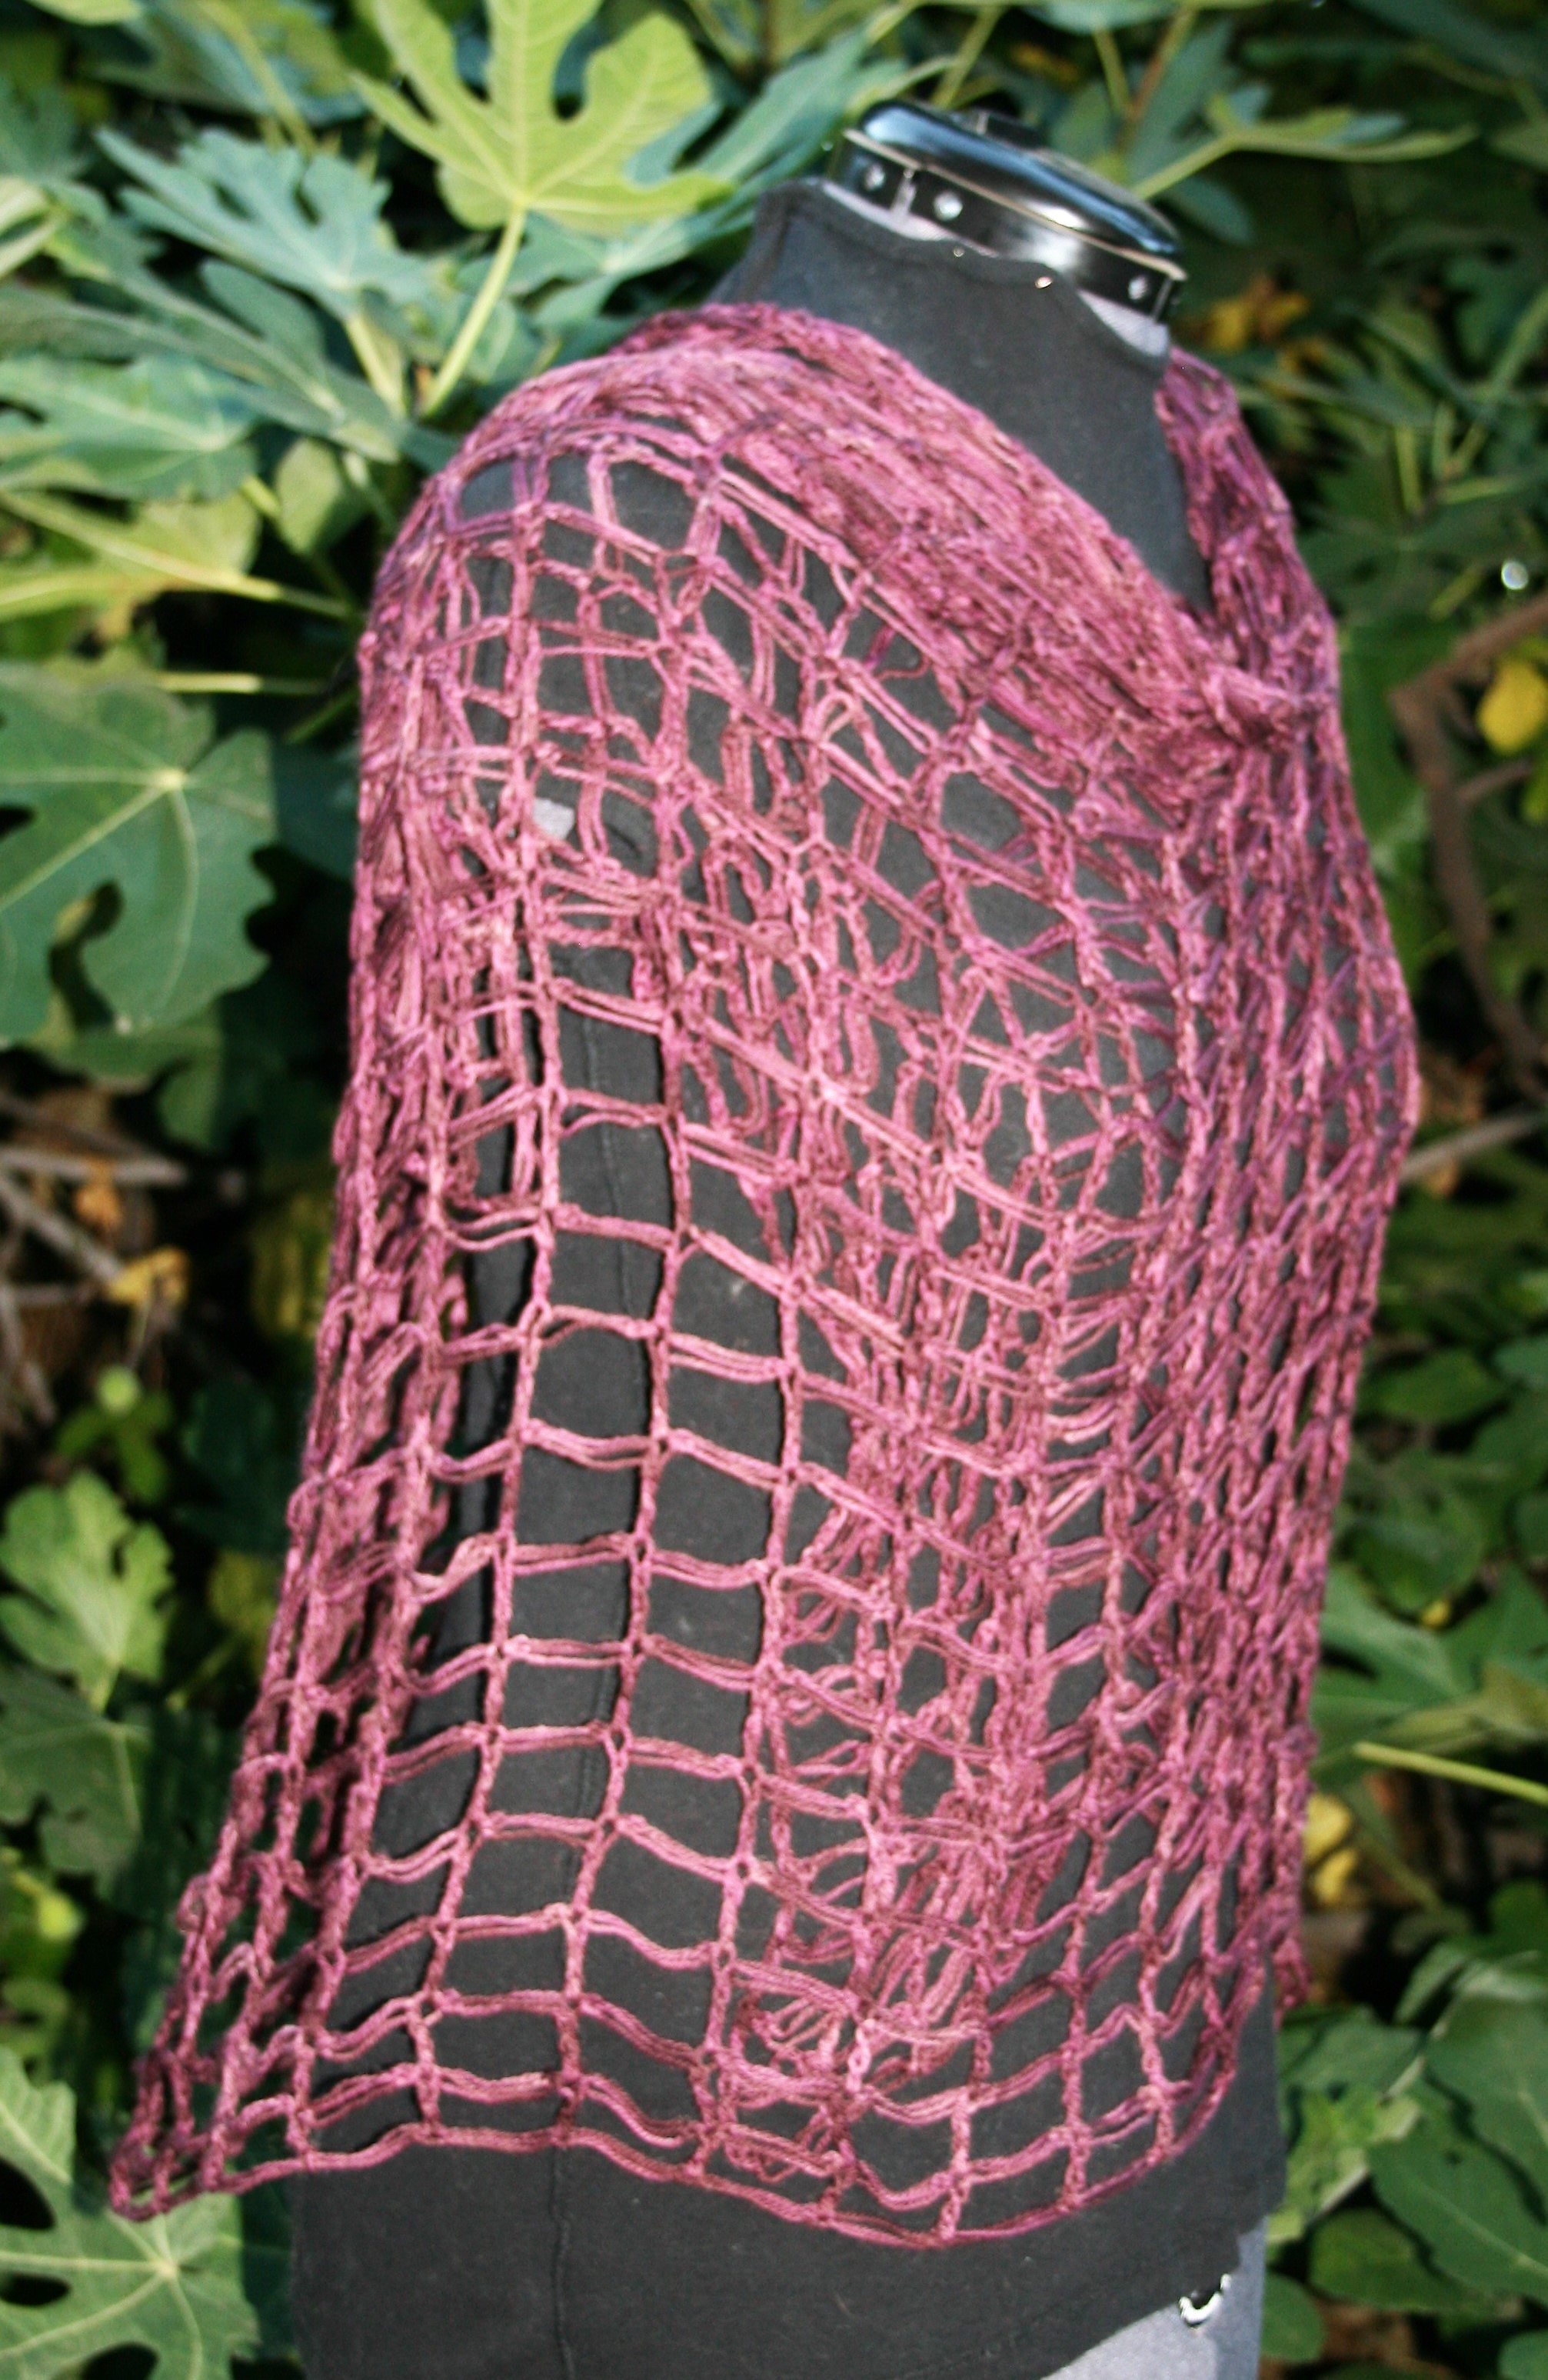
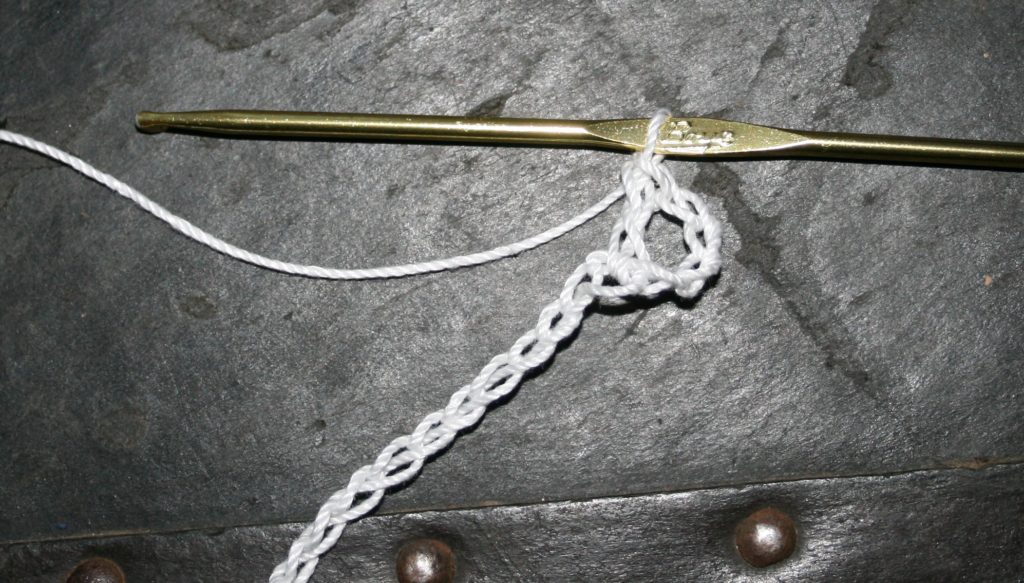
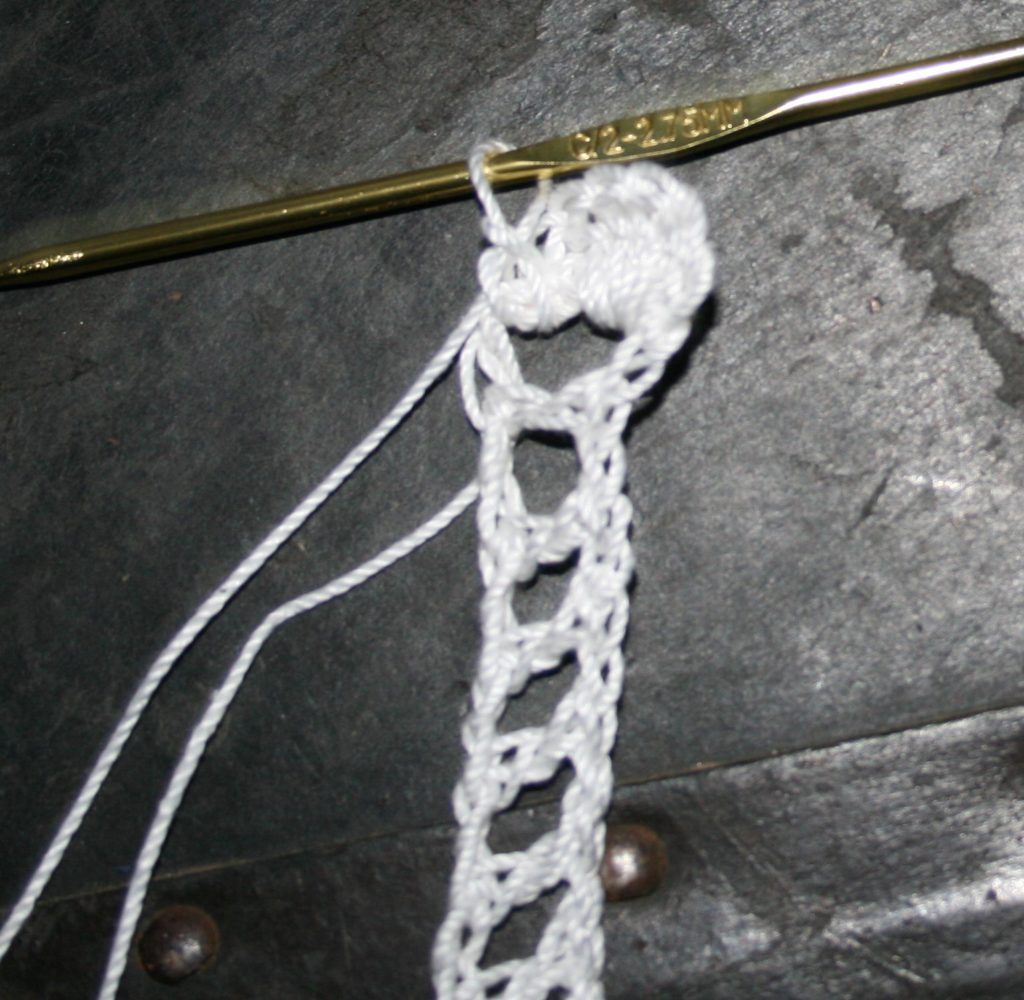
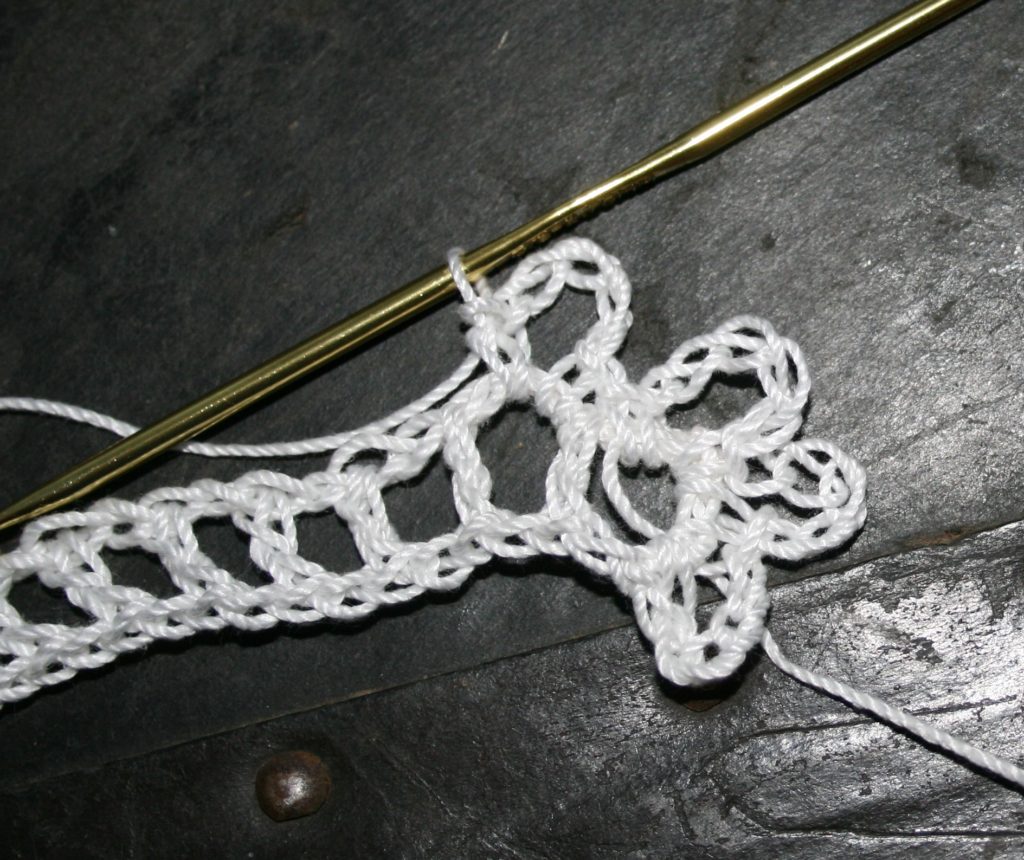
The First Row- Creates the Woven Strip

Row 1: Ch 55, dc in 6th ch from hook, [ch 1, sk 1, dc in next st] across.

Make a chain as log as the candy cane working an odd number (basic candy cane works at 55 chains)
DC in the 6th chain from the hook
Chain 1, skip 1, dc in next chain, across. This is the ladder bade that the candy cane will weave through

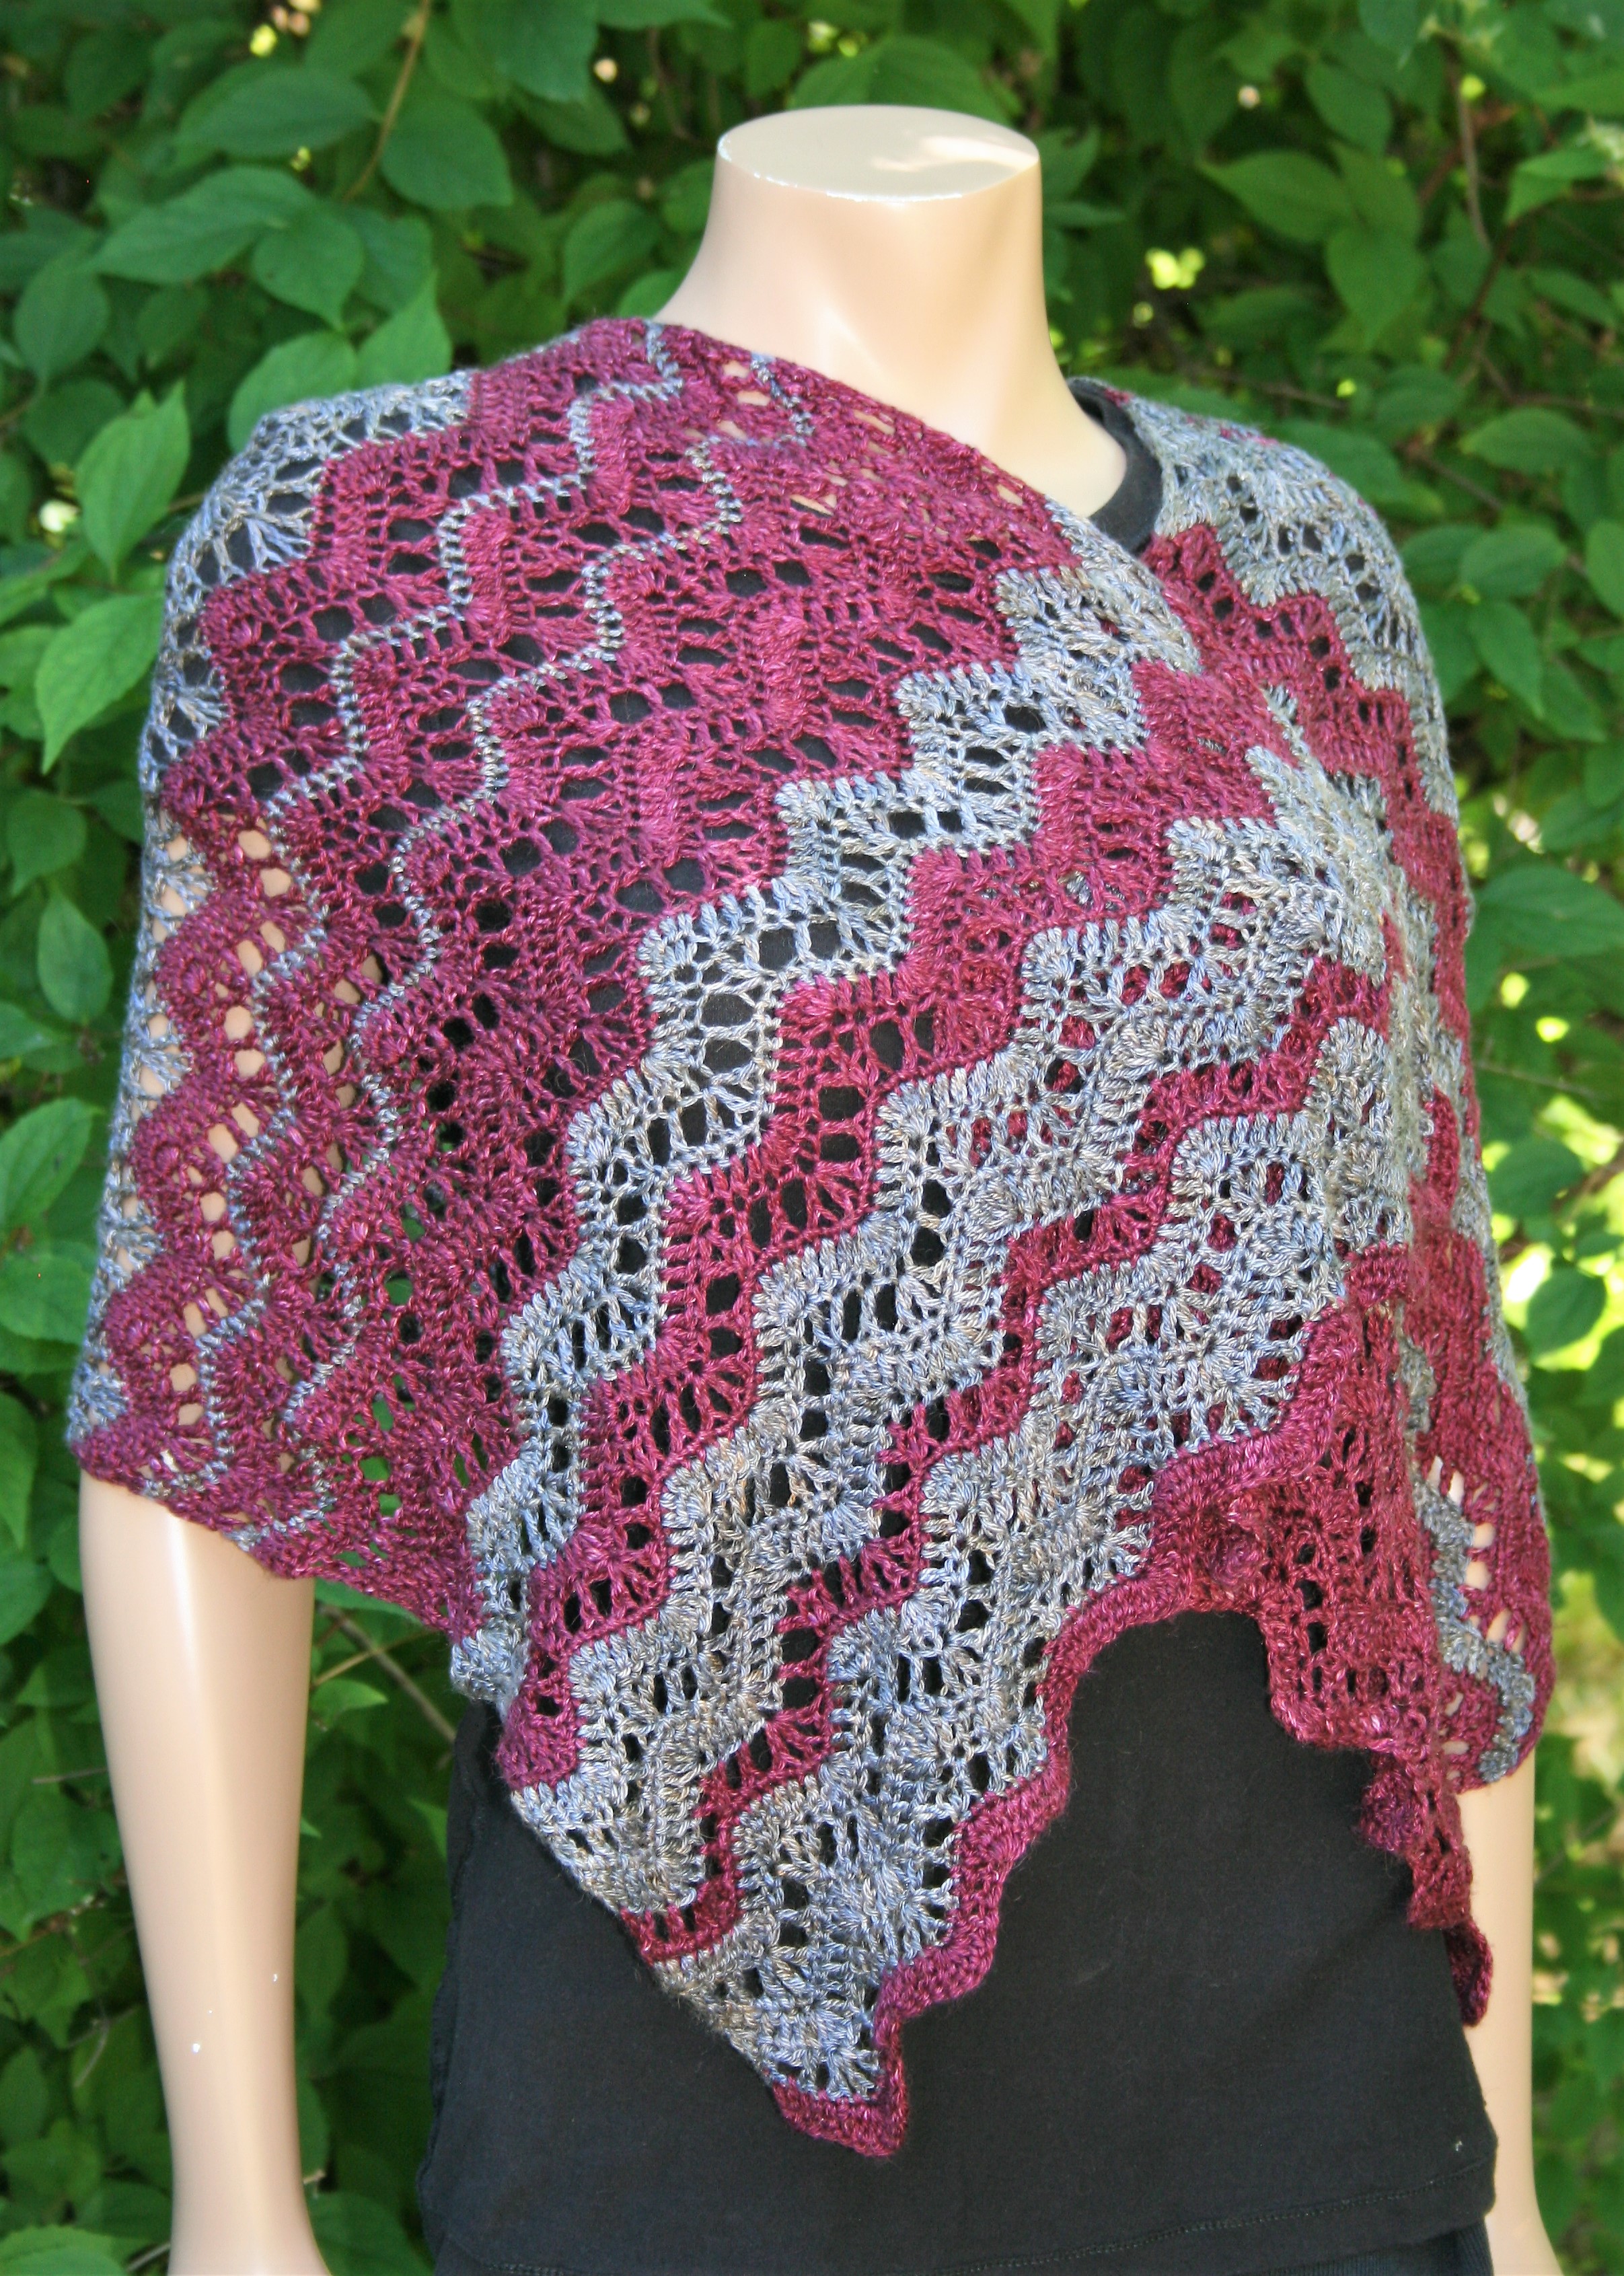
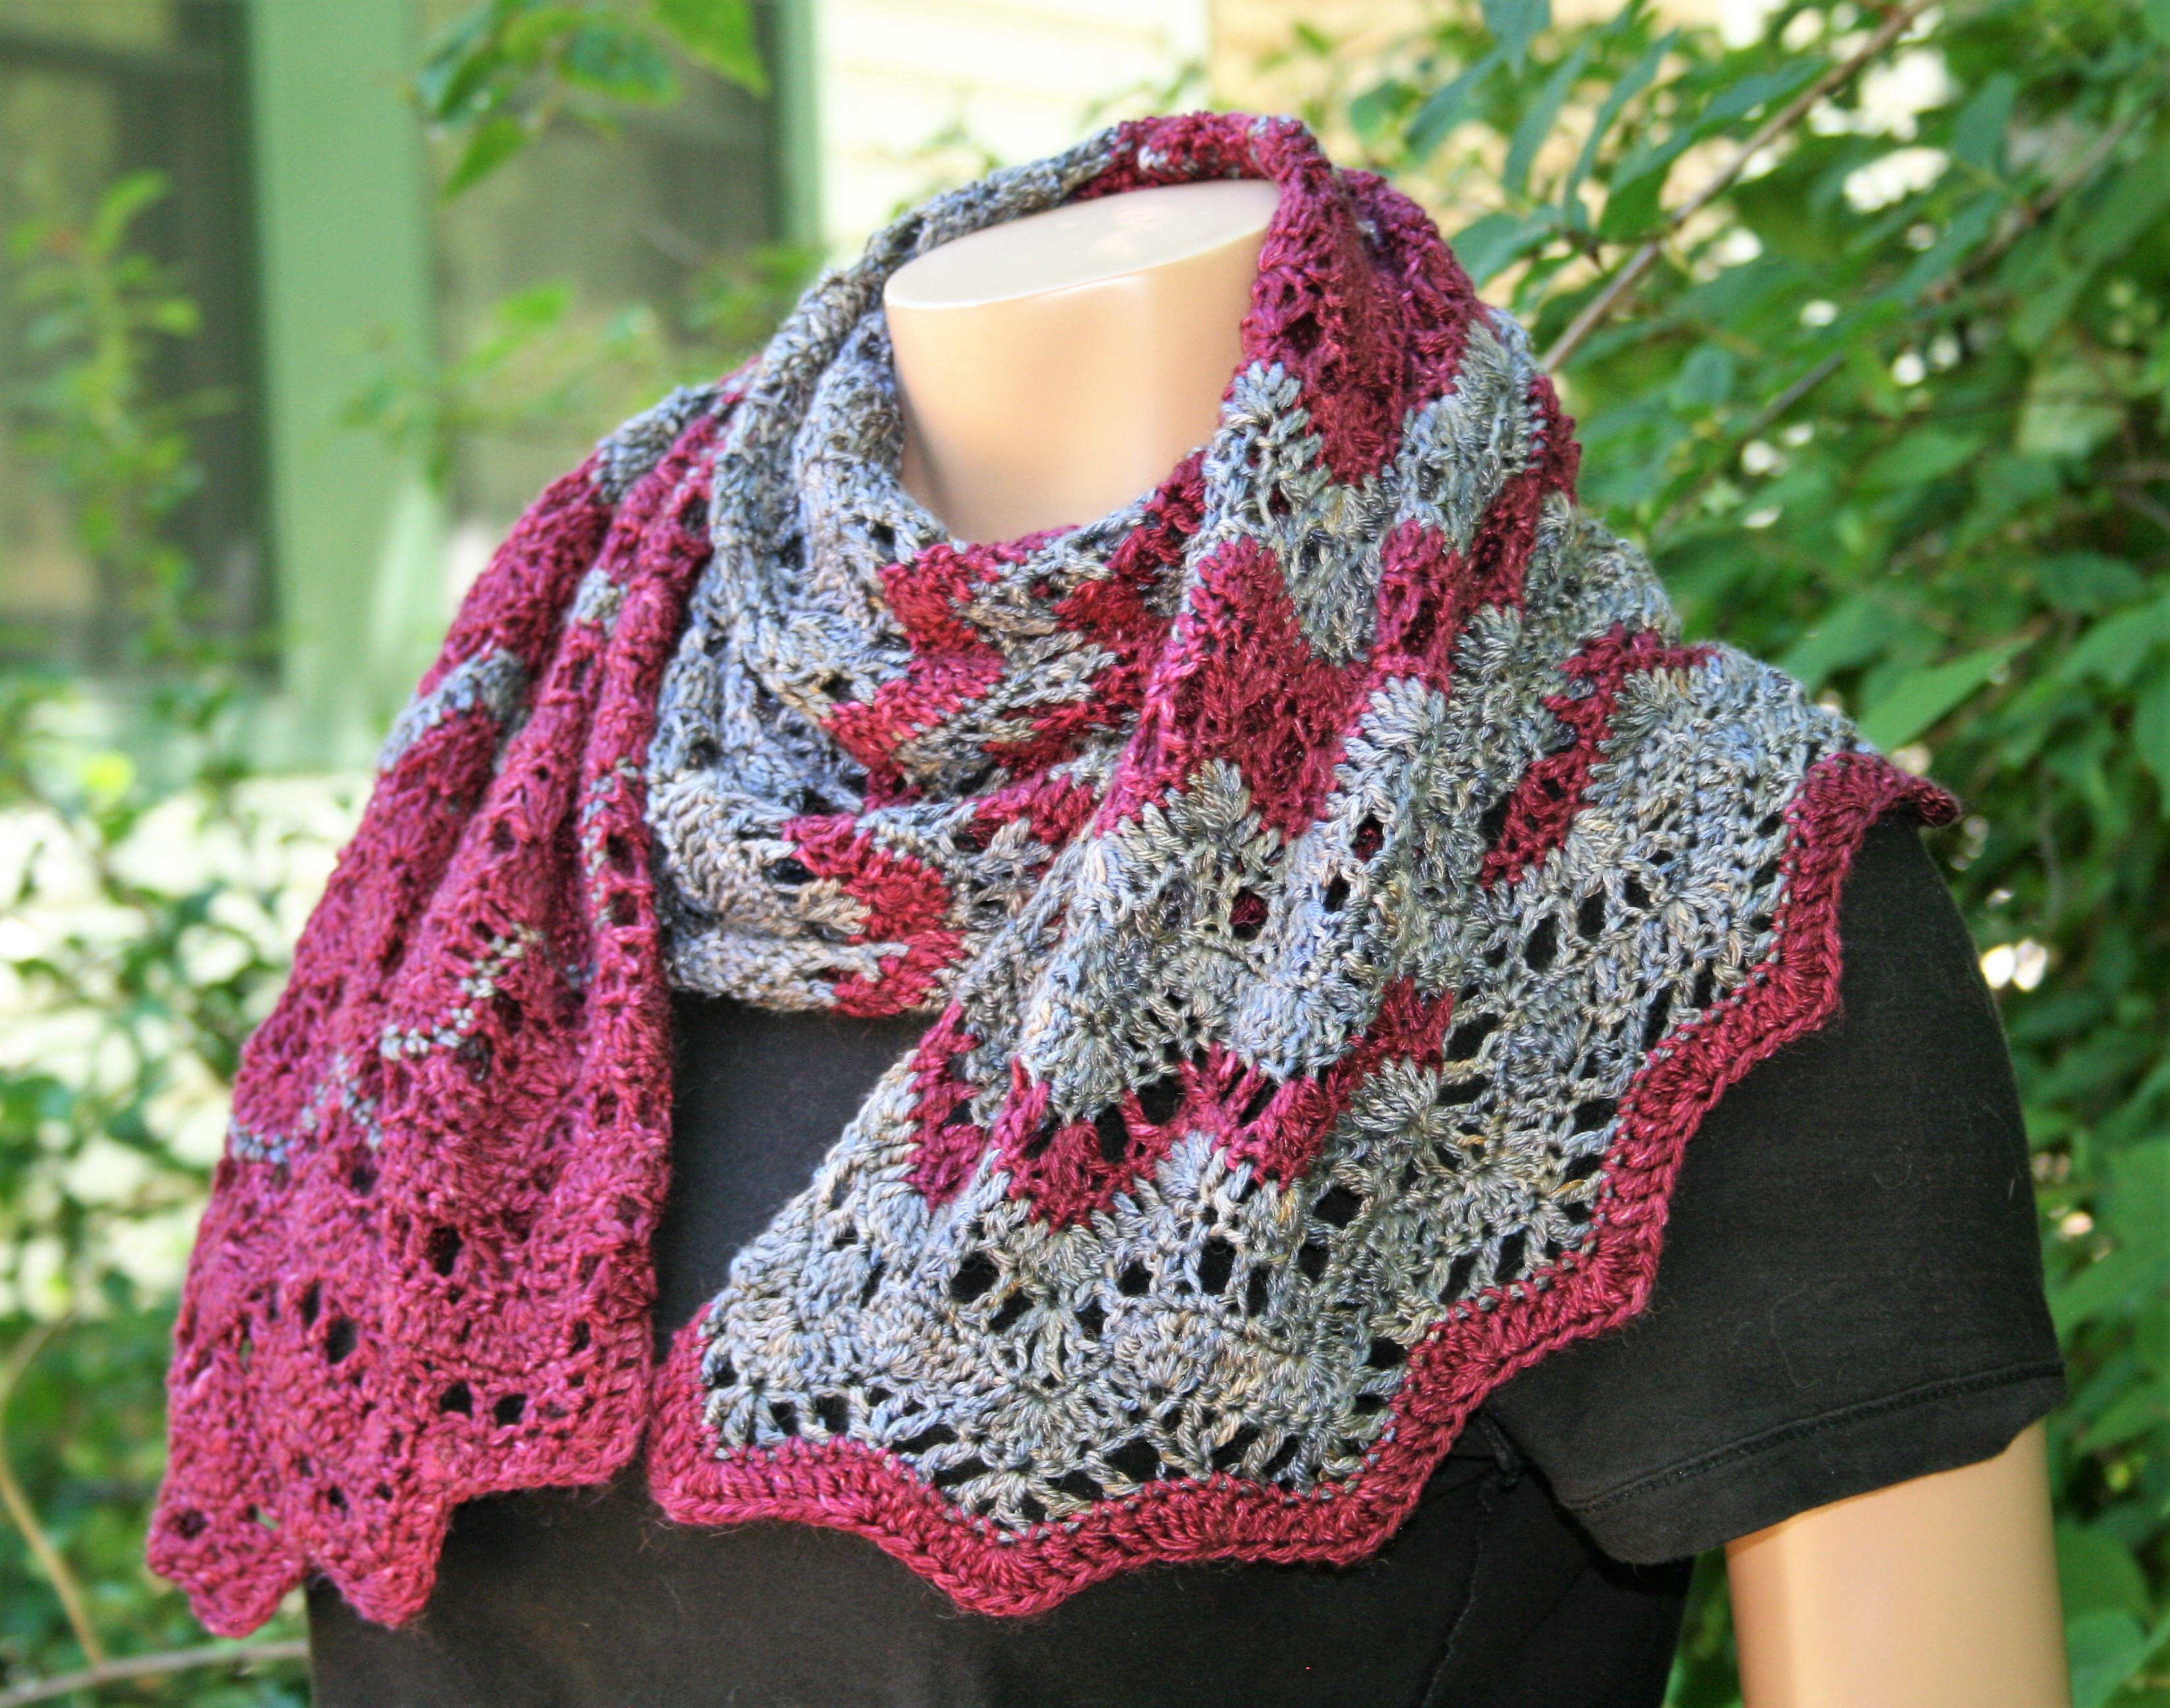
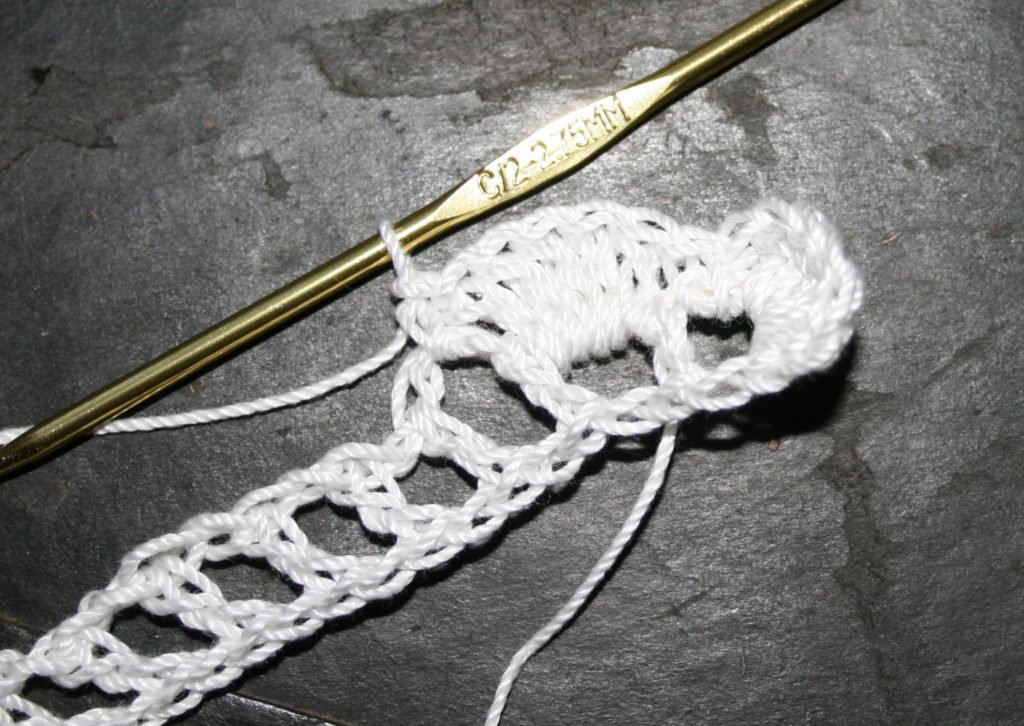
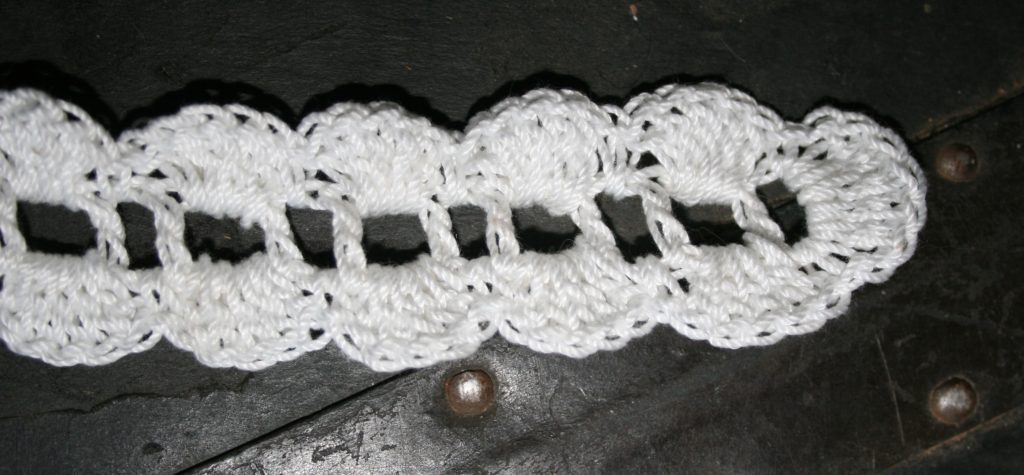
Option 1- Solid Shells

Round 1 Option Solid Shells: Ch 1, working around the last dc st or Row 1, sc around post, ch 1, 5 dc around same post, ch 1, sc around same post, turn to work over beginning ch, [5 dc in next ch-1 sp, sc in next ch-1 sp] across to end, ch 1, working around the end ch-5 loop, 5 dc in same space, ch 1, sc in same sp, turn to work over the top of Row 1, 5 dc in next ch-1 sp, [sc in next ch-1 sp, 5 dc in next ch-1 sp] across, sl st to first sc. Fasten off.
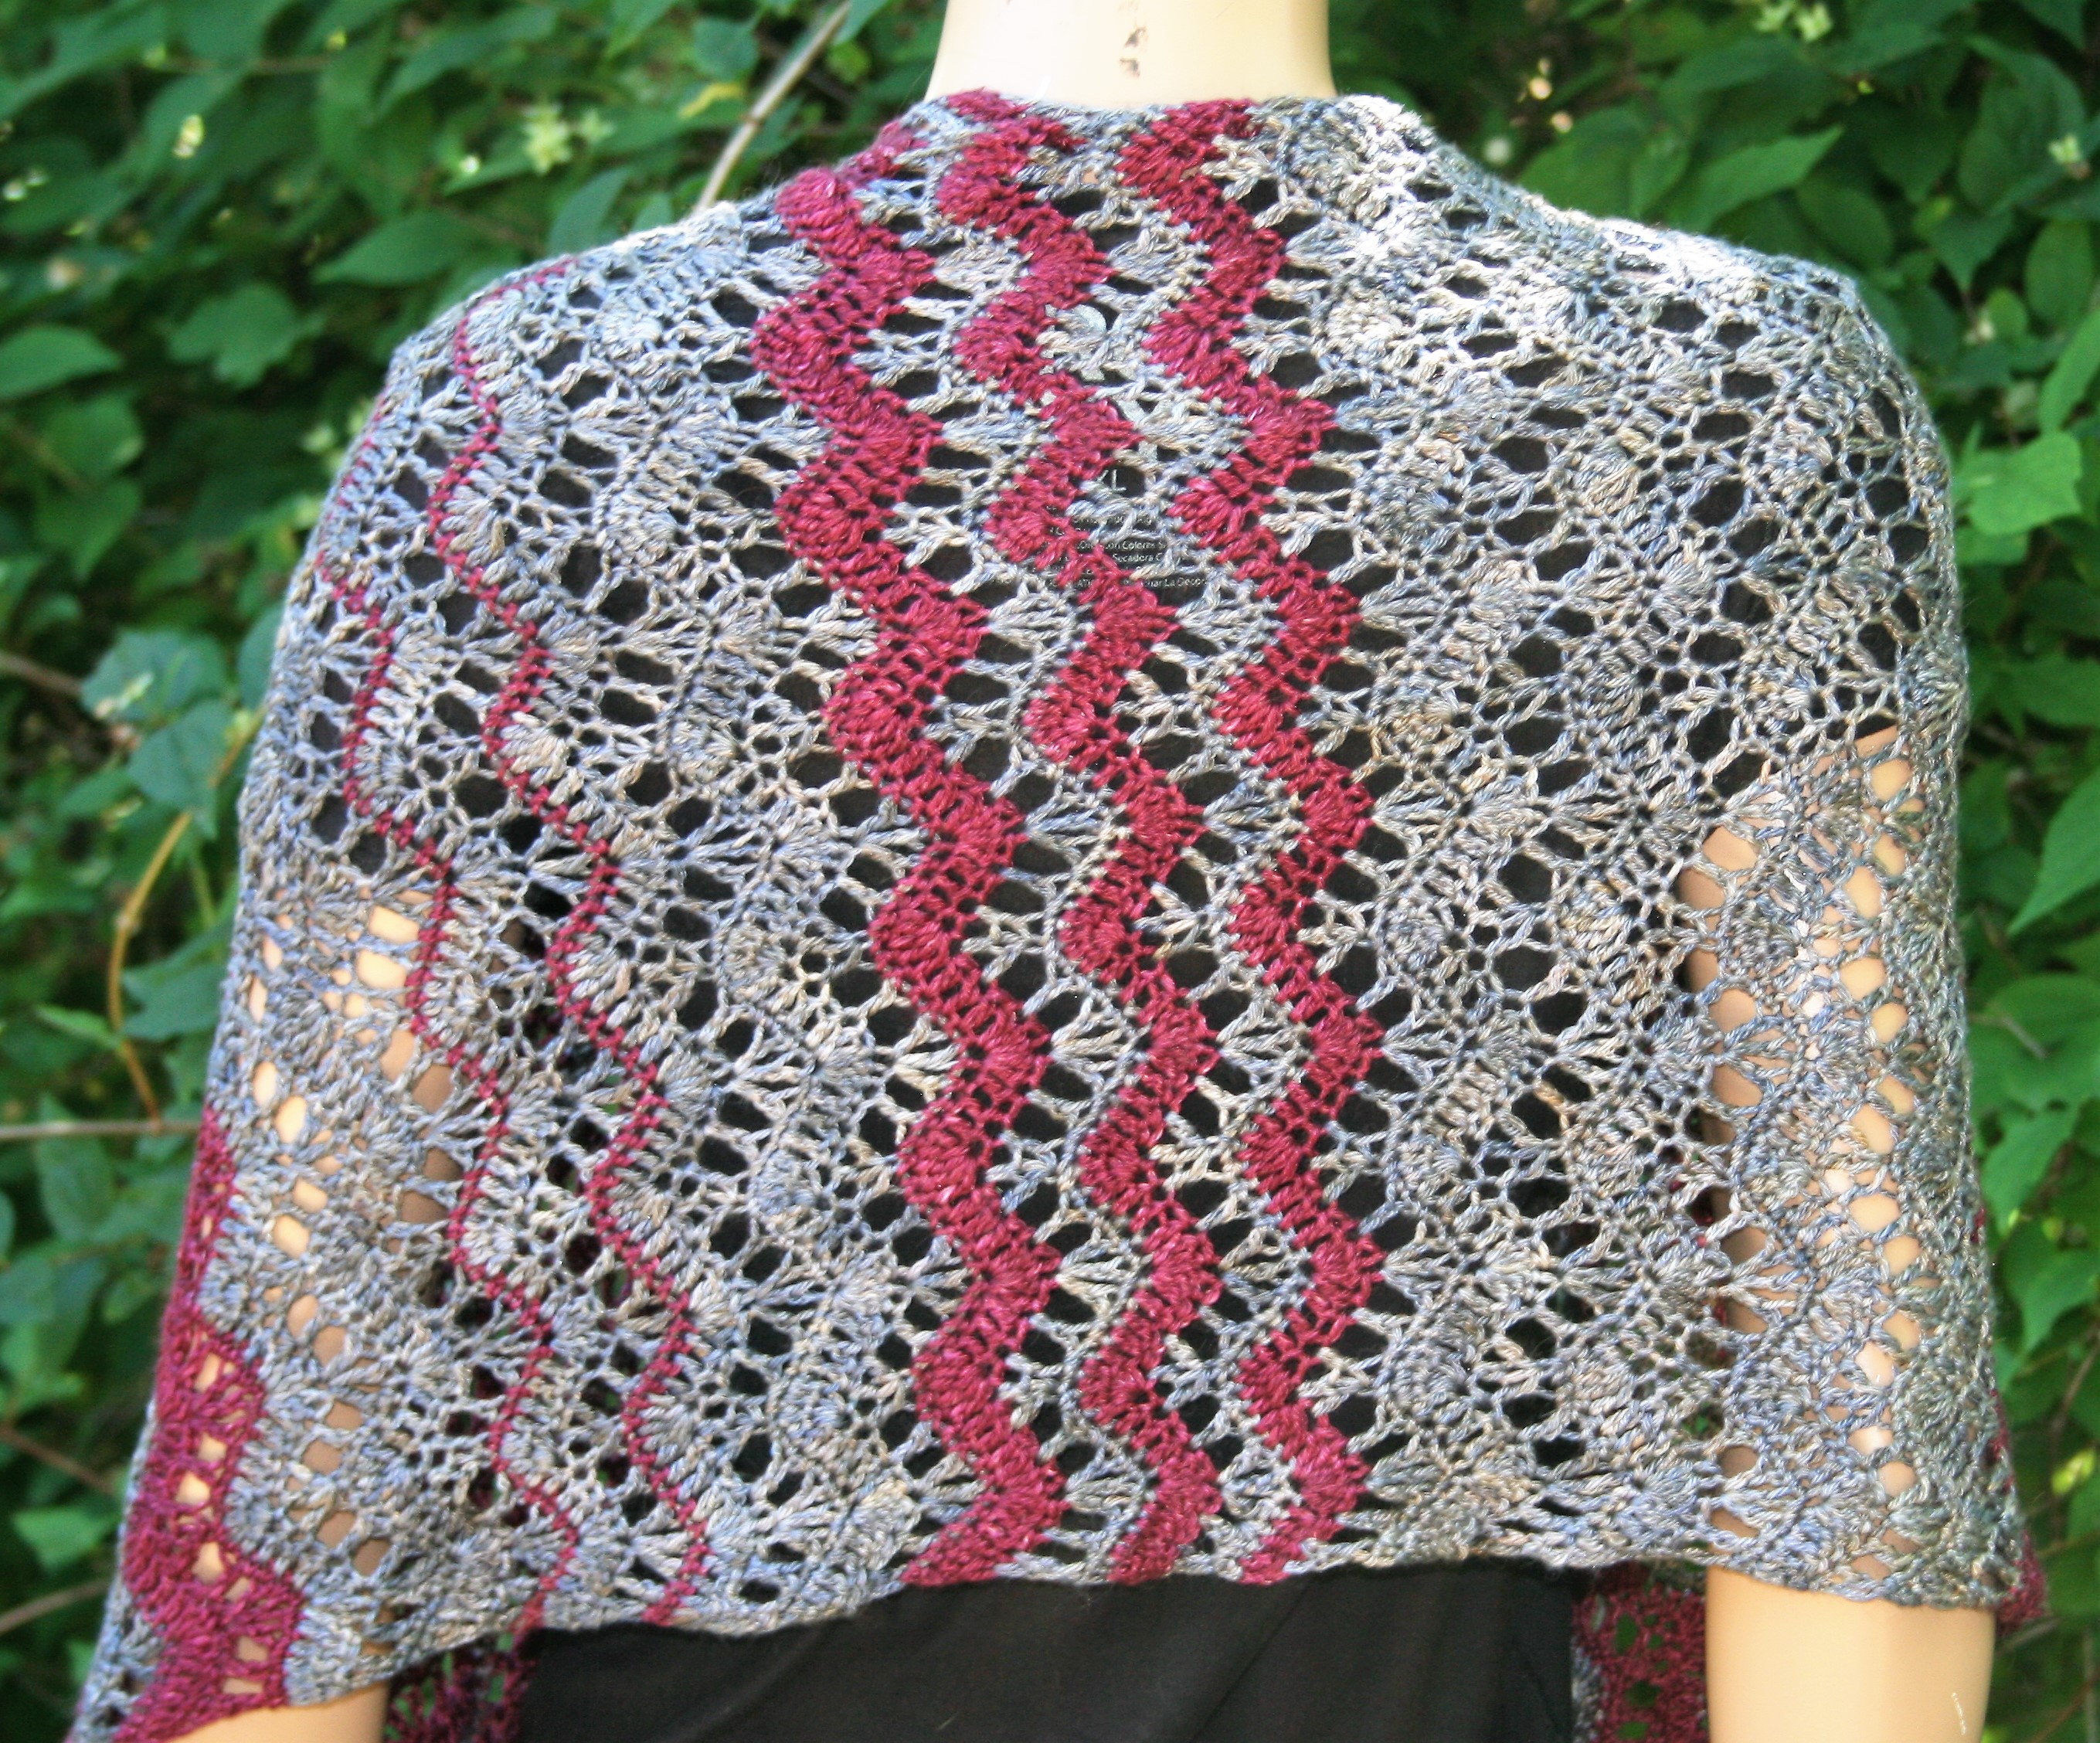
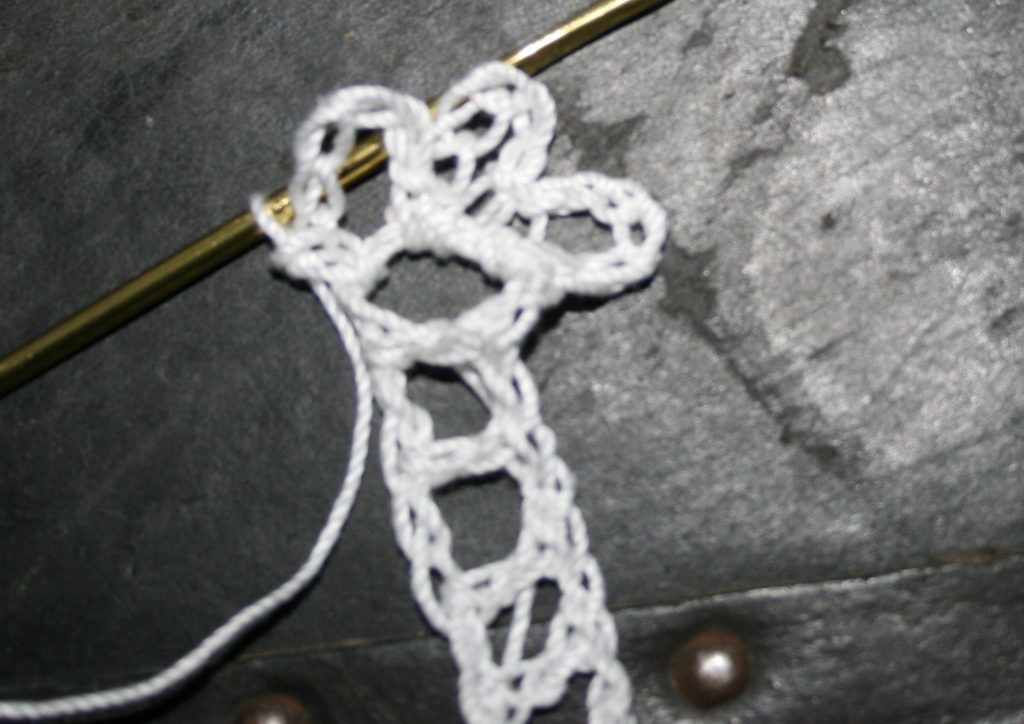
To start the shell lace, sc 5 dc sc in the end of the ladder
sc in the next ladder rung, 5 dc in the next ladder rung, sc in the next ladder rung, across to the other end and repeat all the way around the other side
Solid Shell Lace

Option 2 Lacy Loops

Round 1 Option Lacy Loops: [(sc, ch 5, sc)] 3 times around last dc, (sc, ch 5, sc) in each ch-1 sp across to other end, [(sc, ch 5, sc)] 3 times around beg ch-5 loop, (sc, ch 5, sc) in each ch-1 sp across, sl st to join. Fasten off.
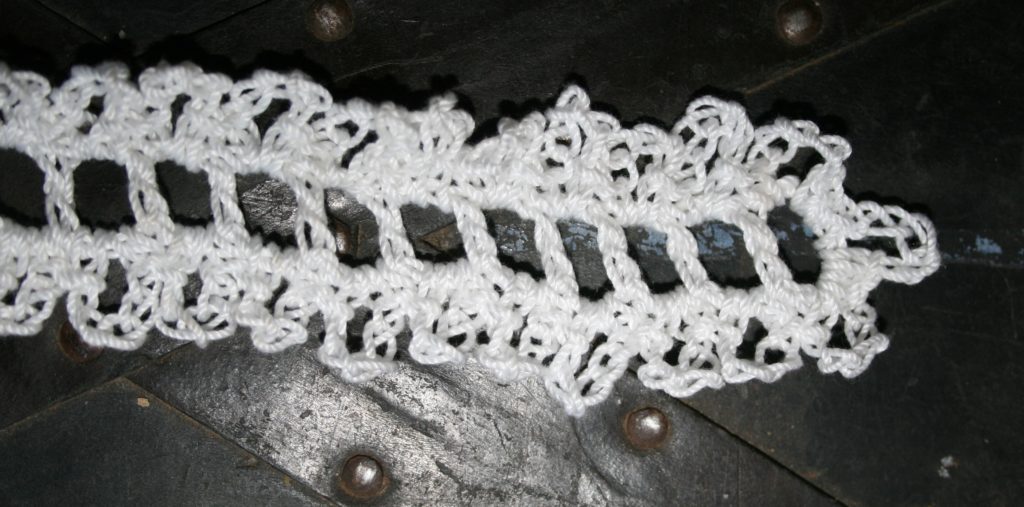
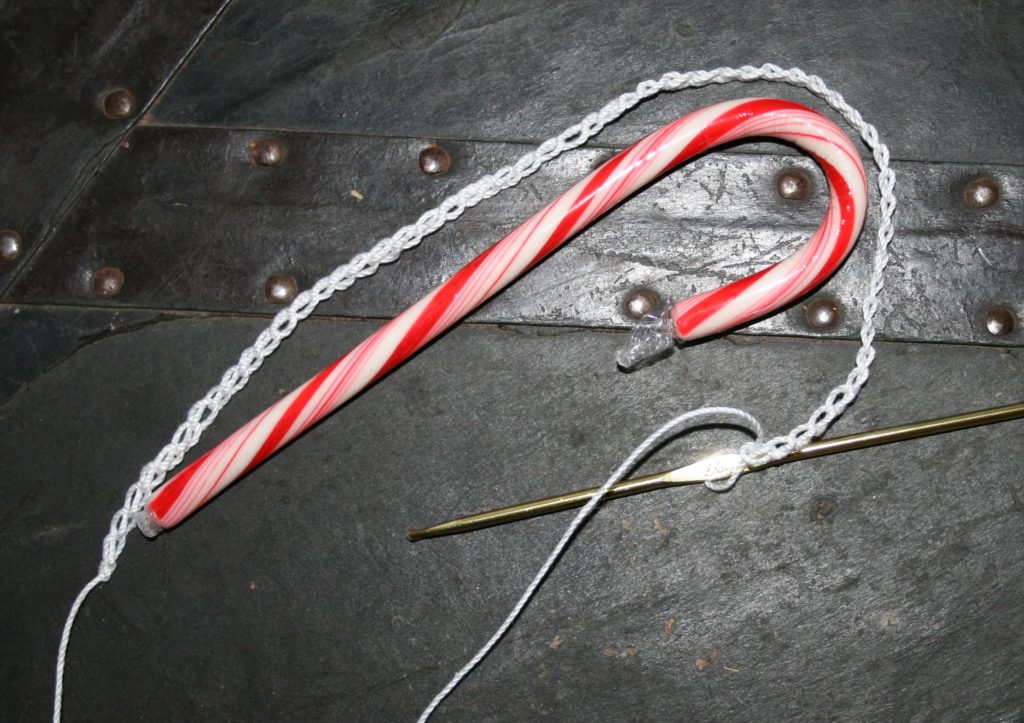
To start Loops end work sc ch 5 sc, 3 times in end of the ladder
sc ch 5 sc in each rung around
Lacy Loops

Finishing Up

Weave in ends and weave candy cane through the spaces or Row 1.

December! Time to enjoy my Craftvent CAL

So if you have been fortunate enough to receive a limited edition crochet Jimmy Beans Wool Craftvent for 2018, I thought I would share some tips and insight behind the design. Note: This kit sold out and is no longer available on their website, but it doesn’t hurt to call and see if one may be hiding in the back. (If you were unsuccessful obtaining one, read to the end and I will share some insights to making your own).

To begin with the shawl starts at a point and increase on one side until it becomes a large triangle. The first couple of rows might be the most challenging, especially since it is small and there is not much to hang on to.

The first row, essentially becomes a “V”, ensuring that all odd number rows will be worked in a “V st” pattern. The even number rows are simply double crochet stitches worked into all the stitches and spaces across.

To help you keep an accurate row count, the number of “V”’s will increase by 1 every time you work this row, while the double crochet row will always increase by 3 stitches. So if you had 3 “V” stitches in row 5, you will have 6 “V” stitches in Row 7, while if you had 10 double crochets in Row 6, then you will have 13 double crochet stitches in Row 8.

Also the increase are worked on the same side as the color changes, keeping all the pattern differences on one side of the work.

While this “V” stitch/double crochet row repeat makes up a vast portion of the design, the smaller rows of back loop single crochet stitches are always worked in pairs, and there are no increase worked in these rows. This little stitch pattern adds a great contrast in the fabric, not only visually but texturally too.

This entire kit is based upon the redesign of my Quest Shawl pattern, so if you were not able to get a Craftvent the closet to offer is the Quest Shawl pattern. The main difference in these designs is actually the color blocking. Quest has only 2 colors, while Craftvent features 8. If you want to purchase these yarns and thus make your own color blocking from the Quest Shawl, here are the yarns:

You can order a skein of each from Jimmy Beans Wool and create your own color blocking effect.

I will admit, I was so excited about this project that I purchased a kit myself, and am reworking the shawl again day by day in the calendar! You can follow along with my progress at my Facebook Page or Instagram.

Hope you enjoy this process as much as I am!

Latest Designs, Different Names and Stunning Results

In this last few weeks I have released a couple of new designs and I wanted to share my thought about them with you.

The first is Robert’s Vowel Wrap. Yes, it is a bit of a different name, but it reflects my son’s first comment when seeing the final piece of “awe”. Apparently he likes this one, and to get a positive comment on crochet from a teenage boy…that says something.

Robert’s Vowel Wrap

This design was a bit of a challenge for me to get the math to work out for the increases, but once I found it, I am quite happy with the way it works up. Essentially it is a reverse miter rectangle, starting with a small rectangle and increasing on 2 sides until you get the nice wide width. Then the length is finished off on one edge.

The contrasting colors really are set against each other in this design, and gives a bold statement, but if you wanted to change colors to something more subtle I think you would be just as happy. (The sample is worked up in Anzula Milky Way yarn, colors Petunia and Black)

Gee Circle Shawl received its name from my daughter, because “Gee I want I one” was her statement. I guess I will have to place this design on my hook again and fulfill her request.

Gee Circular Wrap

The half circle design actually holds the shoulders, as it is slightly over a true half circle size and then quits the increase, causing the design to gently pull inward to stay in place on your shoulders. It actually works up fairly quickly and really allows two colors to play off of each other well. (The sample is worked up in Anzula Gerty yarn, colors Orchid and Victoria)

Get these patterns for yourself at my Ravelry store here,  and create some stunning projects for yourself or someone special in your life.

Woven Kisses Wrap- Free Pattern

For the last few years I have released new patterns featuring yarn from Lisa Souza Dyeworks to highlight the New York Sheep in Wool show, affectionately known to many simple by the town that hosts it, Rhinebeck. This year is no different.

With Rhinebeck occurring this next weekend, October 20 & 21, 2018 at the Duchess County Fairgrounds, I have designed a new shawl; Woven Kisses.

Woven Kisses is essentially a mesh, but not created with your most common stitches. It is worked with tall stitches and Love Knots (aka Solomon Knots). It works up quickly, and adds a great airiness while giving beauty. If you need to learn how to create these lofty stitches, I share how here.

This wrap is airy and have a beautiful drape. One of the things that I always find interesting is that even with the openness, it is quite warm, making for a delightful project. In addition, this entire wrap is created with only one skein of yarn, everyone loves that. It helps keep things cost effective, while also only having 2 ends to weave in, my favorite kind of project.

Even if you cannot attend Rhinebeck, you can enjoy this design, since I am sharing it as a free pattern. I hope you enjoy it and that it helps you get into the crochet season.

Woven Kisses Wrap

Materials

  • Hook size 1/9/5.5mm
  • Lisa Souza Yarns Delux Sock light weight 80% superwash merino, 10% nylon 10% cashmere (4oz/495yds): 1 skein color: Rhinebeck 2018 (www.lisaknit.com)

Gauge is not critical for this project

Finished Size approximately 24” x 84”

Row 1: Ch 2, sc in 2nd ch from hook, 50 LK, turn.

Row 2: Ch 4 (counts as tr now and throughout), LK, tr in knot between 2 LK, [LK, tr between next 2 LK] rep 48 times, LK, tr in last knot, turn.

Row 3: Ch 4, [LK, tr in next tr] rep across, turn.

Row 4-26: Rep Row 3. Fasten off, block.

Excursion Wrap! This Is A Show Stopper!

I love when a design comes out like I was hoping! Excursion Wrap came out just as I envisioned, okay, better than I could have hoped. I saw this design in my mind as soon as I laid hands on the yarn, it just came to me and I had to find a way to get it worked up in the stitches.

Excursion Wrap

That is not to say that it came out perfectly in just one try, I ripped things back several times. I played with some different combinations of stitches and color sequins before finally landing on the perfection, and the difficulty of using multiple color rows and designing like this is when ripping back I end up with many more ends to weave in….some right in the middle of rows, as I ensure the use of all the yarn.

The wrap is worked in 2 contrasting colors, which offer a bold definition of the design. The yarn is Silk Baby Camel by Lisa Souza Dyeworks, and is lusciously yummy! It is soft, but with nice structure, making it a dream to work with. Being that the pattern only takes 2 skeins, it is manageable in both crocheting and in cost.

The lacy ripple pattern is worked as a 3 row repeat, so it is simple to memorize yet keeps the pattern engaging. So you can work the stitch pattern successfully without getting bored with it.

The color sequencing is what really brings this design to life, it demands the eye to transverse the entire piece and then to look again. The altering of the stitch pattern and the colors offers a cascading effect of interest that will definitely have you garnering praise.

This wrap is a show stopper, one that makes people stop and admire your handiwork. I already have plans to work up this design a couple of more times….once is just not enough!

Get your pattern here!