Substituting Yarn, Understanding the Fiber

Not all yarn is created equal so have some insight when substituting yarn in projects. There are various things that make a difference in this product and the fiber/material that is spun can be a much overlooked reason for a successful project. Essentially there are 3 different classification of materials: protein based, cellulous based, and synthetic.

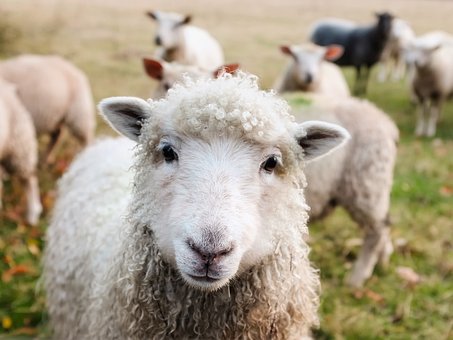
Substituting Yarn- Protein Based

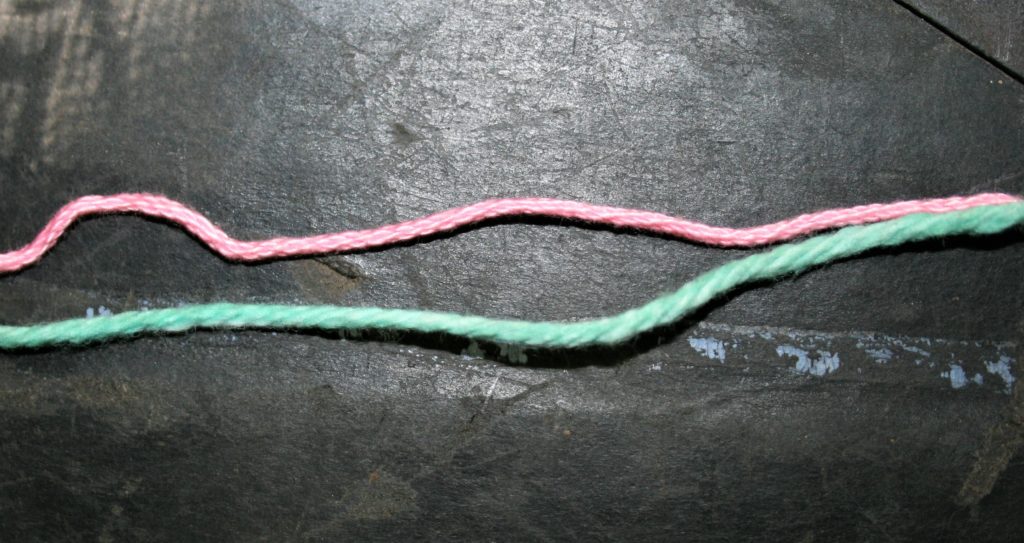
Protein based yarns are those made from a material from an animal, and put up in a hank (learn how to use a hank here). This can be wool, silk, alpaca, camel, bison, and et cetera. These fibers have some unique properties, for example wool can keep you warm even after it is wet. Wool is also fire resistant, meaning that it will only burn if it has a flame to it. In addition wool is “springy” and has some stretch.

While silk is actually warmer that wool, it will not keep you warm after it gets wet. Silk is also a very strong fiber that can be added to other fibers to help increase its strength.

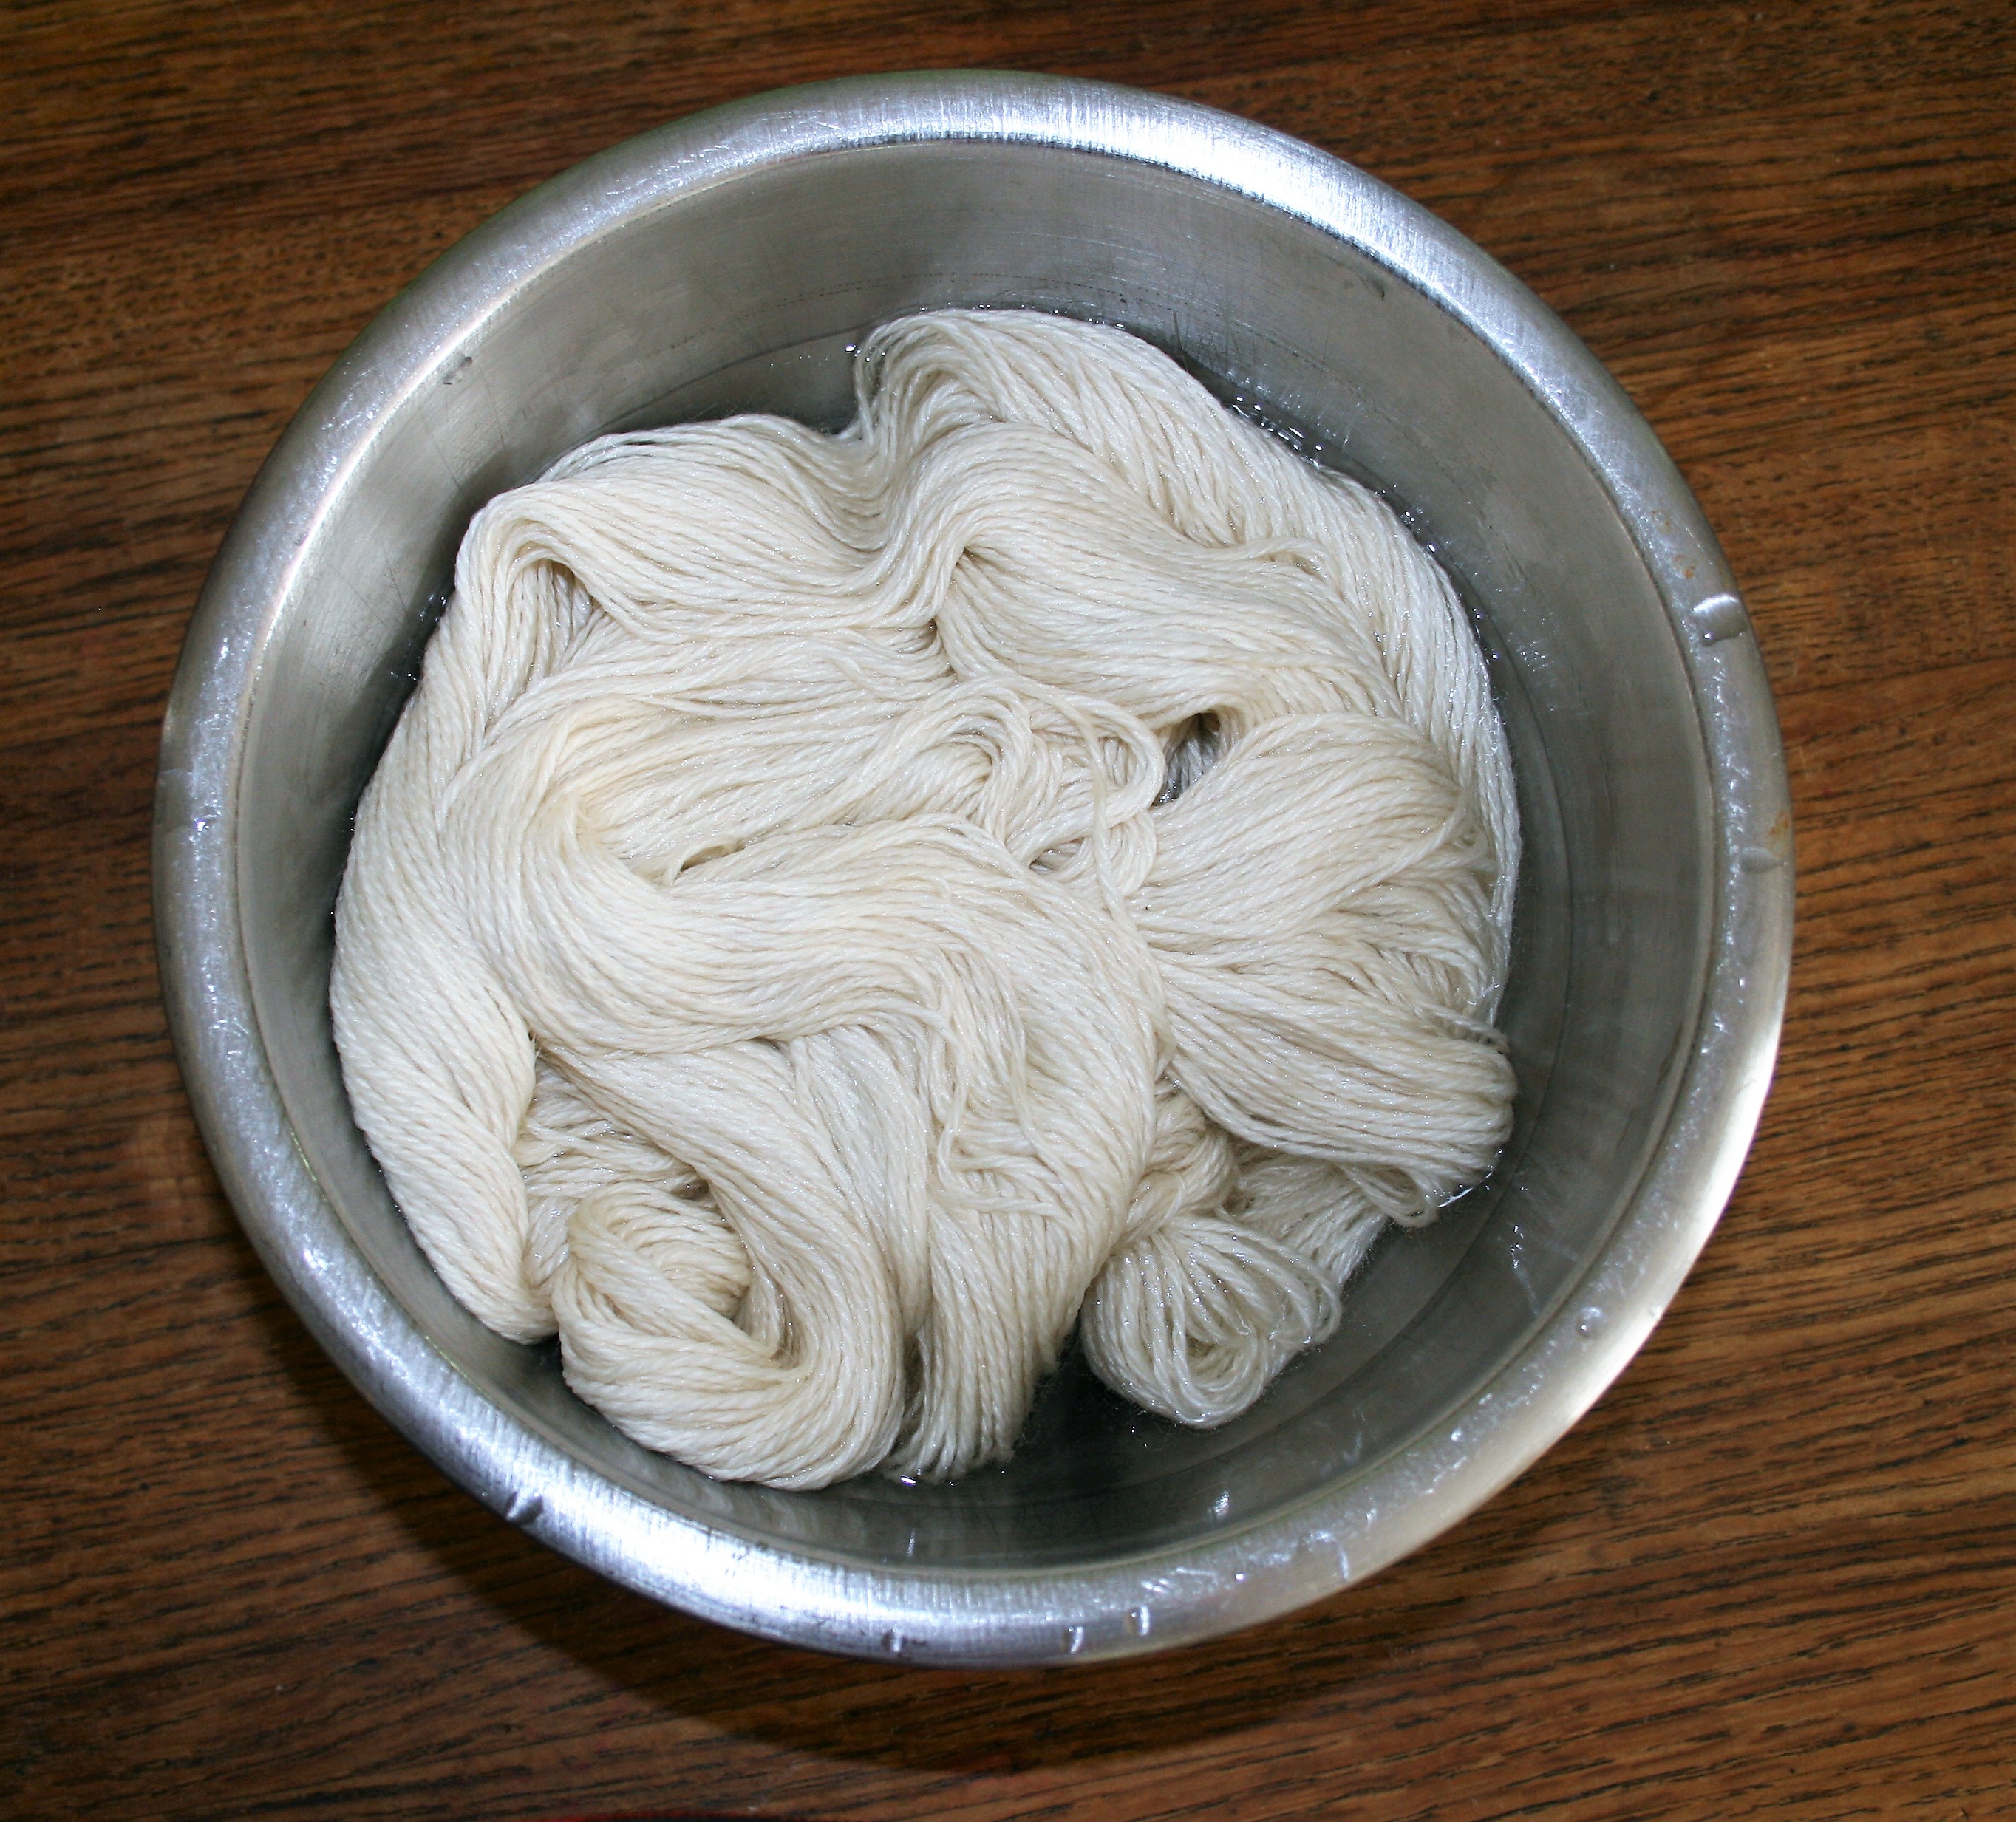
If you ever wonder about how to care for a protein based yarn, think about how you would treat your own hair. If you would not treat your own hair with a certain product then don’t use it on your yarn.

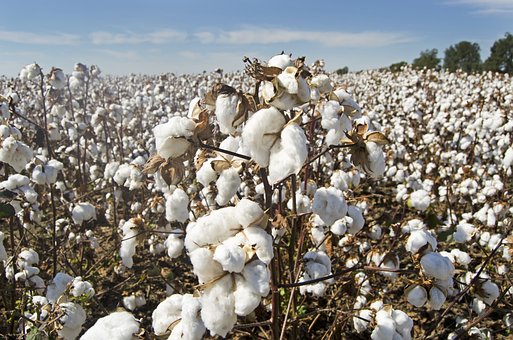
Substituting Yarn- Cellulous Based

Cellulous based yarns are comprised of those like cotton, and linen. These fibers typically “breath” well and are considered very comfortable. Linen, while it can “wrinkle” it repels dirt. Cotton can absorb twice its weight in water, so it helps to make a handy dishcloth.

Synthetics

Synthetic based yarns, are those fibers that you cannot readily make or grow yourself. The most common in retail yarns is acrylic, but you can also find polyester, nylon, and such. Acrylic is a petroleum based product and it can be made to mimic any other fiber in feel, but it will not share the same properties as that fiber. It is actually mold resistant, but it is effected by long term or high heat. Heat will change the structural properties of the yarn, making it feel and behave differently than when first produced.

The fiber that makes up a yarn effect the outcome of your project, and the highlights listed above are just a quick overview of the properties. So, when substituting a yarn in your next project, don’t just look at the weight and yardage, also give some thought to the fiber content, you will improve the project outcome.

Tour Madeline Tosh

I got a unique opportunity….I got to tour Madeline Tosh yarns. I was at an industry meeting in Texas, and one of the highlights was getting to see the behind the scene action at the company.

That means, all the steps in the process of them obtaining, dyeing, and bringing their beautiful yarn to the hands of crocheters and knitters everywhere.

What was most surprising to me was that this large yarn company still does everything by hand. The steps were the same as those I have witnessed many times when stopping by the chat at Lisa Souza Dyeworks. Lisa is the only employee, doing all the work herself, and Madeline Tosh does all the same steps and handwork, but with many more people.

Tour Madeline Tosh: How it starts

The process starts with winding yarn into hanks from cones. Fortunately there is a machine that can help to wind a few hanks at a time. It still needs human interaction, and someone to create the ties that keep the hanks orderly.

The white circles on the green bars, that is the machine that winds cones into hanks…10 at a time.

These hanks are then organized by fiber contents (the yarn bases). Now they are ready to make it to the process to be dyed. When an order comes in, these bases are pulled and taken to a dyers “kitchen”. The warehouse had several kitchen stations set up. Each with an employee that would fulfill orders, dyeing 2 hanks at a time.

The dye room…with “kitchen” stations, at least that is how I refer to them, with a stove top and pots…so they can dye 2 hanks at a time.

Tour Madeline Tosh: The Extras

If the order has “speckles” there is an additional special dye room. There is another employee that adds these extras. Just imagine speckling yarn…as a job…that just seems so cool.

The “special additions” dye room, where that add the extras like speckles of color.

Color is then set, and yarn dried before being wound and labeled. All by hand. This is also where they have quality checks to ensure that only the best gets sent out into the world.

Labeling and quality control…well it is being discussed in the photo, at a table full of yarn pulled for a stores order…

Impressions

All the employees seems like they are family, with many working for the company for several years. They help in new color creations and naming. It seems like the place where people actually want to work, and that is always a nice feeling.

I was surprised at how it really was just a larger version of what Lisa Souza Dyeworks does. I guess when you find the formula that works, you don’t mess with a good thing.

Some different yarn dyeing techniques

If you want to check out some of my more unusual dyeing techniques, check out Tissue paper dyeing, and Easter Egg dyes.

Cotton Yarn is not Created Equally

The weather is changing and I want to crochet with cotton, but not all cotton is created equally.

When going through the craft store aisle of yarn, finding a cotton yarn for you project can be a bit challenging. The mainstream market seems to only have room for cotton crochet thread and a medium weight cotton that is often associated with dish towels. (Need to know more about yarn weight? Here is some info)

As I venture into my small local yarn store I do find a finer weight yarn of cotton, but it states “Mercerized”. It has a nice sheen, but is this what I need for my project?

Knowing a bit about cotton, can really help you to avoid any mistakes with projects in the future.

What is Cotton?

Cotton is a plant based fiber, well it is actually a cellulous based fiber that protects a plants seeds in what is referred to as a boll. The fiber has a short staple, meaning a short length. Due to the short nature of the fiber it is spun together more times than might be necessary for a wool yarn. This is strictly due to its length.

When long fibers are twisted together they have more points of contact when lying next to each other, so just a few twists can hold them together. With cotton being short, however, the fibers do not have as many points of contact, and thus have to be twisted together more times to ensure that they stay twisted together.

It is this high amount of twist that can cause cotton to shrink on its first wash. When water finally makes contact with the spun cotton, the cotton actually relaxes and while it softens up, it also can be less stretched and thus “shrink”. Unlike wool this reaction will only occur once, and for any use forward the cotton will remain completely stable.

What is Mercerized?

Many like to use cotton yarns for dish clothes, however this is where you need to understand the term “mercerized”. Cotton when spun can have a soft, fuzzy, halo around it. You find this in most medium weight cotton yarns available on the market today. The term mercerized is a process in which the cotton yarn is essentially singed and the fuzzy halo is removed, leaving in its place a sleek shiny yarn.

Note the top yarn (pink) has a shine, this yarn is mercerized. The bottom yarn (green) has a softer, slightly fuzzy look, it is not mercerized.

So why is it important to know about mercerized? Well, for started mercerized cotton does not absorb water like un-mercerized yarn. Meaning if you wanted to make a dish towel mercerized cotton will not behave in a manner that you desire. This is a pretty important distinction, and one worth repeating. If you want to make household items that will absorb liquids, do not use mercerized cotton.

Mercerized cotton I find to be lovely in garments and shawls. It has a nice sheen and feels like cotton, but unlike my T-shirt, if you hit me with a water balloon it will not pull dramatically down with the weight as it will not be absorbing the water.

Where Can I Find Cotton Yarn?

You might have to do a bit of looking to find cotton yarns for you project, but it is worth the trouble. Here are a few suggestions:

Change the Yarn- Tips for Yarn Substitutions

We have all done it, and sometimes it goes well, others it does not. I am talking about yarn substitution.

Honestly, I never really thought about the yarn I was substituting. I would find a yarn I loved then pick out a pattern I liked and just begin working up my stitches. I never looked at gauge, I never paid attention the fiber or even the weight of the yarn.

In some cases things worked out fine, in others I found myself with items smaller, or firmer, or just plain awkward looking. So I have learned, and it is time to share some insights.

First realize that the pattern you find was designed in a specific yarn. The way it looks in the photo is because of this specific yarn. Changing the yarn will change the effect, maybe the drape, maybe even the size.

Now what to compare to make the change.

Check the weight of the yarn. The weight is in essence the diameter of the strand of yarn, it can be assigned a number (from 0 lace-7 super chunky) or given a name such as lace, thread, sock, fingering, baby, sport, DK, worsted, Aran, chunky, craft, bulky, roving.  These numbers or names are assigned by the manufacture and finding matching yarns at least get you in the ball park that the yarns are similar.

However there are times that you pick up a yarn and it doesn’t have a weight listing by number of name, but it does have a knitting gauge listed. This gauge can help you make the weight comparison too. Yarns that have the same gauge, using the same size needles, will be also be compatible in weight. If the yarns are using the same size needles in the gauge but the stitch and row counts are not the same, the yarn with the higher number of stitches in the gauge will be thinner than the other.

Another way many compare the weight, is to compare the yard/meters and the ounces/grams of the skein. If a skein states that it is 400yrd/366m and 1.75oz/50g it would be compatible with a yarn of 425rds/388m and 1.75oz/50g, but not compatible with a yarn that was listed as 600yd/549m and 1.75oz/50g, as the latter yarn is much thinner. It is a comparison of yards/meters and comparison if ounces/grams that help you see if things are in the same ball park.

The next thing to consider when comparing yarns if the fiber content. In some cases it may not make much of a difference, but a few fibers act completely different from one another. For instance if you are substituting a wool yarn with a lot of bounce or springiness, with a 100% silk you fabric will not even resemble each other. The silk tends to have a lot of drape, it flows, and in comparison to the wool will be limper. Whereas the wool will have some stretch and spring back into place.

Yarns with similar fiber content will behave similarly, so use caution if the labels vary greatly.

Now that you have found a yarn to substitute, if you want to ensure that you will be happy with the outcome of your project, make a gauge swatch. If you make gauge and are happy with how the fabric feels and looks, make your project.


Tissue Paper Yarn Dyeing

Dyeing yarn with tissue paper? Yeah, it sounds a bit unusual, however I have been busy playing with all kinds of dyeing approaches this last week as I get ready for a class I am teaching in two weeks at the Crochet Guild of America’s Chainlink Conference.

I have been working with food coloring and Easter egg dyes, while dabbling with Kool Aid. I have been playing with multiple protein based fibers (yarns that are made from animal fibers, like wool, alpaca, silk, mohair, etc.), but it was trying to find something in my closet that sparked me in a little different direction.

I tend to be a person that doesn’t really throw much out, if I can find another purpose for it I will hold on to it to use it in the future, so tissue paper from gifts gets saved. When digging through the closet I found a stack of this saved tissue paper and I began to wonder….Can I dye with this?

The answer…YES!

I began by soaking the yarn in a bath of water and citric acid (1 teaspoon citric acid to 4 cups of water), you can use white vinegar instead of citric acid if you like (1/4 cup white vinegar to 4 cups of water), then I wrapped various pieces of colored tissue around the yarn. After covering the yarn with paper I placed it in a microwavable bowl and added some of the water/acid solution. I placed it in the microwave for 2 minutes, took it out and waited.

I have to wait after removing it from the microwave, frankly because I do not like to burn myself. After it cooled down a bit I removed the tissue paper and rinsed out the yarn. I was impressed. Some colors bonded to the yarn better than others, but that could be because I had some different quality papers. There was some white space, and different colors in different patches. Offering a bit of a kaleidoscope of possibilities.

I am continuing to play with this technique, and currently find a vast amount of ideas just bubbling to the surface. I am sure that by the time my workshop comes around in a few weeks I will have a very contagious attitude to share with my students!