Yes, Swatches Lie…Well Maybe….

Yes, swatches lie. Well that is a bit harsh…really they can be a bit misleading.

To start with there is the famous question, “Do I need to make a swatch?” Well only if you want to ensure that you meet the gauge of the pattern. Gauge helps to ensure that the pattern comes out the same size, but it also ensures that your fabric has the same drape as that of the original design. If this is important to you, then yes, you need to swatch.

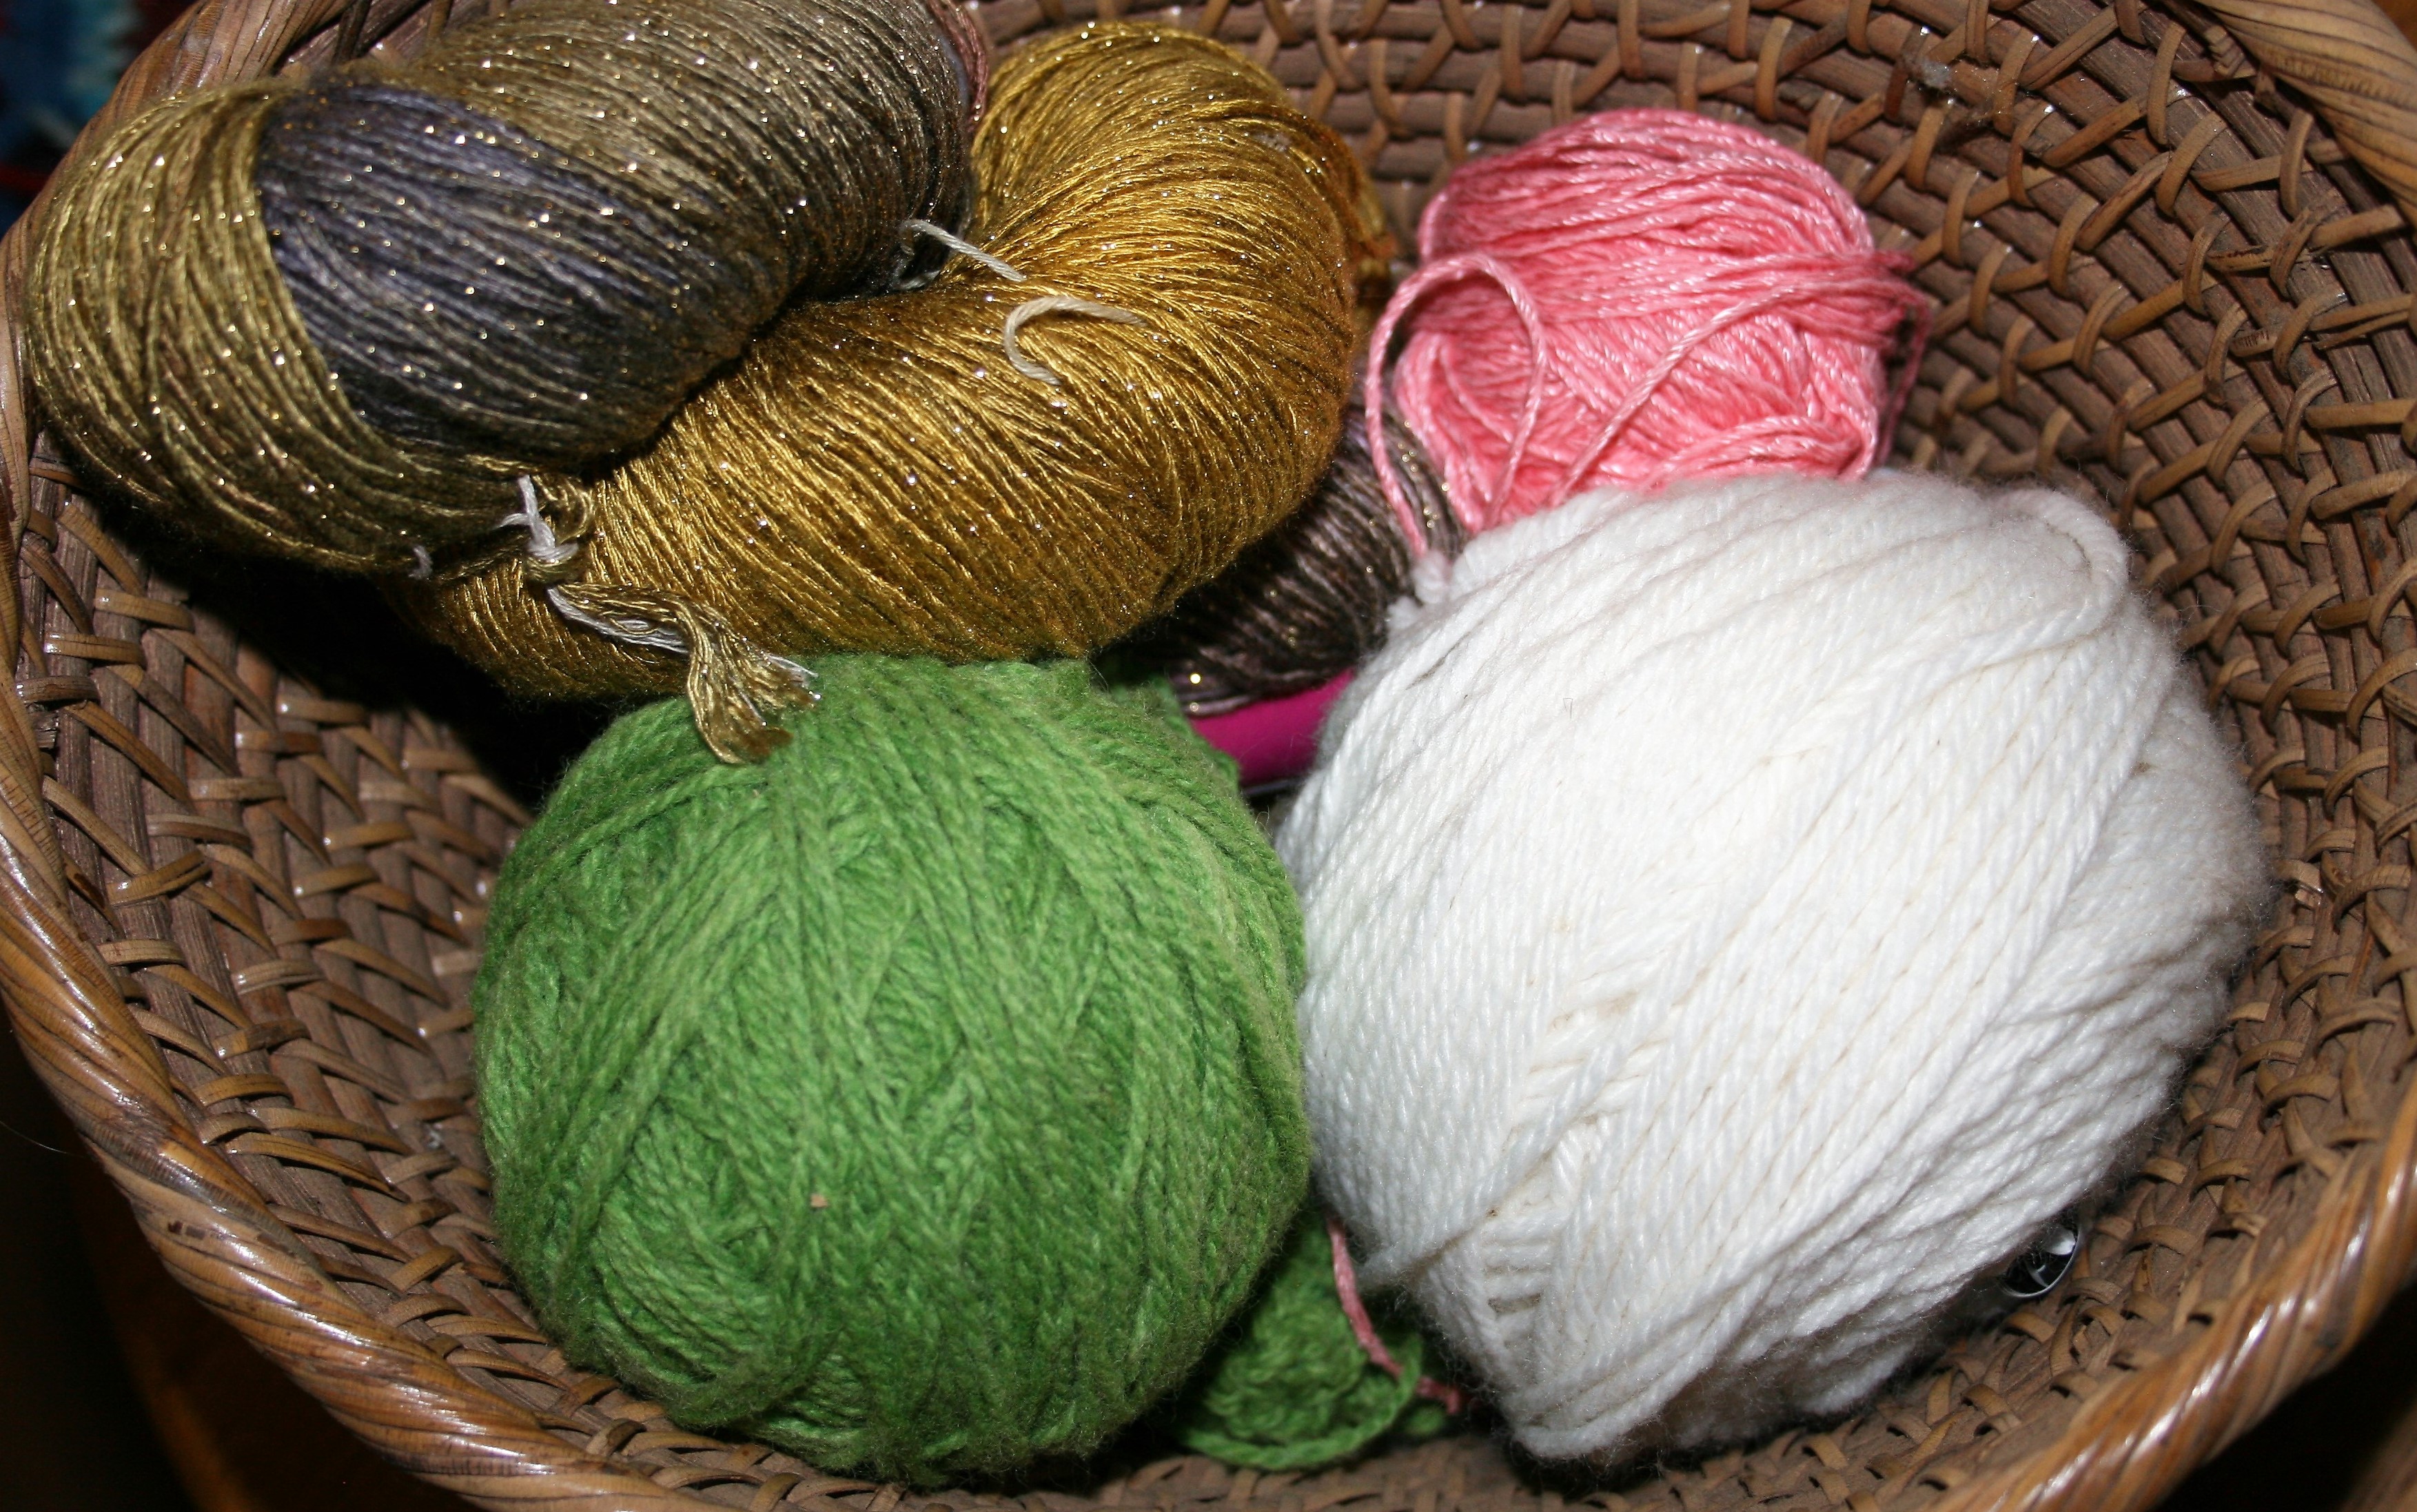
That being said there are some road blocks that stop many people from making a swatch.

First there is no actual directions for making a swatch, the gauge lists the number of stitches and rows that fit the given measurements, but that is where the information ends. If you are a new crocheter this can be a bit difficult to decipher, as you need to read and understand your pattern and then make assumptions from this.

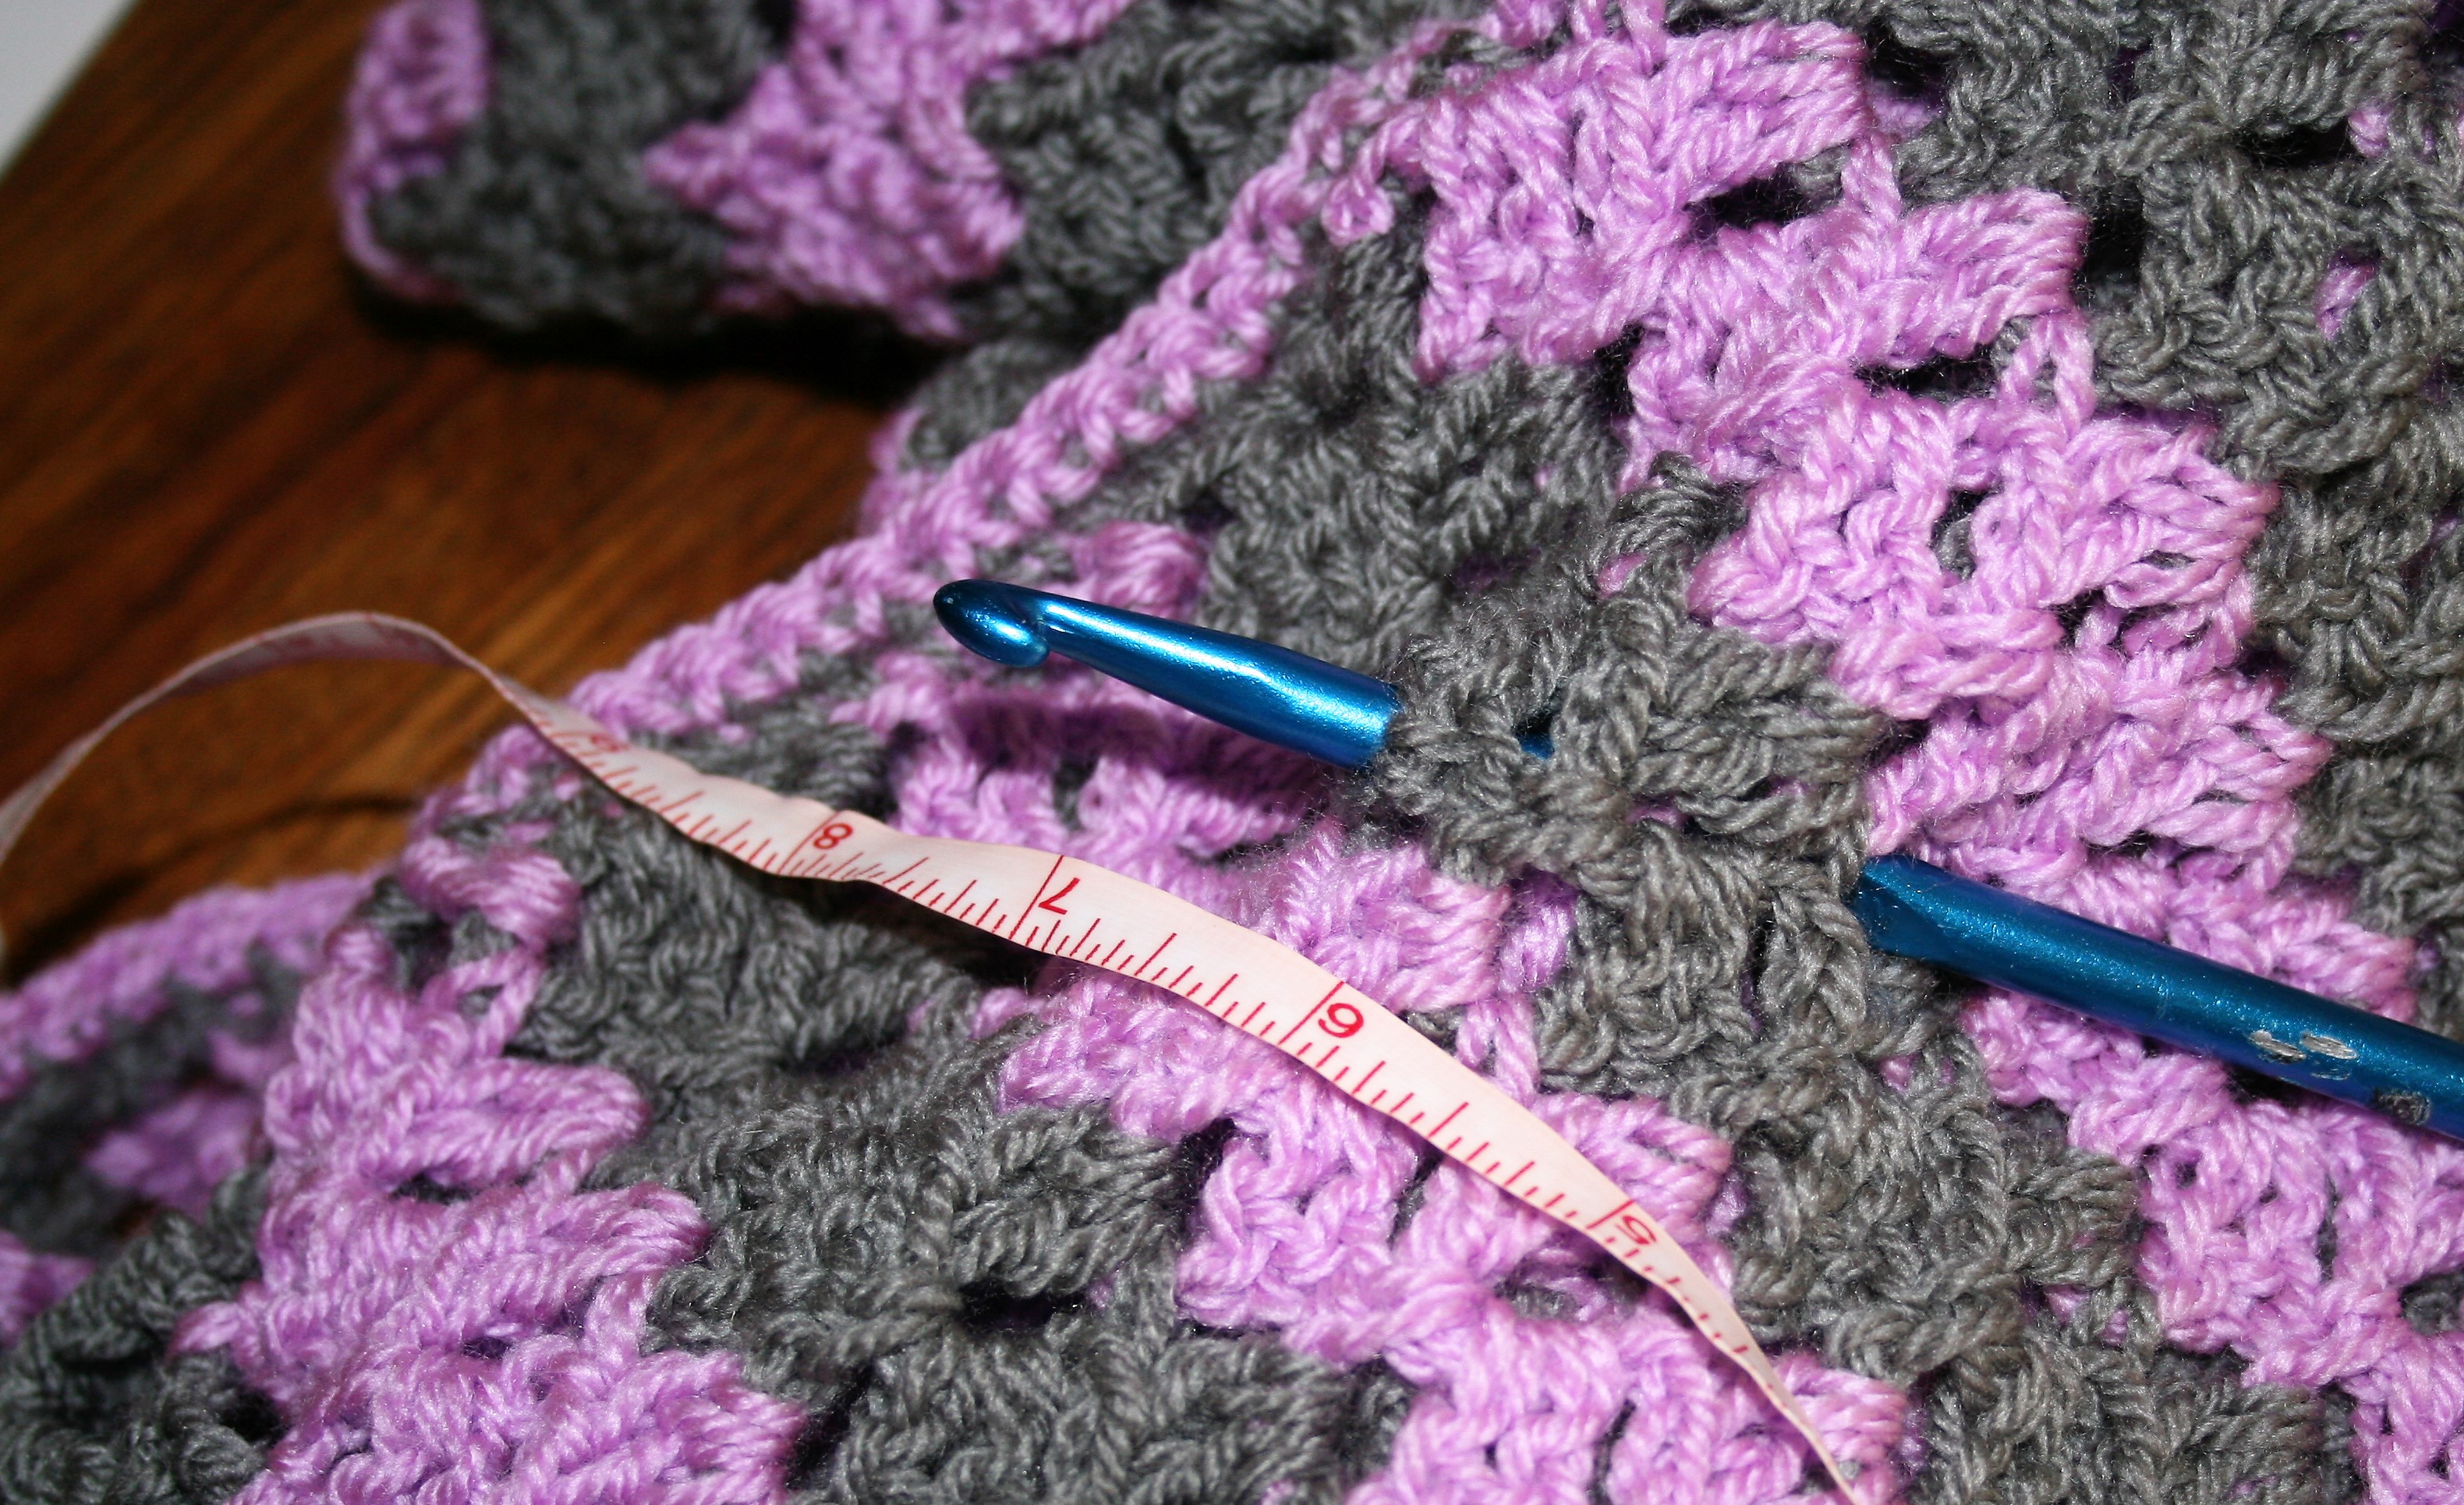
One of the ways to make these assumptions is simply to make a chain longer than the given measurement for the gauge. By a rule of thumb add make the swatch at least 40% bigger than is measured, so if it states 4” (10cm), make a swatch of 5 ½” (14 cm). This is so you can take the measurement from of the stitches and rows without using the edges of the swatch, as the edges can distort the measurement.

If the gauge gives a stitch pattern, work this in rows until the rows measure larger than the given measurement. However this is only step one.

The next step to ensure you are getting an accurate measurement is to block your swatch. Essentially you want to treat your wash as you would the finished item, so if it is hand washed then hand wash, if it is machine wash then machine wash, and let dry.

Now you can take the measurement and to ensure that you meet gauge, to proceed with your pattern. If you need to adjust your hook size to obtain gauge you will need to repeat the process in a new hook size and repeat.

However here is the honesty, very few of us go through these steps. I know when I get my yarn I want to dive right in and get to creating, but sometimes I do have to pay the price for this. I may need to rip back and rework if things are not coming out as expected.

So how can I find a happy medium between creating a swatch and just enjoying my crochet? My tip is to check my work regularly. I may block an item before I head to bed, after a day of stitching, and check my gauge in the morning. If it is on course I feel free to continue onward, if it is a bit off it is a day to rip back and begin anew. This may be a bit of a gamble in losing a day’s worth of work, but it keeps me enjoying my stitching while still being happy with the outcome.

Change the Yarn- Tips for Yarn Substitutions

We have all done it, and sometimes it goes well, others it does not. I am talking about yarn substitution.

Honestly, I never really thought about the yarn I was substituting. I would find a yarn I loved then pick out a pattern I liked and just begin working up my stitches. I never looked at gauge, I never paid attention the fiber or even the weight of the yarn.

In some cases things worked out fine, in others I found myself with items smaller, or firmer, or just plain awkward looking. So I have learned, and it is time to share some insights.

First realize that the pattern you find was designed in a specific yarn. The way it looks in the photo is because of this specific yarn. Changing the yarn will change the effect, maybe the drape, maybe even the size.

Now what to compare to make the change.

Check the weight of the yarn. The weight is in essence the diameter of the strand of yarn, it can be assigned a number (from 0 lace-7 super chunky) or given a name such as lace, thread, sock, fingering, baby, sport, DK, worsted, Aran, chunky, craft, bulky, roving.  These numbers or names are assigned by the manufacture and finding matching yarns at least get you in the ball park that the yarns are similar.

However there are times that you pick up a yarn and it doesn’t have a weight listing by number of name, but it does have a knitting gauge listed. This gauge can help you make the weight comparison too. Yarns that have the same gauge, using the same size needles, will be also be compatible in weight. If the yarns are using the same size needles in the gauge but the stitch and row counts are not the same, the yarn with the higher number of stitches in the gauge will be thinner than the other.

Another way many compare the weight, is to compare the yard/meters and the ounces/grams of the skein. If a skein states that it is 400yrd/366m and 1.75oz/50g it would be compatible with a yarn of 425rds/388m and 1.75oz/50g, but not compatible with a yarn that was listed as 600yd/549m and 1.75oz/50g, as the latter yarn is much thinner. It is a comparison of yards/meters and comparison if ounces/grams that help you see if things are in the same ball park.

The next thing to consider when comparing yarns if the fiber content. In some cases it may not make much of a difference, but a few fibers act completely different from one another. For instance if you are substituting a wool yarn with a lot of bounce or springiness, with a 100% silk you fabric will not even resemble each other. The silk tends to have a lot of drape, it flows, and in comparison to the wool will be limper. Whereas the wool will have some stretch and spring back into place.

Yarns with similar fiber content will behave similarly, so use caution if the labels vary greatly.

Now that you have found a yarn to substitute, if you want to ensure that you will be happy with the outcome of your project, make a gauge swatch. If you make gauge and are happy with how the fabric feels and looks, make your project.


Gauge…sometimes referred to as a four letter word. But can open your world.

There is a dirty little secret that I believe more people practice then care to admit…that we don’t make a gauge swatch. I’ll be honest, I didn’t make any gauge swatches for years, I always skipped that part of the pattern, treating it as a page break at best. Yarn is precious, why would I waste any on a little scrap that has no purpose but measuring? Okay so there is my confession, but I’m sure I’m not alone. However none of us bring it up in public, because you do get the looks like “you’re crazy” (usually from knitters that have realized the importance years earlier).

So really what is gauge? Well the simple definition is that it is the number of stitches by number of rows to fit a desired measurement (like, 16 dc /6 rows=4”). Sounds simple, so why avoid it?…crochet is my relaxation, gauge sounds like work. In some respects it is, but in reality, I don’t think gauge is really important in a lot of crochet projects. Granted checking gauge on a couple of afghans in the past might have meant that I wouldn’t have over/under purchased enough yarn, but overall it has been pretty negligible.

I can see where in some fitted garments that it can make a difference, being an inch or so too big or too small in the bust could make or break a sweater. This becomes especially true when substituting a different yarn then the one the pattern was written for. Worsted weight is not the same in every yarn, granted they maybe ball park, but not exact (same is true for all the over weights as well) and the makeup of the yarn makes a difference. An acrylic yarn and a wool yarn of the same weight can behave differently in their appearance and effect the gauge as well. Not to mention everyone has a different hand in crocheting and no one does it the same as you.

Own your gauge, by understanding how it relates to you pattern you can determine if you really want to worry about it, if my scarf is a little wider then indented it isn’t going to be the end of the world, but I would want to know if that coat that I’m making for my 6 year old would come out fitting my 9 year old instead.

If you don’t want to do a gauge swatch, but want to make that sweater, start with a sleeve and when you get a little ways into it, stop and measure (Note: for a more true measurement don’t measure from edge to edge, but from a stitch to a stitch, or row to a row, in a larger worked piece, the turns of the edges can distort the measurement).

Measure in the body of the work and in the middle of the tape measure for more accuracy

Measure in the body of the work and in the middle of the tape measure for more accuracy


Since I am bearing my sole in this confession of a dirty little secret, I should admit, I will check gauge as I am working along on a garment to make sure it will fit in the end. So I don’t make with gauge swatch, but I check in my work before I finish (I’d rather rip out 2 days worth of work then make and measure a gauge swatch over  20 minutes…it is a pride thing), at least I know what I should do. Don’t let it intimidate you, it is a challenge that you can overcome and master. It is amazing how once we attempt and feel comfortable with a new skill/trait/challenge that the world opens up a little, and more things are possible.

If you want to understand more of the math behind the gauge, check out my tutorial, under the tab above.