Teaching in a Larger Setting, My Experience at the CGOA Annual Conference

ScannedImageIt is hard to believe that I have been home from my adventure of teaching at a national venue for a month now. It has taken me a little while to decompress from the annual Crochet Guild of America conference this year in Charleston, SC. Then arriving home and getting the kids ready to head back to school has delayed my opportunity to really absorb the event. Last week I explained how there was so much going on at the conference that I needed to break it into smaller bites, so today I want to tackle my four classes; Re-Invented Broomstick Lace, Yarn Overload, What the Pattern Doesn’t Say, and Beading Three Ways.

I have taught for a few years in smaller settings, I taught drop in lessons at a coffee shop for 4 fours, more recently I have been teaching weekly at my local yarn store, but teaching at a national conference is a bit different. For one the class size is larger I averaged 16 students per class, with my largest being 20, but they are usually much more focused students that are well prepared and have in depth questions, so it is not a class that you can bluff your way through, you really need to know your material.

FB_IMG_1471559902137

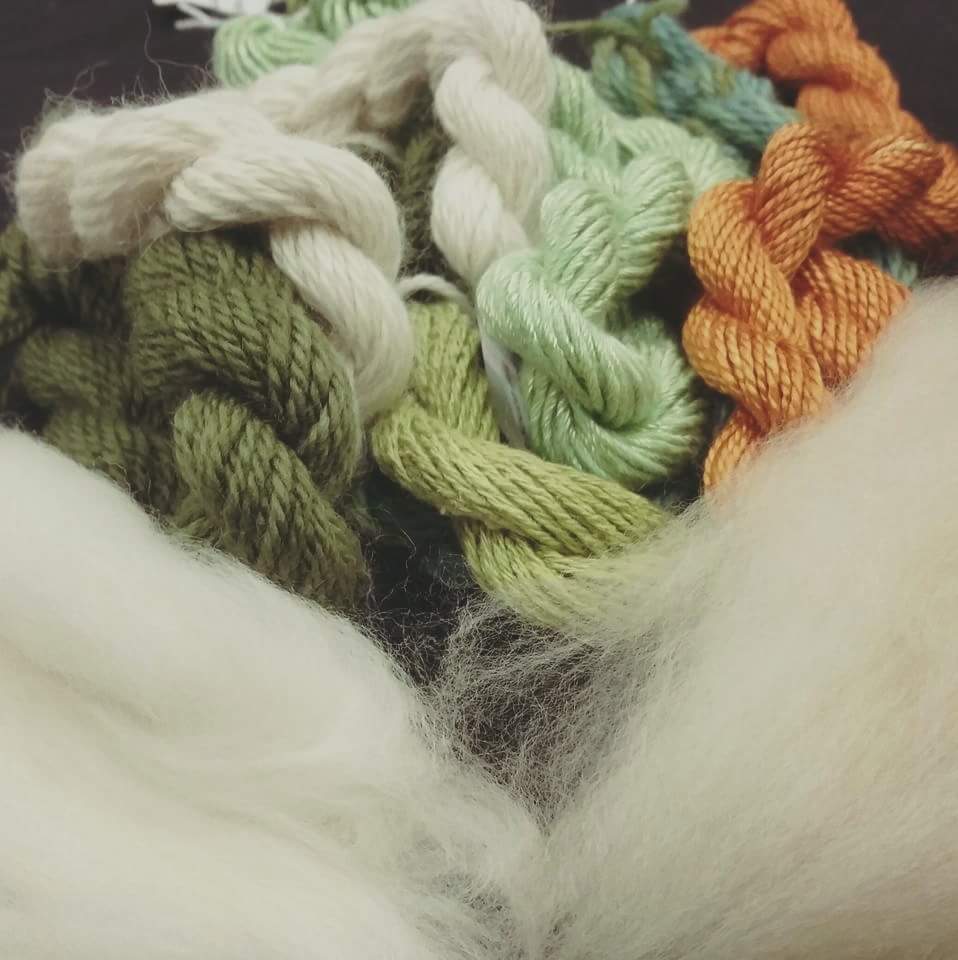
Class materials for Yarn Overload Photo courtesy of the CGOA Facebook page

I also never know what my class room will really look like and I need to bring all my supplies with me. In the local yarn store if a question comes up that I wasn’t prepared for I can find a prop to explain things from items in the store, I always feel that visuals help so much more than just words. At a large conference you are arranged in a hotel meeting or ballroom, so you need to be prepared for random questions and ways of explaining them. Also students expect good handouts, so that they can go home and almost relive the class, local students know that they can access you again in the future if need be.

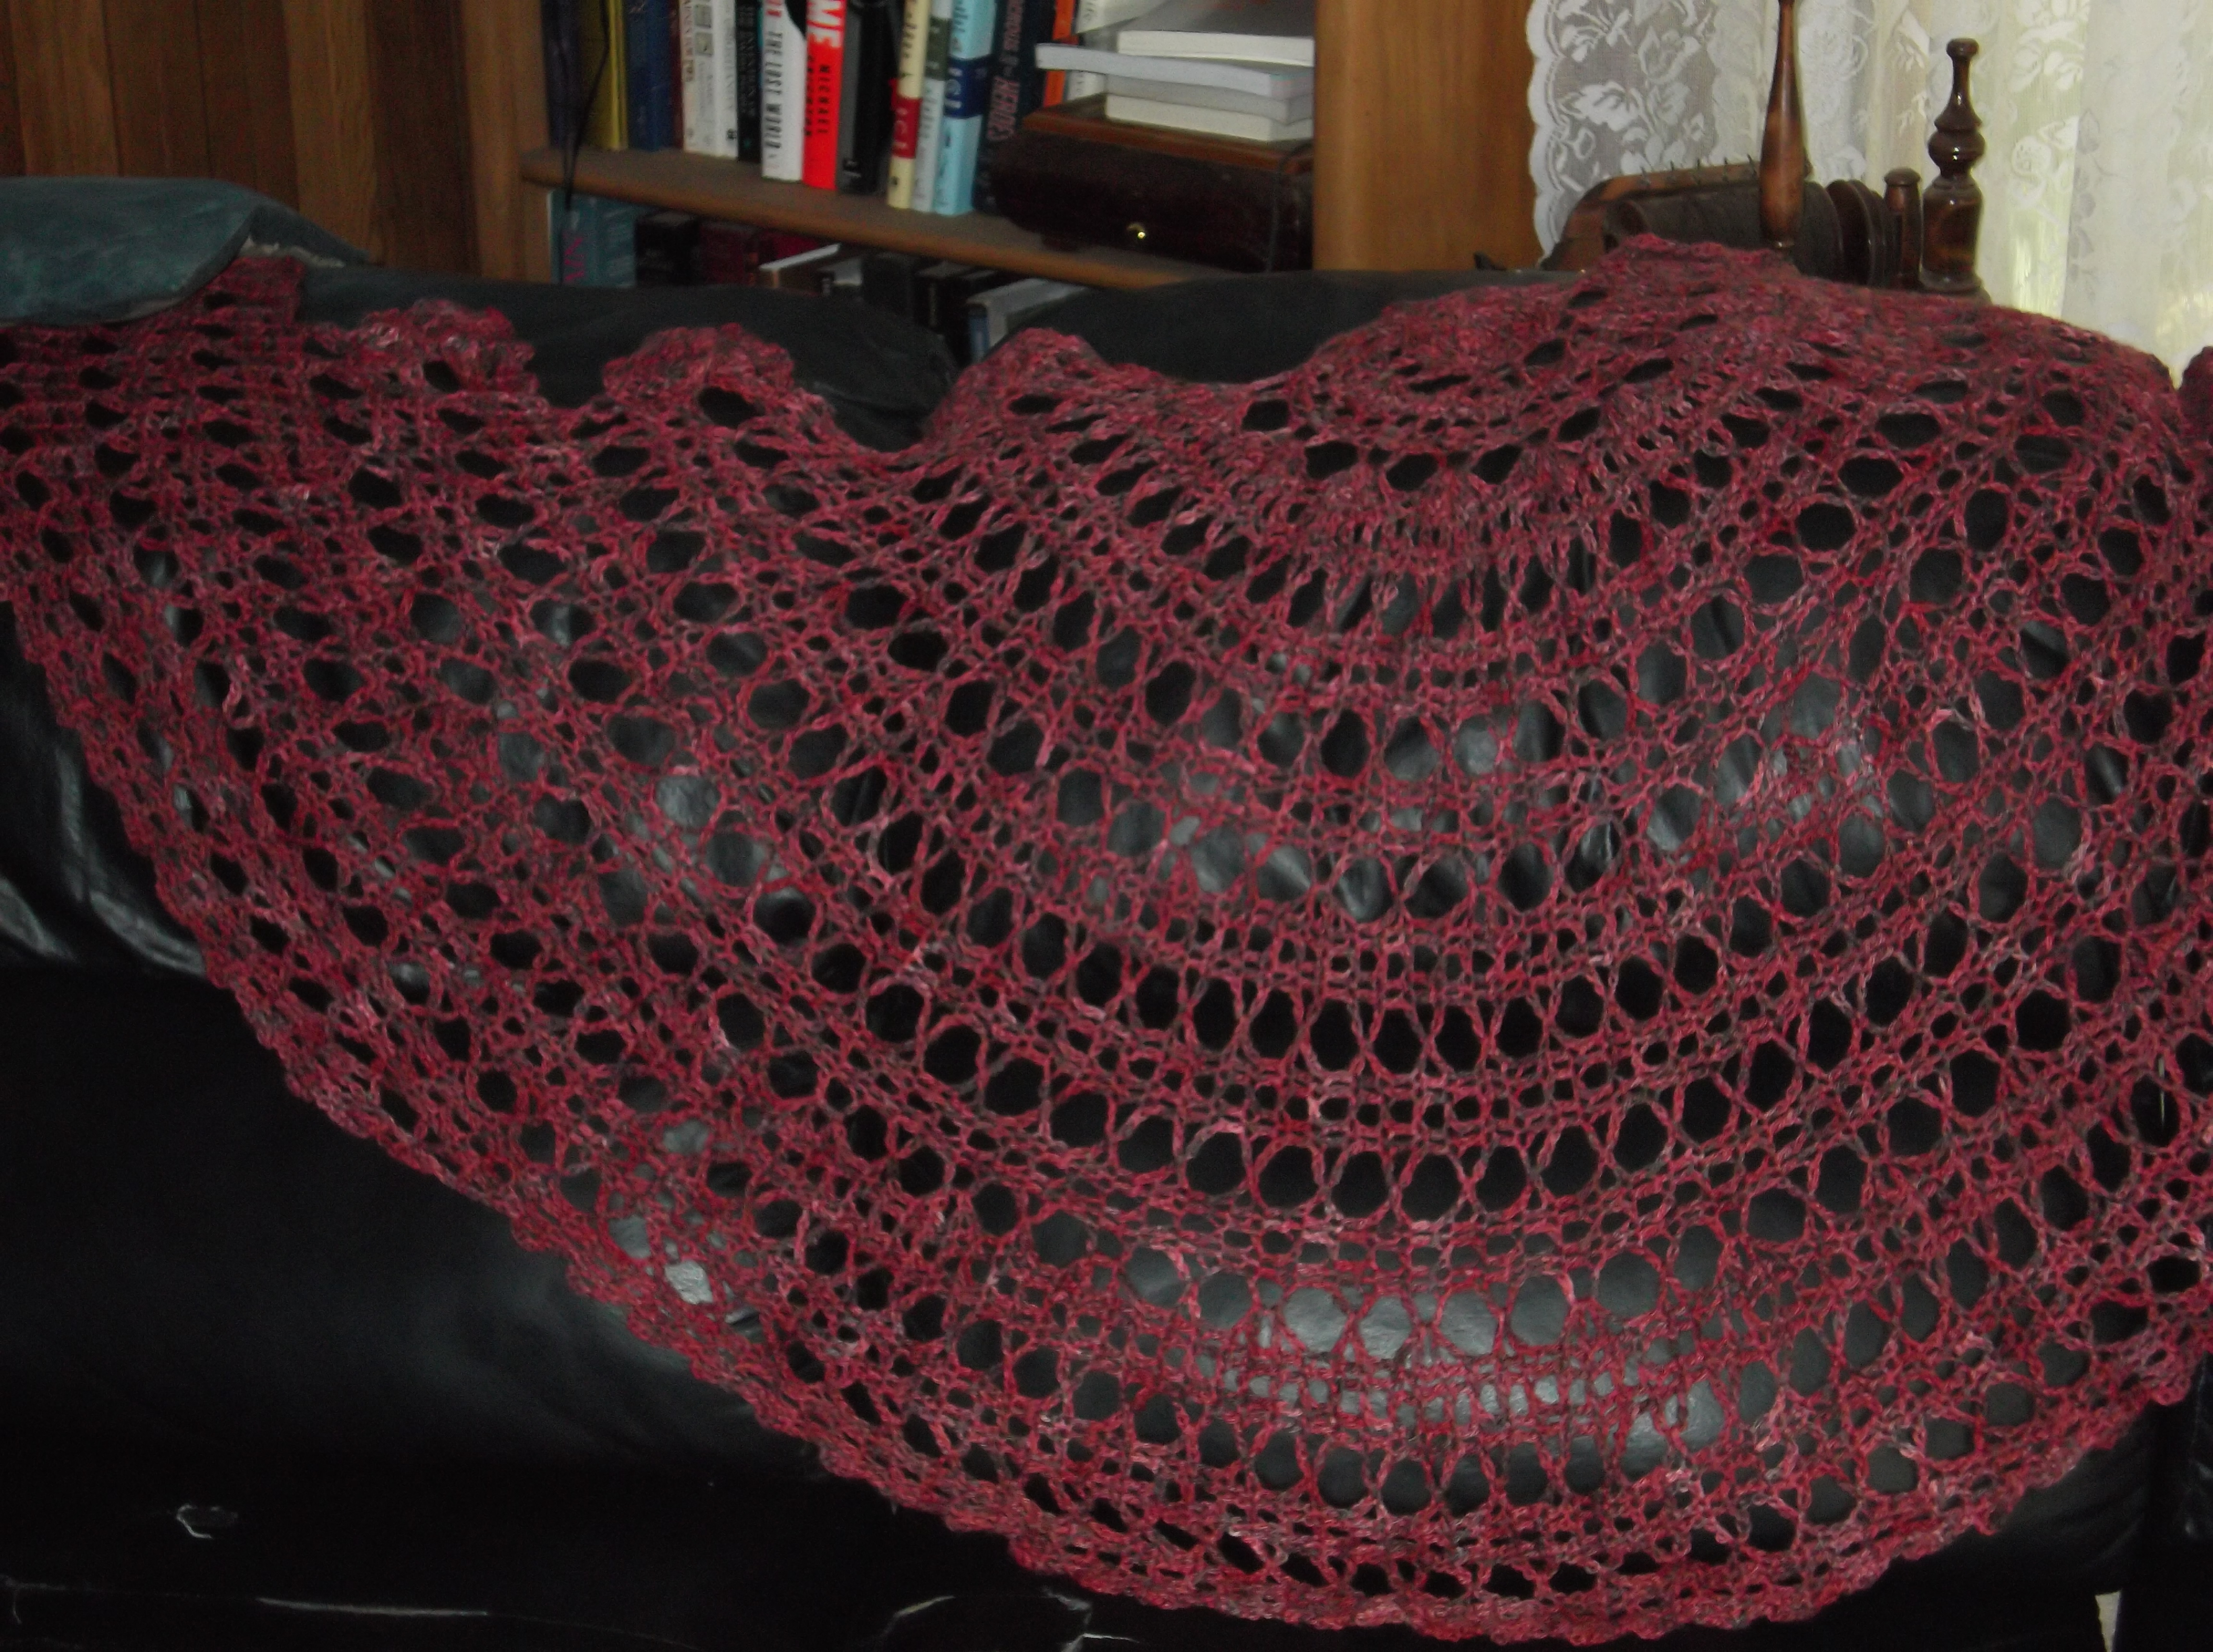
So after getting all my ducks in a row, and feeling like I have everything together for each class, I walked into my first class, Re-Invented Broomstick Lace, with a few butterflies. The butterflies were primarily from the concern of my relationship with my students. I saw many faces for friends that wanted to support me in my first event, but I always find it a little more difficult to teach friends. It could be the times I have spent as a heckler of my friends teaching, in a good natured way of course, but I know myself well enough to know that to relax in a different setting I might slip into a relaxed situation with my friends and thus not create an inclusive atmosphere for the rest of the class. Fortunately I do not think this occurred, I made a special point to stay professional as much as possible, while still giving personality to the class. It is not an easy undertaking, so I hope I accomplished this! I haven’t received the results of the class evaluations yet, but students did give me positive feedback after the class.

The next class I taught was a complete mental download. Yarn Overload consisted of talking about various aspect of fiber and yarn construction and how it can affect your fabric. Fortunately it was the only class I taught that day, because the material was vast, and the students had some really great questions pressing my knowledge on a variety of fiber crafts, including weaving. I cannot believe that people could listen to me talk that long, but once again I had students expressing how much they really enjoyed the class, I even heard from others at the conference, as word spread about how much was covered in the topic. That makes me feel pretty good. One of the best compliments I received was that one of the students now feels like she can walk into a small yarn store and be empowered instead of intimidated about the yarns in front of her.

FB_IMG_1471559915206

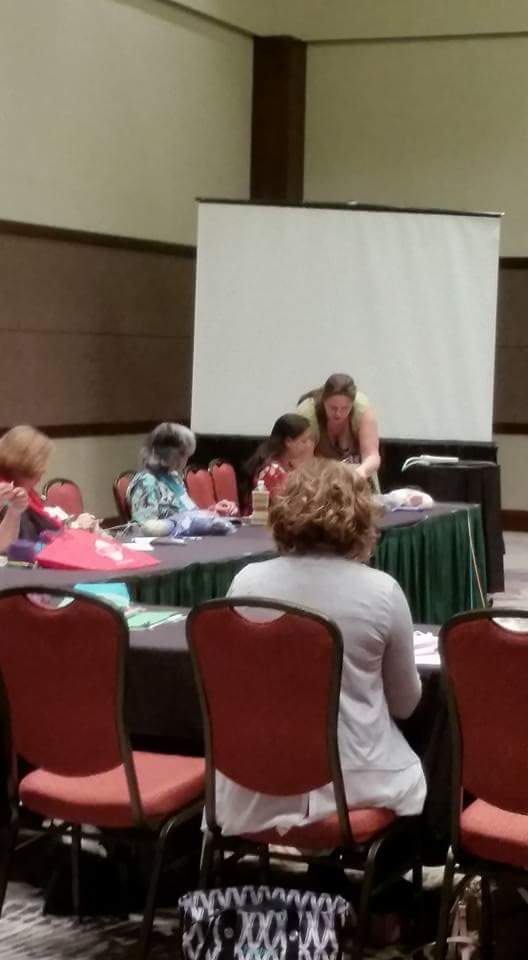
Teaching Re-Invented Broomstick Lace Photo courtesy of CGOA Facebook page

My final day of teaching covered two topics, the first What the Pattern Doesn’t Say followed by Beading Three Ways. There were many ‘Ah ha’ moments for the students during the pattern class, and several people wanted information about my book on the topic, which is not written by the way. I explained many things that you are assumed to know in working patterns, and short cuts, and various ways to create and improve your work. I felt this class was a success as well.

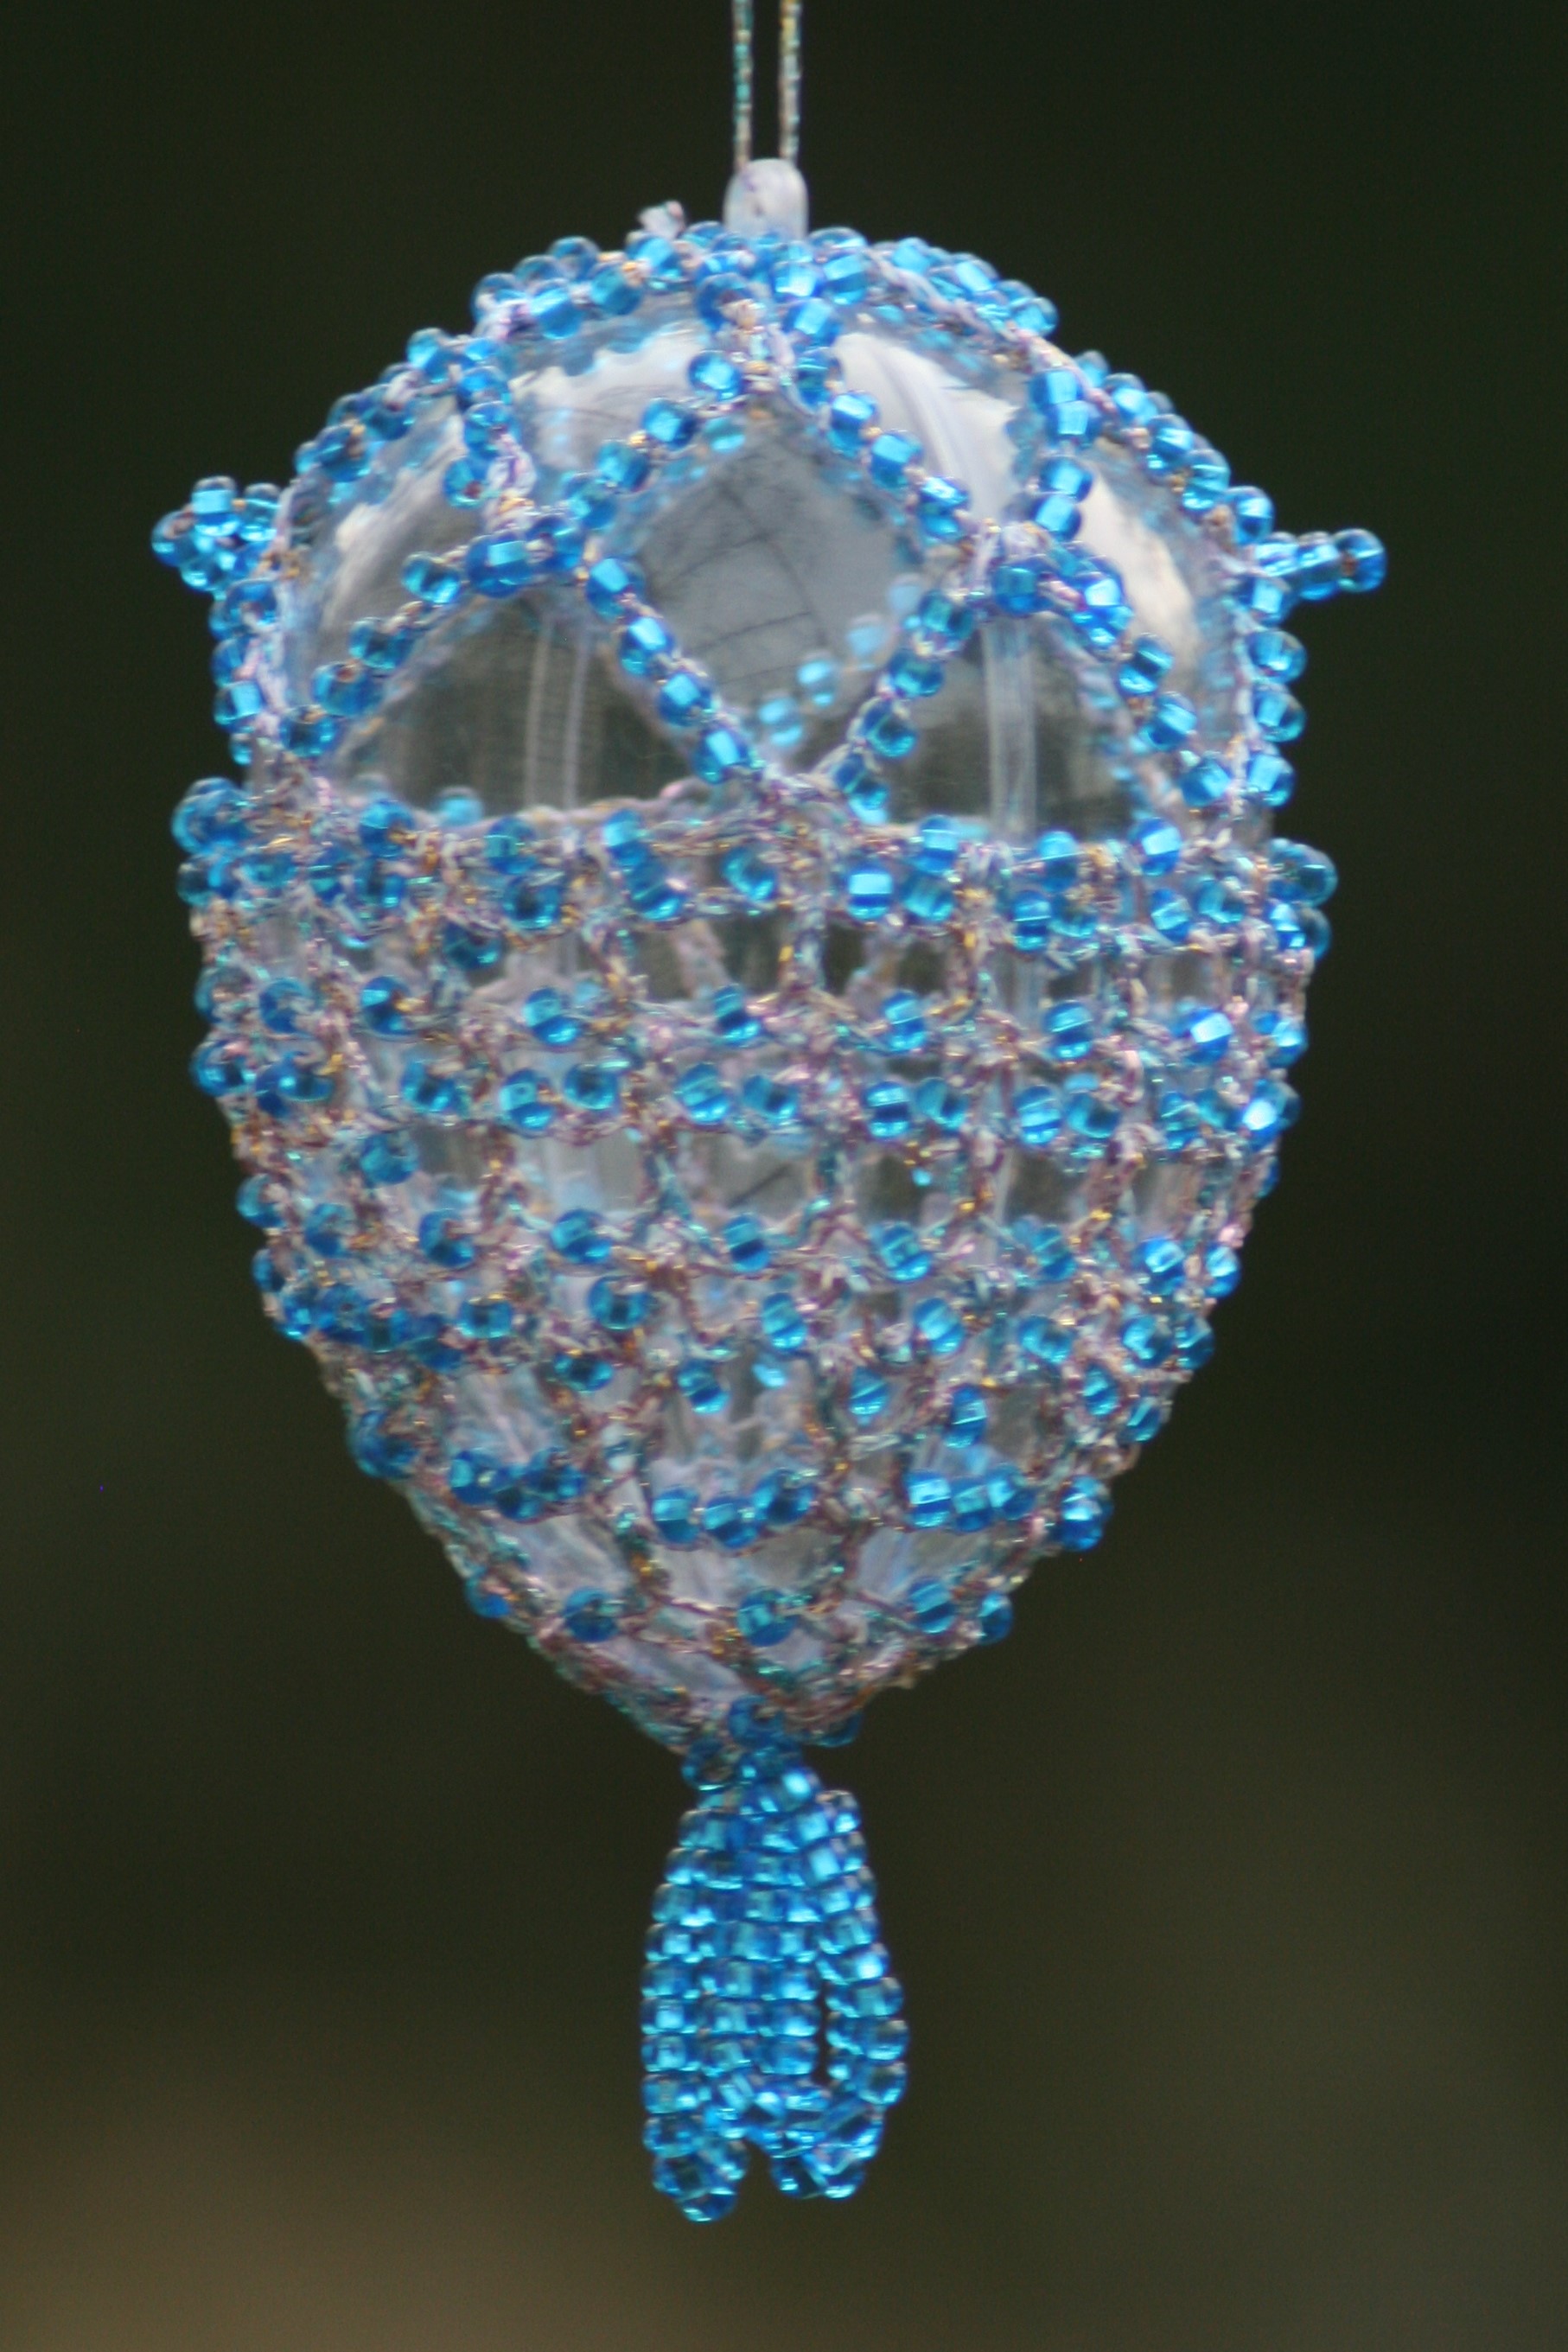
My learning moment came in my last class, which I had to remind myself, it is not the way everything starts it is the way everything ends that is important. Beginning the class I realize that I am missing some important items…needle and thread. The first 2 techniques are taught with them and my sewing tomato pin cushion was nowhere to be found. After a bit of searching and a little regrouping, I had a very generous student offer to run down to the hotel front desk and pick up a stack of emergency sewing packs. I began the class working on the final beading method that did not involve a needle, while the student ran down and picked up supplies. She was a life saver, and fortunately the hotel was gracious enough to accommodate our needs. I managed to keep my composure and I think the class ended much better than it began, at least I hope the students feel it was successful.

I am not sure when I get to see the class evaluations, but I want to learn and grow as a teacher, so this is one of the only tools available for me to enhance the experience in my classroom. You always learn more by teaching, whether it be the skill itself or the art of instruction. This was definitely a learning opportunity for me, which I hope to repeat.

Easter Challenge, I Think Success

ScannedImageI was recently presented with a challenge, and honestly I enjoy designing this way.

IMG_7363

Empress Jeweled Egg US $3.50

Bead Biz, a great bead supply company, presented me a challenge to create a beaded ornament primarily for Easter. After some research and some playing I think I came up with a couple that fit the build pretty nicely.

At my home Easter is pretty quiet. We color eggs, finding that we love the jewel tones that come from dyeing brown eggs, then I may use the dyes to color yarns that I may have around (you can find out how to do that here). We snack on candy from baskets, may head out to an egg hunt at a local park, and generally enjoy day as a family. However doing some research into this challenge brought back some memories for me, and some of the images of egg decorations I found very fascinating. I remember as a kid, one year my mom decided to attempt some natural egg dying, using onion skins. I recall her poking pin holes on the ends of the eggs, and blowing the content, after much work, into a bowl, leaving the egg hollow. She then tied small leaves around the egg and rested it in her onion skin dye. After a great while she removed the egg and its bindings and she had a beautiful brown colored egg that had leave images. However what I remember most, is her finding the effort not entirely worth the outcome. She only did this craft once.

IMG_7368

Imperial Delight Jeweled Egg US $3.50

In designing these ornaments some of these memories joined me, so I managed to keep the overall design simple, but what I think are beautiful results. I really wanted the beads to shine, and I think I have succeeded in that. They really seem like the star of the show. I found that once I was completed with them, that I felt that I could find a place in my home for them year round. They can easily be adapted to the Christmas holiday traditions, as well as beautiful gifts to welcome a baby, a birthday, or even a hostess. They work up rather quickly, and with different bead color combinations can offer many stunning results. Each pattern actually has two designs, one for a large oval ornament, and one for a small plastic Easter egg, giving variety and additional options and inspiration.

I have both sets of patterns available on Ravery and Craftsy, and if you would like to check them out for yourself, I am offering a 20% off coupon code for all of my patterns through the end of March 2016 to celebrate National Crochet Month. So if you see anything you like at my Ravelry store, use code SW2016 and receive this discount until March 31, 2016.

If you want to learn more about using beads in your crochet? Or even your knitting? Considering attending my class “Beading 3 Ways” at the Knit & Crochet Show in Charleston, SC Saturday July 16, 2016. I am excited! It is my first time teaching at a national venue, if you happen to be able to attend, please check out my classes!

Bruges Lace and Best of Show

ScannedImageSome take one look at the pattern length of Bruges Lace and feel that it is to overwhelming to work, however once you understand the principals it really is quite easy and can create beautiful works.

M22159_Bruges_300_small2

Bruges Multi Shawl Photo courtesy of Annie’s

Bruges Lace is essentially like a ribbon; each row is created with just a few stitches and is joined to other portions of the “ribbon” with large turning chains. It is these turning chains that create the open lacy effects that this technique can create.

One of my latest designs uses this technique, the Bruges Multi Shawl in the Summer 2015 issue of Crochet! Magazine. This shawl begins at the base of the neck and curves outward in rows that end up more like arches. The ribbon is comprised of only 5 stitches, but is also designed to create more open work.

IMG_20140609_161055

My “Best of Show”, it is laying flat on the table at my local county fair.

This design was originally created as a personal challenge. I often enjoy limiting my ideas to what can be created with only one skein of yarn. This shawl was originally created that way, however it was with a different skein of yarn then what the published version is in. I made the original shawl with 1 skein of Lisa Souza Dyeworks Baby Alpaca/Silk yarn in the color of Cranilicious, and entered it in my local county fair. I do not enter my local fair for the ribbons or prizes, but more to inspire others to beauty that can be created in crochet, yet this shawl won me a “Best in Show” (my one and only).

I really enjoy the structural appearance of this shawl; it almost reminds me of old fashion iron work. This shawl almost seems weightless, yet adds just enough warmth to take the chill off. Another point I love with this design is that the front comes over the shoulders enough that it really stays on! I do not use a shawl pin or anything, I just throw it on and go, and it stays where I put it. That is something that I really enjoy.

DSCF0731

The original version of the Bruges Multi Lace Shawl

I hope that you take up your hooks and give Bruges Lace a try, its unique construction is easier then it seems and can be quite fun. Any continuous line you can draw can be worked as a ribbon of Bruges Lace, imagine the possibilities.

My Every Day Valentine

ScannedImageI have been doing more self-reflection then usual lately. Reflecting on my business and personal life, possibly due to the recent interview I gave Crochet World Magazine about how my current career began, and how I approach my designs (you can read it here). Or it could be the 5 day art challenge that was posed to me on Facebook, where I shared 15 different designs over 5 days (you can see them on my Facebook page here). Either way I found myself pondering where I have been and where I would like to go. But mostly, or simply due to the upcoming holiday, it made me put a Valentine spin of things.

This might seem odd, that pondering the past can make for a Valentine, but let me explain. Over several years I have finally began to dissolve the rituals or expectations of many holidays down to what I feel is really important. So for Valentine’s Day this means that for me it does not need to be flowers, chocolates, dinner, or the typical “romantic” gifts. My husband never really believes this, but it is true.th

For me I take the day to remember those that I love, and what I can do to show them this every day as well as actually focus on what they give me every day to show me they care. It is a day of focusing, not overlooking that small things that I routinely take for granted. The hugs and kisses the kids share before saying goodbye before going to school. The nights my son offers to cook dinner, and his sister wants to help, sure it is usually pancakes, eggs and bacon, (occasionally chocolate chip cookie dough)but it is delicious. The moments that they are excited to show me something they have learned. My husband taking the kids to their after school activities (yes, he loves going, but it gives me time to get some work done), when he completely turns is schedule upside down to accommodate my travel plans. How my husband supports my career venture, even though it means the household budget is considerably tighter, and makes coffee on the weekend before I am even out of bed. How each member of my family gives me honest and critical feedback of my work, I know it is their way of supporting me, and showing their love.IMG_5990 - Copy

I guess that instead of looking for the big grand gesture I am using the day to remember that the little things are much more important. I might easily take for granted the little things that happen on a typical Wednesday, but by actually spending some time to focus on them, I realize that I do truly have Valentine’s Day every day.

Realizing I Have Something, That Has Probably Always Been There

ScannedImageThis time of year has always been a time of reflection and re-connection, almost a little melancholy for me, and this year is no different.

I had an epiphany recently about my designing. In the past I would have probably laughed if you would have considered me a “designer”. I would never consider myself as “fashion forward” or anything like that. My personal style is pretty simple and definitely reflective of northern California, meaning my wardrobe primarily consists of jeans, T-shirts and flip flops. However undertaking another home improvement project really helped me to focus and realize that I do have a style, I may not have a word to define it, but it is there.

Paintbrush with Blue PaintFor the last decade, my husband and I have taken on various projects of home improvement on our 1920’s farm house. Last week, I tore everything out of the kitchen (yes, a little ambitious just before having people over for the holidays, no one ever accused me of being sane). While getting my “kitchen vision” on track I realized that I approach my crochet designs in much the same way…I need a starting point. I need something to expand from, my ideas do not come from a void, and they need to grow around an inspiration. In the case of my kitchen it is my new sink. I was unable to refinish the sink that I already had, and after some hunting found a great deal on a copper one, and everything else has expanded from that…the counters, the colors, the style, everything from the sink. In past projects the most difficult undertaking I had was re-installing a bathroom, it was a blank slate and I remember how I felt completely overwhelmed with the project, until I finally found a small piece of tile that became my “jumping off point”.

In comparison to my crochet designs, the same thing is true. I need a point of inspiration. Some of those are as simple as a challenge. Such as “What can I create with just this single skein?” or randomly reaching into a bag of yarn and then having to create something with what I pull out. Some inspirations come from architectural designs (believe it or not, I find a lot of ideas from The Old House), or even hotel carpets. The common point that they all have is a point to begin.

I guess I have been designing for much longer then I might have realized, it is just my style seems so everyday to me that I just take it for granted. It is simple, and clean, I attempt for balanced visually not necessarily symmetrically. It is, I hope, a little classic, and not trendy and date-able. It is warm and not afraid of color. I may not have a name for it, but one thing at a time, I only just realized I had one.