When I am teaching I find that if my students make a mistake, it is because they are attempting something more advanced than they had learned. One such “more advanced stitch” is working Extended Stitches.
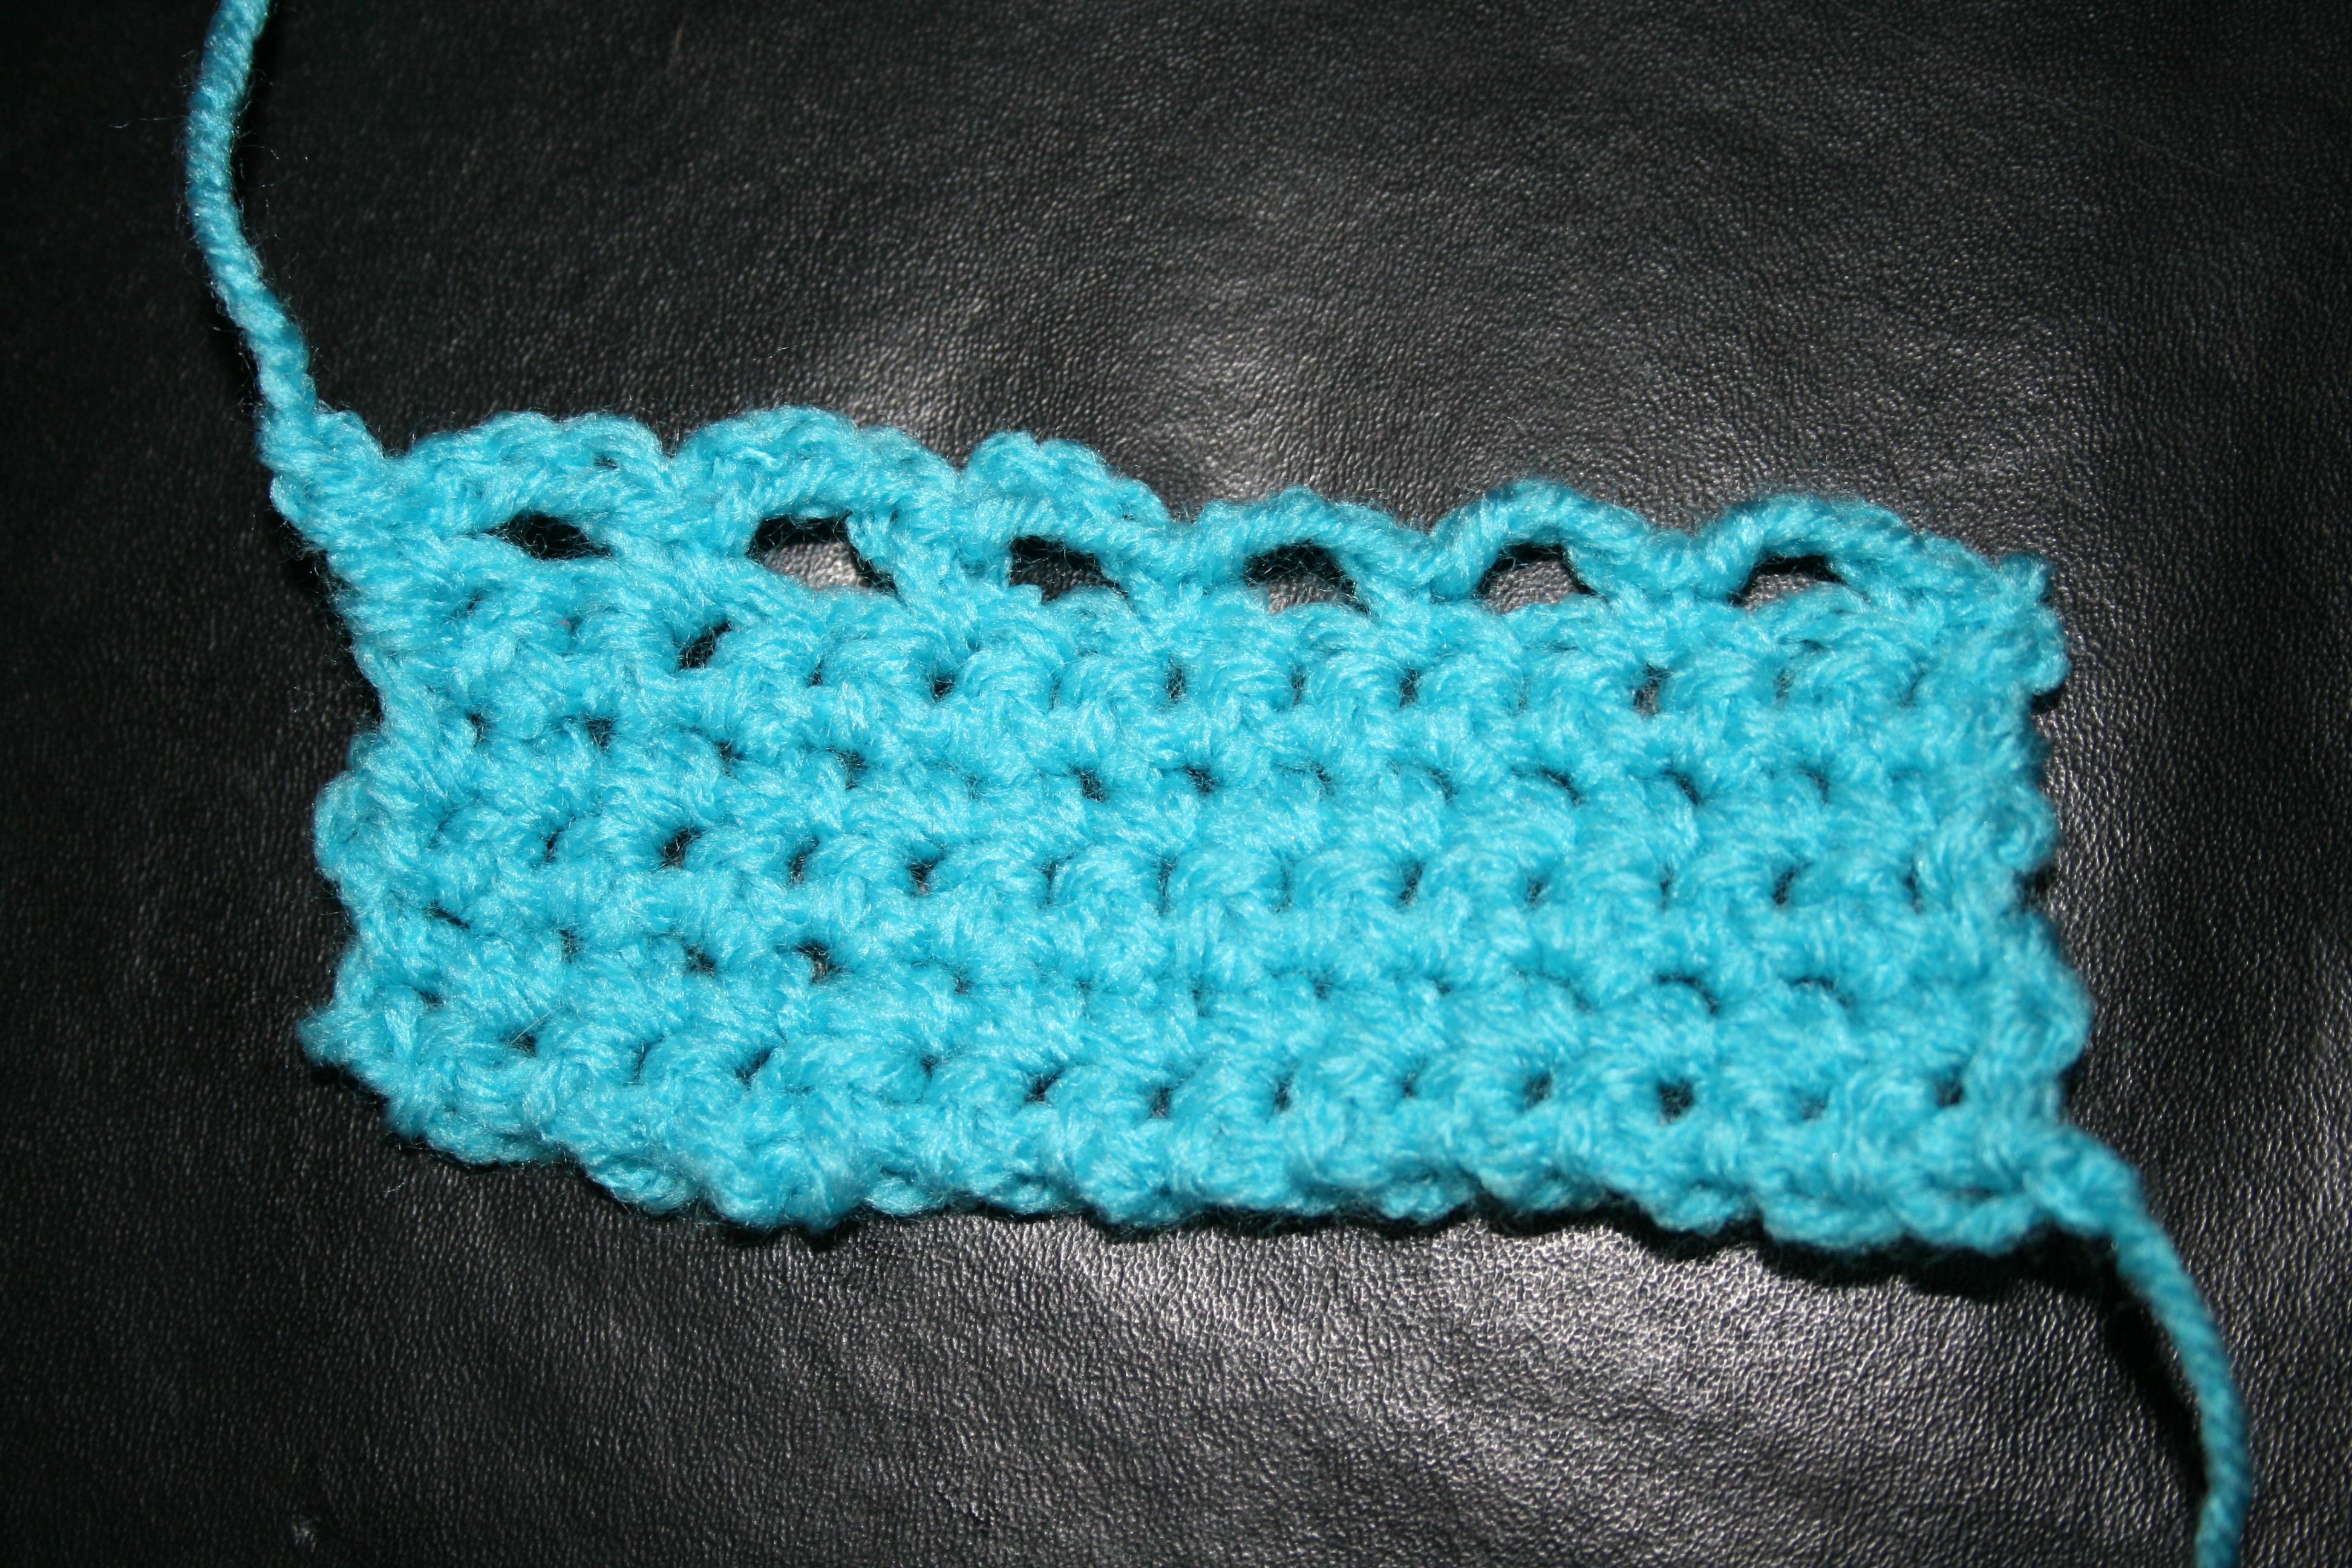
Extended stitches are a great way to make more gentle curves, or even help make gauge, and they are pretty easy to create. The technique of extending can be used with any crochet stitch, and only adds one additional step.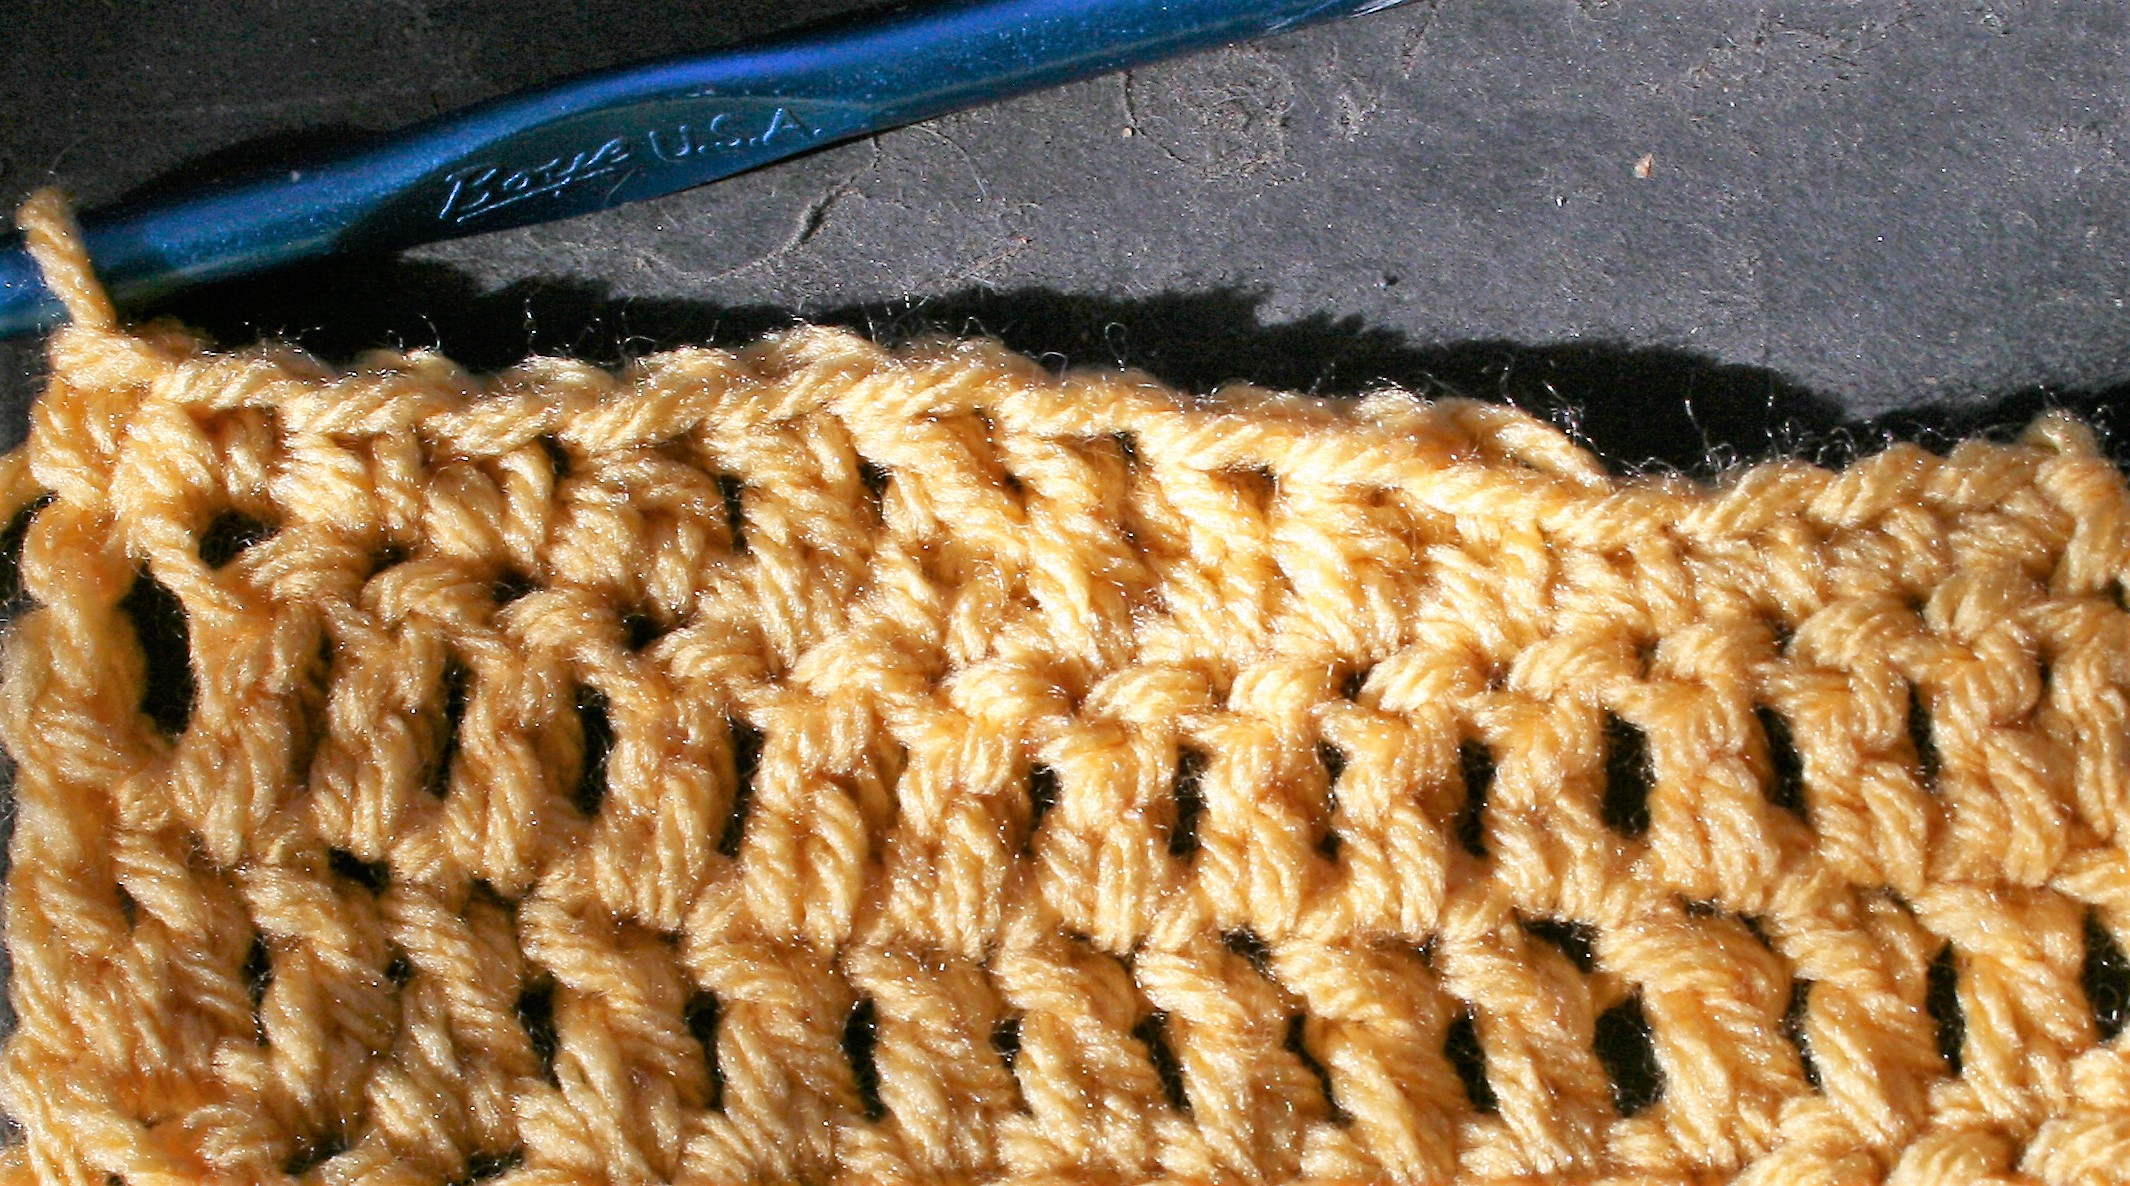
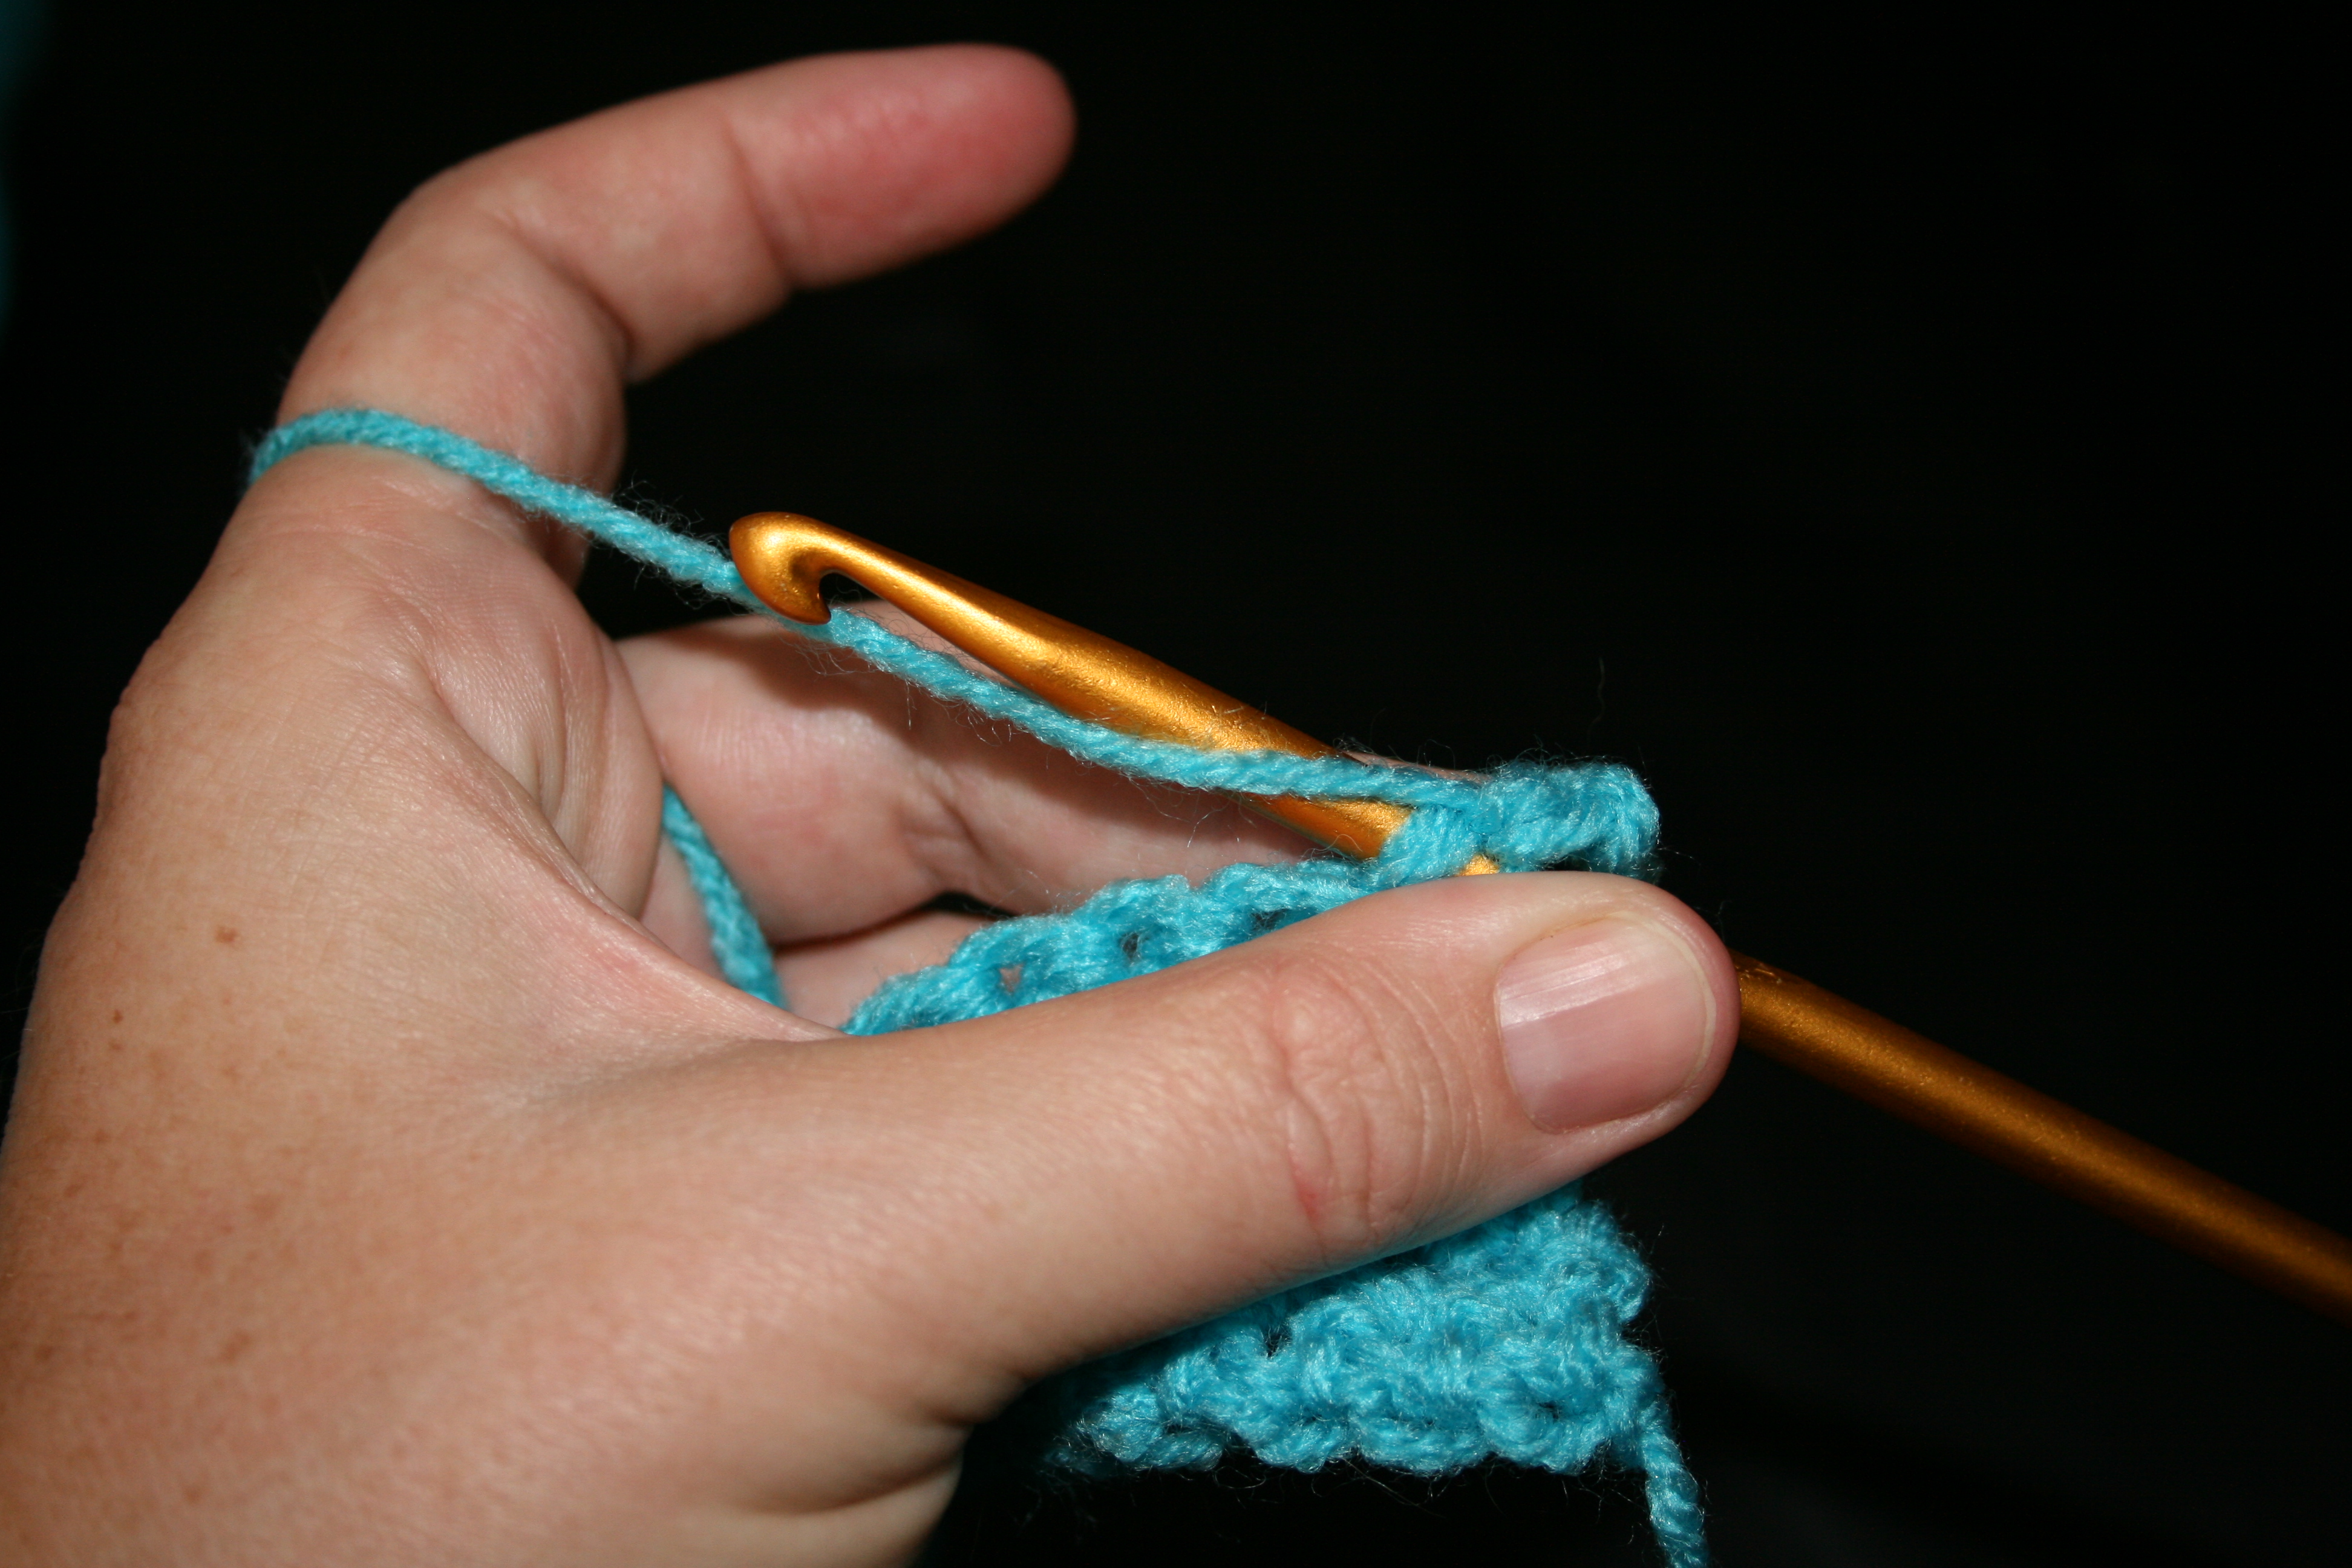
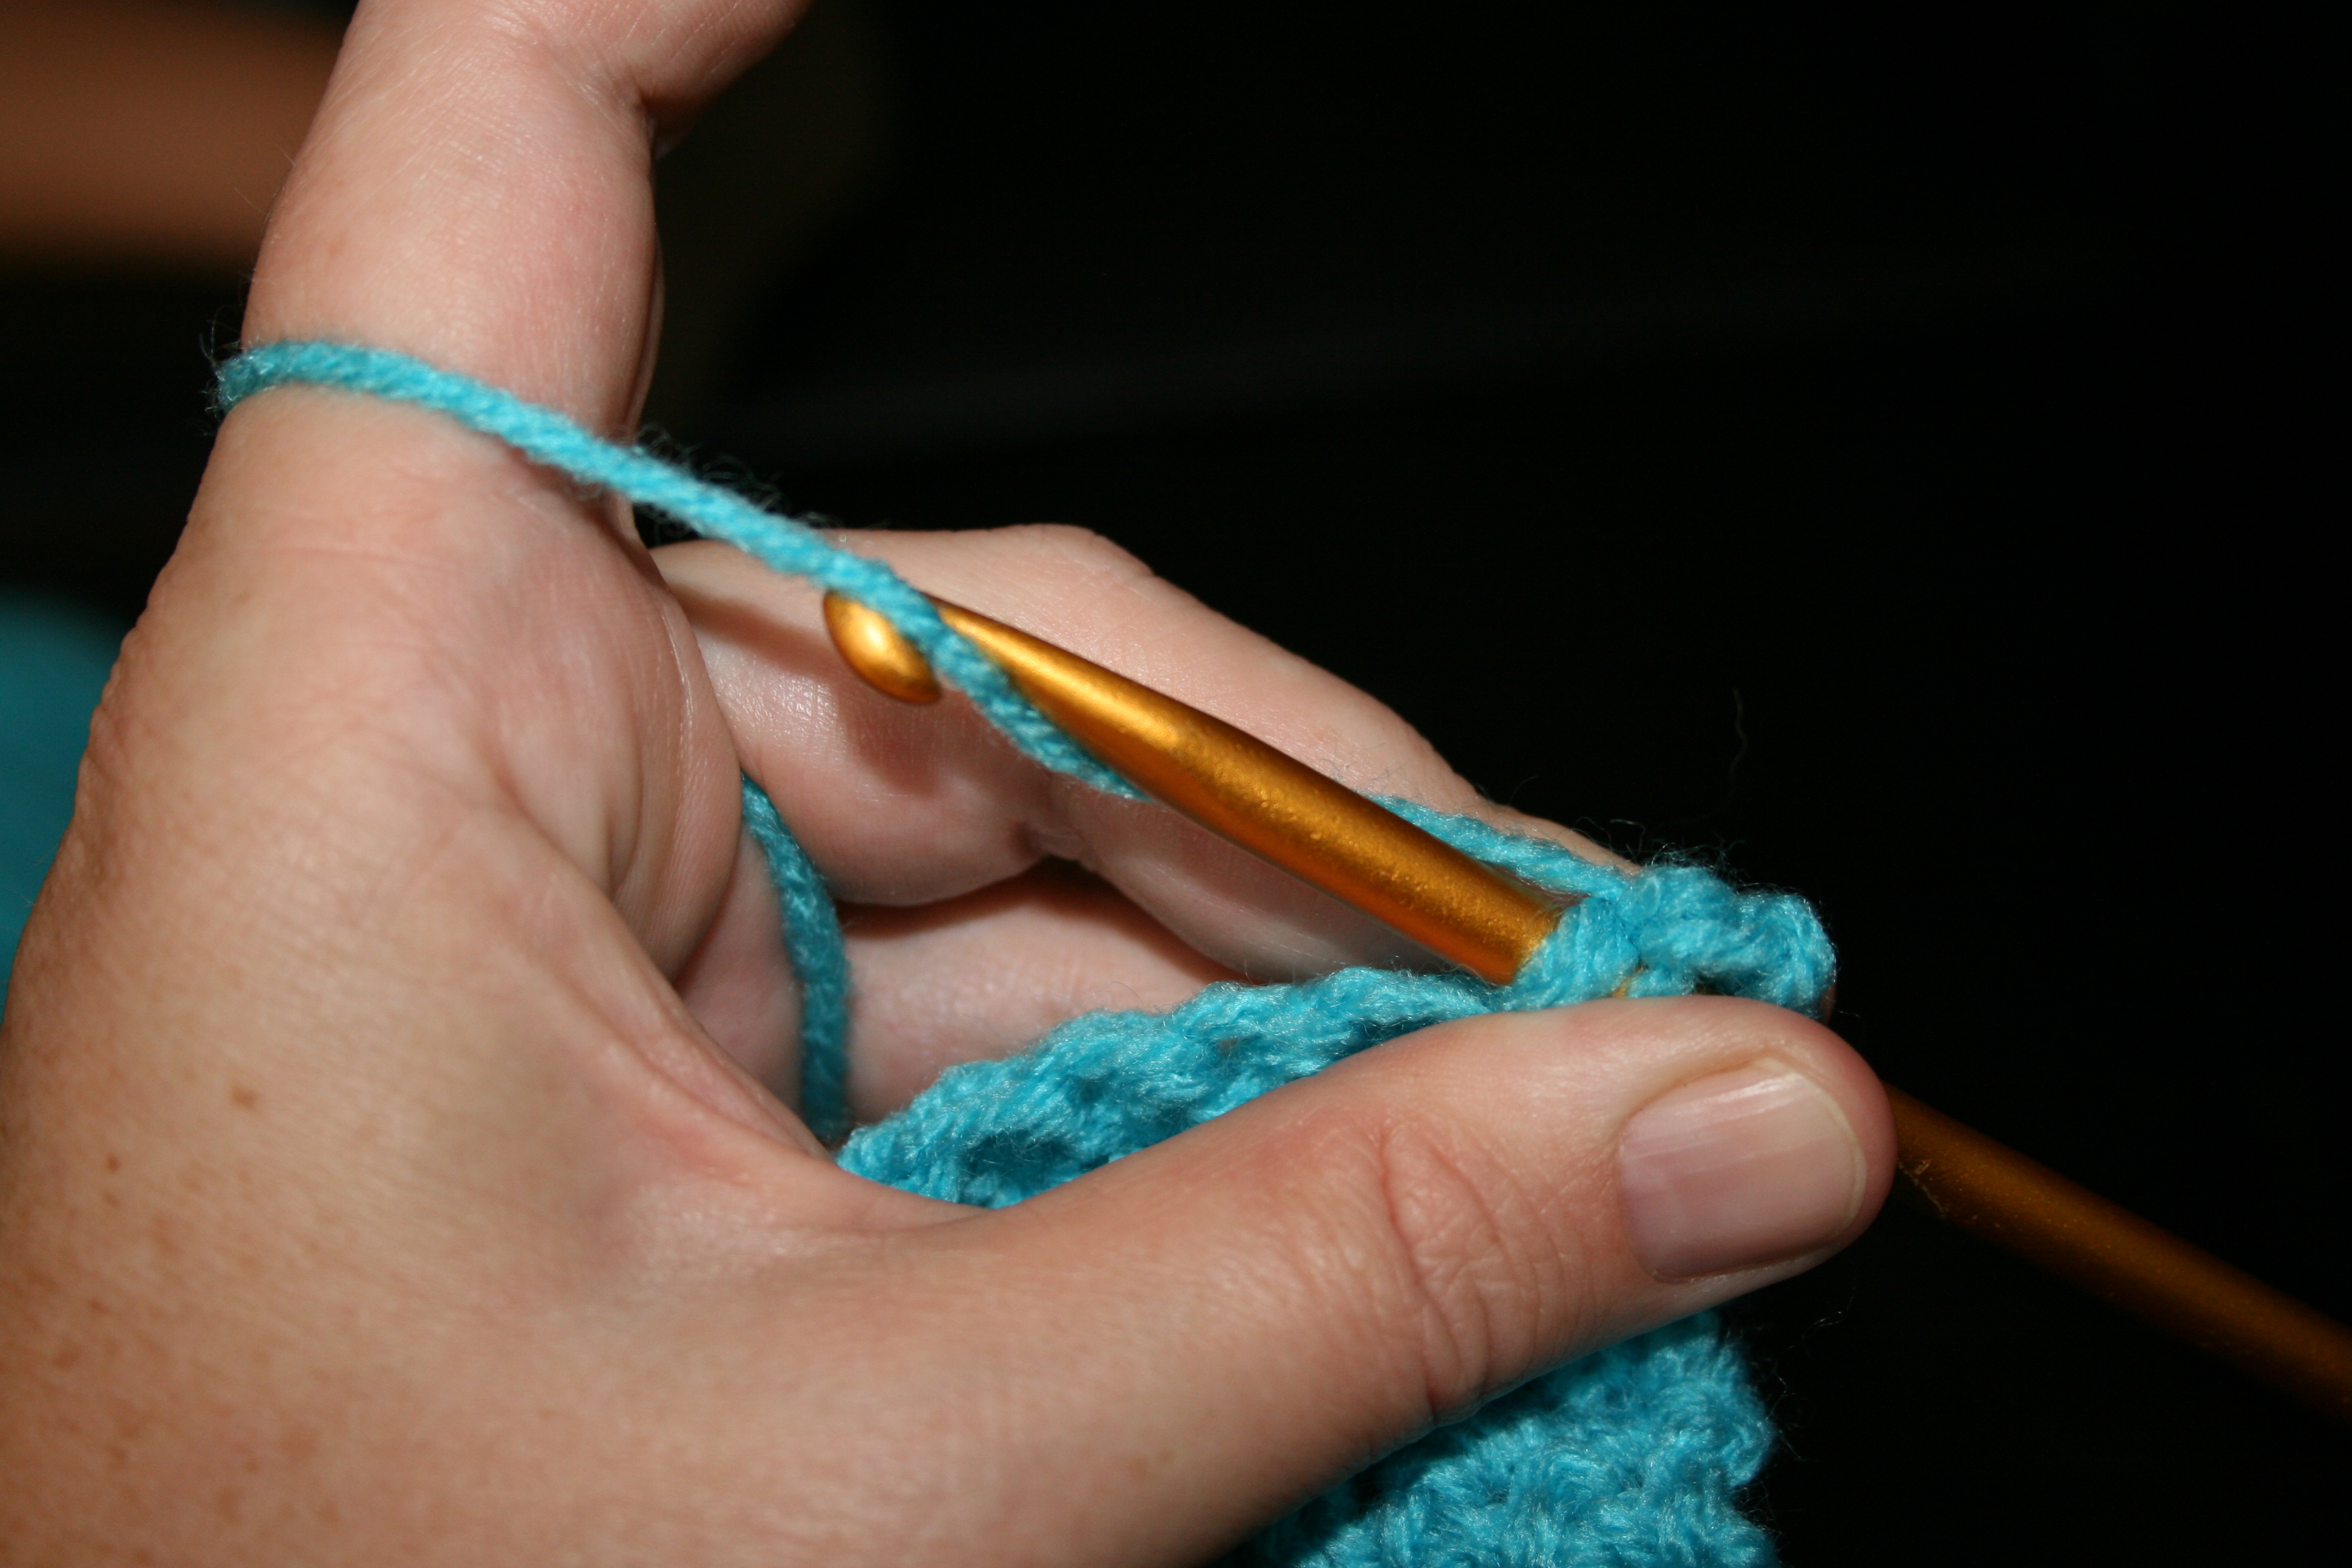
To create the stitch you start whichever stitch you are work, just as you always do. Meaning if you are creating a single crochet, insert you hook in the indicated stitch, yarn over and pull through; if you are creating double crochet, yarn over then insert in you hook in the indicated stitch, yarn over and pull through. The extension happens right after the “yarn over and pull through”, this is the point in a stitch that I refer to as “anchoring” as it secures the stitch being created to fabric being created.
After “anchoring the stitch” you yarn over and pull through a loop, essentially creating a chain. Then you complete the stitch as usual. This little added chain gives a little extra height to the stitch, however it does not make it as tall as the next typical stitch in crochet. This helps create a gentler curve in a gradual stitch taper.
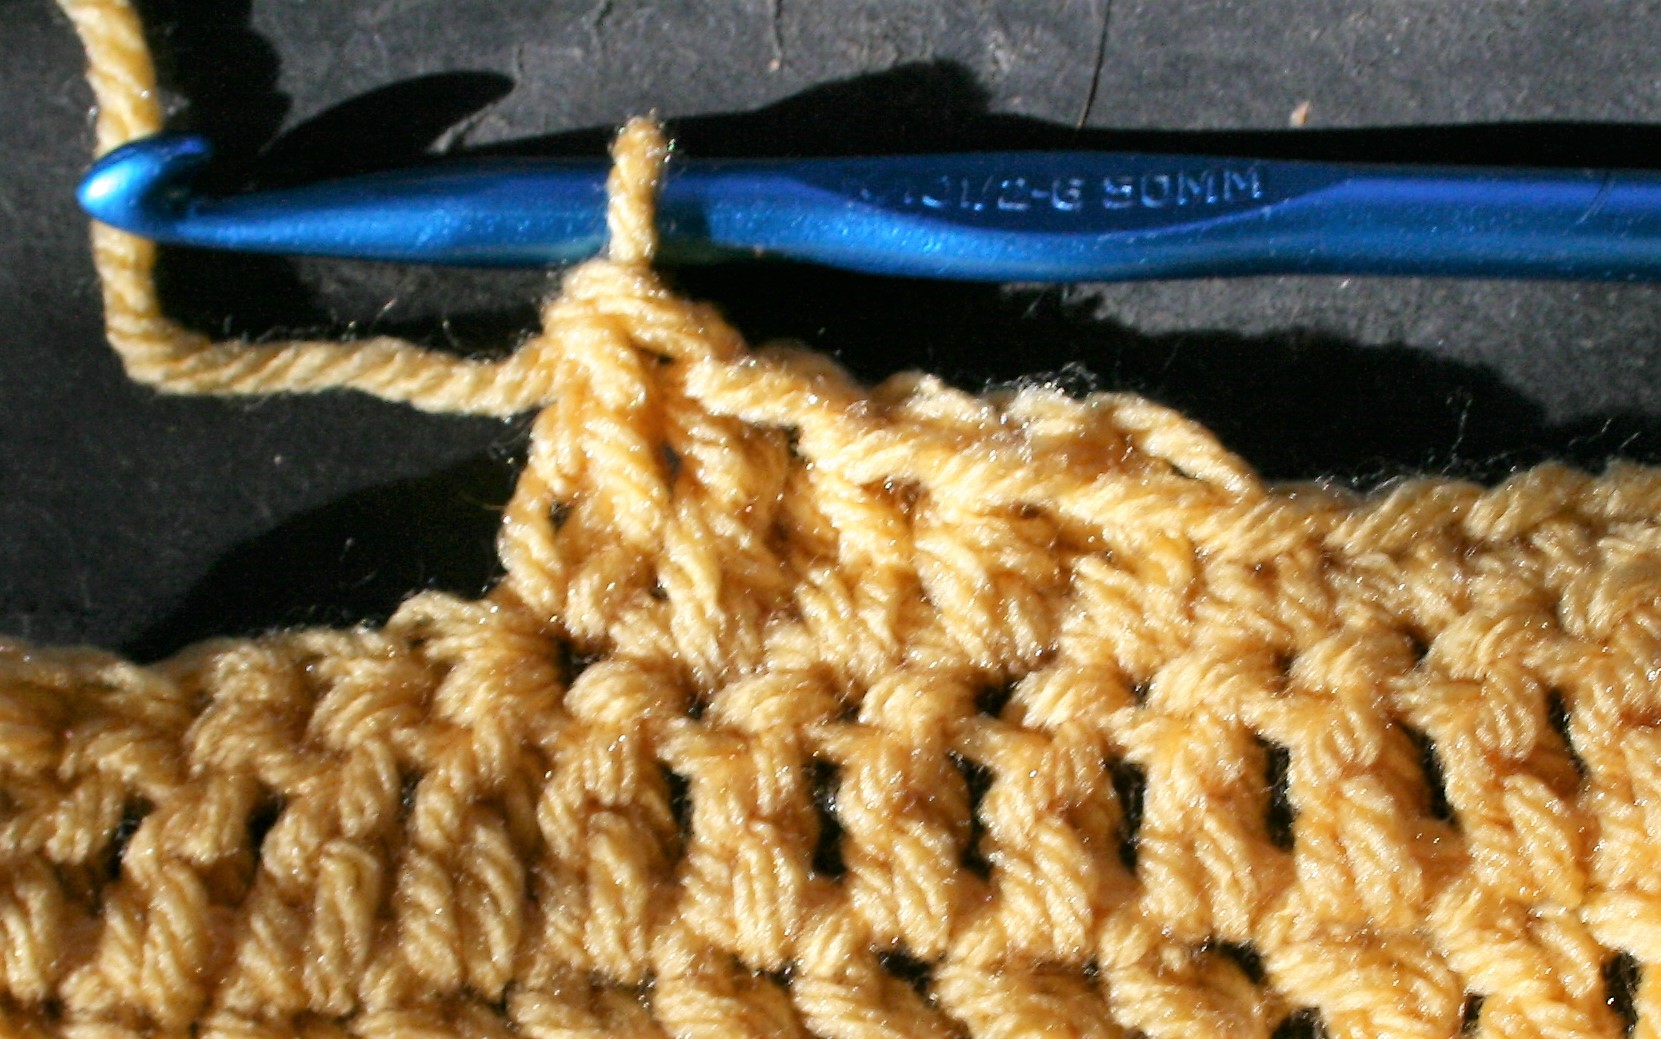
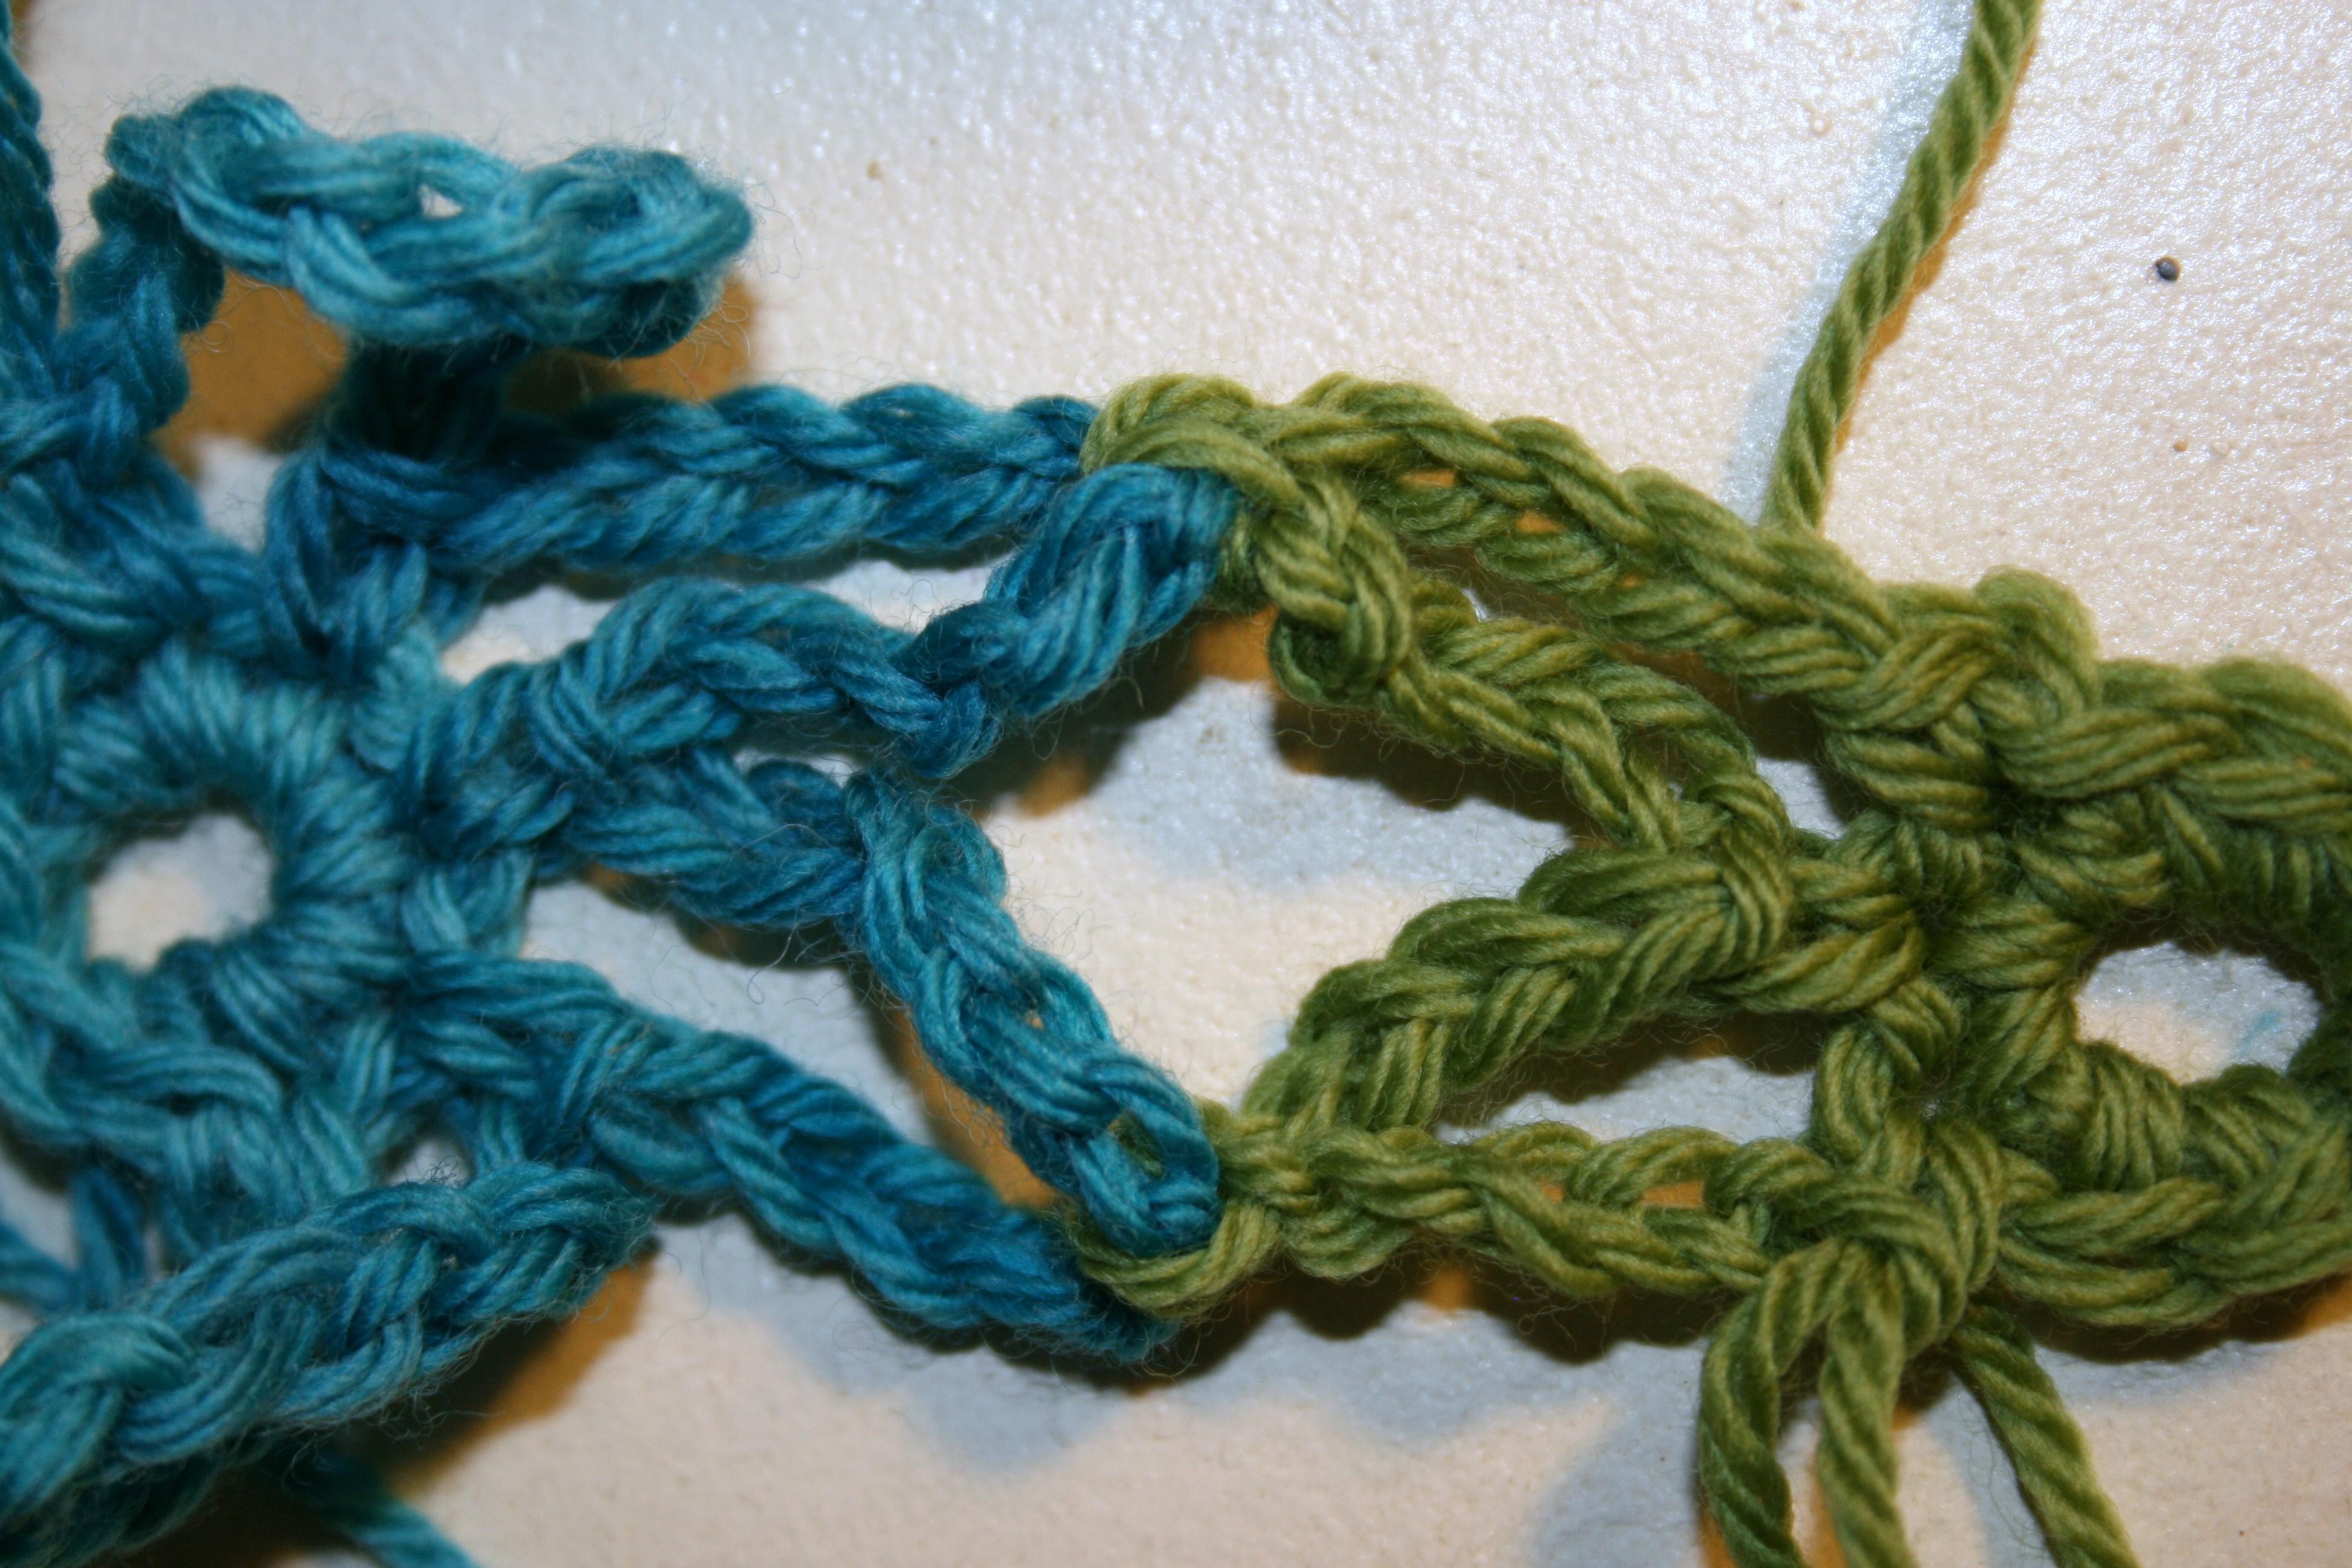
There is only a slight difference in the appearance of these extended stitches, and that is a little extra “v” at the base of the stitch post.
Steps for working typical crochet stitches, note: all photo examples are worked to the left of the typical version of the stitch for comparison:
Extended Single Crochet (esc):
Insert hook into indicated stitch, 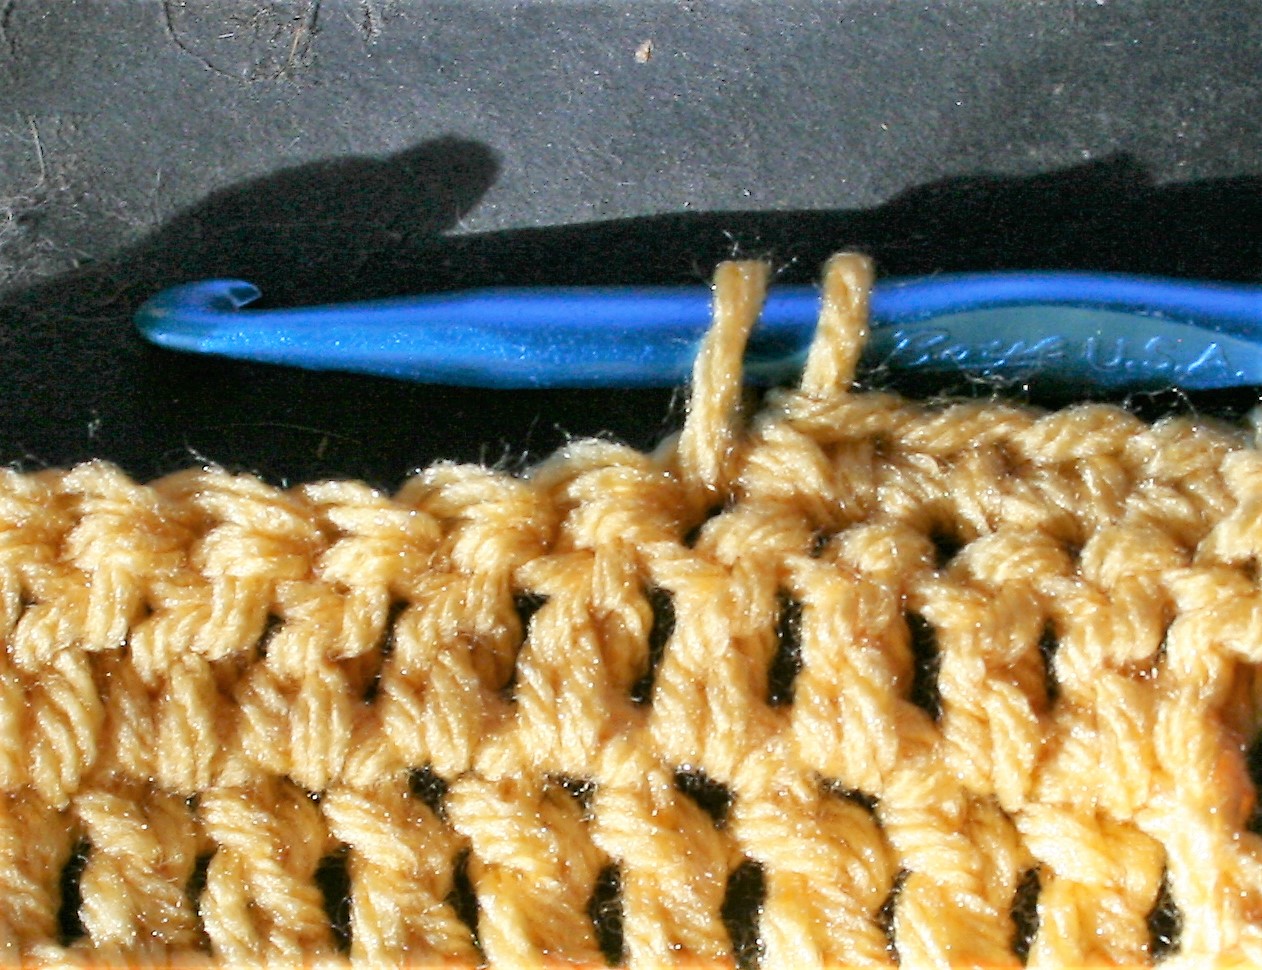 yarn over pull through a loop to anchor, chain one,
 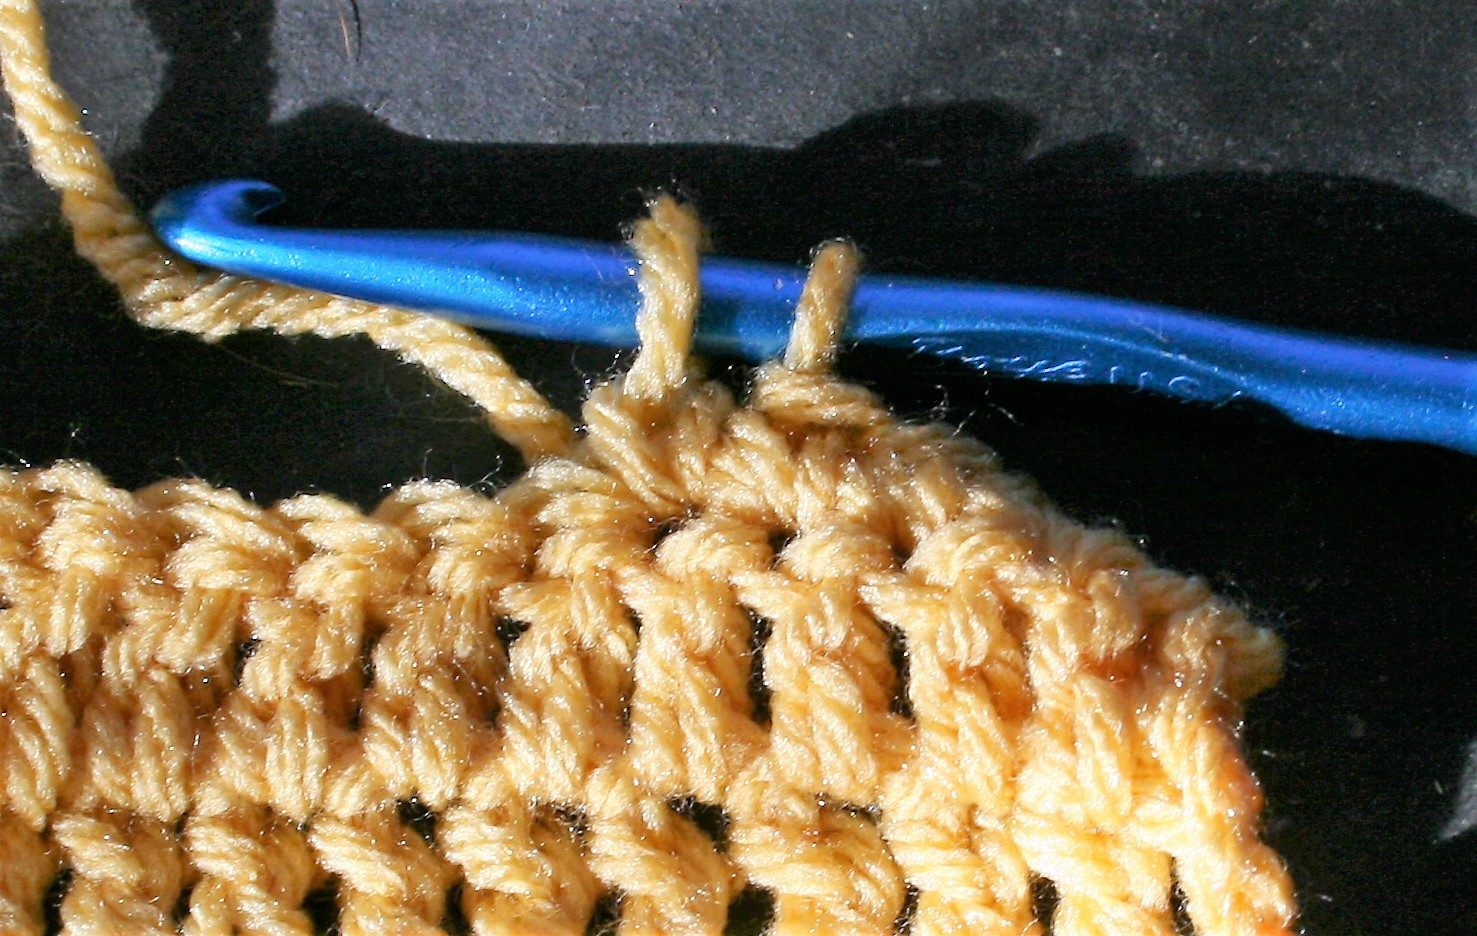 yarn over and pull through 2 loops.
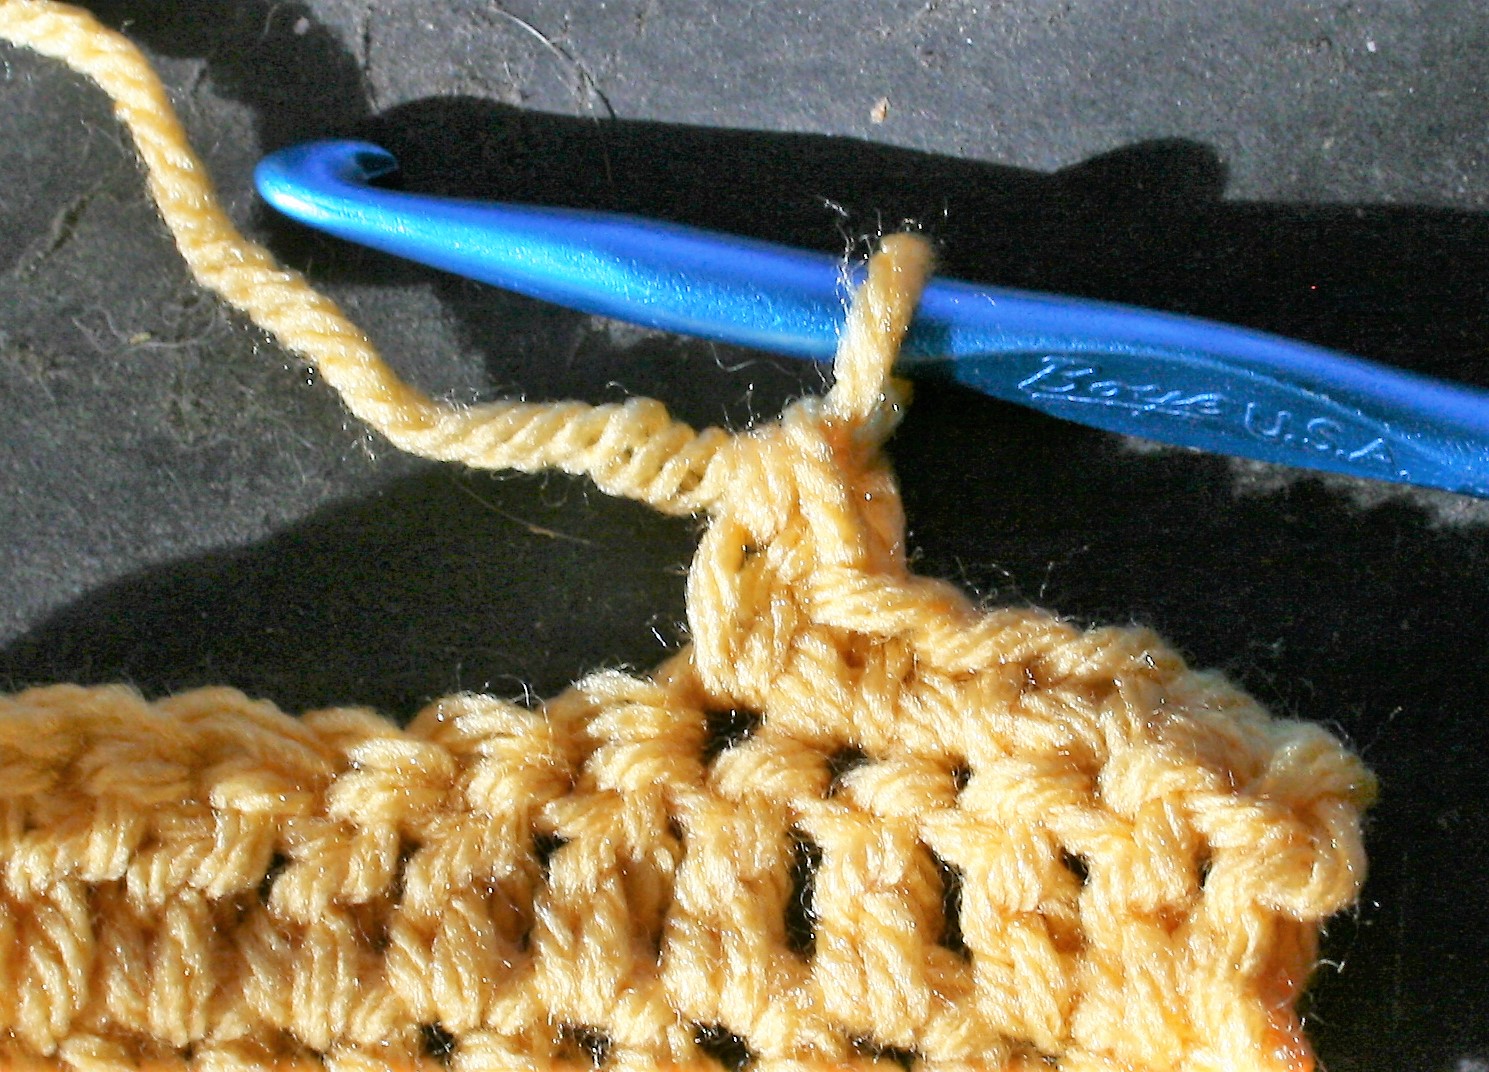
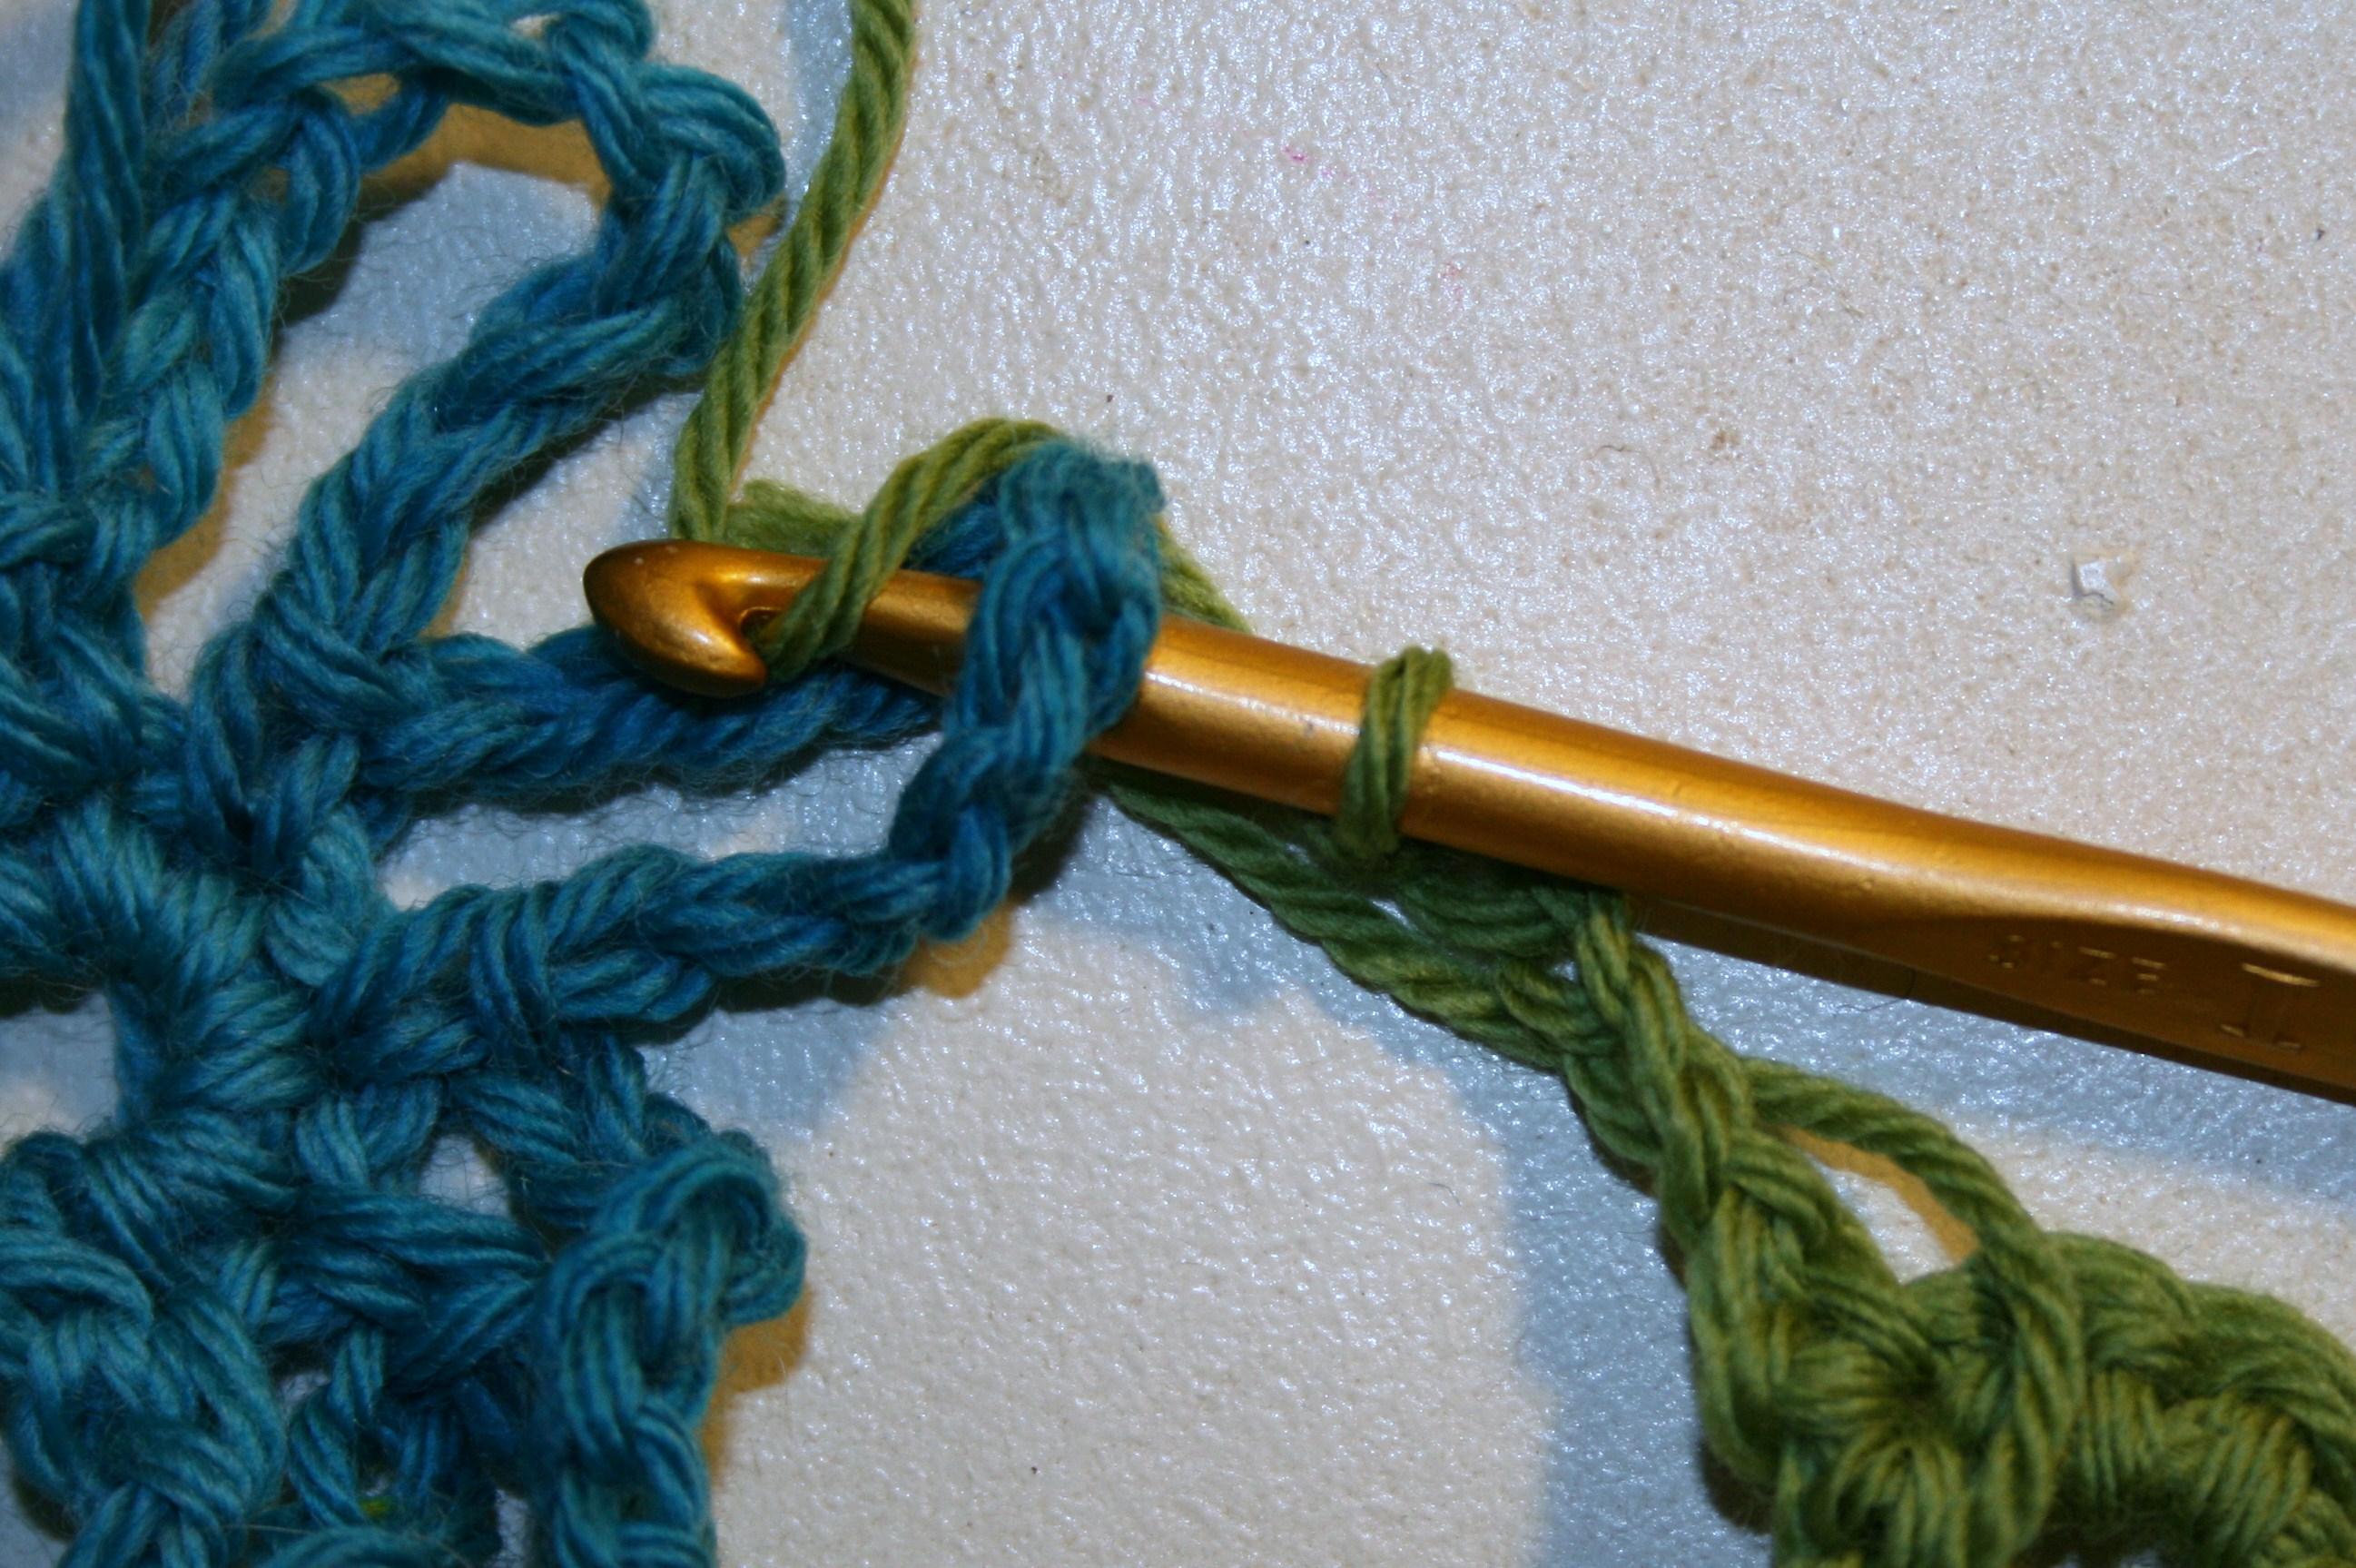
Extended Half Double Crochet (ehdc):
Yarn over, insert hook into indicated stitch, 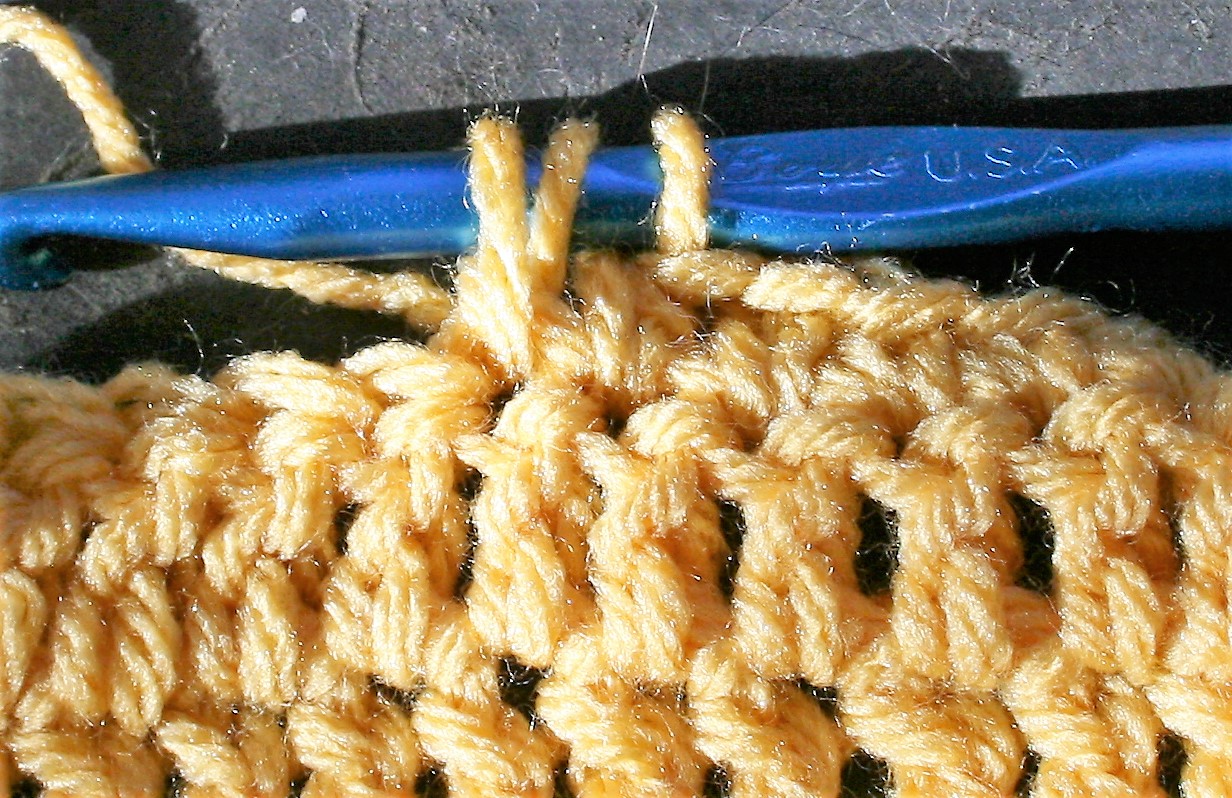 yarn over pull through a loop to anchor, chain one,
 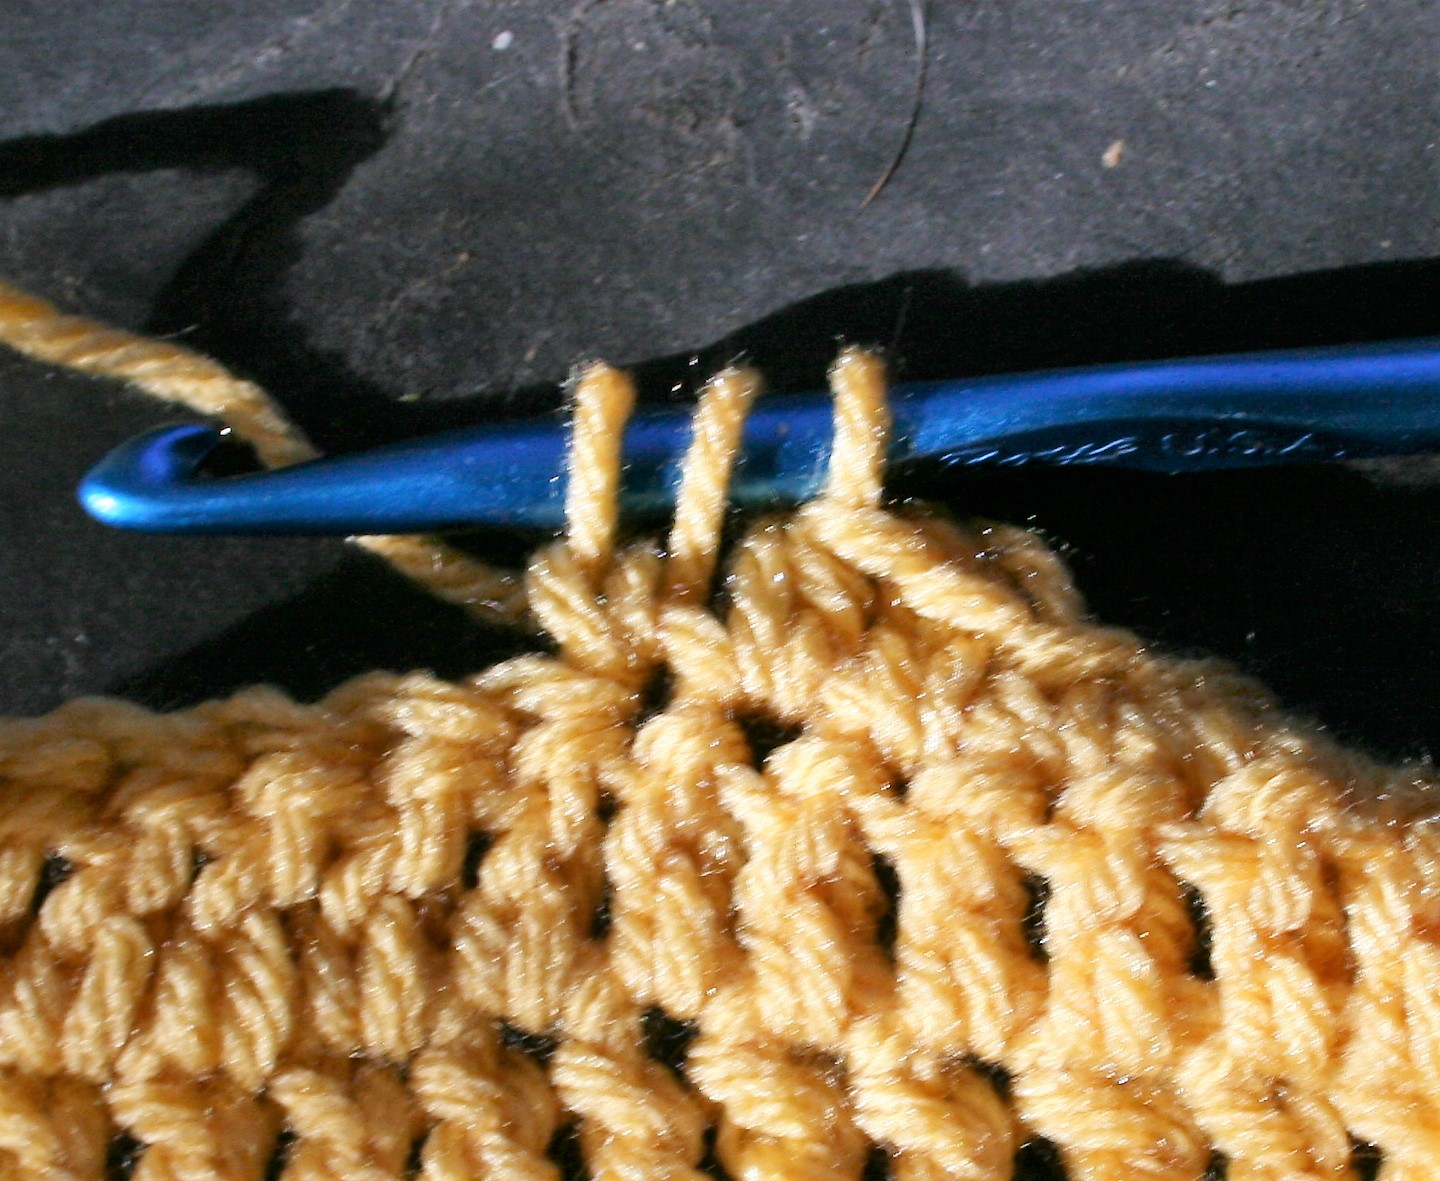 yarn over and pull through 3 loops.
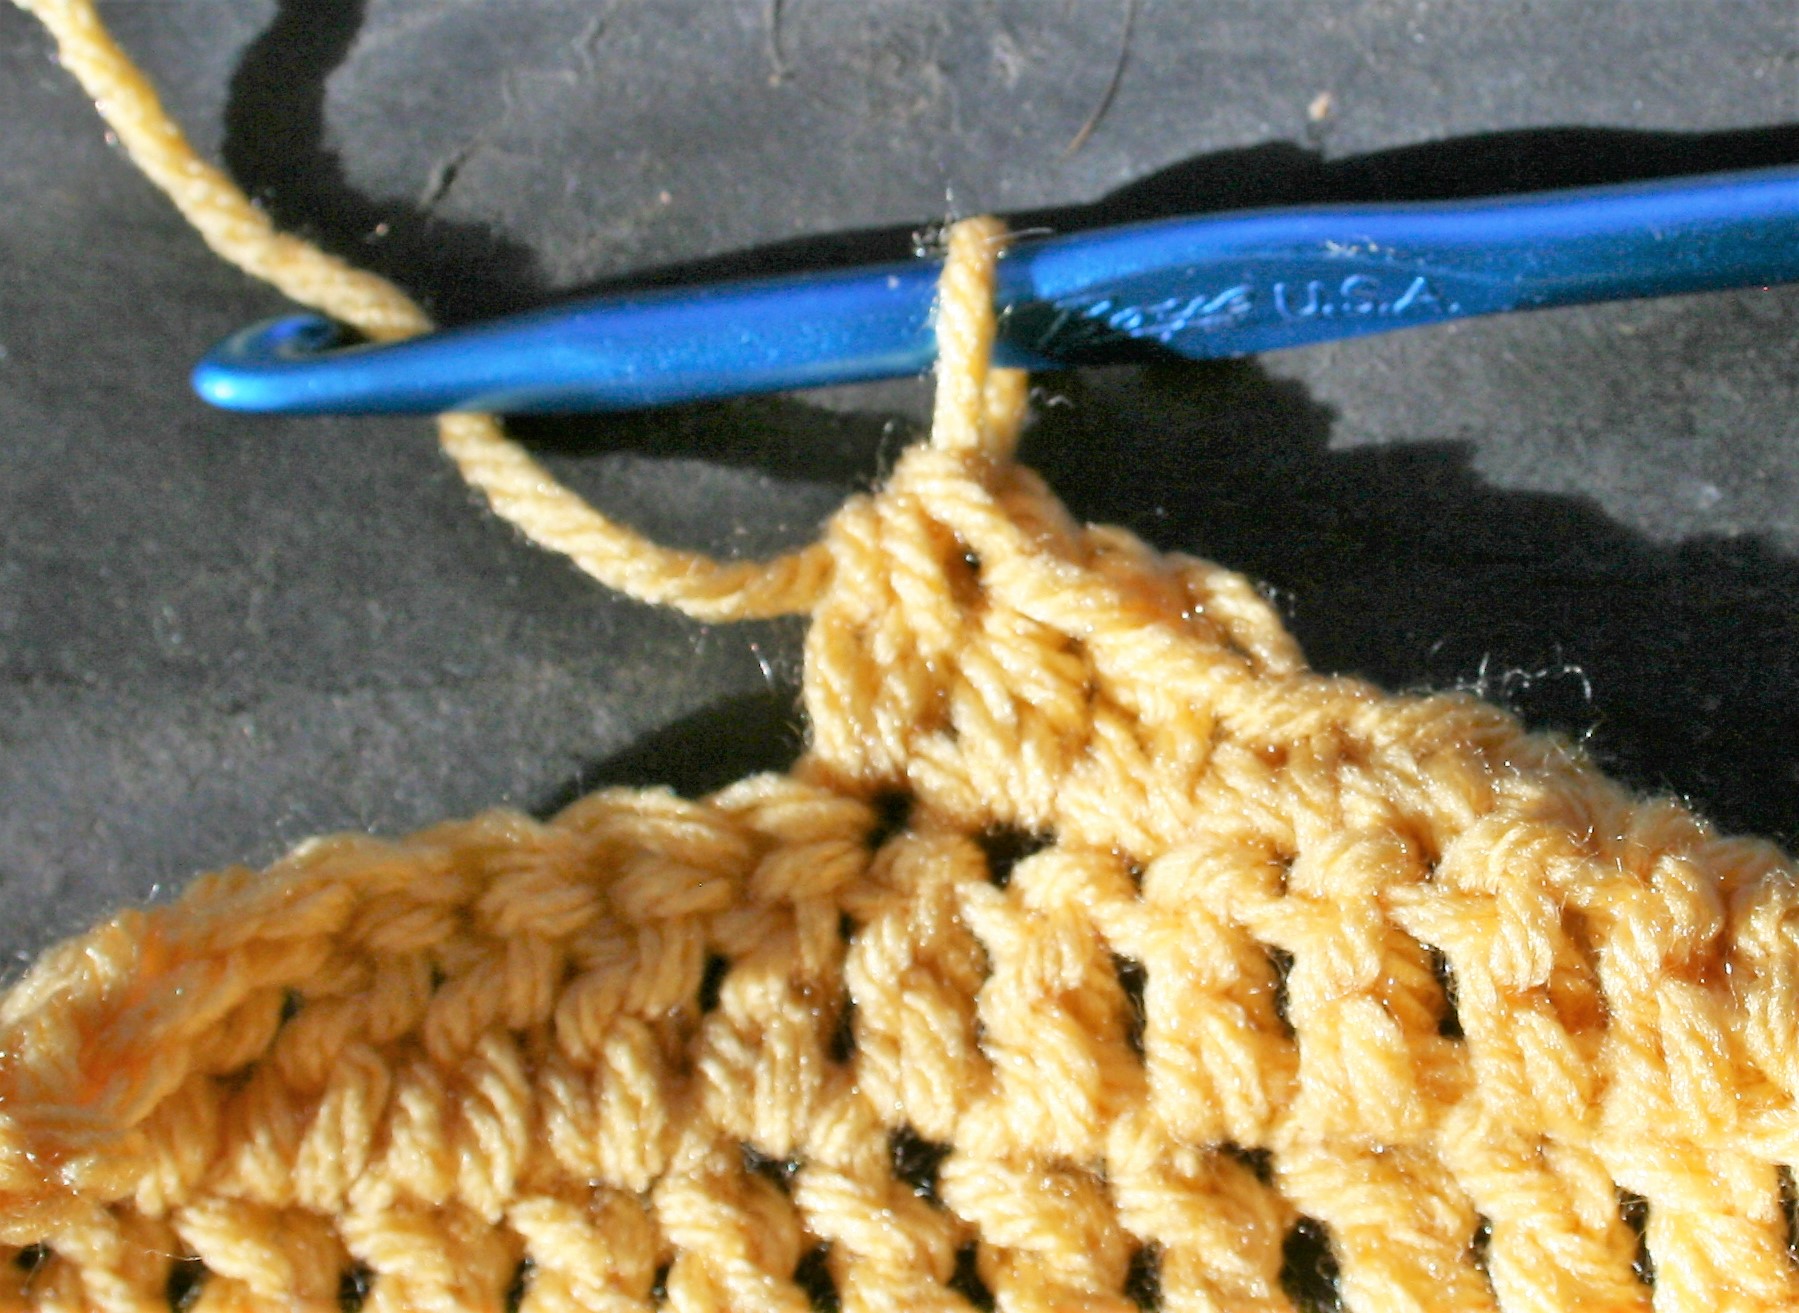
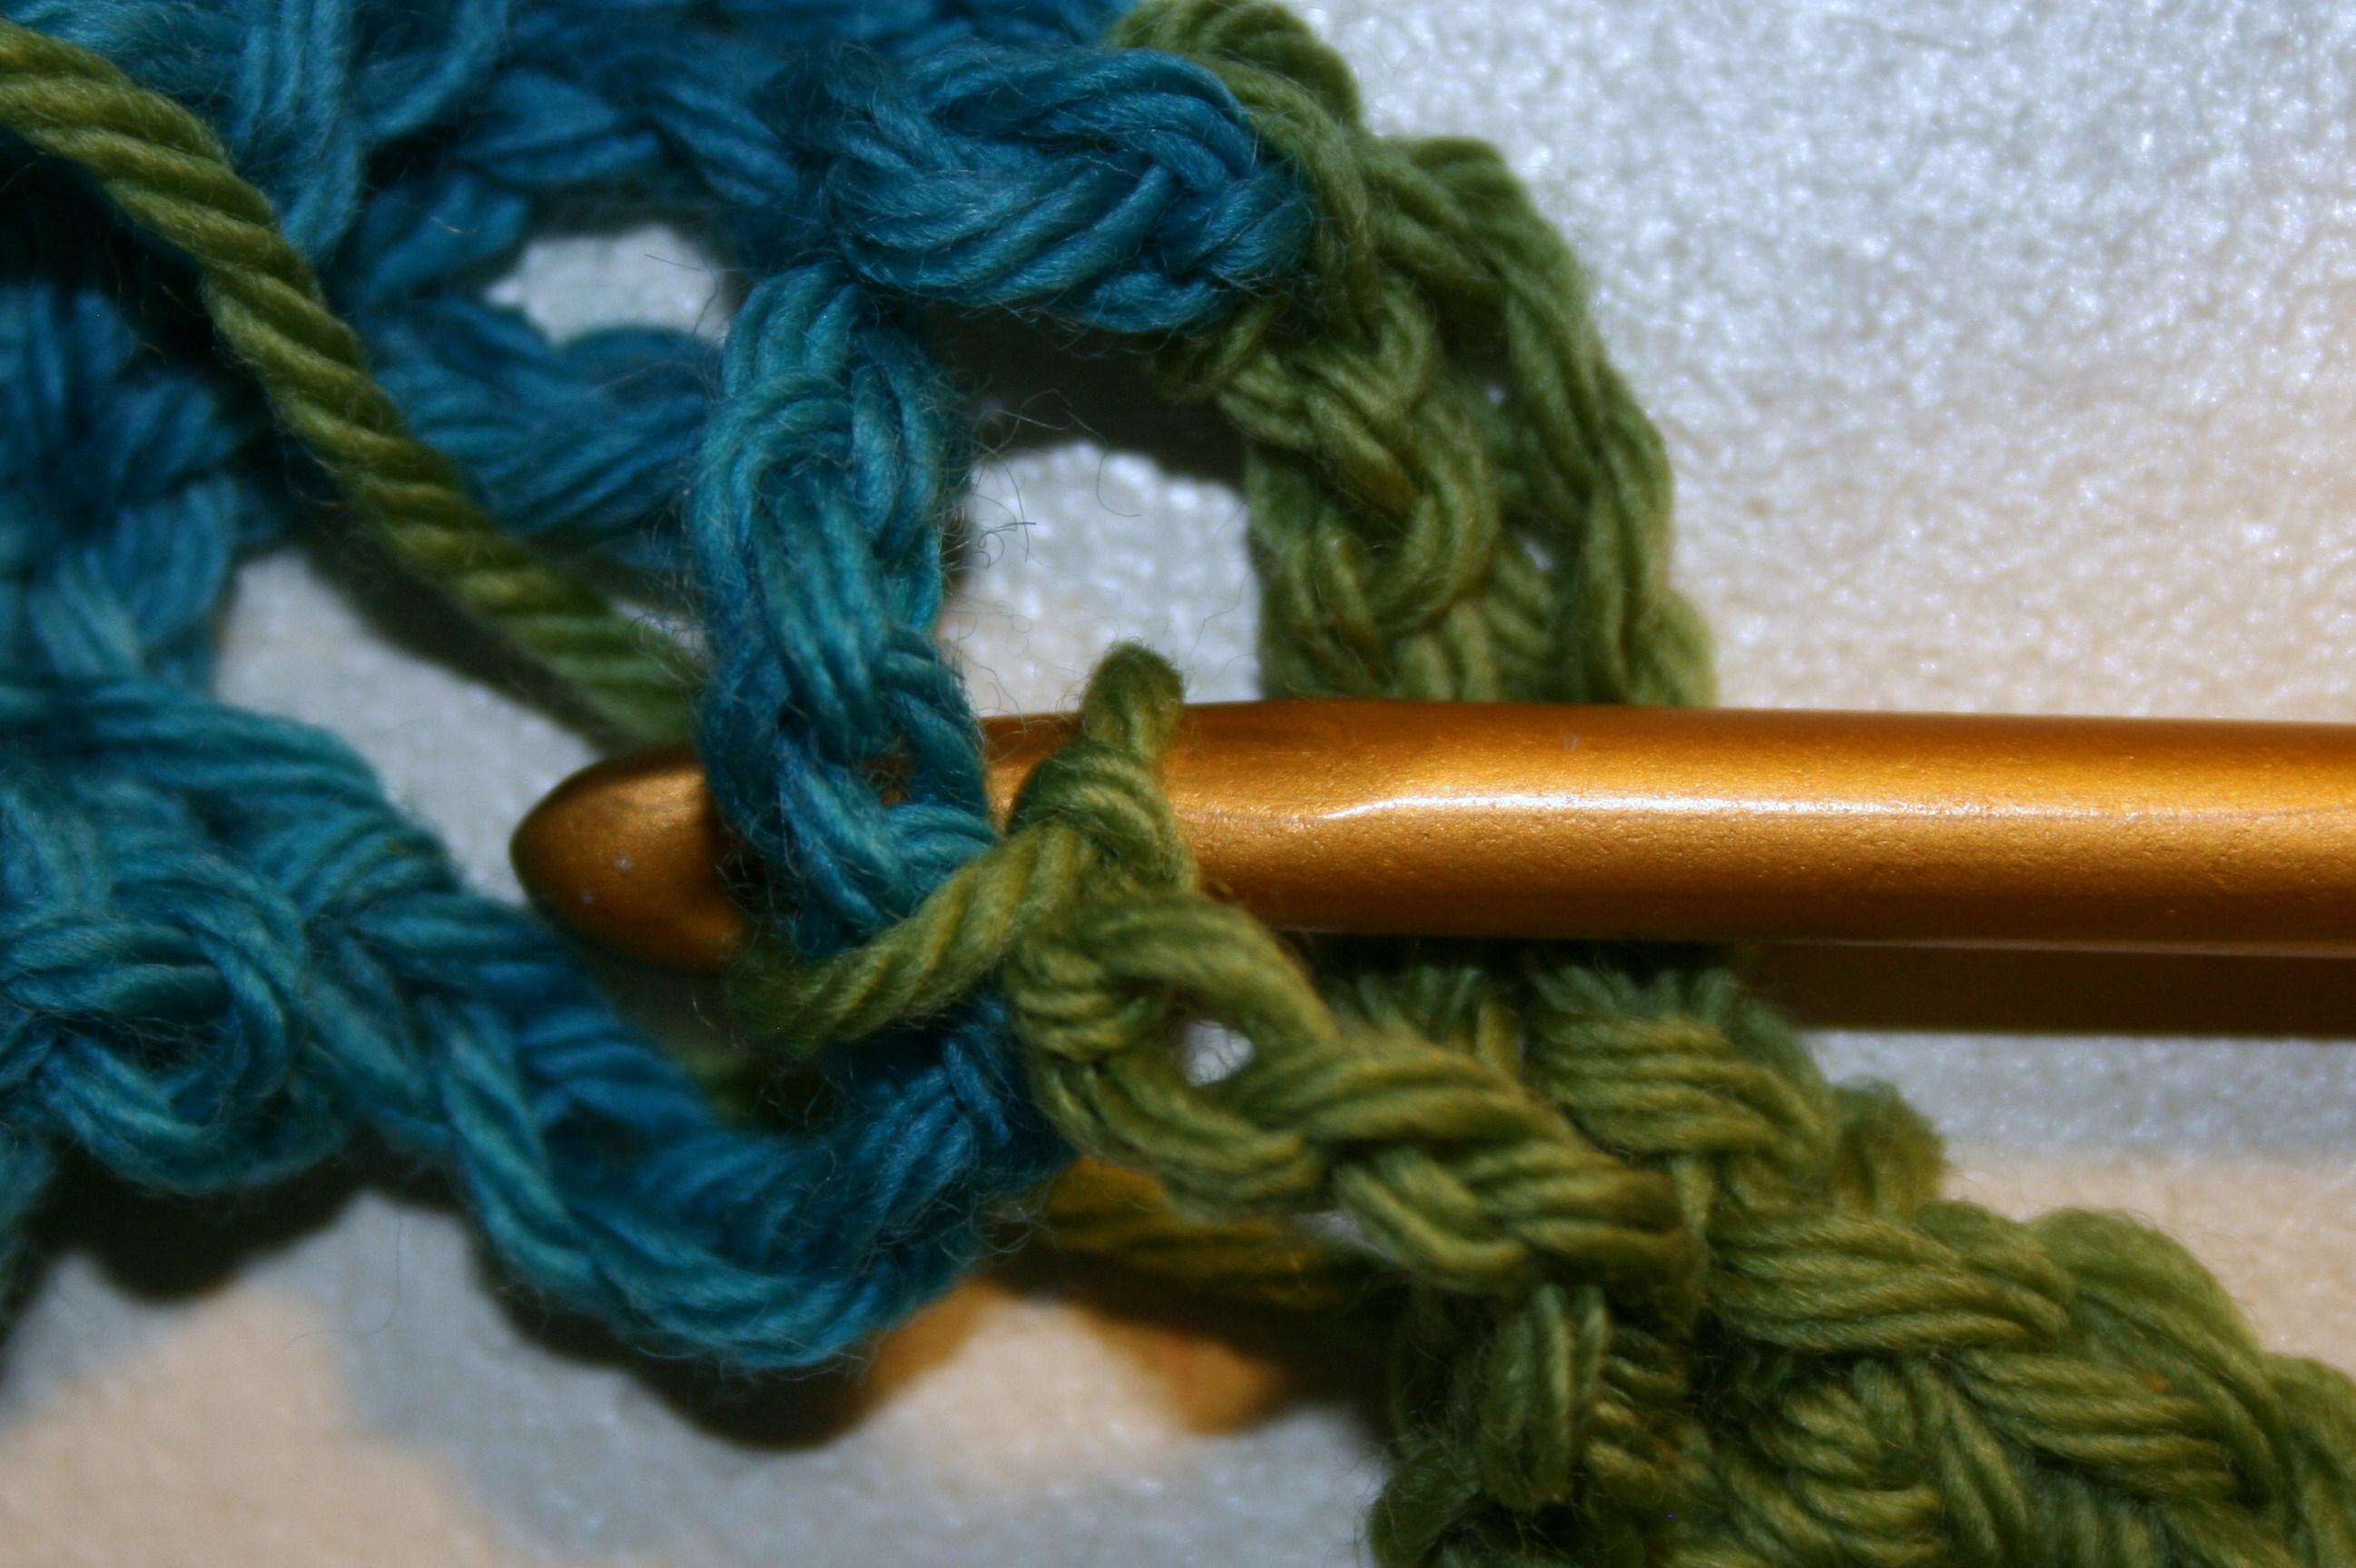
Extended Double Crochet (edc):
Yarn over, insert hook into indicated stitch, 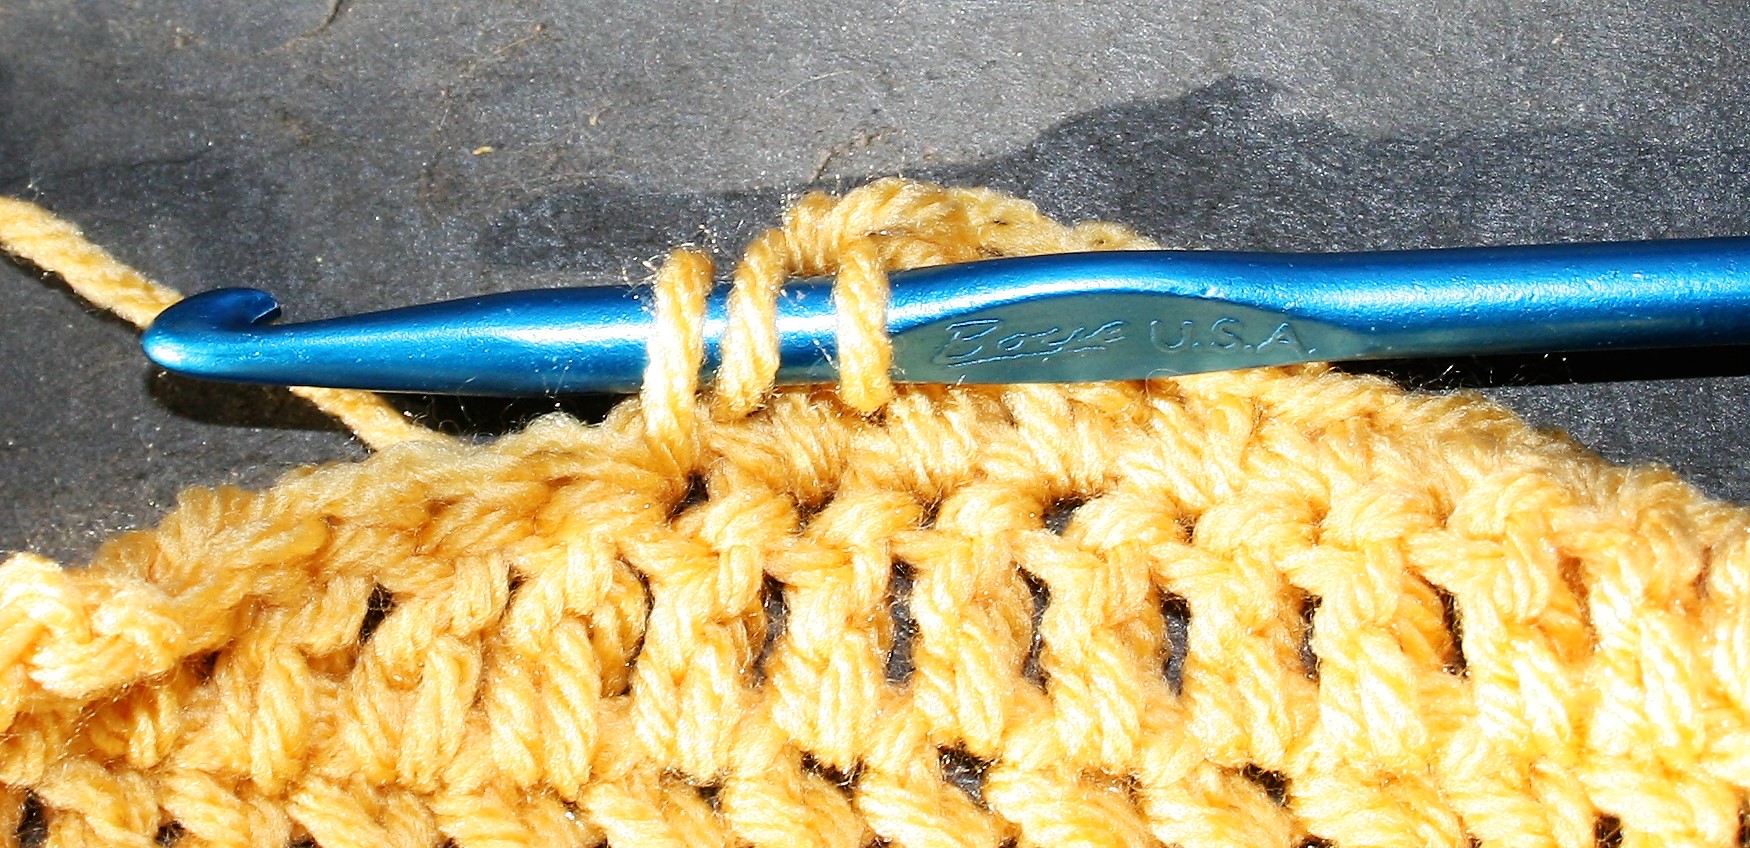 yarn over and pull through a loop to anchor, chain one,
 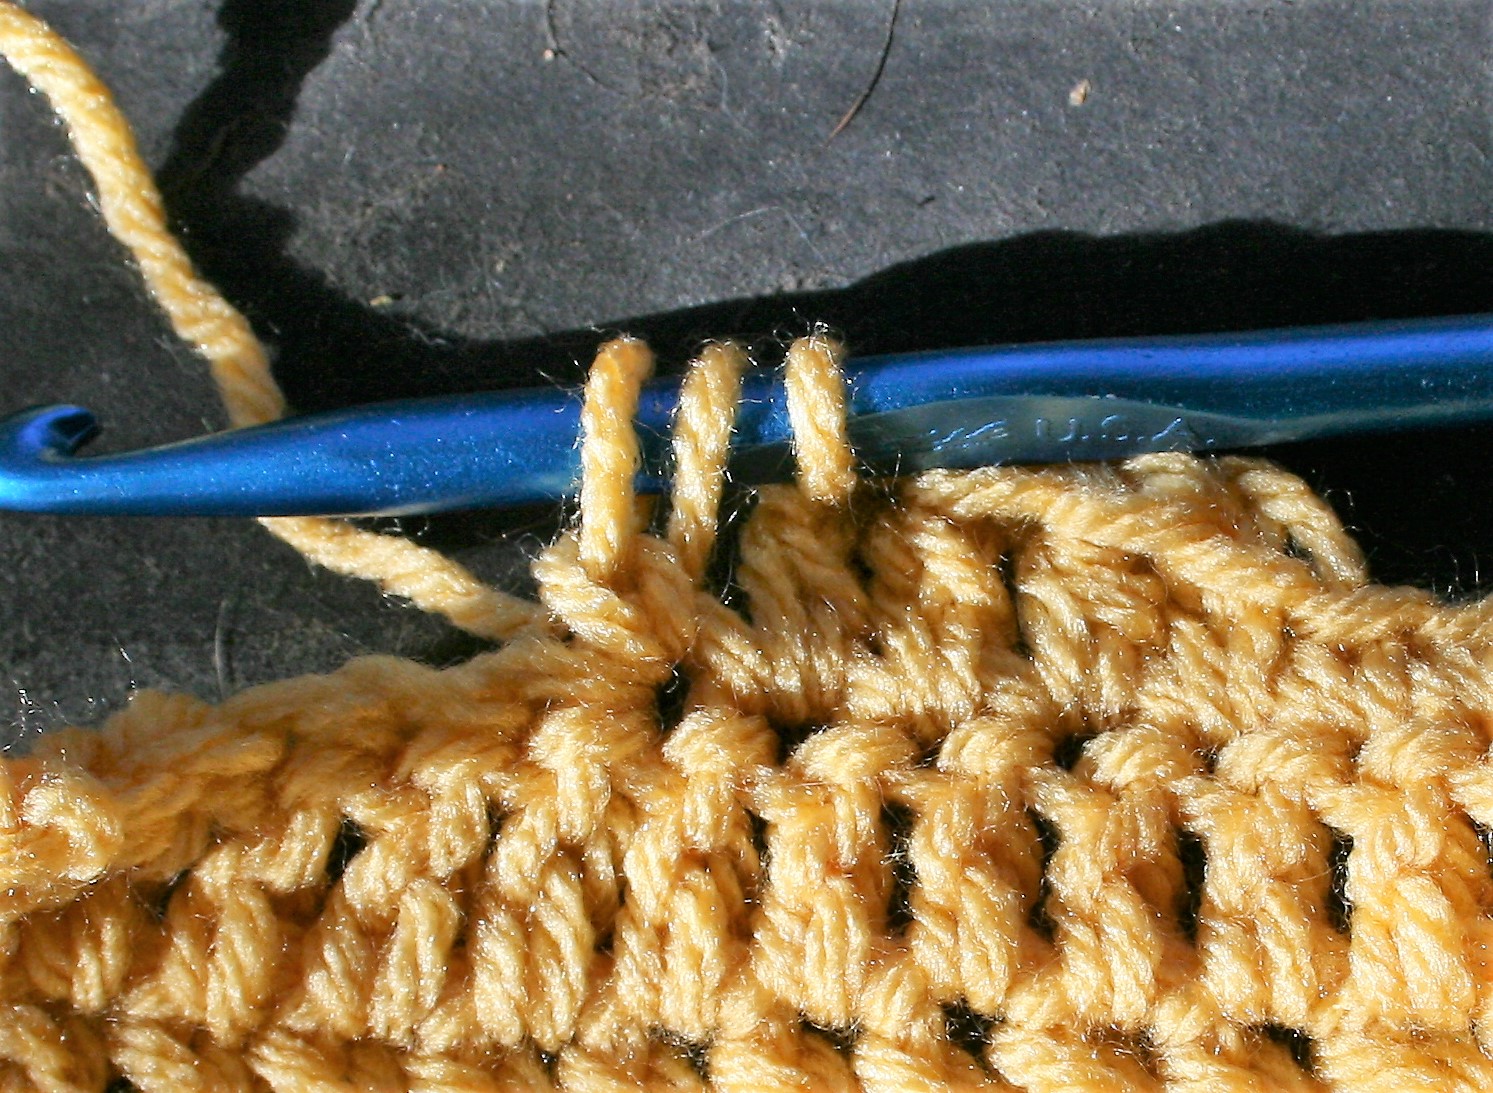 yarn over pull through 2 loops,
 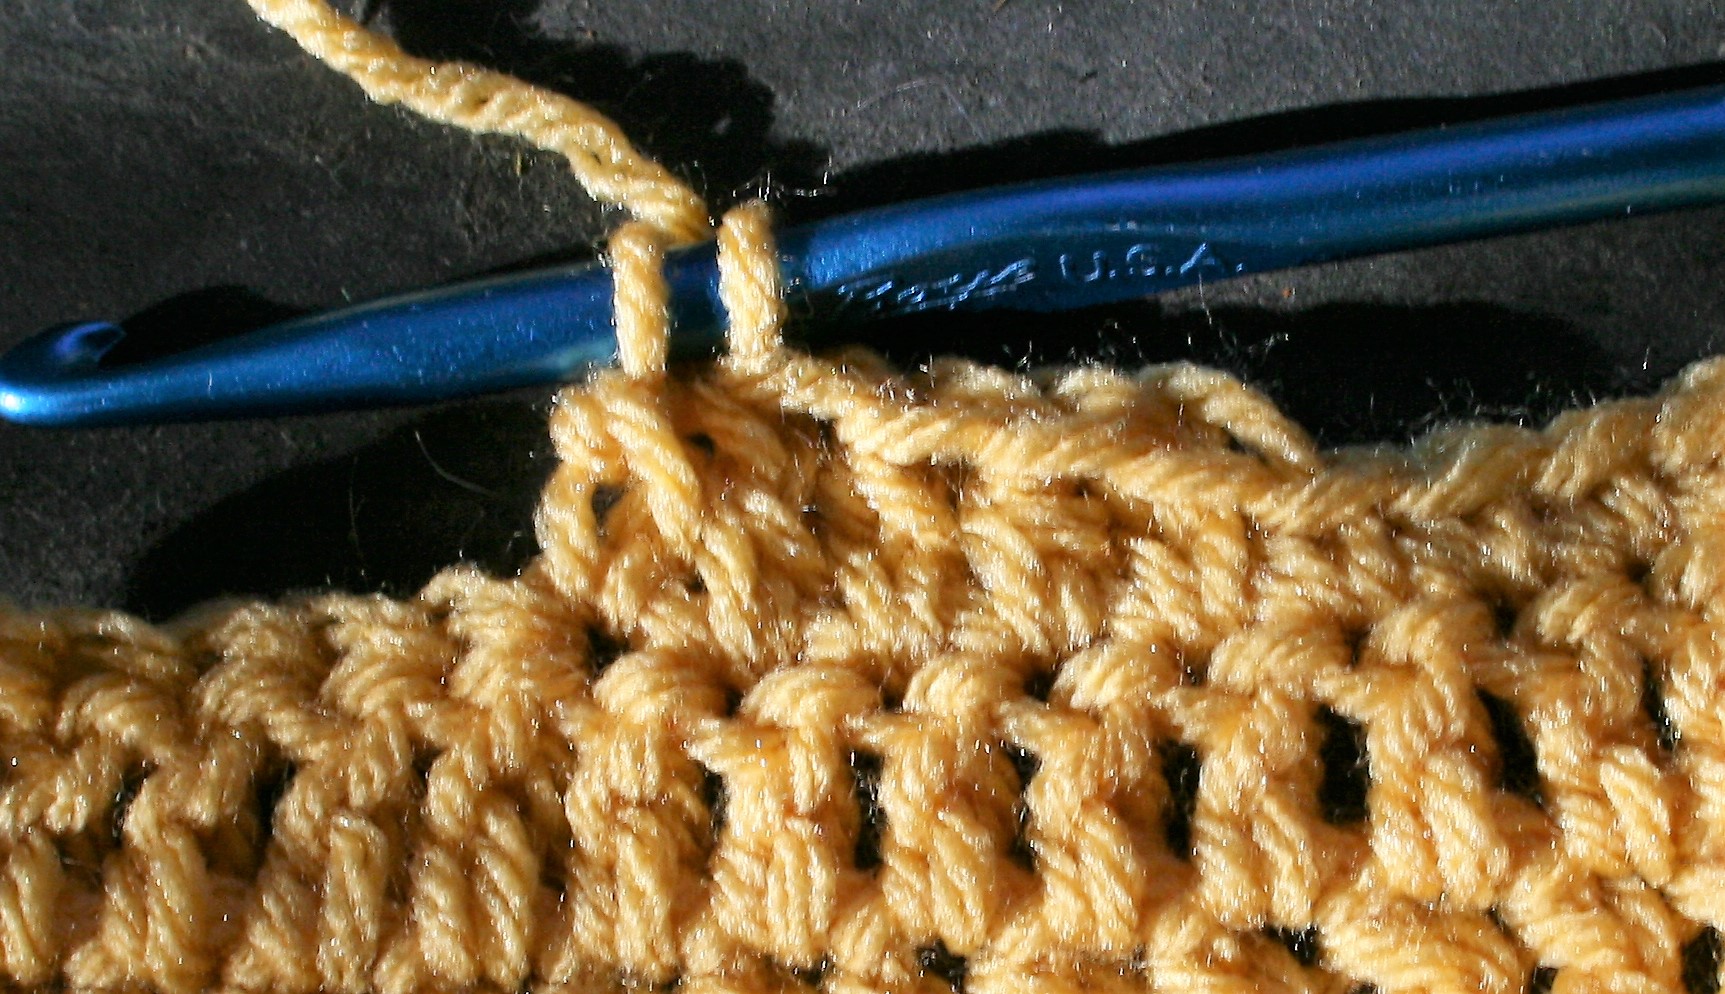 yarn over pull through 2 loops.