My Crochet Carrot- Crochet as Motivation

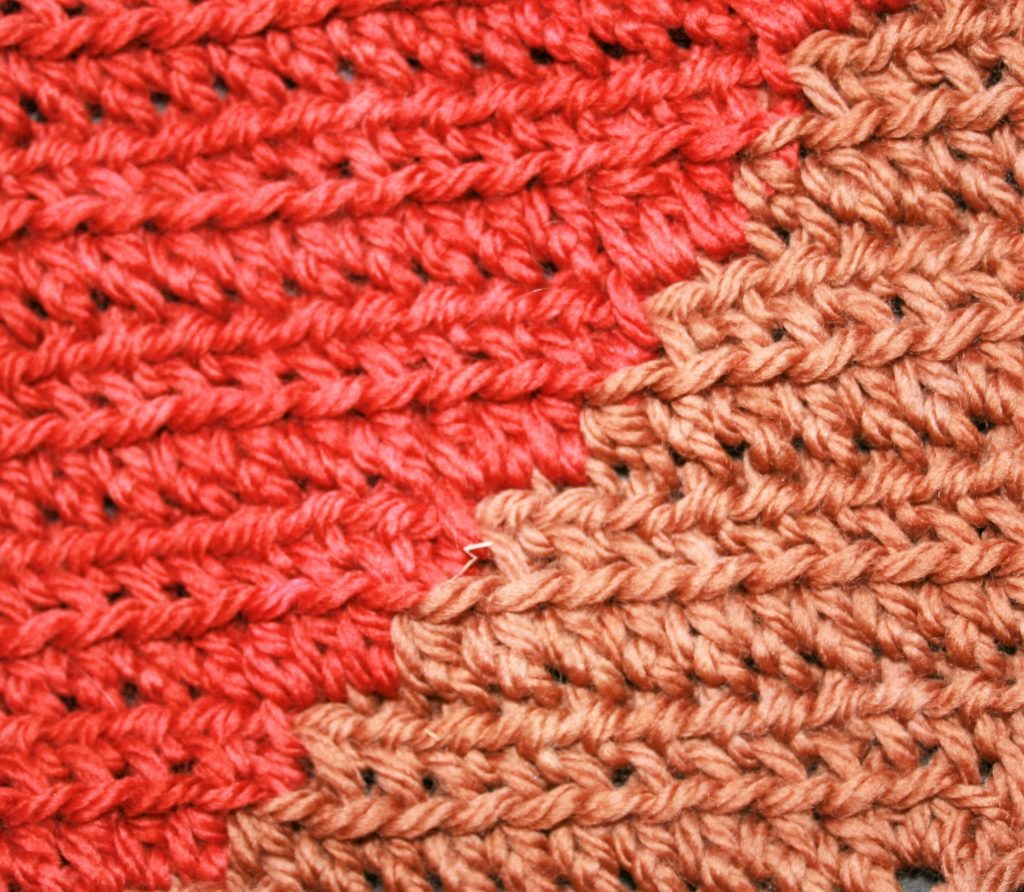
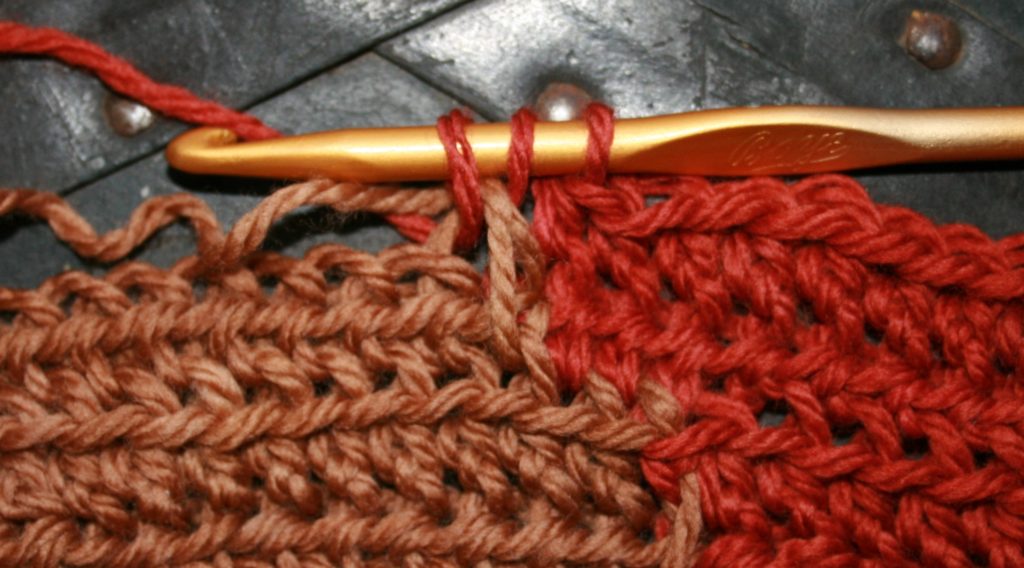
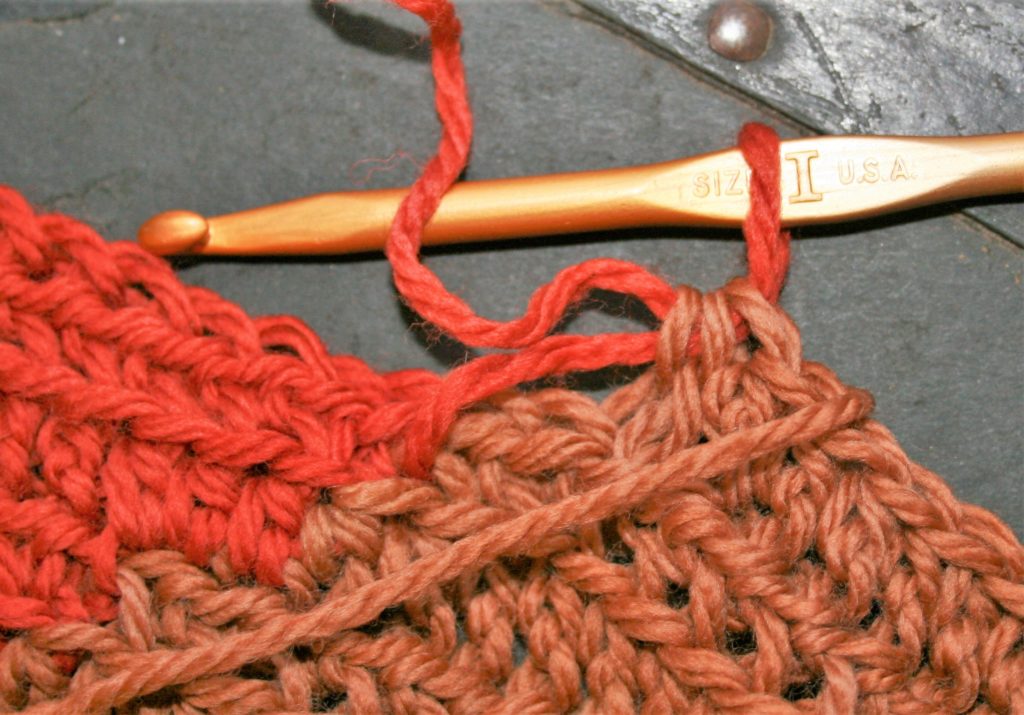
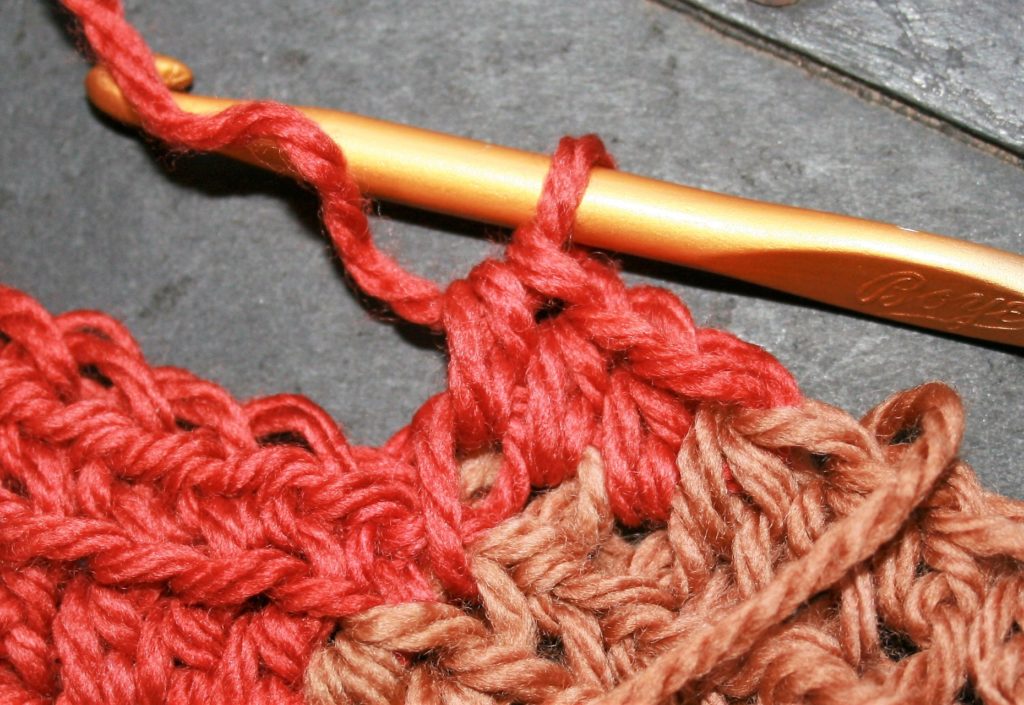
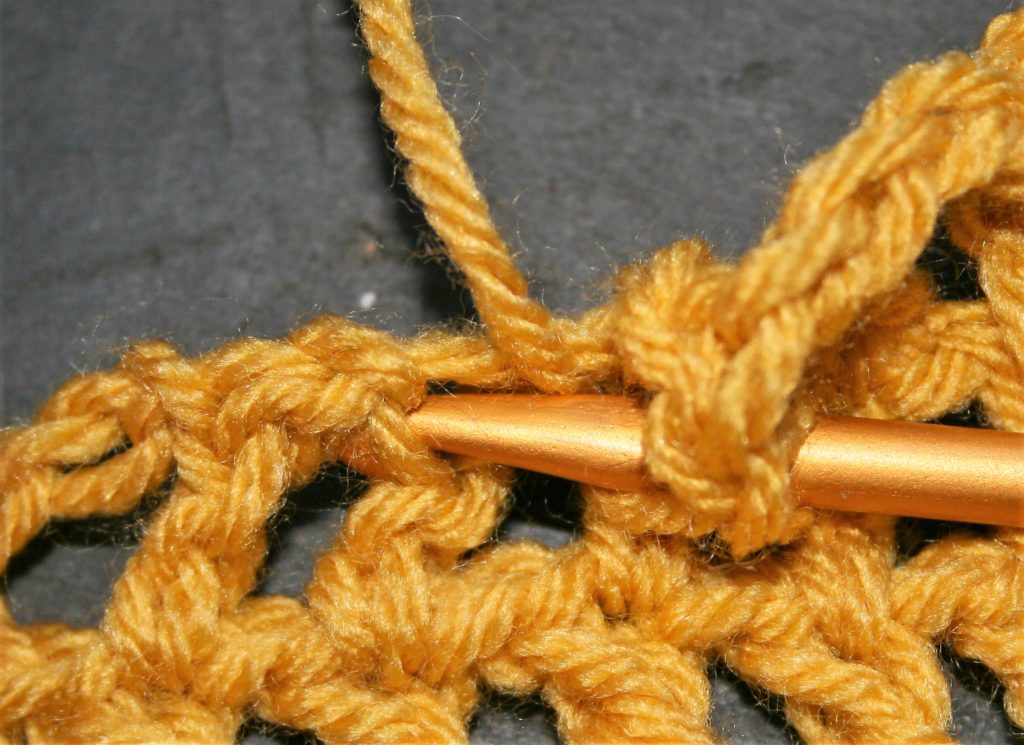
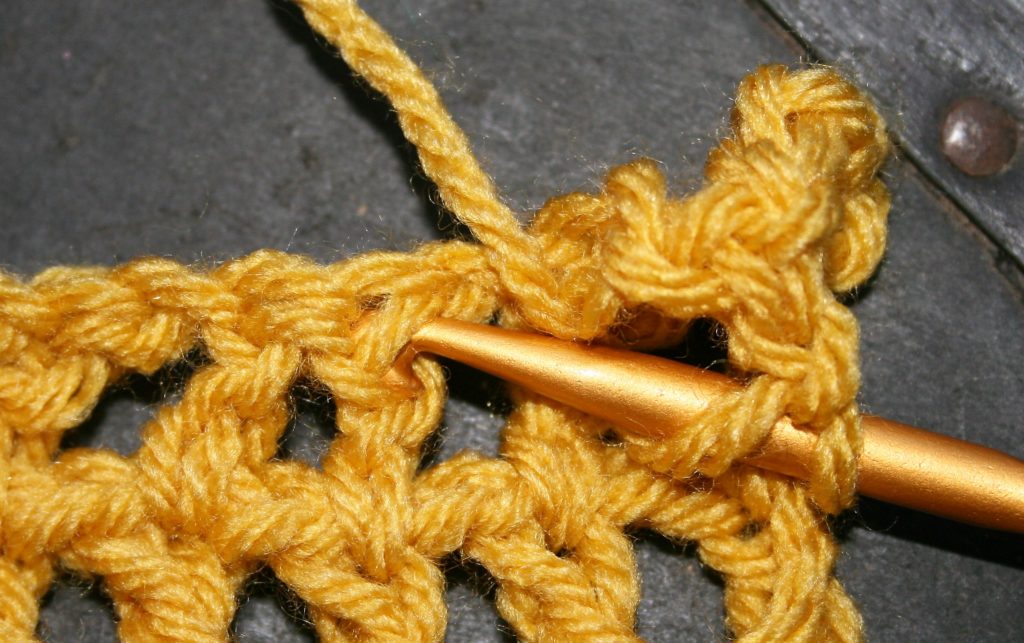
Usually crochet becomes a bit of my refuge from doing the dishes and cleaning the floor. However, with spring in the air I do get the urge to actually clean out some clutter and have a fresh home. I use crochet to help me to do this.

This spring, crochet is my carrot.

I know myself well enough to know that this desire to clean those dust bunnies from under the sofa will be short lived. I really only spurs during the seasonal changes of spring and fall, and have a very limited number of hours that I will be in this mood. This year I decided to nurture it a bit.

Using Crochet as my carrot to keep spring cleaning productive

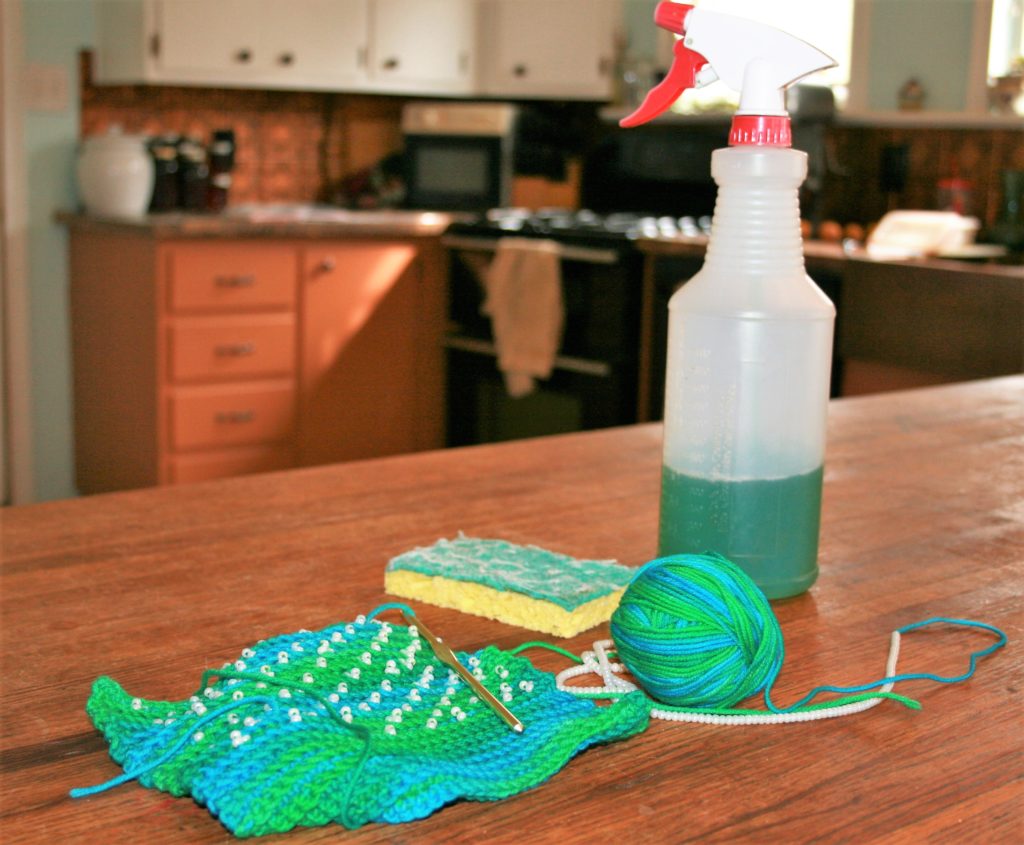
I allow myself a set number of pattern row repeats on the project I am working on, then I can clean a shelf in the refrigerator. Once the shelf is clean I can return to another pattern row repeat of my project.

I really have found this to be productive, even if the back and forth nature seems a bit counterintuitive. While I am working my pattern repeats I am mentally planning my attack on my next small cleaning projects so that things go smoothly. In addition I do not get burnt out as fast in my cleaning undertaking.

If it were not for my carrot of getting to crochet after I finish a small cleaning, I am not sure if I would be as productive. In the past I would start in a corner to clean, give it my all and go full throttle into the project, I would have everything torn apart to give a through deep clean….then as everything needs to get put back into place I would lose all desire and energy, and if things went well everything would end up tossed in the corner again and I would pass out on the couch.  At least in this small step approach I find that the entire small project gets completed. Not to mention I am actually still making headway on my crochet.

A Bit of a Color Change Difference

Some color changes are a bit different than others. The way to change the color in a stitch is the same, I discuss that here. However, there times when a couple of other little tricks can make the color change smoother, and your fabric much more eye catching.

One of these times is when the color change may occur within the rows with a shift of the stitches, like a line of color moving diagonally. The color change is not exactly in the same location as the row below, so to have a really clean look you may have to start a new yarn each time or end up with a color strand laying awkwardly across different color stitches.

A diagonal color change, without ends to weave in, and a visually consistent look.

I for one really do not want to weave in as many ends as it would require to shift a color change every row, so there are a couple techniques I use to reduce the ends while keeping a smooth color edge.

For starters, when I change the color I toss the “old” color stand over the fabric, so that it is on top of the stitches. After completing the row of stitches and returning to the color change point, if I am changing the color before the last stitch of the color I change the color but leave a slightly loose tension in the new yarn. I then crochet over this yarn until I reach the same color, and crochet the next stitch over the loose tension strand in the same color stitch.

When the color change happens after the last time it was changed.
The loop brown strand, is the pulling up of the color a row below, then it is worked over until the color is changed.
The color change is completed, and the “old” yarn is then tossed to the opposite side of the fabric, over the fabric. This helps assure that the yarn is in the correct location for working on the returning row.

If the color change occurs after the last stitch of the color, I pull the yarn that will be changed up and crochet over it until the stitch it needs to be changed in.

When the color change happens before the last time it was changed.
Leave a little slack in the yarn when it changes color.
Crochet over this “slacked” yarn, until at least into the same color below.

Essentially I am working over the color change yarn until it is needed. This helps me keep a smoother look while actually being able to stay sane while working up and finishing the fabric.

Hooks- Change Stitches

There are many things that I have taken for granted in my world of crochet over many years. One such things is the hook I use.

I have also found that it is one of the things that very few people consider when evaluating their crochet work, people consider the pattern, the yarn, even their ability before considering the tool that was used to make it. However there are differences between hook, aside from how it feels in your hand that can affect how you stitches looks.

The main parts of a hook, are well first of the hook. Is it an in-line or a taper hook? An in-line is essentially a tube, nice and smooth that has a slit cut into it, while a taper has a shaft that gets smaller as it approaches the hook, then gets larger again at the head of the hook. The most common hooks on the market that reflect this are the Susan Bates- inline, and Boye- taper.

In-line Hooks

The biggest difference I have found with these hooks and my stitches come into play when working stitches that have several yarn overs or “loops” to pull through, such as a bullion stitch. (A bullion stitch can have a several yarn overs, in some cases 10, before pulling through all the loops on the hook). For me the taper makes it difficult to keep these loops even when pulling through, and I have a tendency to fit it a bit to get all the loops off, while an in-line hook seems a bit easier.

Yet the gentle increase of a taper hook in general helps me to enlarge loops that might be getting to tight to pull through, simply by sliding the hook up the shaft. It gives me a bit more flexibility when transitioning between various stitch techniques, especially where stitches can inadvertently be pulled tighter. Whereas an in-line does not give me as much variety and option in this area.

Taper Hooks

However, if the taper is too great, giving a large finger support that creates a larger increase in the taper I find that my loops become a bit more inconsistent when working decreases or clusters.  Where I have to keep loops from other stitches on the hook to be worked off together, the large taper prevents the loop from being easily adjusted on the hook, and instead makes one of the loops tight while the other end are a bit loose.

So just this one difference in hooks, the simple shaft, either in-line or taper, can affect my work and my look. There are other factors, but this is just one that relates to my current projects. Never be afraid to try a different style hook, you might learn some subtle differences for yourself too.

Shift the Stitch

There are some subtle differences in the way each of crochets that can create drastic overall differences. One such thing is where exactly you are working your stitches.

We have all been taught that if a pattern does not specify that the stitch is worked under the top 2 loops of the stitch below. While this is correct, there are times you might want to move you hook down just a bit and insert it under the back bar and the top 2 loops.

First let me explain a bit about stitch construction. The last loop of your hook is always the top loop of the stitch, and just by this simple nature it means that the top loop is not exactly centered directly over the all the yarn over and pull through loops below in the post of the stitch. Sometimes this shift is very minimal and not really recognized at all.

So essentially crochet stitches are stacked just slightly to one side of the stitches below, when you turn our work and work back they stack to the other side, resulting in an overall straight piece of fabric. However this is same reason why when working in a round that your seam starts drifting to one side, because you are not turning the work, the stick up of the stitches stay to the same side of the stitches.

Stitches to the Left are worked only under 2 loops, the last 2 stitches on the right have been worked under the back loop and the 2 top loops.

This “Stack” can sometimes be recognized in simple fabric like a double crochet, chain 1, pattern, as is worked in Filet crochet.

The left stitches are worked under the 2 top loops only, the Right stitch has been worked under the Back Bar and top 2 loops.

There is a little trick to help this stack become less obvious, that is by working through the not only the top to loops, but including the back bar of the stitch. If working in the round, this means you would need to bring your hook down a little lower in the post of the stitch and then insert it.

Traditional inserting of hook, under the top 2 loops

Working through this back bar of the stitch, or sometimes called “third loop”, is the loop in the back of the post that is directly below the top loops, is shifted to the opposite of the post then the bigger opening created only the 2 loops. This slight shift of position of the loop helps to keep the stick more centered.

Inserting the hook under the back bar and top 2 loops.

Granted the difference is subtle for most people, it might be exactly what you need to take you stitching to a new level.

My 1800’s Vacation, and Touchstone

I just took an unexpected vacation to the 1800’s, okay not quite literally but 66 hours without power, phone, or internet can feel a bit like it.
Now, some will instantly think this is torture and have tinges of sympathy. However, really it helps me stay humble and grounded…even in my crochet.


It is a time when the world makes me slow down, I am not tied up in the world of social media, I am not browsing Pinterest, I am not finding something to pull me away from the actually stitching of my fabric. I would spend the evening working on a shawl pattern, in almost darkness, with only a firelight and a candle flickering ensuring I found the right placement for my stitches. This is a design that I hope to share shortly, as it is almost complete.


This time also helps me to focus on the strong background of ancestors that formed me the way I am. I know that my grandmother didn’t have the luxury of indoor plumbing for most of her life, that my great grandmother never had electric lights to work by late into the night. Neither were distracted by the world of television, and made it through life just fine. Realizing that all the generations that came before me lived in a world without these modern conveniences, helps to keep me grounded it what is really important.


These 66 hours found my children talking to me, and each other more. Sharing more hopes, dreams and fears then in any given day of the week. They had the opportunity to experience true quiet and a dark night sky. It really can be just the simple things.
I was also able to play with new ideas in yarn, and sketch out ideas for new designs. It may have been an unexpected “vacation”, but sometimes it is exactly what you needed.