Shift the Stitch

There are some subtle differences in the way each of crochets that can create drastic overall differences. One such thing is where exactly you are working your stitches.

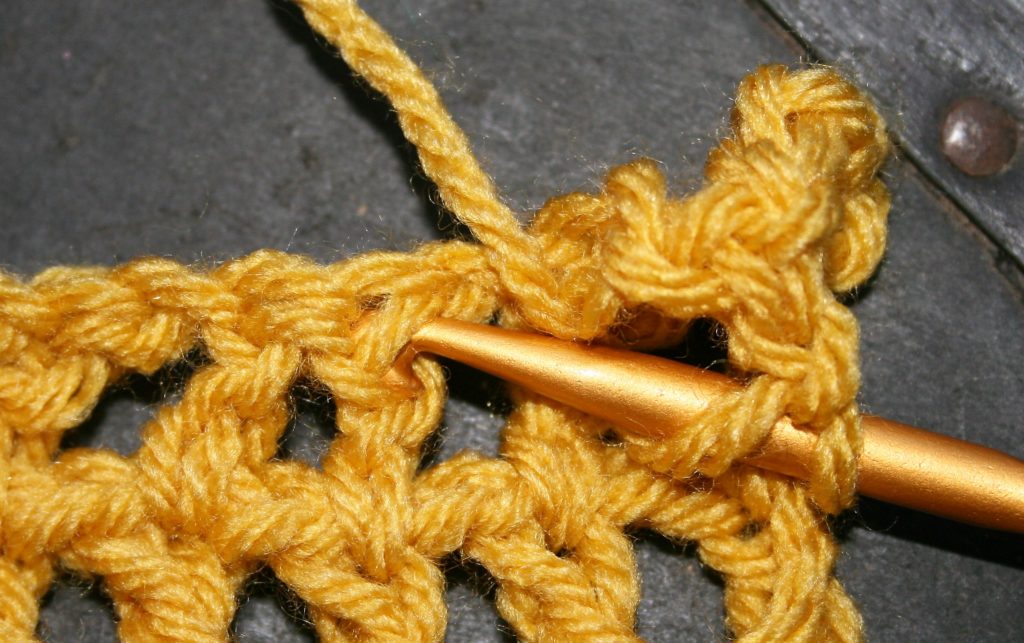
We have all been taught that if a pattern does not specify that the stitch is worked under the top 2 loops of the stitch below. While this is correct, there are times you might want to move you hook down just a bit and insert it under the back bar and the top 2 loops.

First let me explain a bit about stitch construction. The last loop of your hook is always the top loop of the stitch, and just by this simple nature it means that the top loop is not exactly centered directly over the all the yarn over and pull through loops below in the post of the stitch. Sometimes this shift is very minimal and not really recognized at all.

So essentially crochet stitches are stacked just slightly to one side of the stitches below, when you turn our work and work back they stack to the other side, resulting in an overall straight piece of fabric. However this is same reason why when working in a round that your seam starts drifting to one side, because you are not turning the work, the stick up of the stitches stay to the same side of the stitches.

Stitches to the Left are worked only under 2 loops, the last 2 stitches on the right have been worked under the back loop and the 2 top loops.

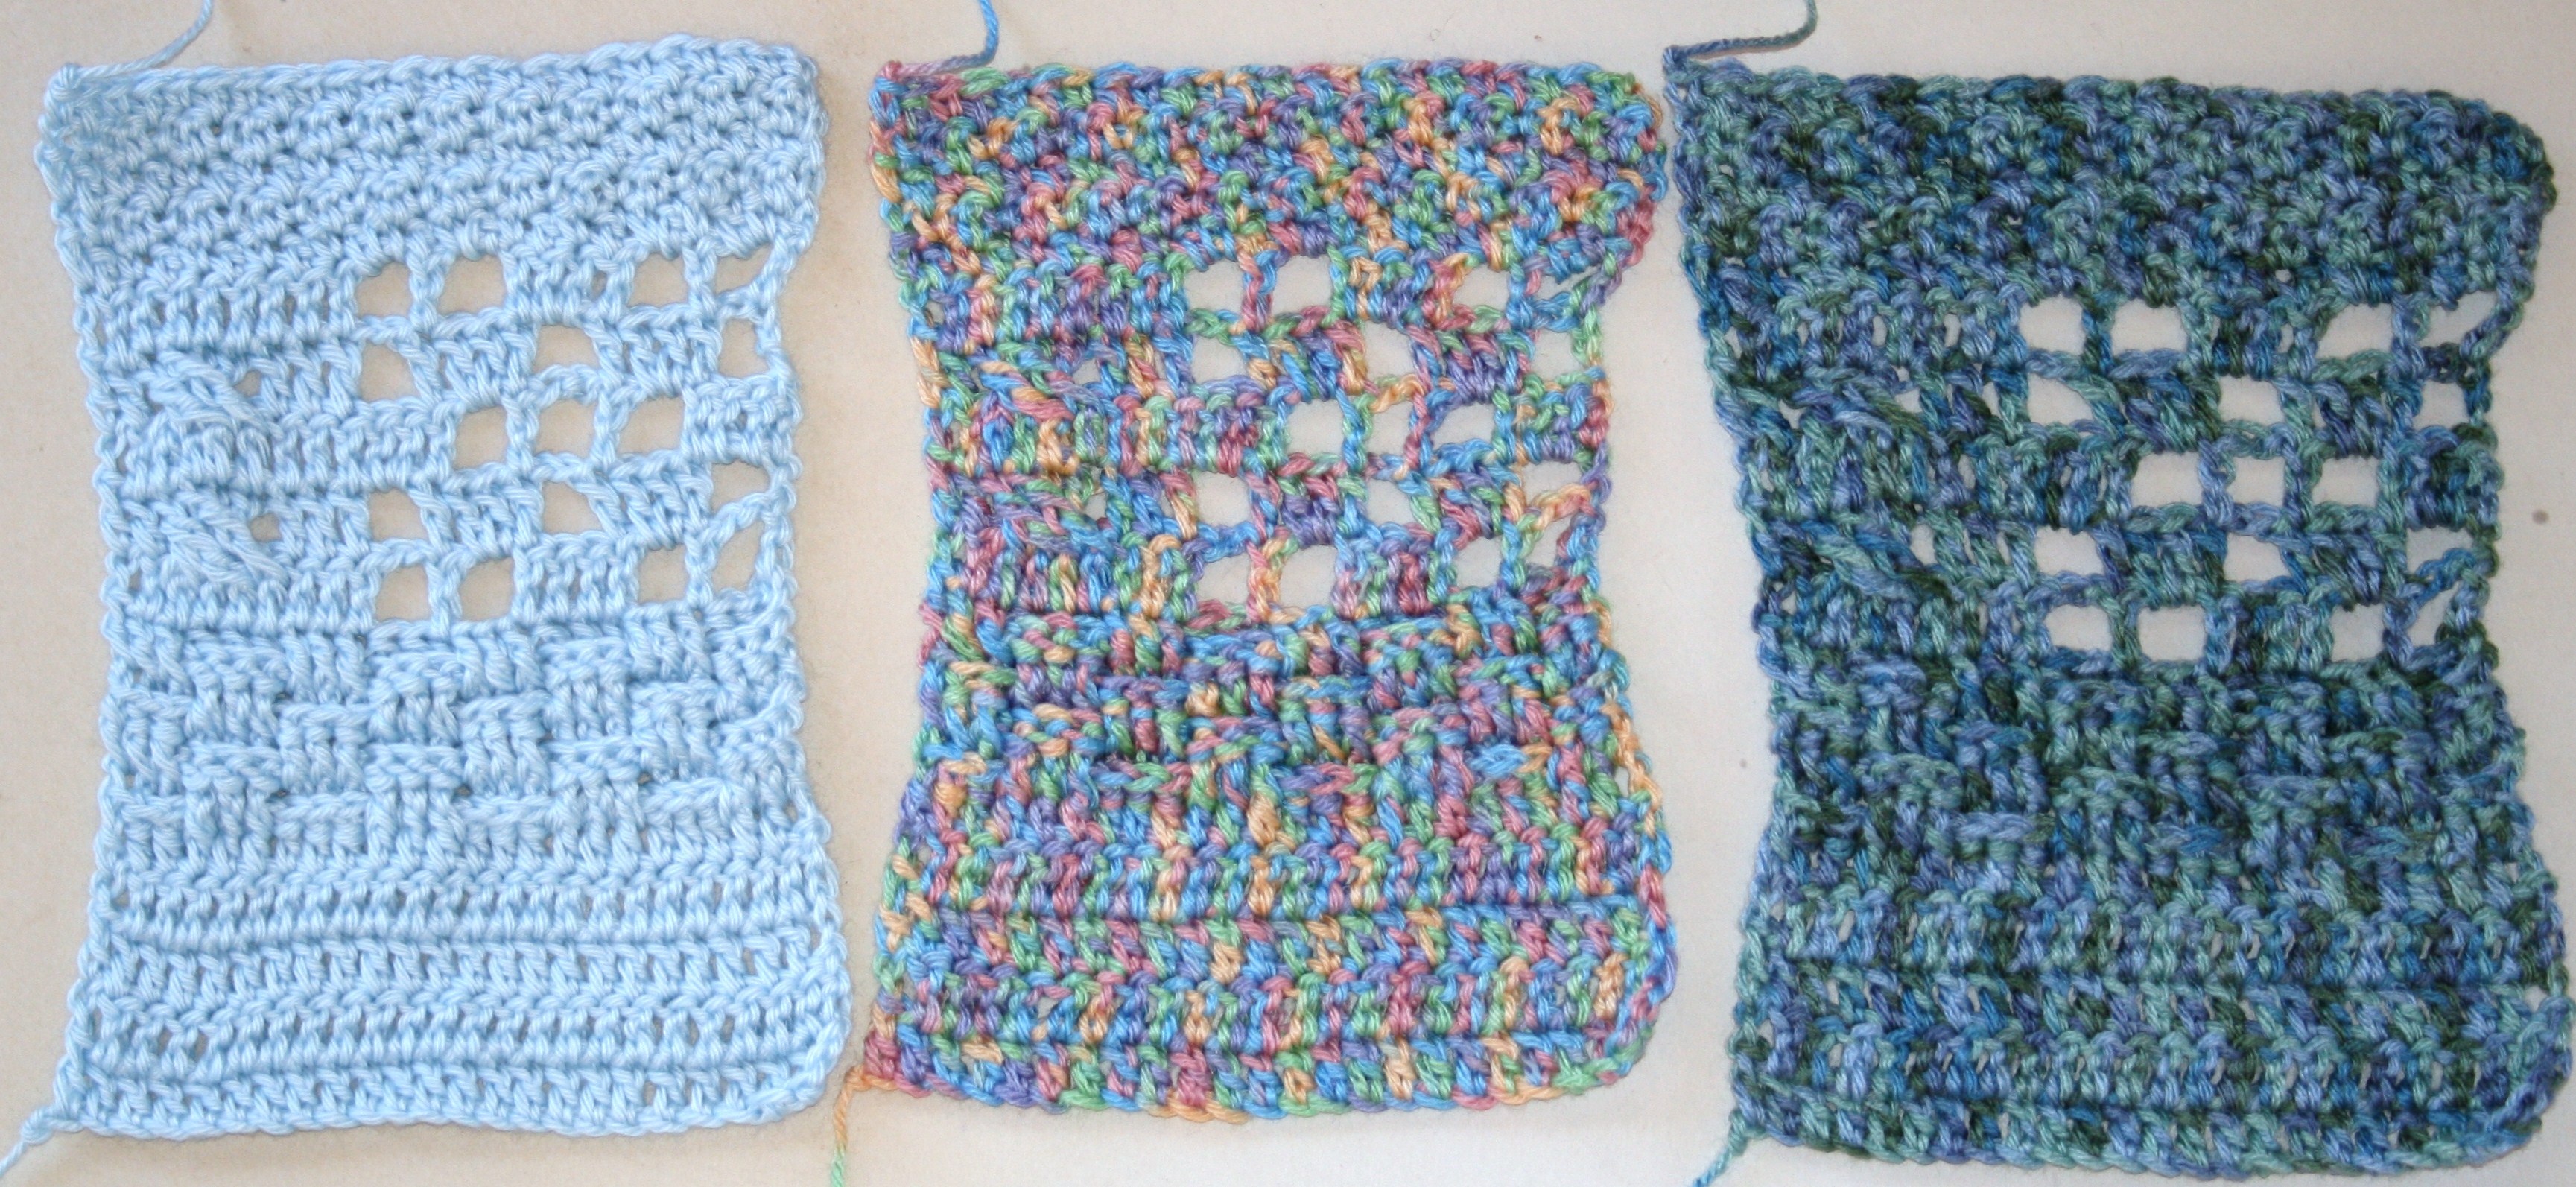
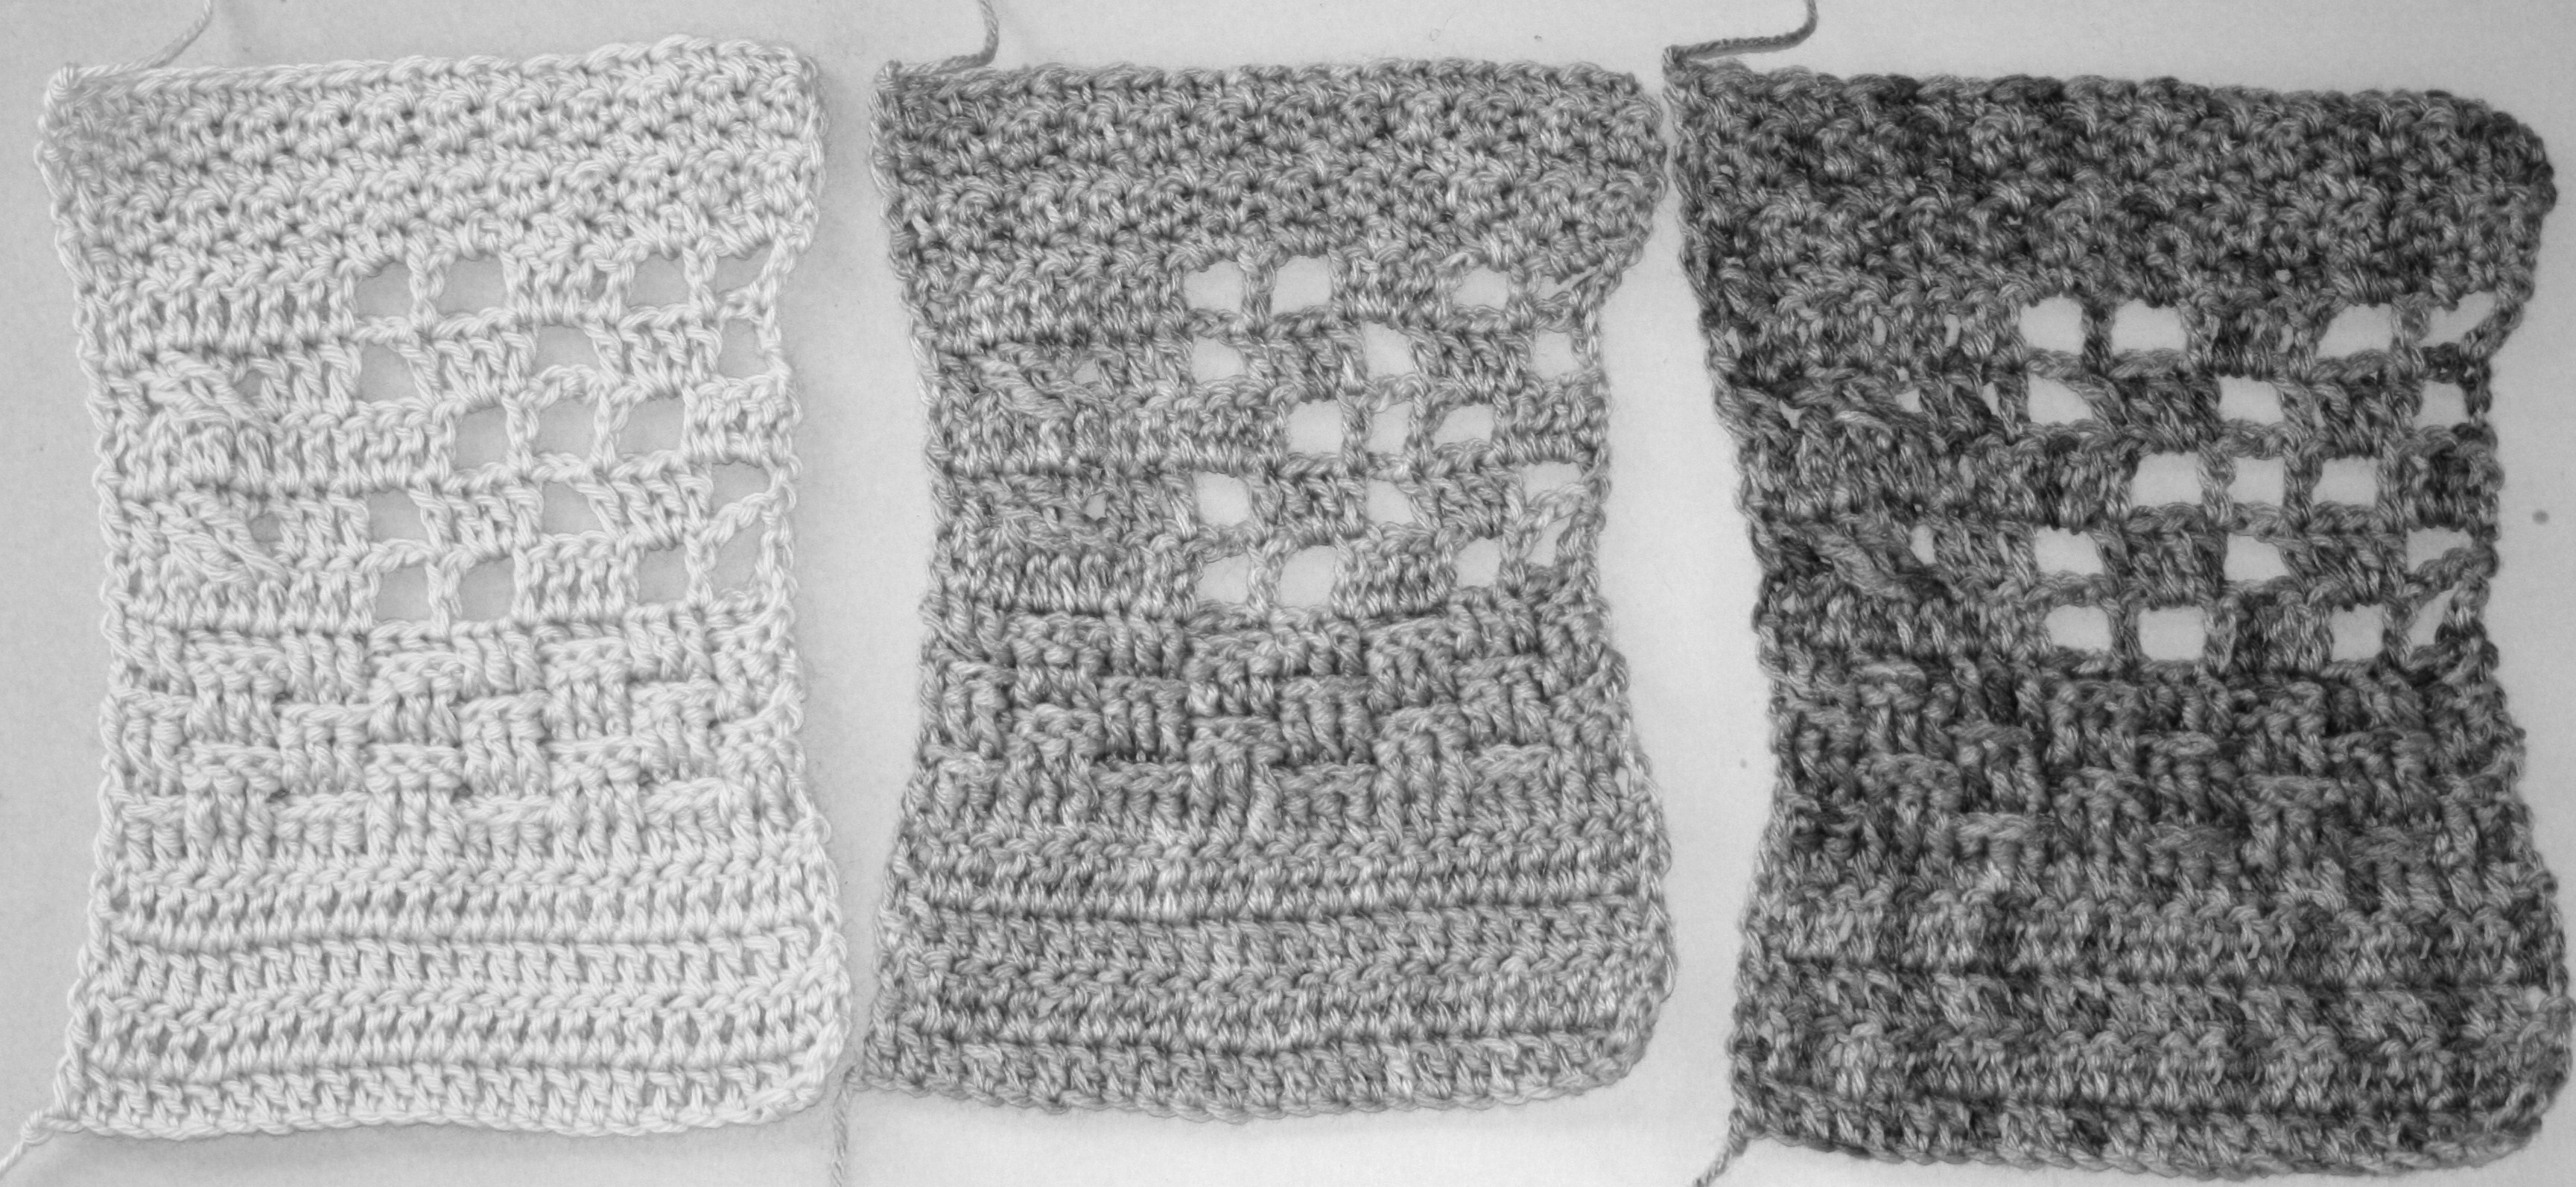
This “Stack” can sometimes be recognized in simple fabric like a double crochet, chain 1, pattern, as is worked in Filet crochet.

The left stitches are worked under the 2 top loops only, the Right stitch has been worked under the Back Bar and top 2 loops.

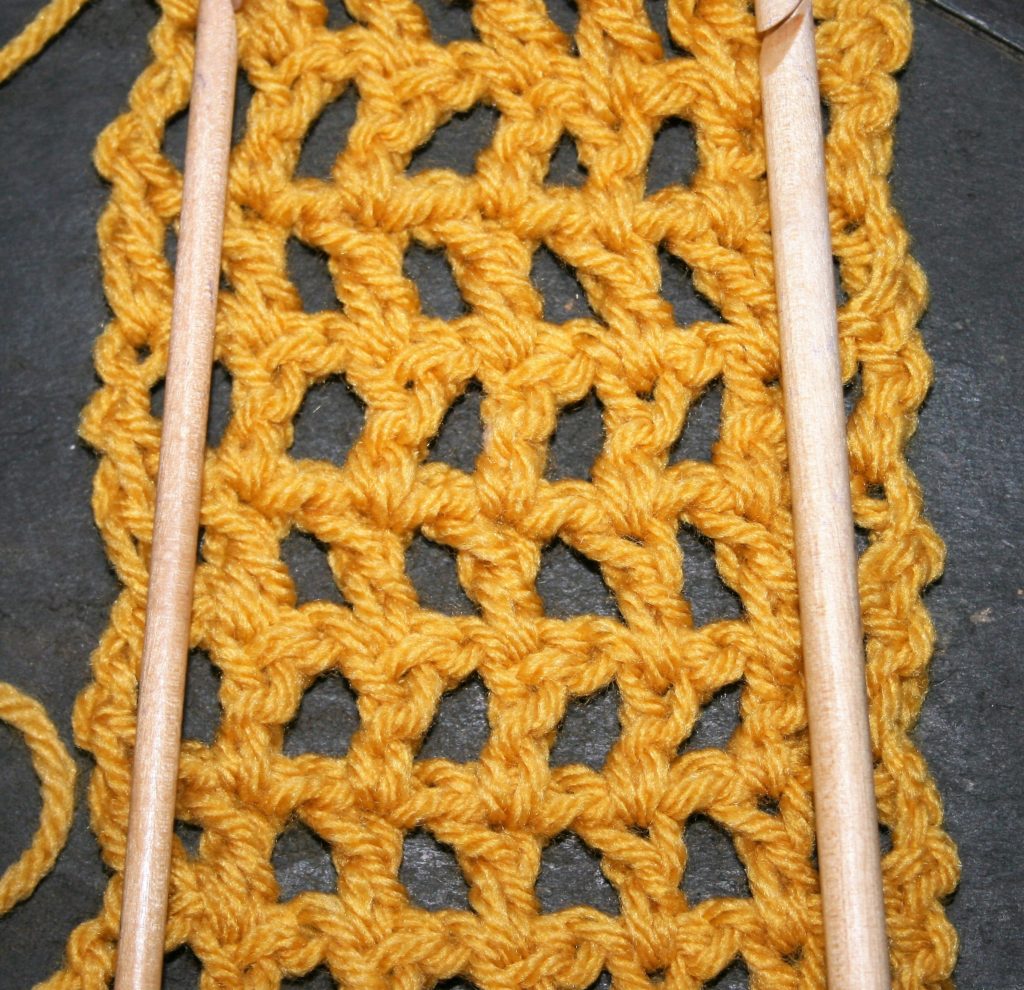
There is a little trick to help this stack become less obvious, that is by working through the not only the top to loops, but including the back bar of the stitch. If working in the round, this means you would need to bring your hook down a little lower in the post of the stitch and then insert it.

Traditional inserting of hook, under the top 2 loops

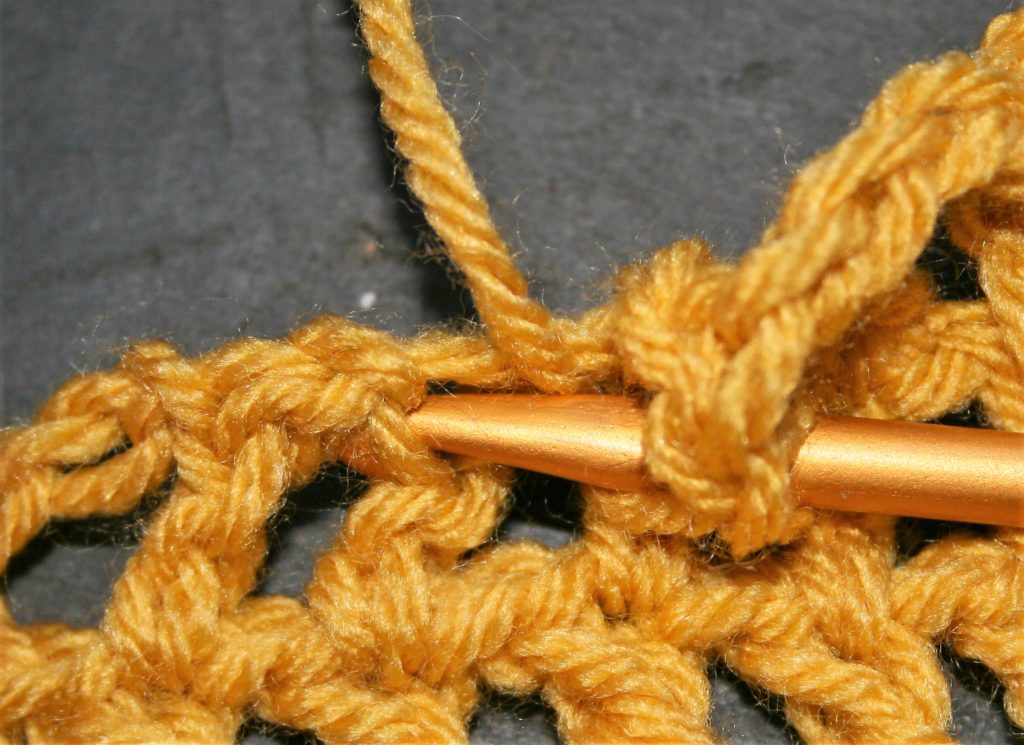
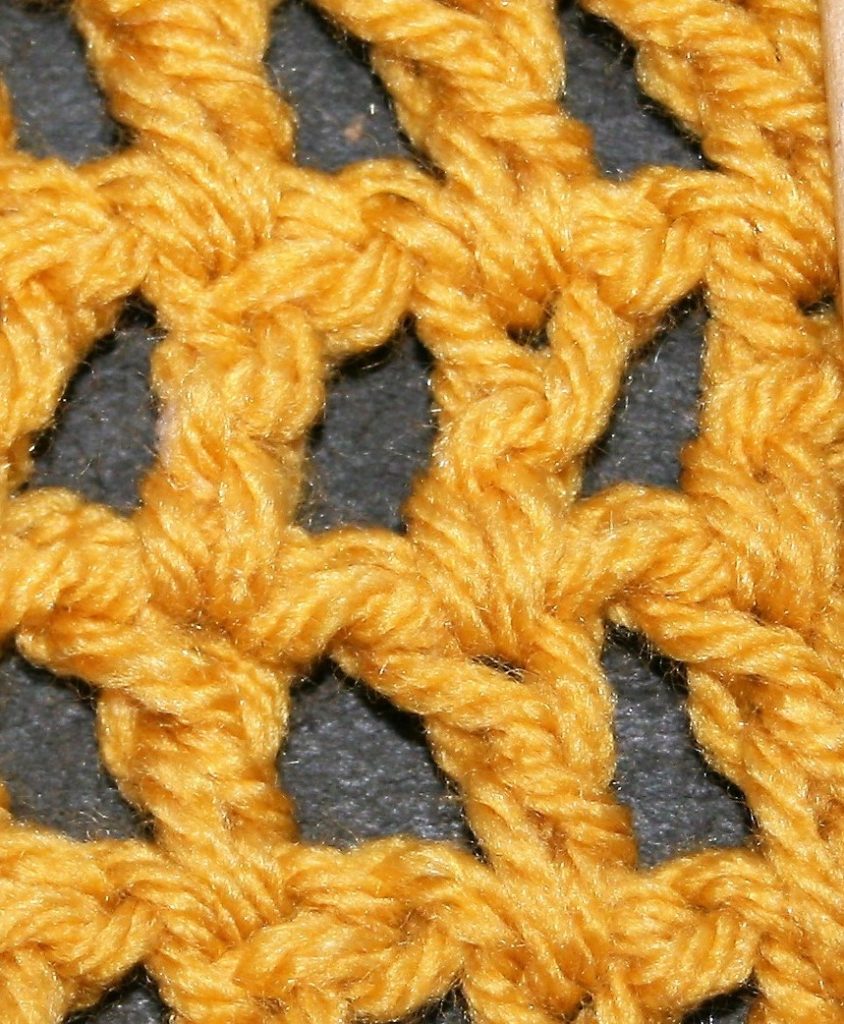
Working through this back bar of the stitch, or sometimes called “third loop”, is the loop in the back of the post that is directly below the top loops, is shifted to the opposite of the post then the bigger opening created only the 2 loops. This slight shift of position of the loop helps to keep the stick more centered.

Inserting the hook under the back bar and top 2 loops.

Granted the difference is subtle for most people, it might be exactly what you need to take you stitching to a new level.

Viewing the Tone, Matching Your Yarn to Your Pattern

ScannedImageIt has happened to many times; a marriage between a beautiful yarn and a wonderful pattern does end up as spectacular as expected. What could it be? Simply put not all patterns are designed the same. Sometimes you have a pattern that highlights the yarn, other times you have a yarn that highlights a pattern.

IMG_5669

Same stitches, different tones and colors, notice the difference throughout each swatch, can you see the basket weave? Can you see the small cables next to the filet?

This usually comes into play with multi-tonal yarns and textured or lace patterns. The yarn draws so much attention to itself that is can lead the eye away from all the skill and technique you have put into cables, and popcorns, and filet work.  The texture gets washed out and only the color remains.

This doesn’t mean that you cannot use multi-tonal yarns in intricate designs, but it is finding the correct match. Usually multi-tonal yarns need large designs, or large blocks of consistent stitches. By this I mean that they need solid spaces to let the color play do what it wants to, whereas a solid tone yarn can easily highlight more detailed textured stitches, such as posts and filets. Since the tone is consistent the eye is not lead away.

IMG_5669 - Copy

Review the same swatches with out the color and simply see the tone, do you notice a difference?

You are probably wondering why I’m using “tonal” instead of “color”; this is because more of the cause of effect is due to the tone not the color. The tone is what would be represented if the values were represented as black and white photographs. When looking at the tones of a color, green and red have the same value as a medium gray and yarns using these as a multi-tone will not be as eye distracting as a yarn using yellow and red. Since the yellow would generate a brighter value on the gray scale then red, it will draw the eye differently, and catch its attention. Give it a try with yarn in your stash, simply take a picture and convert it to black and white and see which yarn grabs your attention. Is it the same as the yarn when viewed in color?

The colors will also be varied in the grayscale values dependent upon the shade of the color, pastels are brighter then rich jewel tones for example, so that plays into the color play as well. The eye for color and value can be learned, it can be recognized. But it does take a conscience effort to find the match between the texture and the color. Keeping this concept in mind when matching your yarn to a project can really help to give you an end item that is the star of the show!