Help me help local communities by creating blocks for Warm Up America, by making a block for yourself and one for a community project with this free pattern. I will be creating a new block every few weeks and sharing it with you, I just ask that make one for donation.
Warm Up America is a nationwide organization that encourages local donations, but will also except donations to be sent to their office so that blocks can be assembled and then blankets can be donated through the United States.
Even if you do not want to participate with Warm Up America, please consider creating blocks, or blankets for your local community. There are various places in every community that accept donations.
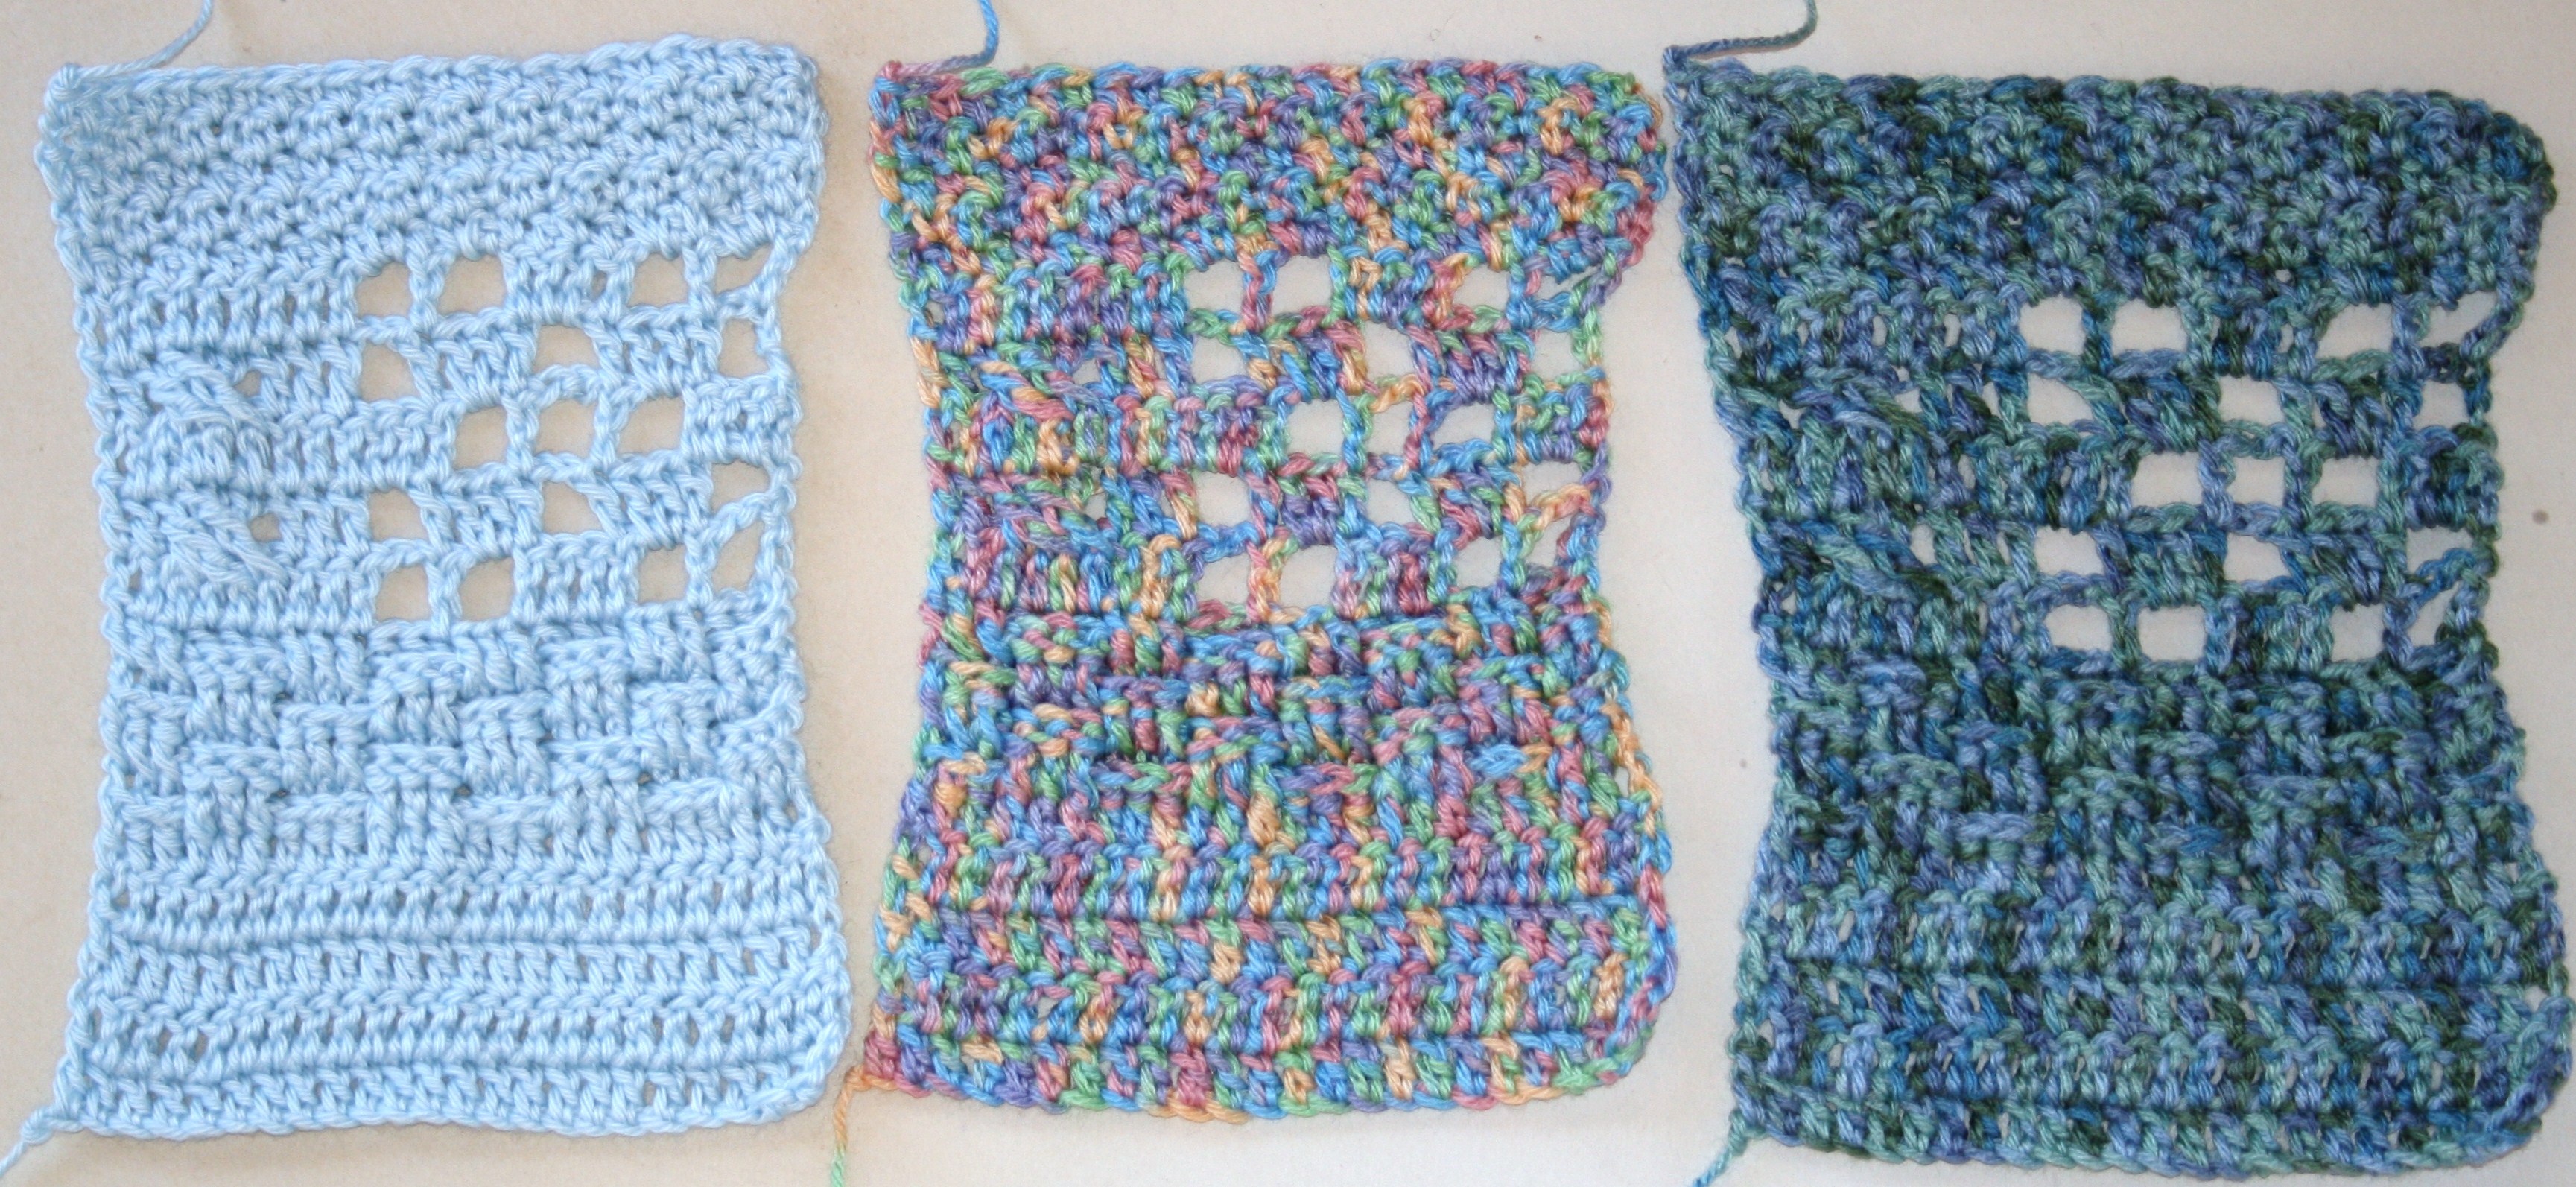
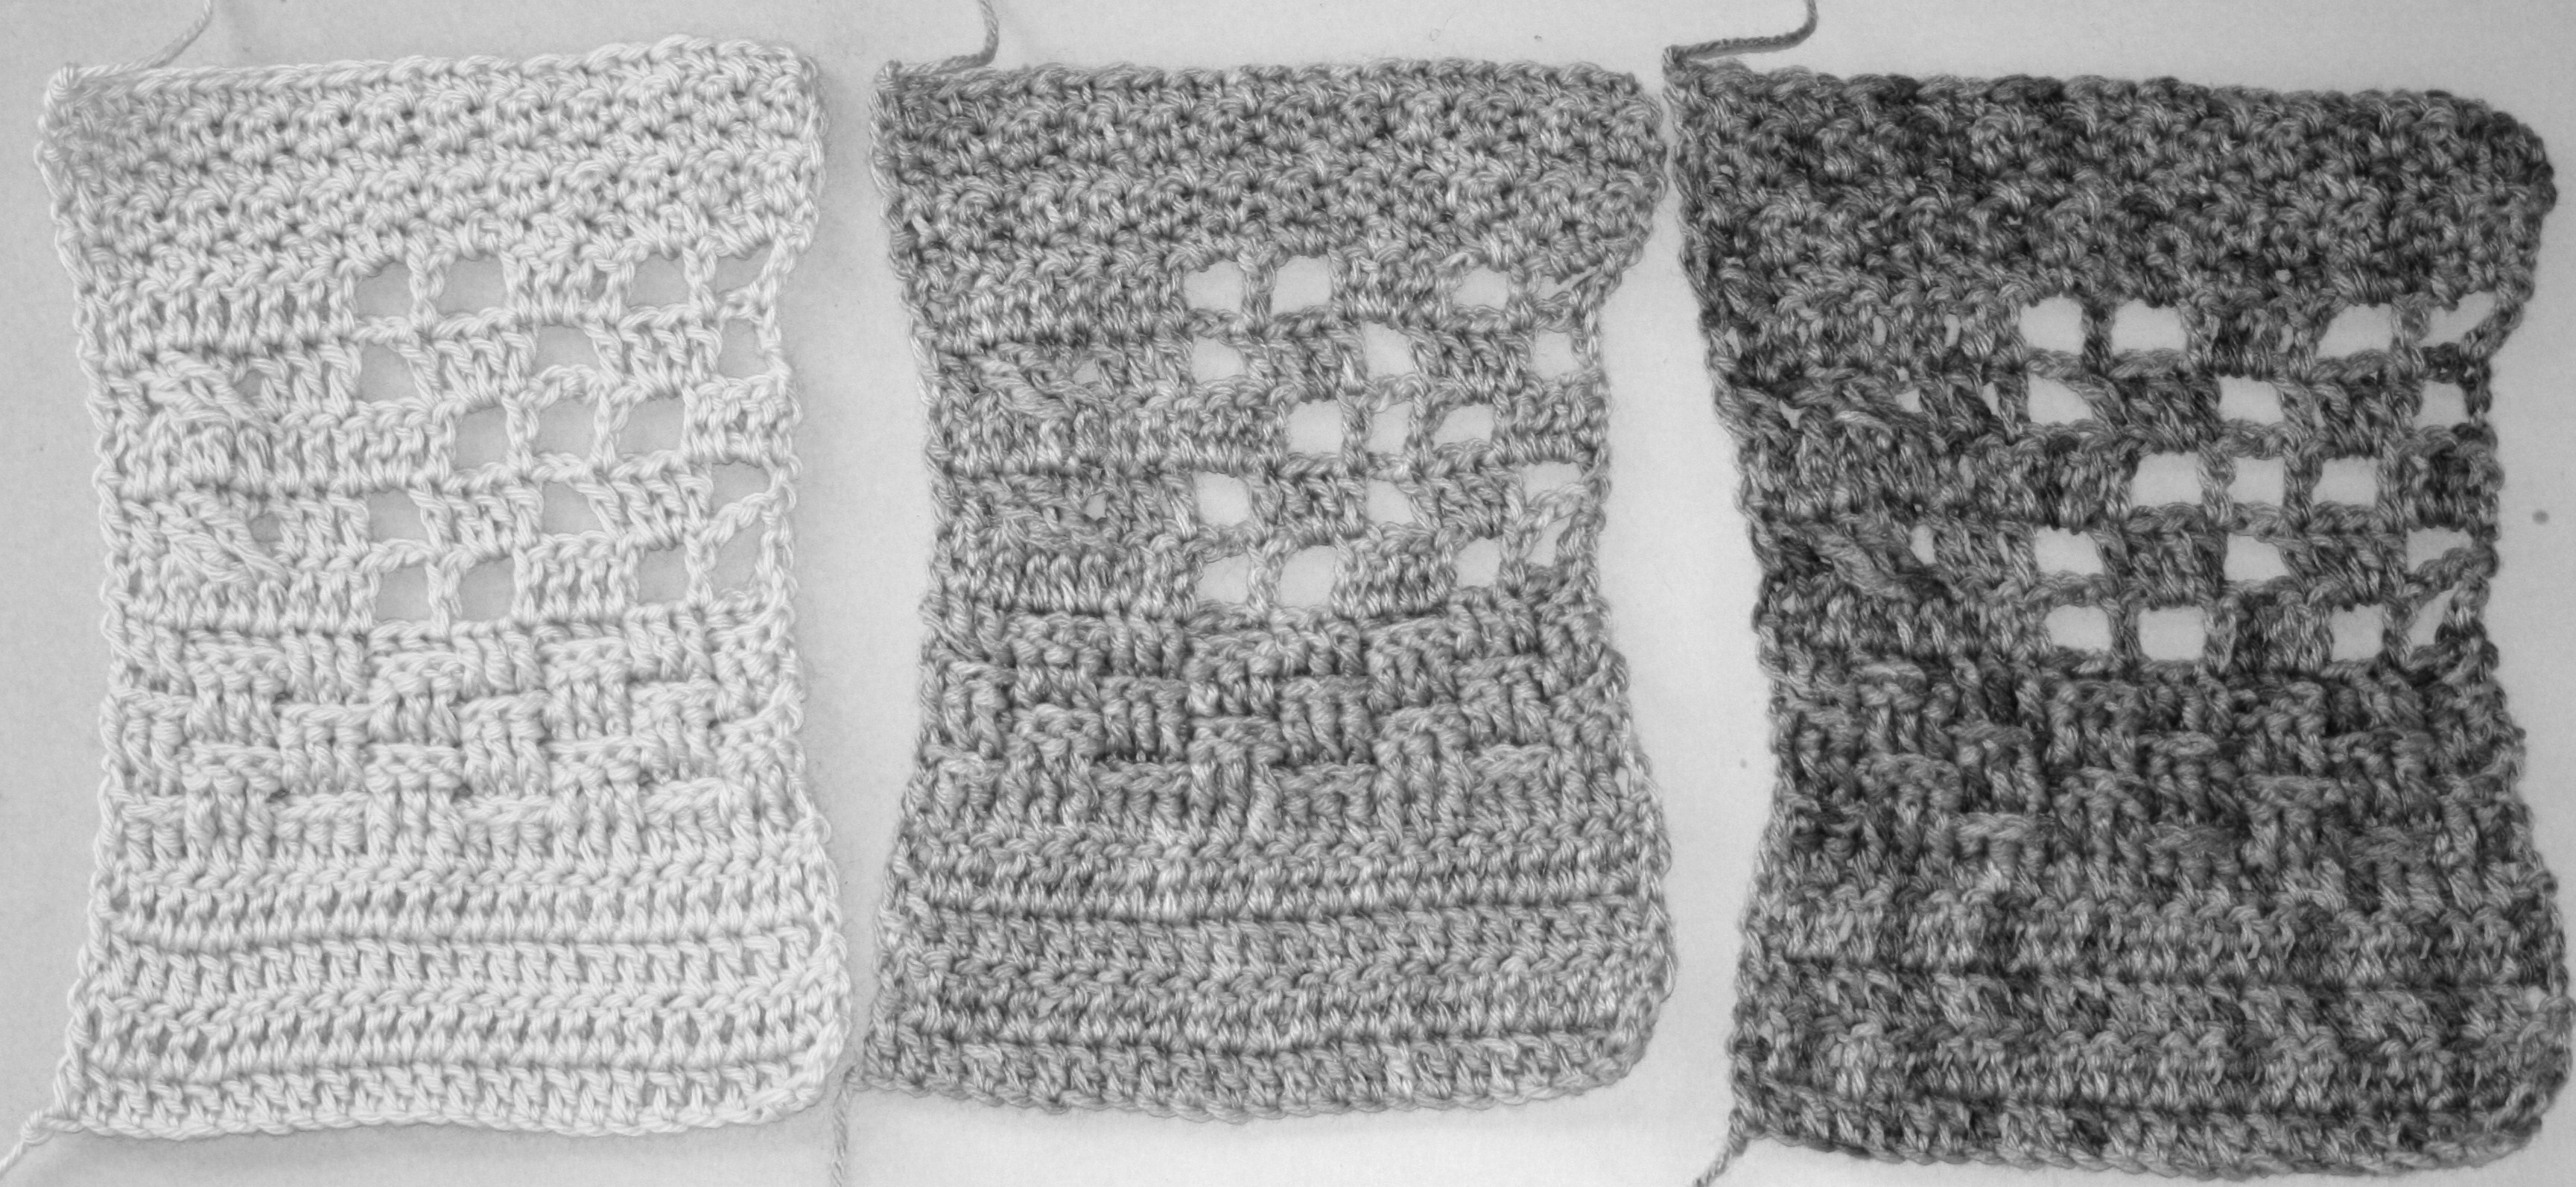
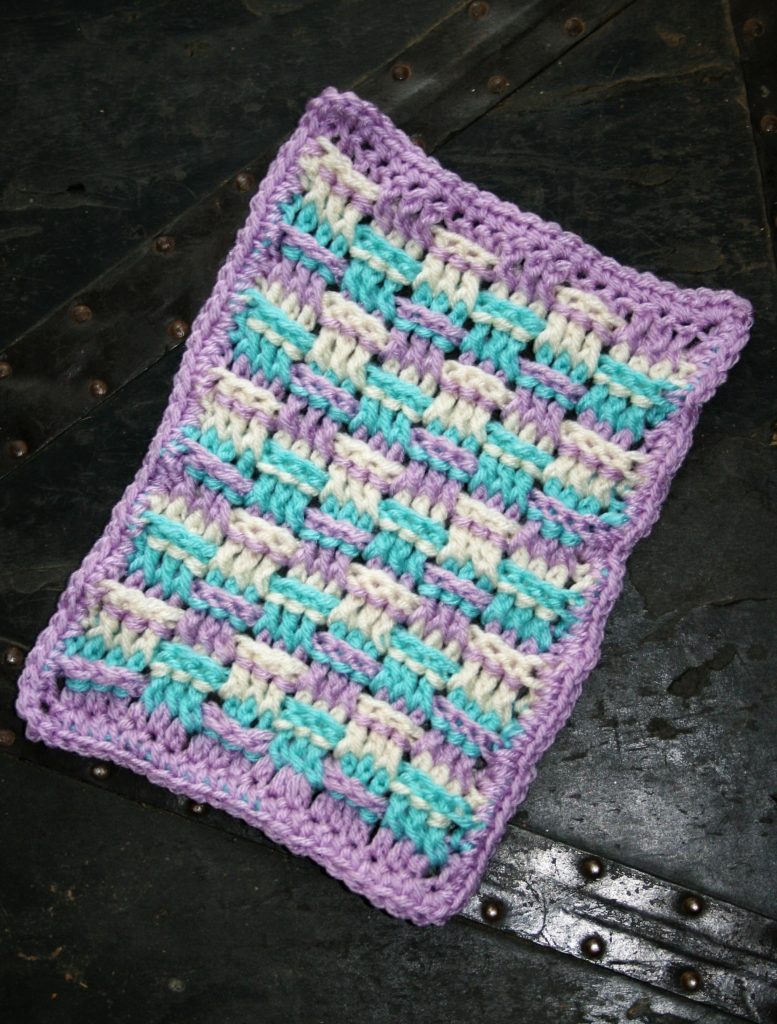
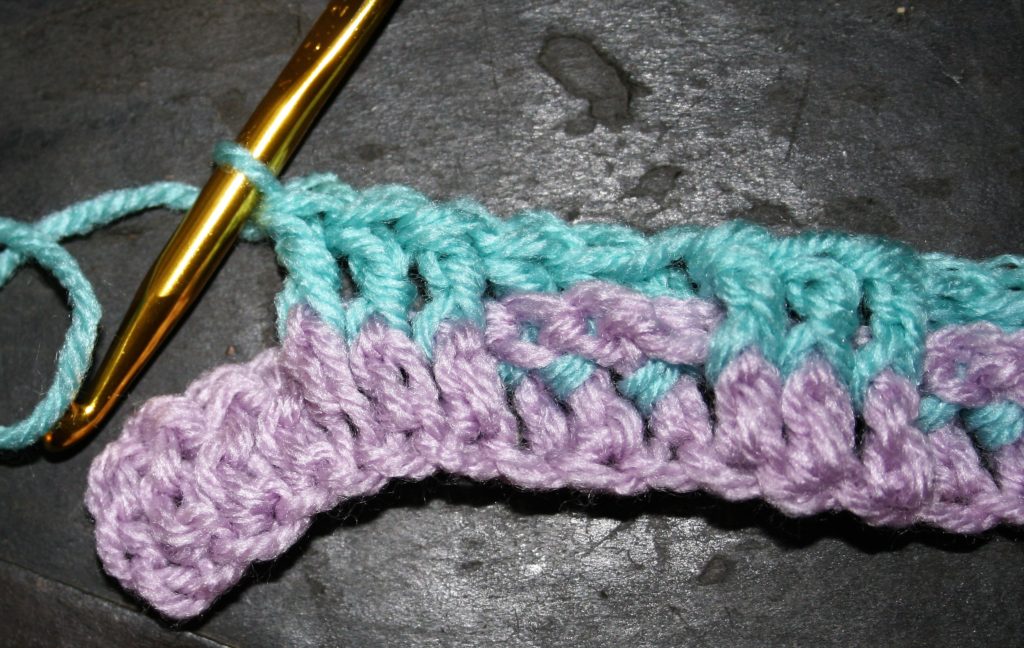
The Basket Weave Stitch
Utilizing stitch placement is all that makes this pattern appear. It is essentially only a double crochet stitch, however it is worked around the body or post of the stitch a row below. There are two different stitches, the back post and the front post.
Post stitches can be worked with any stitch type, and I describe below how to work the location. Check out more information about stitch locations here.
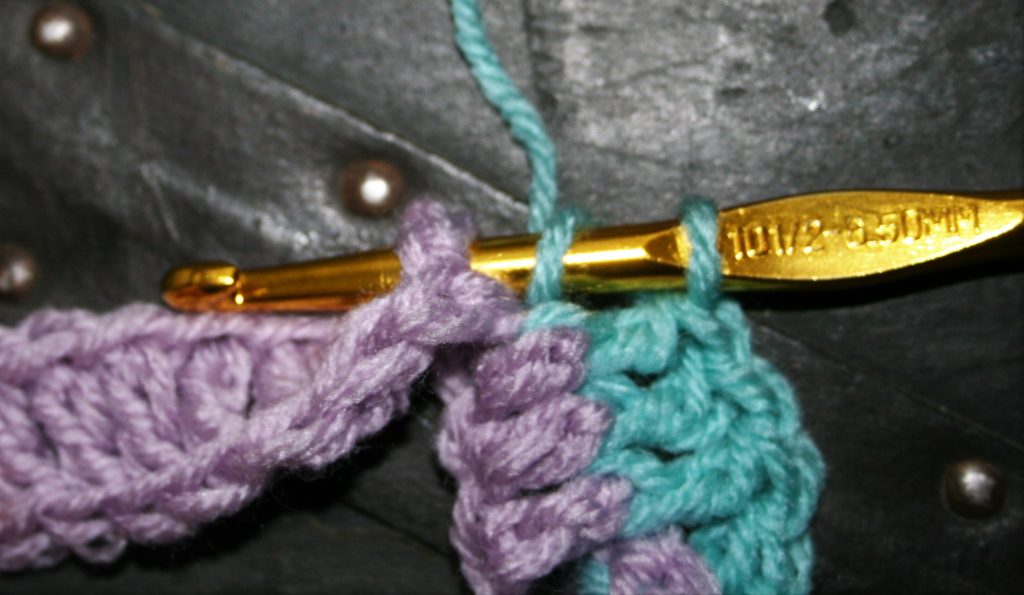
Back Post Locations
The back post pushes the post away from the fabric facing. This is done by inserting the hook from the back side of the fabric to the front, between the “post” or “body” of the next stitch to be worked. Then push the hook from the front to the back of the fabric on the other side of the “post” or “body”. I have found this easier to view by shifting the fabric a bit and looking down at the top of the stitches, as I can see the body being pushed backward.
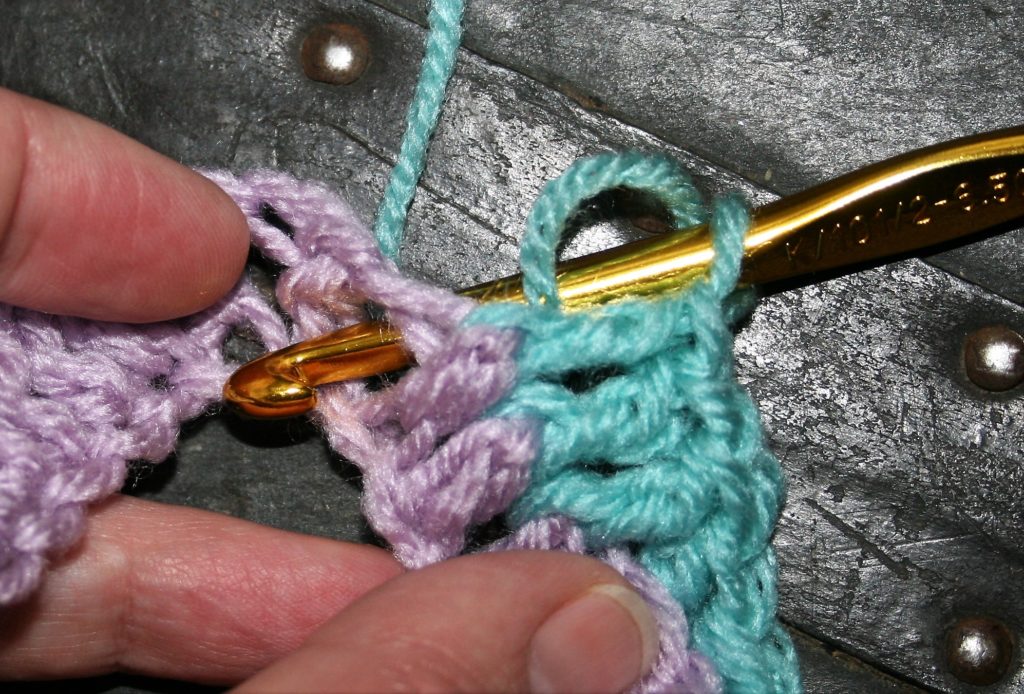
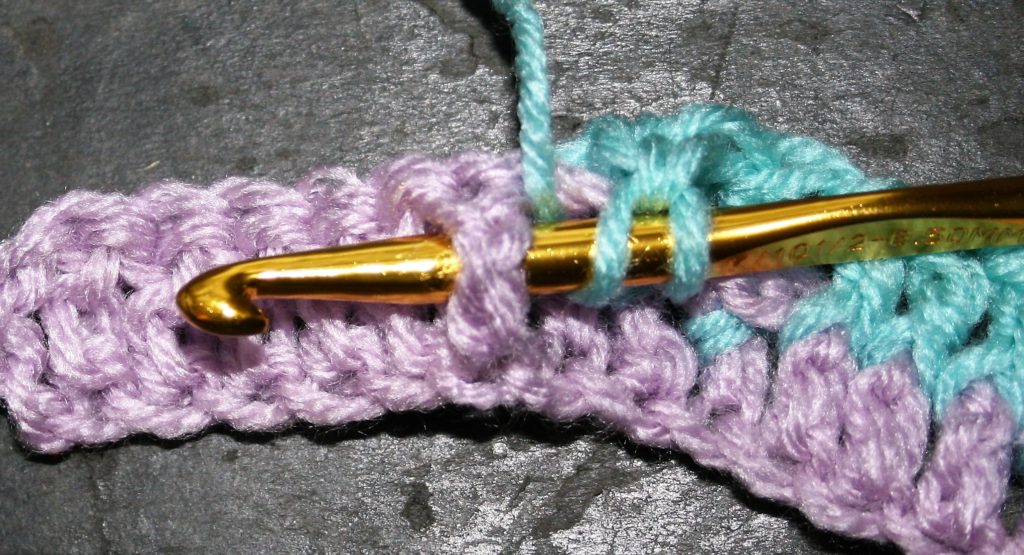
Front Post Location
The front post is often easier to work, and pushes the post toward the front of the fabric. This is done by inserting the hook from the front to the back of the fabric between the “post” or “body” of the next stitch to be worked. Then re-insert the back of the fabric to the front of the fabric on the other side of the “post” or “body”.
Gauge: 7”x9” rectangle
Materials
Medium weight yarn, in 3 colors MC (main color), CC1, CC2
K/10 ½/ 6.5mm hook
Notes
Back Post Double Crochet (bpdc): Yo, insert hook from back to front and then to back again around post of stitch, yo, pull up a loop, [yo, pull through 2 loops] twice.
Front Post Double Crochet (fpdc): Yo, insert hook from front to back and then to front again around post of stitch, yo, pull up a loop, [yo, pull through 2 loops] twice.
Since this Block uses three colors, instead of cutting the yarn, carry it along the side of the Block. If you need tips on this check it out here.
Block Pattern
With MC Ch 22
Row 1: Dc in 4th ch from hook, dc in each ch across, change to CC1, turn. – 20 dc
Row 2: Ch 3 (counts as dc now and throughout), [fpdc in next 3 sts, bpdc in next 3 sts] 3 times, dc in last st, change to CC2, turn. – 2 dc, 9 fpdc, 9 bpdc
Row 3: Ch 3 (counts as dc now and throughout), [bpdc in next 3 sts, fpdc in next 3 sts] 3 times, dc in last st, change to MC, turn. – 2 dc, 9 fpdc, 9 bpdc
The Beginning of the Repeat
Row 4: Ch 3 (counts as dc now and throughout), [fpdc in next 3 sts, bpdc in next 3 sts] 3 times, dc in last st, change to CC1, turn. – 2 dc, 9 fpdc, 9 bpdc
Row 5: Ch 3 (counts as dc now and throughout), [bpdc in next 3 sts, fpdc in next 3 sts] 3 times, dc in last st, change to CC2, turn. – 2 dc, 9 fpdc, 9 bpdc
Row 6: Ch 3 (counts as dc now and throughout), [fpdc in next 3 sts, bpdc in next 3 sts] 3 times, dc in last st, change to MC, turn. – 2 dc, 9 fpdc, 9 bpdc
Row 7: Ch 3 (counts as dc now and throughout), [bpdc in next 3 sts, fpdc in next 3 sts] 3 times, dc in last st, change to CC1, turn. – 2 dc, 9 fpdc, 9 bpdc
Row 8: Ch 3 (counts as dc now and throughout), [fpdc in next 3 sts, bpdc in next 3 sts] 3 times, dc in last st, change to CC2, turn. – 2 dc, 9 fpdc, 9 bpdc
Row 9: Ch 3 (counts as dc now and throughout), [bpdc in next 3 sts, fpdc in next 3 sts] 3 times, dc in last st, change to MC, turn. – 2 dc, 9 fpdc, 9 bpdc
Just Finished the Pattern Repeat
Rows 10-16: Rep Rows 4-9 once.
Edge
Rnd 1: Ch 1, sc in sc in same st, sc in each st across until 1 st remains, 3 sc in last st, working over row ends evenly sc across to beg ch, 3 sc in last st, working in unused loops of beg ch, sc in each chain across, 3 sc in last st, working over row end evenly sc across, 2 sc in last st, sl st to beg sc, fasten off.
Weave in ends, block. (see tips here)