Ann’s Angles Square

I am so honored to be invited to participate in this years Moogly CAL 2018 Afghan Block! This is the last square for 2018, find all the rest here, and complete your own throw using one of each square.

This year I have been playing with miter squares, and thought I would share the skill with you. A miter square is worked from two outside edges, with a decrease at the corner, until no stitches are left on either edge, creating a square.

However with this design, I then added to two edges to create an effect that is similar to a look of a square atop a square, or some say even an arrow.

The name is derived from one of my students, Ann. She is my world traveler that shares stories of all of the exotic lands she has visited. She is also a former high school mathematics instructor, and always keeps us on point with the the patterns and the various ways that the stitch counts can be effected.
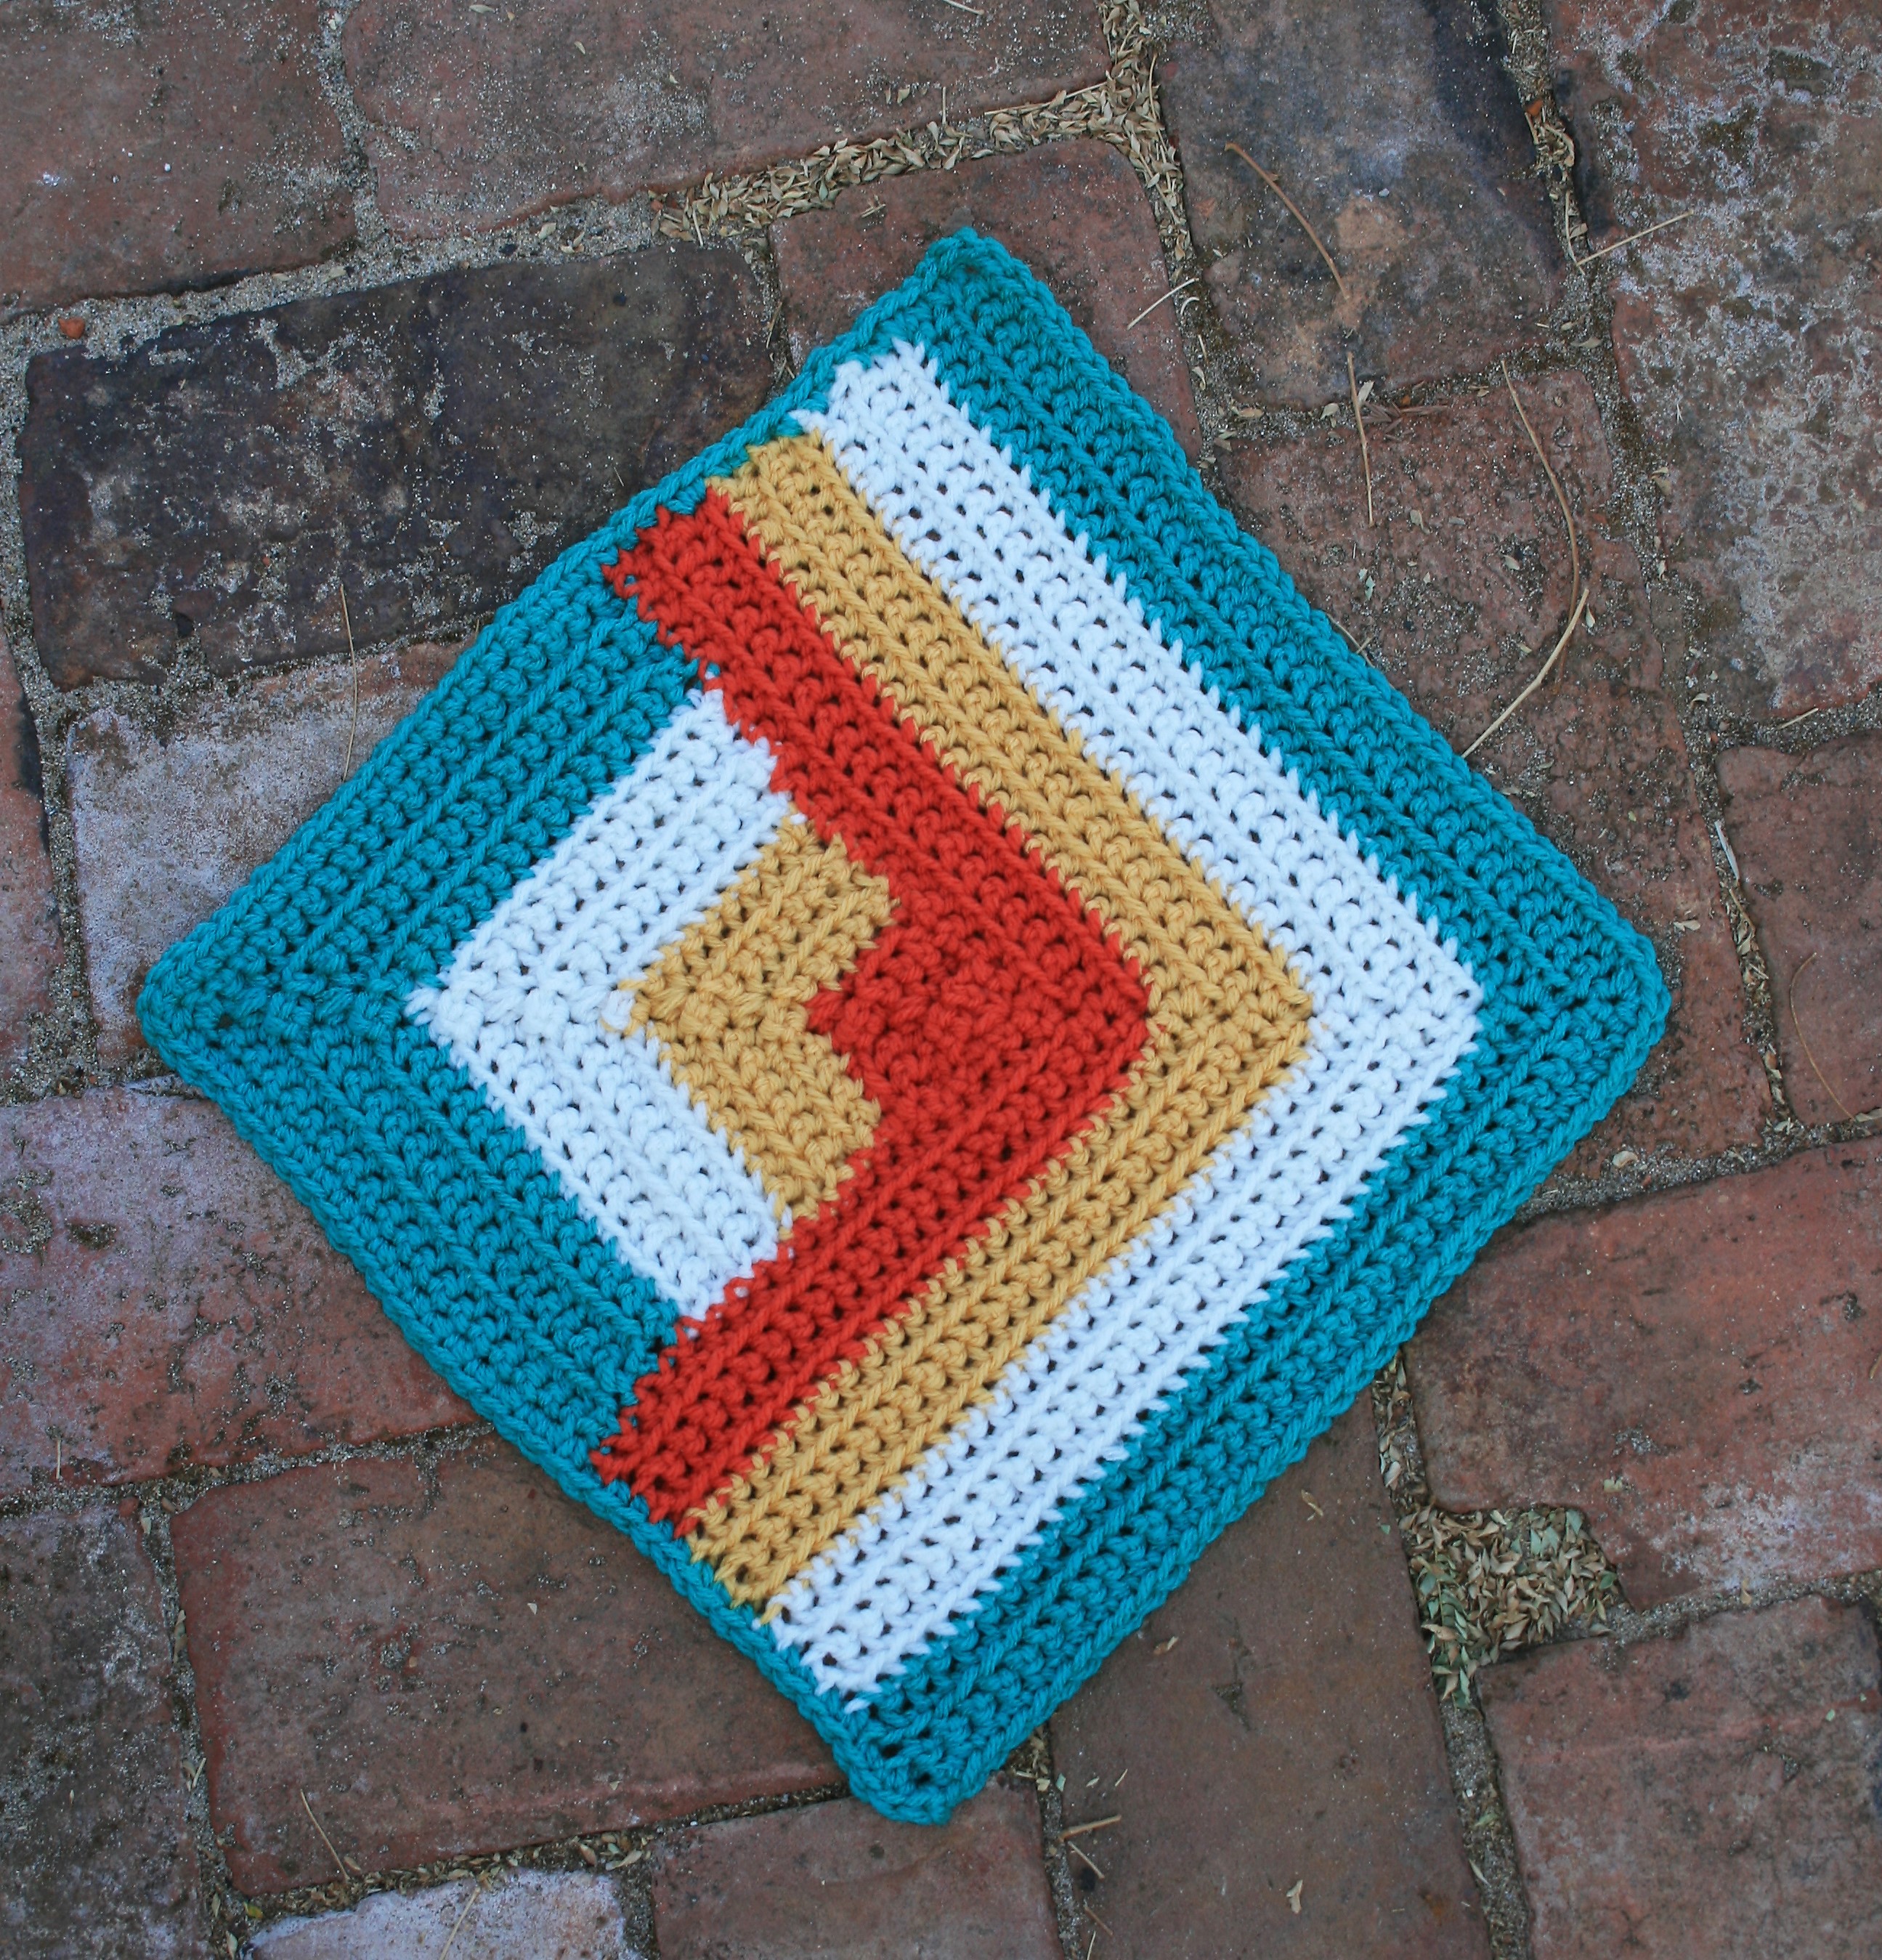
Ann’s Angles Square

Materials:

*Red Heart With Love: #1562 Jadeite (A), #1101 Eggshell (B), #1207 Cornsilk (C), #1971 Tigerlily (D)
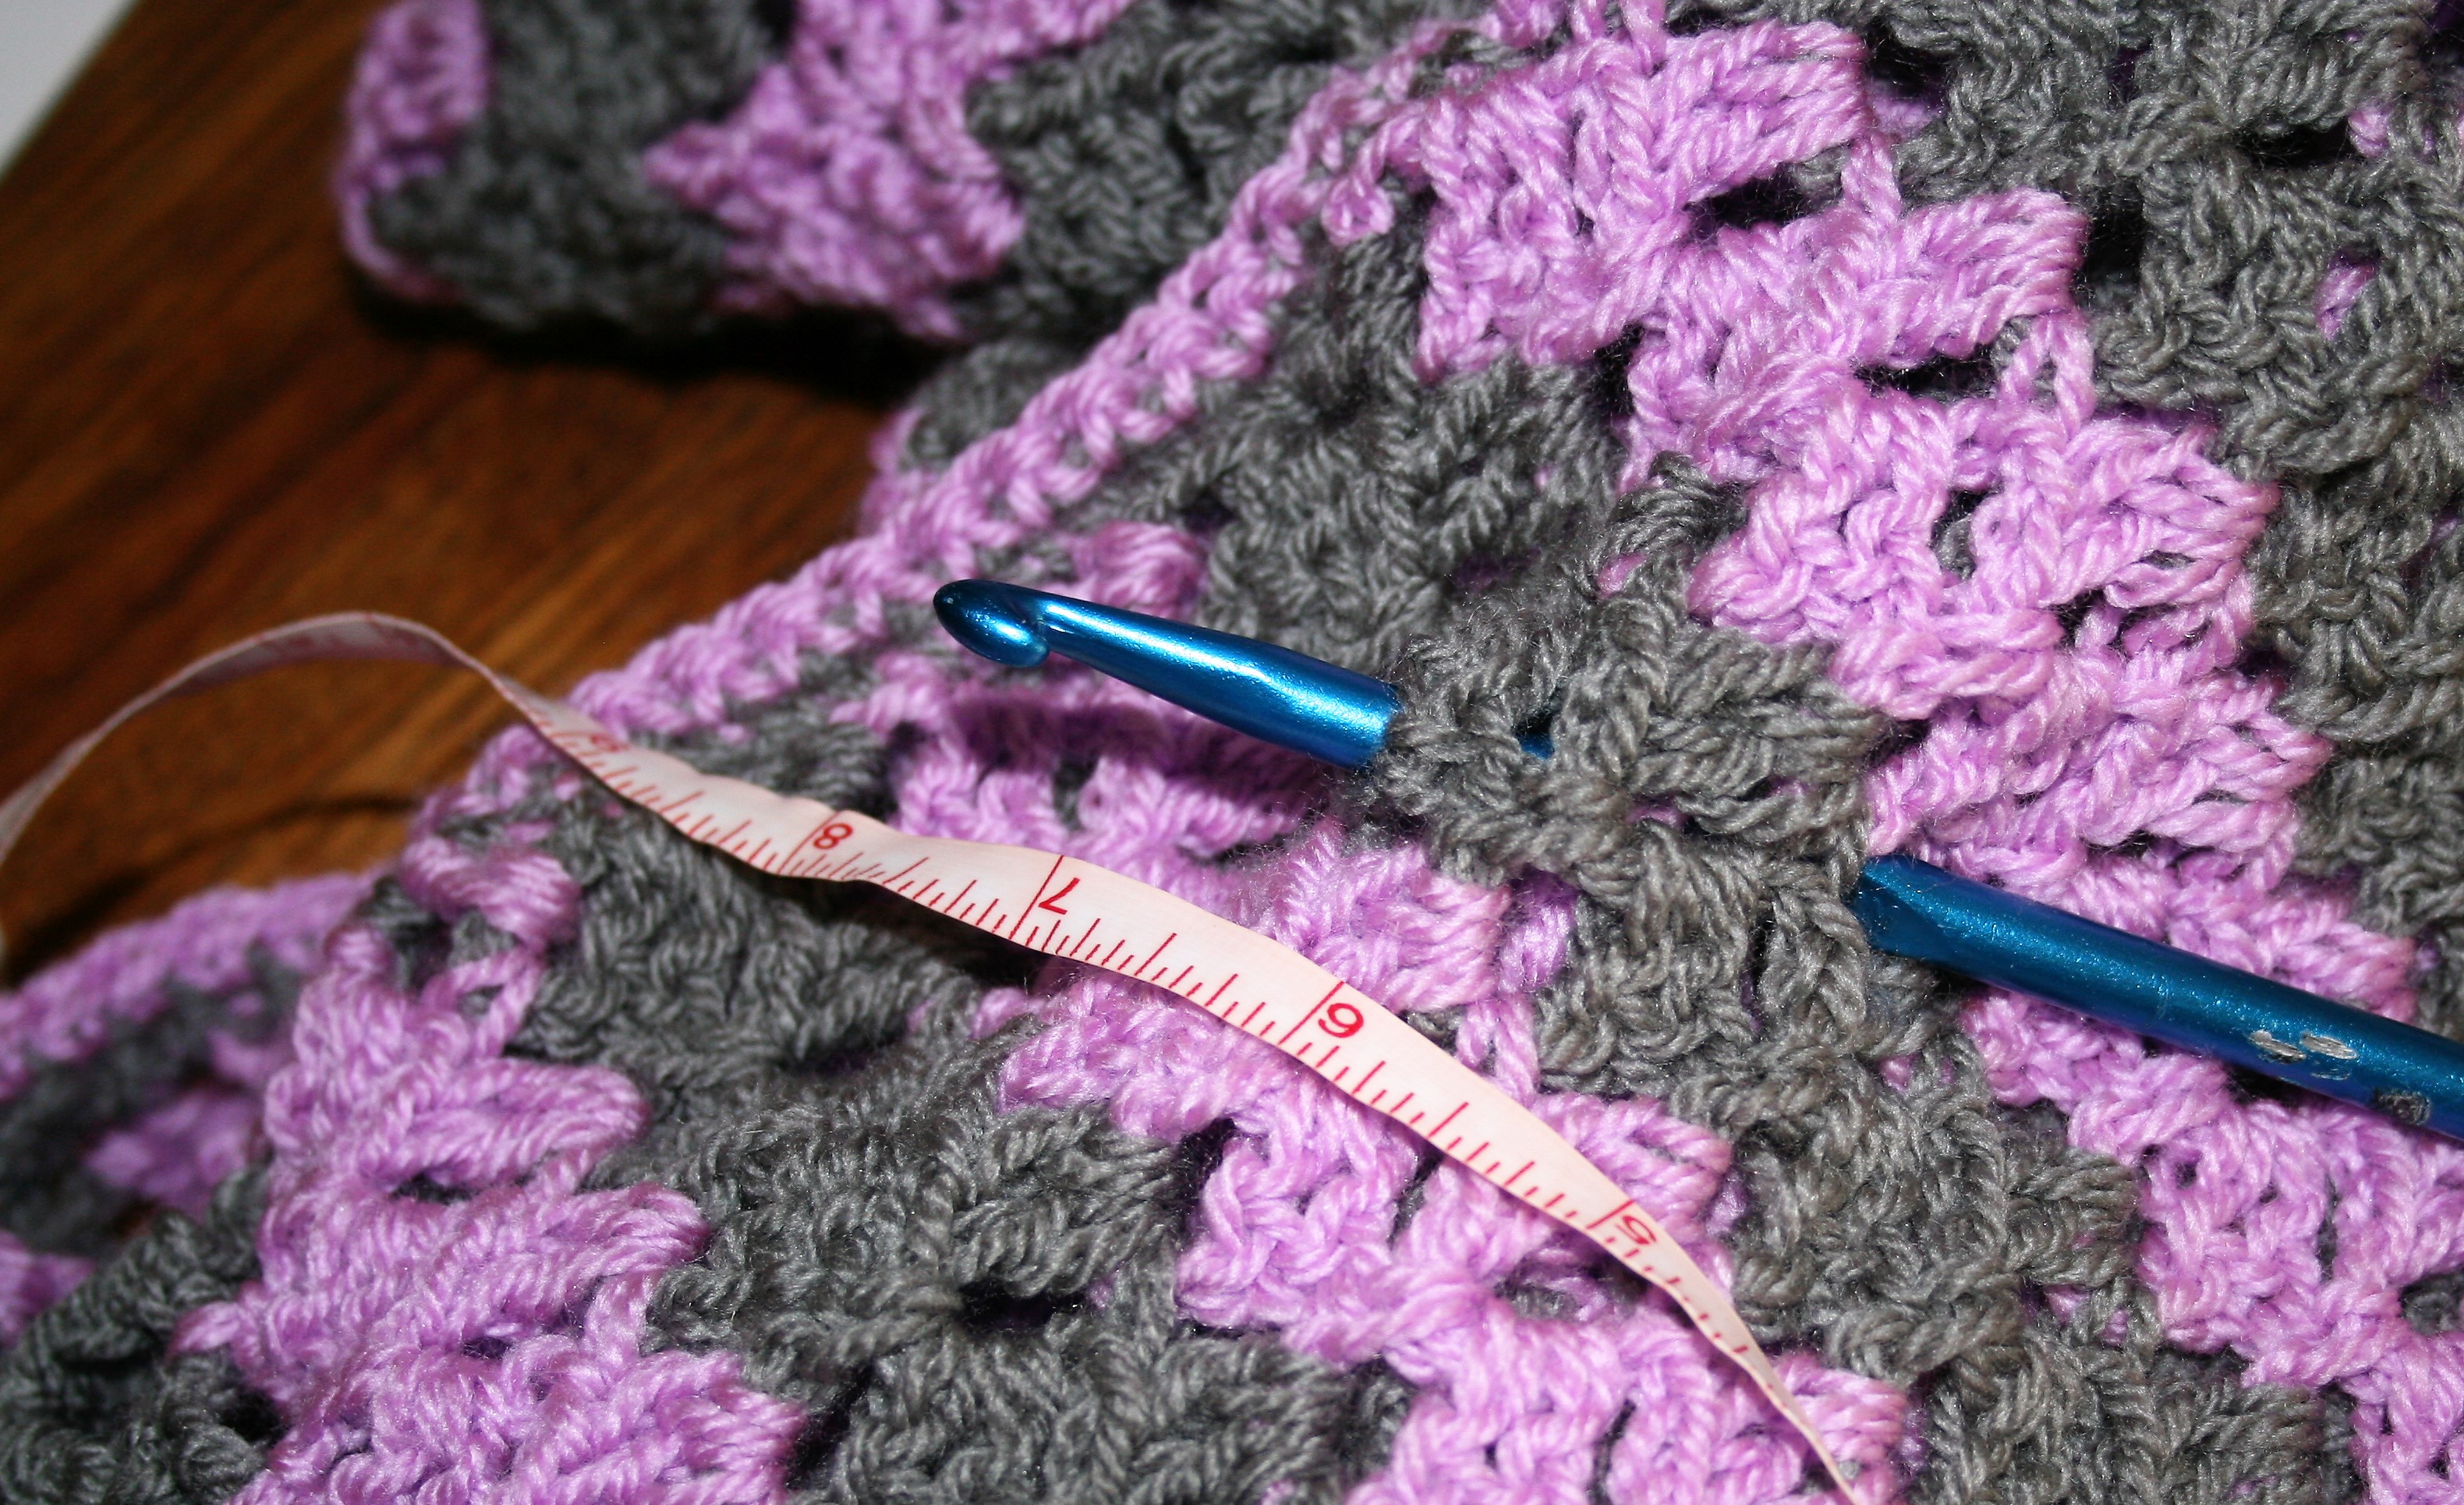
*Hook J/10/ 6.00mm

Gauge

Square= 12″ x 12″ (30.5 x 30.5 cm)

Row 1: With A, ch 42, sc in 2nd ch from hook, sc in next 18 sts, sc3tog over the next 3 chs, sc in the last 19 chs, turn.

Row 2: Ch 1, flsc in same st, flsc in next 17 sts, sc3tog over next 3 sts, flsc in last 18 sts, turn.

Row 3: Ch 1, flsc in same st, flsc in next 16 sts, sc3tog over next 3 sts, flsc in last 17 sts, turn.

Row 4: Ch 1, flsc in same st, flsc in next 15 sts, sc3tog over next 3 sts, flsc in last 16 sts, turn.

Row 5: Ch 1, flsc in same st, flsc in next 14 sts, sc3tog over next 3 sts, flsc in last 15 sts, change to color B, turn.

Row 6: Ch 1, flsc in same st, flsc in next 13 sts, sc3tog over next 3 sts, flsc in last 14 sts, turn.

Row 7: Ch 1, flsc in same st, flsc in next 12 sts, sc3tog over next 3 sts, flsc in last 13 sts, turn.

Row 8: Ch 1, flsc in same st, flsc in next 11 sts, sc3tog over next 3 sts, flsc in last 12 sts, turn.

Row 9: Ch 1, flsc in same st, flsc in next 10 sts, sc3tog over next 3 sts, flsc in last 11 sts, turn.

Row 10: Ch 1, flsc in same st, flsc in next 9 sts, sc3tog over next 3 sts, flsc in last 10 sts, change to color C, turn.

Row 11: Ch 1, flsc in same st, flsc in next 8 sts, sc3tog over next 3 sts, flsc in last 9 sts, turn.

Row 12: Ch 1, flsc in same st, flsc in next 7 sts, sc3tog over next 3 sts, flsc in last 8 sts, turn.

Row 13: Ch 1, flsc in same st, flsc in next 6 sts, sc3tog over next 3 sts, flsc in last 7 sts, turn.

Row 14: Ch 1, flsc in same st, flsc in next 5 sts, sc3tog over next 3 sts, flsc in last 6 sts, turn.

Row 15: Ch 1, flsc in same st, flsc in next 4 sts, sc3tog over next 3 sts, flsc in last 5 sts, change to color D, turn.

Row 16: Ch 1, flsc in same st, flsc in next 3 sts, sc3tog over next 3 sts, flsc in last 4 sts, turn.

Row 17: Ch 1, flsc in same st, flsc in next 2 sts, sc3tog over next 3 sts, flsc in last 3 sts, turn.

Row 18: Ch 1, flsc in same st, flsc in next 1 st, sc3tog over next 3 sts, flsc in last 2 sts, turn.

Row 19: Ch 1, flsc in same st, sc3tog over next 3 sts, flsc in last st, turn.

Row 20: Ch 1, sc3tog over next 3 sts, fasten off.

Working over the ends of rows.

Row 21: With color D, join to either of edge of Row 1, ch 1, evenly work 19 sc sts across edge, 3 sc in last stitch of row 20, working down the other edge or rows, evenly work 19 sc sts across edge, turn.

Row 22: Ch 1, flsc in same st, flsc in next 19 sts, 3 sc in next st, flsc in next 20 sts, turn.

Row 23: Ch 1, flsc in same st, flsc in next 20 sts, 3 sc in next st, flsc in next 21 sts, turn.

Row 24: Ch 1, flsc in same st, flsc in next 21 sts, 3 sc in next st, flsc in next 22 sts, change to color C, turn.

Row 25: Ch 1, flsc in same st, flsc in next 22 sts, 3 sc in next st, flsc in next 23 sts, turn.

Row 26: Ch 1, flsc in same st, flsc in next 23 sts, 3 sc in next st, flsc in next 24 sts, turn.

Row 27: Ch 1, flsc in same st, flsc in next 24 sts, 3 sc in next st, flsc in next 25 sts, turn.

Row 28: Ch 1, flsc in same st, flsc in next 25 sts, 3 sc in next st, flsc in next 26 sts, change to color B, turn.

Row 29: Ch 1, flsc in same st, flsc in next 26 sts, 3 sc in next st, flsc in next 27 sts, turn.

Row 30: Ch 1, flsc in same st, flsc in next 27 sts, 3 sc in next st, flsc in next 28 sts, turn.

Row 31: Ch 1, flsc in same st, flsc in next 28 sts, 3 sc in next st, flsc in next 29 sts, turn.

Row 32: Ch 1, flsc in same st, flsc in next 29 sts, 3 sc in next st, flsc in next 30 sts, change to color A, turn.

Row 33: Ch 1, flsc in same st, flsc in next 30 sts, 3 sc in next st, flsc in next 31 sts, turn.

Row 34: Ch 1, flsc in same st, flsc in next 31 sts, 3 sc in next st, flsc in next 32 sts, turn.

Row 35: Ch 1, flsc in same st, flsc in next 32 sts, 3 sc in next st, flsc in next 33 sts, turn.

Row 36: Ch 1, flsc in same st, flsc in next 33 sts, 3 sc in next st, flsc in next 33 sts, 3 sc in next st, working on edge of Rows 21-36 evenly sc across to the unused loops of the beg ch of row 1, sc in the next 20 unused loops, 3 sc in next st, sc in the next 20 unused loops, continue evenly sc across the ends of Rows 21-36, 2 sc in last st, sl st to join. Fasten off, weave in ends, block.


Yes, Swatches Lie…Well Maybe….

Yes, swatches lie. Well that is a bit harsh…really they can be a bit misleading.

To start with there is the famous question, “Do I need to make a swatch?” Well only if you want to ensure that you meet the gauge of the pattern. Gauge helps to ensure that the pattern comes out the same size, but it also ensures that your fabric has the same drape as that of the original design. If this is important to you, then yes, you need to swatch.

That being said there are some road blocks that stop many people from making a swatch.

First there is no actual directions for making a swatch, the gauge lists the number of stitches and rows that fit the given measurements, but that is where the information ends. If you are a new crocheter this can be a bit difficult to decipher, as you need to read and understand your pattern and then make assumptions from this.

One of the ways to make these assumptions is simply to make a chain longer than the given measurement for the gauge. By a rule of thumb add make the swatch at least 40% bigger than is measured, so if it states 4” (10cm), make a swatch of 5 ½” (14 cm). This is so you can take the measurement from of the stitches and rows without using the edges of the swatch, as the edges can distort the measurement.

If the gauge gives a stitch pattern, work this in rows until the rows measure larger than the given measurement. However this is only step one.

The next step to ensure you are getting an accurate measurement is to block your swatch. Essentially you want to treat your wash as you would the finished item, so if it is hand washed then hand wash, if it is machine wash then machine wash, and let dry.

Now you can take the measurement and to ensure that you meet gauge, to proceed with your pattern. If you need to adjust your hook size to obtain gauge you will need to repeat the process in a new hook size and repeat.

However here is the honesty, very few of us go through these steps. I know when I get my yarn I want to dive right in and get to creating, but sometimes I do have to pay the price for this. I may need to rip back and rework if things are not coming out as expected.

So how can I find a happy medium between creating a swatch and just enjoying my crochet? My tip is to check my work regularly. I may block an item before I head to bed, after a day of stitching, and check my gauge in the morning. If it is on course I feel free to continue onward, if it is a bit off it is a day to rip back and begin anew. This may be a bit of a gamble in losing a day’s worth of work, but it keeps me enjoying my stitching while still being happy with the outcome.

Latest Designs, Different Names and Stunning Results

In this last few weeks I have released a couple of new designs and I wanted to share my thought about them with you.

The first is Robert’s Vowel Wrap. Yes, it is a bit of a different name, but it reflects my son’s first comment when seeing the final piece of “awe”. Apparently he likes this one, and to get a positive comment on crochet from a teenage boy…that says something.

Robert’s Vowel Wrap

This design was a bit of a challenge for me to get the math to work out for the increases, but once I found it, I am quite happy with the way it works up. Essentially it is a reverse miter rectangle, starting with a small rectangle and increasing on 2 sides until you get the nice wide width. Then the length is finished off on one edge.

The contrasting colors really are set against each other in this design, and gives a bold statement, but if you wanted to change colors to something more subtle I think you would be just as happy. (The sample is worked up in Anzula Milky Way yarn, colors Petunia and Black)

Gee Circle Shawl received its name from my daughter, because “Gee I want I one” was her statement. I guess I will have to place this design on my hook again and fulfill her request.

Gee Circular Wrap

The half circle design actually holds the shoulders, as it is slightly over a true half circle size and then quits the increase, causing the design to gently pull inward to stay in place on your shoulders. It actually works up fairly quickly and really allows two colors to play off of each other well. (The sample is worked up in Anzula Gerty yarn, colors Orchid and Victoria)

Get these patterns for yourself at my Ravelry store here,  and create some stunning projects for yourself or someone special in your life.

Change the Yarn- Tips for Yarn Substitutions

We have all done it, and sometimes it goes well, others it does not. I am talking about yarn substitution.

Honestly, I never really thought about the yarn I was substituting. I would find a yarn I loved then pick out a pattern I liked and just begin working up my stitches. I never looked at gauge, I never paid attention the fiber or even the weight of the yarn.

In some cases things worked out fine, in others I found myself with items smaller, or firmer, or just plain awkward looking. So I have learned, and it is time to share some insights.

First realize that the pattern you find was designed in a specific yarn. The way it looks in the photo is because of this specific yarn. Changing the yarn will change the effect, maybe the drape, maybe even the size.

Now what to compare to make the change.

Check the weight of the yarn. The weight is in essence the diameter of the strand of yarn, it can be assigned a number (from 0 lace-7 super chunky) or given a name such as lace, thread, sock, fingering, baby, sport, DK, worsted, Aran, chunky, craft, bulky, roving.  These numbers or names are assigned by the manufacture and finding matching yarns at least get you in the ball park that the yarns are similar.

However there are times that you pick up a yarn and it doesn’t have a weight listing by number of name, but it does have a knitting gauge listed. This gauge can help you make the weight comparison too. Yarns that have the same gauge, using the same size needles, will be also be compatible in weight. If the yarns are using the same size needles in the gauge but the stitch and row counts are not the same, the yarn with the higher number of stitches in the gauge will be thinner than the other.

Another way many compare the weight, is to compare the yard/meters and the ounces/grams of the skein. If a skein states that it is 400yrd/366m and 1.75oz/50g it would be compatible with a yarn of 425rds/388m and 1.75oz/50g, but not compatible with a yarn that was listed as 600yd/549m and 1.75oz/50g, as the latter yarn is much thinner. It is a comparison of yards/meters and comparison if ounces/grams that help you see if things are in the same ball park.

The next thing to consider when comparing yarns if the fiber content. In some cases it may not make much of a difference, but a few fibers act completely different from one another. For instance if you are substituting a wool yarn with a lot of bounce or springiness, with a 100% silk you fabric will not even resemble each other. The silk tends to have a lot of drape, it flows, and in comparison to the wool will be limper. Whereas the wool will have some stretch and spring back into place.

Yarns with similar fiber content will behave similarly, so use caution if the labels vary greatly.

Now that you have found a yarn to substitute, if you want to ensure that you will be happy with the outcome of your project, make a gauge swatch. If you make gauge and are happy with how the fabric feels and looks, make your project.


Woven Kisses Wrap- Free Pattern

For the last few years I have released new patterns featuring yarn from Lisa Souza Dyeworks to highlight the New York Sheep in Wool show, affectionately known to many simple by the town that hosts it, Rhinebeck. This year is no different.

With Rhinebeck occurring this next weekend, October 20 & 21, 2018 at the Duchess County Fairgrounds, I have designed a new shawl; Woven Kisses.

Woven Kisses is essentially a mesh, but not created with your most common stitches. It is worked with tall stitches and Love Knots (aka Solomon Knots). It works up quickly, and adds a great airiness while giving beauty. If you need to learn how to create these lofty stitches, I share how here.

This wrap is airy and have a beautiful drape. One of the things that I always find interesting is that even with the openness, it is quite warm, making for a delightful project. In addition, this entire wrap is created with only one skein of yarn, everyone loves that. It helps keep things cost effective, while also only having 2 ends to weave in, my favorite kind of project.

Even if you cannot attend Rhinebeck, you can enjoy this design, since I am sharing it as a free pattern. I hope you enjoy it and that it helps you get into the crochet season.

Woven Kisses Wrap

Materials

  • Hook size 1/9/5.5mm
  • Lisa Souza Yarns Delux Sock light weight 80% superwash merino, 10% nylon 10% cashmere (4oz/495yds): 1 skein color: Rhinebeck 2018 (www.lisaknit.com)

Gauge is not critical for this project

Finished Size approximately 24” x 84”

Row 1: Ch 2, sc in 2nd ch from hook, 50 LK, turn.

Row 2: Ch 4 (counts as tr now and throughout), LK, tr in knot between 2 LK, [LK, tr between next 2 LK] rep 48 times, LK, tr in last knot, turn.

Row 3: Ch 4, [LK, tr in next tr] rep across, turn.

Row 4-26: Rep Row 3. Fasten off, block.