Cutting Crochet- It is Possible

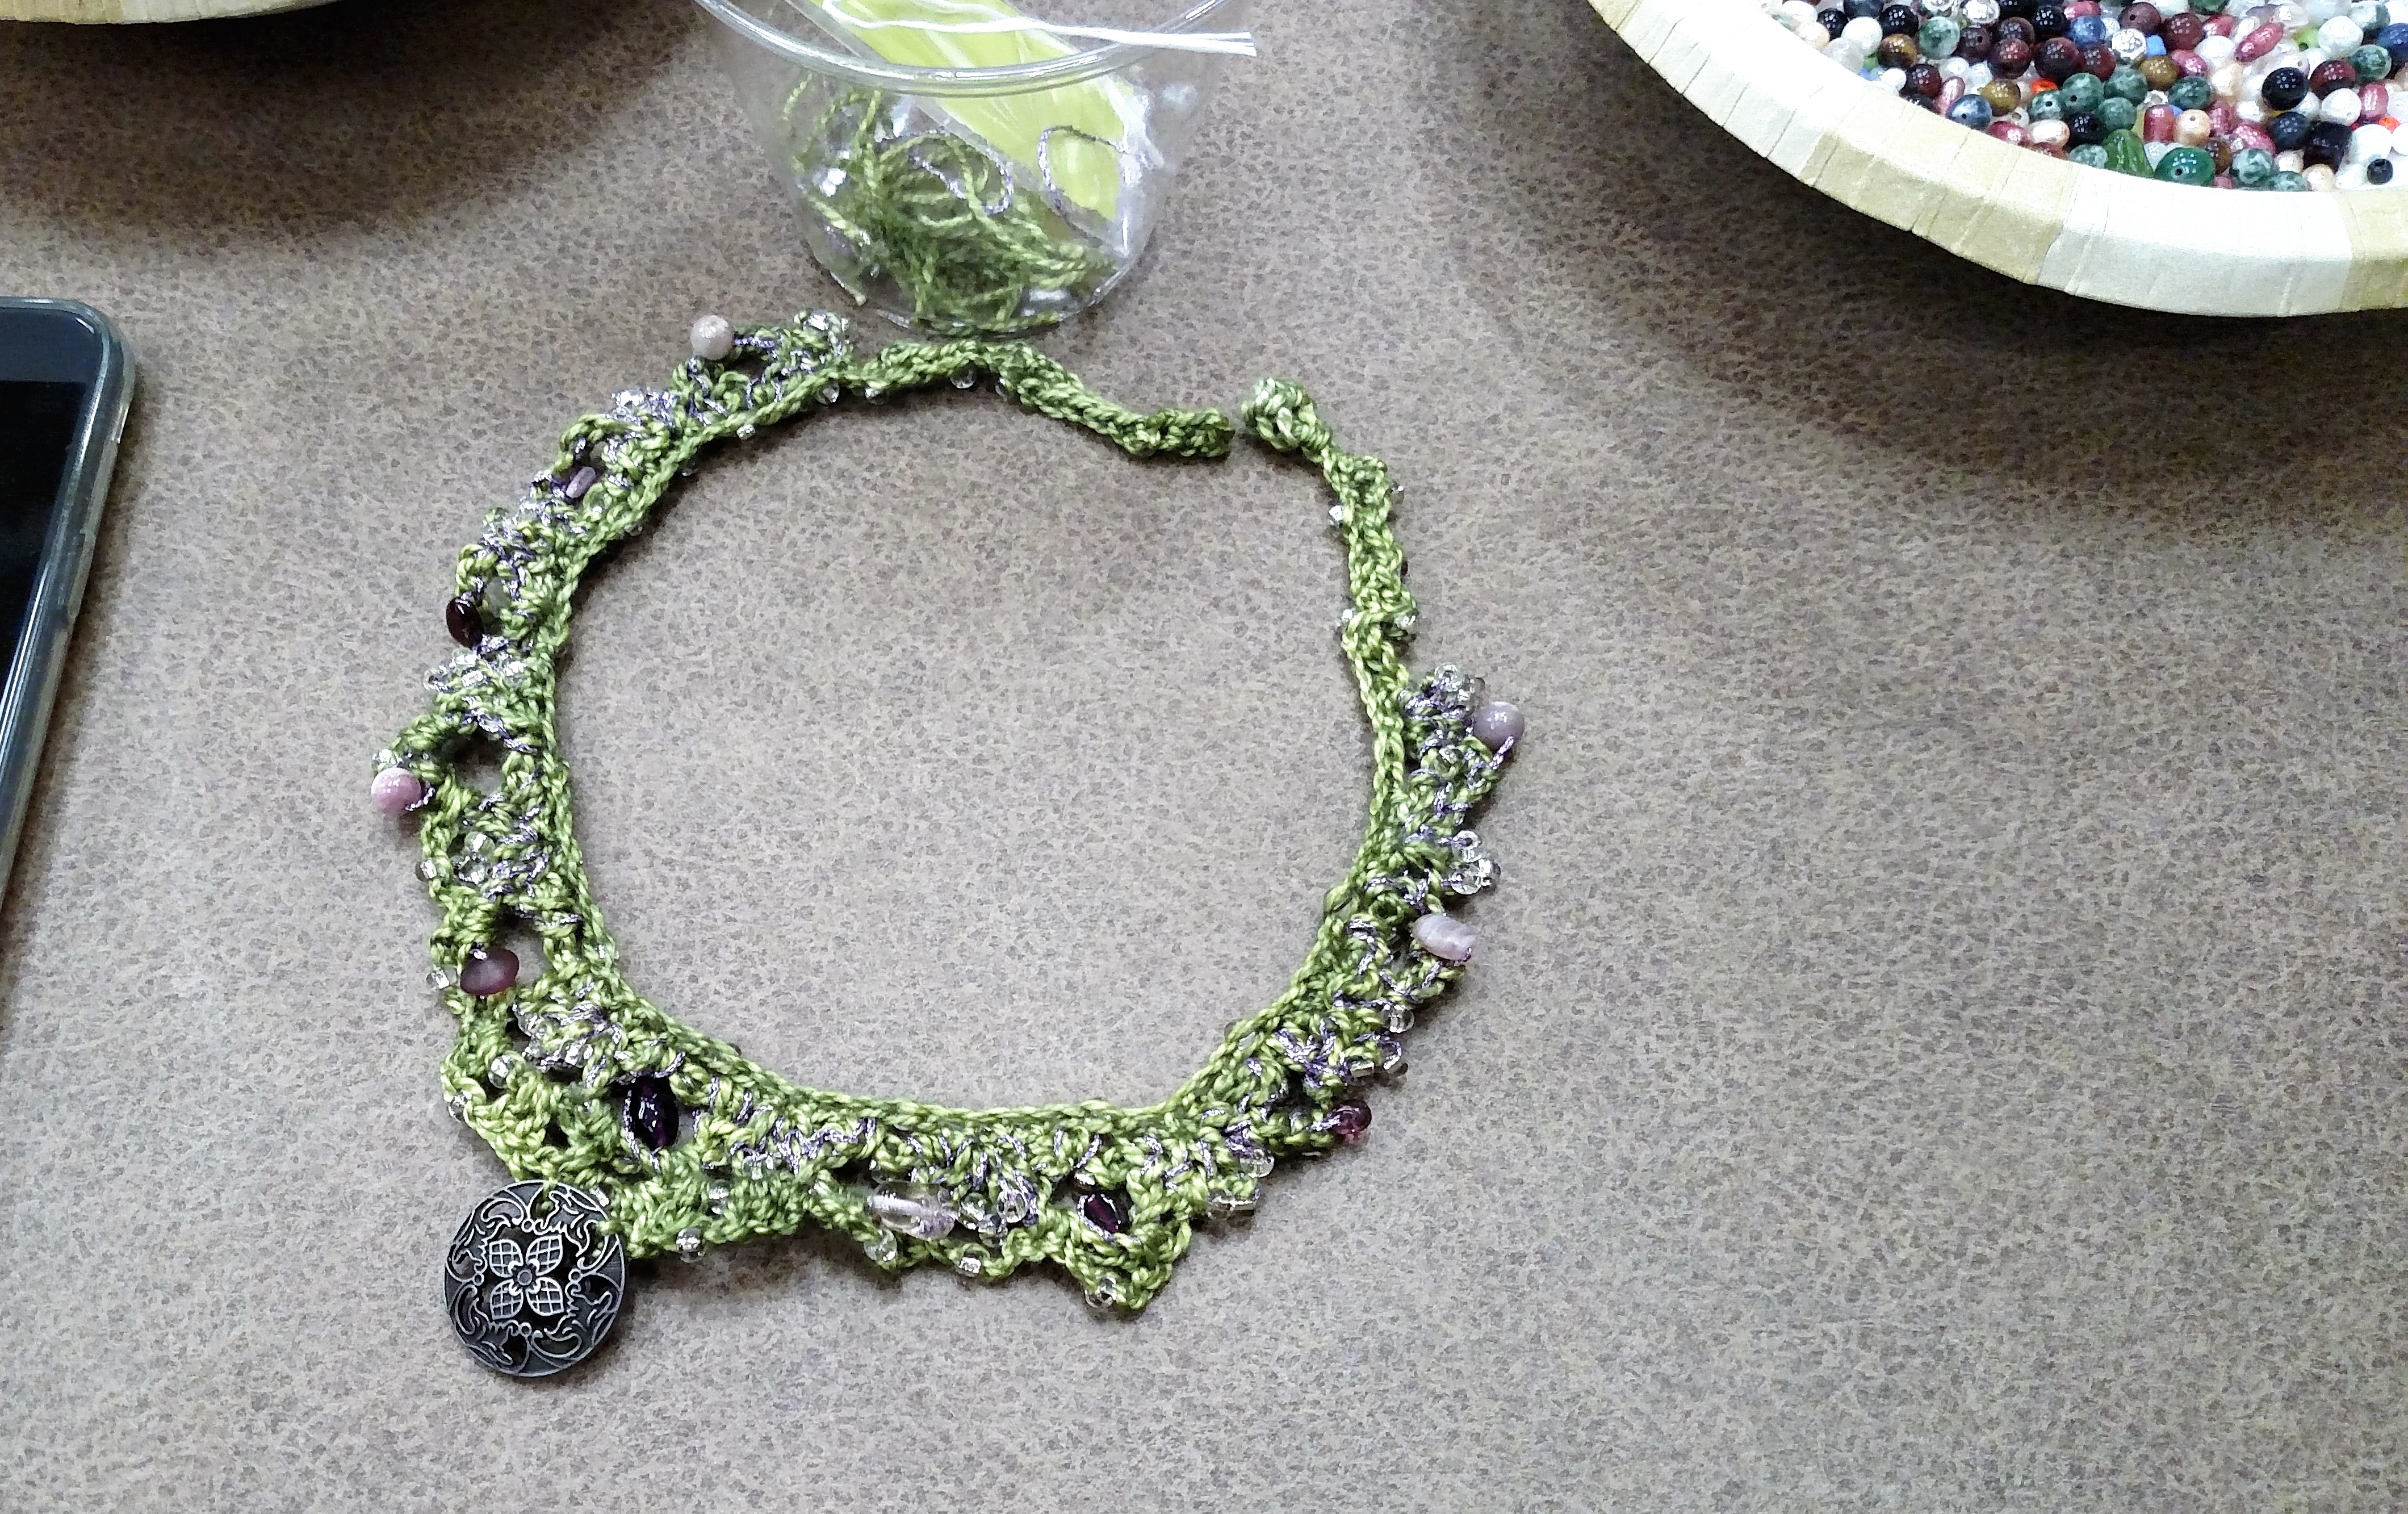
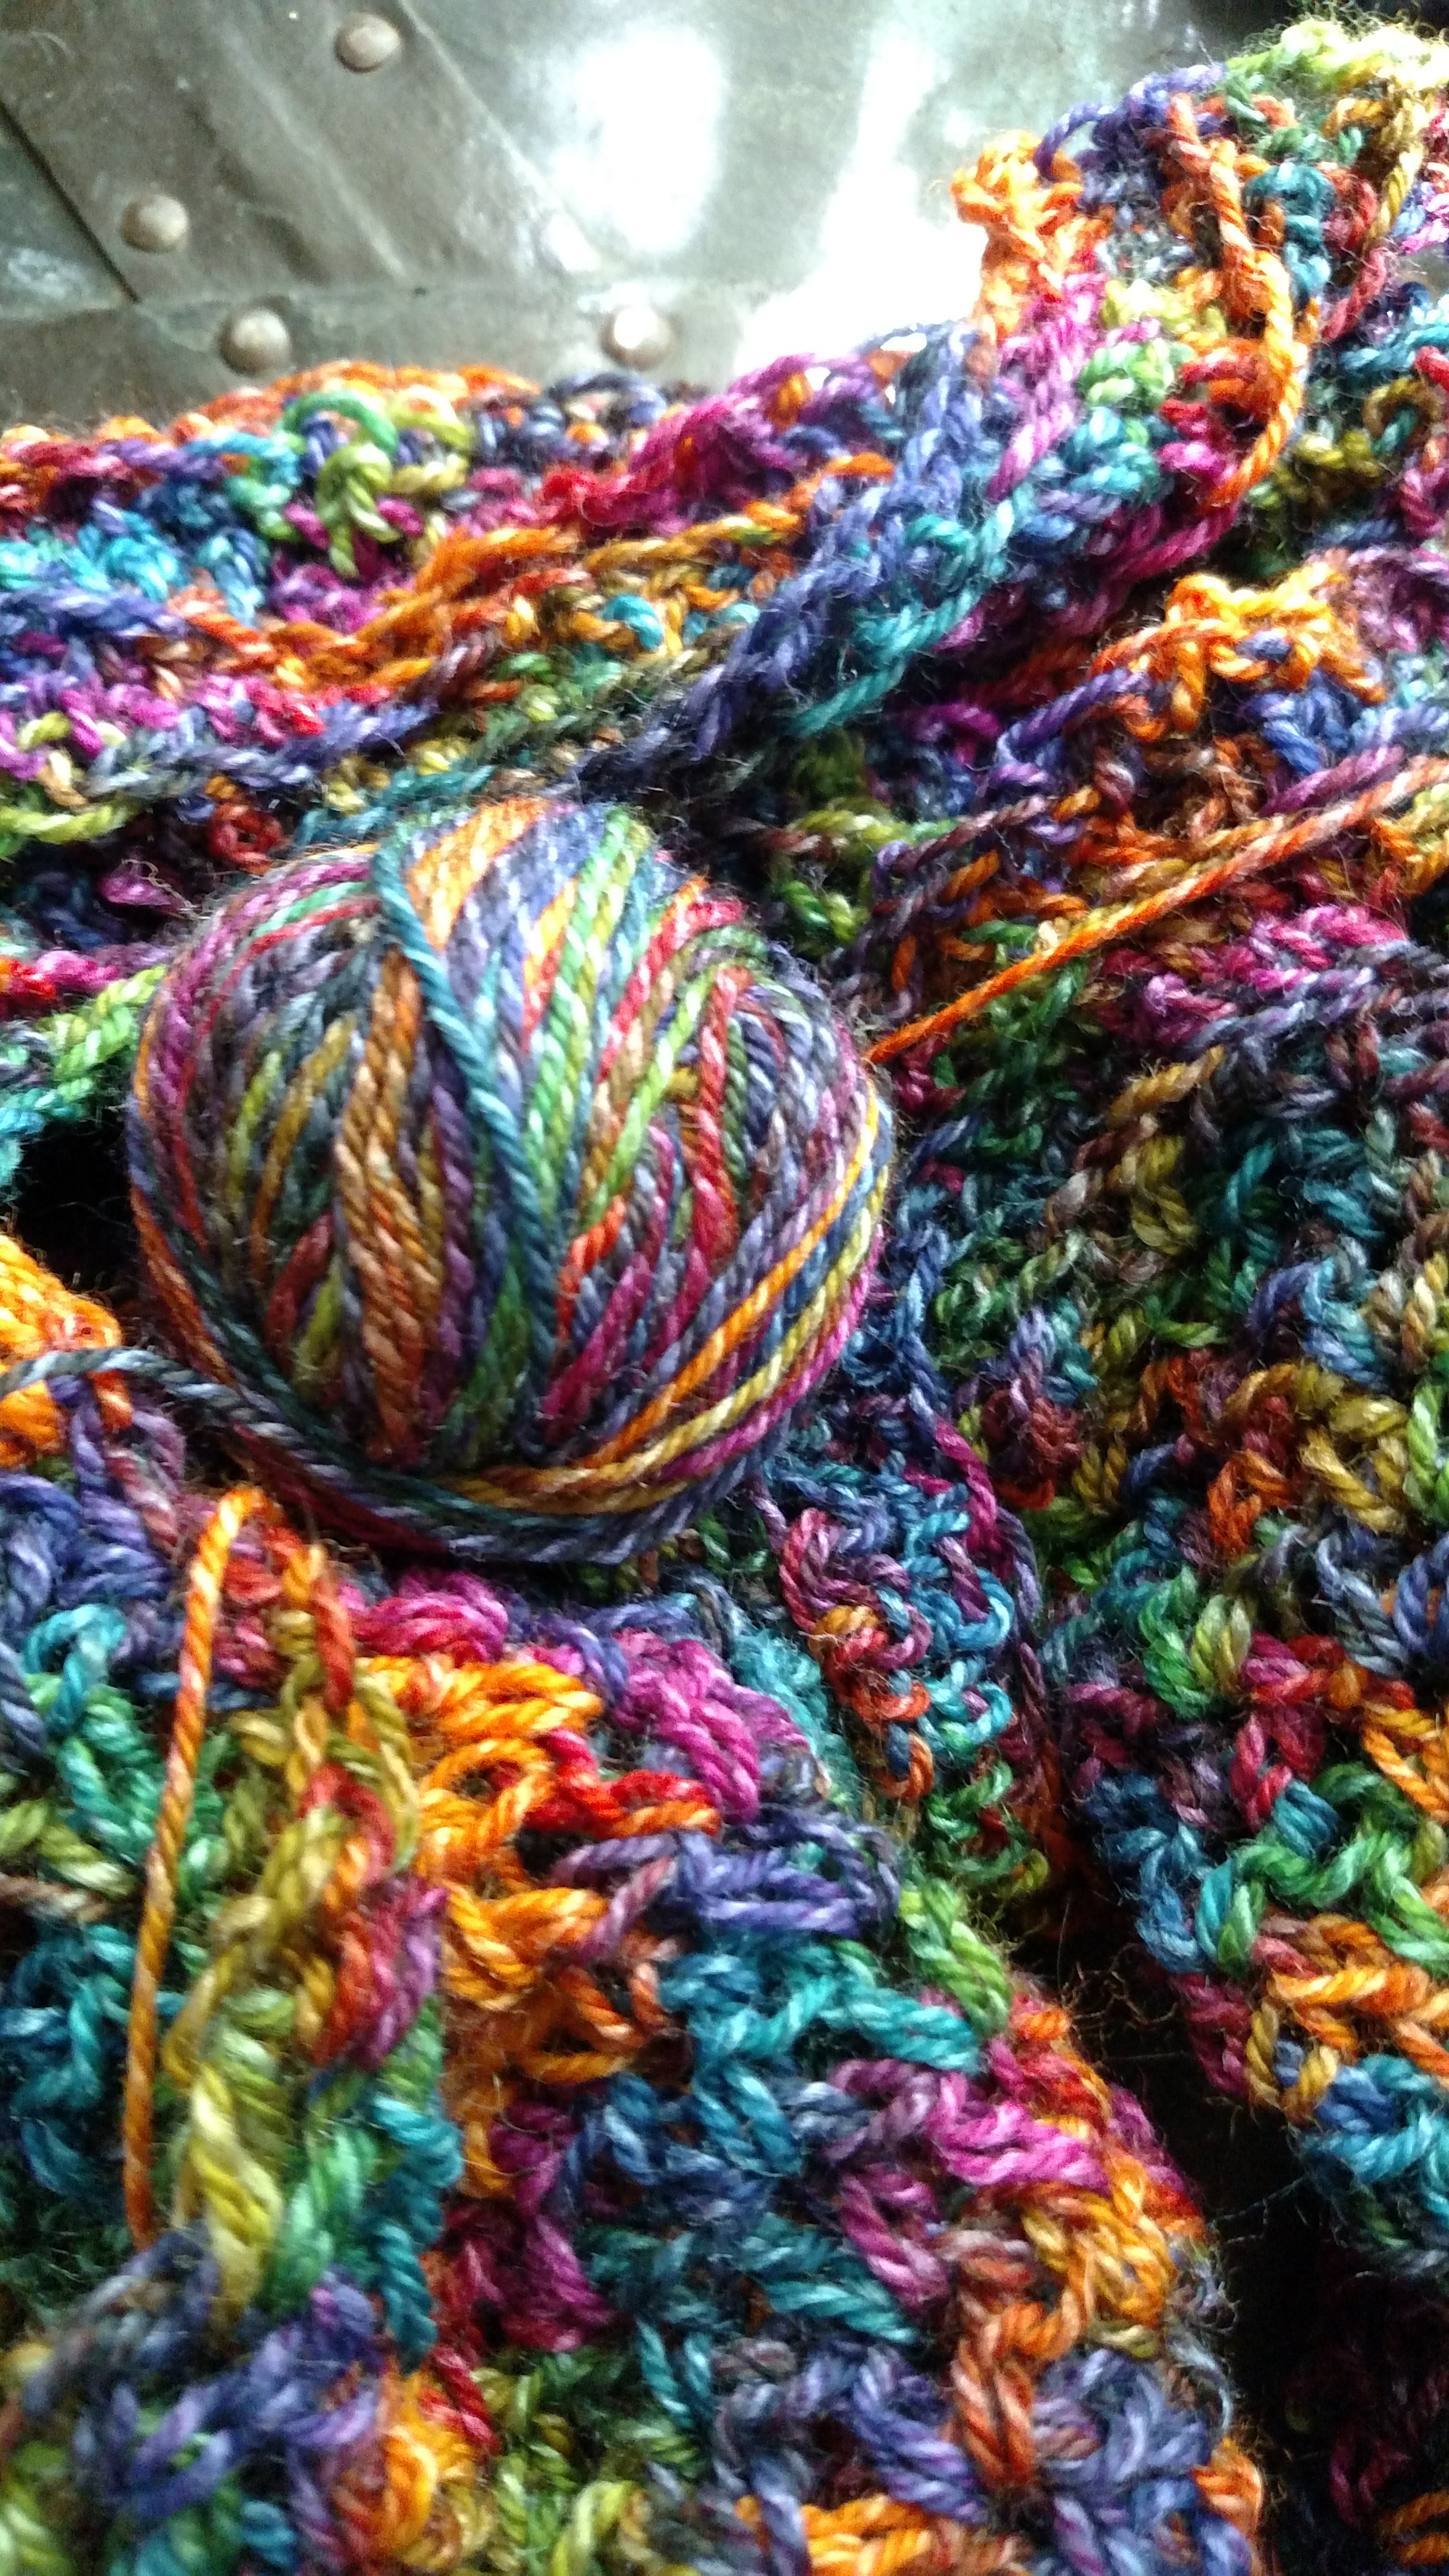
I have been quite a few questions lately about how to cut crochet. Granted it is not a simple process, but it is a skill you can acquire, with some simple understanding about your fabric.

First what do you want to cut your fabric? Maybe the beginning chain is way too tight in comparison with the rest of the fabric, and you would love it fixed. Maybe you made the something the wrong size, an afghan you made to wide, a sweater you made too long. The reasons can be vast.

To begin with cutting crochet fabric is unique and different almost every time you do it. The approaches to cutting across rows for fabric (horizontally) and cutting through stitches (vertically) might be similar, but horizontally is a bit easier. So let’s start there.

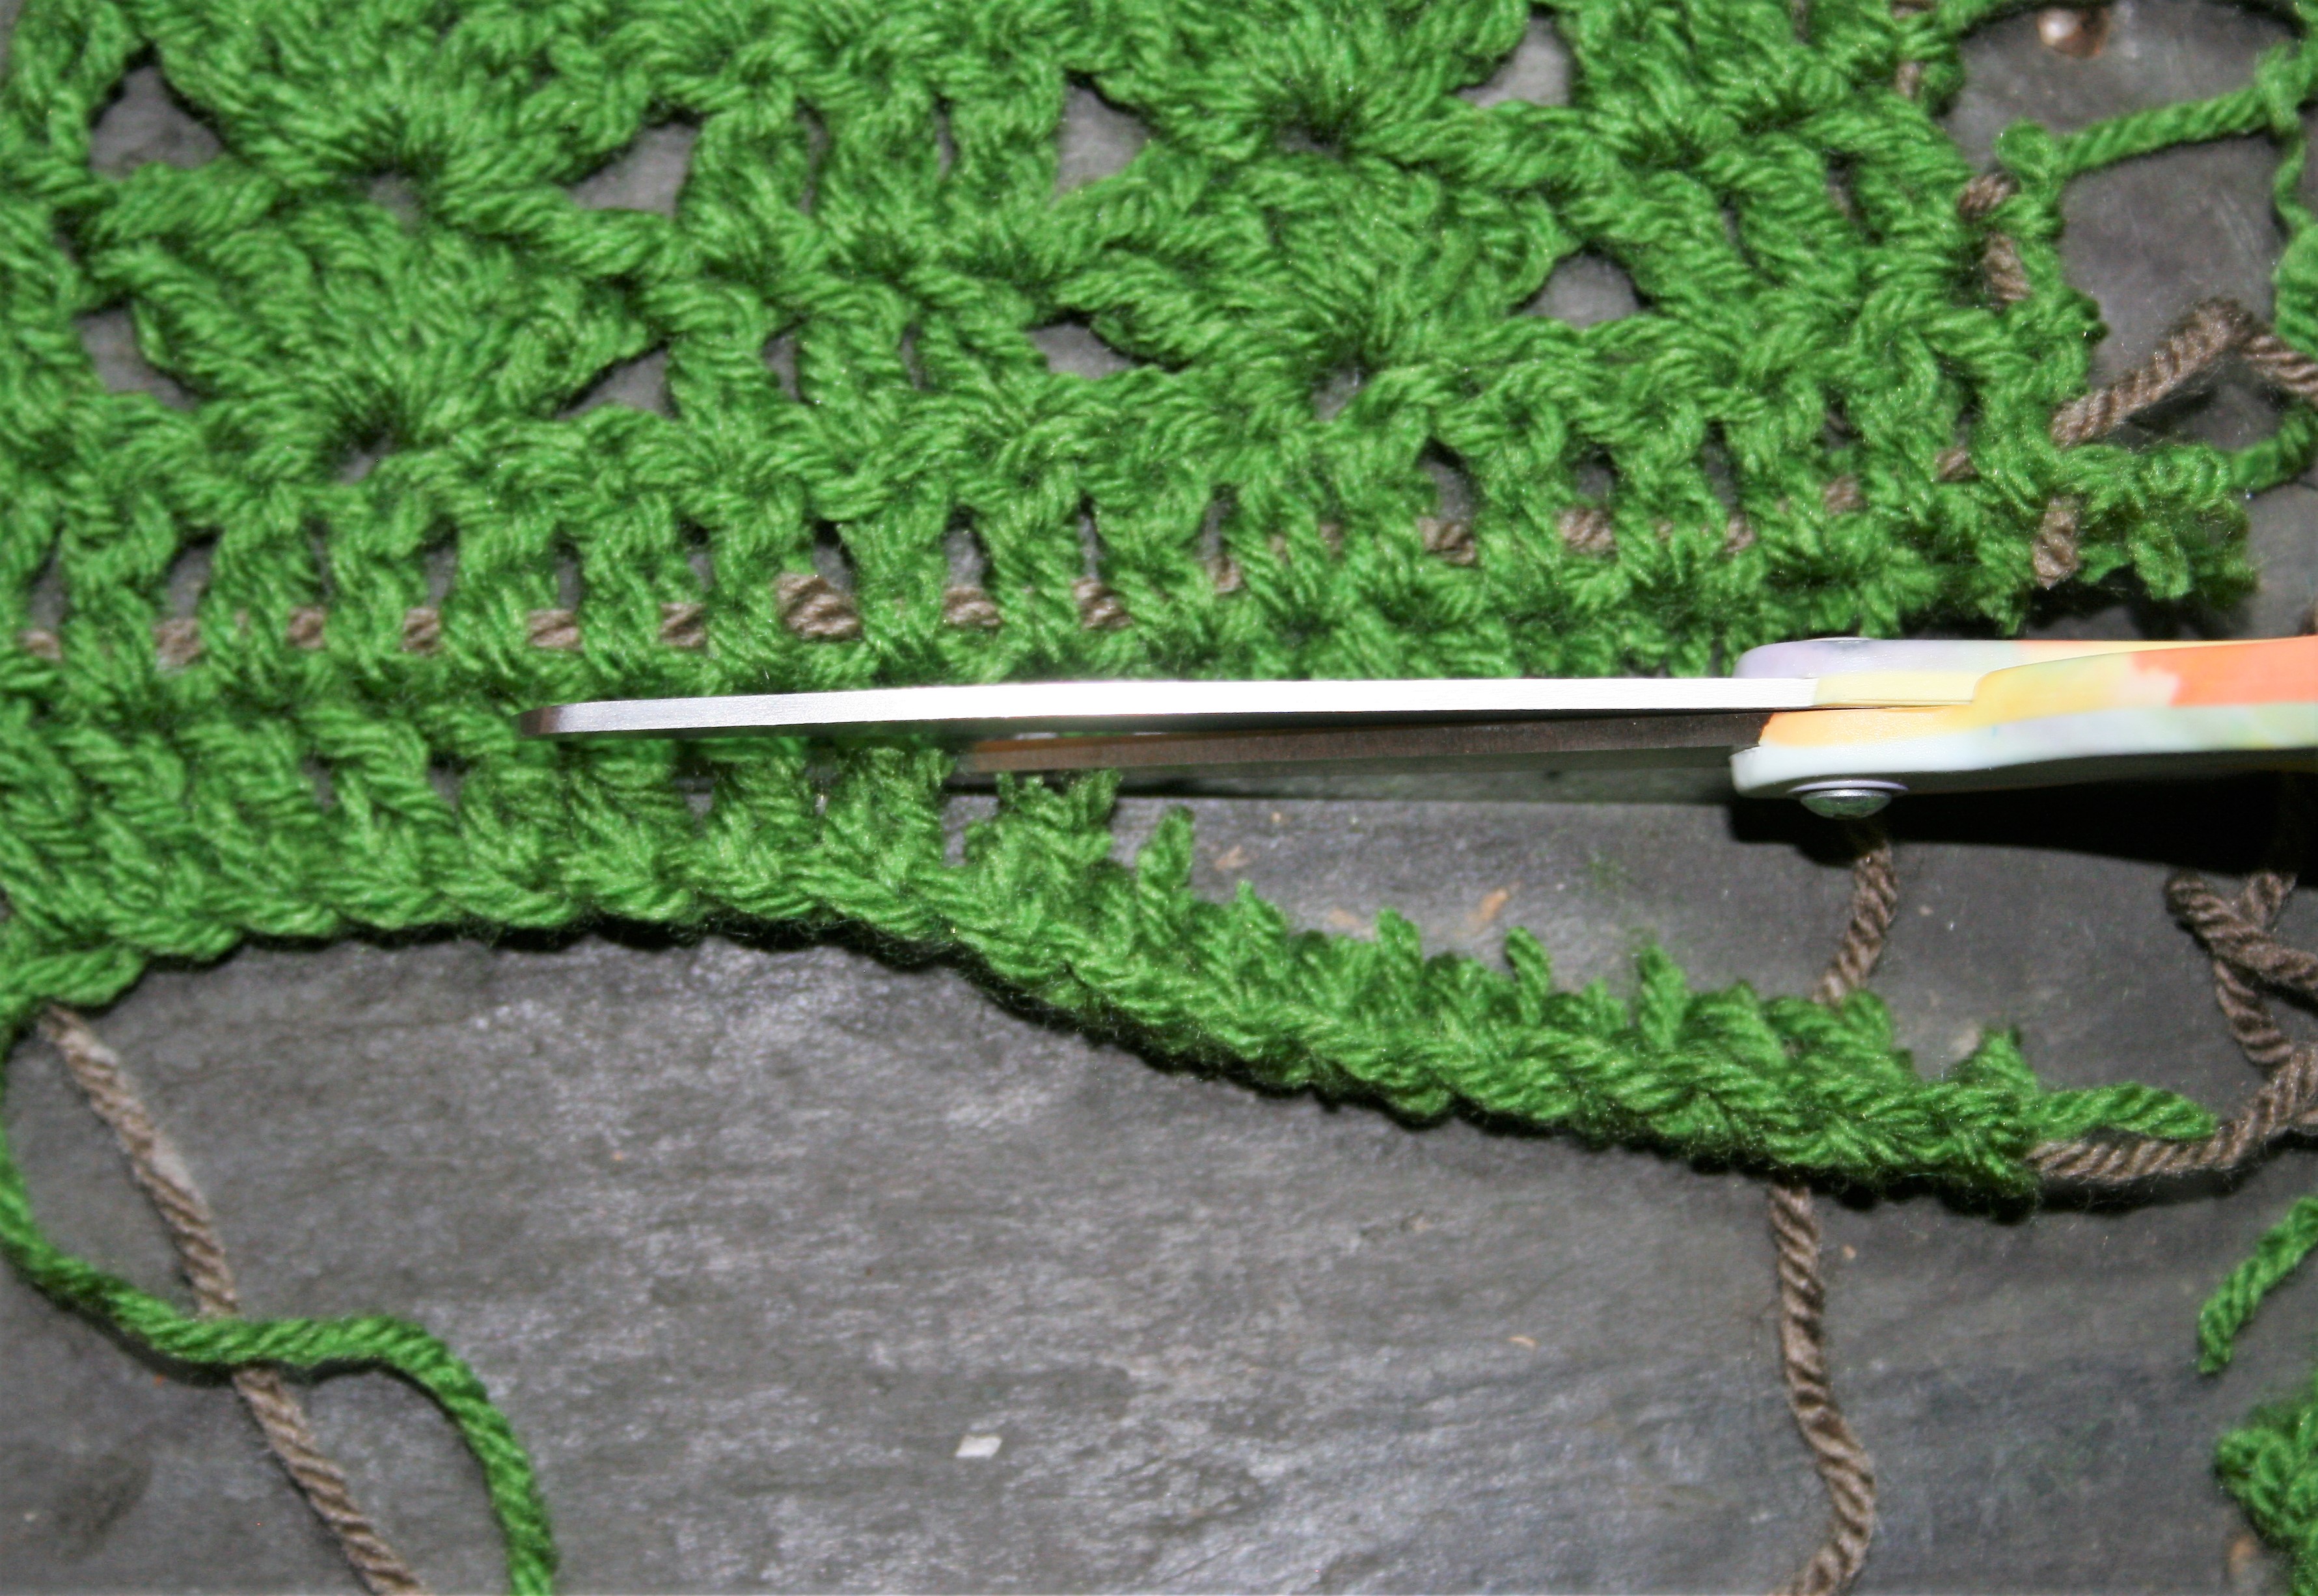
Before cutting through a row of stitches you want to run a thread through the bases or “feet” or the stitches that are being worked into the row to be cut. This thread will help prevent the fabric from unraveling.

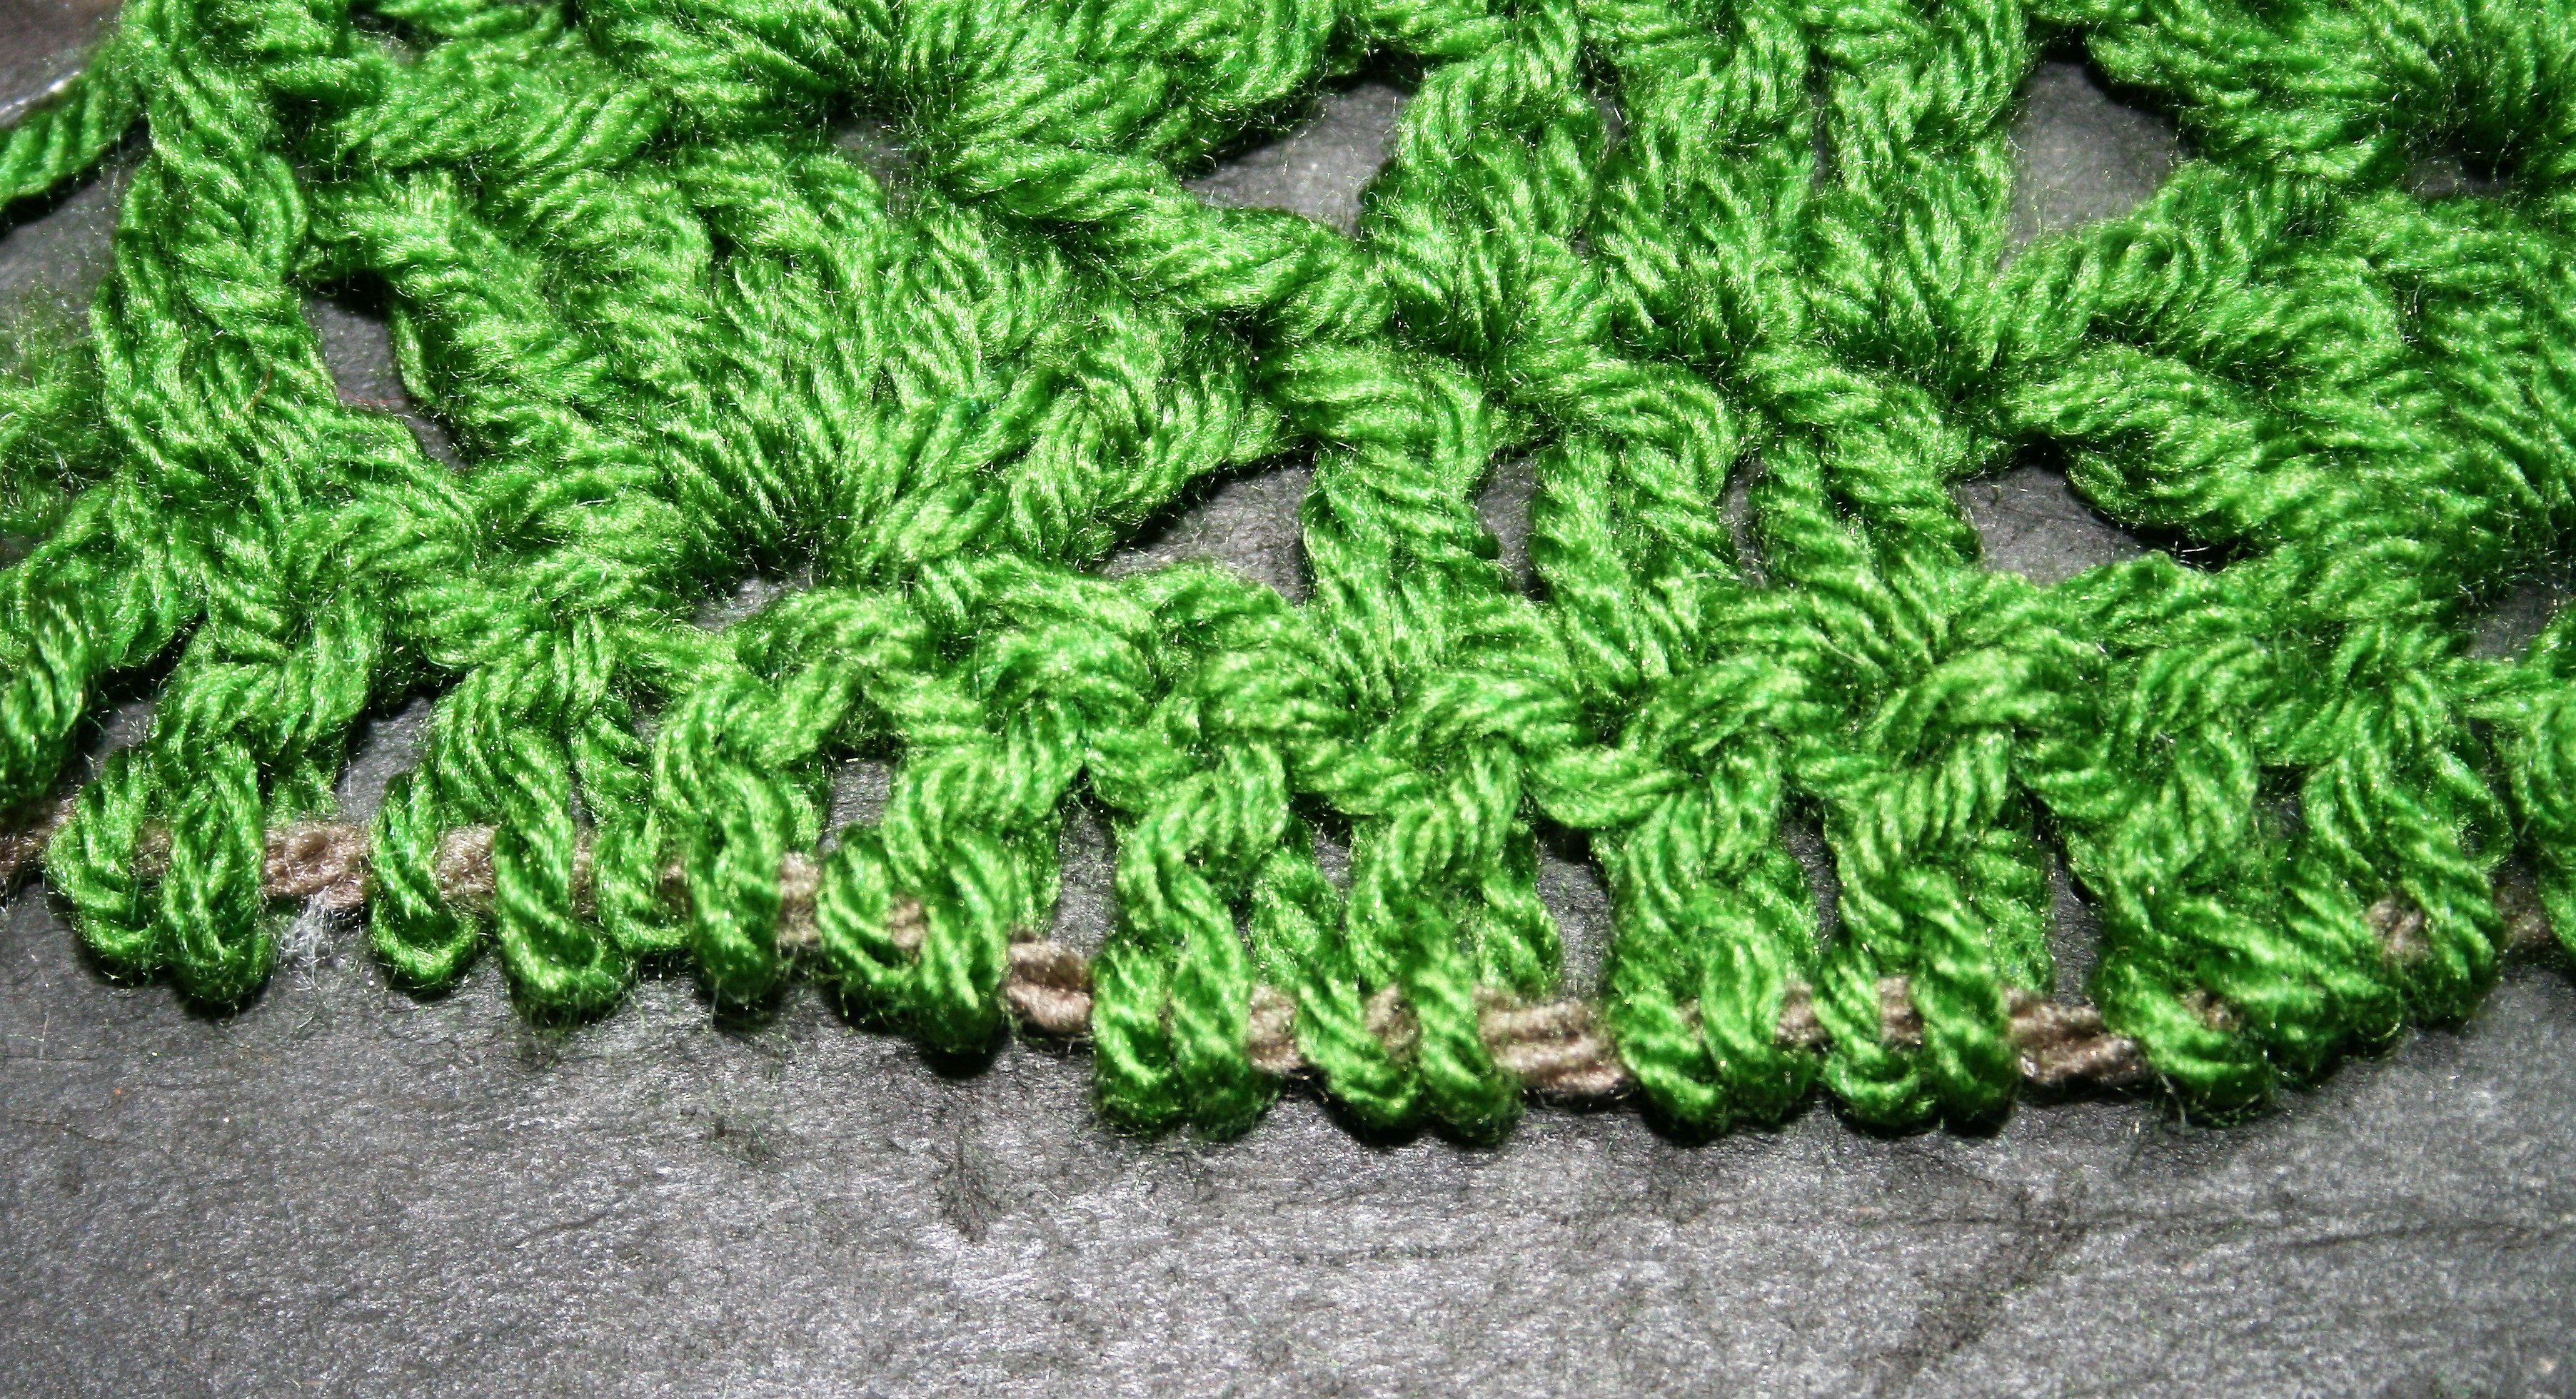
Once the thread is in place, cut the row off. Now remove all the excess yarn bits. You should have crochet stitches that are now worked on a thread. It is relatively simple to finish this fabric off by a new fabric to the base of the stitches on the thread and crochet into the “bottoms” of each stitch. Once all the stitches are worked into, you can remove the
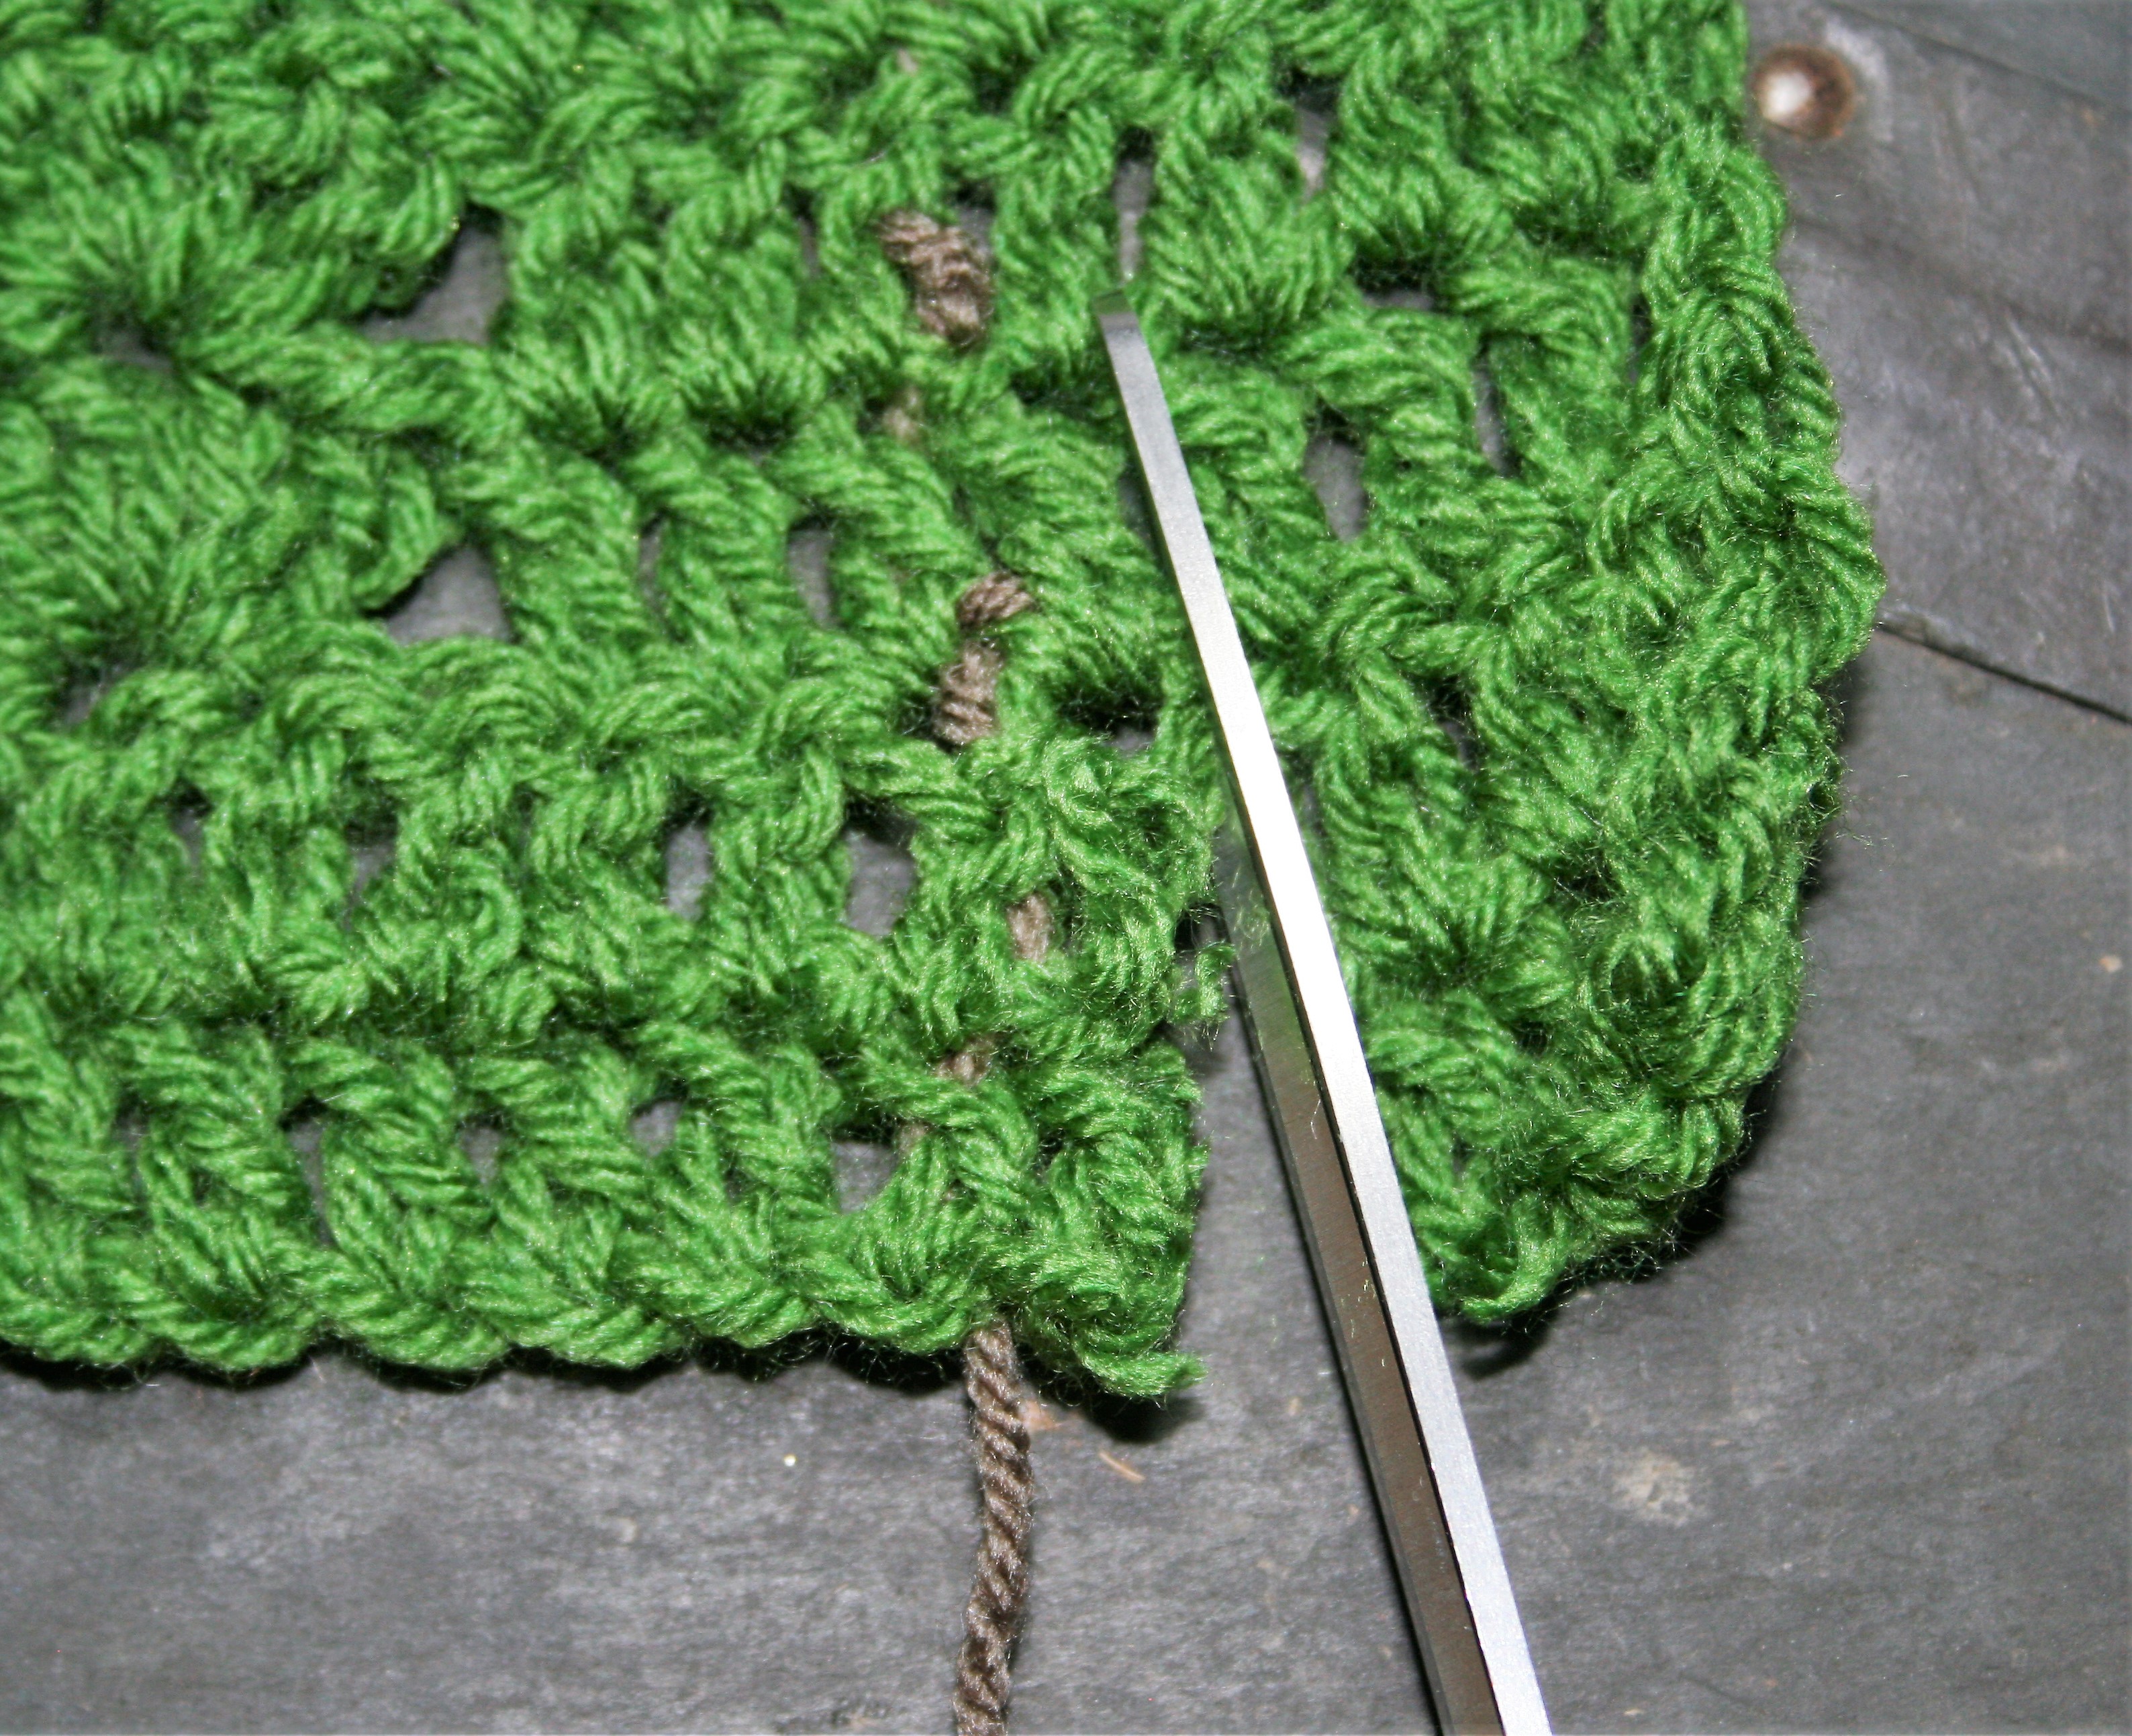
 thread.

To cut vertically in the fabric, the approach is similar to run a thread through the stitches adjacent to those being cut, but it can be more difficult to ensure that each loop that encompass a stitch is secure in this process, so I add an extra stitch. After running a thread through the stitches, you can cut the fabric (note, if you want to save both sides of the fabric from the cut you will need to run a thread on either side of the cut to ensure that neither piece of fabric unravels).

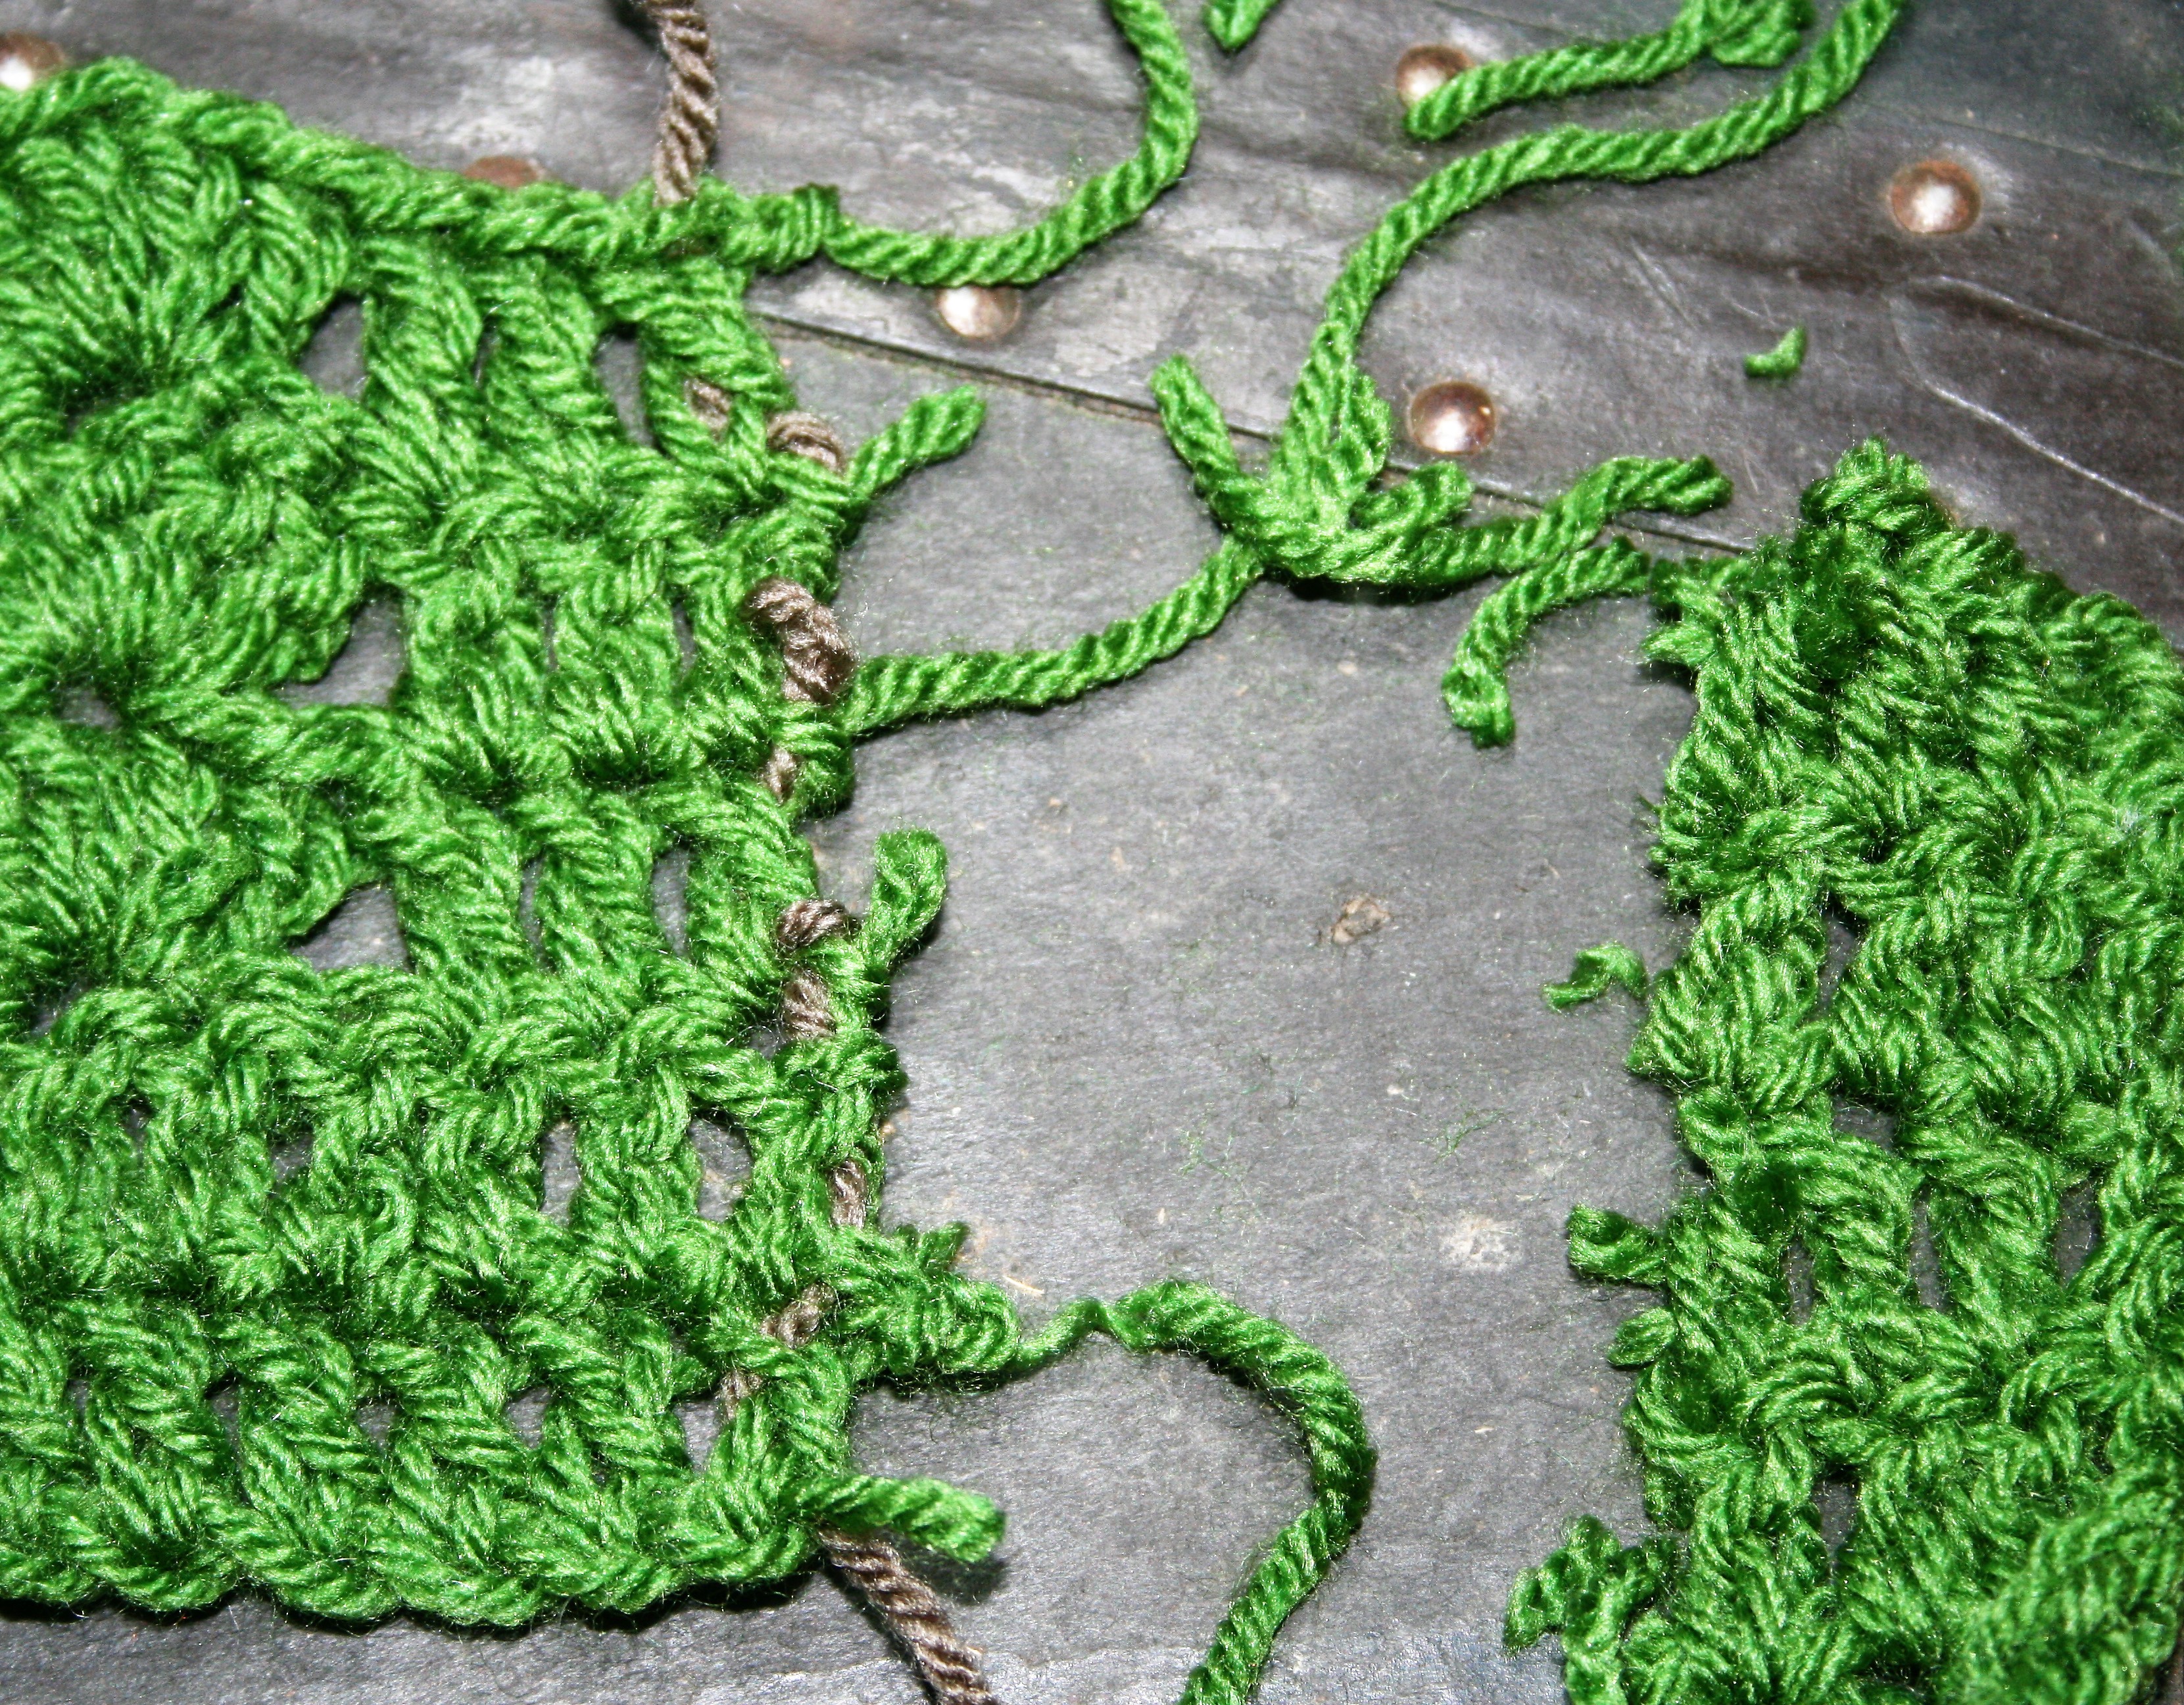
Once the fabric is cut, gently remove the excess yarn form the fabric at the cut, being careful to watch each row and ensure that no yarn is unraveling past your thread. If it is, as you have missed a loop, place a removable stitch marker in the “uncaught” loop. This removable stitch marker can be as simple as a paper clip. After removing the excess yarn and determining unsecured loops on the edge you will need to join with yarn and crochet over the edge, making sure to incorporate the unsecured loops into the new stitches you are creating. This will assist in preventing them from unraveling. After you have successfully crocheted the edge you can remove the thread. You may find that the edge still looks a bit shaggy, so you may have to weave in assorted ends throughout the edge to ensure a tidy finish.

Like I said it is not a project for the faint of heart, but it can be done. If you want to progress in further in cutting your crochet fabrics, I would suggest checking out teh work by Vashti Braha of Designing Vashti….she went down the rabbit hole with Self Healing Stitches and such….find them here. Why Self Healing Stitches, Self Healing Stitches Resources, 

A Crochet High- Returning from Conference

Last week I was teaching at the Crochet Guild of America annual Chainlink conference in Portland, Oregon, and you know it had to be a good time when it takes you 4 days to finally unpack. Okay 4 days may not seem like long to some, but I am usually unpacked the same day I arrive home with the laundry in the washer….however this time I just didn’t have the energy, I left it in Portland.

I taught a variety of classes, interestingly enough, I taught 4 classes at a crochet conference and none of them were actually crochet. Well one was, but it was about understanding patterns and how to read them better, the other 3 were not nearly as crochet focused.

I taught how to use beads in your work in my Beads 3 Ways class. It was a room full and everyone put their own style and twist on the necklace we were creating. There were definitely some talented and creative people in that room. They took silk, and threads (from Kreinik threads), and beads (from Bead Biz) and learned different applications to add them to their crochet (or knitting) projects.

Then I spent the entire day teaching people how to actually make yarn in my Drop Spindle class. Everyone made yarn, which is an exciting prospect just in itself. We worked with some different fibers (from Weaver Creek Fibers), and got the hang of drafting, spinning, and parking. We then plied our works and got to experience how to card wool. I haven’t taught that class in a while, and I have to say I was so impressed with what the students created.

The next morning was the class that caused me to drive 12 hours to Portland…Home Dyeing…how to safely dye your own yarn. I am pretty sure everyone had fun in this class. I had to drive to ensure that all  the equipment needed was there for me, so it allowed us to set up dyeing stations and play with all kinds of fiber (from Lisa Souza Dyeworks), with a variety of dyes and techniques. The artistic expression of the students really came out when we just jumped right into all the colors and combinations. There may have been some trash talk, completely in jest, with the class next door as they were learning how to color pool yarn. I had to put forth a challenge that were we dyeing yarn that they could not pool, my fellow instructor and friend, Vashti Braha was up for the challenge. She and I really had brainstormed ways we could work our classes together, but that didn’t come together so this little challenge was a nice addition.

Then I blinked and just like that all my classes were taught. Granted there were plenty of other events that helped cause my days to fly by, there was the member meeting I lead, and the recognition of all the Master Program graduates and Design Competition winners, then the Fastest Fingers Competition where I judged the finals, and you can never forget the CGOA Banquet and Fashion Show. It really is a whirl wind, and I didn’t even join in the actives of the first day.

I have to admit, I have been hooked since I attended my first Chainlink conference in 2011, it just feels like home.


Crochet Ups & Downs

How is it that WIPs (Works In Progress) can multiply and haunt you? How is it I can love to crochet yet not have the desire to do one more stitch on the afghan? Why is it that time can stand still with some projects?

I think we have all had these questions, I know I find them popping up in projects that are not even crochet related. In the beginning I have a plan, I am completely excited…the something happens. I don’t know what it is exactly, maybe I get bored, or I hit a snag in my plan. Maybe the next project just looks so much more exciting.

Yes, this is a challenge, even as I crochet for a living. In some cases if it wasn’t for a deadline some designs may not get completed. Not that they are not good designs or that I don’t love them but they sometimes fall into a rut and have to get put into time out.

Sometimes I think I am a bit manic in my crochet, I will crochet for non-stop for hours finishing project after project…then I hit a spell where I cannot even pick up a hook. My yarn and hook just stare at me, causing me guilt…I should be working on that project…I want to complete that idea…but I am stalled. I really do set goals every morning about what project needs to get done, and how far I need to get, but some days work a bit better than others.

I shouldn’t beat myself up too much, this is not the only area in my life this can appear nor am I the only one afflicted. There are always some home improvement projects around the house that haven’t quite been finished. There are always some art or craft projects that are half done; the garden seems to get partially started every year but never really finished. Some of it is that plans change part way through, others that the skill might exceed the ability.

Fortunately the slump always passes and the projects always get finished. Fortunately somehow everything balances out. So I will try and be a little nicer to myself when I just cannot pick up a hook. It is not a reflection of my love of craft it is just finding balance.

Inspiring Book & Give Away! Quick Crochet for the Home

I do not often do reviews. This has been a personal issue for me, as I don’t want to feel like I am just “hocking” items and adding an endorsement to everything in the hopes of gaining more followers or the like. I want to actually mean what I say and have those that read my work realize that I am taking caution in sharing my views. I know I could share negative thoughts in a review, but really I would prefer if I couldn’t say something nice, that I not say anything at all. So I am selective.

When I was asked if I would be interested in reviewing the first book written by Tamara Kelly, aka Mooglyblog.com, I was flattered, but a bit apprehensive. I consider Tamara a friend, so it doubly feels like I cannot say anything negative, especially about her first book. Fortunately, after reading through it I can easily stay to my “moral high ground” of endorsements, as the book is really very nice and well done.

The book, Quick Crochet for Home, honestly would not have been the first book I would have considered for my bookshelf. This is because I have done so many home décor projects over the years that I thought I couldn’t find any that would inspire me anymore, I was wrong. Tamara applies some techniques in ways that I had not considered before and helped me to look at home décor with fresh eyes.

When checking out the Around the Table Trivet I was surprised that there was no cording listed in the materials, as looking at the photo images it appeared that the rounds were well padded, then I noticed that there was not spiral effect of the rounds. The genius of the pattern has one round worked over the adjacent round! So there is not obvious join, and it creates its own padding…genius! It is one of those, why didn’t I think of that moments.

Then her Chevron Cuddles Blanket takes the challenge of the increase and decrease stitches out of the famous crochet design of zig zags, and worked the design side to side carrying different colors instead of working each color as a separate row. This has some definite benefits, such as being easier of newer crocheters, and allowing you to really envision how the colors come together well before you have finished the project. You only have to know how to double crochet, and change colors…it is that simple, yet looks much more challenging.

I also found that the book was well presented, layout well, offered well written patterns and charts. Another bonus, it has photography that actually helped you understand the project, not just look really pretty.

I found inspiration in several of the other designs as well, but I am pleasantly surprised at how much I enjoyed going through this book. There is a little something for everyone, there are patterns that you will easily work over and over again, as well as others that might only wait for the perfect moment. Tamara shares several different original ideas in her approach to her designs, and I am sure that you will find something that you will create.

As an added bonus, I have the opportunity to GIVE AWAY a FREE copy of Quick Crochet for the Home by Tamara Kelly, to one lucky reader! Simply leave a comment telling me what your favorite item is to crochet…whether it be home décor or something else, by midnight Friday, September 1, 2017. The following day one comment will be selected at random to choose the winner.


Silk Blend- It Is My Weak Spot

I have to admit I have a weak spot for silk. This weak spot could have grown as a child, with the thought that silk was an ultimate luxury, something to glamorous and out of reach. Regardless, it still has a special place for me.

Manos del Uruguay has a nice yarn, Silk Blend, that the name alone attracts my attention. It is a single ply yarn that is made up of 70% merino extra fine and 30% silk. So merino extra fine, is essentially wool from the sheep breed Merino, and the extra fine notation indicated that the micron count is very high (micron count is the measurement of the diameter of individual fiber, the higher the number the smaller the micron count, the soft the fiber). This yarn does live up to the label, it is soft, a real joy to use.

Silk Blend www.lindadeancrochet.com

Manos del Uruguay Silk Blend yarn

The silk offers strength and a subtle sheen to the yarn. Silk is one of the strongest fibers available and like wool it holds warmth. Silk shares a lustrous quality that adds a warm radiance in the overall appearance, while using its strength to add integrity to this single ply. Even with the fibers being warm this yarn seems very breathable and I would be happy to work a light weight sweater in it.

The single ply of this yarn does give me a bit of a pause. Even though it has great stitch definition, really allowing the stitches to shine, it has a bit of a halo. It does not readily pill, but I think that after continuous use, or multiple times being ripped back, that it may become a bit unruly and not nearly as fun to use. So keep the project simple, and one that you feel comfortable with the stitches, and you will only notice the fine qualities of this yarn.

Each hank is 1.75oz/50grams, with a substantial 150yrd/135meters, easily making a beanie or fingerless mitts. I would feel comfortable with a few hanks to make up a nice scarf or wrap.