Tips for the Mundane

There are some truths about crochet that no one ever seems to share, we all hit a period where we are bored. This could be a stitch pattern, the act of moving the hook, the feel of the yarn. Everyone I have ever met does put things down from time to time, but they never really admit it.

It does not matter if you crochet for a living or just as a hobby, sometimes we find a mundane point. However, I have found a couple of ways through this period.

Ask yourself why. Is it that the stitch is not exciting? Is pattern is taking too long to finish? Is my attention being pulled in another direction?

We have all been there, and there is no shame in it. I have found a couple of approaches to get through it and still actually end up loving crochet again.

First, take a break. This is not a bad word and it does not mean that you are done with the craft, it simply means that you need a point of rejuvenation. Usually when I put my hook down, I find that I still need something to keep my hands busy and fidgety in the evenings when sitting with the family in front of the television. For me I then pick up work puzzles, maybe some Sudoku or word searches, I don’t quite have the disposition for crosswords but there are plenty of different puzzles to keep me entertained.

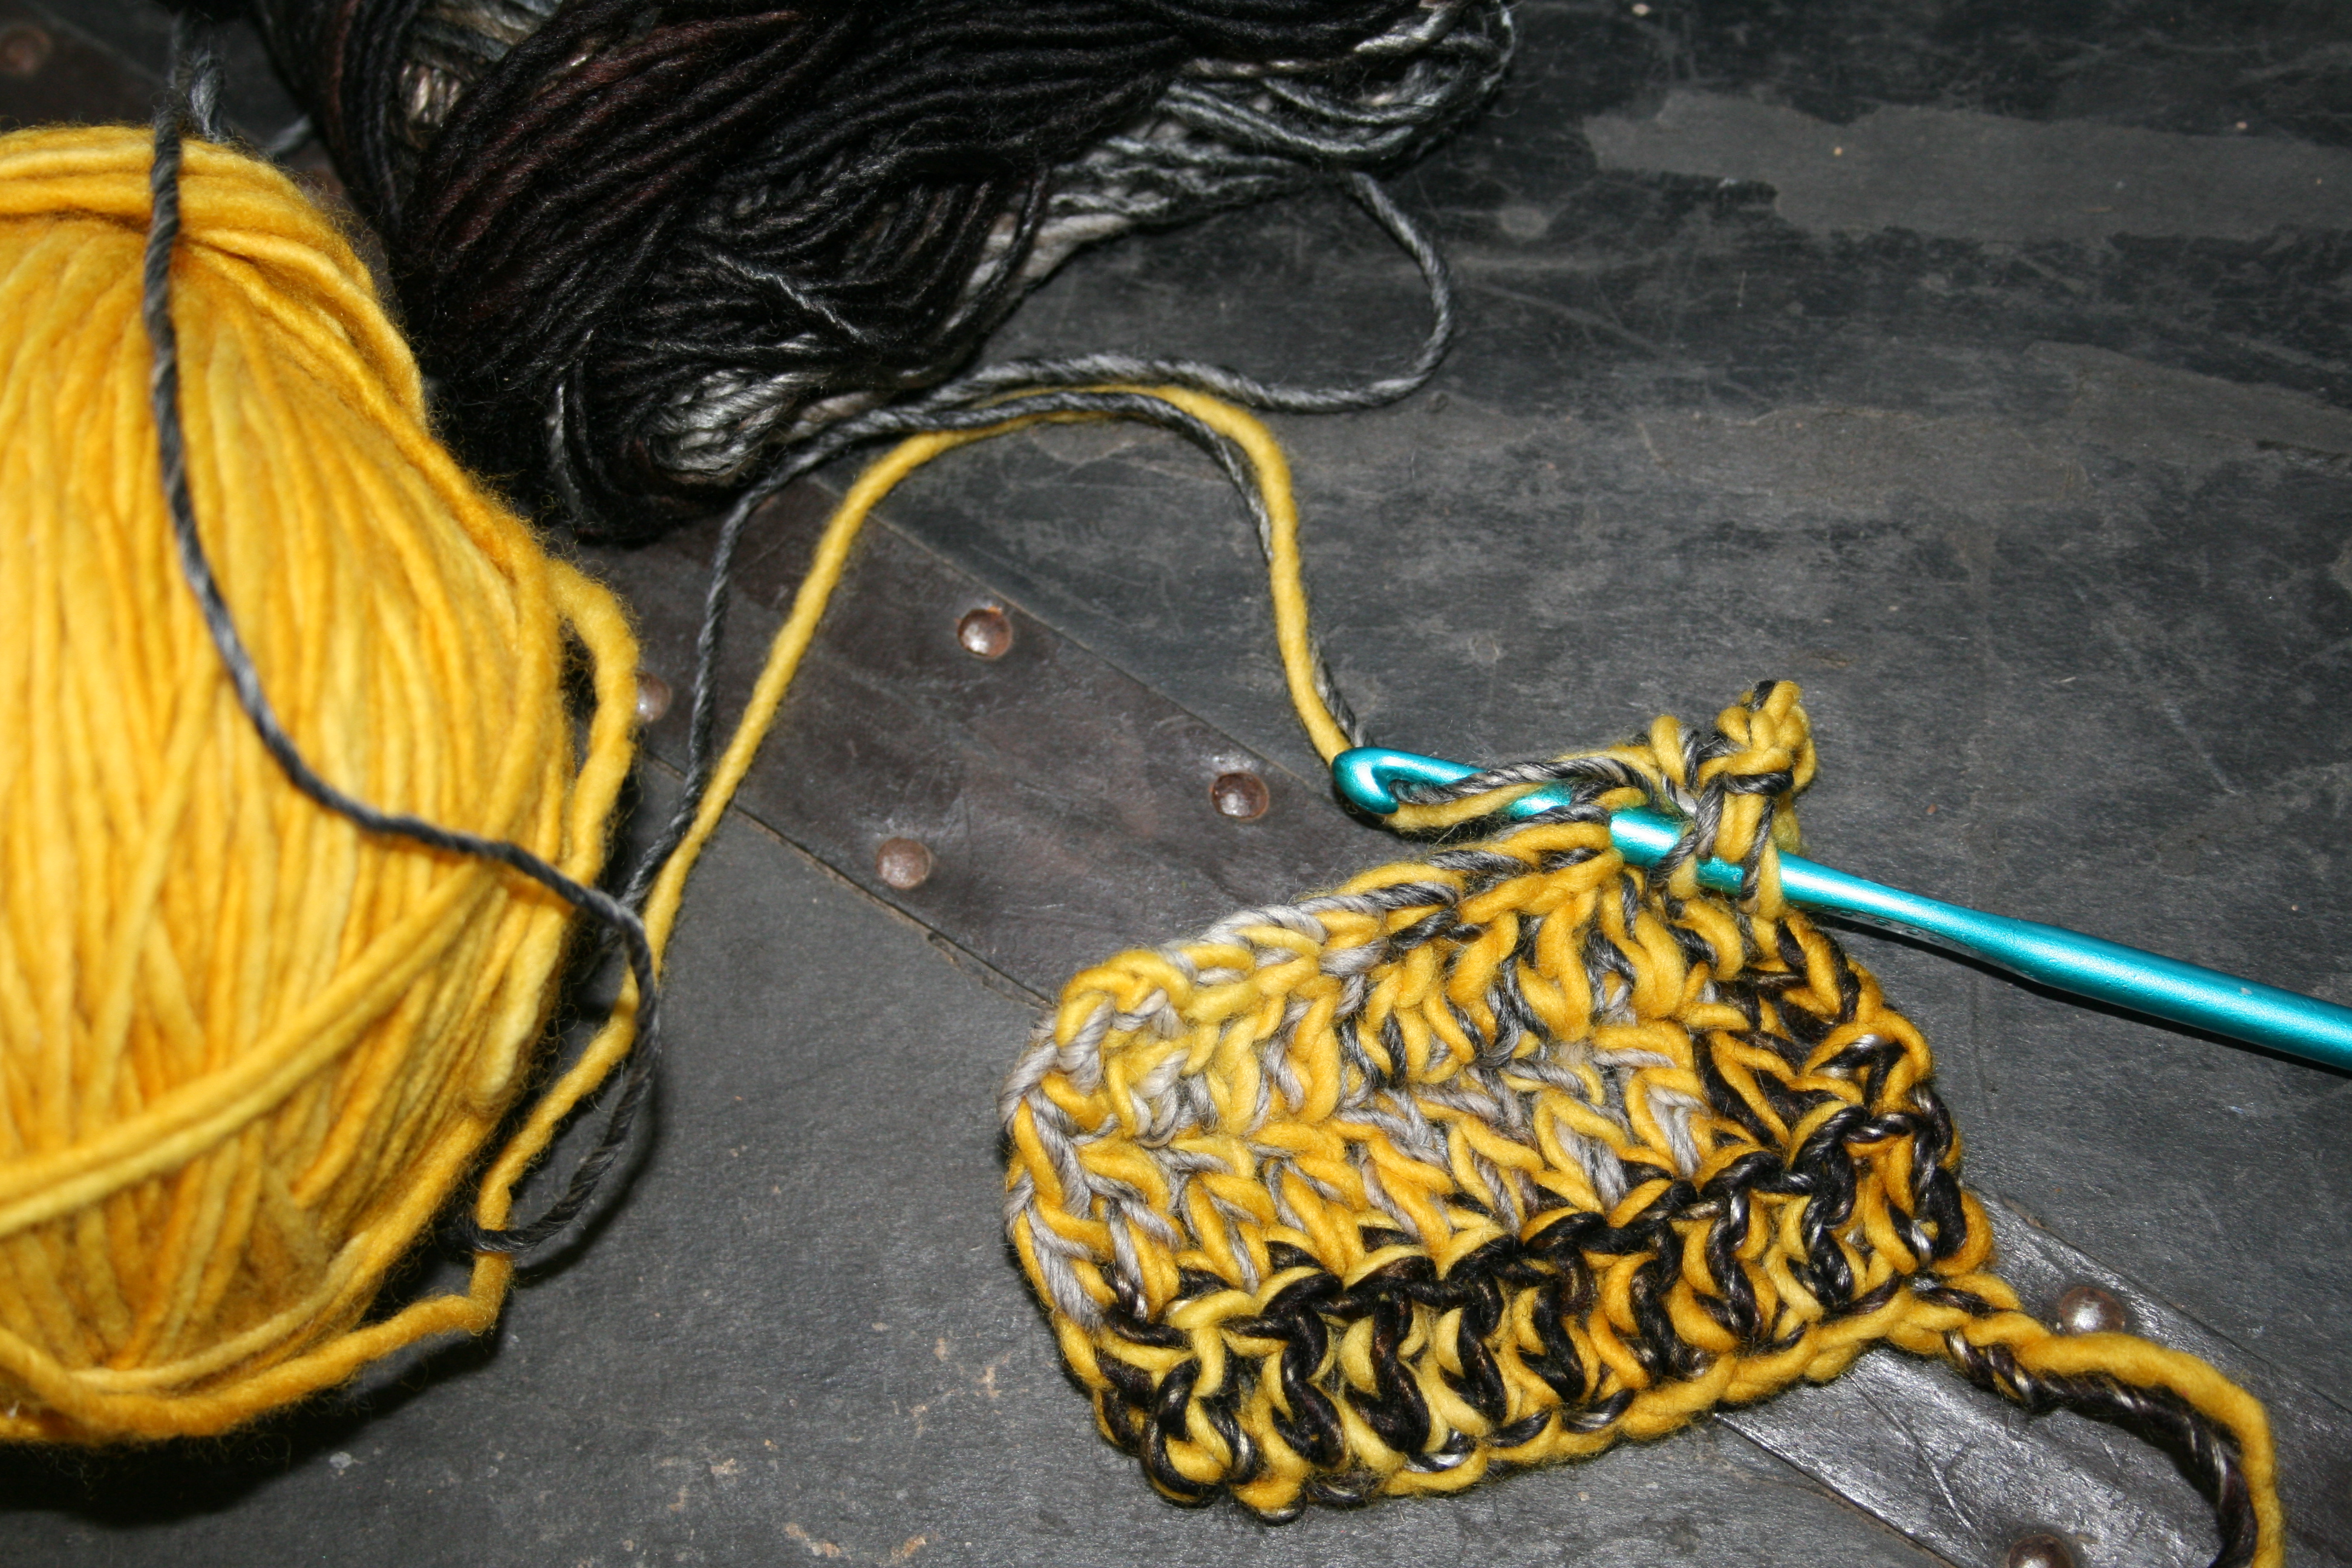
However, sometimes you need to get a project finished, there is a deadline…maybe you need that gift for the baby shower in 3 days. In this case, I have to set small goals. It can be as simple as completing a set number of rows of the pattern every time I sit down with it in my hand. This really depends upon that stitch pattern, but maybe it is as simple as getting through one of the row pattern repeats. Maybe it is getting to the next color change, or the next color change in the yarn. I set myself a visual point and work toward it. I find that this helps even more if I have a small reward for myself at the end, maybe I get a cookie or such, maybe then I get a nice stretch. It does not have to be anything big, it just has to be something to break up the monotony.

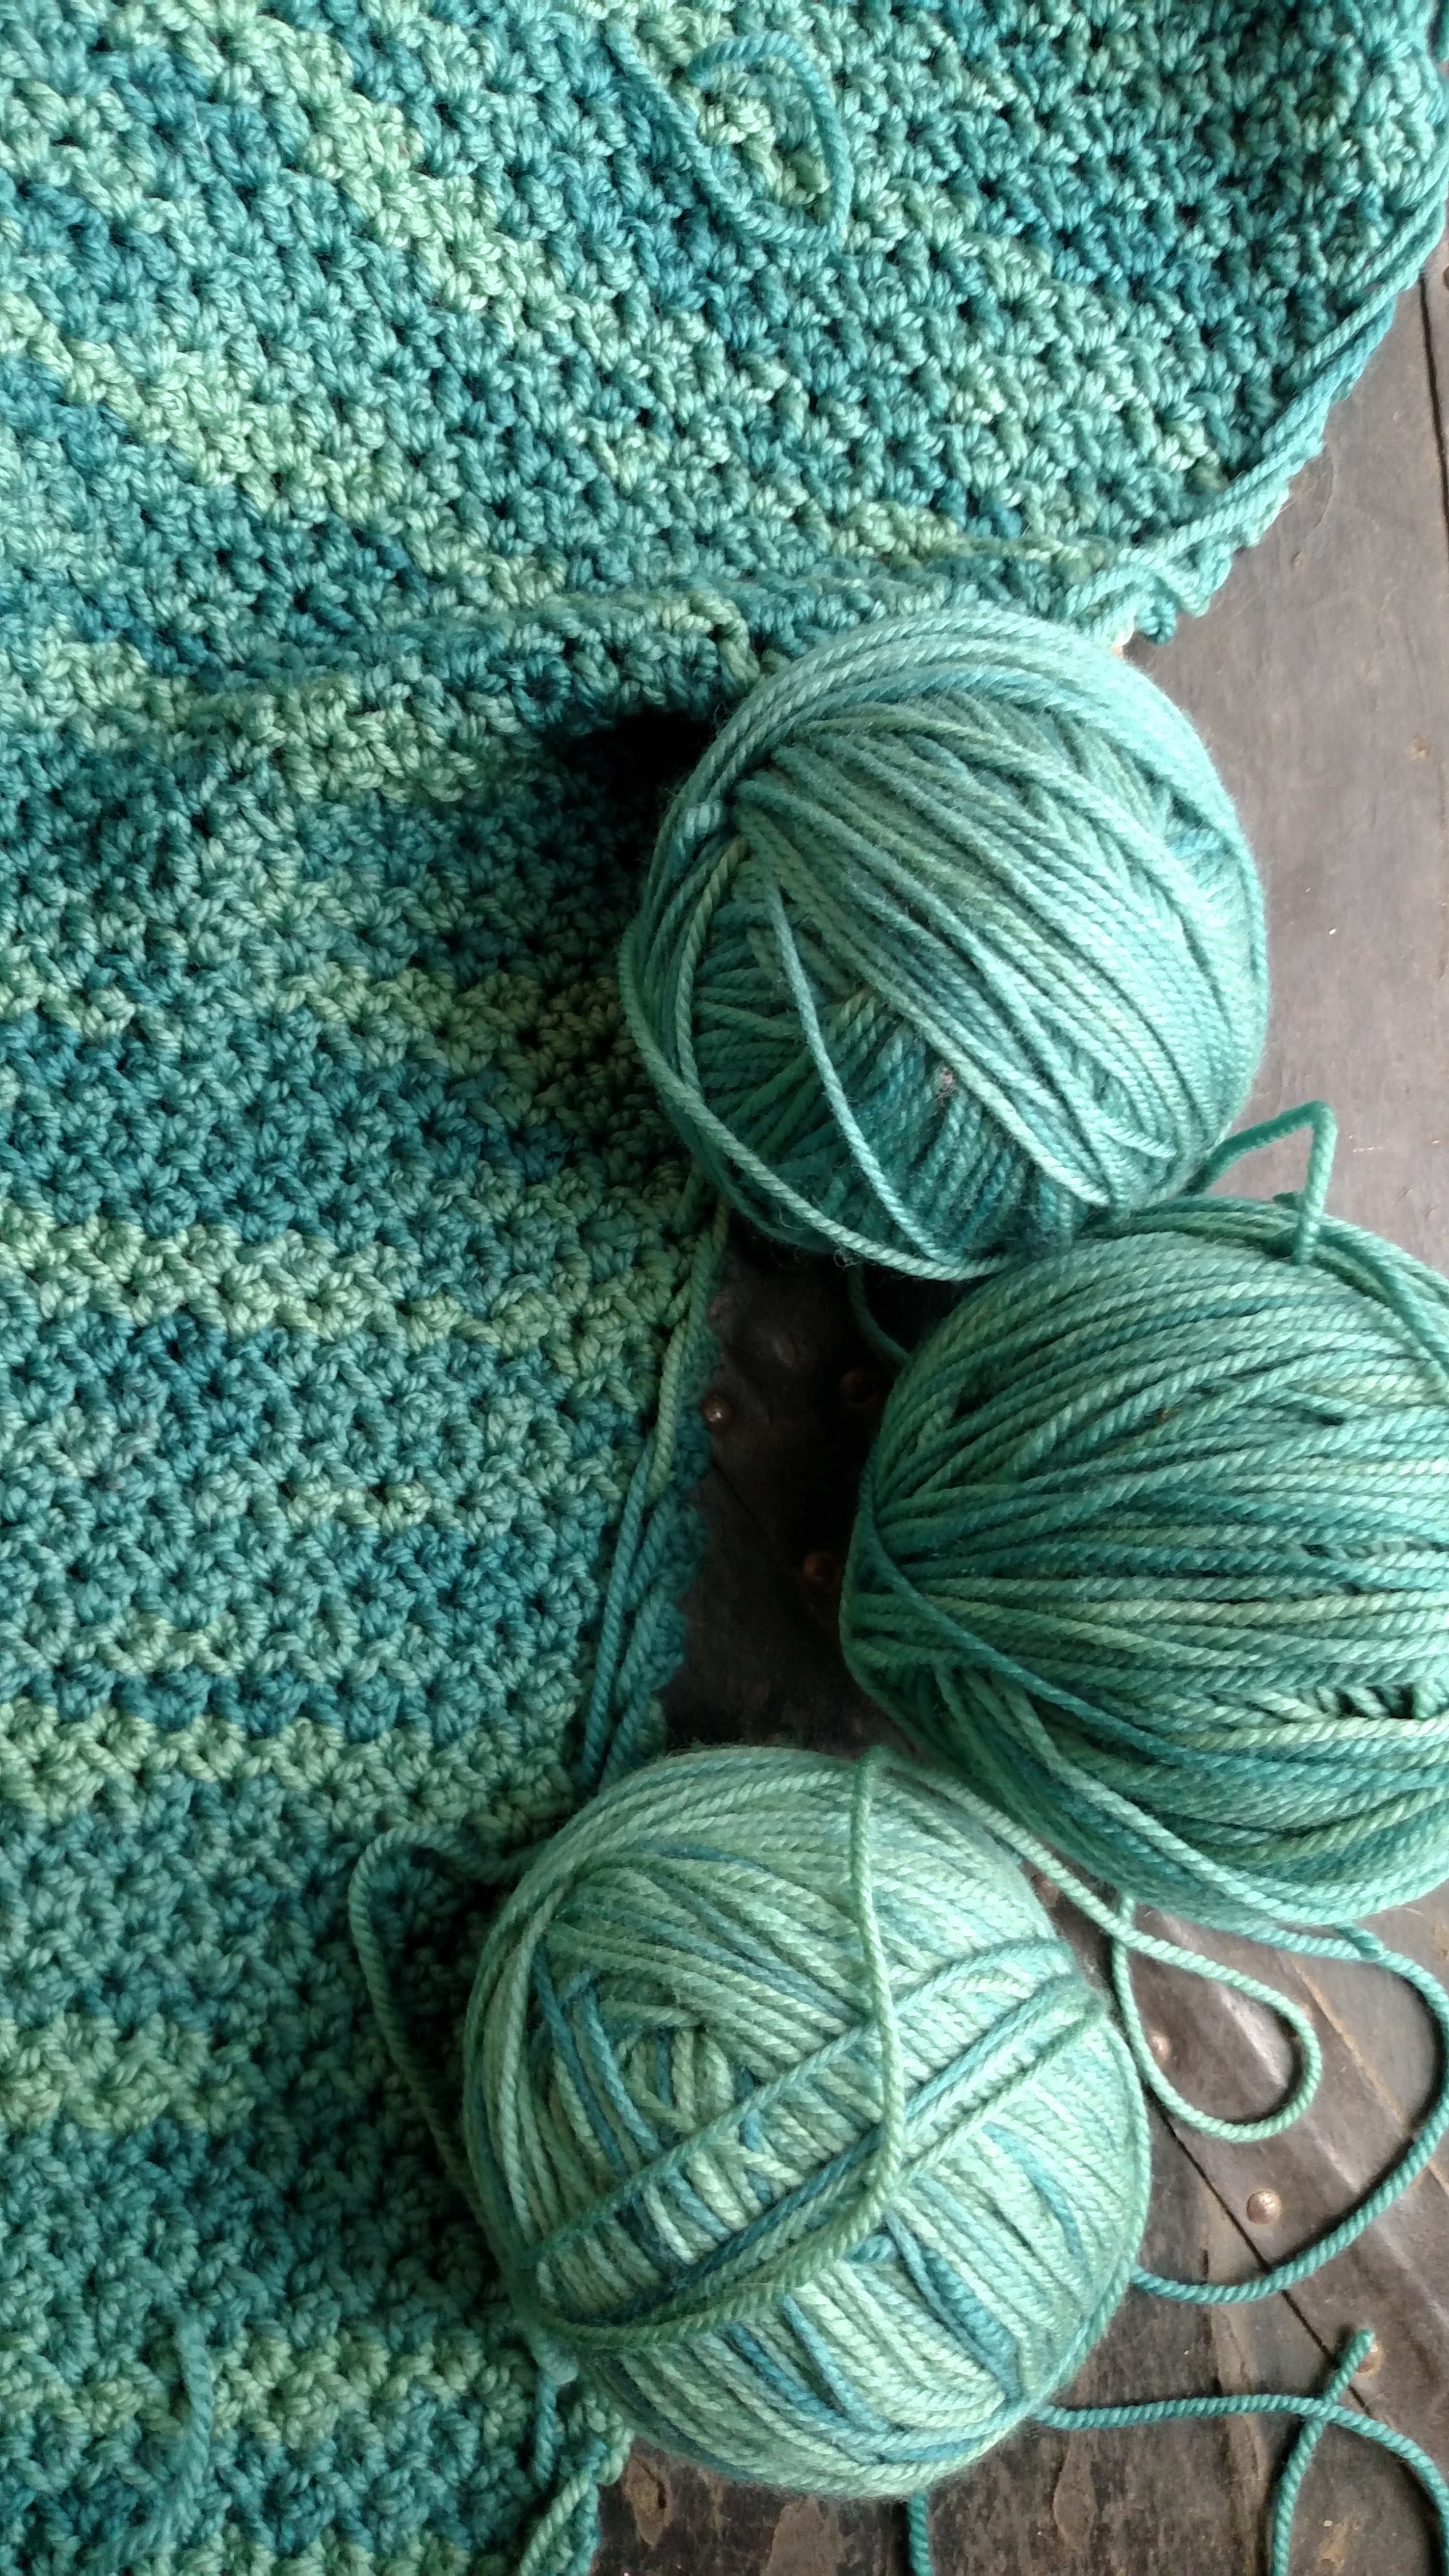
Sometimes it is as simple as changing projects and putting one in “time out”. I find this happens most on projects that I was first intrigued by, but then quickly discovered that the design was a really rather simple stitch repeat, like an entire afghan worked in only double crochet rows. There is nothing wrong with it, it just is not very exciting, and frankly if I do not have a reason or deadline to actually complete it, I might not get it finished. In this case I just have to be honest with myself. There is no harm in using the yarn in another project.

I wish I could say that I never put down my hook, that I have endless creative energy, but alas that is not what works for me. There are times I need to find another focus to help but my love of crochet back in focus.

Two at A Time- Double Up that Yarn

Thinking back I can remember it intimidating me the first time I tried it, but now it seems like nothing out of the ordinary. Using two strands of yarn, or more, at the same time now gives me no second thoughts.

This practice of crocheting with more than one strand of yarn yields some really nice results. I may not use it all that often, but I like the look it creates an almost speckled effect. In some cases it helps two bold colors blend together.

The best tip I can share is to simply treat the two (or multiple) strands as one. Hold them together as one, not worrying about if the colors twist together in your hand. This twist will lend to the effect. When you yarn over and pull your hook, use all the strands, really just treat them as one. After a short time it is easy to get into this rhythm, so don’t be afraid to treat it as such.

It does have some tendencies that can be a bit annoying, for instance keeping equal tension on two yarns can be challenging. This becomes a bit more obvious when I begin one yarn from a new center pull skein, and the other has been worked from a bit already. The new skein is tighter to pull from and this makes it a little awkward to ensure that I keep both strands under an equal tension. I personally correct this by pulling more yarn out of the new skein to more equally match the pull of the second skein.

If I am using two yarns that are wound into balls the challenge becomes keeping them from rolling all over the place and becoming tangled together. There are a couple of tips to deal with this annoyance, I use two different yarn bowls that “trap” the balls and prevents them from “free rolling”.

Another thing to keep in mind about using more than one strand of yarn is that the weight changes. It is not like adding the two weights together will double the weight or anything. By using two medium weight (number 4 weight) yarns does not create a super bulky or a number 8 weight yarn, but it does make a heavier weight, but more like a Bulky (number 6 weight) yarn. As a result you need to use a larger hook. Check out a Beyond Basics Hat, using two strands of baby yarn to create a fun hat here.

By ensuring that you have a proper size hook to accommodate both yarns you also ensure that the fabric has the drape you desire. Just as any project if you want a dense fabric use a smaller hook, if you want a more fluid fabric use a larger hook.

However I usually use yarns of differing weight together, I might accent a medium weight yarn with a light or even lace weight yarn. I might use a completely different fiber, might match a wool with a silk, an acrylic with a mohair, a cotton with an alpaca. The yarns provide a different texture, a different sheen, often a different color, but they always provide something amazing to look at.

Pechin is a New Classic- A Great Shawl

There are a couple of stitches that always seem to make their way into my work. I find that I create multiple projects using them, and still I never tire of working them. My latest design from Manos del Uruguay and Fairmount Fibers, Pechin, falls into this category.

This shawl is worked from the center of the neck outward, utilizing a simple chain and single crochet combination. I find that this stitch allows that yarn to really be the feature. It creates a light, airy fabric that embodies the yarn to go as far as it can. By this I mean that you can go a long way with just one skein. As an example, Pechin is only a 2 skein shawl (using Manos del Uruguay Milo), and a really good sized shawl at that.

For Pechin, I broke up the chain stitch pattern with bands of shells. This creates a visual break as well as a bit of dimension. The bands gradually space further apart in this design to help keep the flow balanced, and I feel it helps give a really classic look.

I have to admit, I could work this shawl over and over again. The stitch pattern has a nice rhythm, and just enough details, at just the right time, to keep it from getting boring. I also feel that it really has a beautiful balance between the design and the yarn, they feel at harmony with one another as neither over powers the other.

Okay, that might seem a bit wordy or dramatic, but what I mean is that it is a pattern/design in which you can appreciate both the yarn and the design at the same time. I have spoken in the past about how you select a yarn or pattern to bet let one or the other be a highlight, like not using a variegated yarn in a design that is heavily textured, as the yarn will win over the design (read more here). Pechin however, has a balance that allows the yarn to shine as well as the design, and this is true even if the yarn is variegated.


Yarn Optical Illusions

Sometimes you need to have a couple of yarn tricks to ensure that your project turns out the best it possibly can. One of these tips or tricks is understanding dye lots.

These 3 balls are the same color, but the dye lot has some slight shifts, so this fabric uses a different ball every 2 rows.

Dye lots are the critical factor for several, but not all yarns, and essentially it is telling you a specific time period that a yarn was created. This can be important to ensure that the colors from one skein matches that of another. If you want to ensure that your project has the same consistent color then you have to ensure the dye lots of the yarns match. Well, that is the given rule, but I have found that not even this is consistent.

So then what do you do if the color between the yarn skeins happen to be just a couple of shades off? I have had this happen, even within the same dye lots. It is uncommon in most commercial yarns, but it can become apparent in hand dyed or hand painted yarns, and how to fix it is to trick the eye.

The best practice is to work a couple of rows from one skein, and then a couple of rows from another and switch between at least 2 different skeins; sometimes I might even switch every couple of rows between 3 skeins. By making these changes in a consistent manner it creates an optical illusion to the eye and the subtle color differences will blend together when you look at it. This is much more beneficial than having a visually obvious line of exactly where your yarn changed in your project.

I would suggest that even if you suspect that there is a difference in the color shades that you use this alternating skeins in rows technique simply for the fact that when you are so close to your work the subtle details are not visible. When you step away and look at your work from afar and can see a visual line in your work, it feels like a punch in the gut, and unintended mistake. Some people find a way to live with it, others rip it all back. So, I error on the side of caution.

Yes, this will lead to more ends being woven in (I have some tips here). No one is really ever thrilled about that, however if I am going to spend the time to use a beautiful and unique yarn, I might was well take a couple of extra steps to ensure that my final project is the best that it can be.

The Classic Basics- Granny Square

The classics are classics for a reason. Crochet has some classic patterns and designs that always seem to draw people into wanting to learn the skill. A classic that I have had multiple students want to learn recently is the Granny Square.

The Granny Square is really a motif, and there are times when motifs in general are called Granny Square. At this discussion I am simply referring to the classic look of Double Crochet (treble crochet in UK terms) groups worked into chain spaces. This makes what almost appears to be checker board of “closed” and “open” squares.

The classic version has a different color on every round, and when the last round is worked entirely in single crochet (double crochet in UK terms) is worked in black. This is the way I was introduced to this classic, however today it is interesting to see it worked in all one color or worked extremely large.

To work your own Classic Granny Square (in US crochet terms)…

Chain 4, slip stitch to the first chain to form a ring.

Round 1: Chain 3 (counts as a double crochet now and throughout), working in ring, 2 double crochets, chain 3, [3 double crochets, chain 3] 3 times, slip stitch to the top of the beginning chain-3, finish off. -4 (3) double crochet groups, 4 chain-spaces

Round 2: With new color, slip stitch to any chain-3 space, chain 3, 2 double crochets in same space, chain 3, 3 double crochets in same space, chain 2, [3 double crochets in next chain-space, chain 3, 3 double crochets in same chain-space, chain 2] 3 times, slip stitch to the top of the beginning chain-3, finish off. -8 (3) double crochet groups, 4 chain-3 space, 4 chain-2 spaces

Round 3: With new color, slip stitch to any chain-3 space, chain 3, 2 double crochets in same space, chain 3, 3 double crochets in same space, chain 2, [3 double crochets in chain-2 space, chain 2, 3 double crochets in chain-3 space, chain 3, 3 double crochets in same chain-3 space, chain 2] 3 times, slip stitch to the top of the beginning chain-3 finish off. -12 (3) double crochet groups, 4 chain-3 spaces, 8 chain-2 space

Round 4: With black color, slip stitch to any chain-3 space, chain 1, 3 single crochets in same space, *[single crochet in each double crochet across to chain-2 space, 1 single crochet in chain 2 space] repeat across to chain-3 space, 3 single crochets in chain-3 space ; rep from * around, slip stitch to beginning single crochet, finish off. Weave in ends.

At this point the Granny Squares can be joined together to create any number of things.

To update this Classic pattern, it is relatively easy after you learn the basics of this design. Essentially the chain-3 spaces are the corners of the square, each time you come to a corner you work a group of 3 double crochets, chain 3, and another group of 3 double crochets in the chain-3 space. You then chain 2 to work along the “sides” of the square, this chain-2 is always worked over a group of 3 double crochets, creating an open space or square. In every chain-2 space 1 group of 3 double crochets are worked. So to bullet point it:

  • Work (3 dc, ch 3, 3 dc) in every ch-3 sp
  • Work ch 2 over groups of double crochets
  • Work 3 dc in every ch-2 sp

Following these simple rules you can create a Granny square of any size. Then for the classic edge you work a round of single crochets, with 3 single crochets in each ch-3 sp, a single crochet in each double crochet stitch, and 1 single crochet in each ch-2 sp.

If you do not want to change colors every round, then after joining, slip stitch in each double crochet across to the next chain-3 space, slip stitch in the chain- 3 space and begin the next round.

Check this classic out for yourself.