 The classics are classics for a reason. Crochet has some classic patterns and designs that always seem to draw people into wanting to learn the skill. A classic that I have had multiple students want to learn recently is the Granny Square.
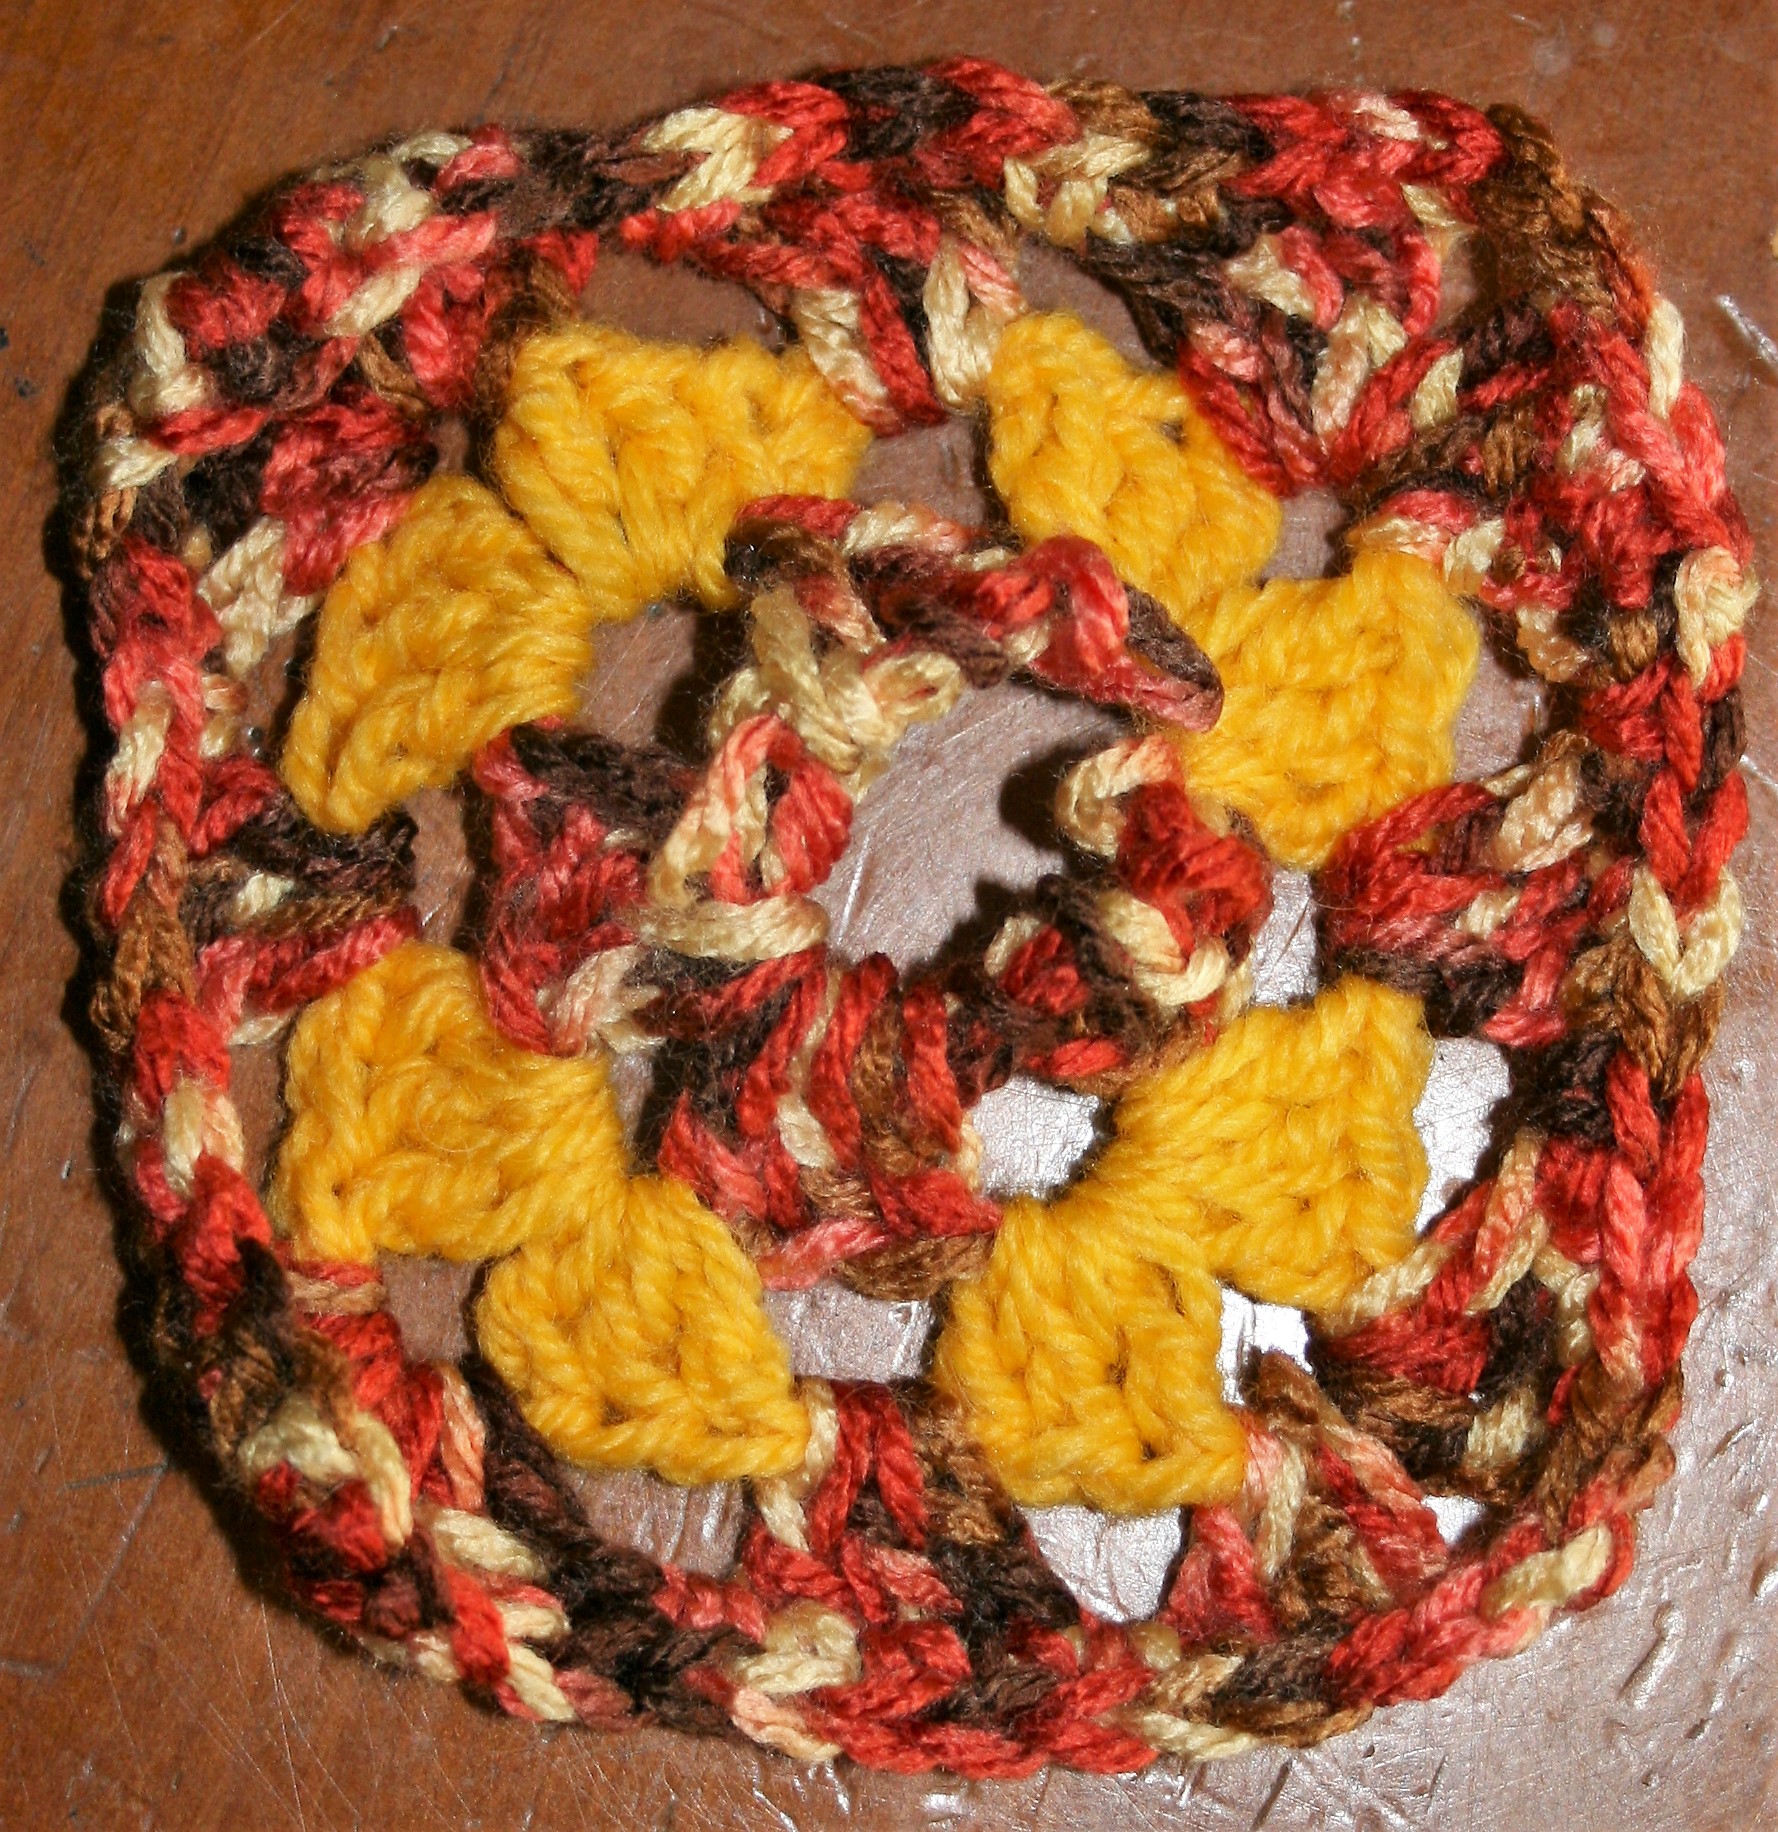
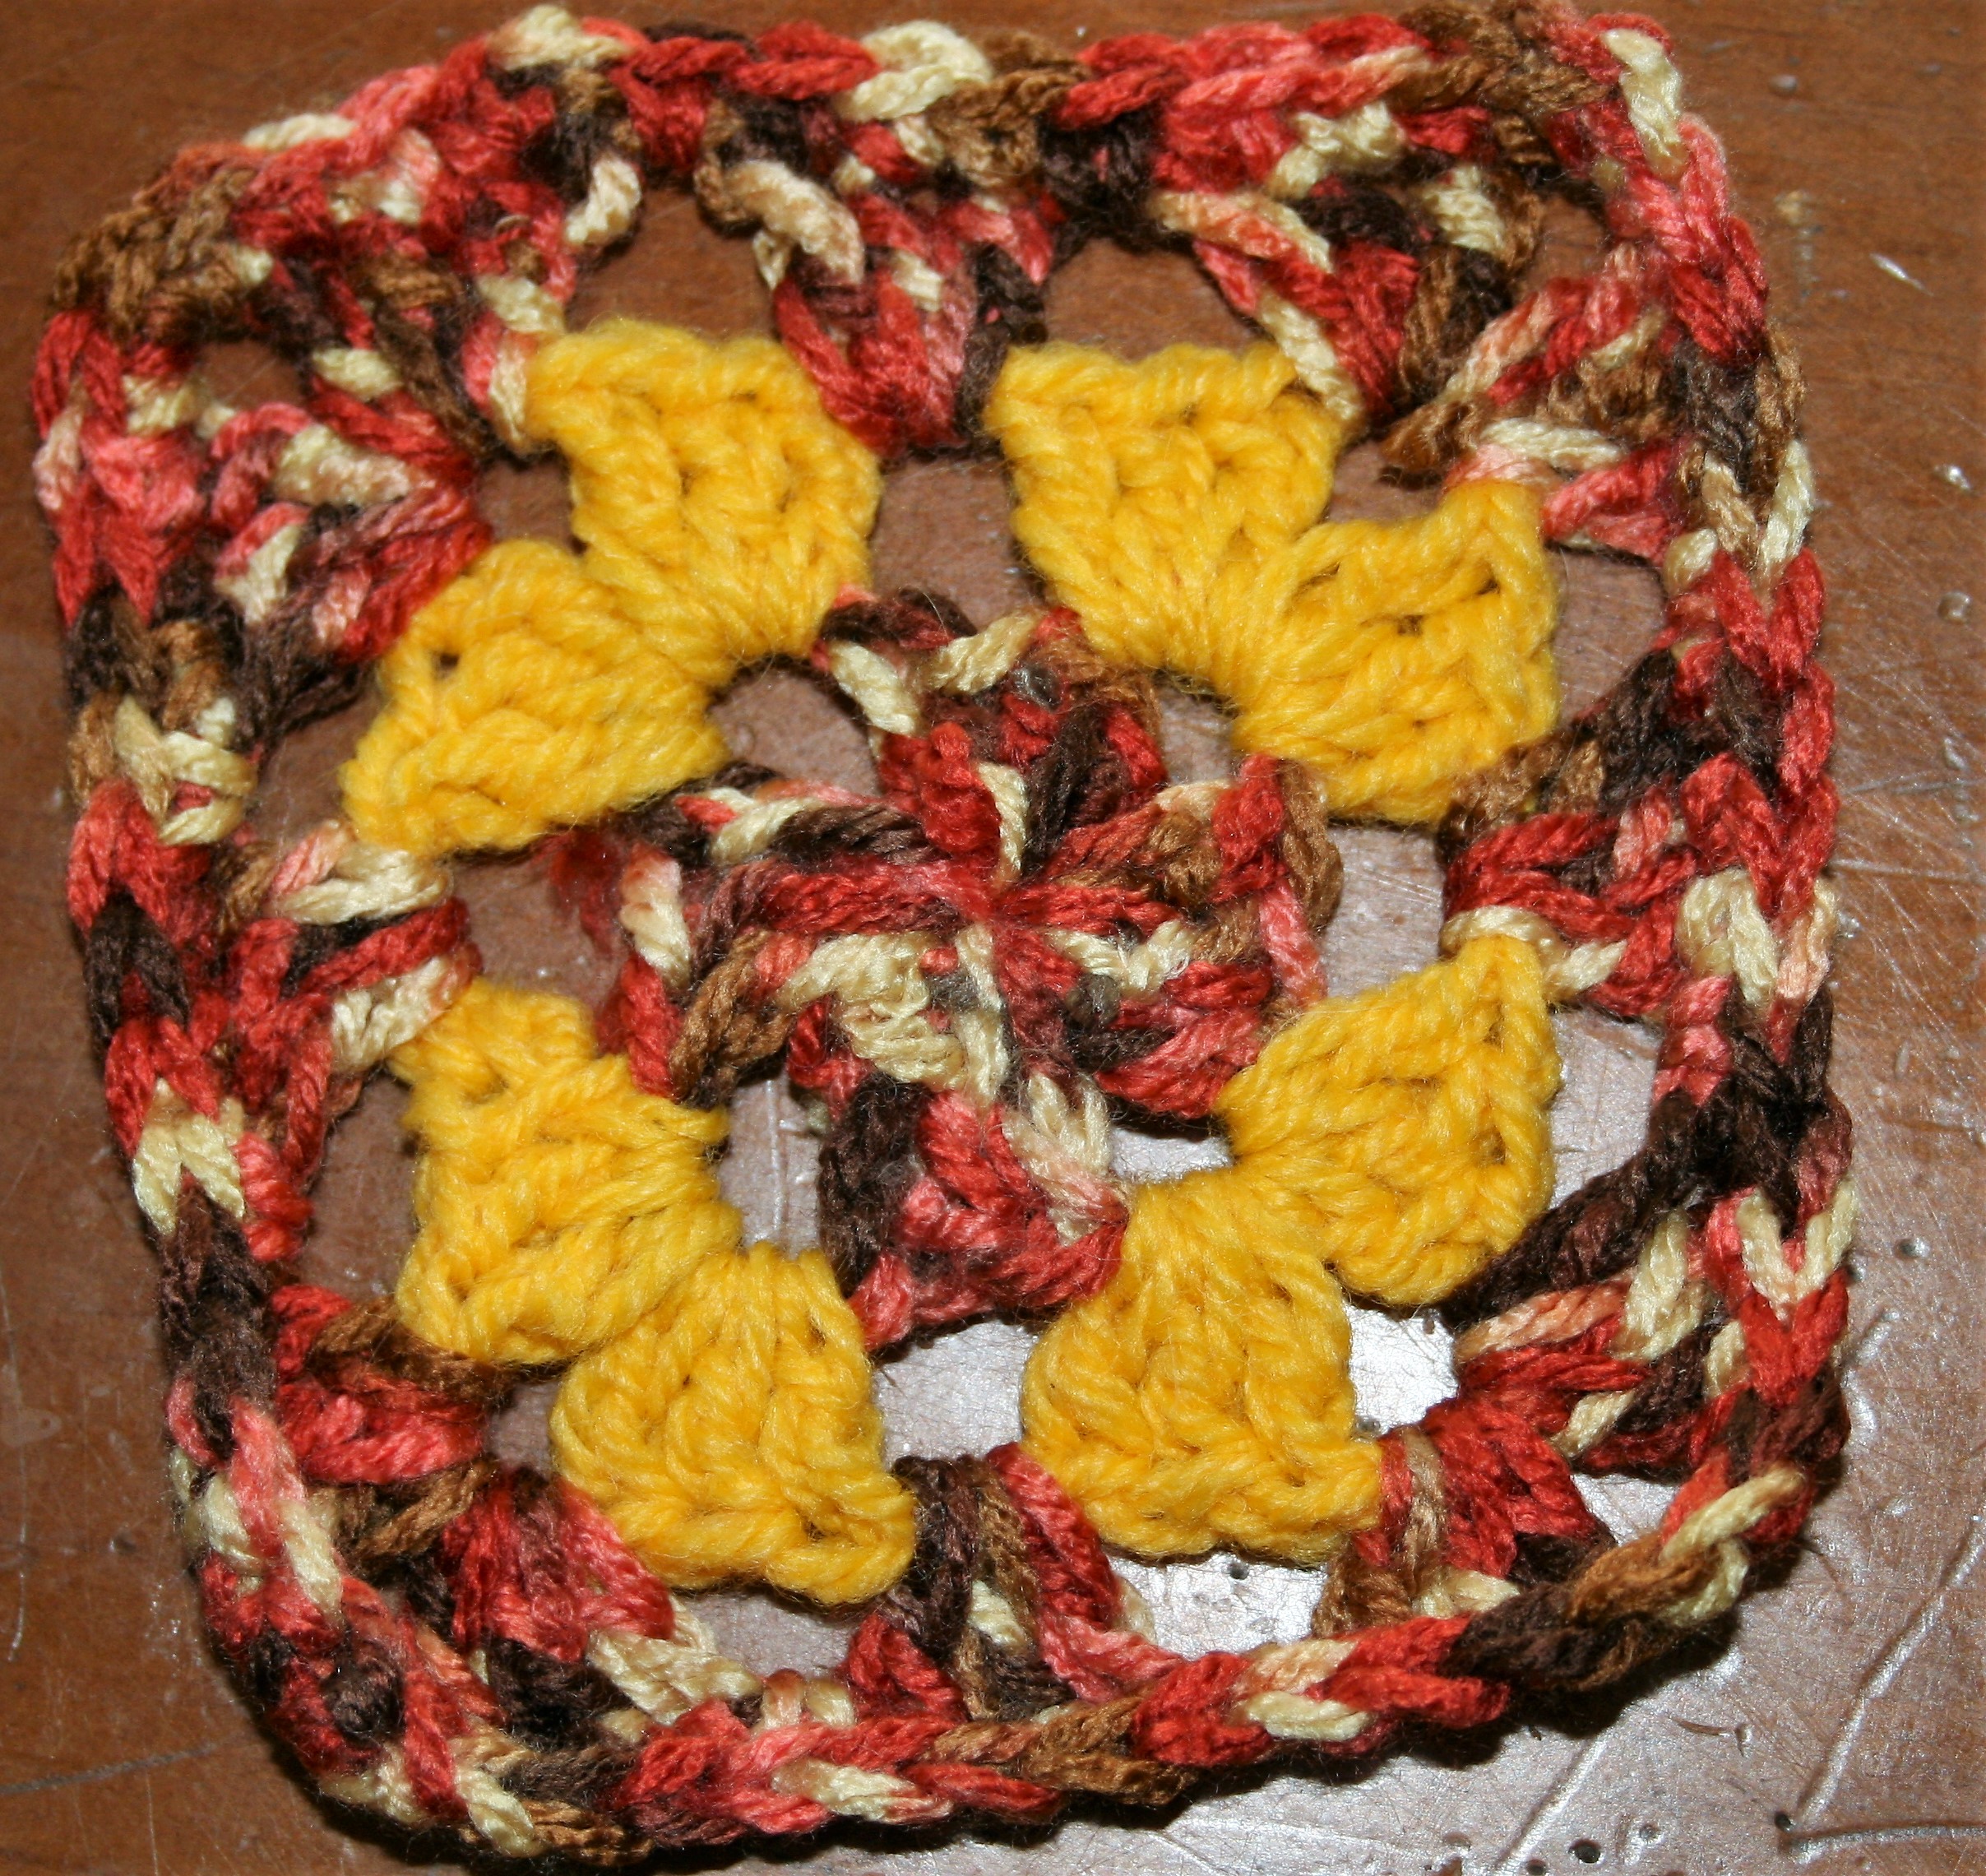
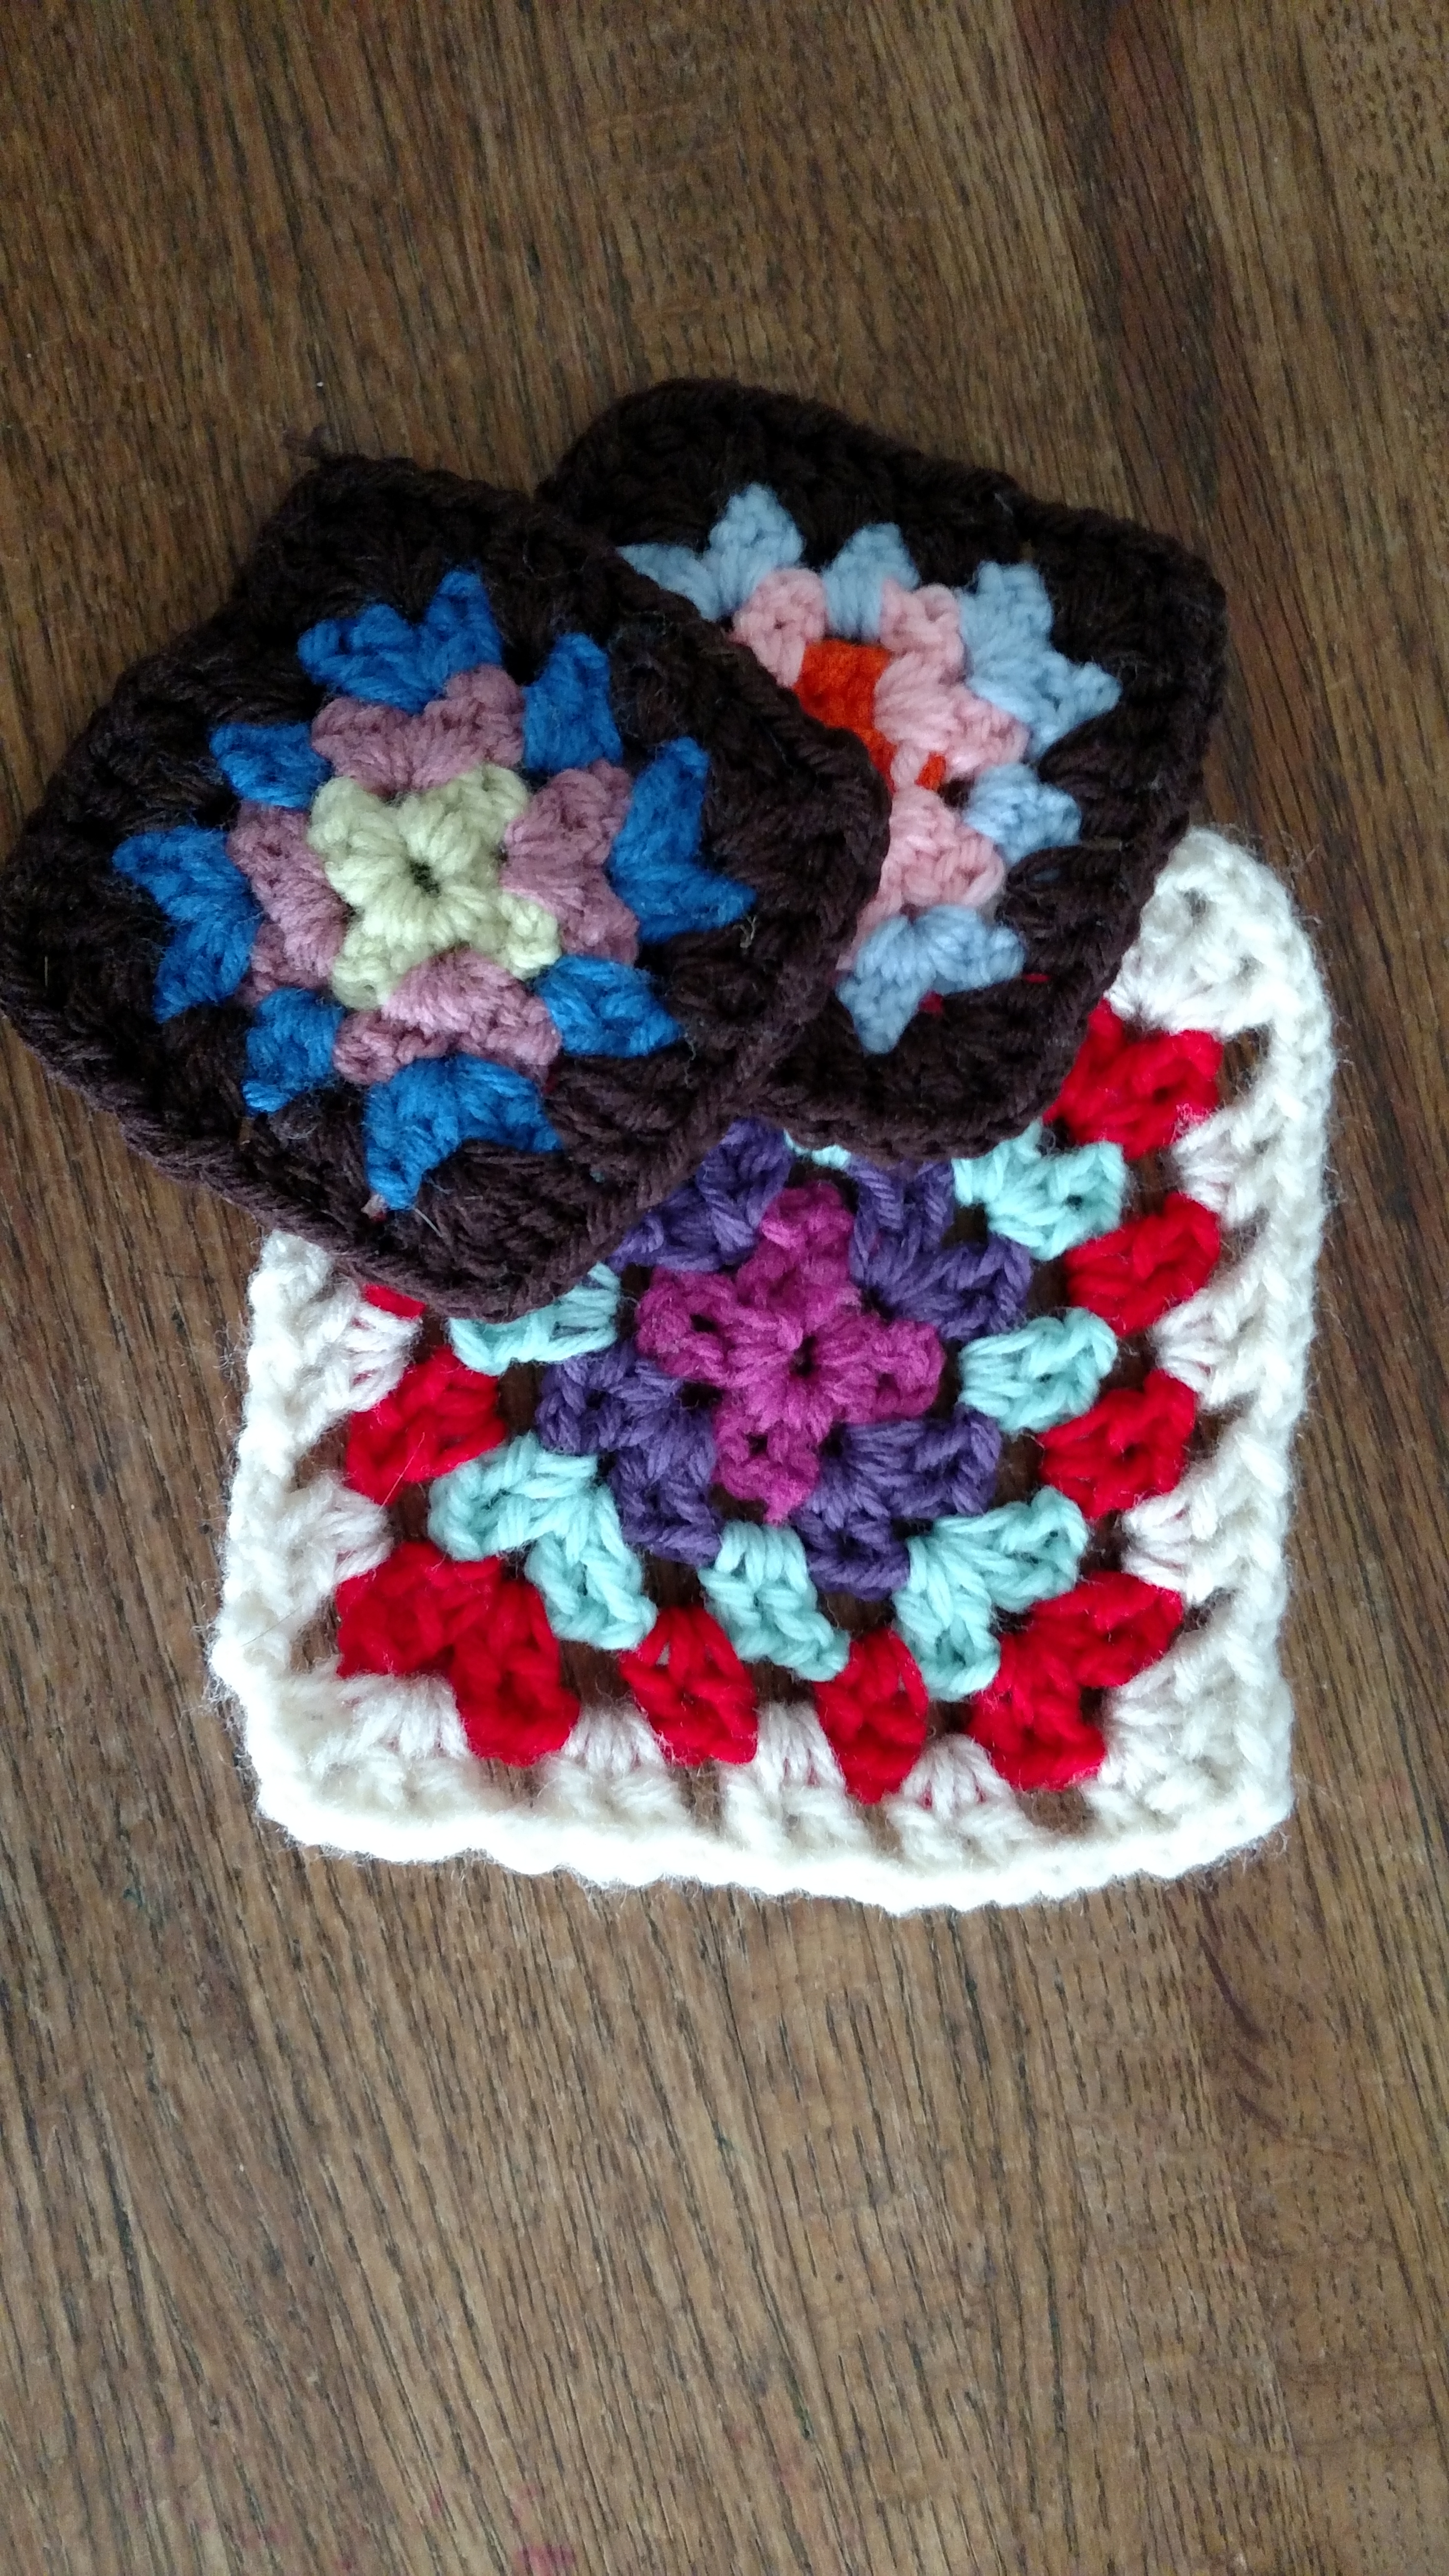
 The Granny Square is really a motif, and there are times when motifs in general are called Granny Square. At this discussion I am simply referring to the classic look of Double Crochet (treble crochet in UK terms) groups worked into chain spaces. This makes what almost appears to be checker board of “closed” and “open” squares.
The classic version has a different color on every round, and when the last round is worked entirely in single crochet (double crochet in UK terms) is worked in black. This is the way I was introduced to this classic, however today it is interesting to see it worked in all one color or worked extremely large.
To work your own Classic Granny Square (in US crochet terms)…
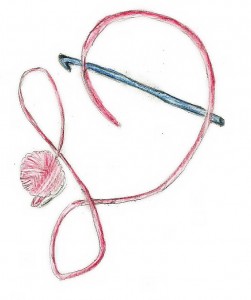
Chain 4, slip stitch to the first chain to form a ring.
Round 1: Chain 3 (counts as a double crochet now and throughout), working in ring, 2 double crochets, chain 3, [3 double crochets, chain 3] 3 times, slip stitch to the top of the beginning chain-3, finish off. -4 (3) double crochet groups, 4 chain-spaces
Round 2: With new color, slip stitch to any chain-3 space, chain 3, 2 double crochets in same space, chain 3, 3 double crochets in same space, chain 2, [3 double crochets in next chain-space, chain 3, 3 double crochets in same chain-space, chain 2] 3 times, slip stitch to the top of the beginning chain-3, finish off. -8 (3) double crochet groups, 4 chain-3 space, 4 chain-2 spaces
Round 3: With new color, slip stitch to any chain-3 space, chain 3, 2 double crochets in same space, chain 3, 3 double crochets in same space, chain 2, [3 double crochets in chain-2 space, chain 2, 3 double crochets in chain-3 space, chain 3, 3 double crochets in same chain-3 space, chain 2] 3 times, slip stitch to the top of the beginning chain-3 finish off. -12 (3) double crochet groups, 4 chain-3 spaces, 8 chain-2 space
Round 4: With black color, slip stitch to any chain-3 space, chain 1, 3 single crochets in same space, *[single crochet in each double crochet across to chain-2 space, 1 single crochet in chain 2 space] repeat across to chain-3 space, 3 single crochets in chain-3 space ; rep from * around, slip stitch to beginning single crochet, finish off. Weave in ends.
At this point the Granny Squares can be joined together to create any number of things.
To update this Classic pattern, it is relatively easy after you learn the basics of this design. Essentially the chain-3 spaces are the corners of the square, each time you come to a corner you work a group of 3 double crochets, chain 3, and another group of 3 double crochets in the chain-3 space. You then chain 2 to work along the “sides” of the square, this chain-2 is always worked over a group of 3 double crochets, creating an open space or square. In every chain-2 space 1 group of 3 double crochets are worked. So to bullet point it:
- Work (3 dc, ch 3, 3 dc) in every ch-3 sp
- Work ch 2 over groups of double crochets
- Work 3 dc in every ch-2 sp
Following these simple rules you can create a Granny square of any size. Then for the classic edge you work a round of single crochets, with 3 single crochets in each ch-3 sp, a single crochet in each double crochet stitch, and 1 single crochet in each ch-2 sp.
If you do not want to change colors every round, then after joining, slip stitch in each double crochet across to the next chain-3 space, slip stitch in the chain- 3 space and begin the next round.
Check this classic out for yourself.