Granny Squares never really go out of fashion, but there are times they are all the rage. We are entering the rage time.
There are many ways to work a traditional granny square. They can be worked as one color or many. They can be work as join-as-you-go or sewn together later. Even the relatively simple stitch pattern as some variation.
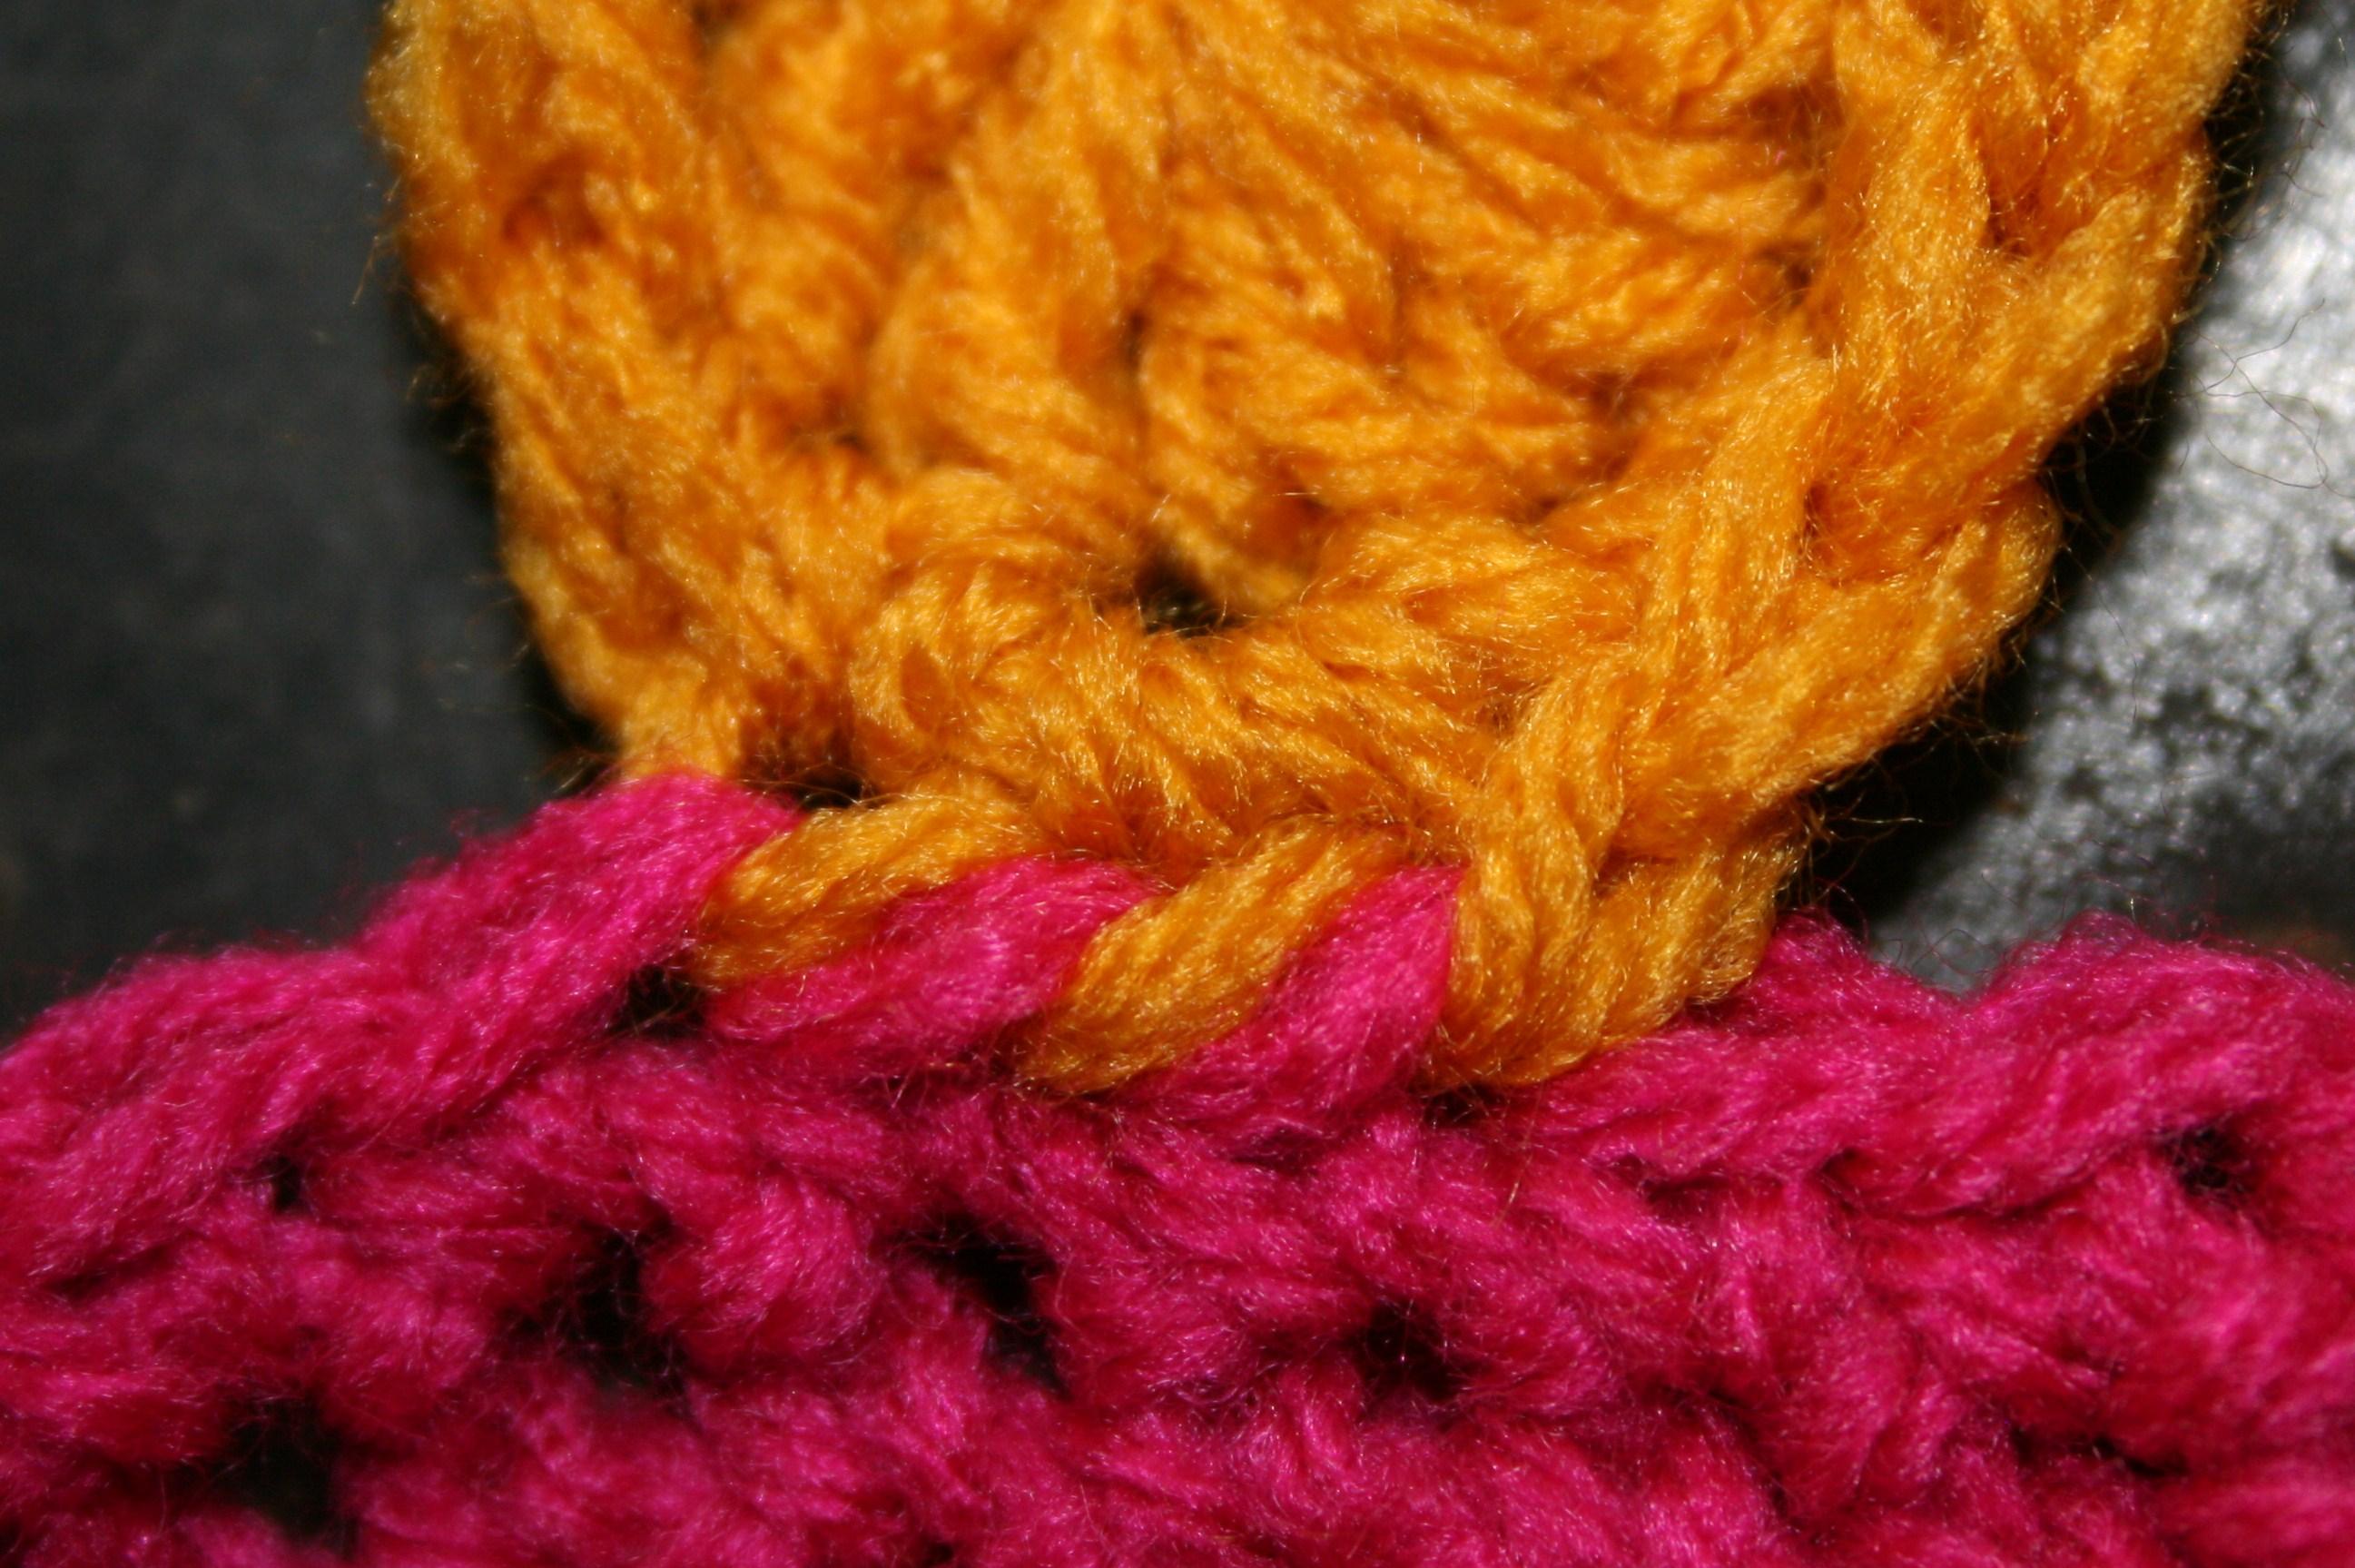
I have stumbled across some techniques that I find handy when creating granny squares. When working in one color I prefer either working in the continuous round, or working half a corner and joining with a crochet stitch instead of a chain (this places the working yarn in the center of the corner without having to slip stitch across).
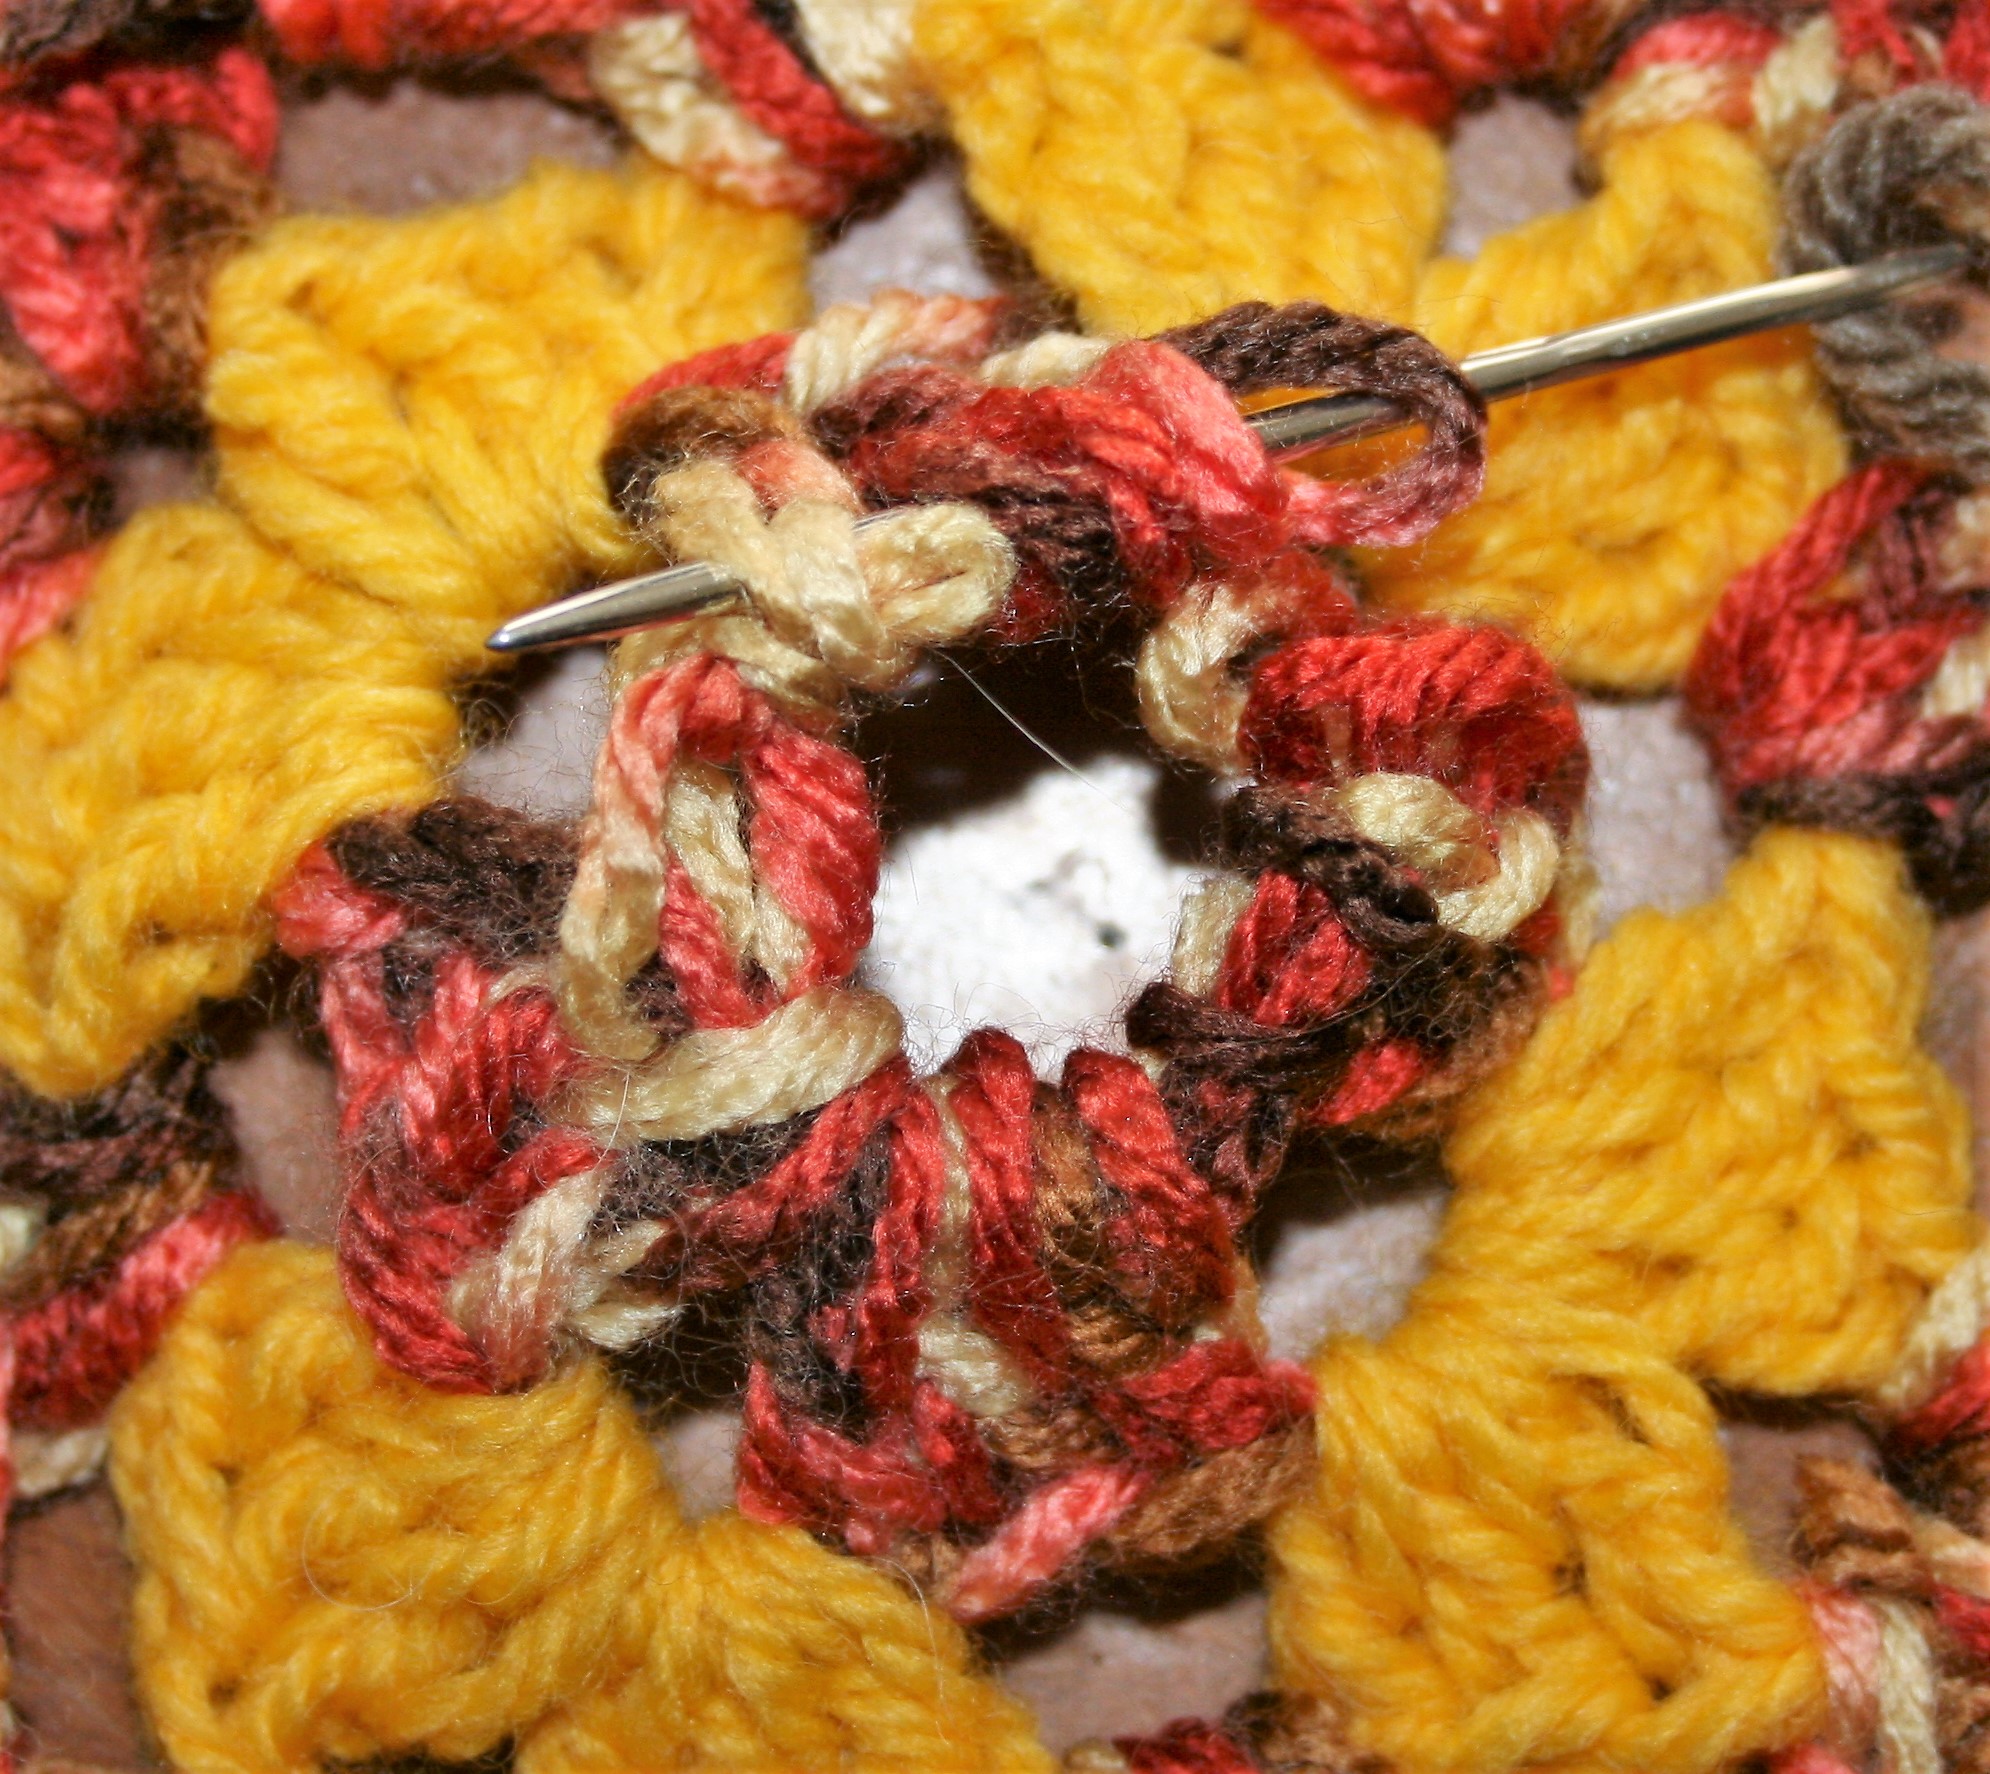
When working different colors each round I have found that joining with standing stitches really helps to give a nice clean look.
If you would like to try a hand at the granny square, check out this free pattern for my Granny Mug Jacket.
Granny Square Free Pattern
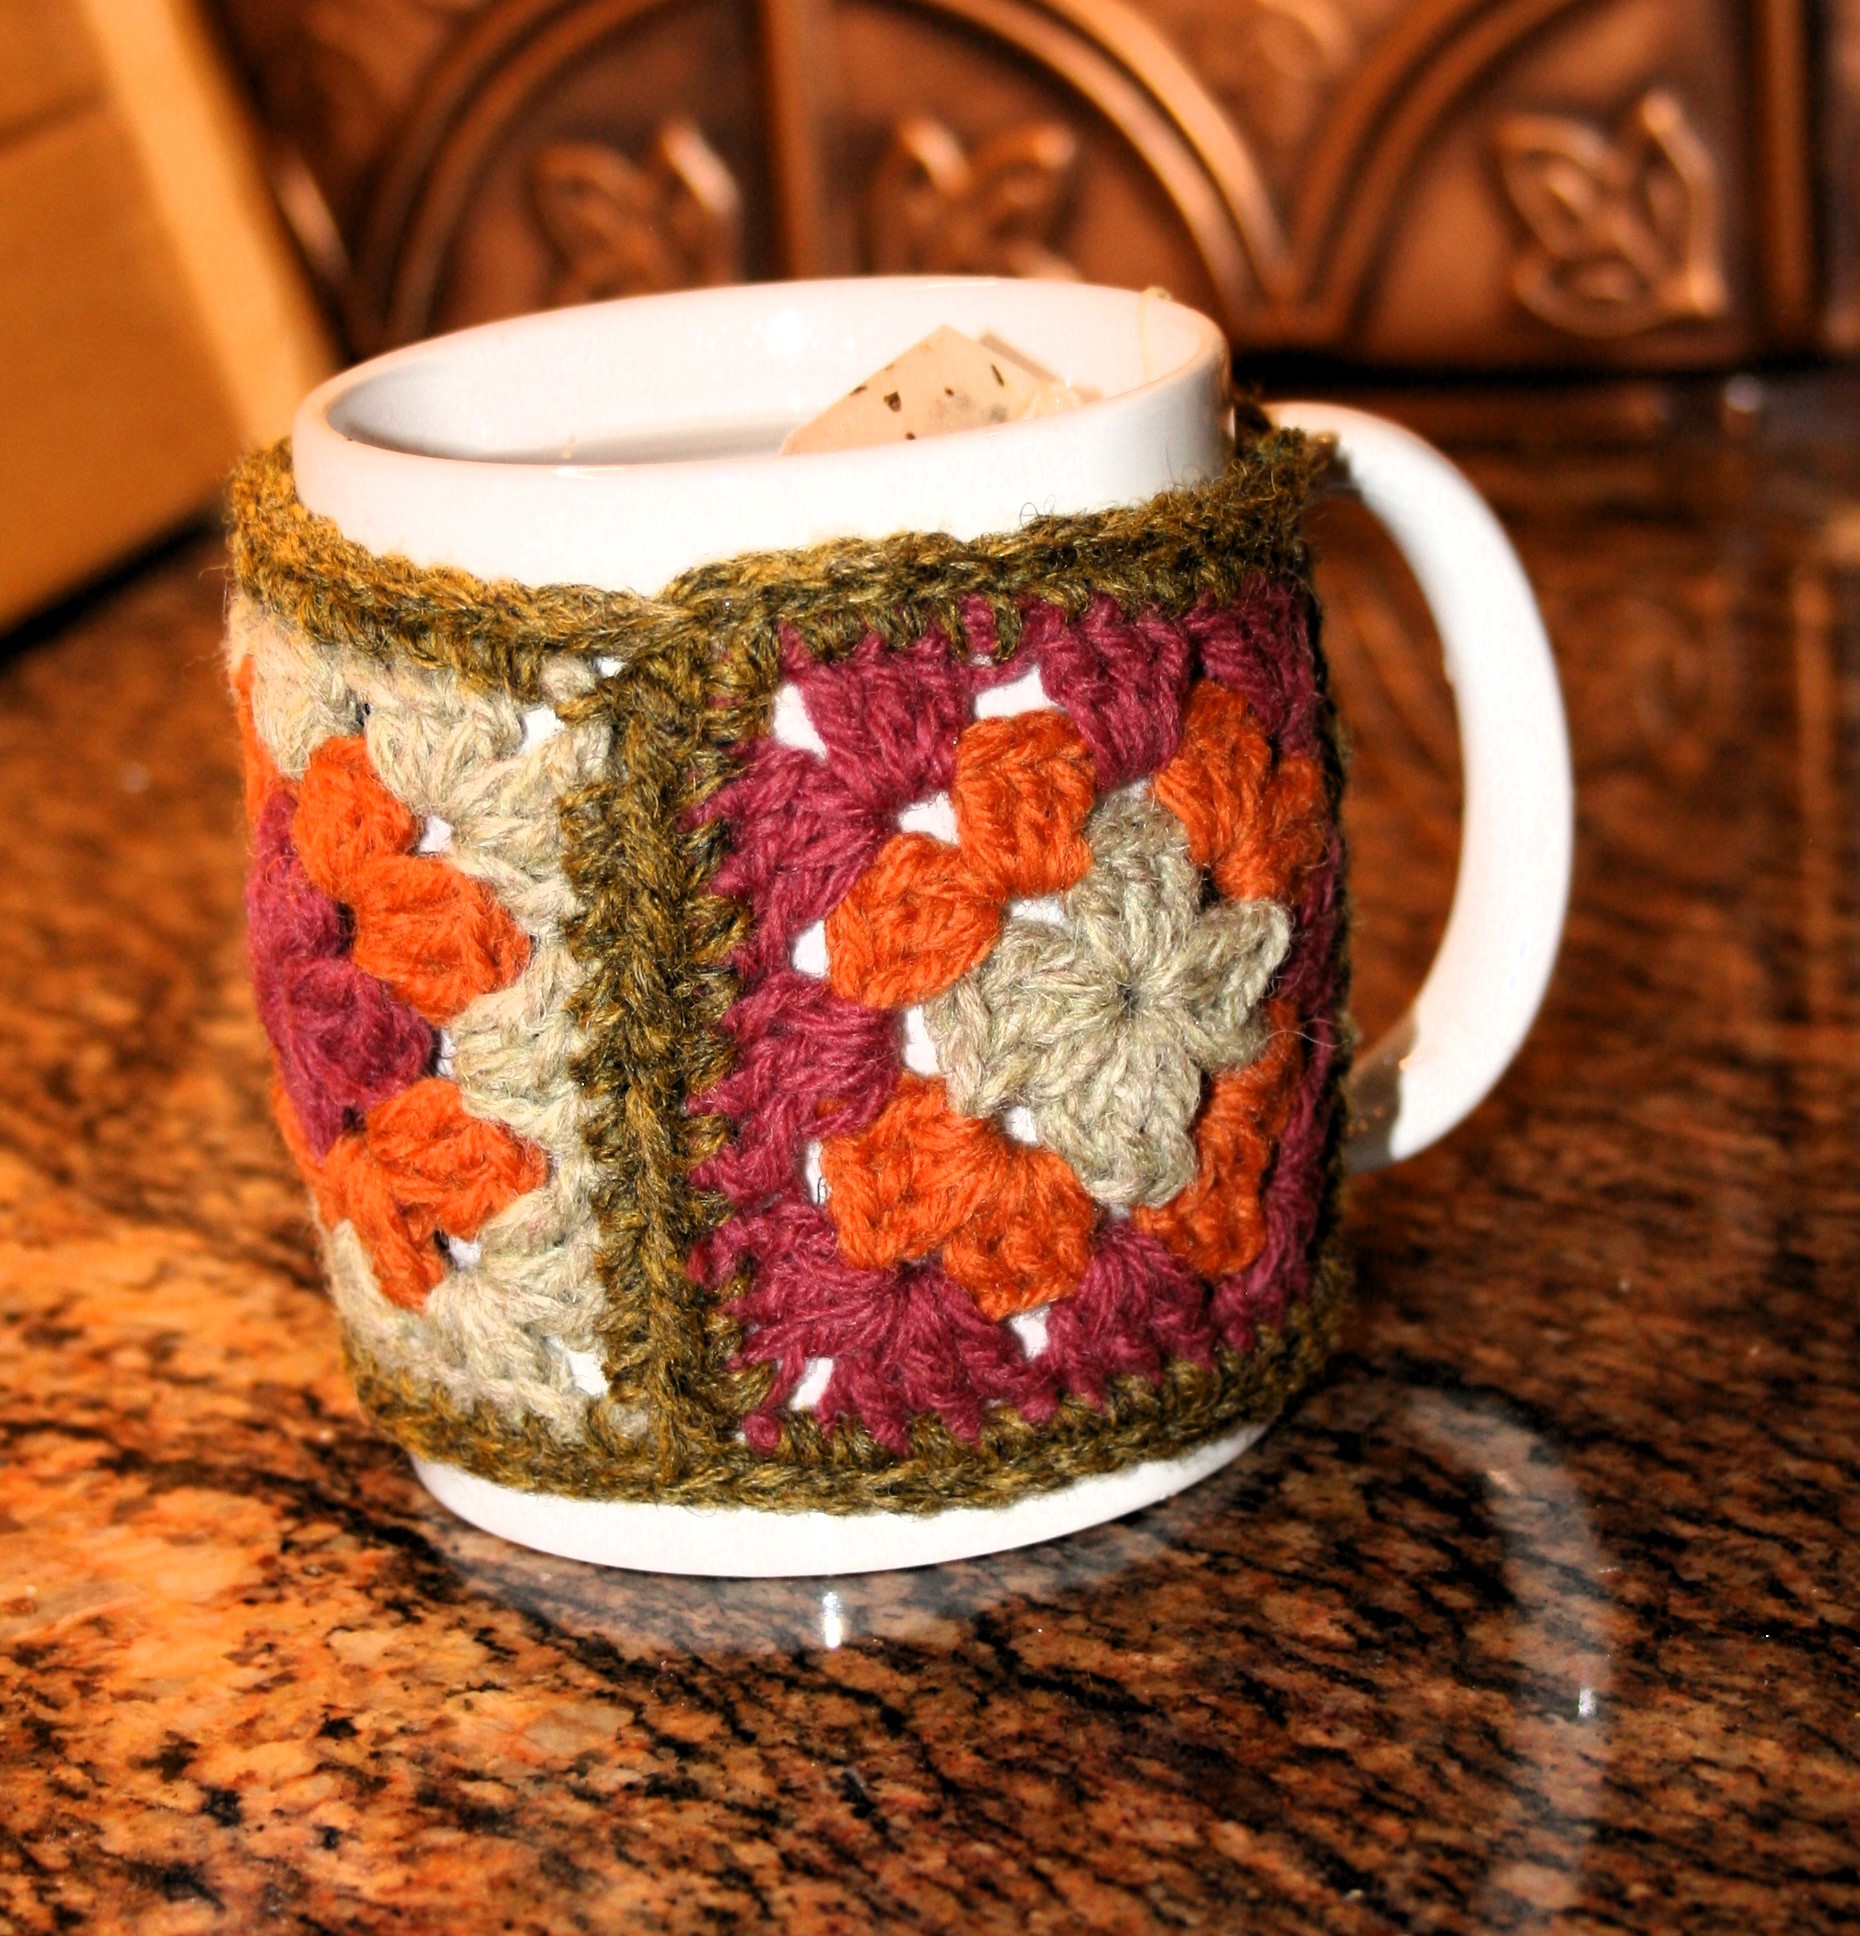
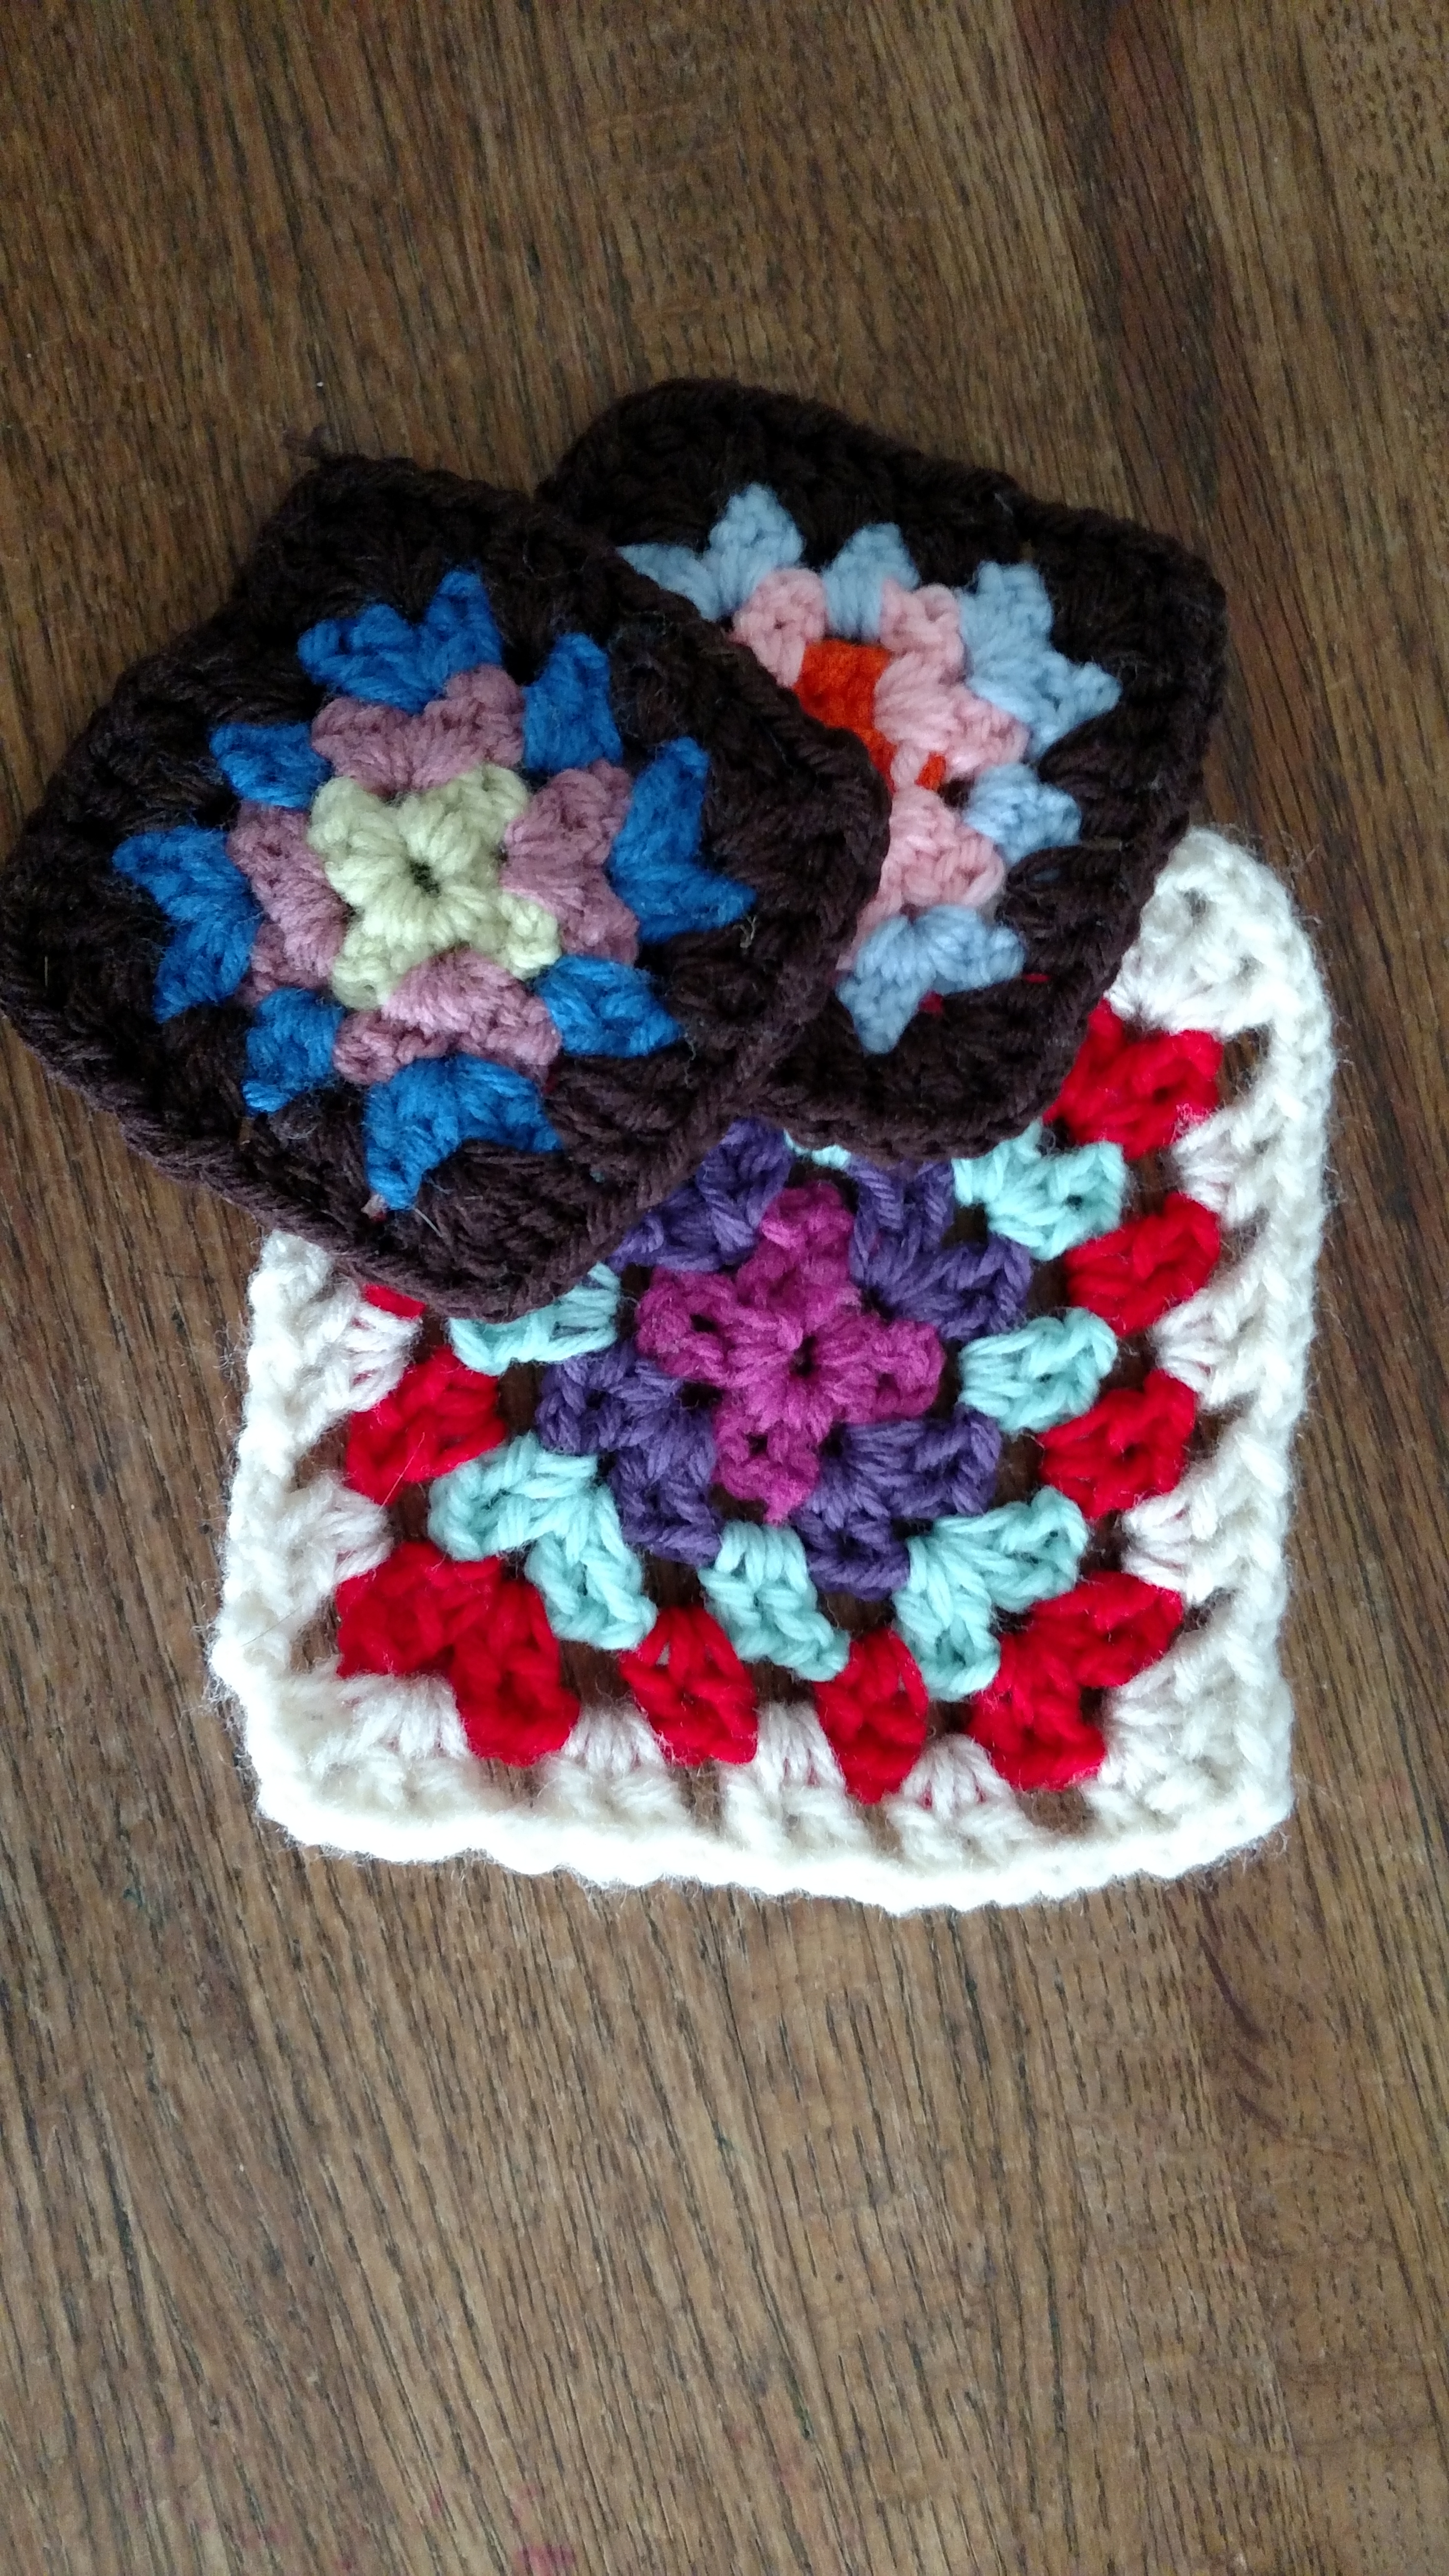
Granny Mug Jacket by Linda Dean
Embrace autumn and crochet classics with this Granny Square Mug Jacket. This design is simple, classic, and stylish all wrapped together.
Size 3” tall x 9” wide Skill beginning Materials G/6/4.00mm crochet hook, 4 colors Jamieson’s Naturally Shetland Double Knitting yarn Gauge Motif=3″x3″
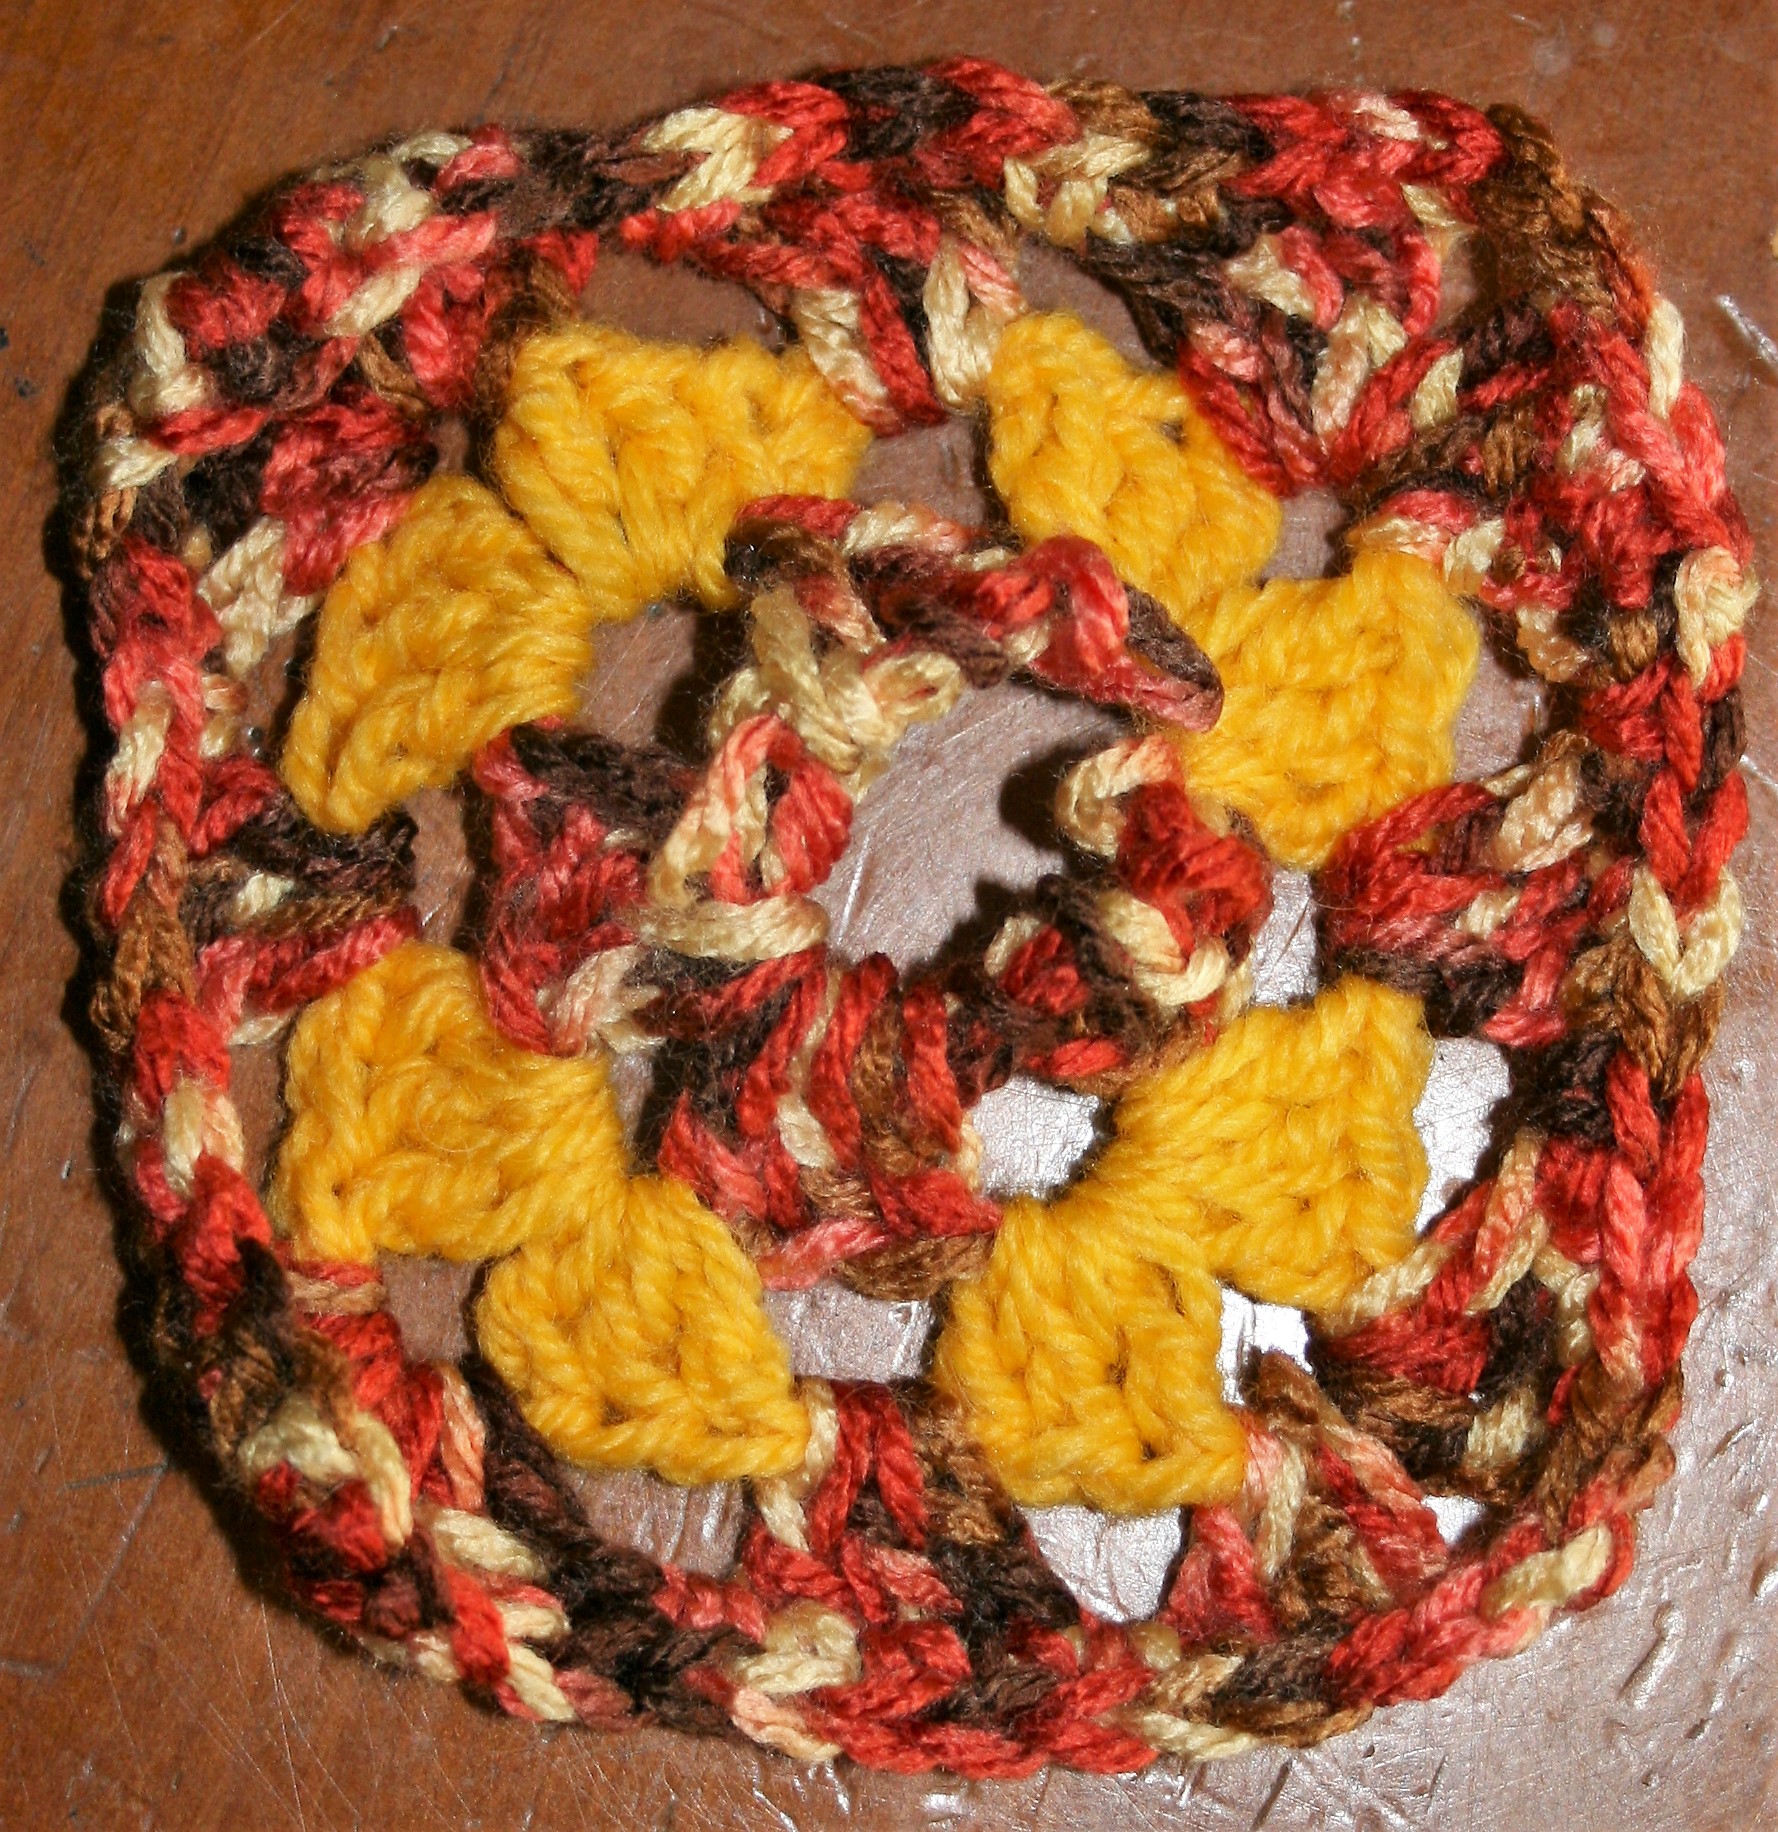
Motif (make 3)
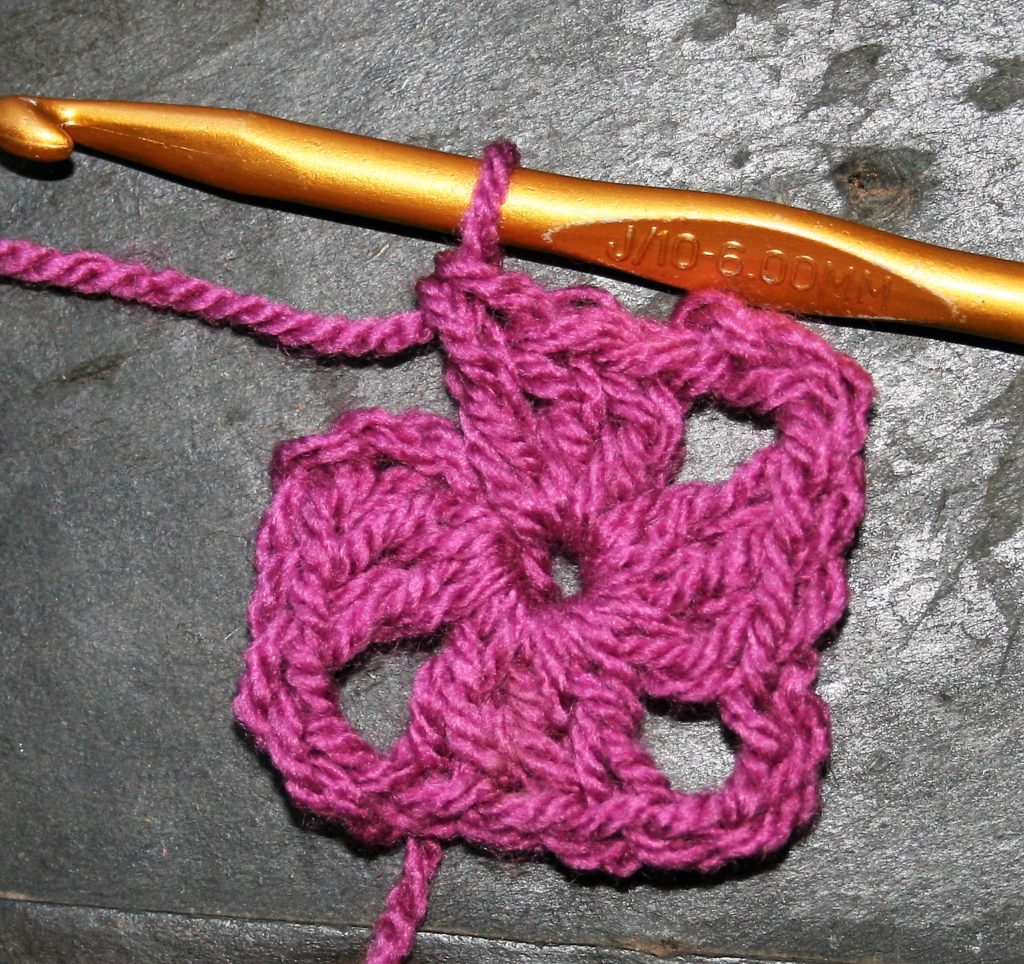
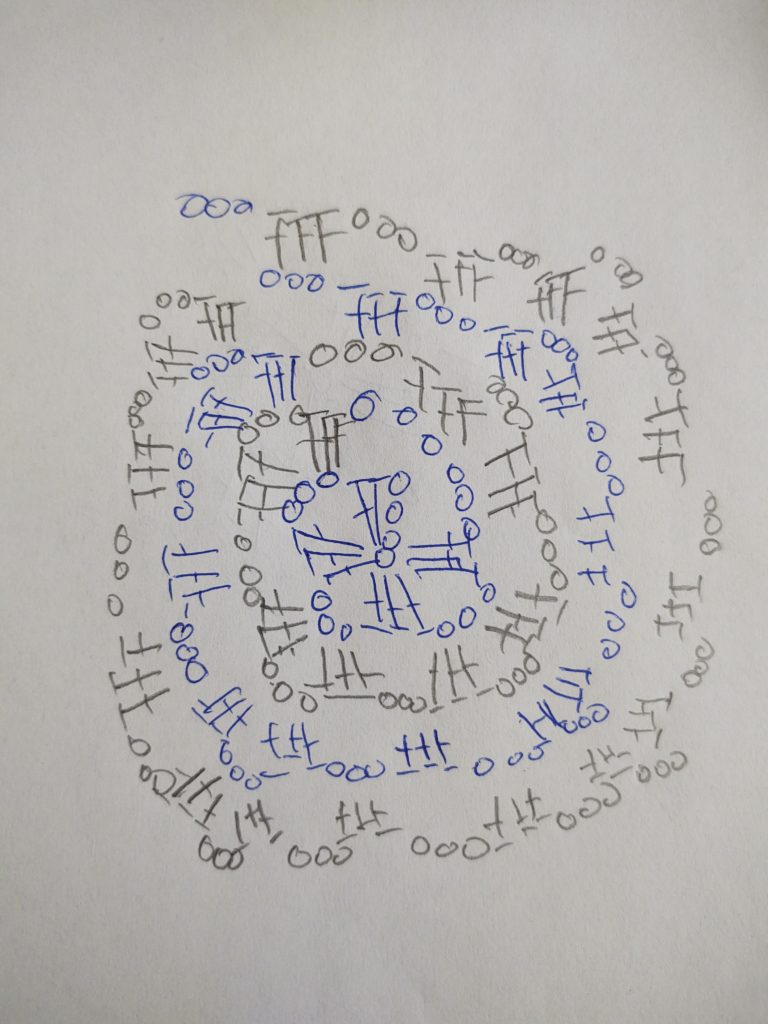
Rnd 1: Ch 4, 2 dc in 4th ch from hook, ch 2, [3 dc in same st, ch 2] 3 times, join, fasten off.
Rnd 2: Join to any ch-2 sp, ch 3, 2 dc in same st, ch 2, 3 dc in same sp, ch 1, [(3 dc, ch 2, 3 dc) in next ch-2 sp) ch 1] 3 times, join, fasten off.
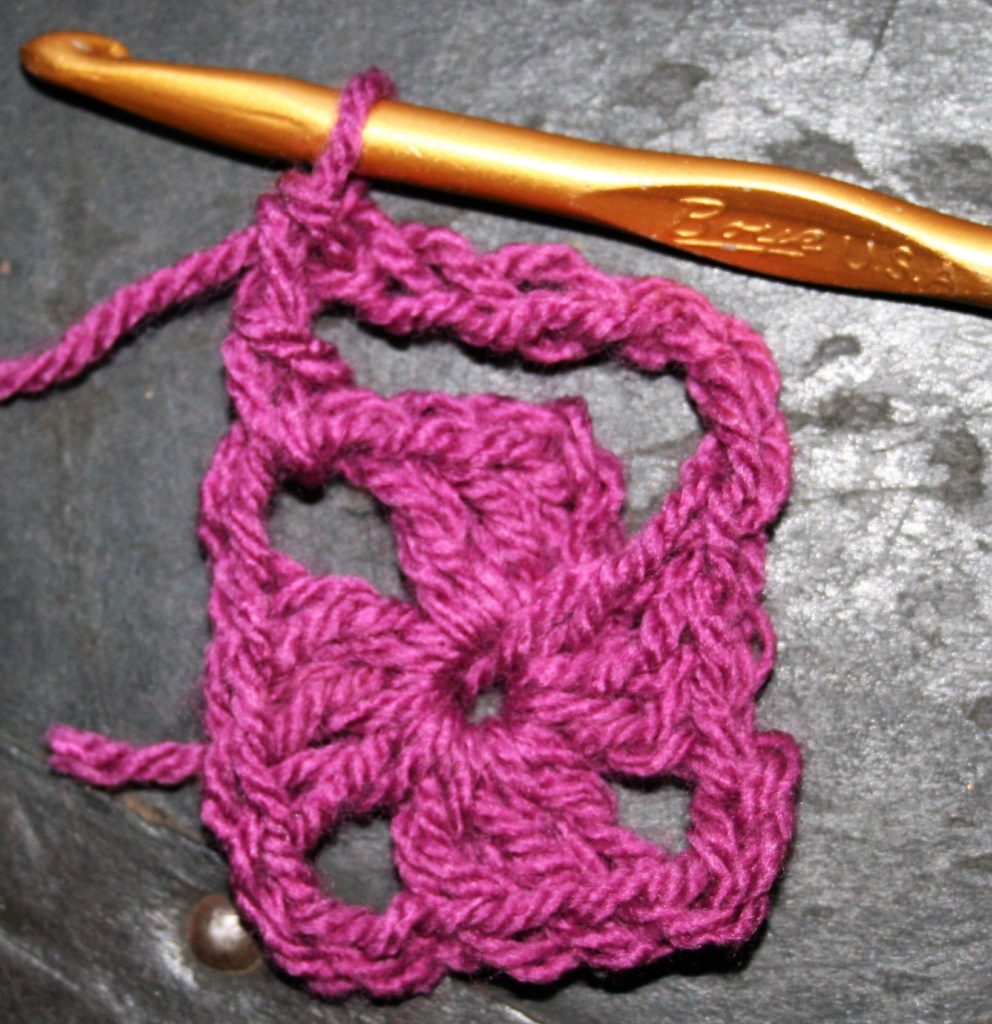
Are you changing colors?
Rnd 3: Join to any ch-2 sp, ch 3, 2 dc in same st, ch 2, 3 dc in same sp, 3 dc in ch-1 sp [(3 dc, ch 2, 3 dc) in next ch-2 sp), 3 dc inch-1 sp] 3 times, join, fasten off.
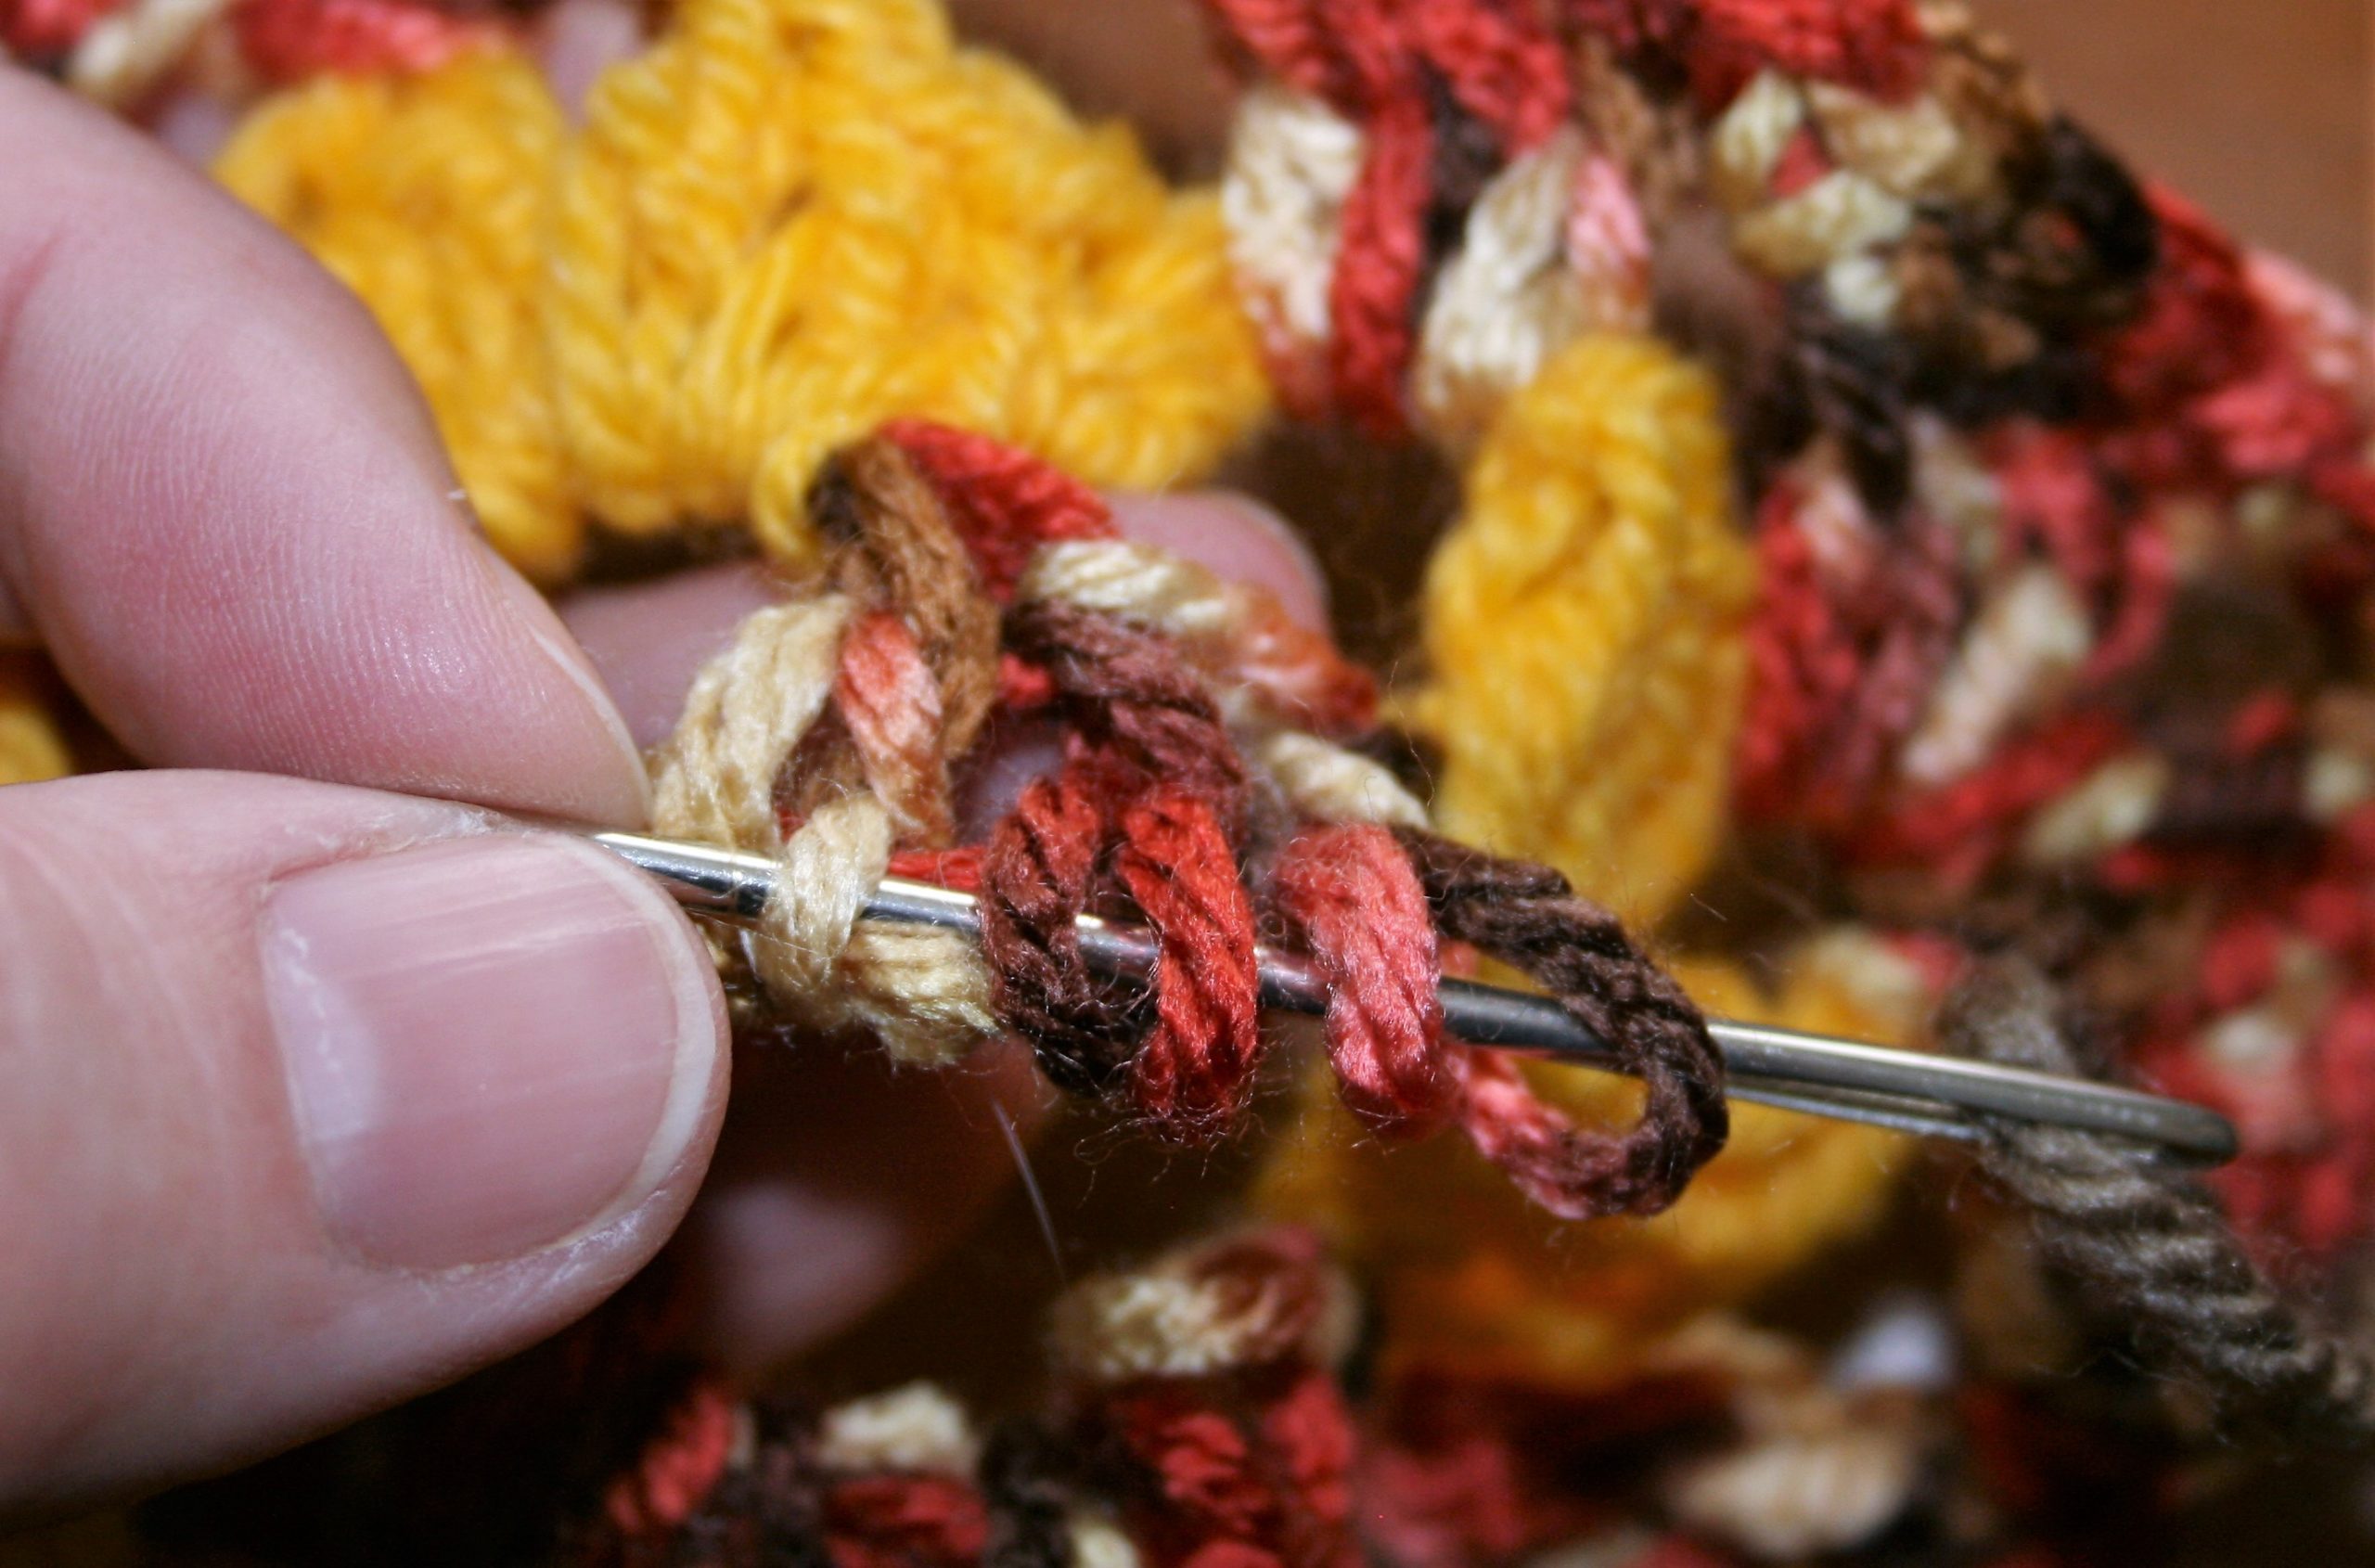
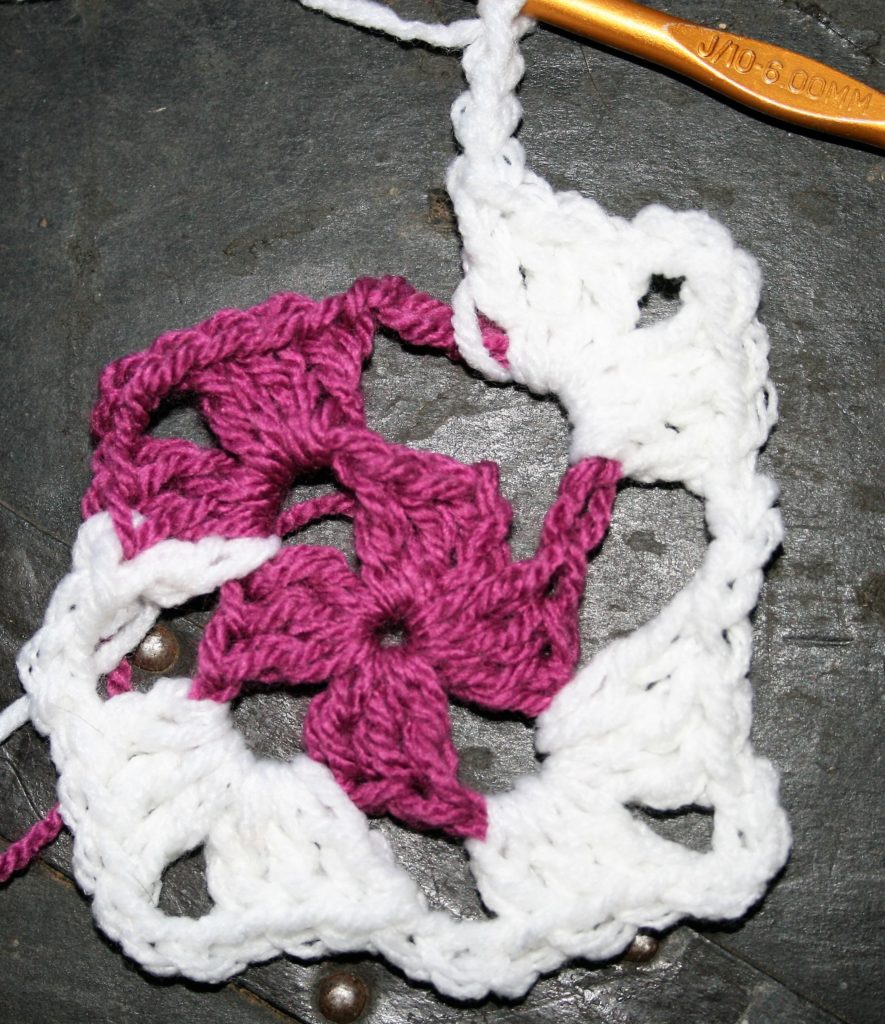
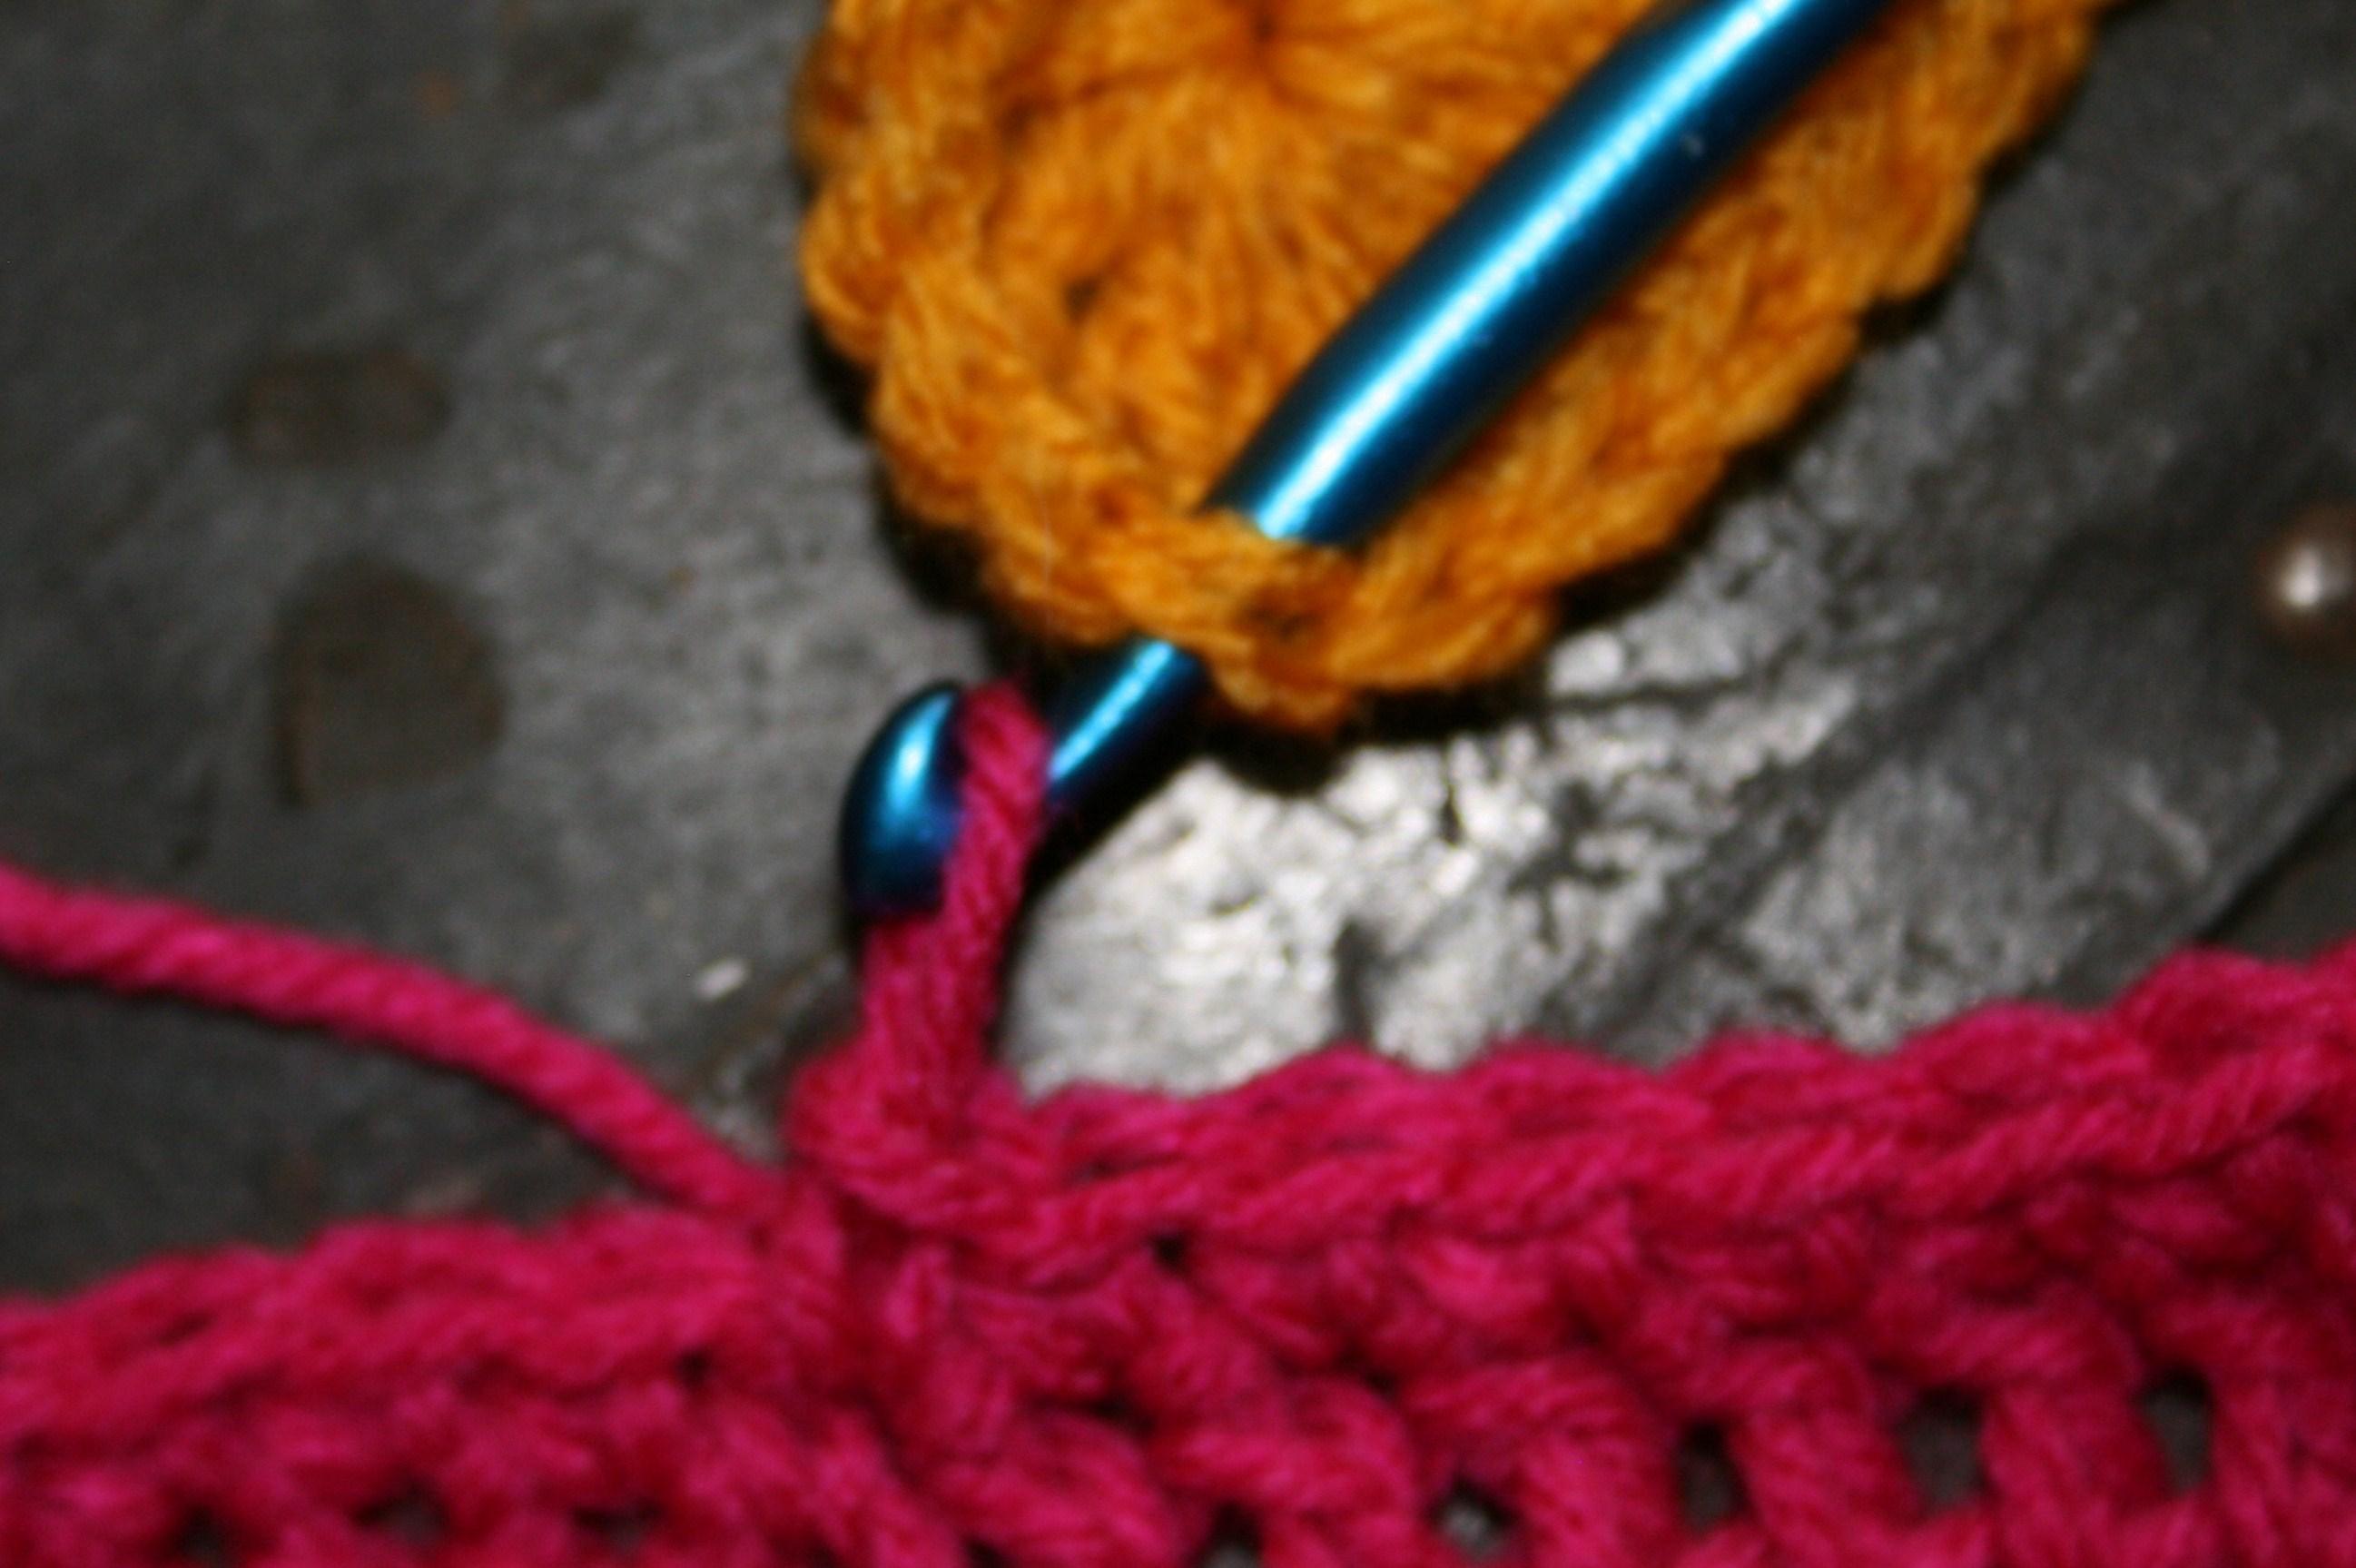
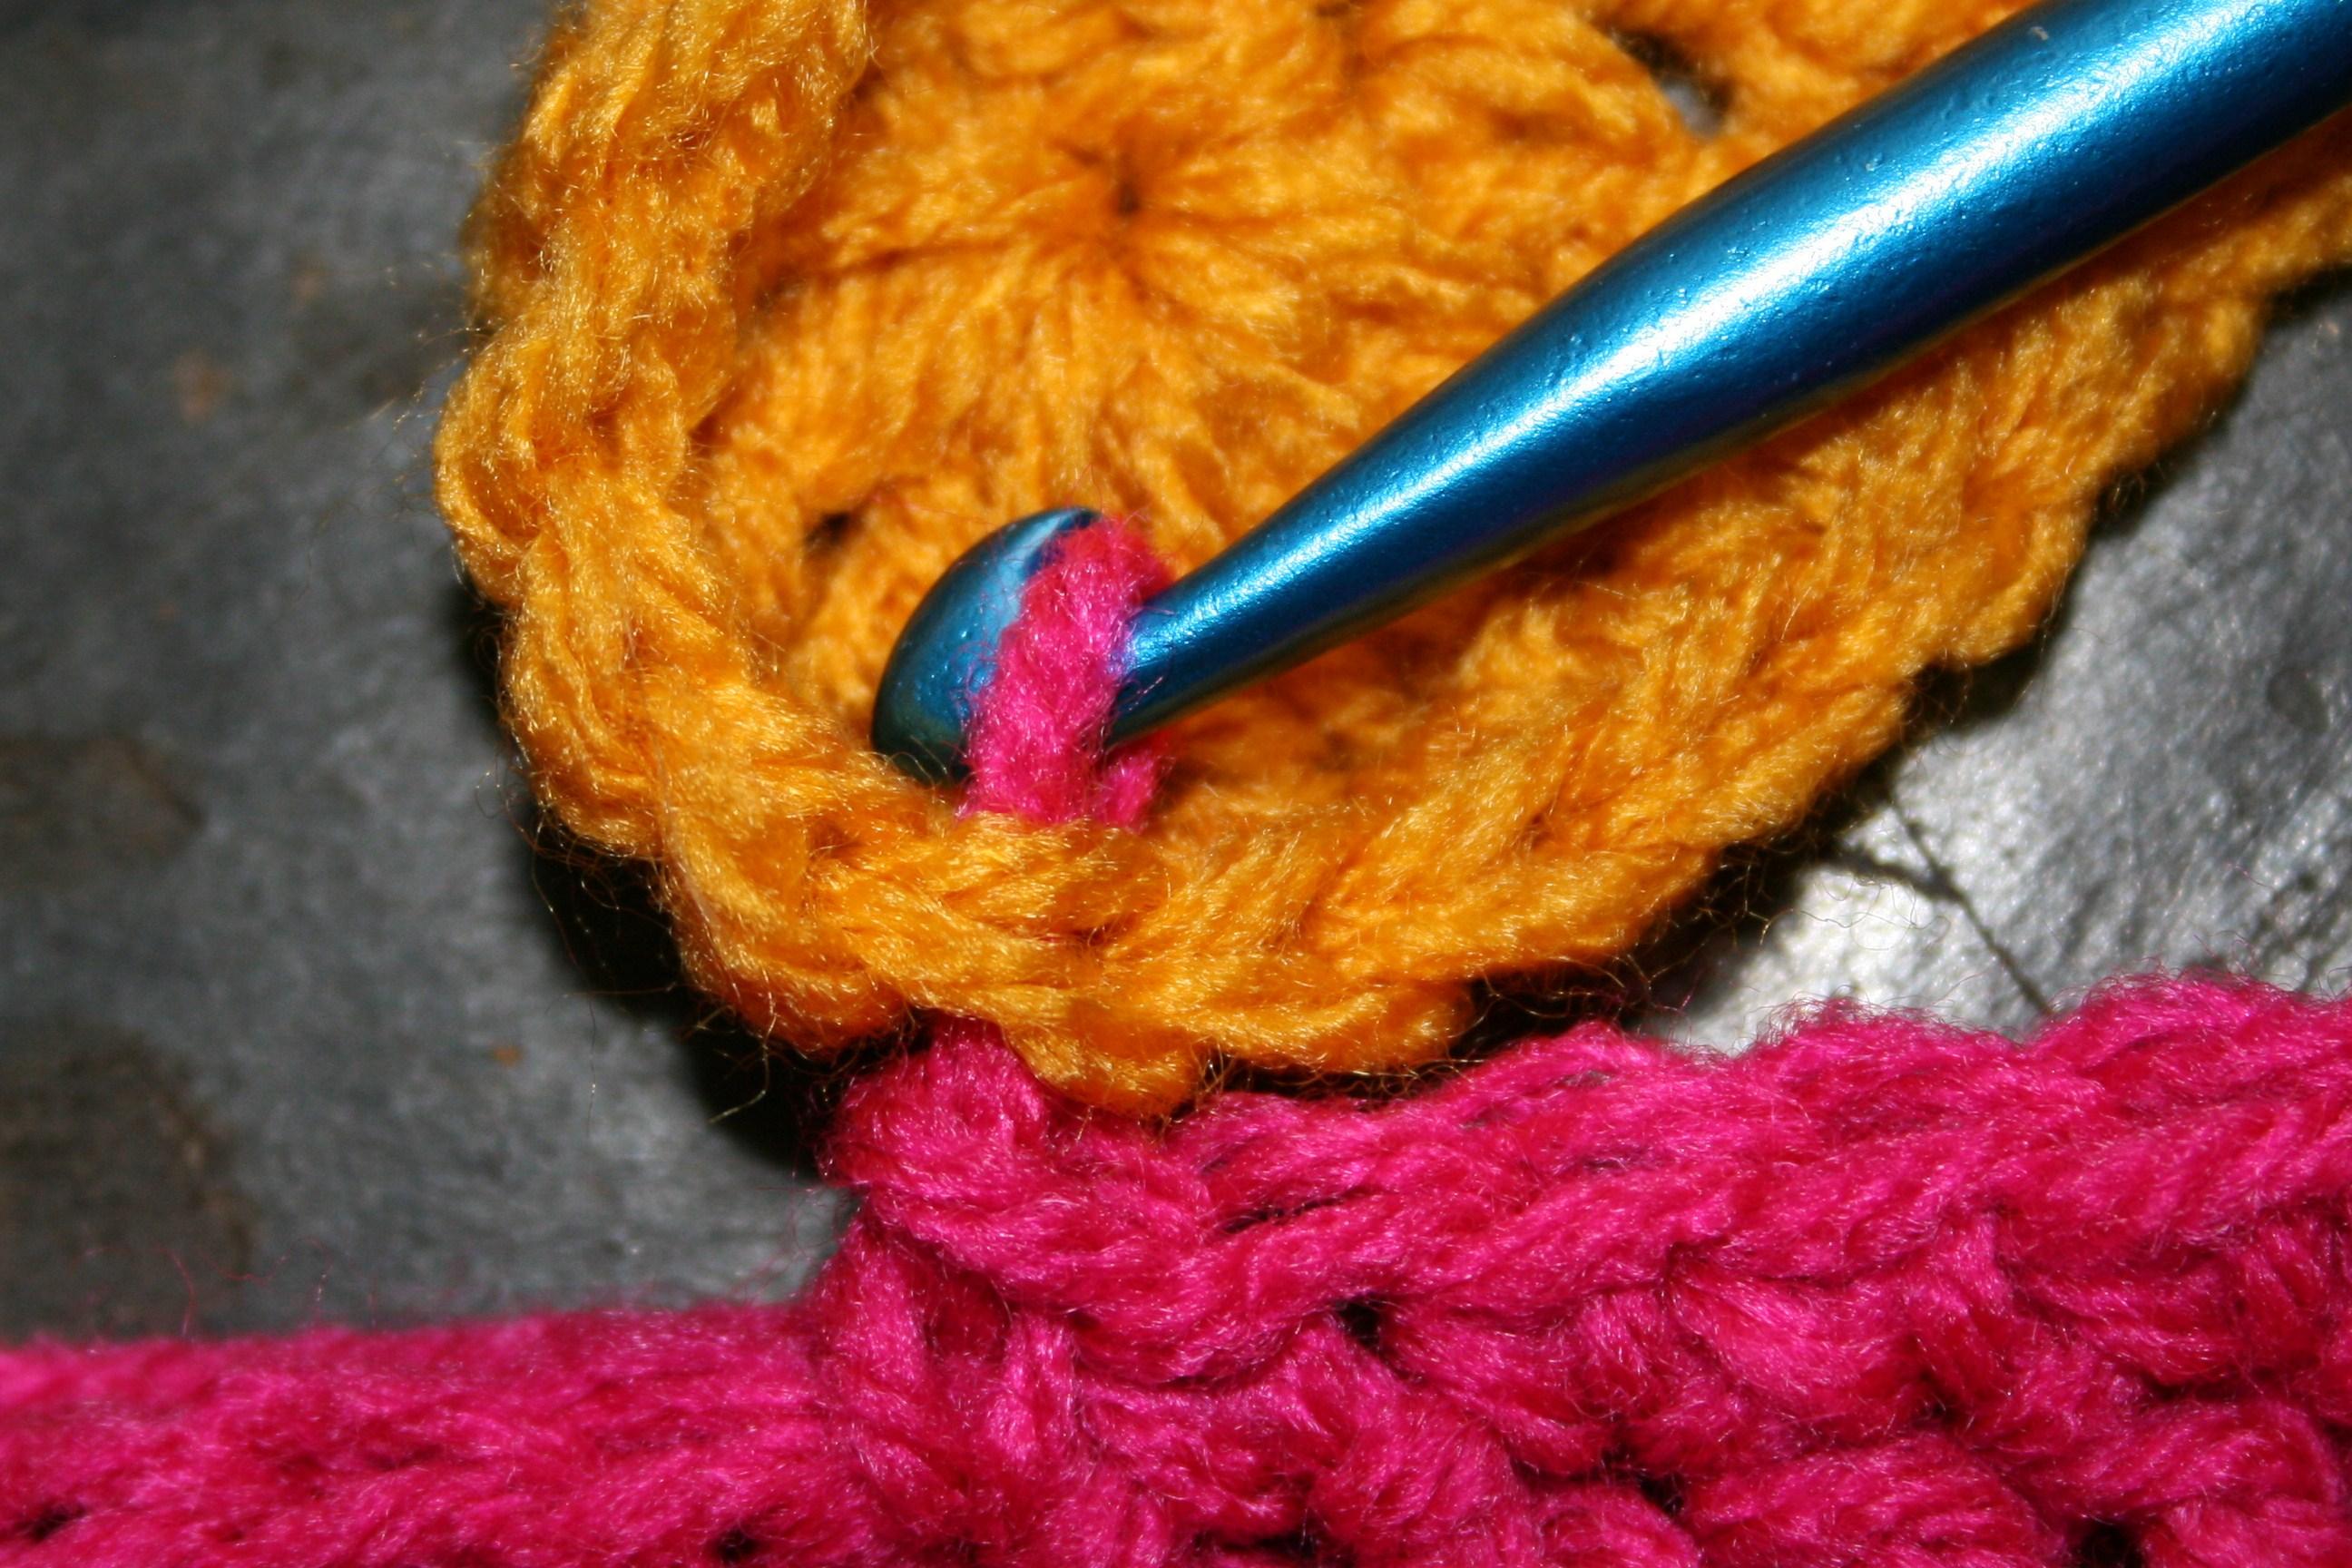
Lets get ready to join
Rnd 4: Join to any ch-2 sp, ch 1, (sc, ch 2, sc) in same sp, sc in each st across to ch-2 sp, [(sc, ch 2, sc) in ch-2 sp, sc in each st across to ch-2 sp] 2 times, join, fasten off.
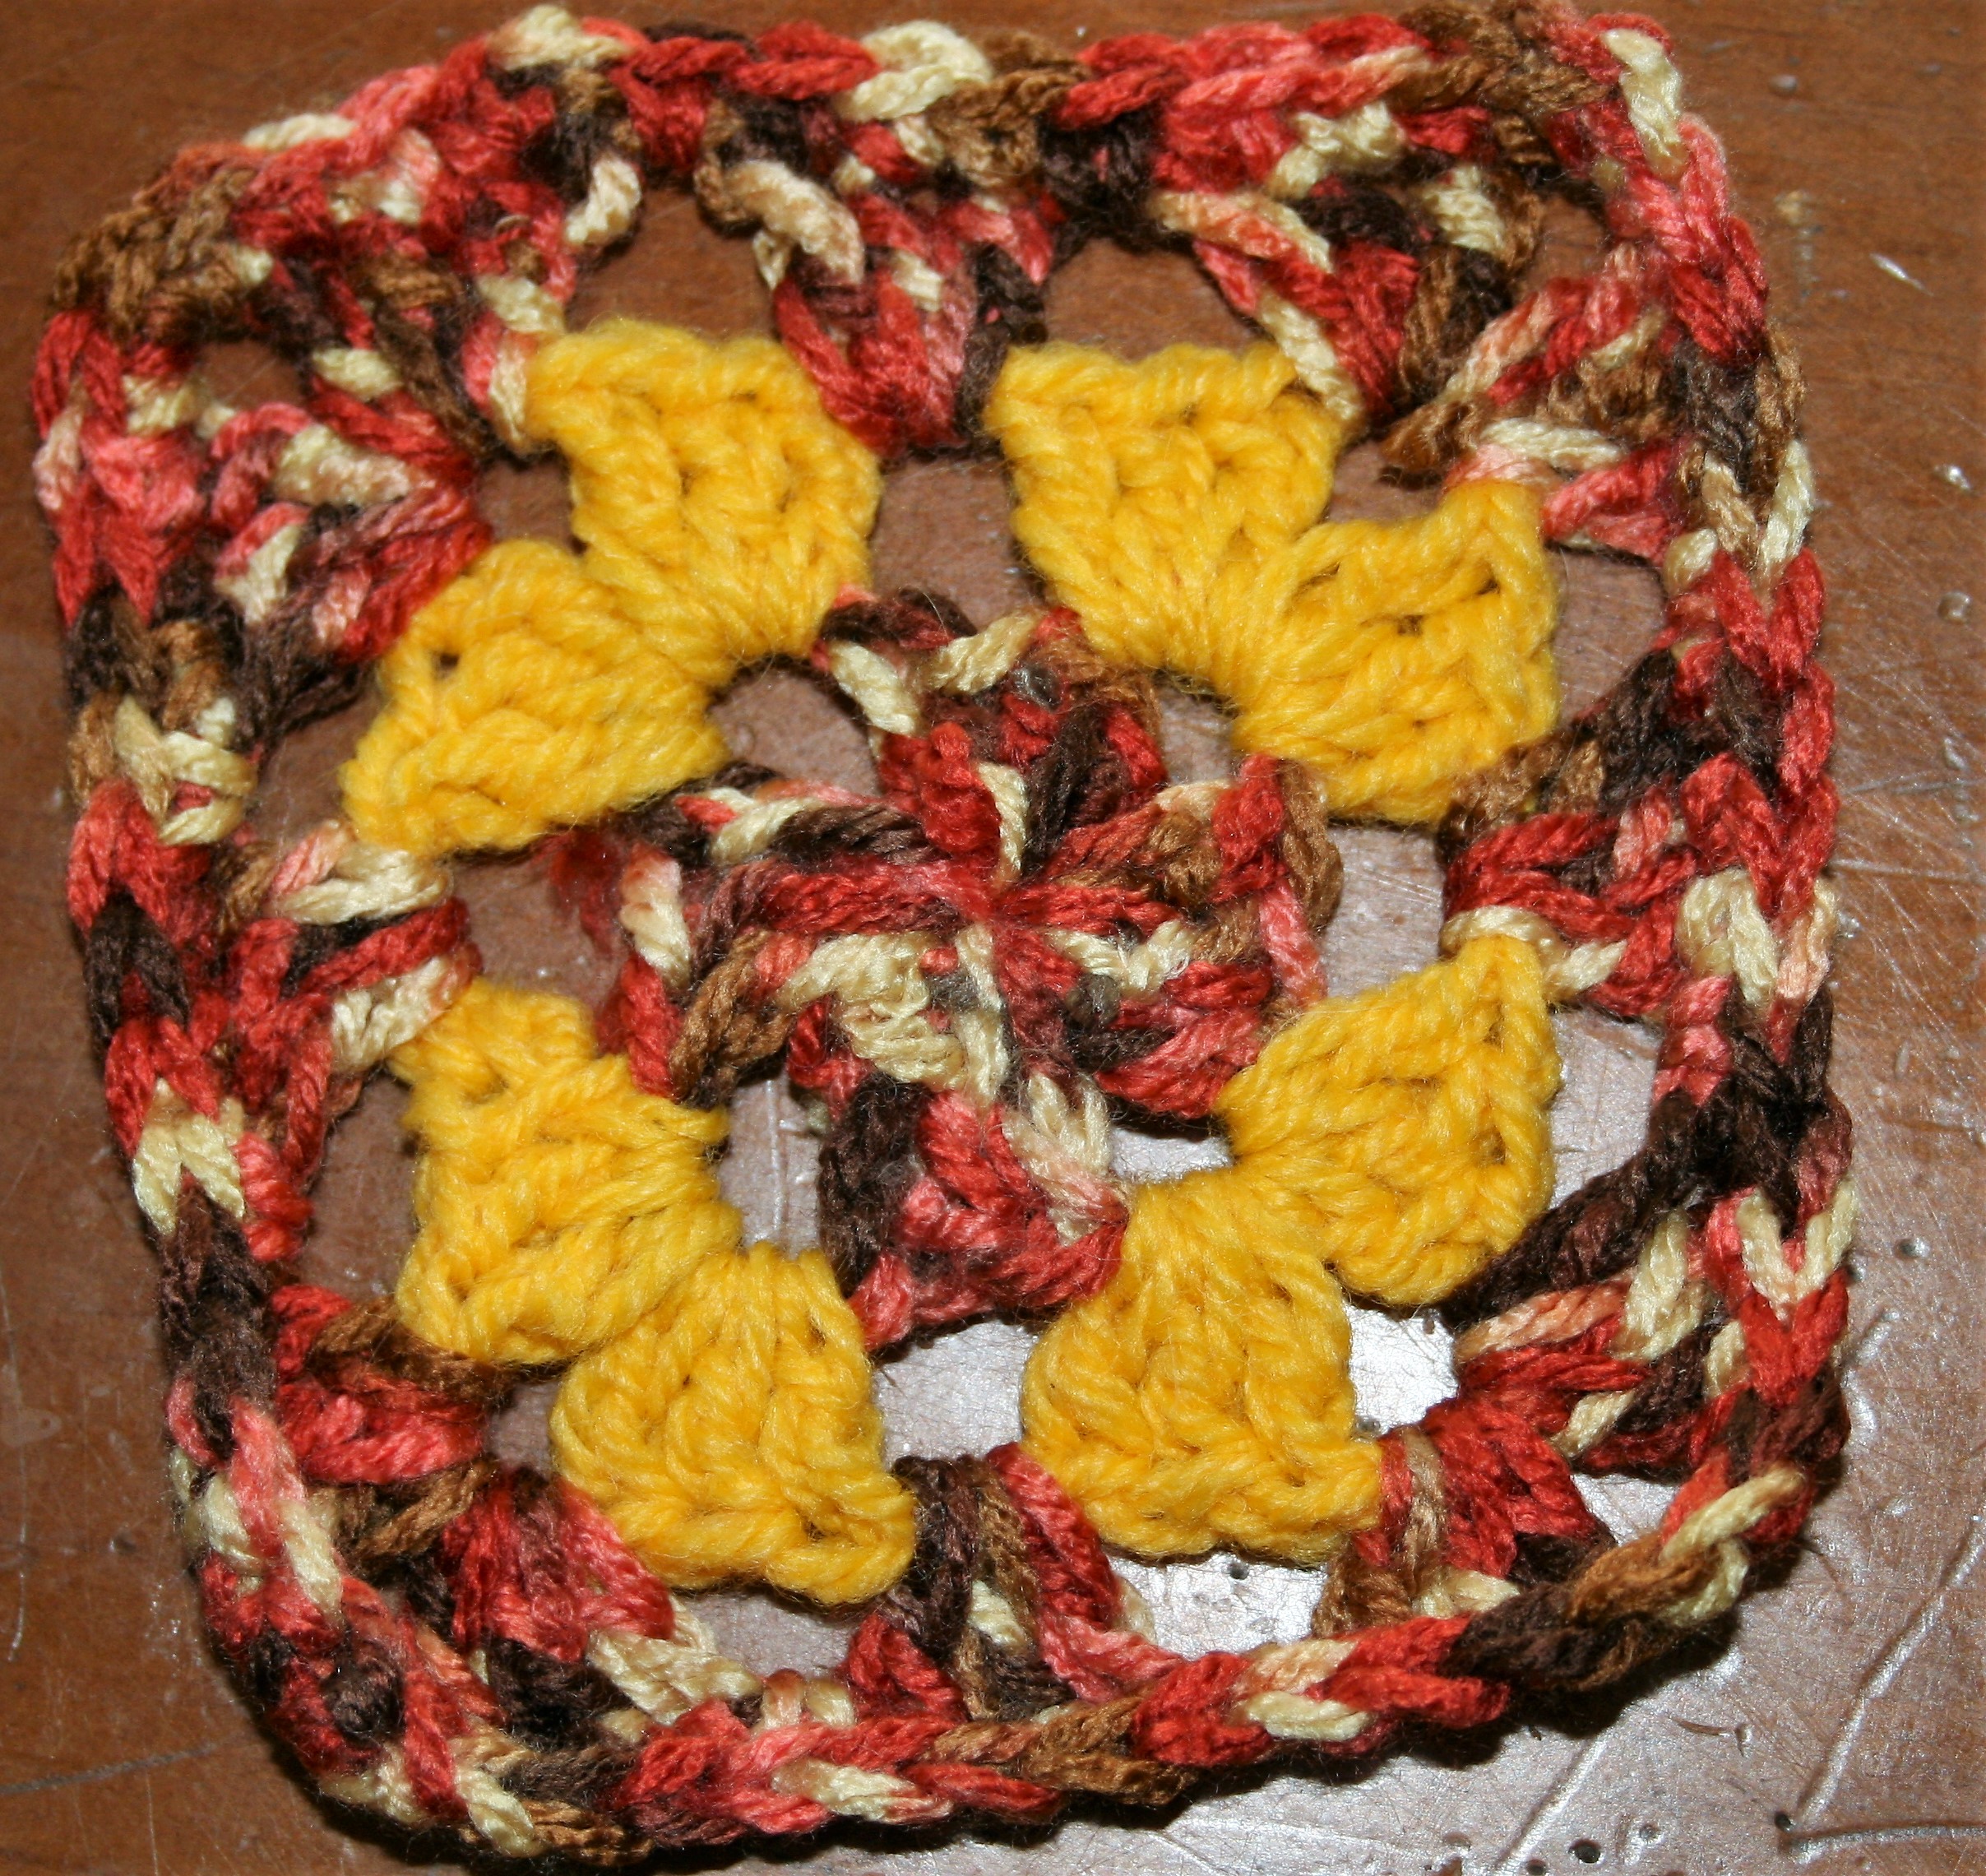
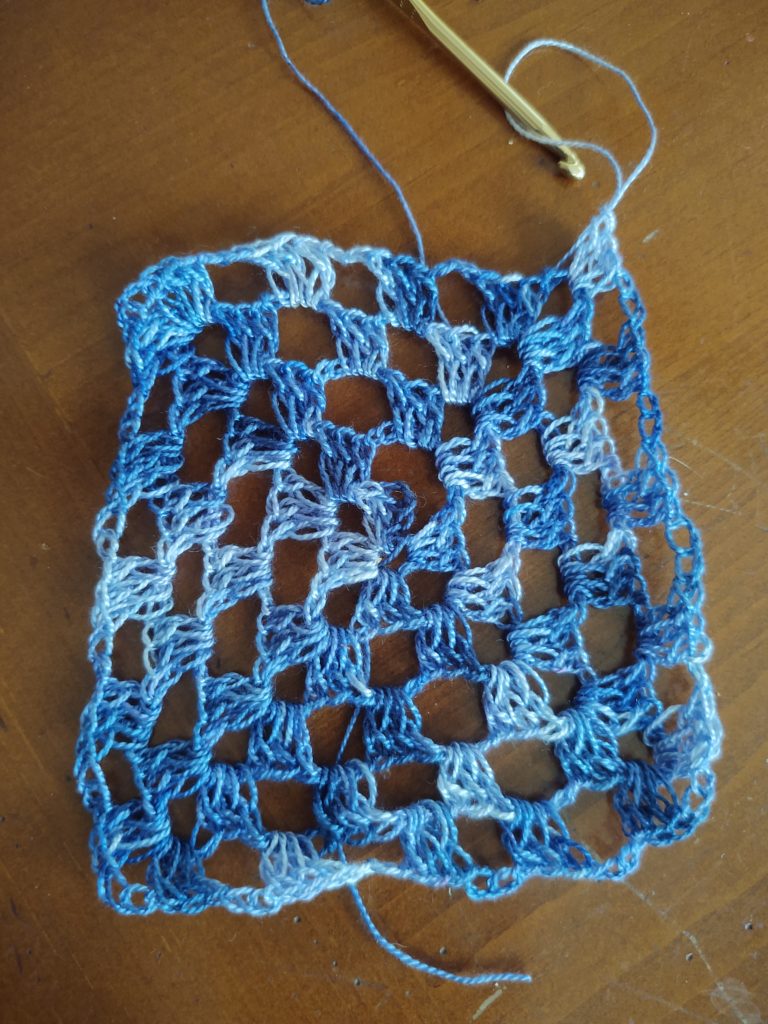
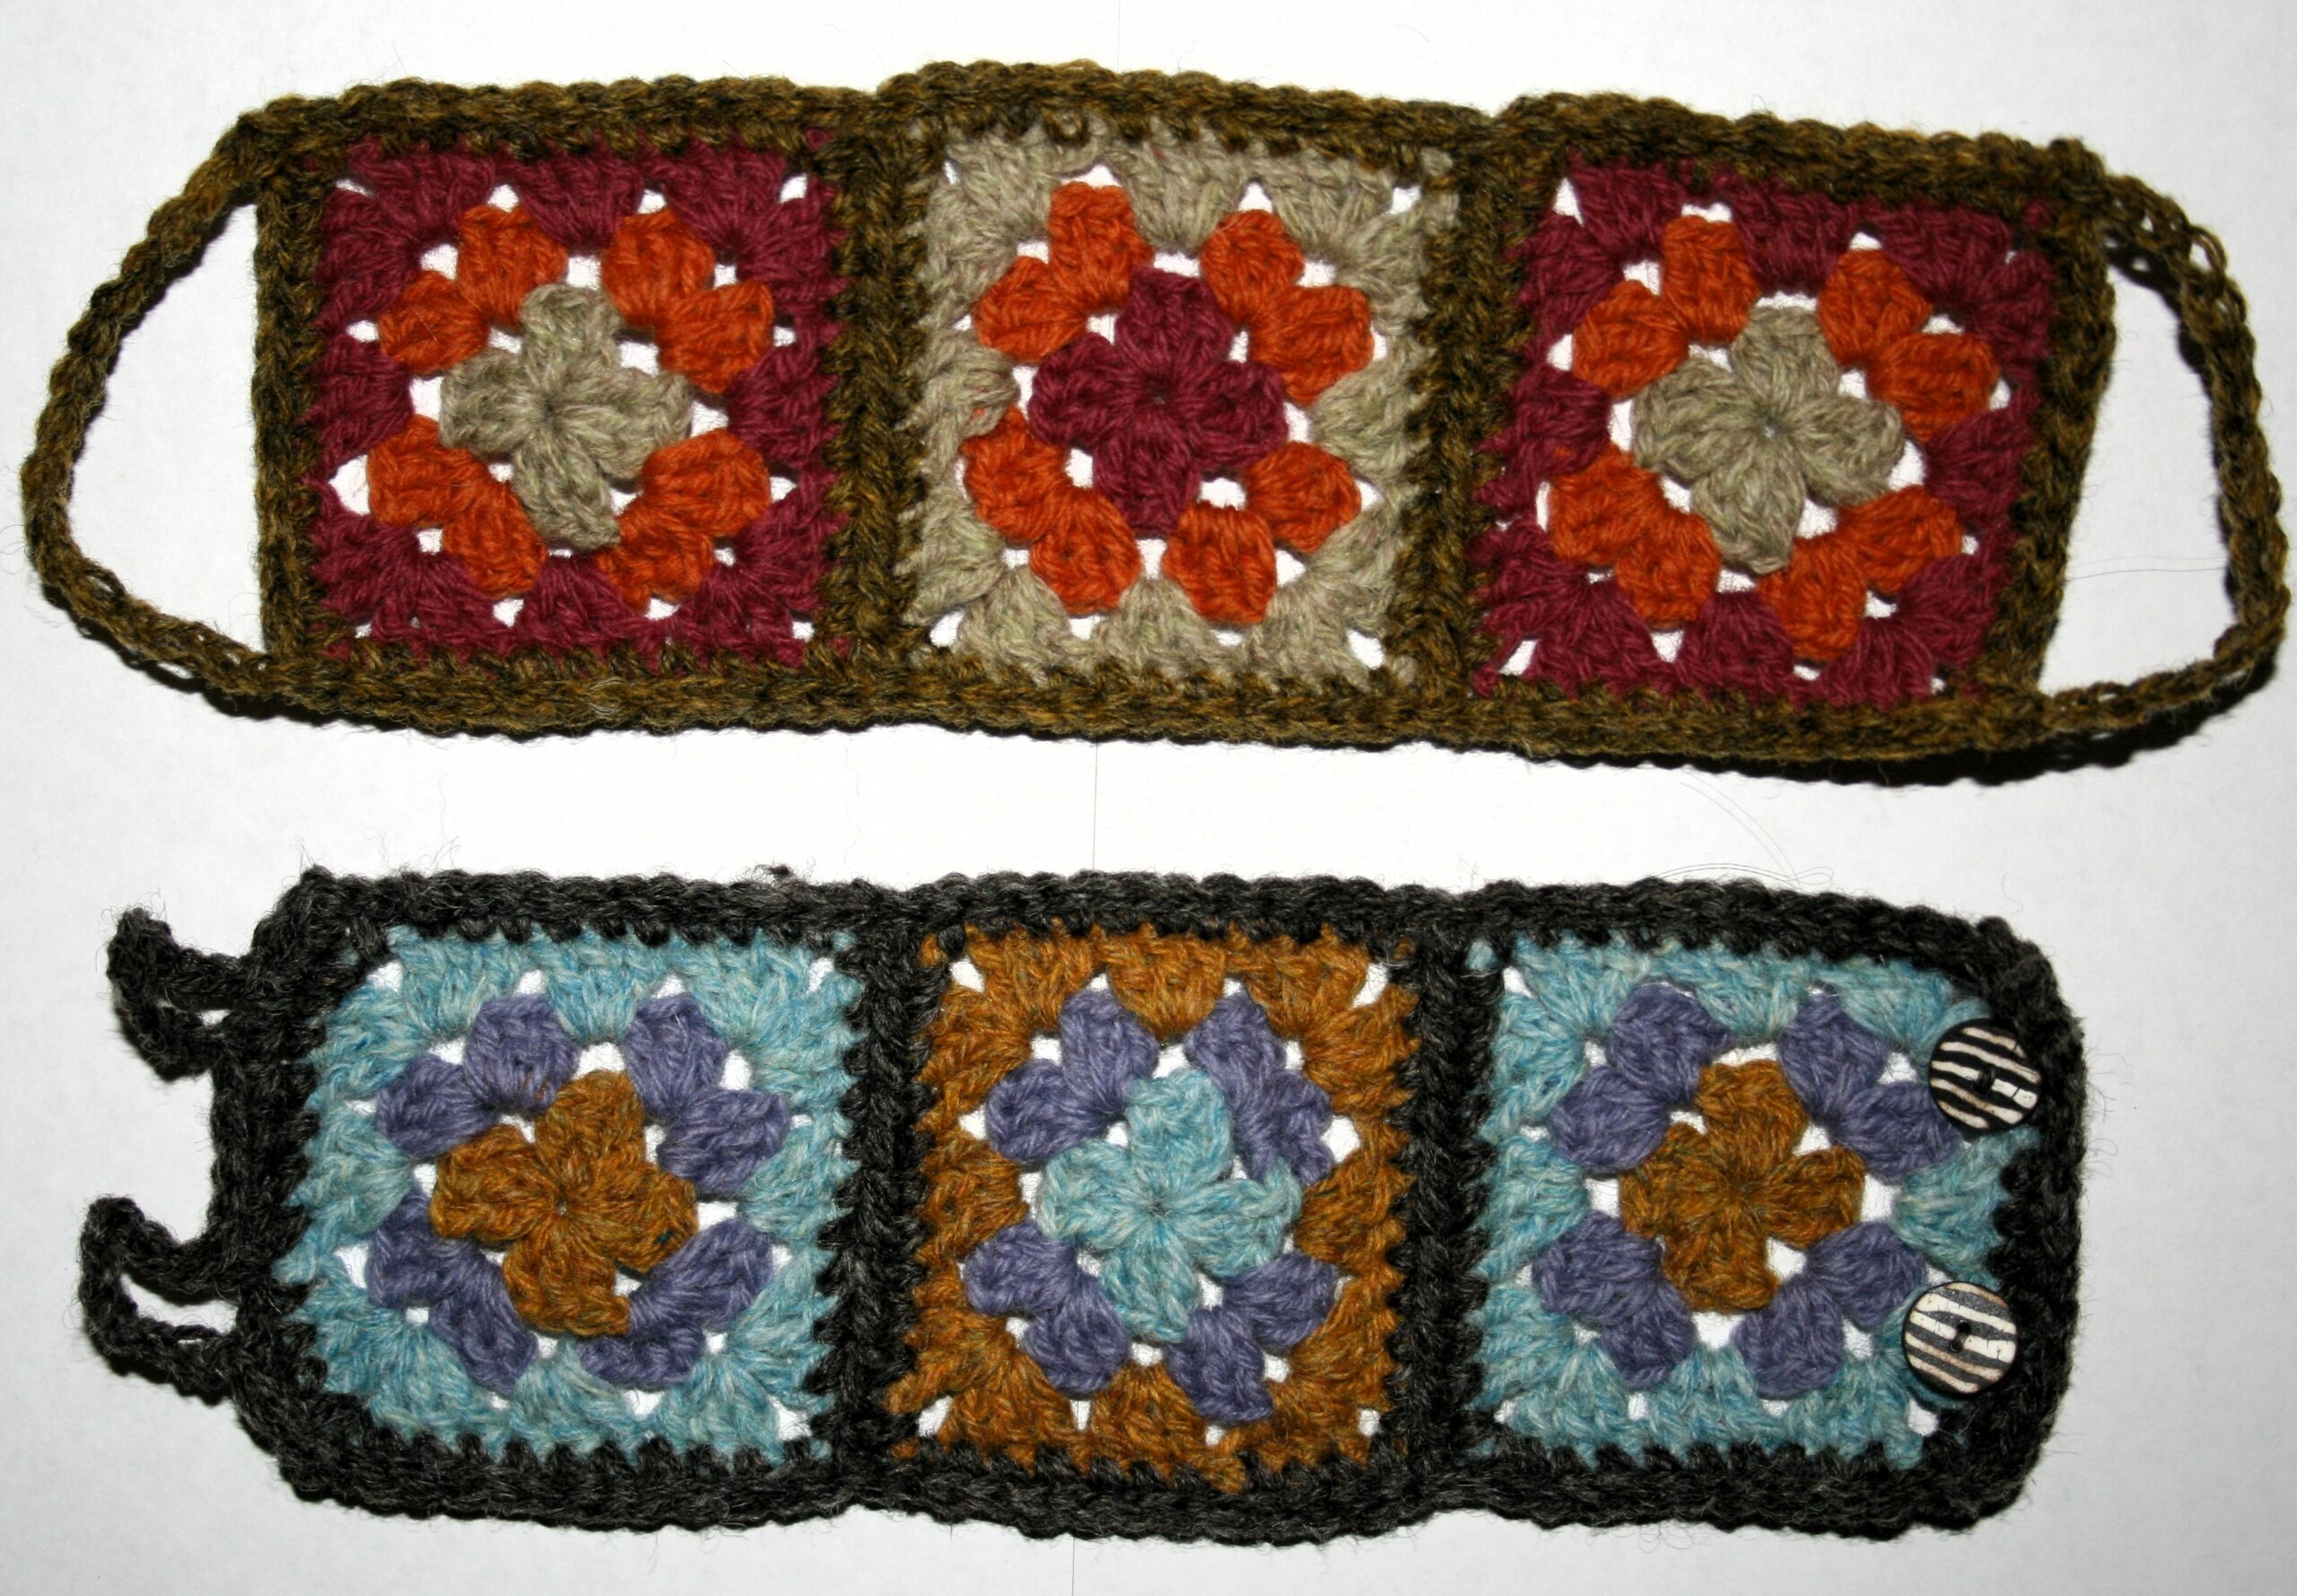
Join Motifs together creating a strip.
Weave in ends. Block as desired.
Two Different Closures
Edging
Loop Closure
Joint to any ch-2 corner, to work down the long edge, ch 1, sc in same sp, sl st in each st along long edge to other corner, sc in corner, ch 15, sk entire short edge of rectangle, sc in next corner, sl st across long edge of rectangle, sc in corner, ch 5, sl st to first sc. Fasten off.
Button Closure
Join to any ch-2 corner to work down the short edge, ch 1, sc in same corner, sc in next 2 sts, ch 10, sc in next 6 sts, ch 10, in rem sts on side to corner, sl st in each st around rectangle to first sc, join. Fasten off.
Sew two ½” buttons on the opposite side of the loops.
Info about the photo
So whenever I put up photos that show my kitchen counters, I get questions. It is a granite countertop, but the most questions come up about my back splash. It is actually tin that is treated to look like copper, and comes from the company American Tin Ceiling. I have had it for several years, it is easy to maintain and cheaper then tile, not to mention easier to install. No, I get no kick backs from this company, but I usually get a lot of questions.