It seems that all my patterns tend to release at once! One of my latest designs the Braided Edge Cardigan has been a while in the works.
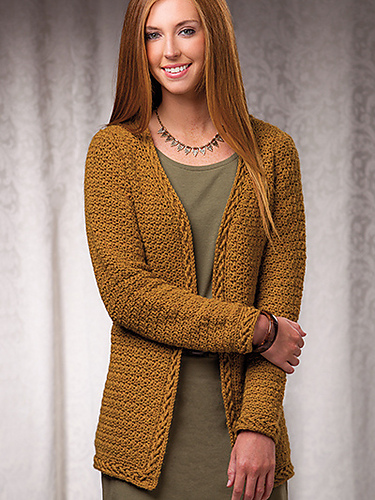
Braided Edge Cardigan Photo courtesy Annie’s
Sometimes ideas come to you and they are ahead of their time, meaning that no one wants to publish them at that time, but give it a while and they might be much more receptive. This sweater is like that. I came up with the concept a couple of years ago, and it did not make it into publication at the time. I resubmitted it many months later and it was a much better fit for the current collection within the October 2016 issue of Crochet World Magazine.
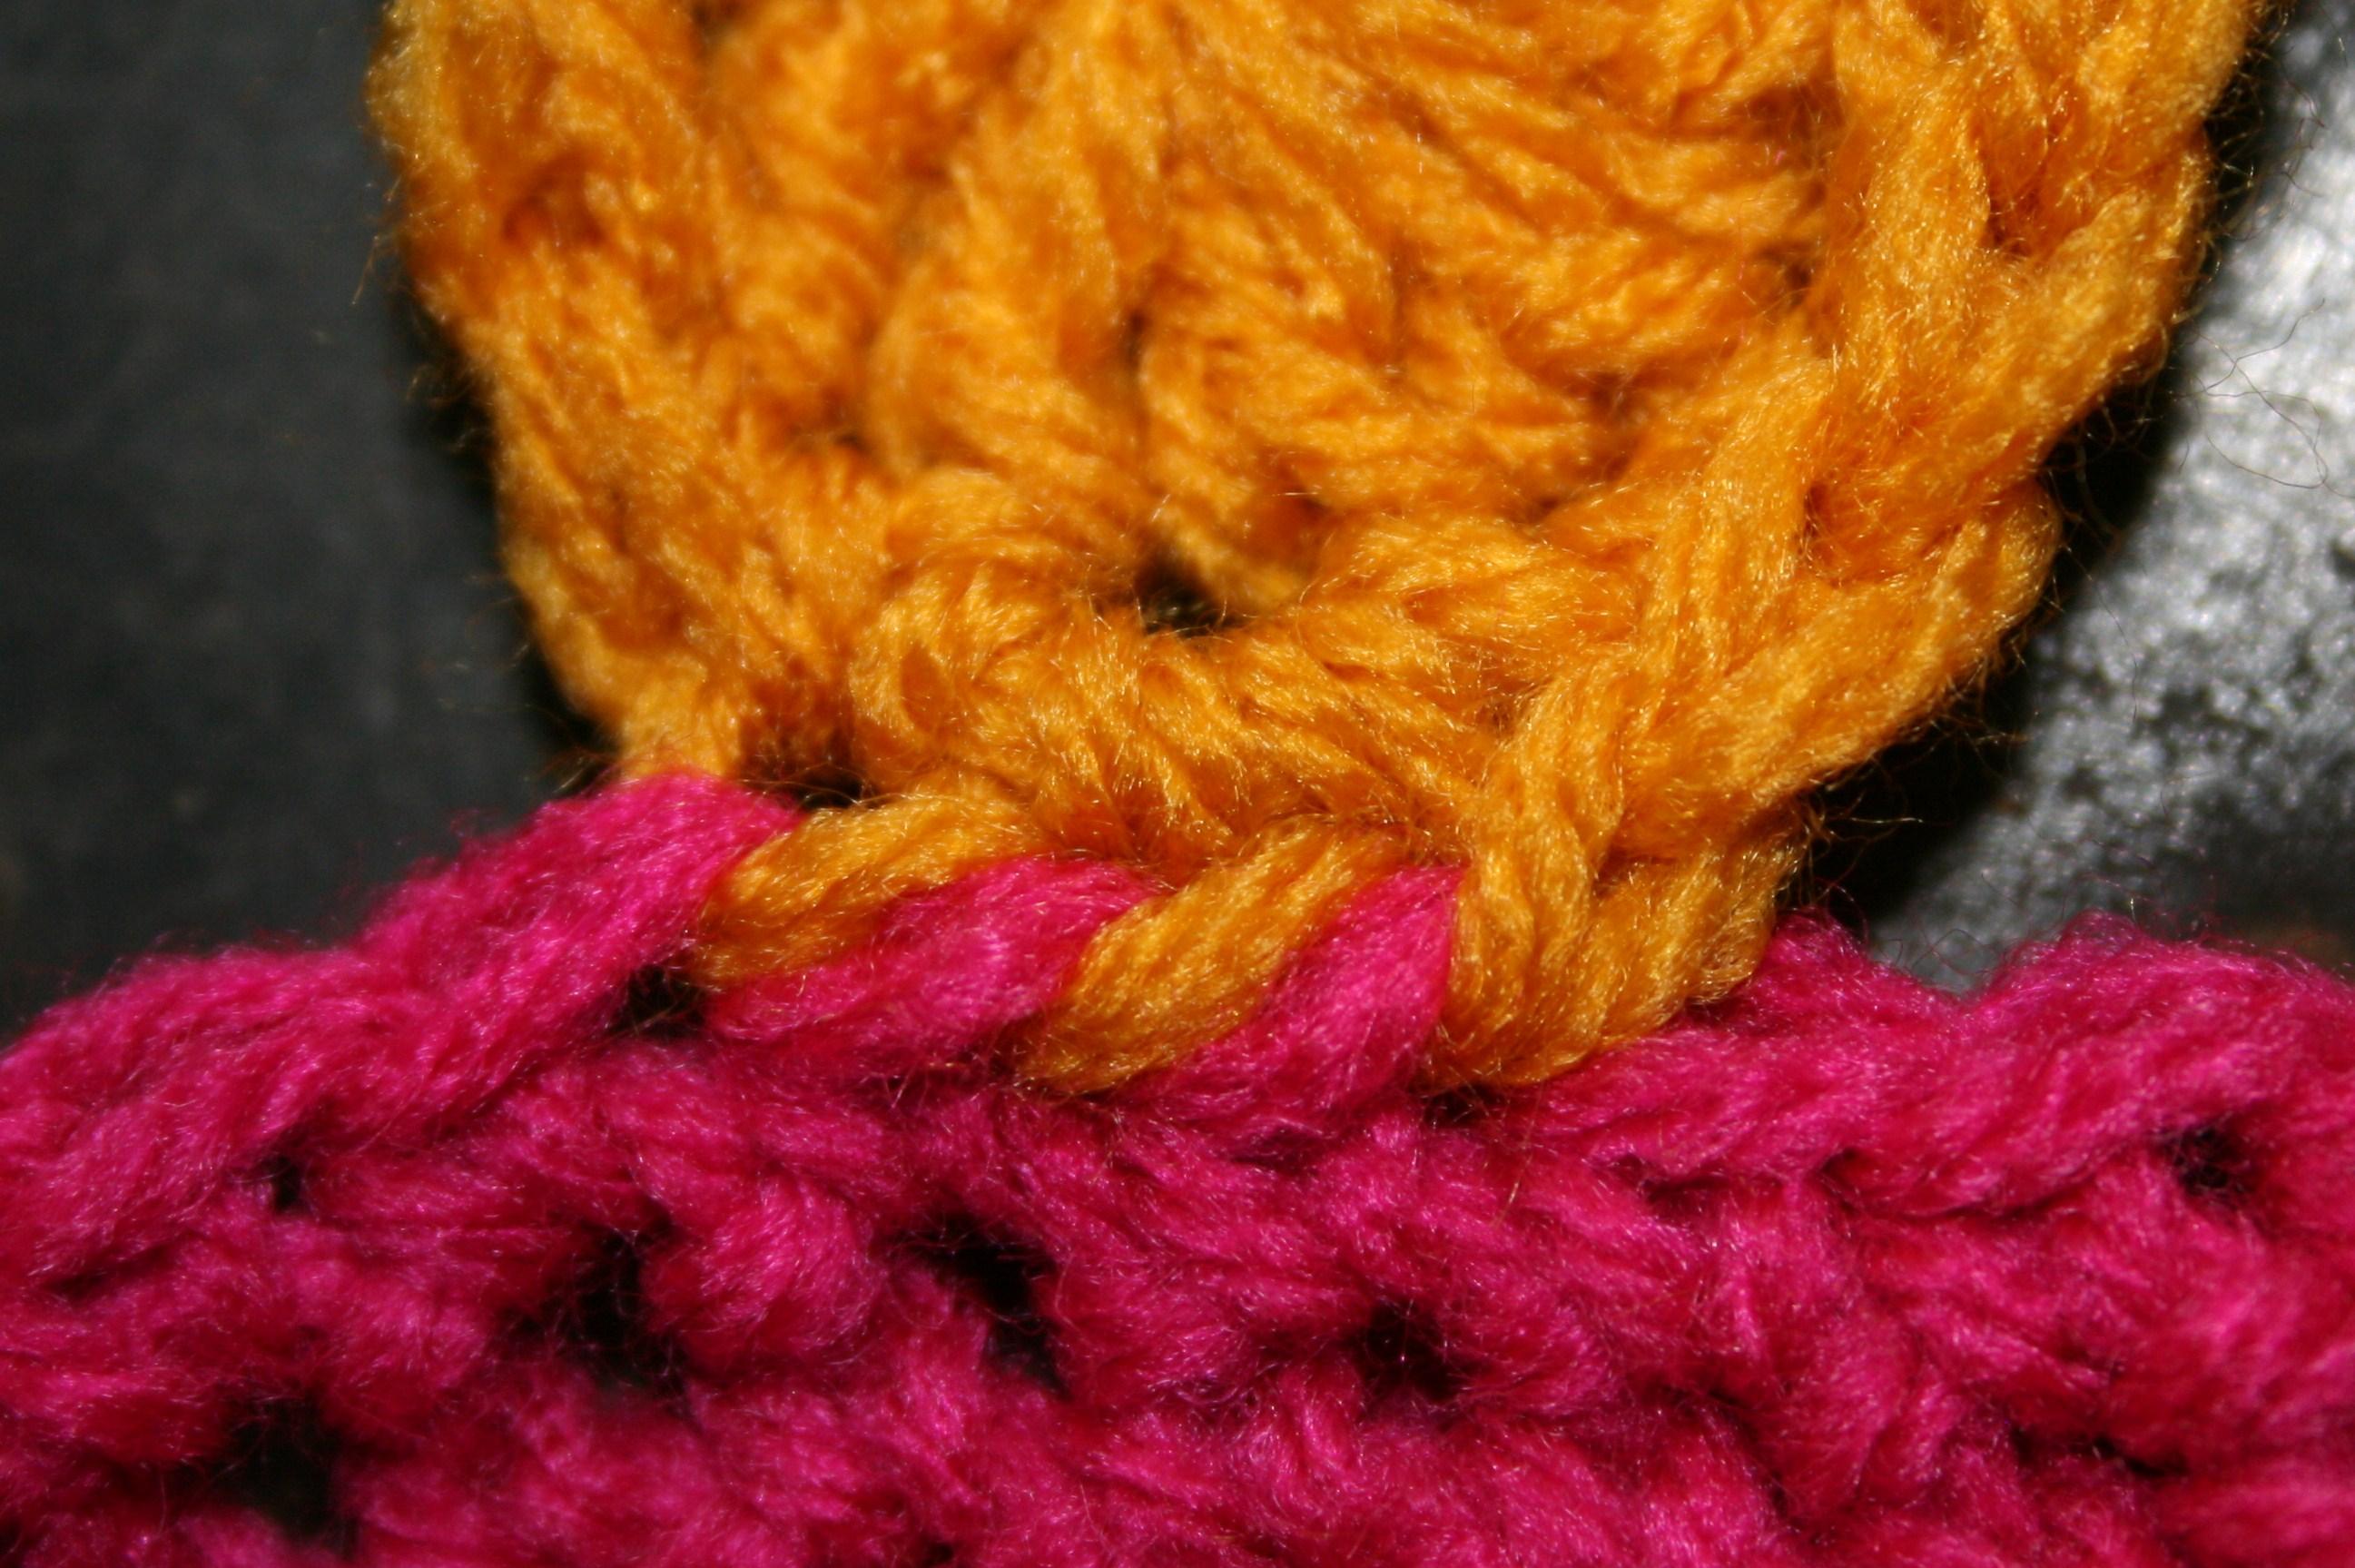
This cardigan has a really simple stitch pattern for the basic fabric, and after assembling it, then it is edged in a stitch pattern featuring some post stitch work, that creates a unique braid effect. It is this feature that really makes the sweater standout. If you happen to feel that the post stitches are to challenging you can continue the edging as a simple single crochet, but if you are up for a little challenge it definitively adds a lot of character.
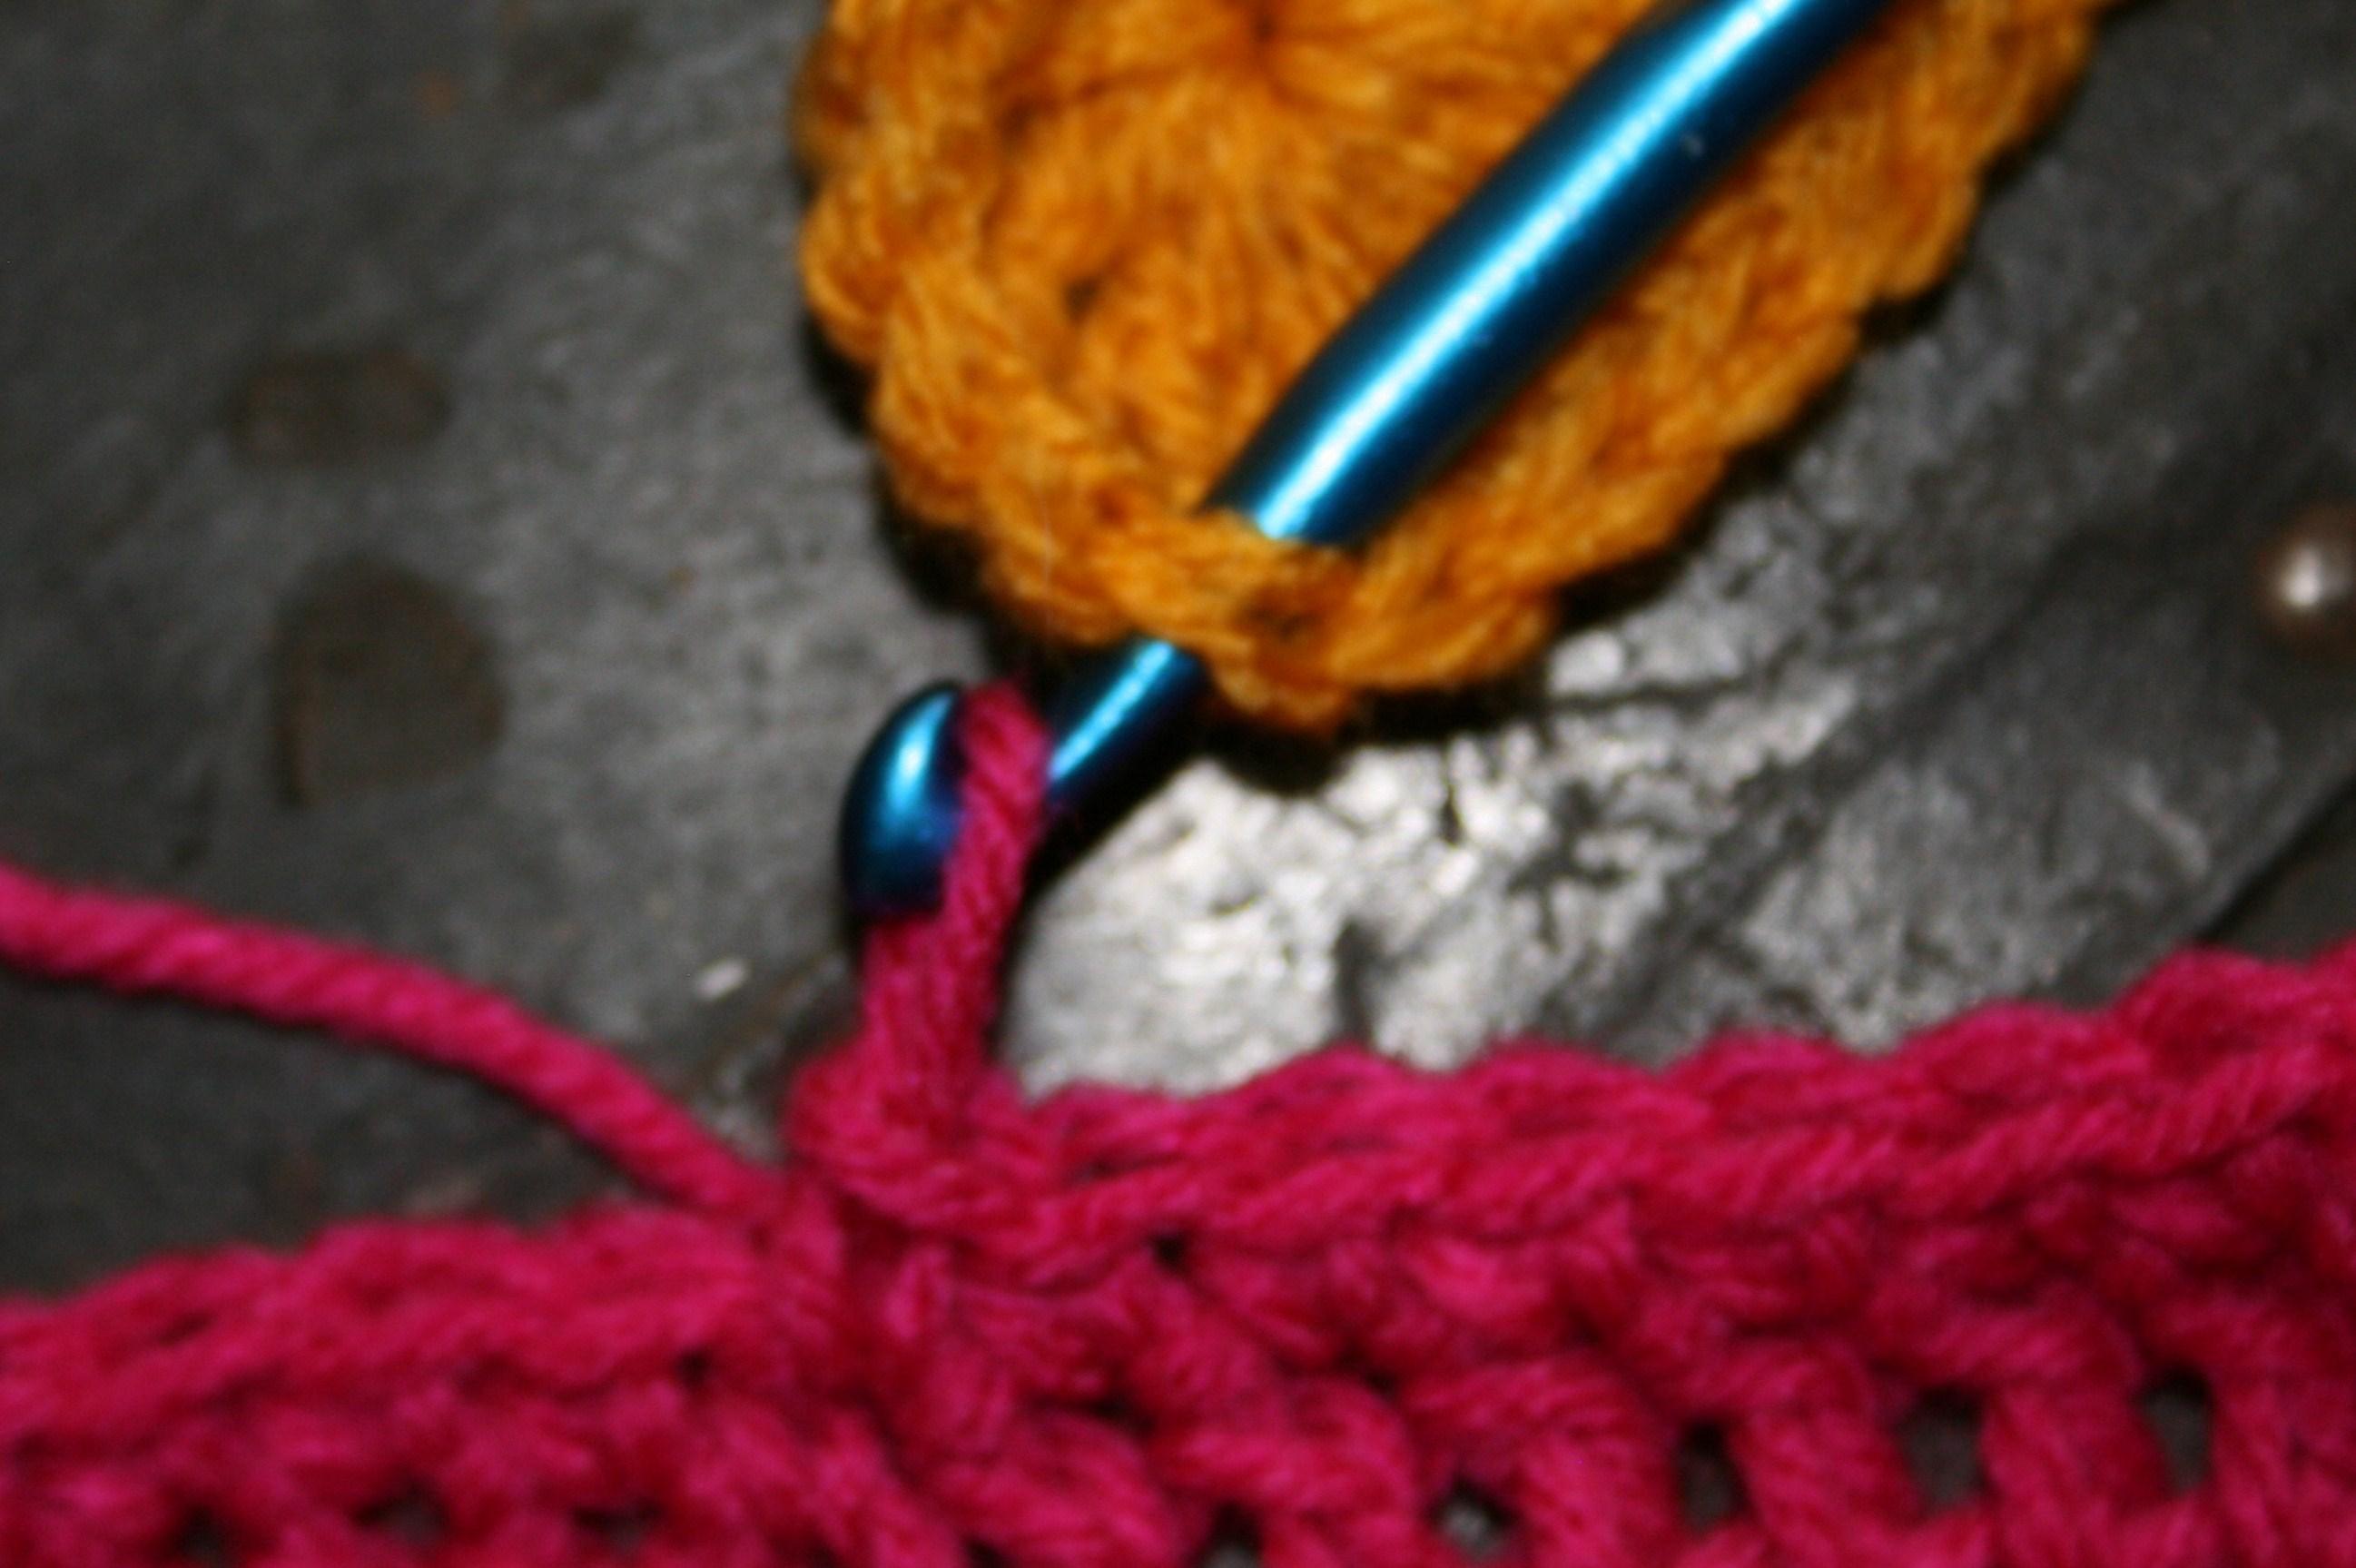
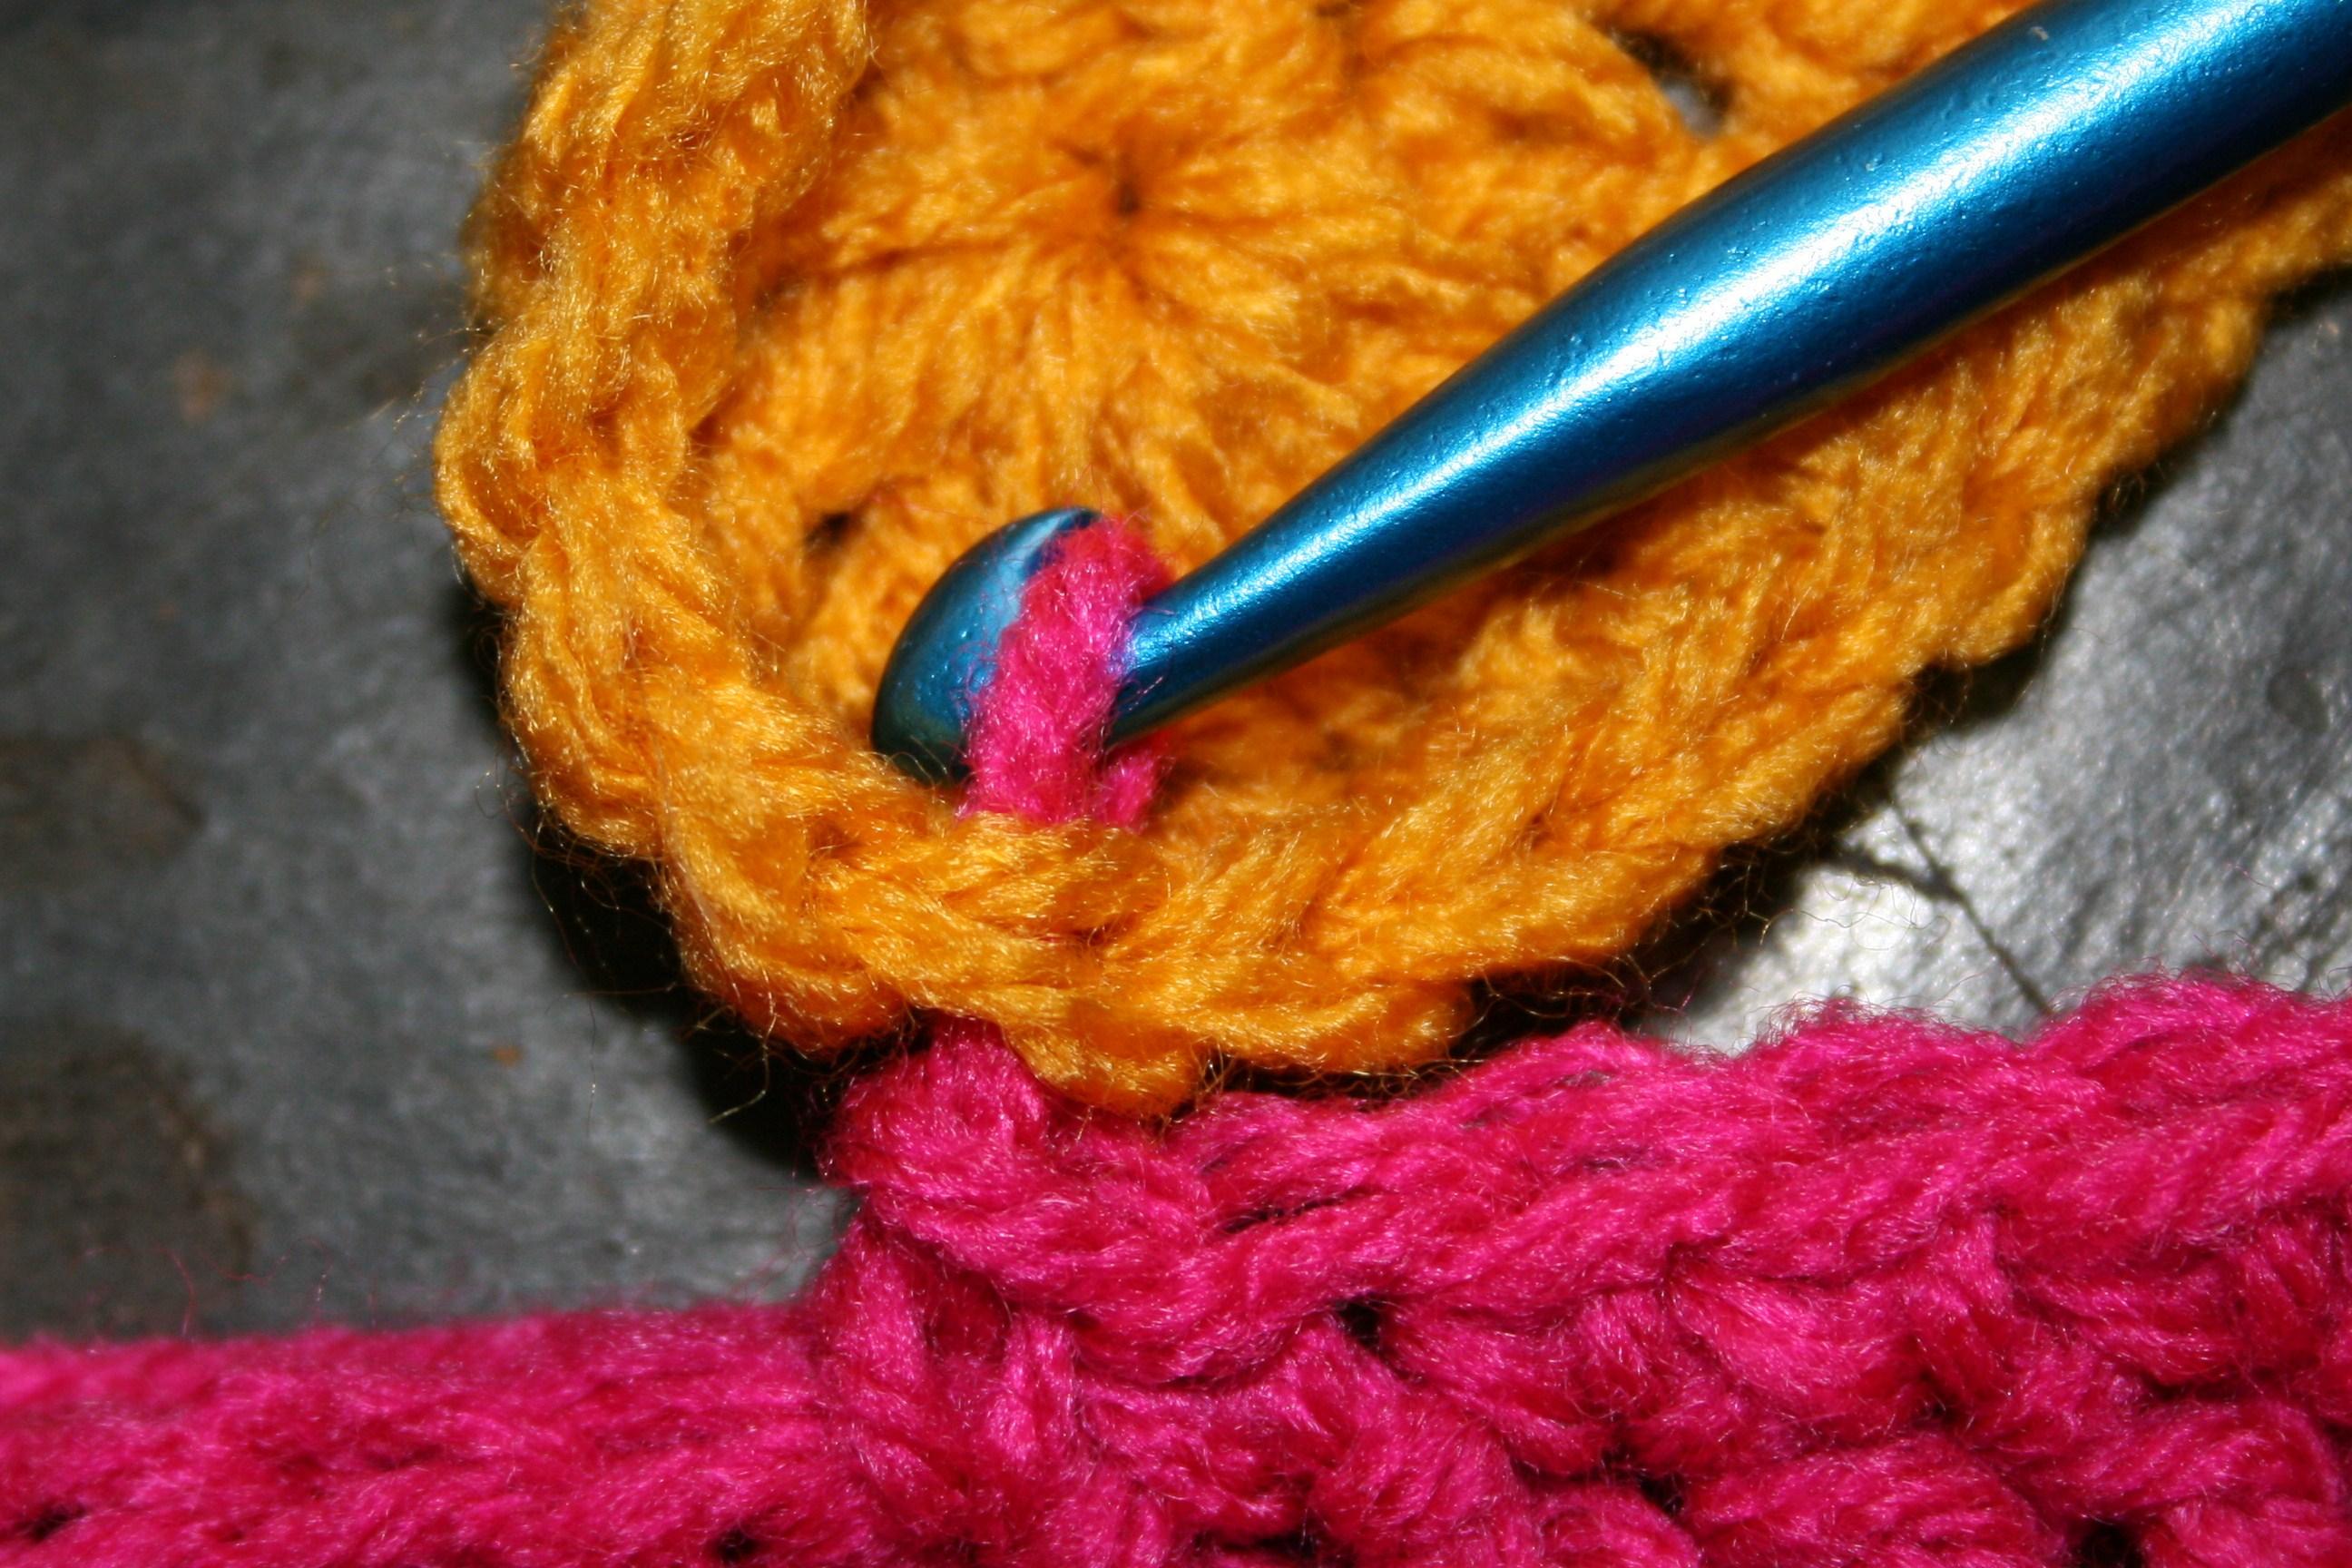
 What sets this post stitch worked braid apart is that you are essentially working 2 posts stitches together, but one stitch is worked ahead of where your current working stitch is, while the other is behind it. This can seem a little daunting at first, but the first couple of stitches will set the pattern for the rest of the round.
This cardigan is definitely a winner for the autumn season that should be arriving soon. Even as this is shown in a solid color, a nice variegated or ombre yarn could add a very personal feel, becoming a fabulous addition to any wardrobe.