Swirls of Color in Crochet

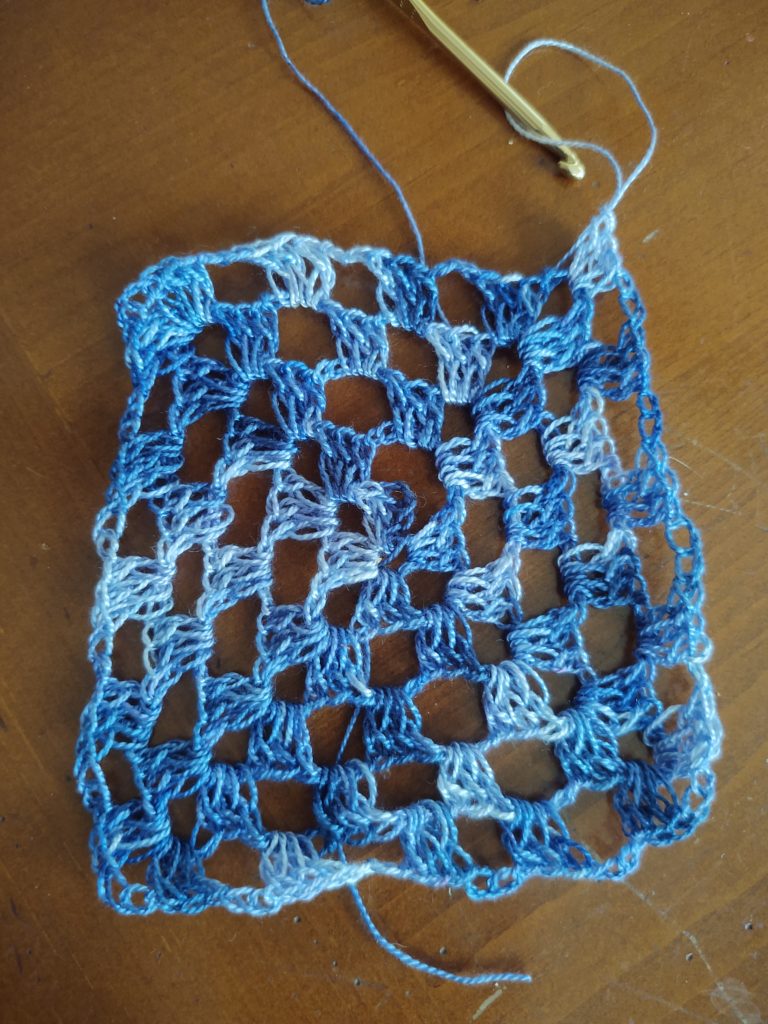
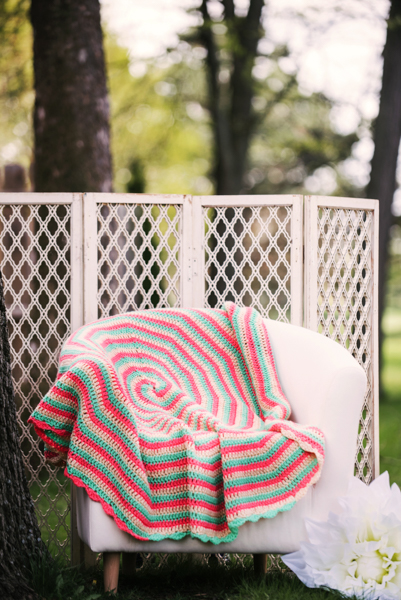
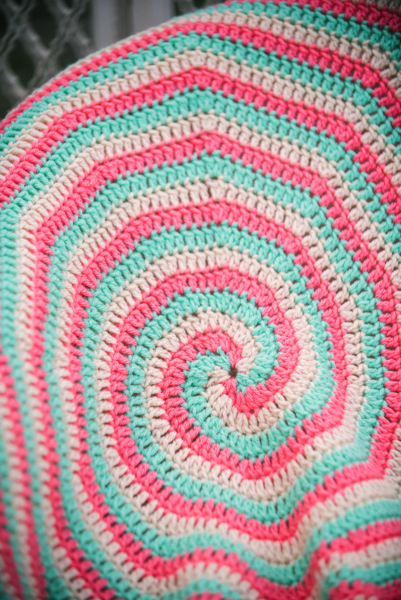
Creating swirls of color in crochet are easier than it seems. I love using this technique to create hats and have even used it to create a large circular blanket.

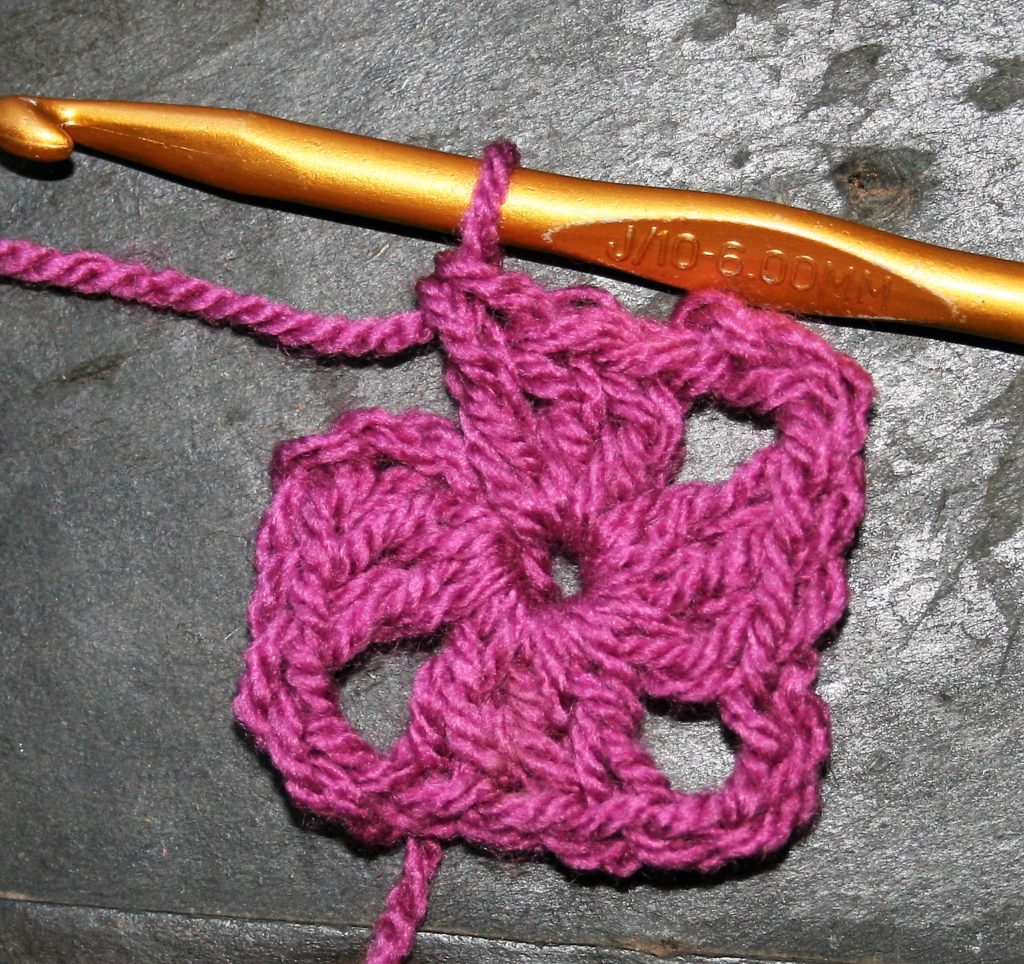
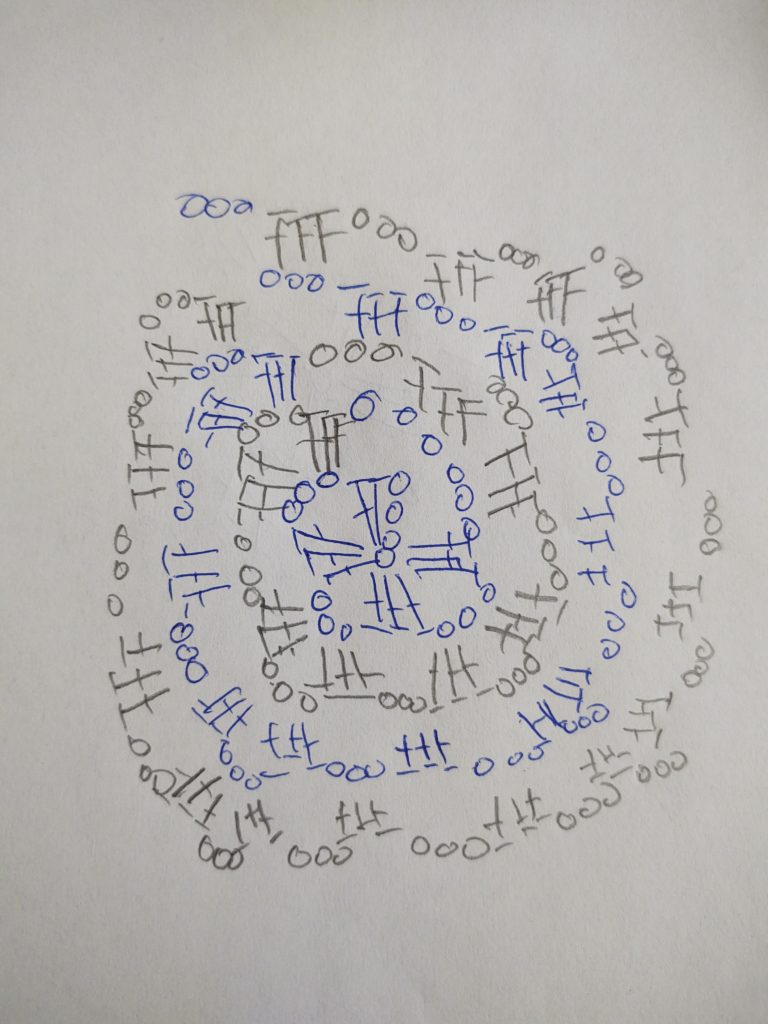
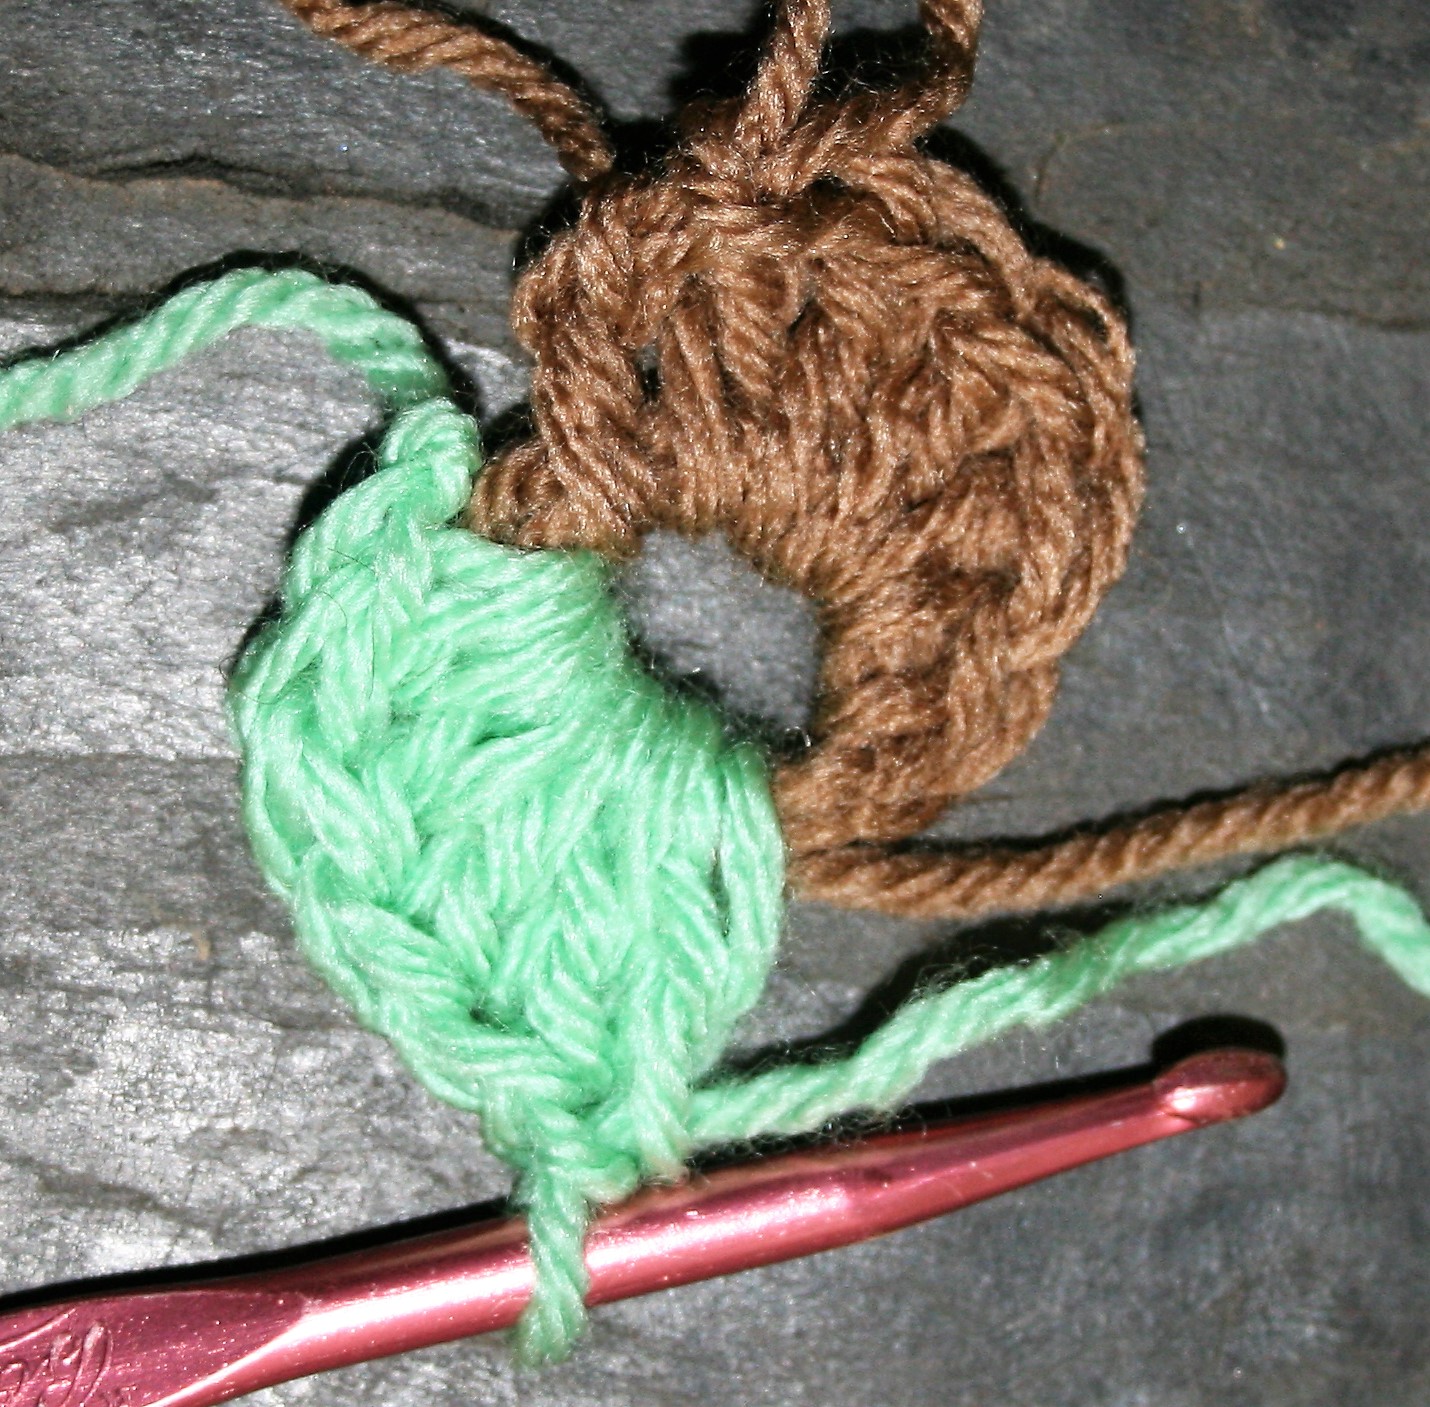
To create a swirl start with any method you like to begin a circle (check out the three most popular). Determine the number of stitches for the first round. In this sample I used 12 double crochet stitches.

Divide the number of stitches in the first round by the number of colors to be used. In this case I am using 2 colors, so that is 6 stitches in each color.

Getting started

Work the first stitch as a shorter stitch, for instance a single crochet. Then work the next 5 stitches as a double crochet.

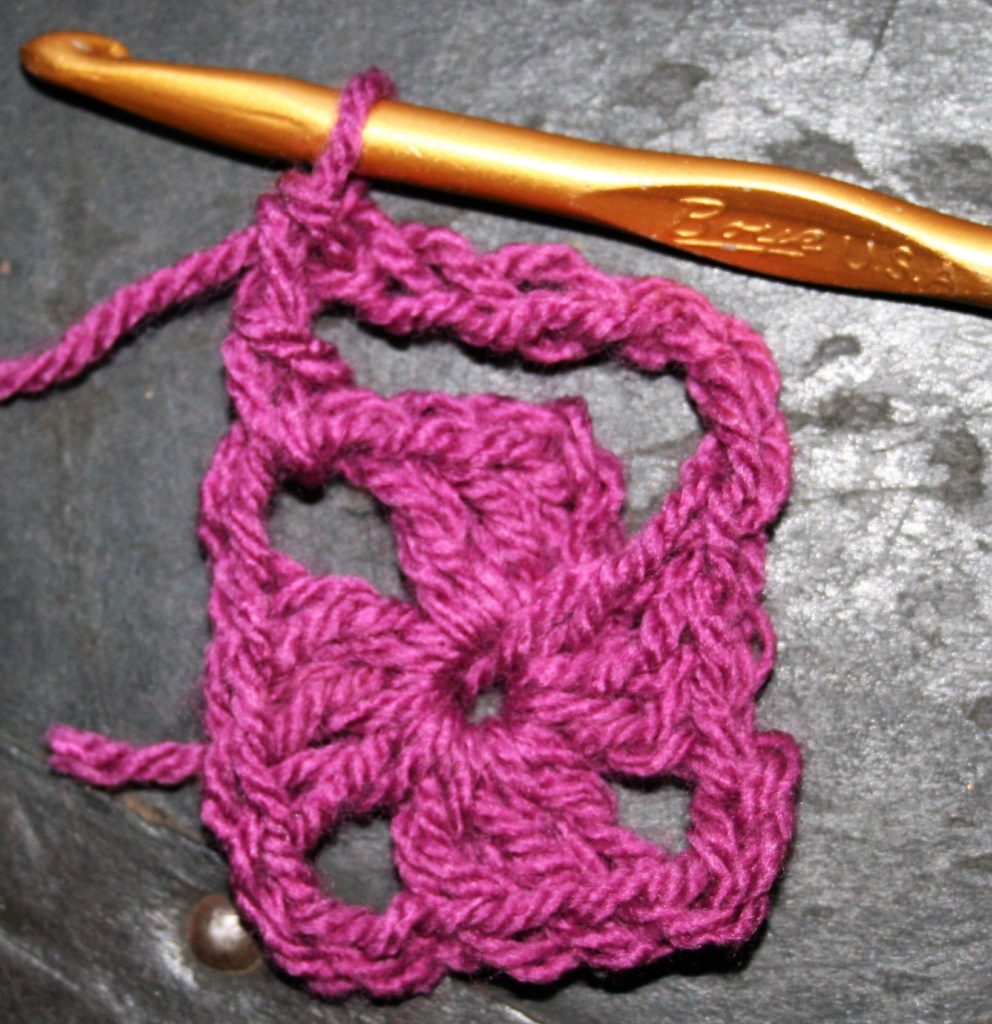
Add the second color by joining directly after the last stitch made. Either slip stitch and chain or use a standing stitch join (learn that trick here). Work another short stitch, a single crochet, and another 5 double crochets. This completes the first round.

Crochet Swirls end of Round 1

Crochet Color Swirls Round 2

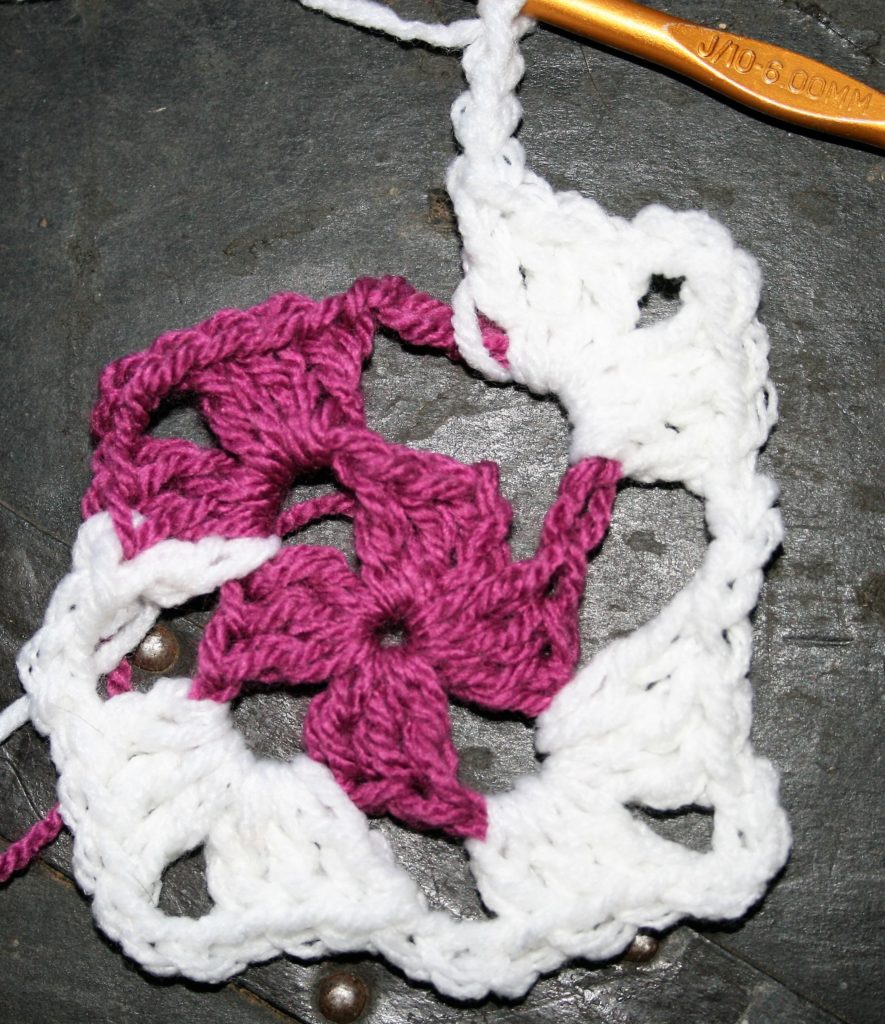
Insert the hook back into the loop of the first color (insert a stitch marker in this stitch), working over the second color work 2 double crochets in each stitch.

The first color of round 2.

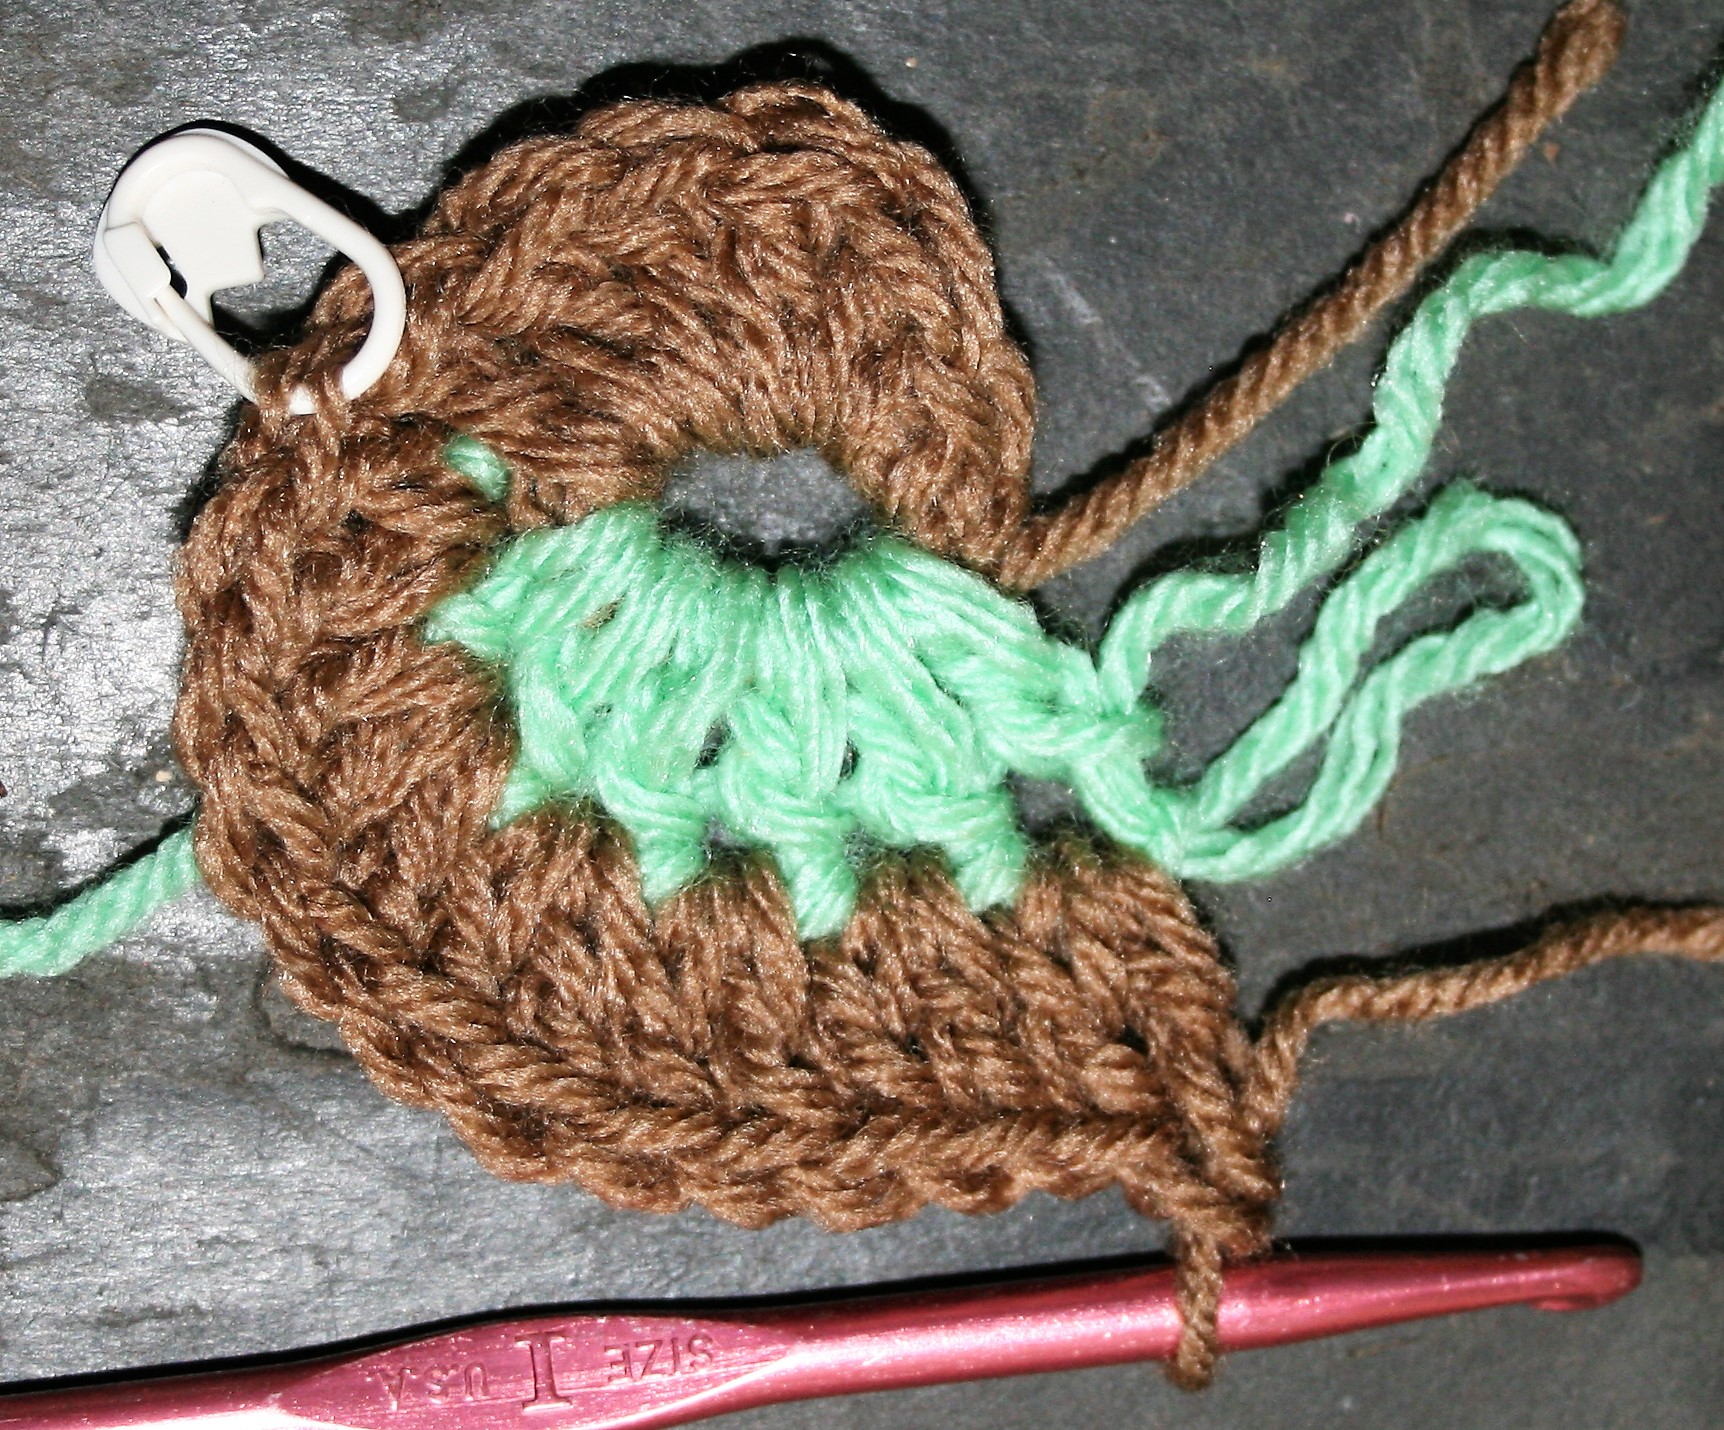
Pick up the second color and work 2 double crochets in each stitch until the stitch marker. This will complete Round 2. Move marker to the last stitch worked in the first color. Notice how it the stitch increases were worked just as a non-color changing round (see my crochet hat formula for how to create a flat circle).
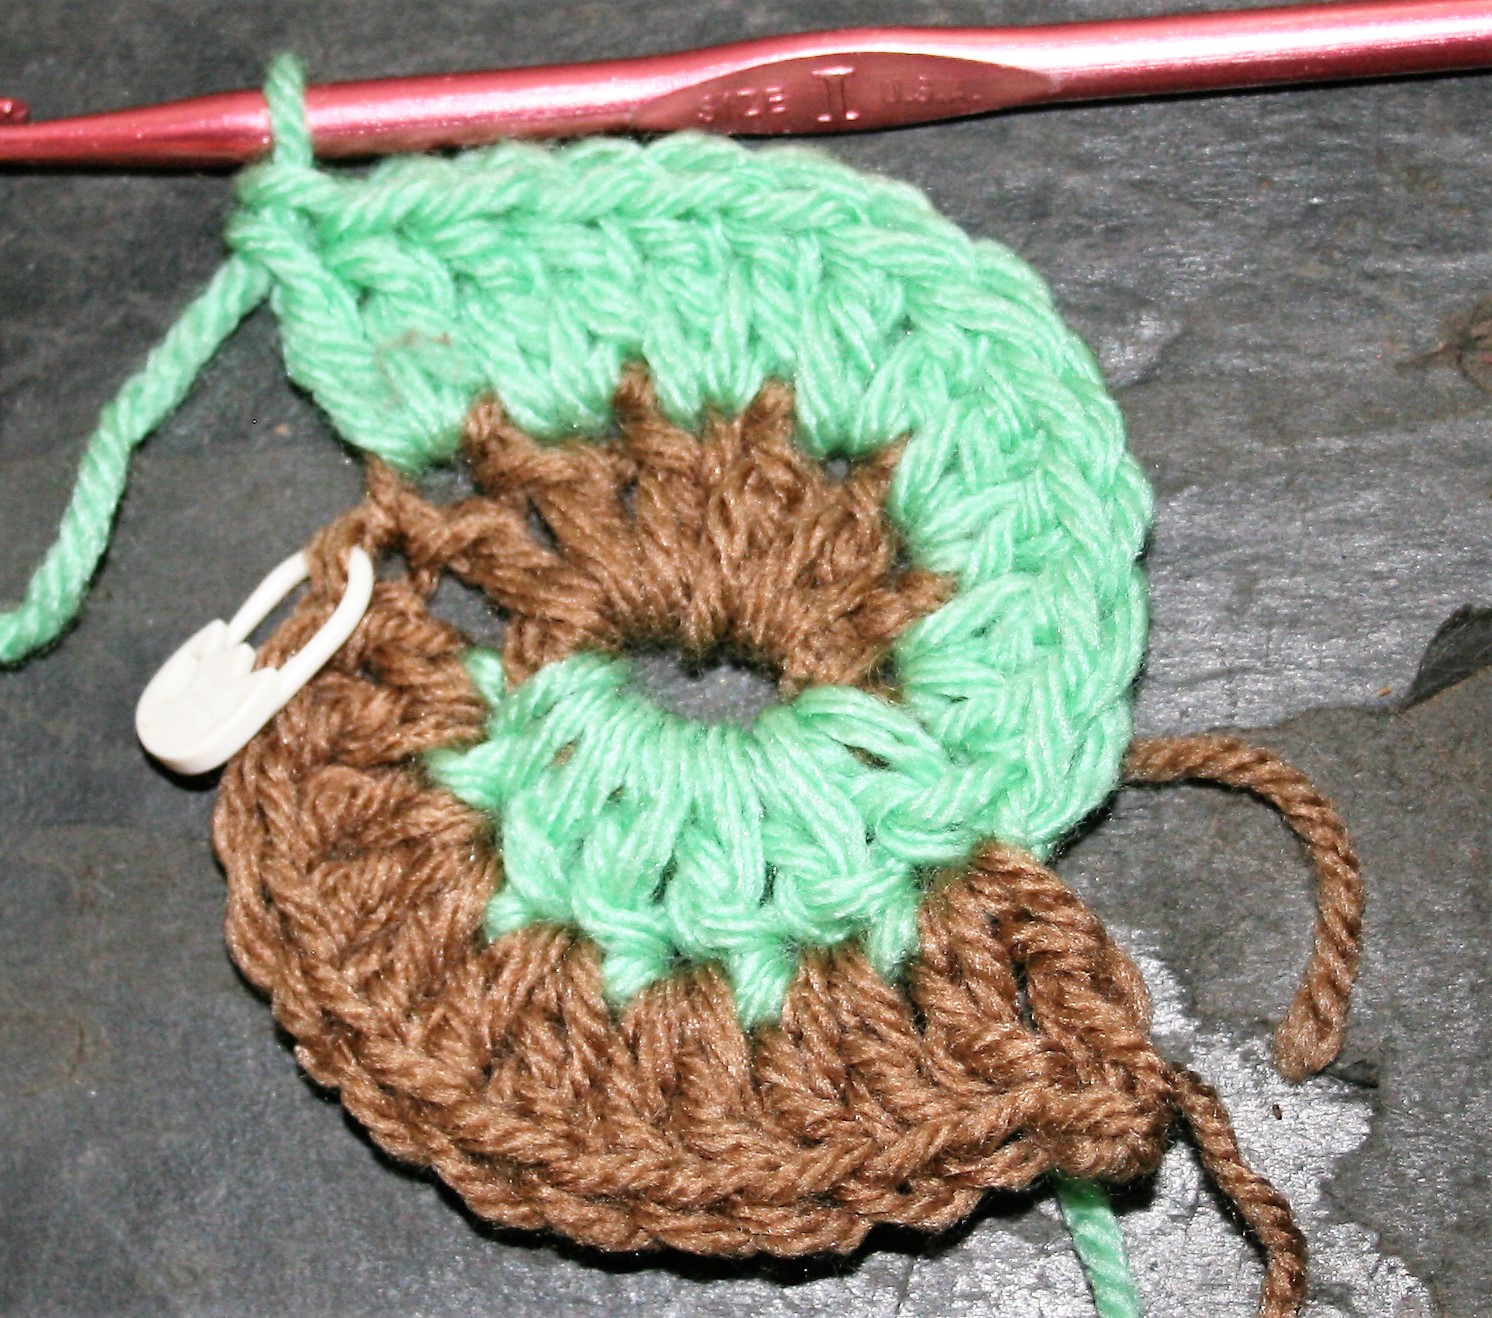
Completed Round 2

Round 3

Round 3 would be worked with an increase (2 double crochets) and a regular stitch (1 double crochet), so with the 2 colors, pick up the first color work [2 double crochets in the next stitch and then 1 double crochet] to the end of the second color. Pick up the second color and work the same stitch pattern to the stitch marker. This is the end of Round 3.

Completed 3 rounds

Move the stitch marker to the end of the first color, after the second color reaches it, and continue working the “flat circle formula” until it is the desired size.

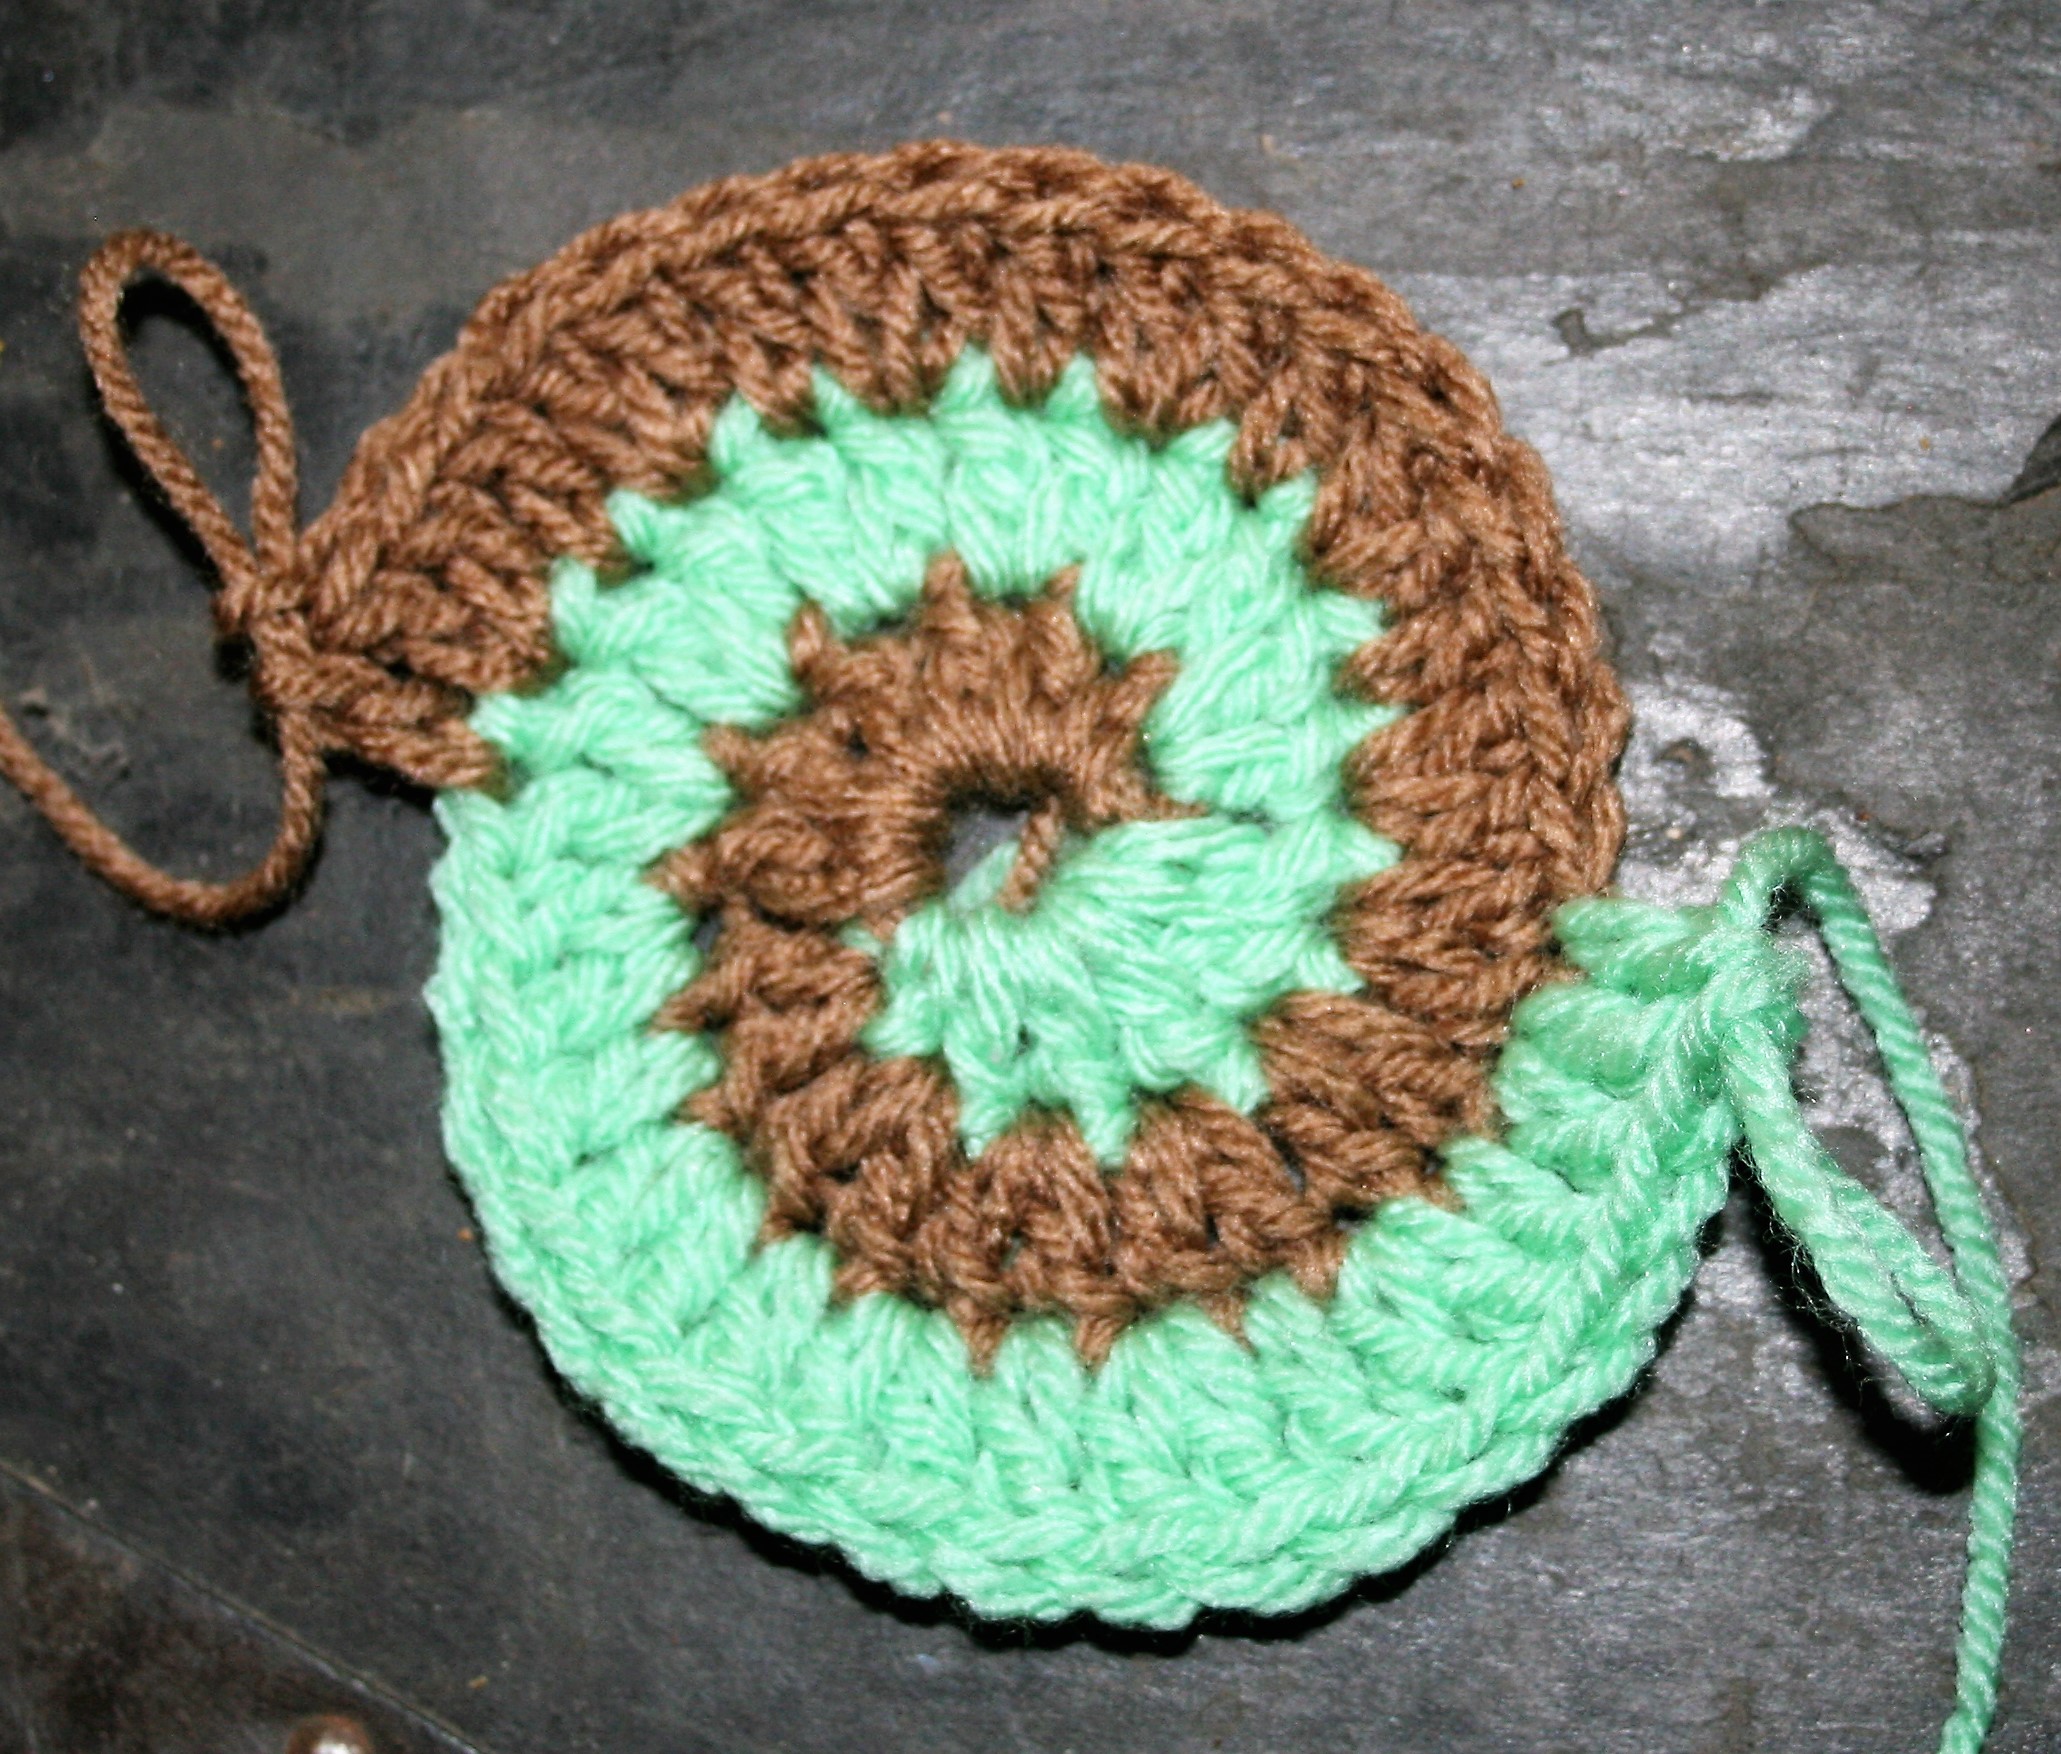
To make the edges smooth, finish by working shorter stitches in each color, For example work 1 half double crochet, then 1 single crochet, and finally a slip stitch, and fasten off.

A Continuous Granny Square

There are days I need to get into a rhythm with my crochet and the continuous granny square helps me do that.

It does not require counting. It does not require joining, it just keeps going in a spiral. This is prefect for creating scrap squares, of entire scrap blankets.

What I like most is that I do not have to think about the motion of my hands. Anytime I reach a corner, I put in a corner, any time I find a side, I work a side. It really is that simple.

Where I found this technique

I learned about this square judging a “Fastest Hook” competition at a CGOA conference. The continuous granny square was worked by all participants, as it really does lend itself to speed.

A Continuous Granny Square

To make it all you have to do is start the beginning of a circle just like you always would. The first round of a granny squares as 4 sides made up of 3dc each, and 4 corners. The last corner is worked differently creating the spiral.

Lets get started

Round 1: Ch 4, 2 dc in 4th ch from hook, [ch 3, 3 dc in same ch] 3 times, ch 6. DO NOT JOIN ROUND

The four side of Round 1
Chain 6 and skip the join, work into the next corner

Round 2: Skip over the next 3 dc, and [(3dc, ch 3, 3dc) in next ch-3 sp (corner made), ch 3] rep 3 times, (3dc, ch 3, 3dc) in ch-6 sp, ch 3. DO NOT JOIN ROUND

Worked with scrap yarn…worked a corner into the ch-6 sp, to finish Round 2.

To work all subsequent rounds, work a corner (3dc, ch 3, 3dc) in a corner, work 3 dc a side in ch-3 sp, and make sure that you ch 3 between all blocks. It is that easy.

For a visual chart reference….

To help ensure that you end with an actual square, I mark the ch-6 sp, as this is the same corner of the square that I would end at to have even sides.

At finishing, I will work the beginning tail up the side of a dc at the ch-6 sp and make a connection between the 2 un-joined sides in Round 1. This ties it all together and makes it look like traditional granny squares.

Swirls That Will Brighten Your Day

Sometimes while crocheting my mind can completely wonder and I have no idea what I am stitching. This is actually a really therapeutic approach at times, it allows me to be productive and keep my hands busy while allowing my mind to day dream or work things out. My latest design Swirling Valley Circular Throw, in the August issue of I Like Crochet Magazine, actually was created this way.

Photo courtesy of I Like Crochet Magazine

I began working on a spiral motif, but then I began thinking of other things and before I knew it I had an entire throw. The stitch pattern is essentially that needed to create a flat circle, but you have to work more than one color, and thus more than one strand of yarn, in each round. This can be a bit daunting as you need to keep the strands from tangling, but I have found that by twisting the yarn in the same direction each time I switch colors that I can at least create a uniform tangle that I can easily untwist every few rounds. I know others that have easier techniques, using holders that keep the skeins apart so they cannot wrap around each other, or little finger rings that hold each color independently ready for use. However I have never really gotten the hang of these and simply just untangle as needed…this at least changes my task at various times.

Photo courtesy I Like Crochet Magazine

Swirling Valley Circular Throw is made up of only three colors but utilizes six colors per round, so if you wanted something to have a real spiral effect you could simply use six different colors in this throw instead of each color twice.

I like this design for kids, I can easily see it in bright vibrant colors to adorn a play room, or even in soft pastels to create a dazzling throw for baby.

I have an additional confession, when I started working the final rounds I was getting a bit exhausted, thinking that they would never end. This is typical of large circles, but the color changes at least kept it more interesting and manageable, so this did not become an un-finished project (UFO) in my work bag.