So I have done something a little different, and I am excited about it.

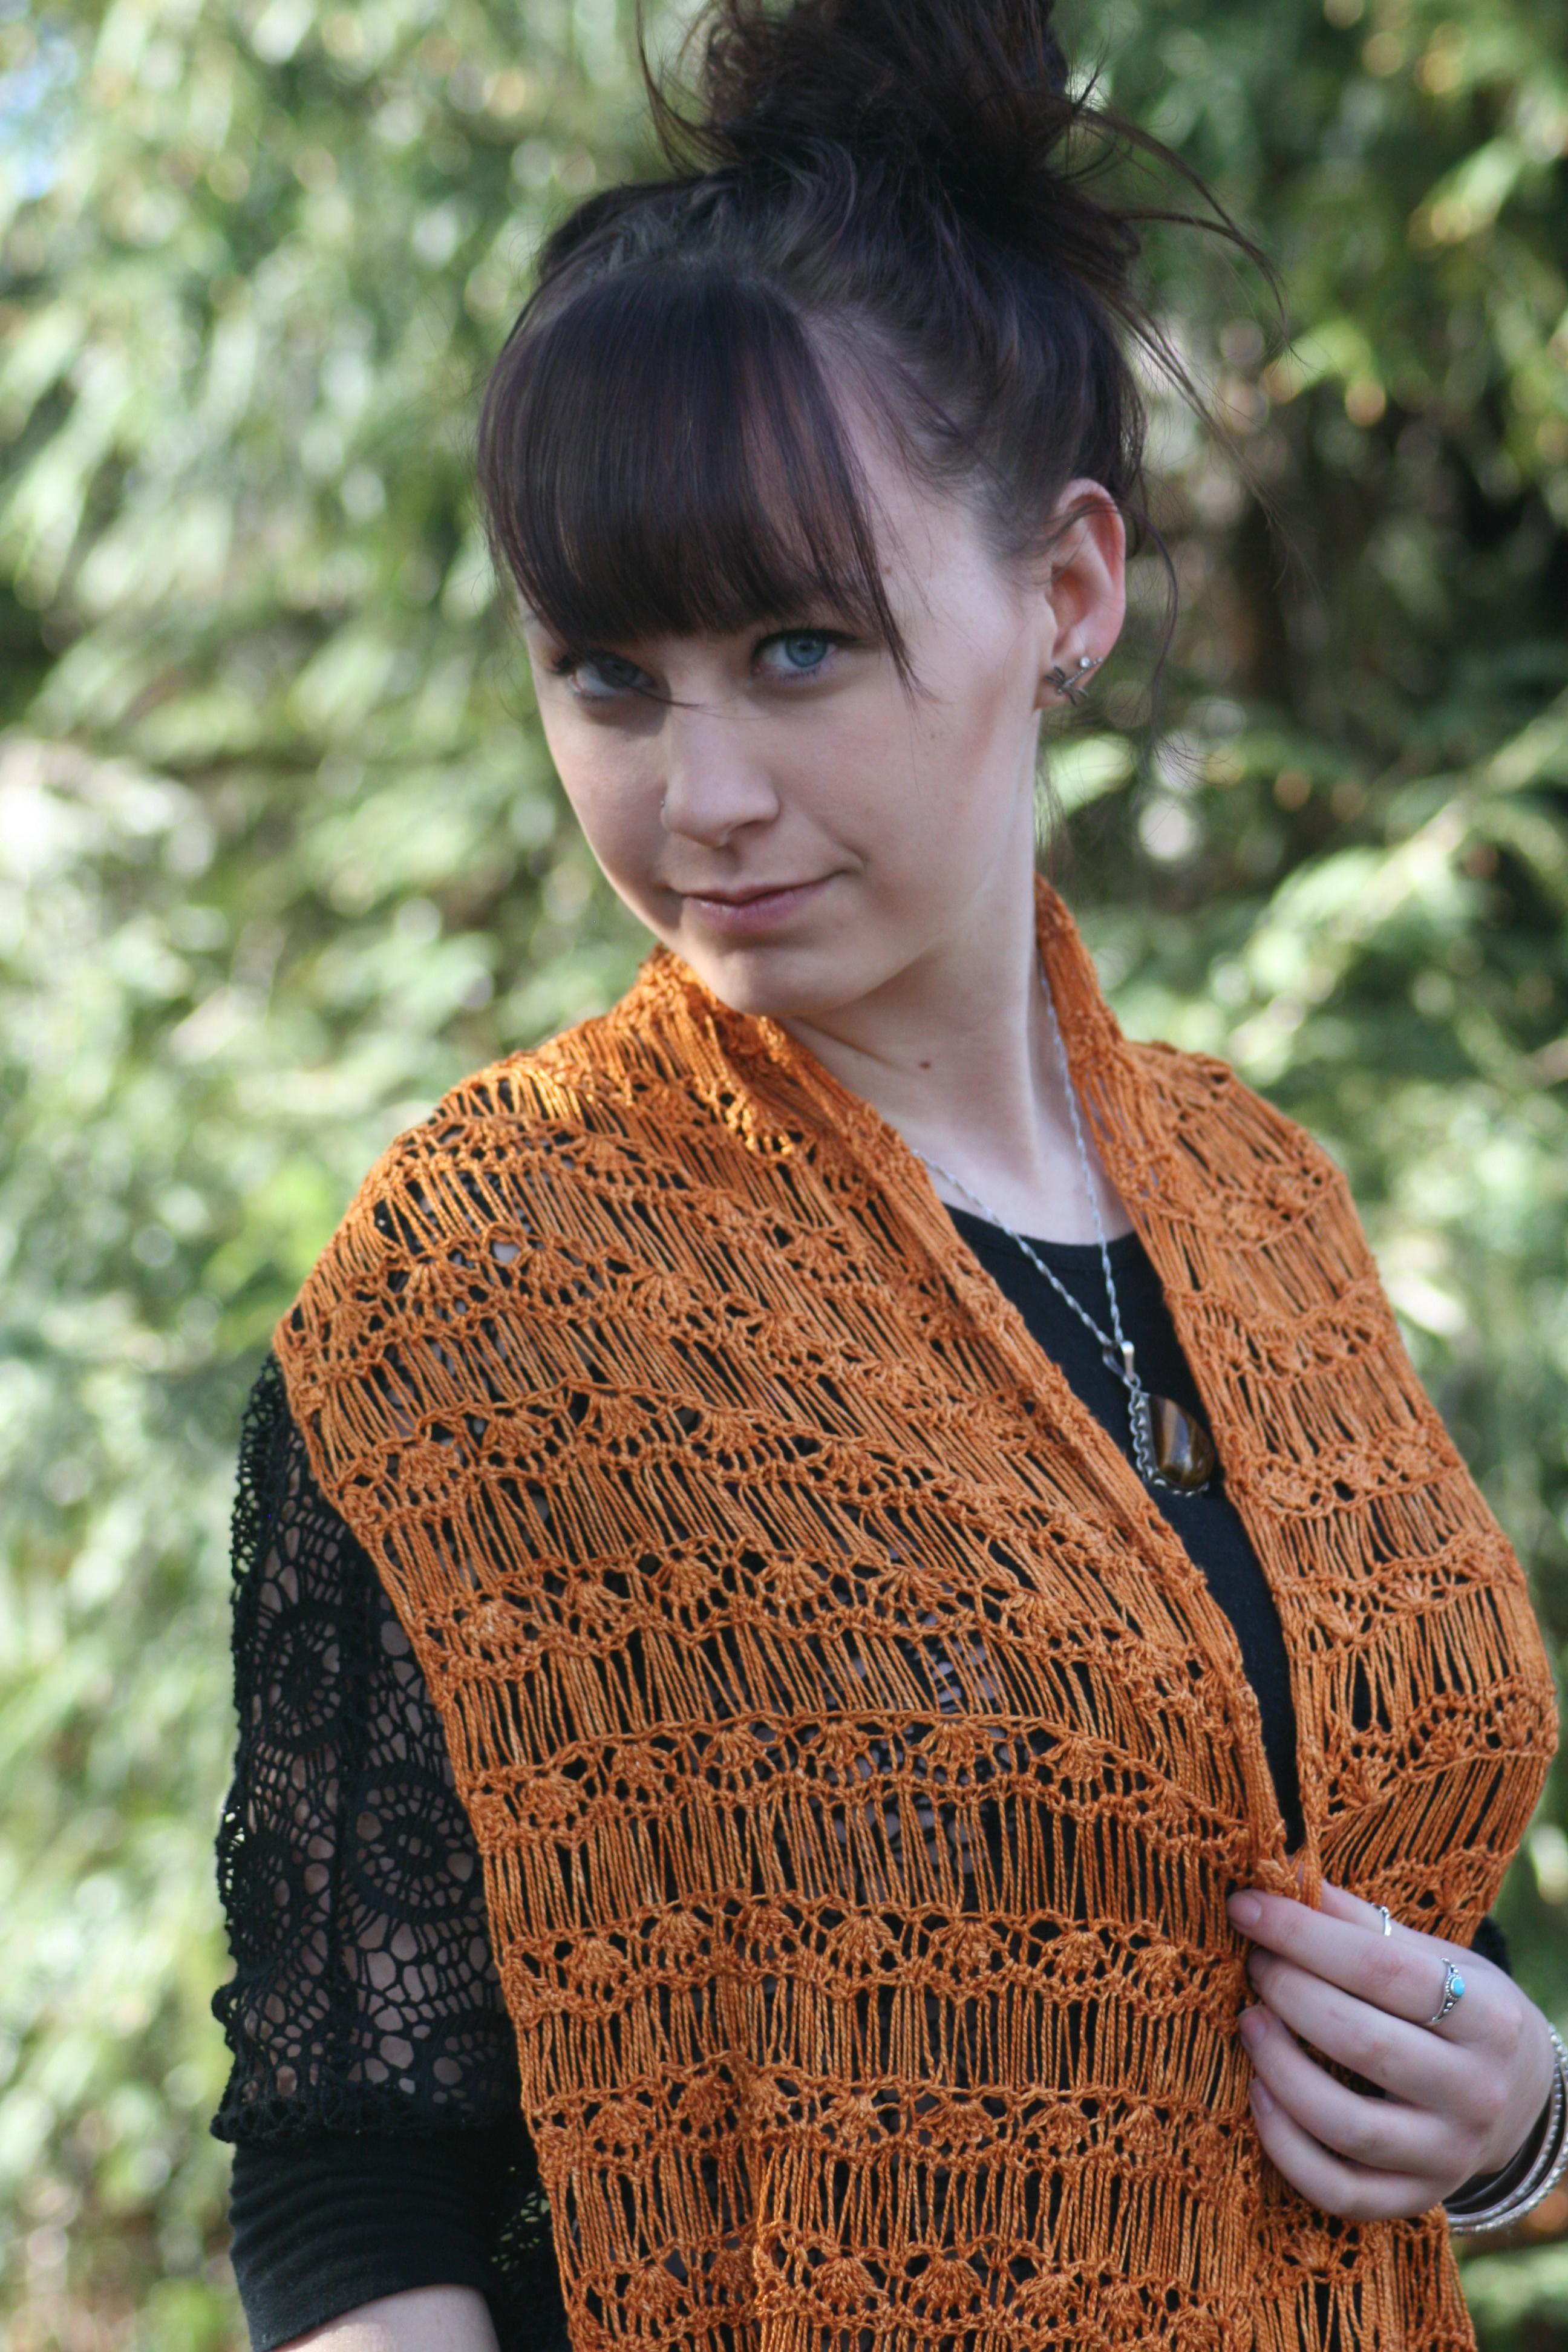
Interlude Knit Shawl
In the past I shared how my daughter was teaching me to knit (you can read about it here), I will admit I have not been the best student. I can understand knitting in principle and concept but actually getting the needles to work with the yarn is a different story completely. However my lessons have encouraged me to go out on a limb and create dual craft patterns, with the first being Interlude.
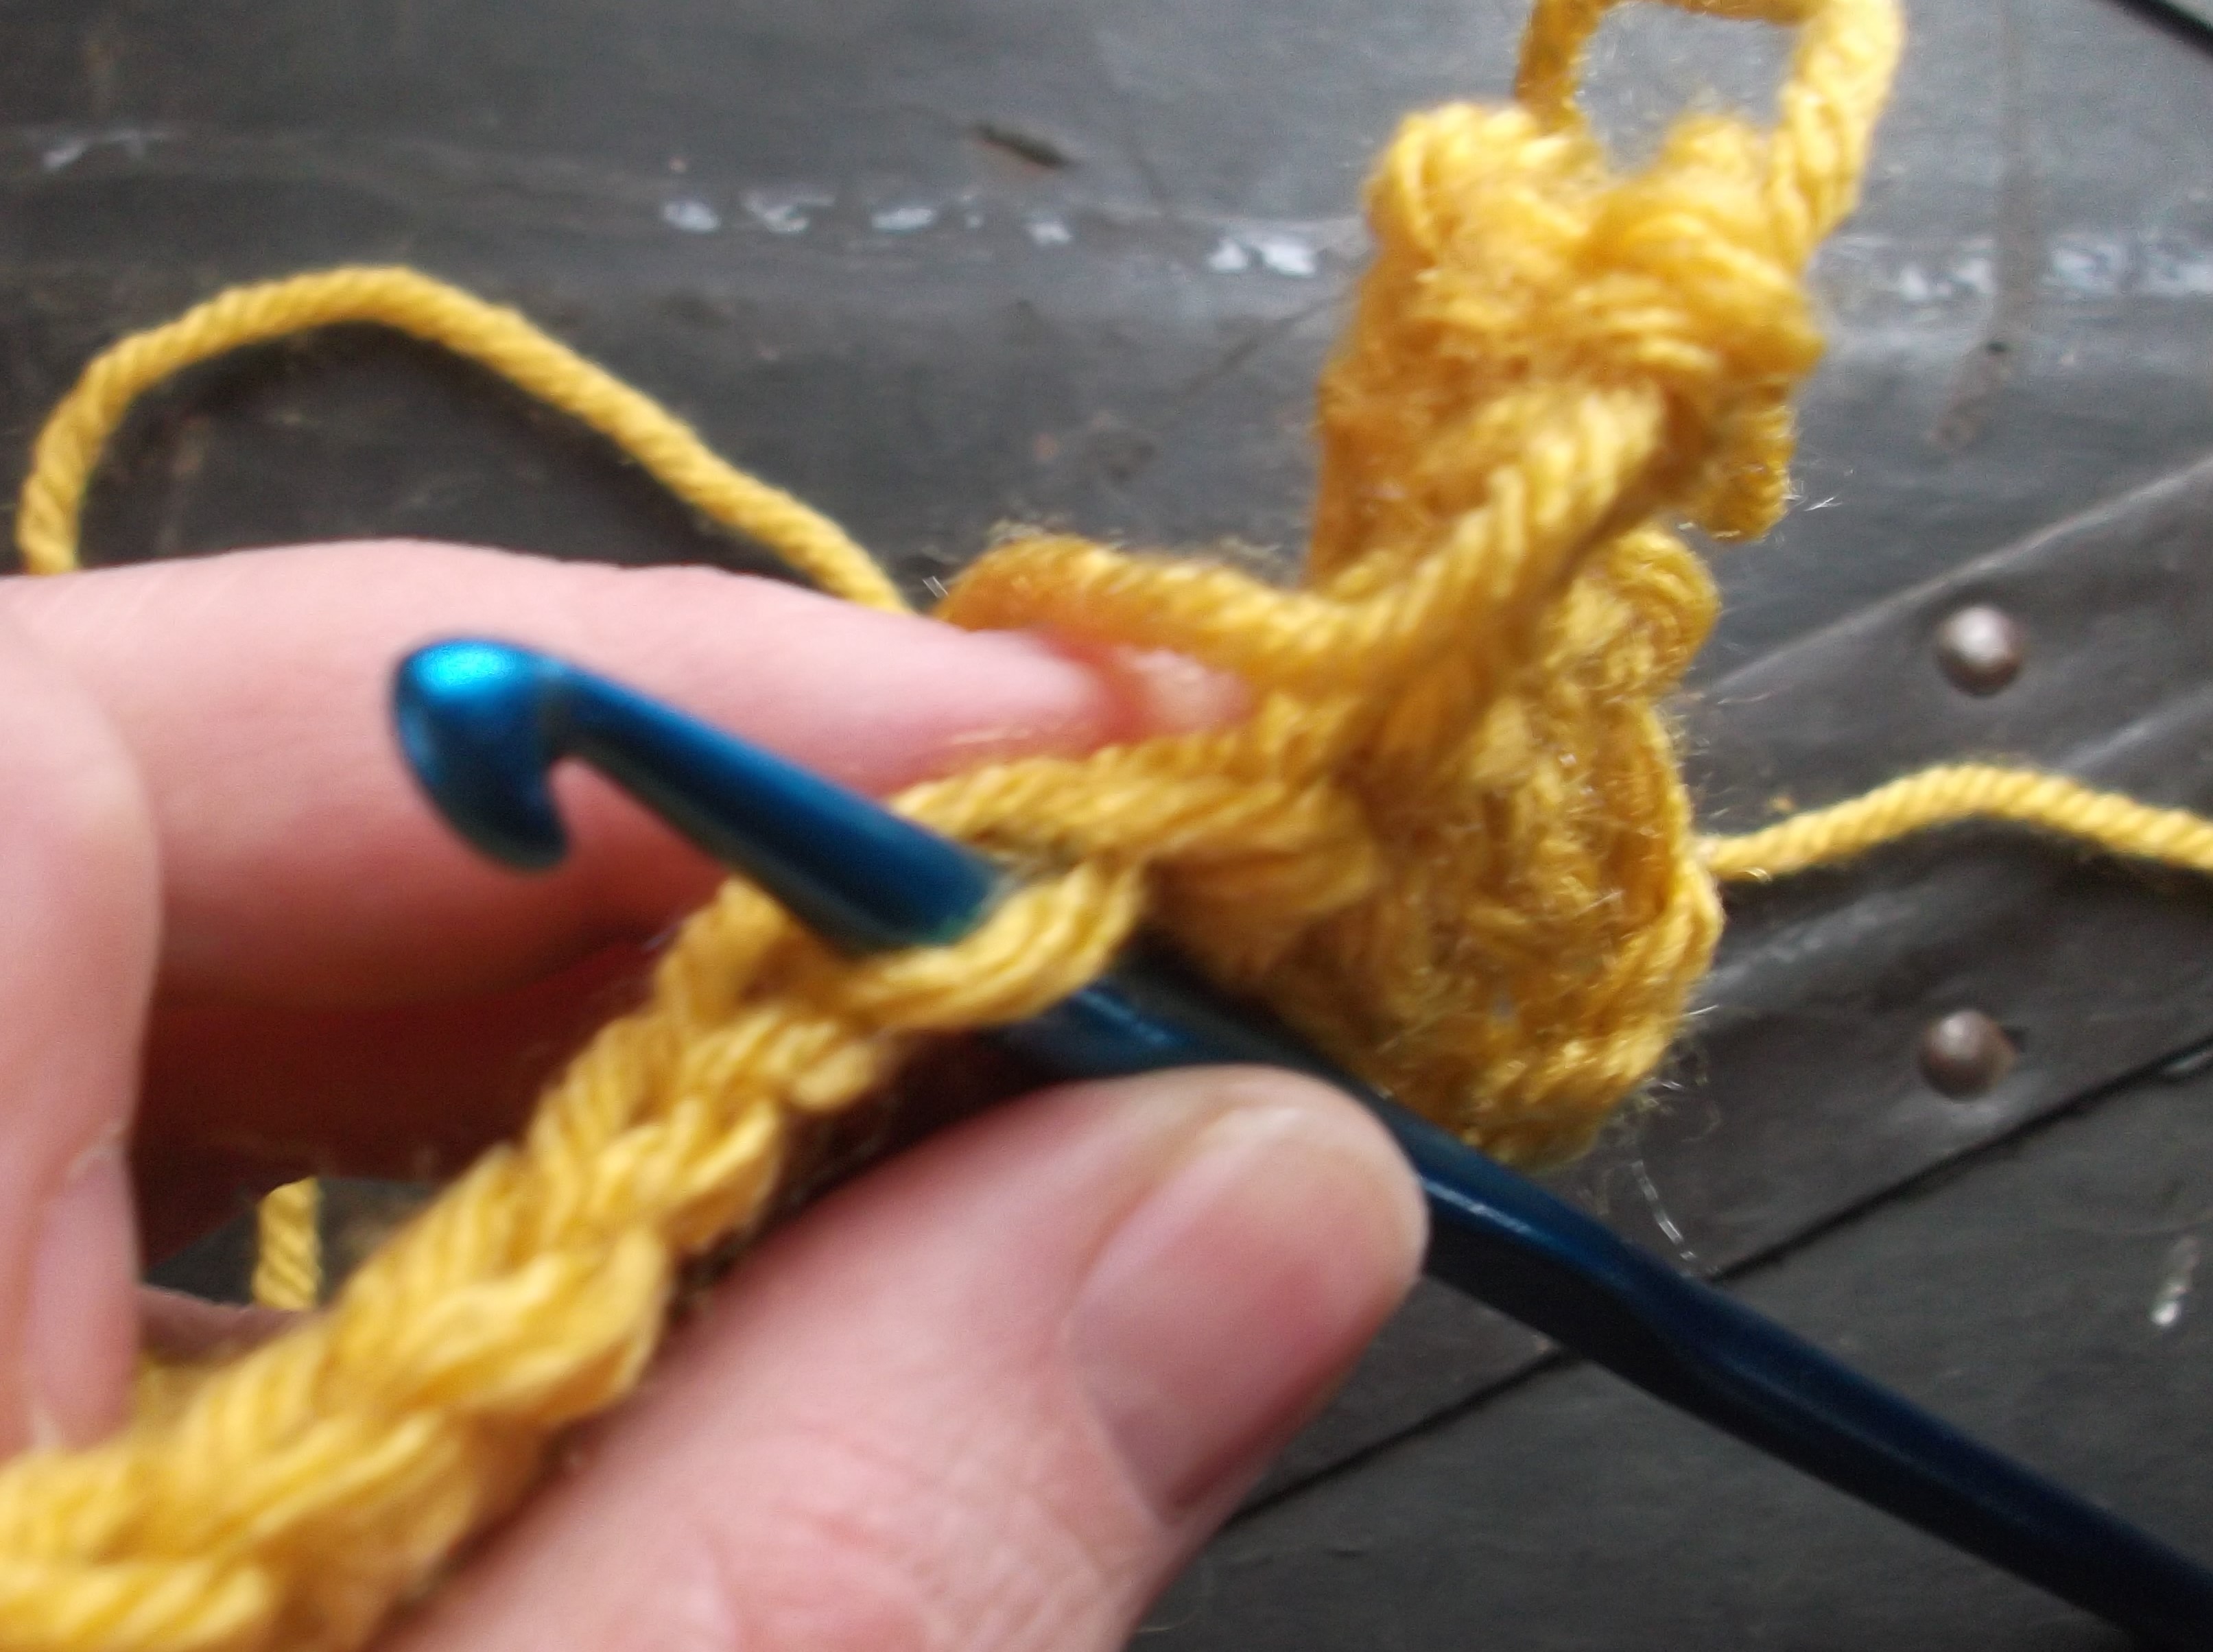
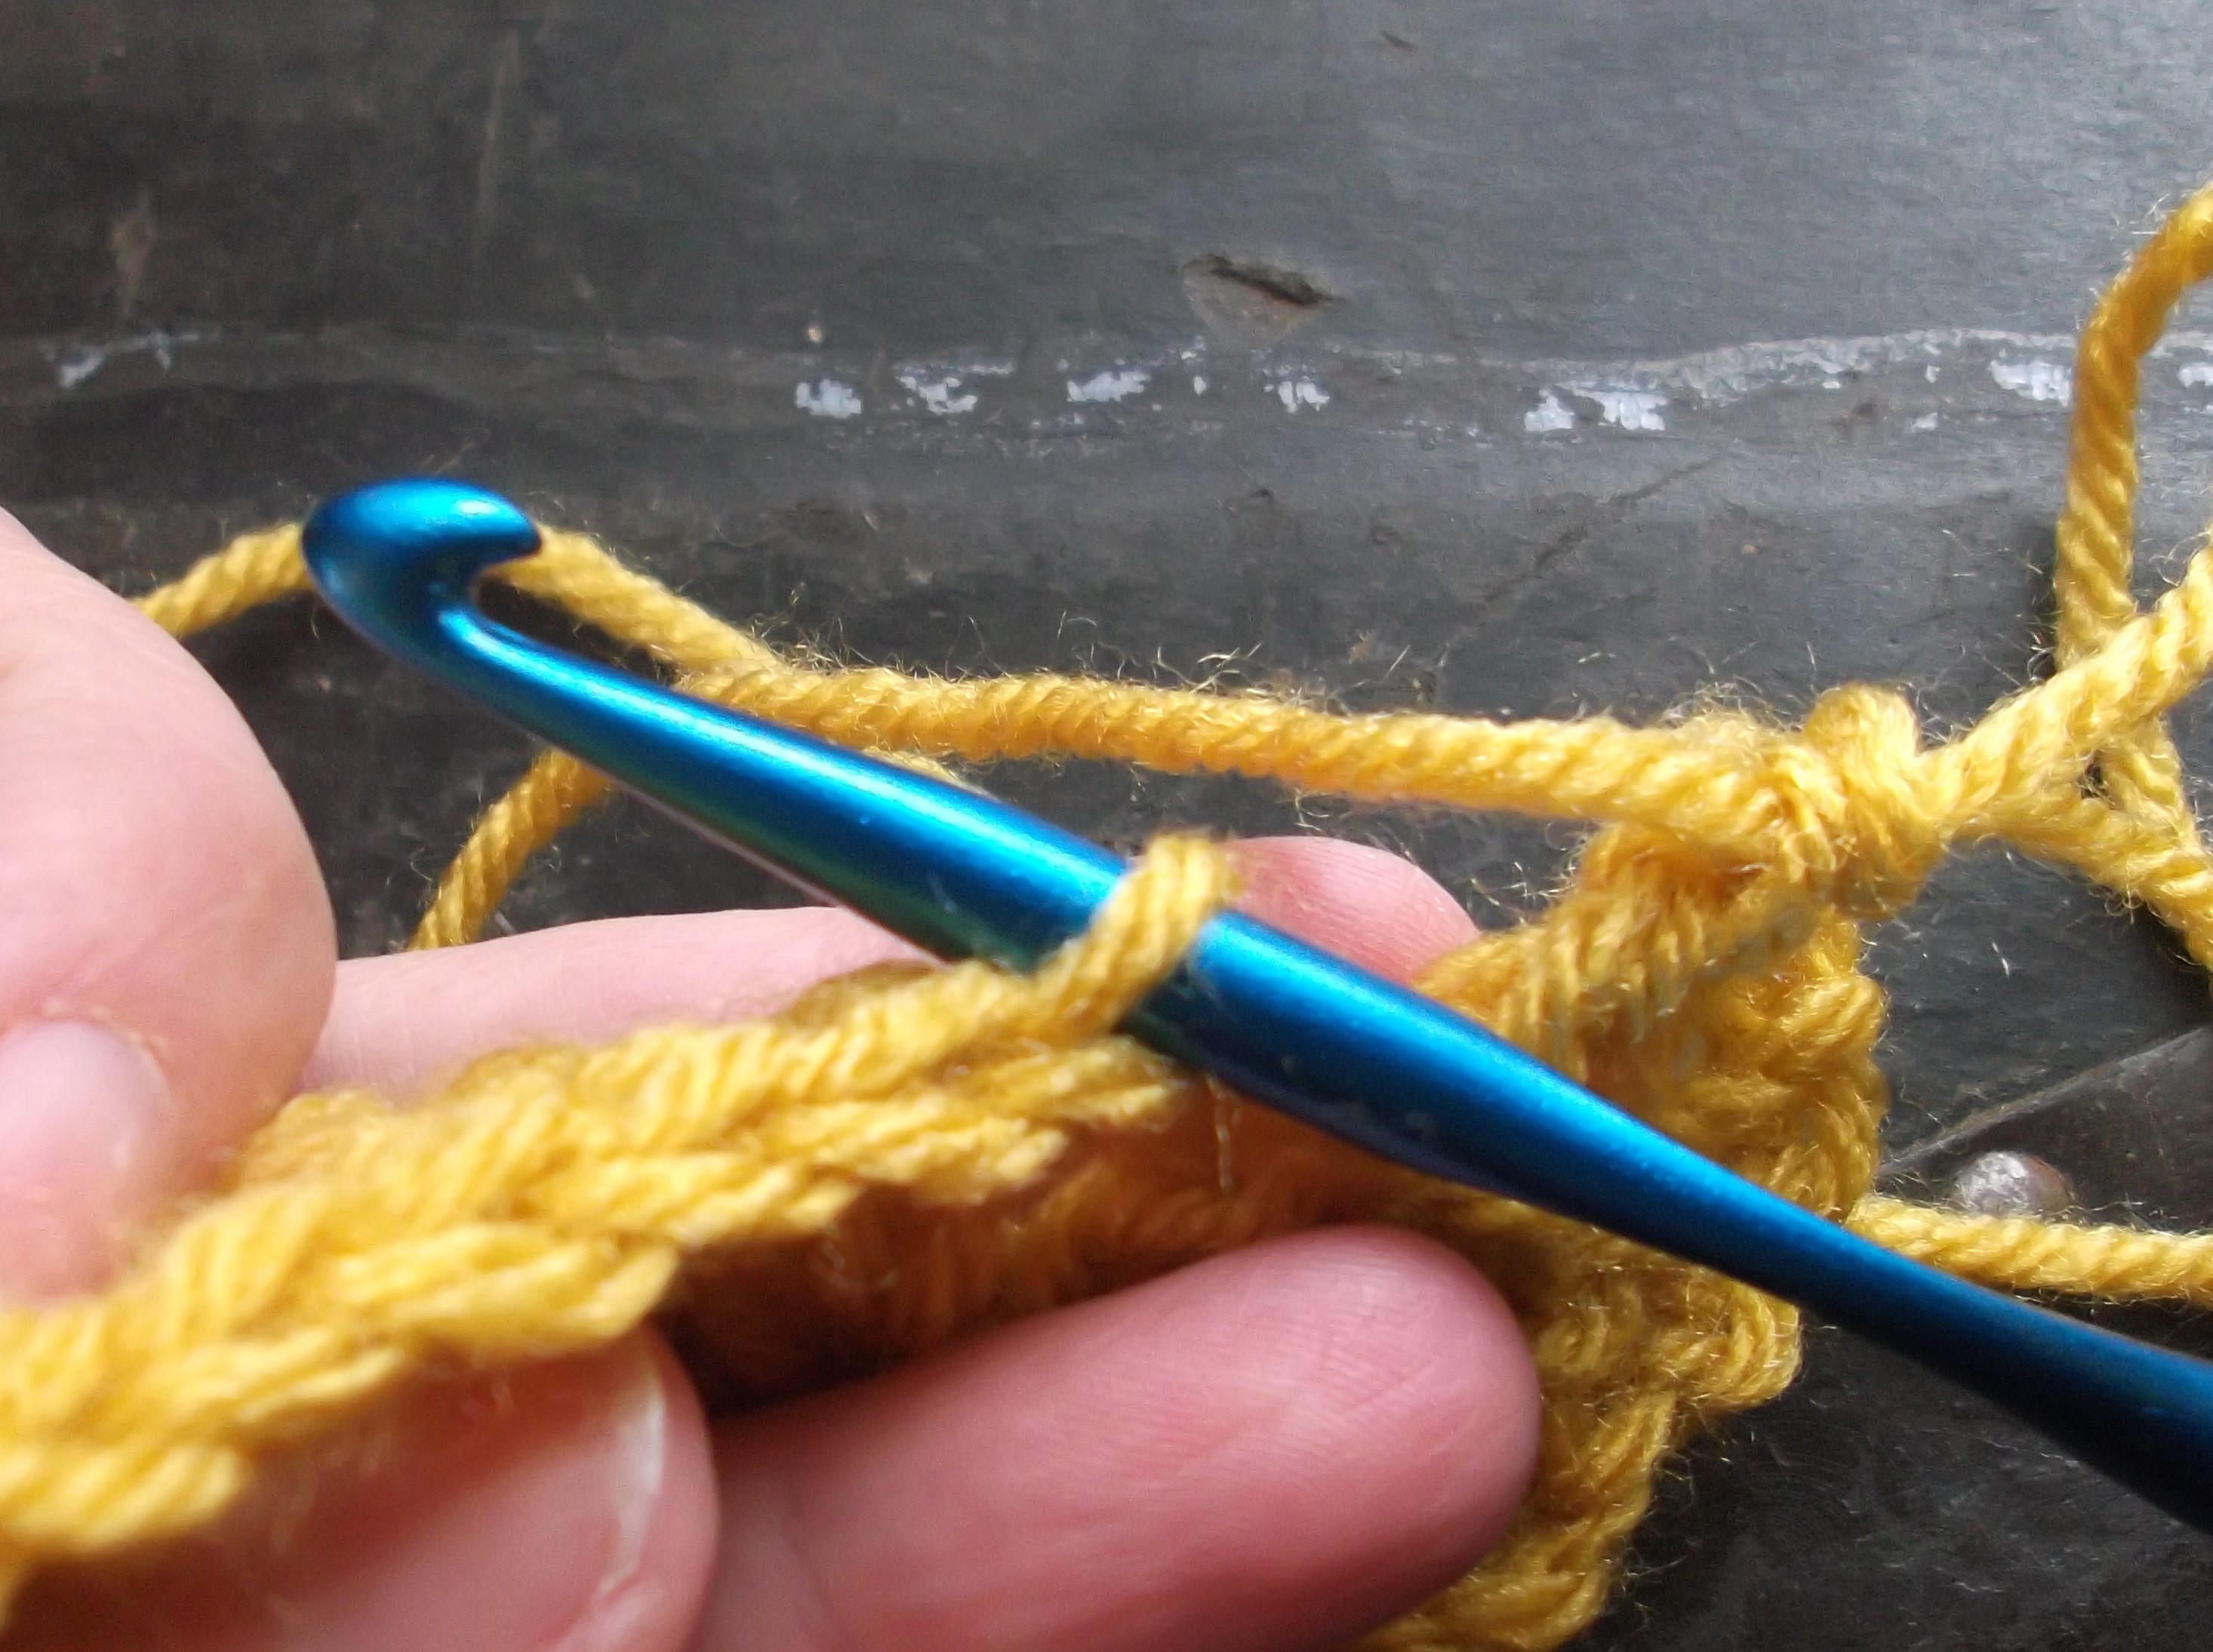
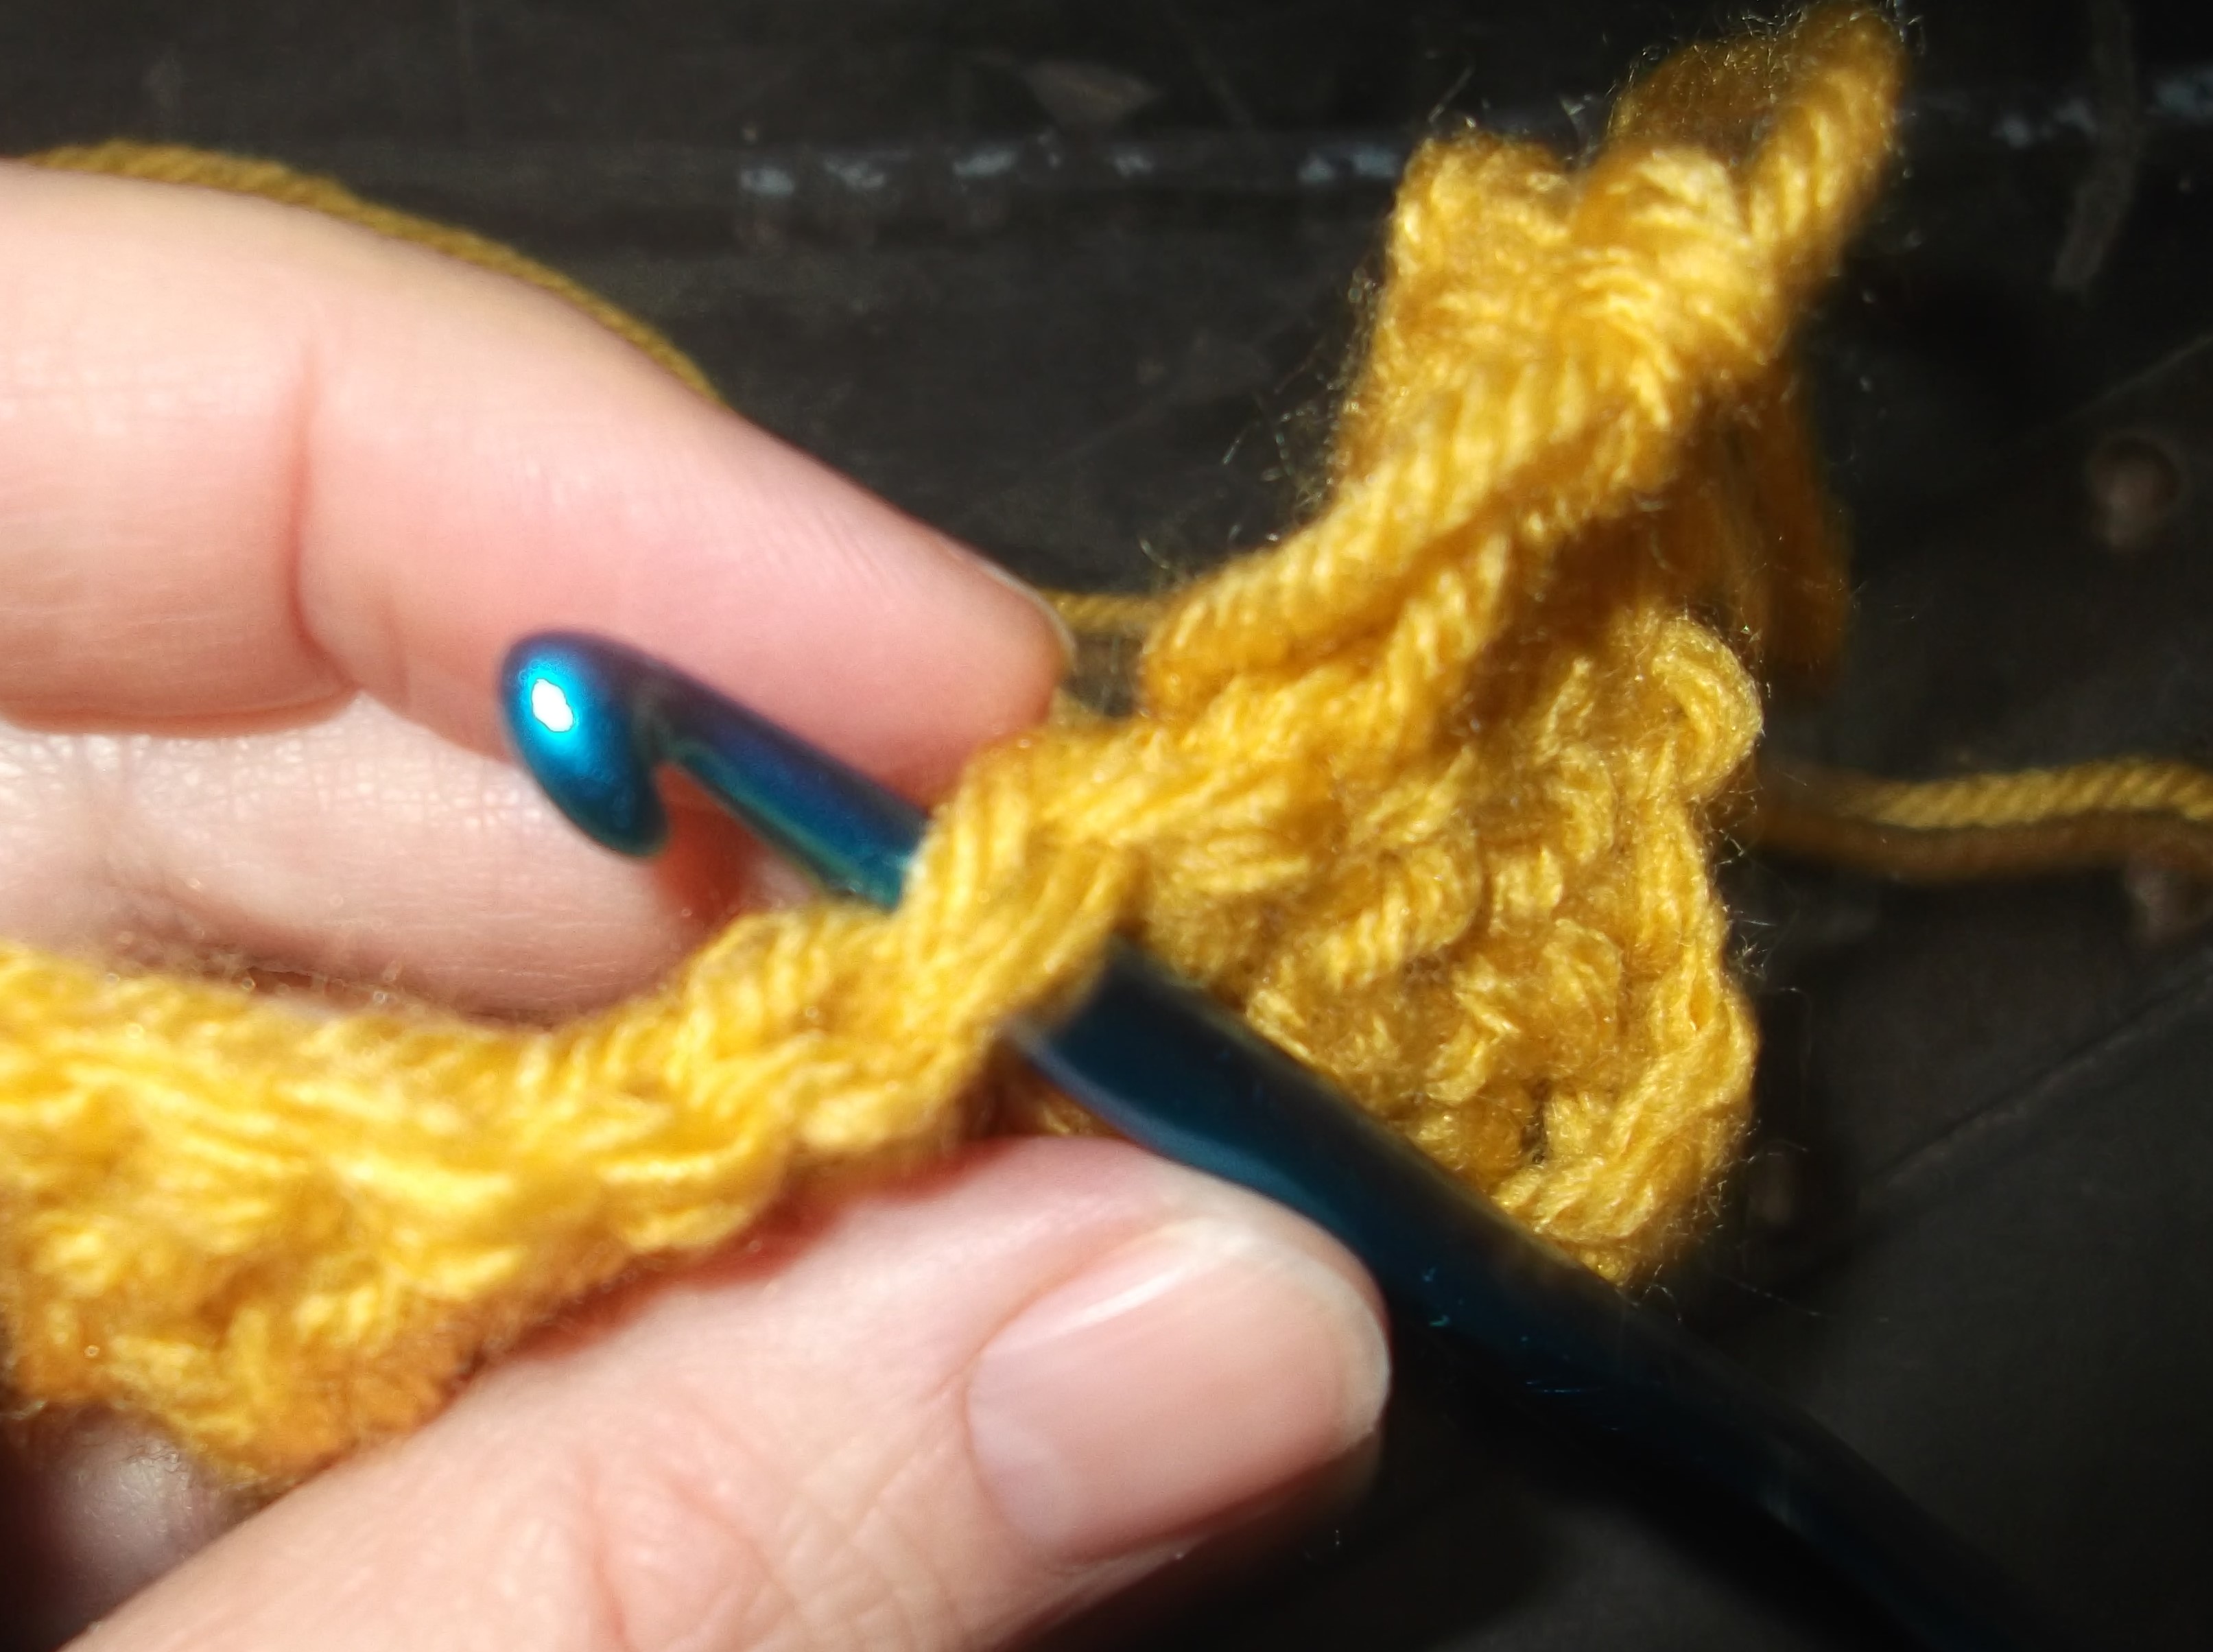
Interlude is a shawl that is worked in with one skein of Lisa Souza Sylvie Silk, but it can be worked in either knit OR crochet! Okay, technically it is Tunisian Crochet, but still 2 different ways to create the same look.
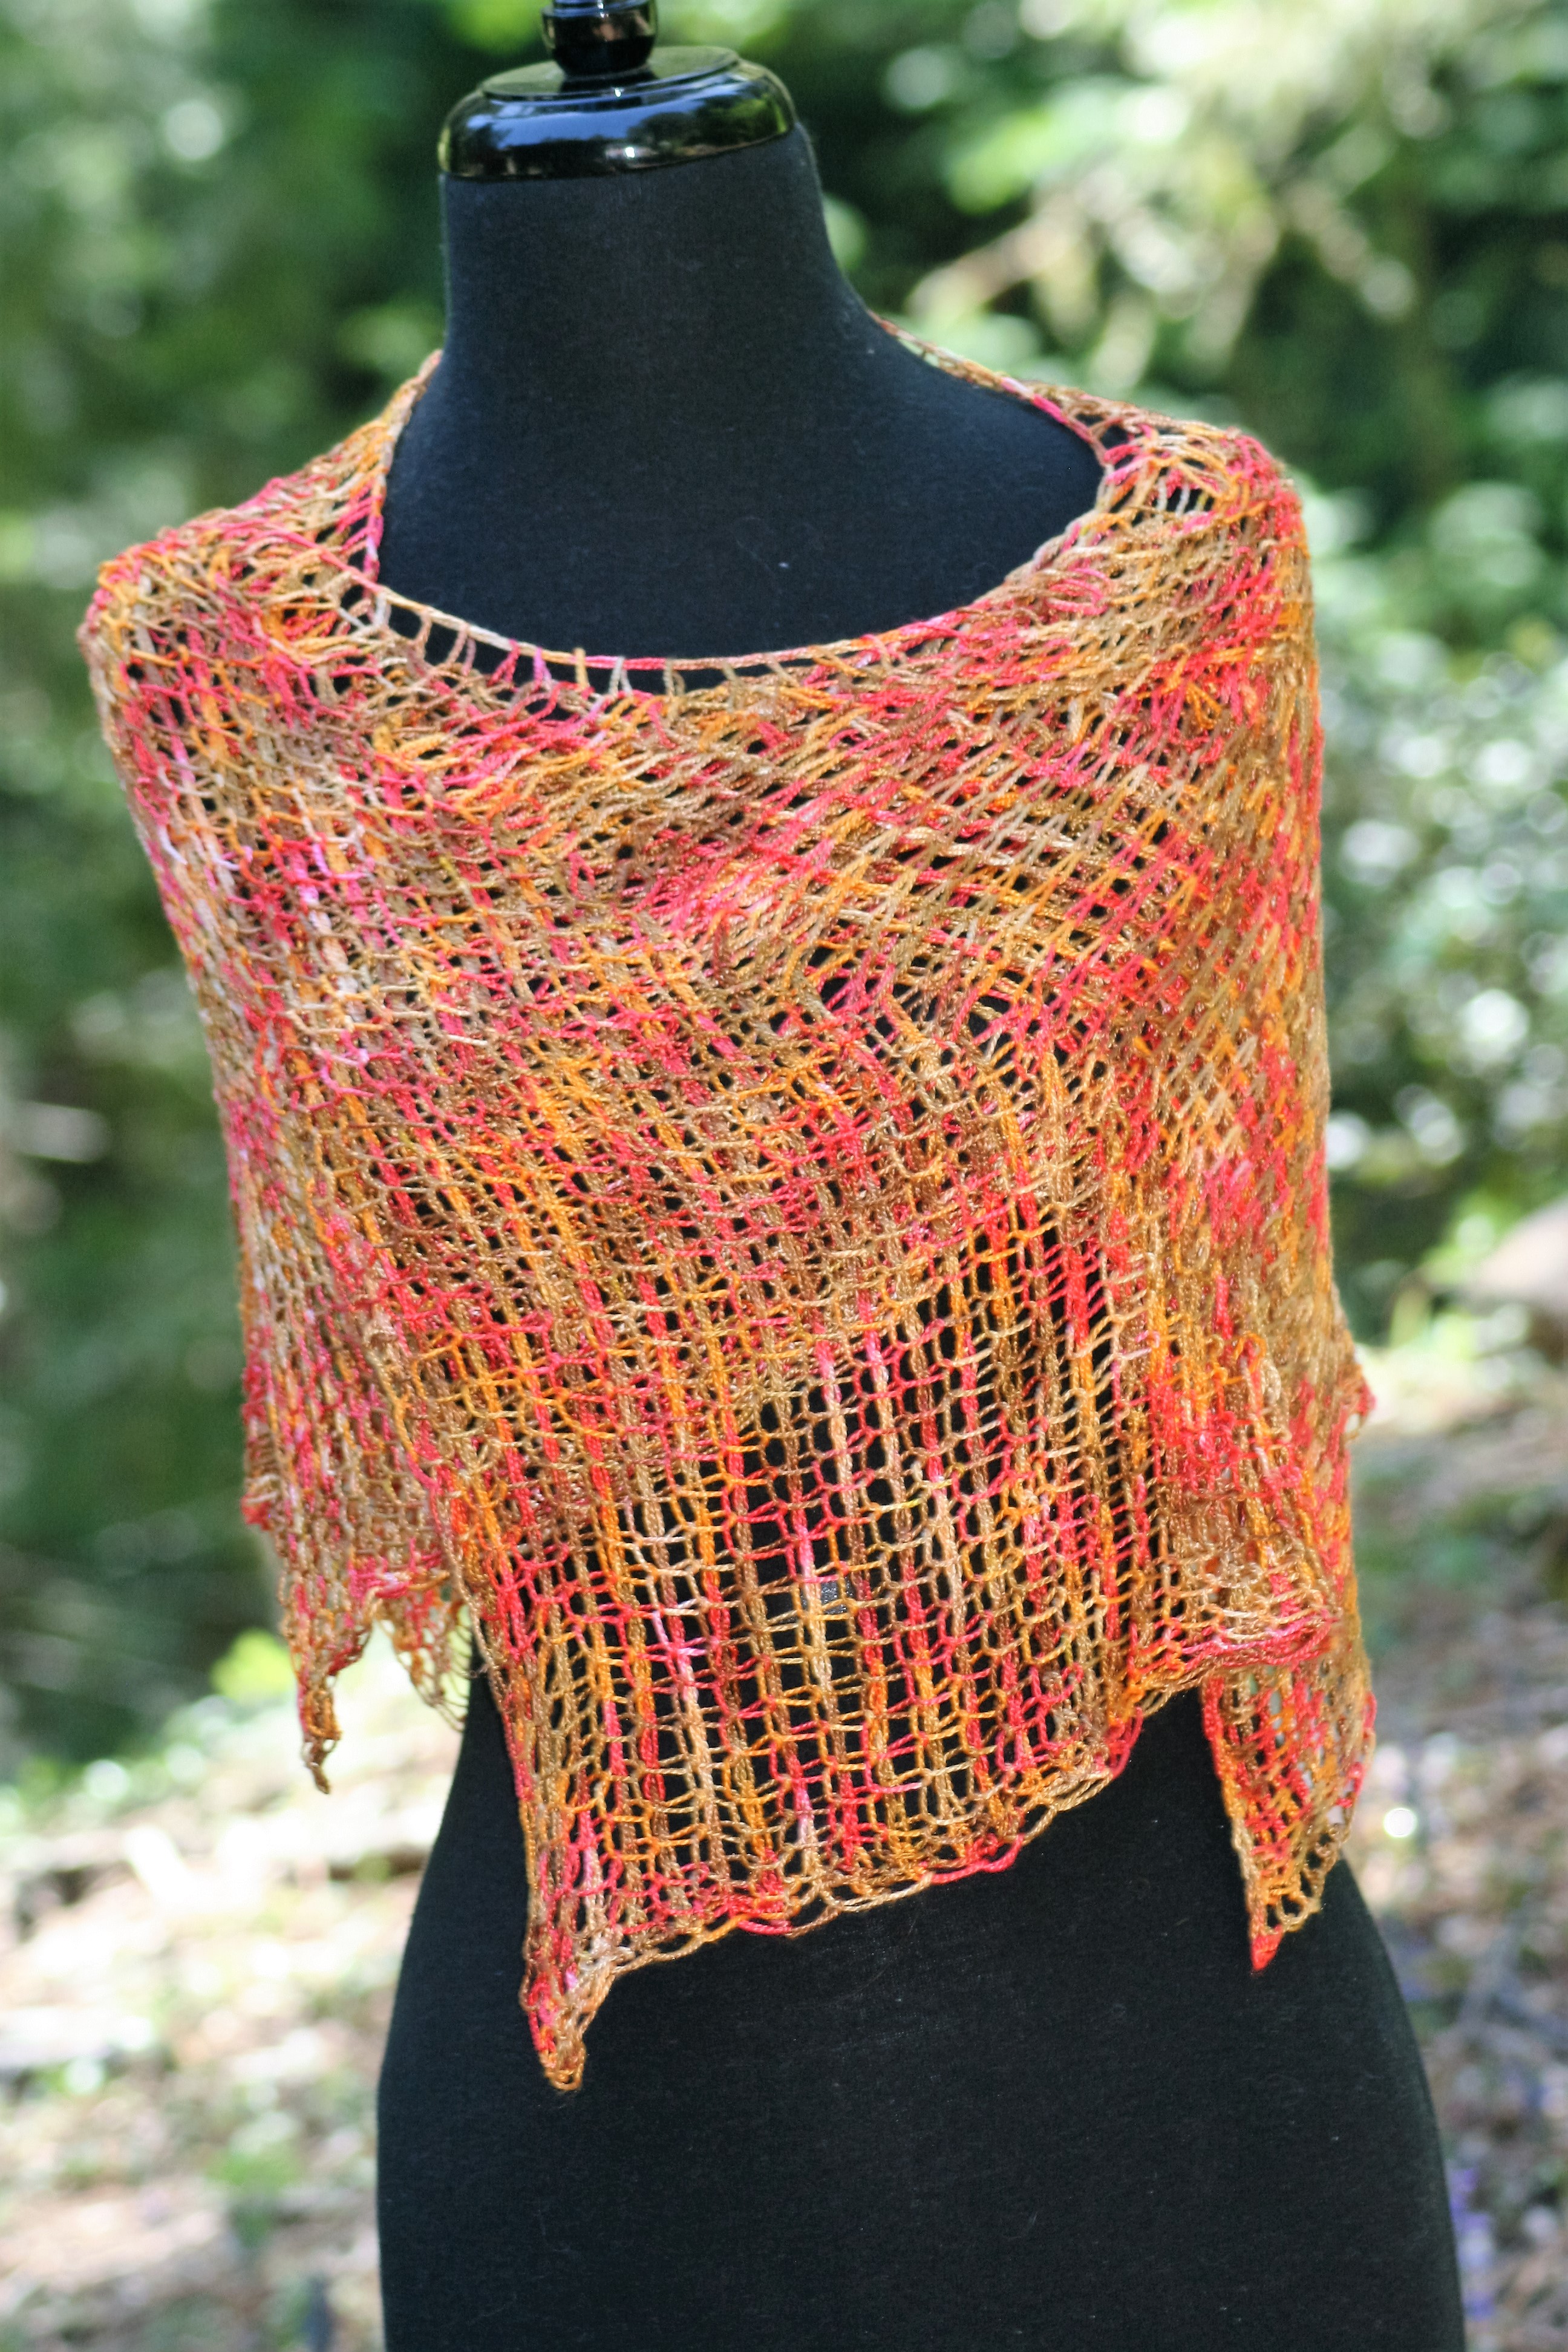
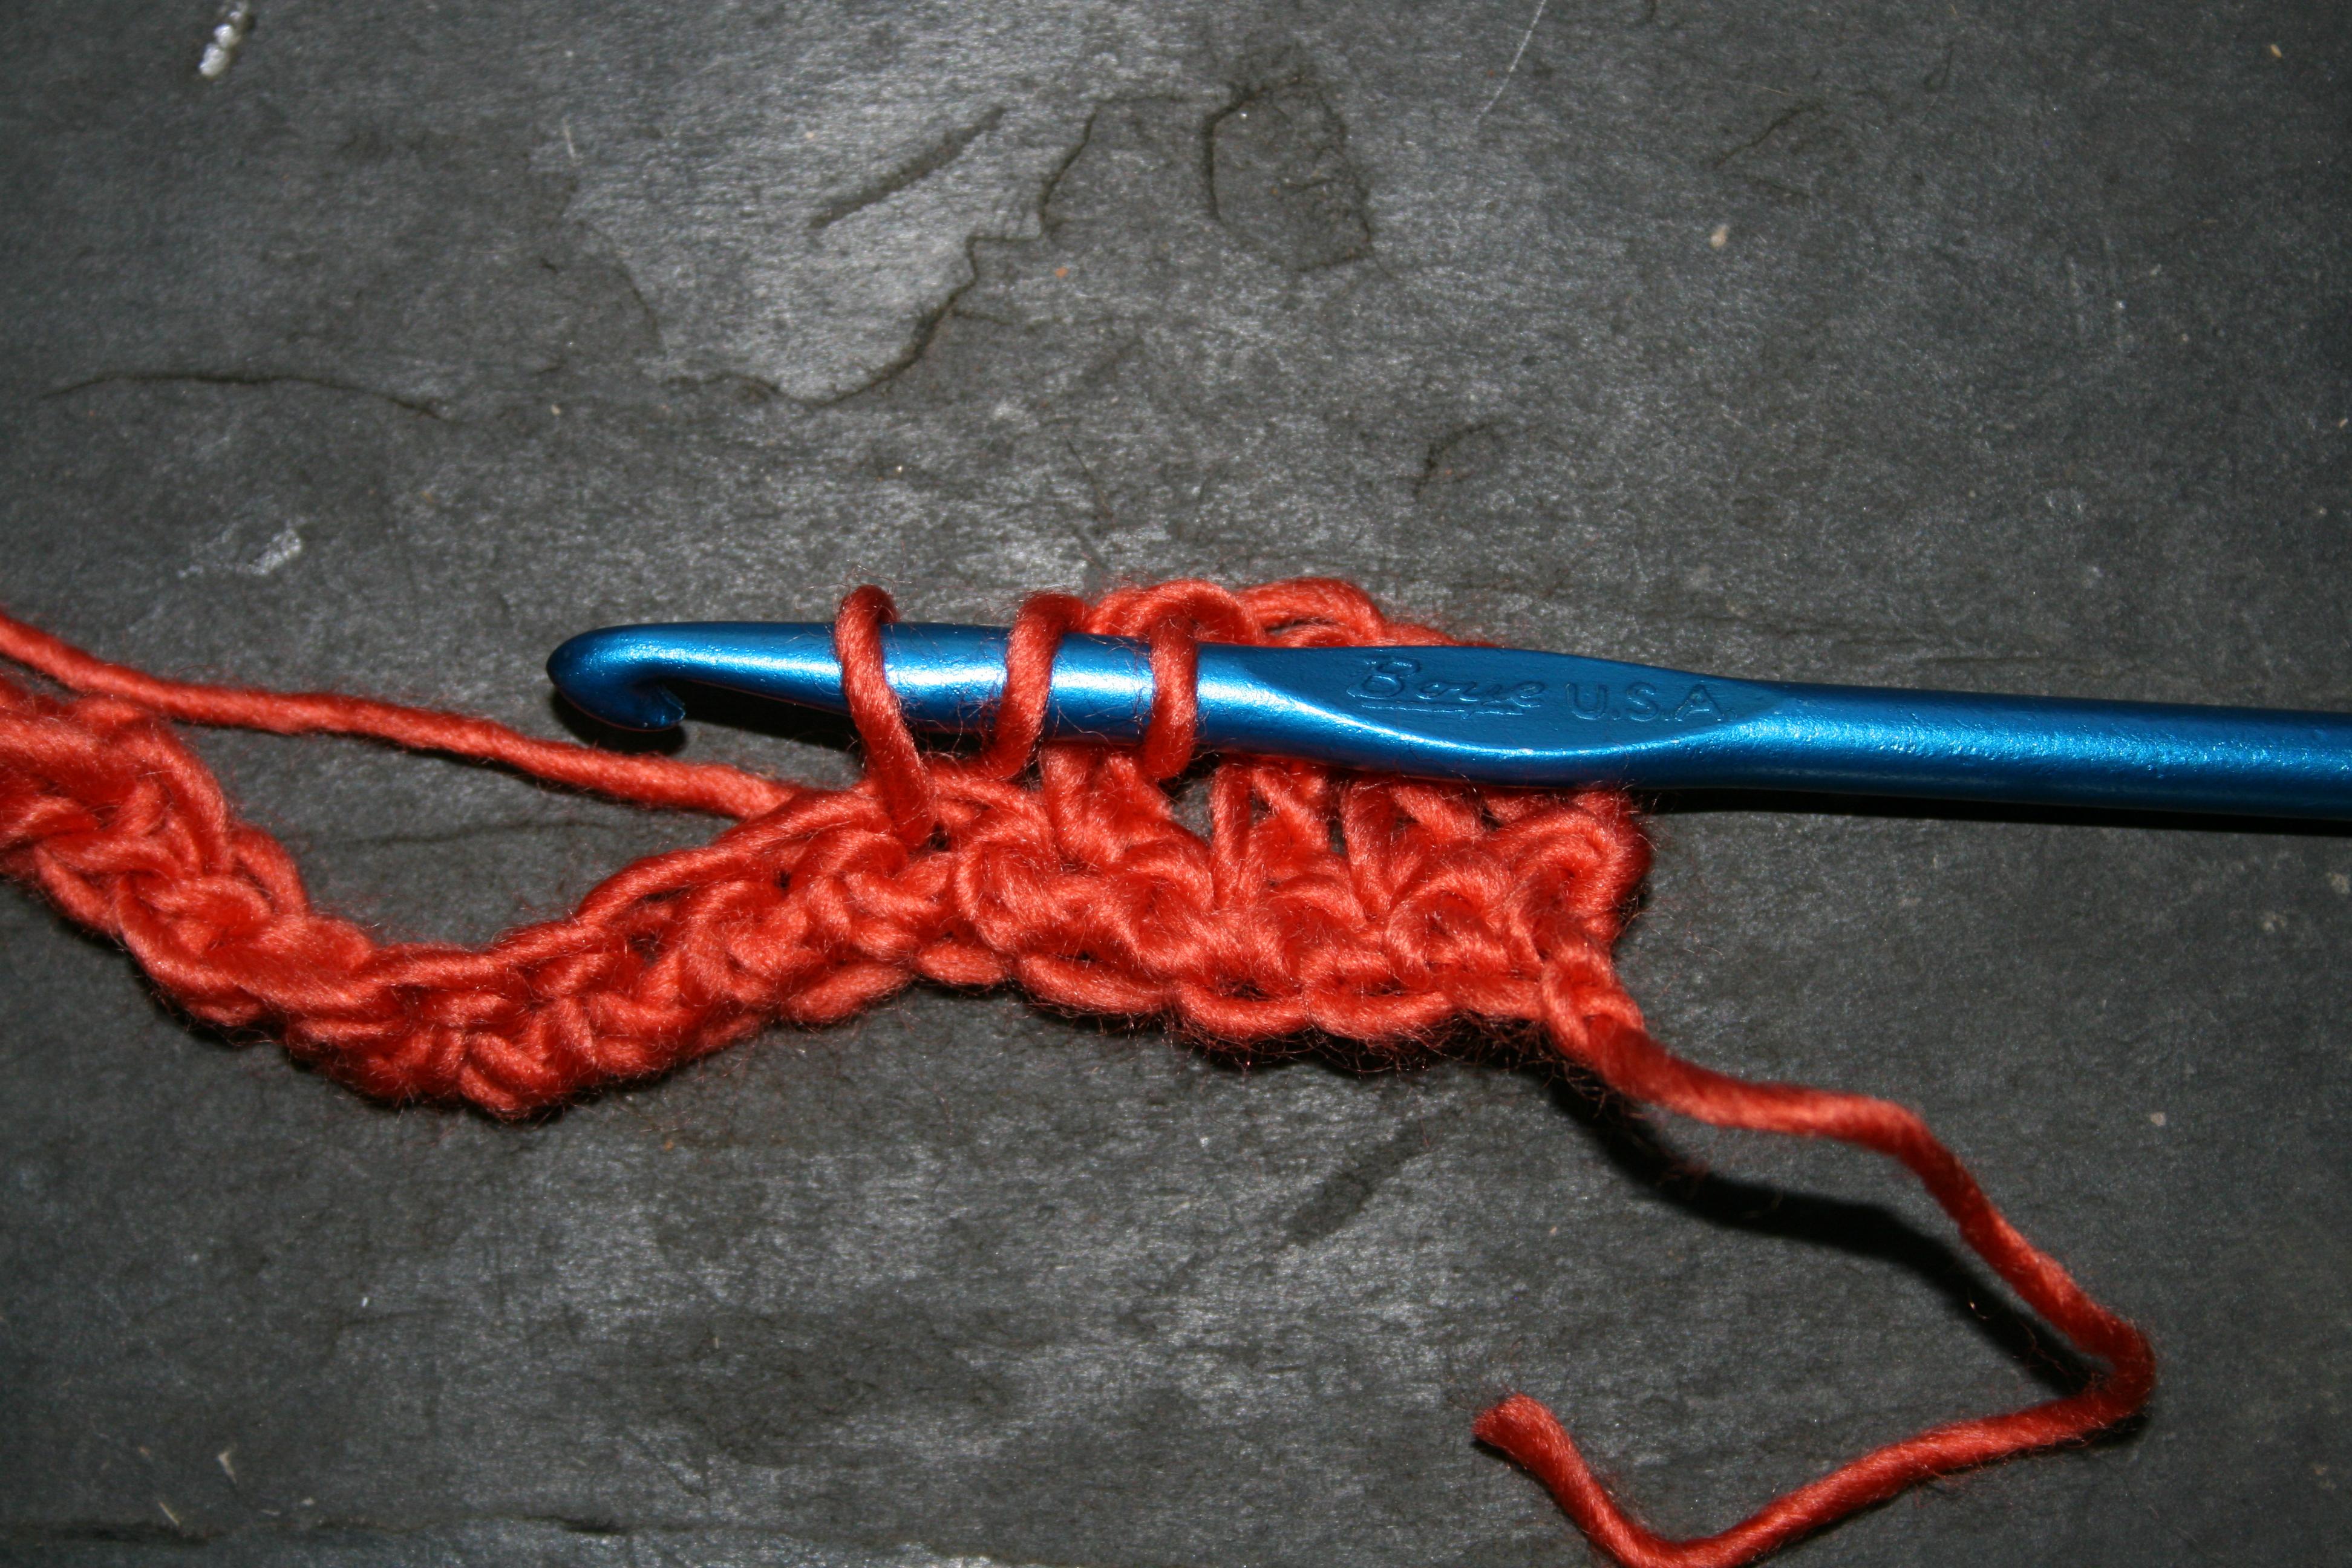
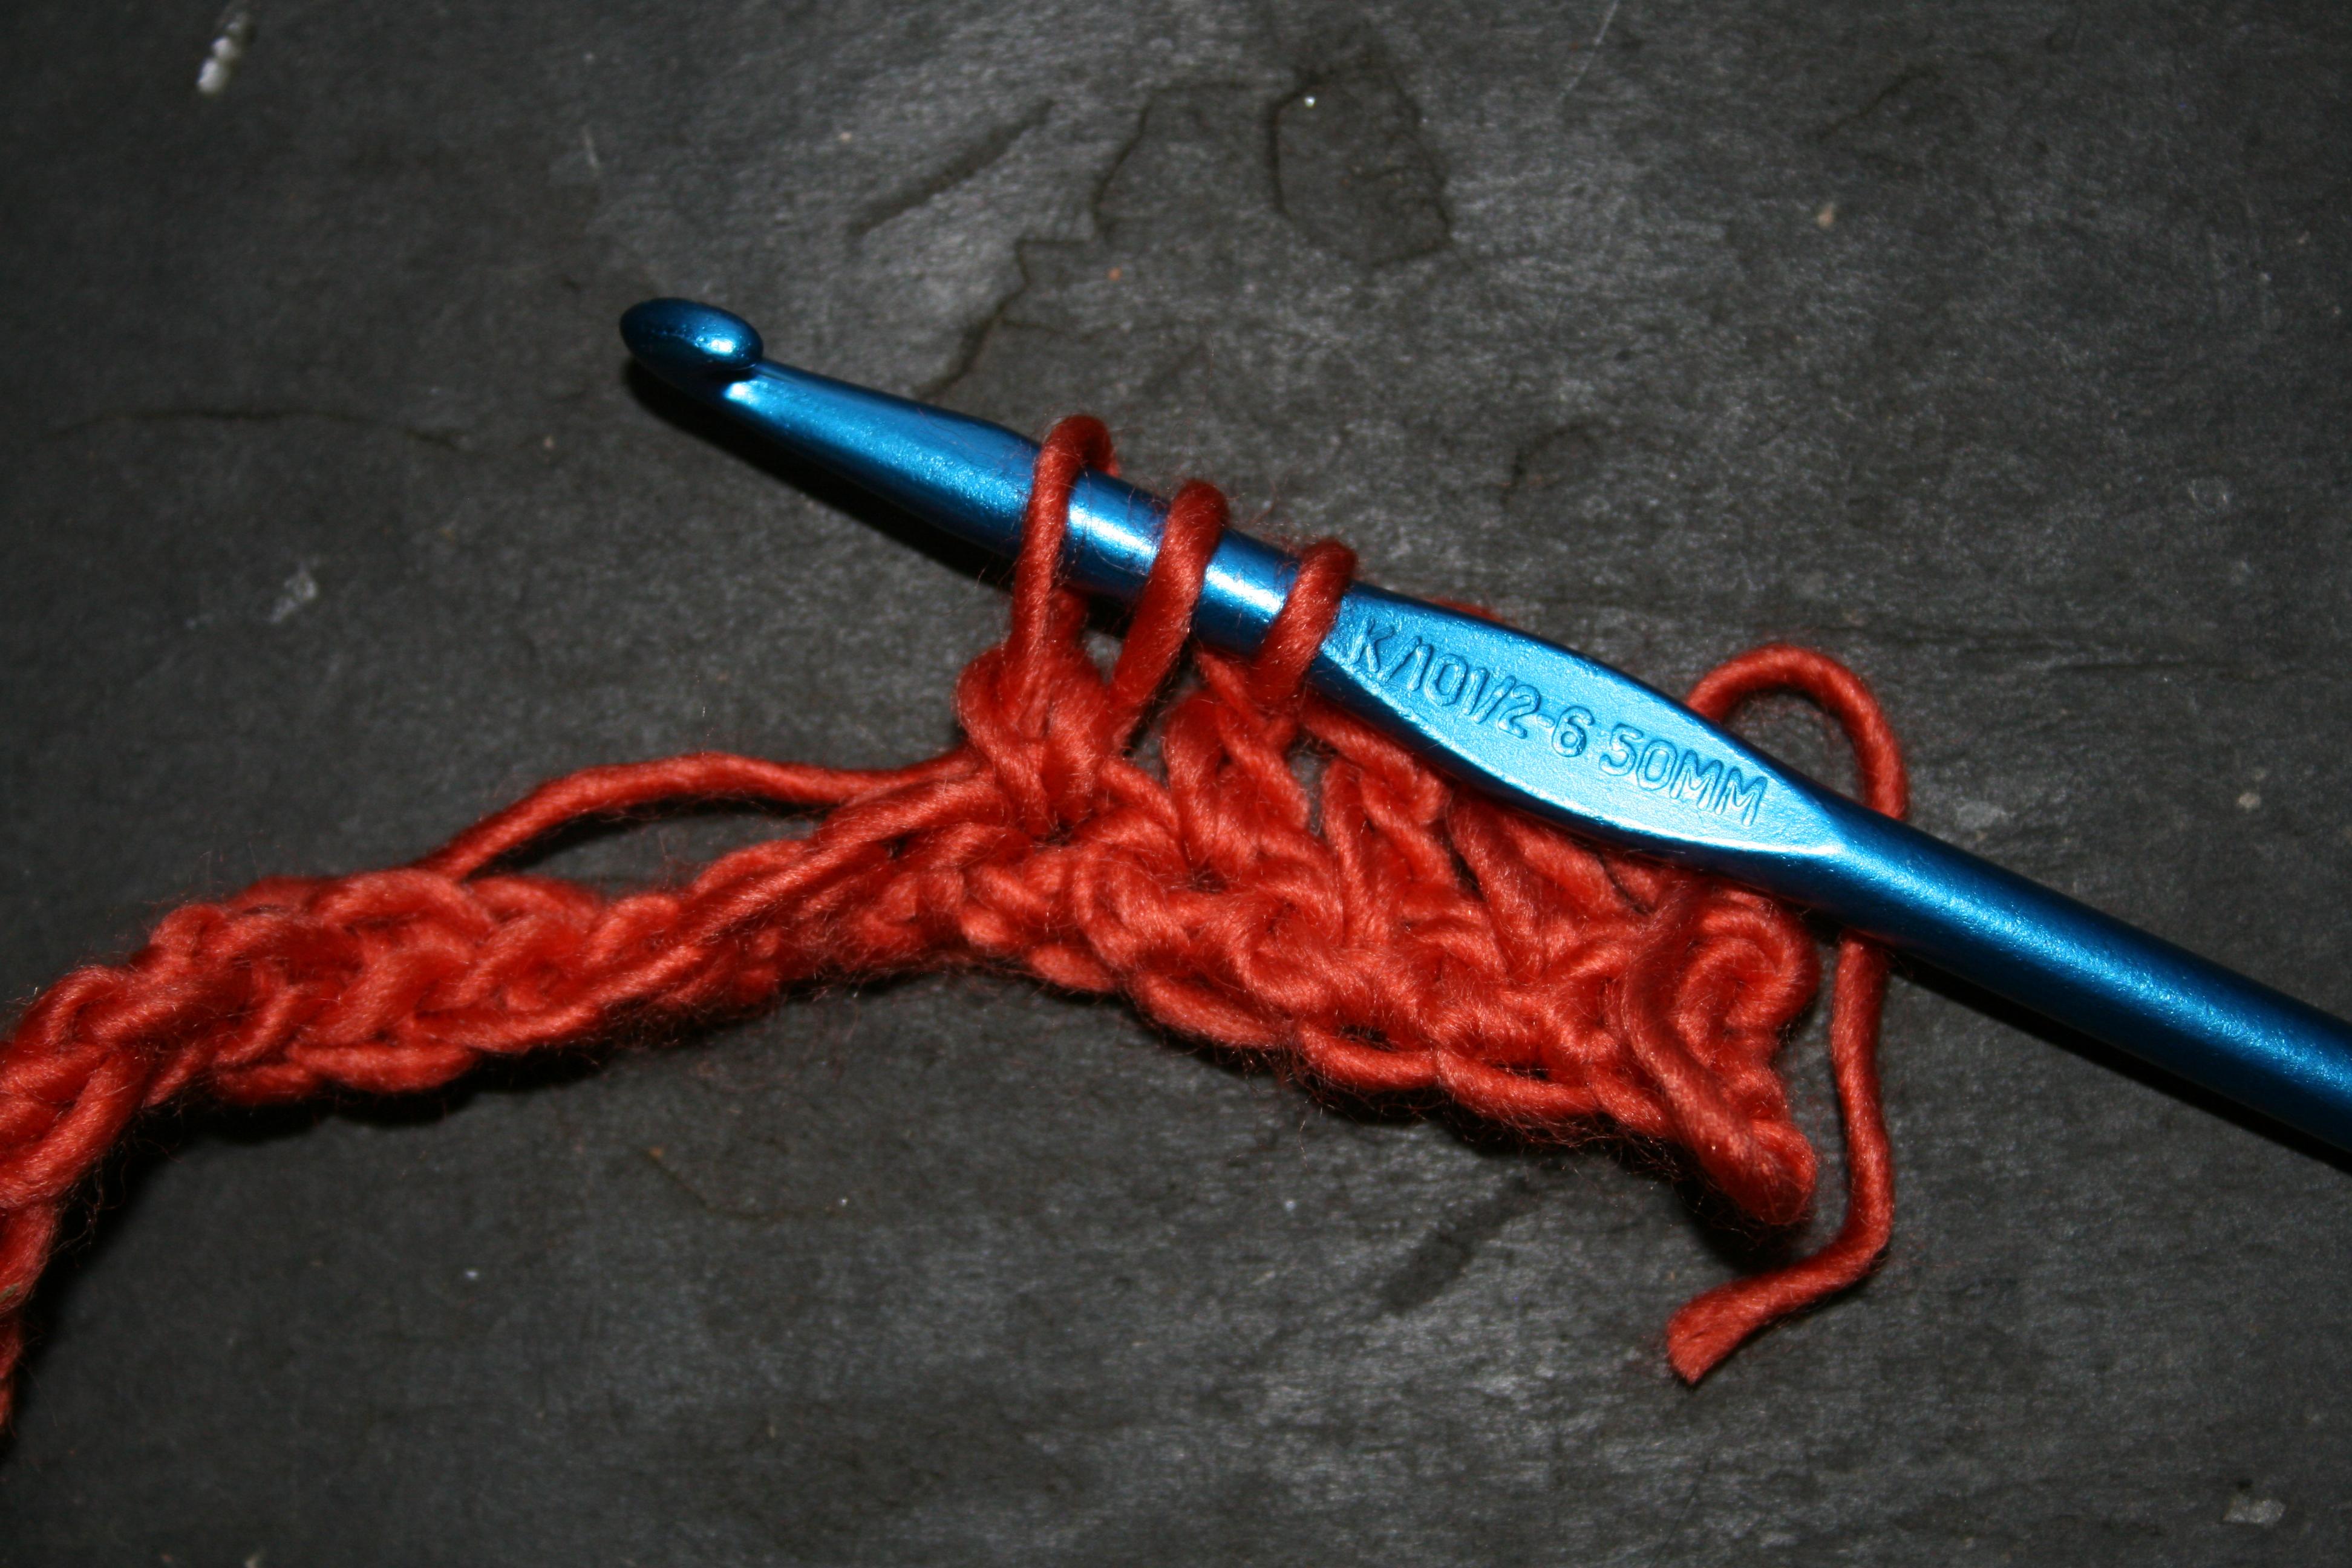
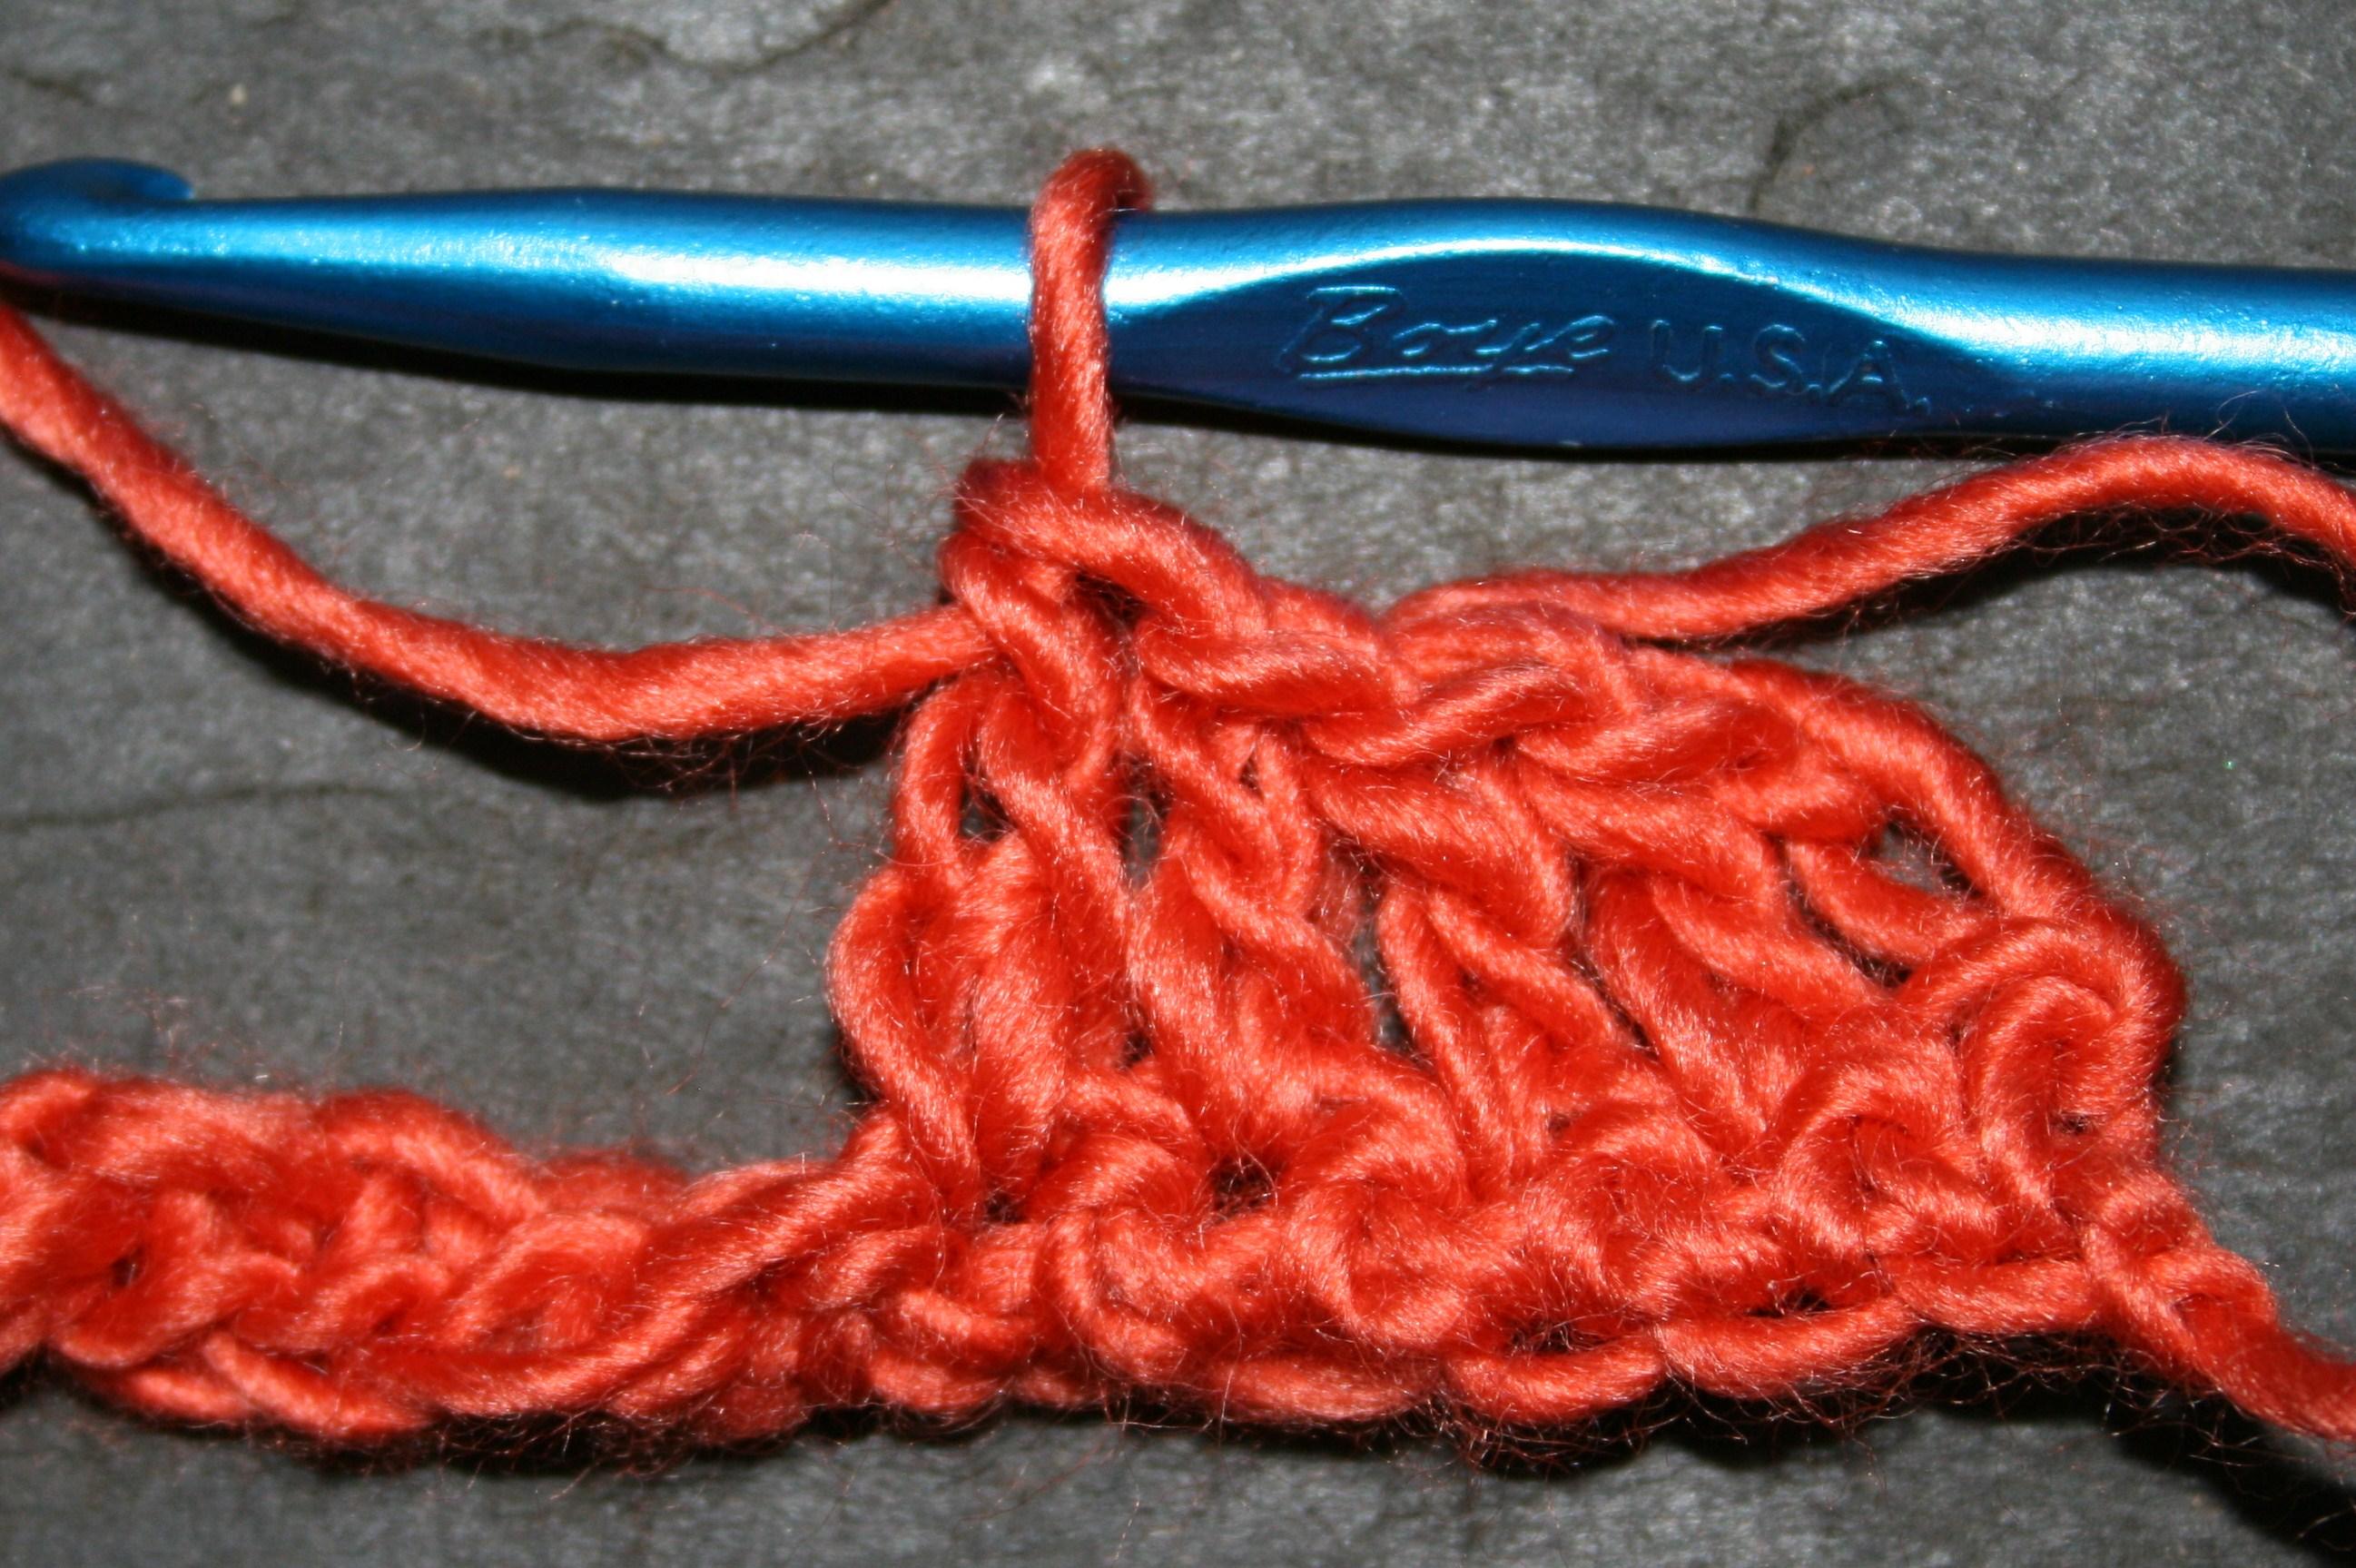
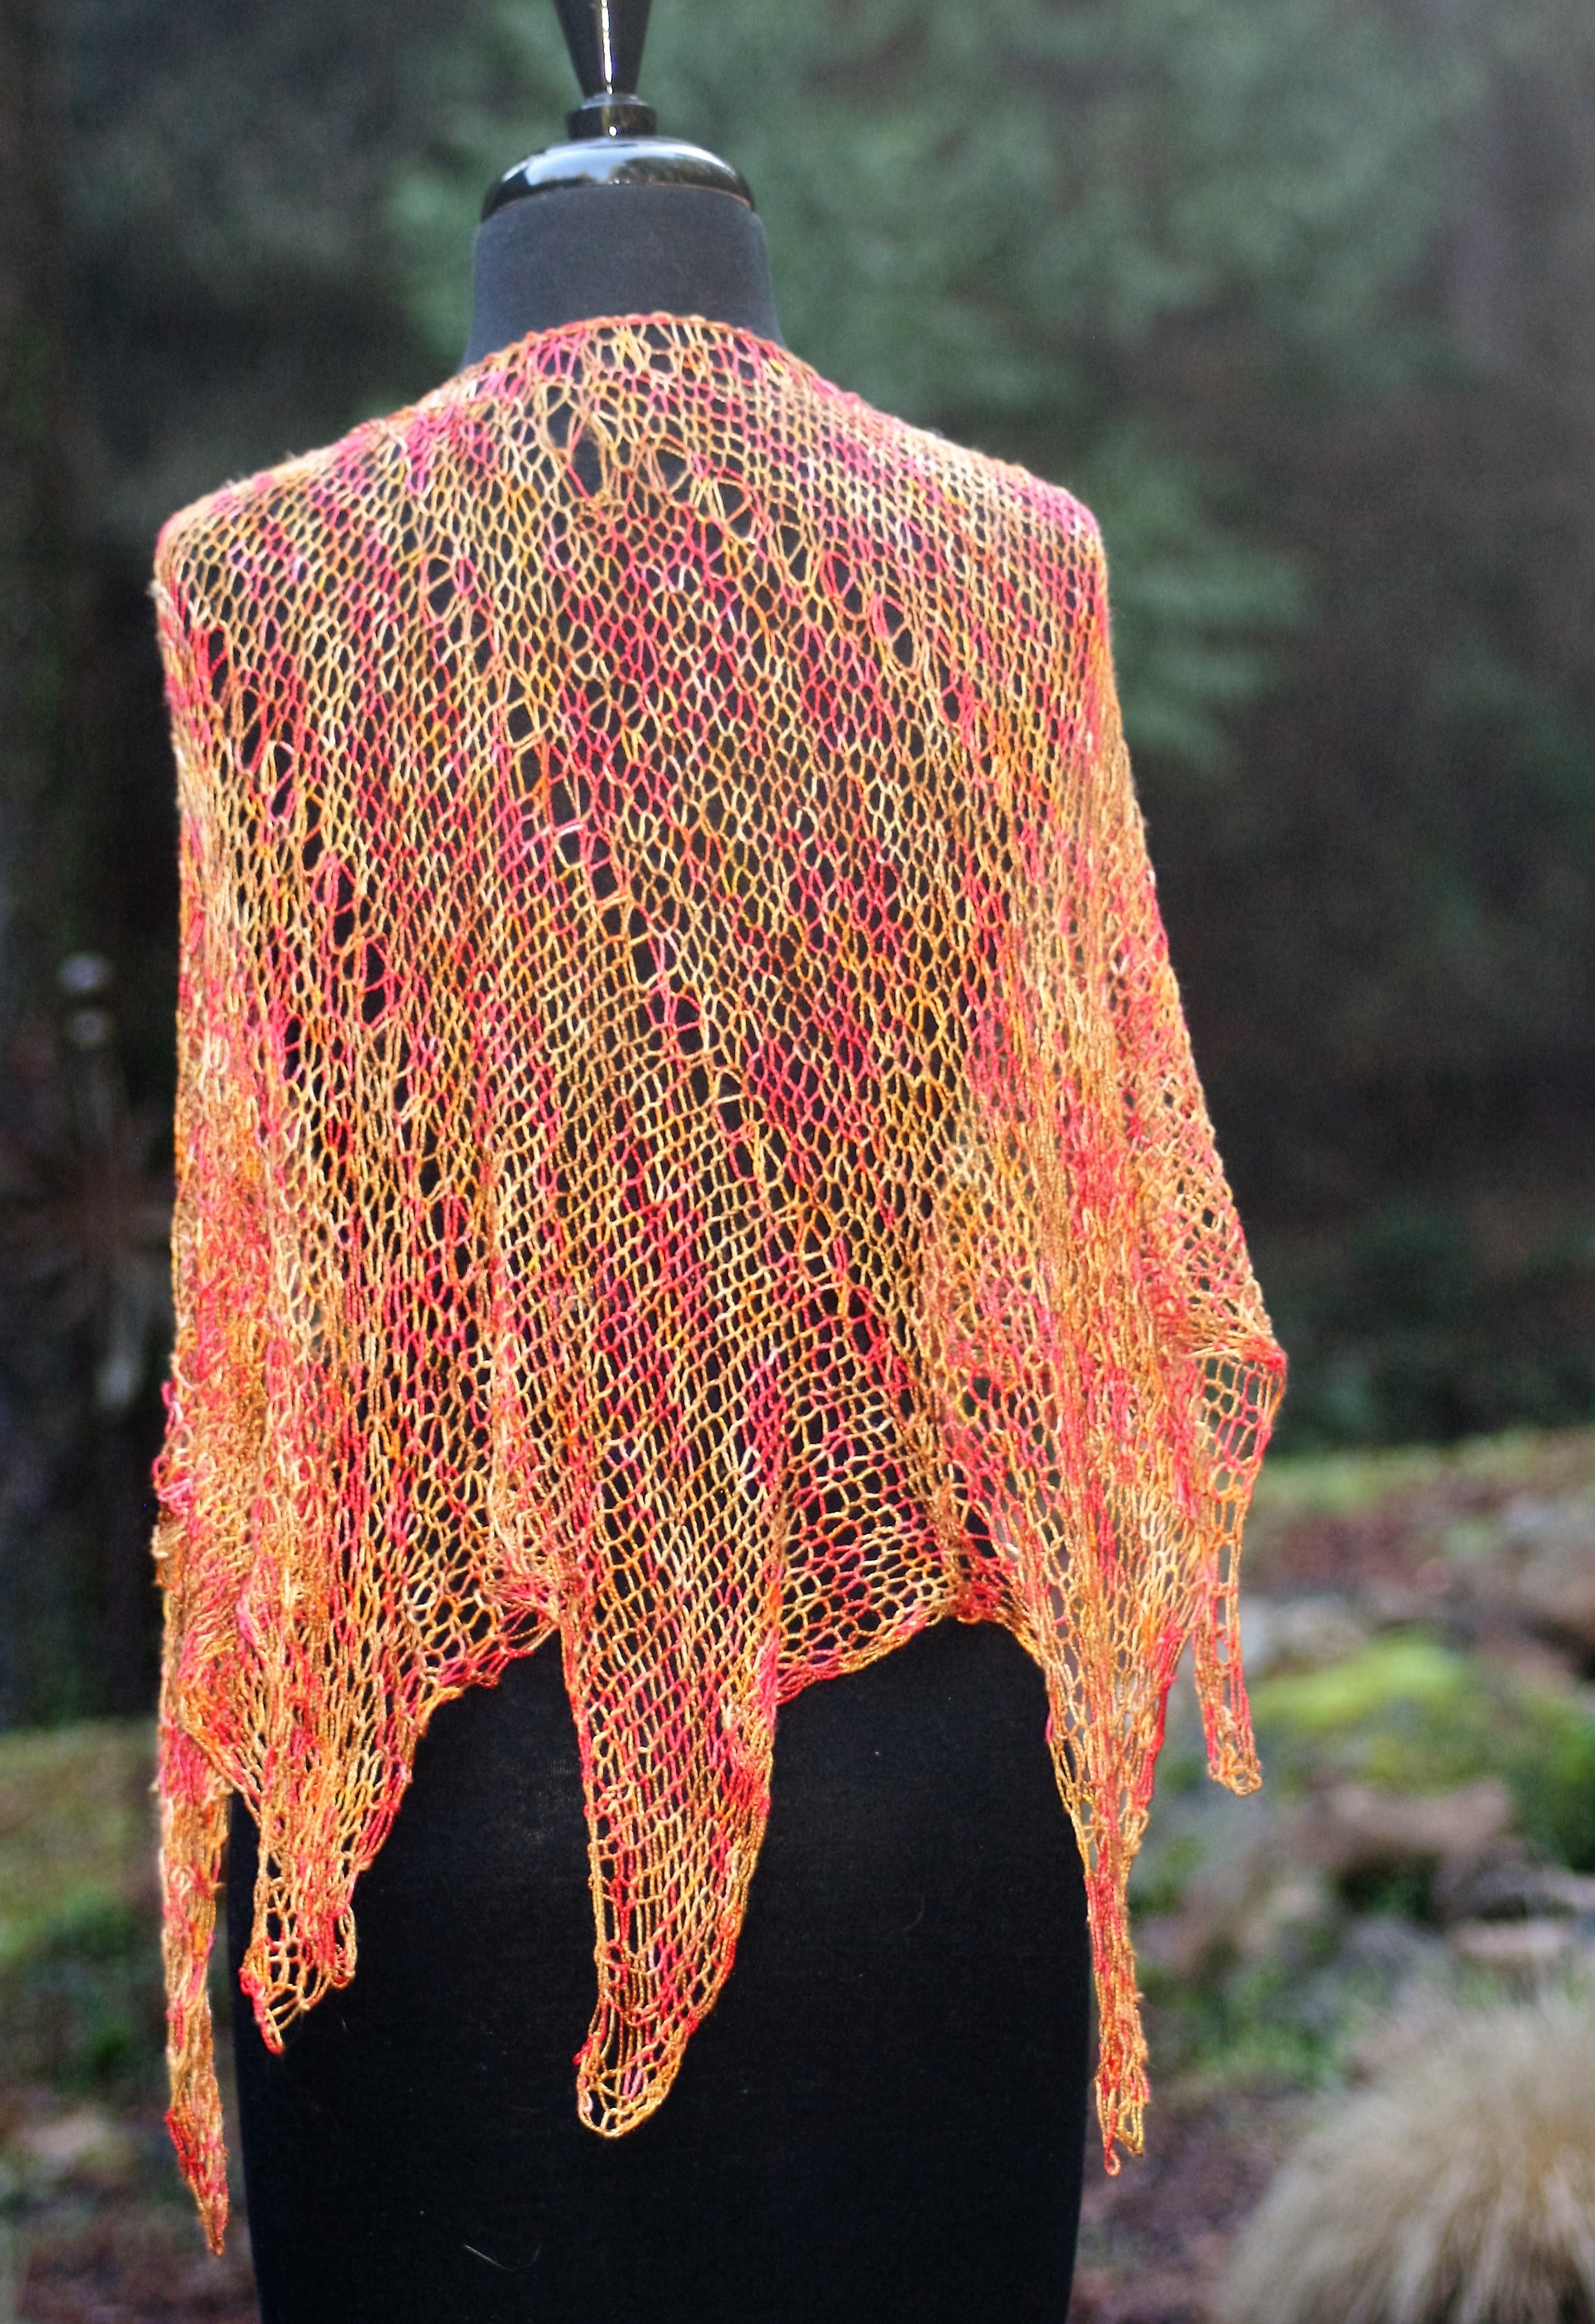
Interlude Crochet Shawl
Obviously the finished product is not identical, but they are very similar; they both work in short rows on large hooks/needles, they both have beautiful drape, they both use only one skein, they both work up quickly, and they both have the same completed shape.
This, okay, these shawls debuted at Stitches West in Santa Clara this past weekend, and there was some definite excitement about the fact that there is actually 2 patterns in one (I had requests for other of my crochet designs to attempt to be converted to knitting), as well as just how yummy the ultimate design is. So fast and yet elegant.
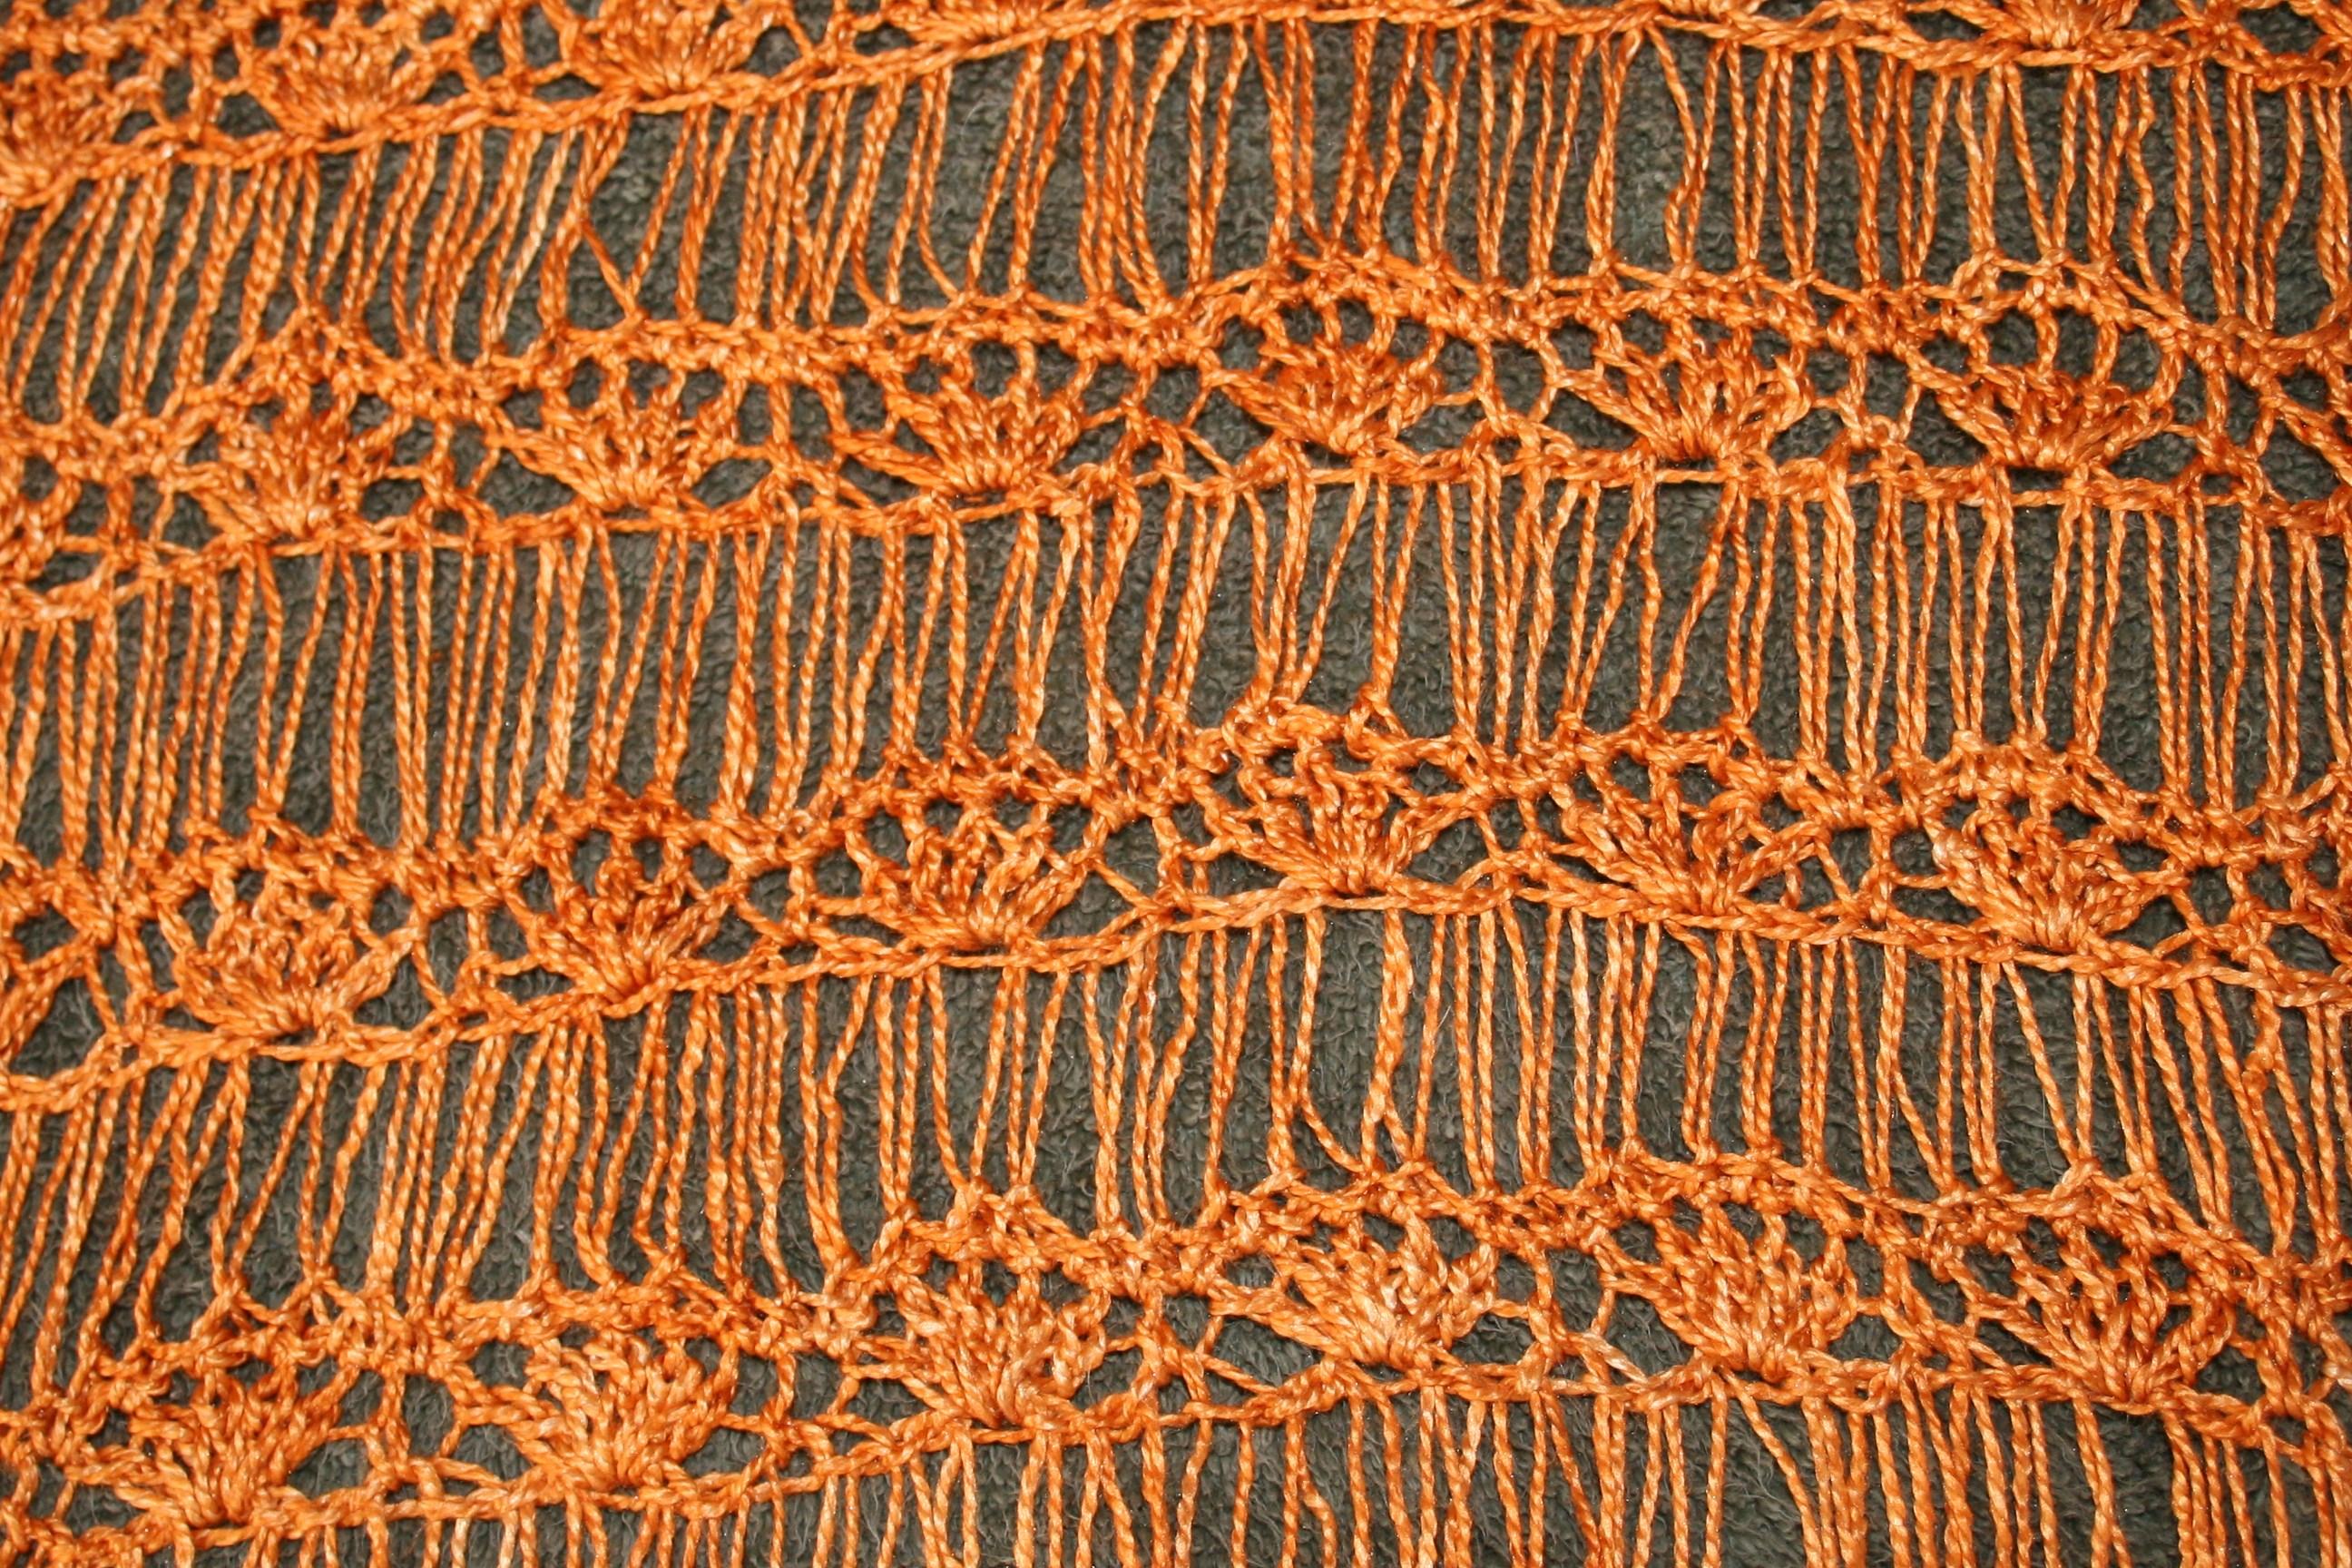
Interlude Knit Shawl
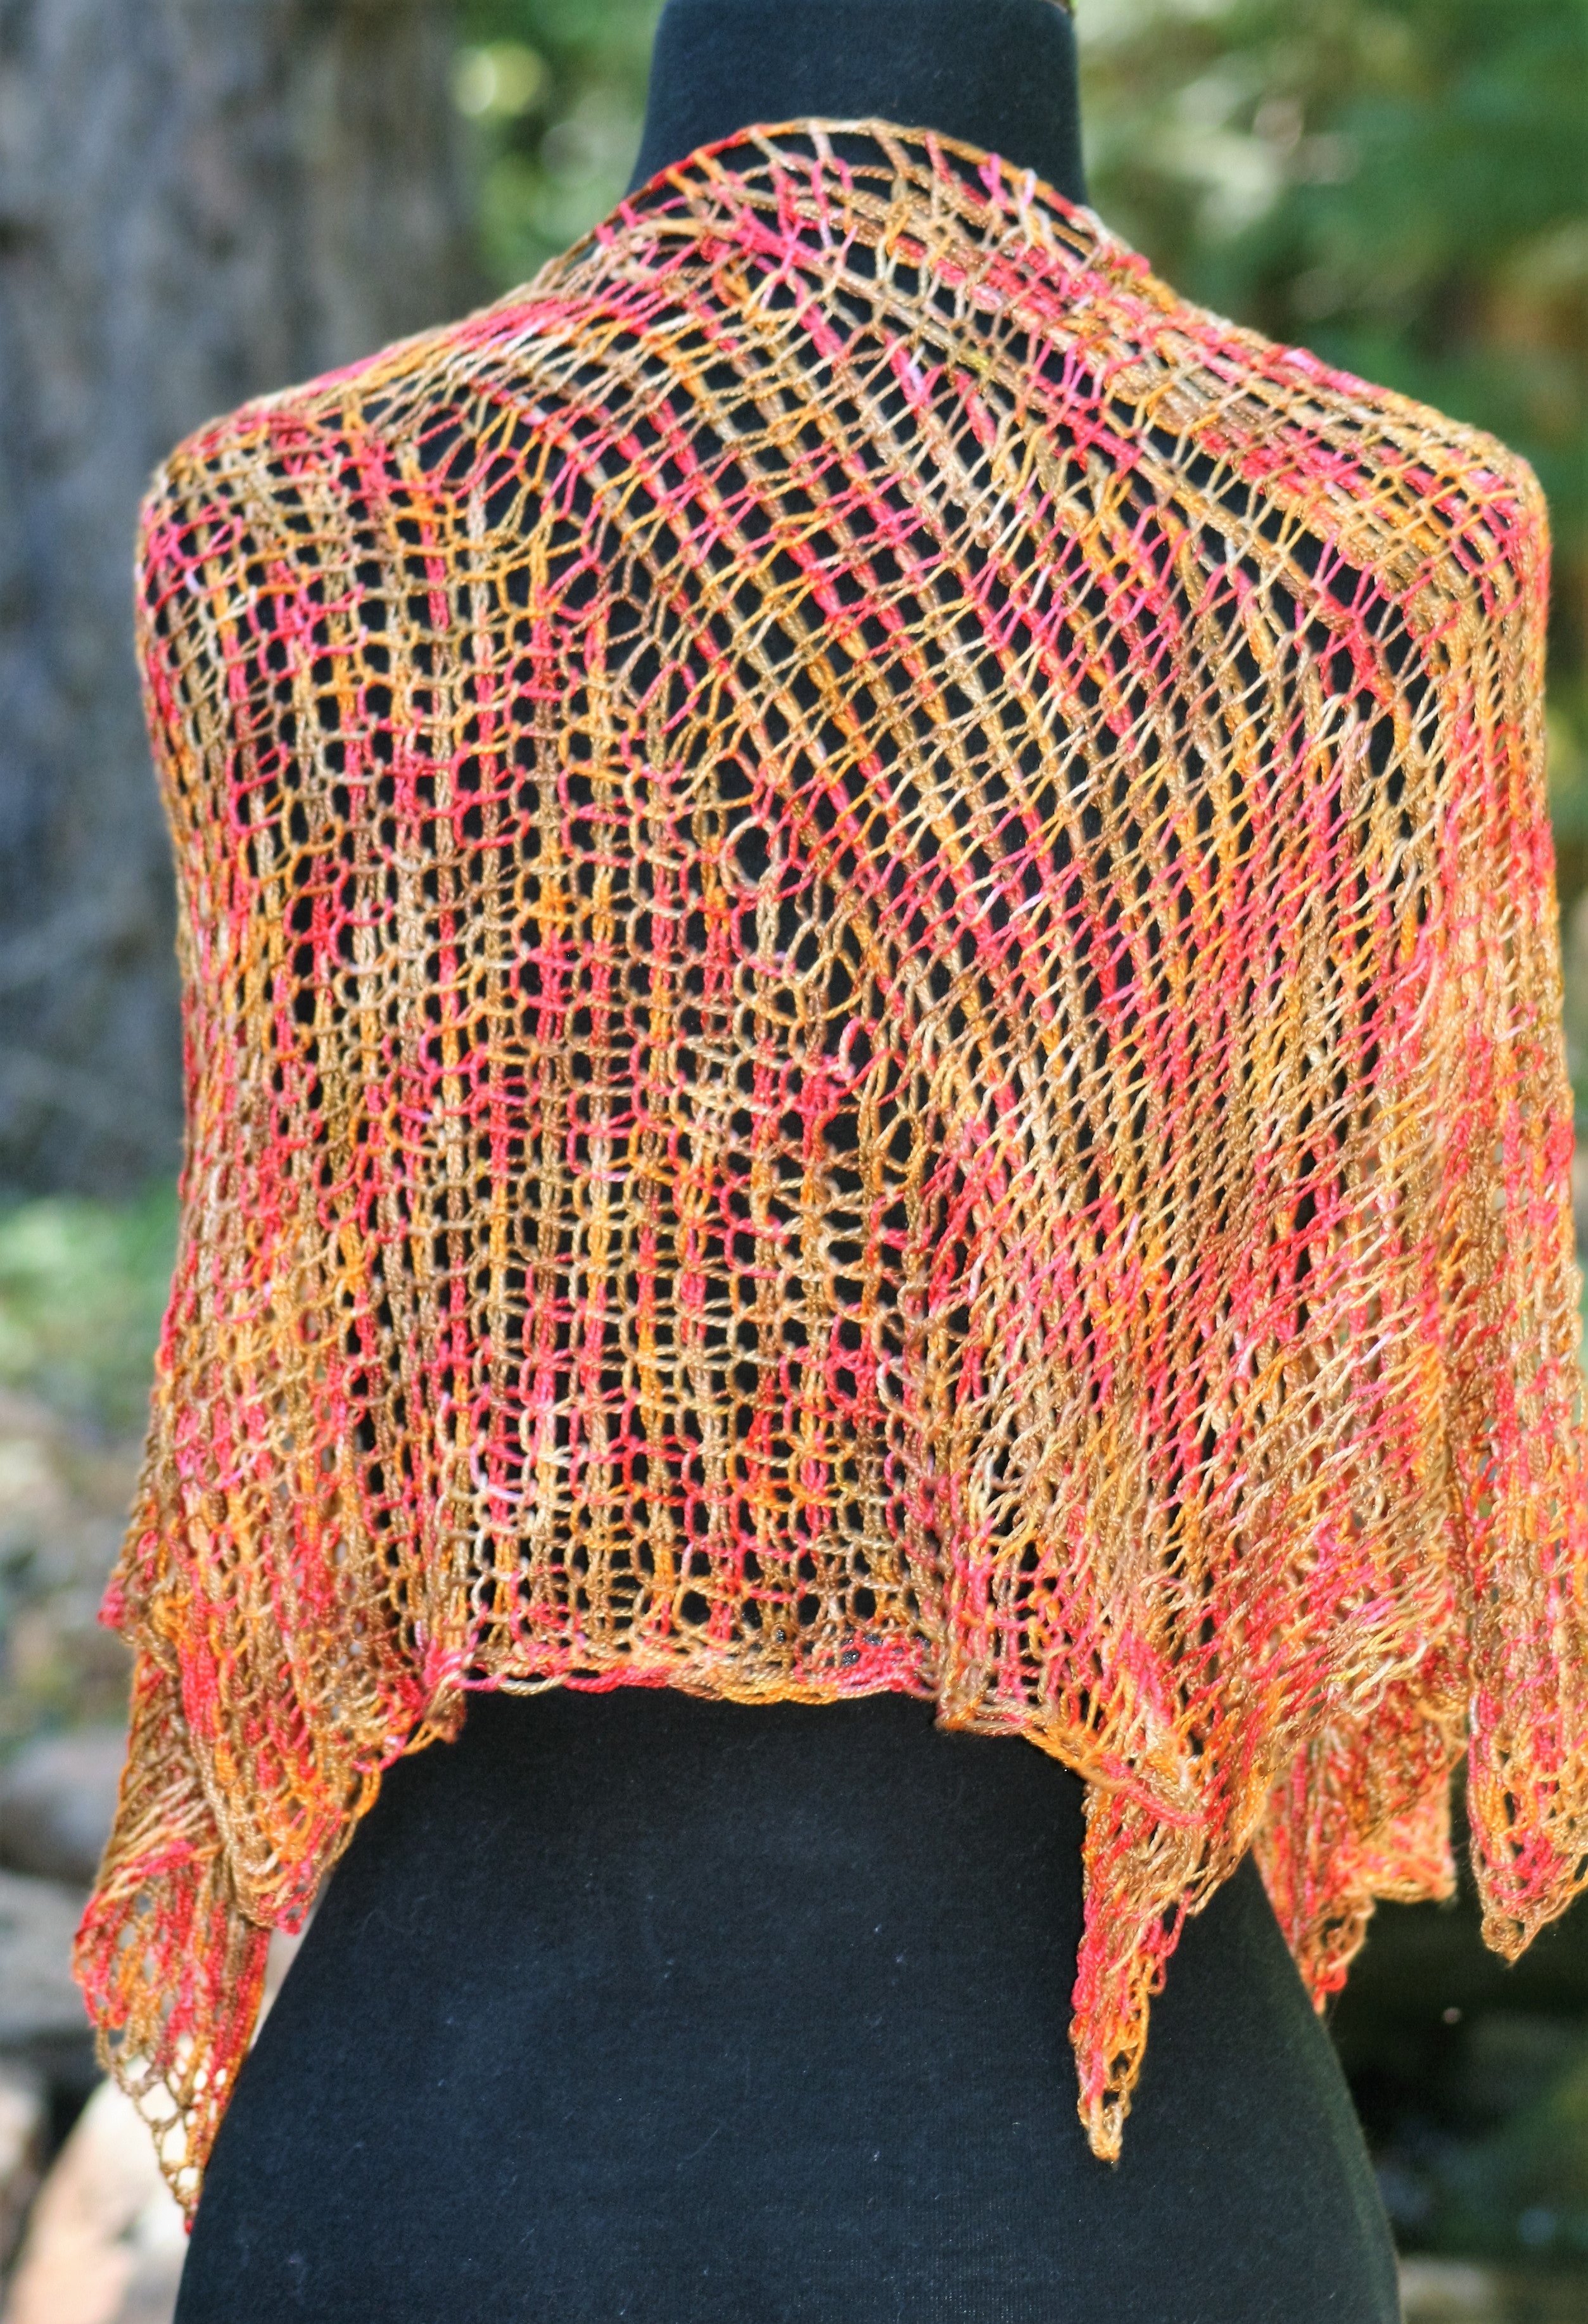
Interlude Crochet Shawl
I have to give complete thanks to Lisa Souza herself, for actually knitting up the knit version. I had attempted to complete it myself, but after it set on my needles for months, I knew if it was up to me it would never come into being. Like I stated, I understand the concepts, but the hands are not as proficient as my mind, so I got completely hung up on the short rows. But I can share Lisa’s feedback, she told me that at first she was questioning my sanity, as it is a fine yarn on rather large needles, then she found it rather addicting and finished with just a couple of hours over two evenings. However the magic happened after blocking. The stitches were not readily apparent until it dried, then it all came together and she dubbed it a success (she may still question my sanity, but it is not about this pattern).
This is an interesting adventure, which grew out of my daughter’s simple request, I am personally interested in seeing where it might lead. To help celebrate my enthusiasm with this new undertaking I am offering a 20% discount on ALL patterns in my Ravelry store with coupon code SW2016 through March 31, 2016 (no limits, use it as much as you like, and share it with friends). Thank you for sharing this adventure with me!