Which Way Do I Turn?

Does it matter which way I turn? Do I have to chain first? These are two common questions that any crochet instructor is asked when teaching the basics.

My typical answer is, “as long as you are consistent, it does not matter”, but that is not quite true.

The reason I give my answer above, is because I know that the student is taking in a lot of information and do not want to overwhelm them with small details that may discourage, and in the long run it really may not make a difference in your work.

However, there are some subtle difference to the direction you turn your fabric and effects of your fabric. I am primarily writing from the view point of right handed crocheter, but in the parentheses I note the left handed viewpoint).

Turning Your Fabric

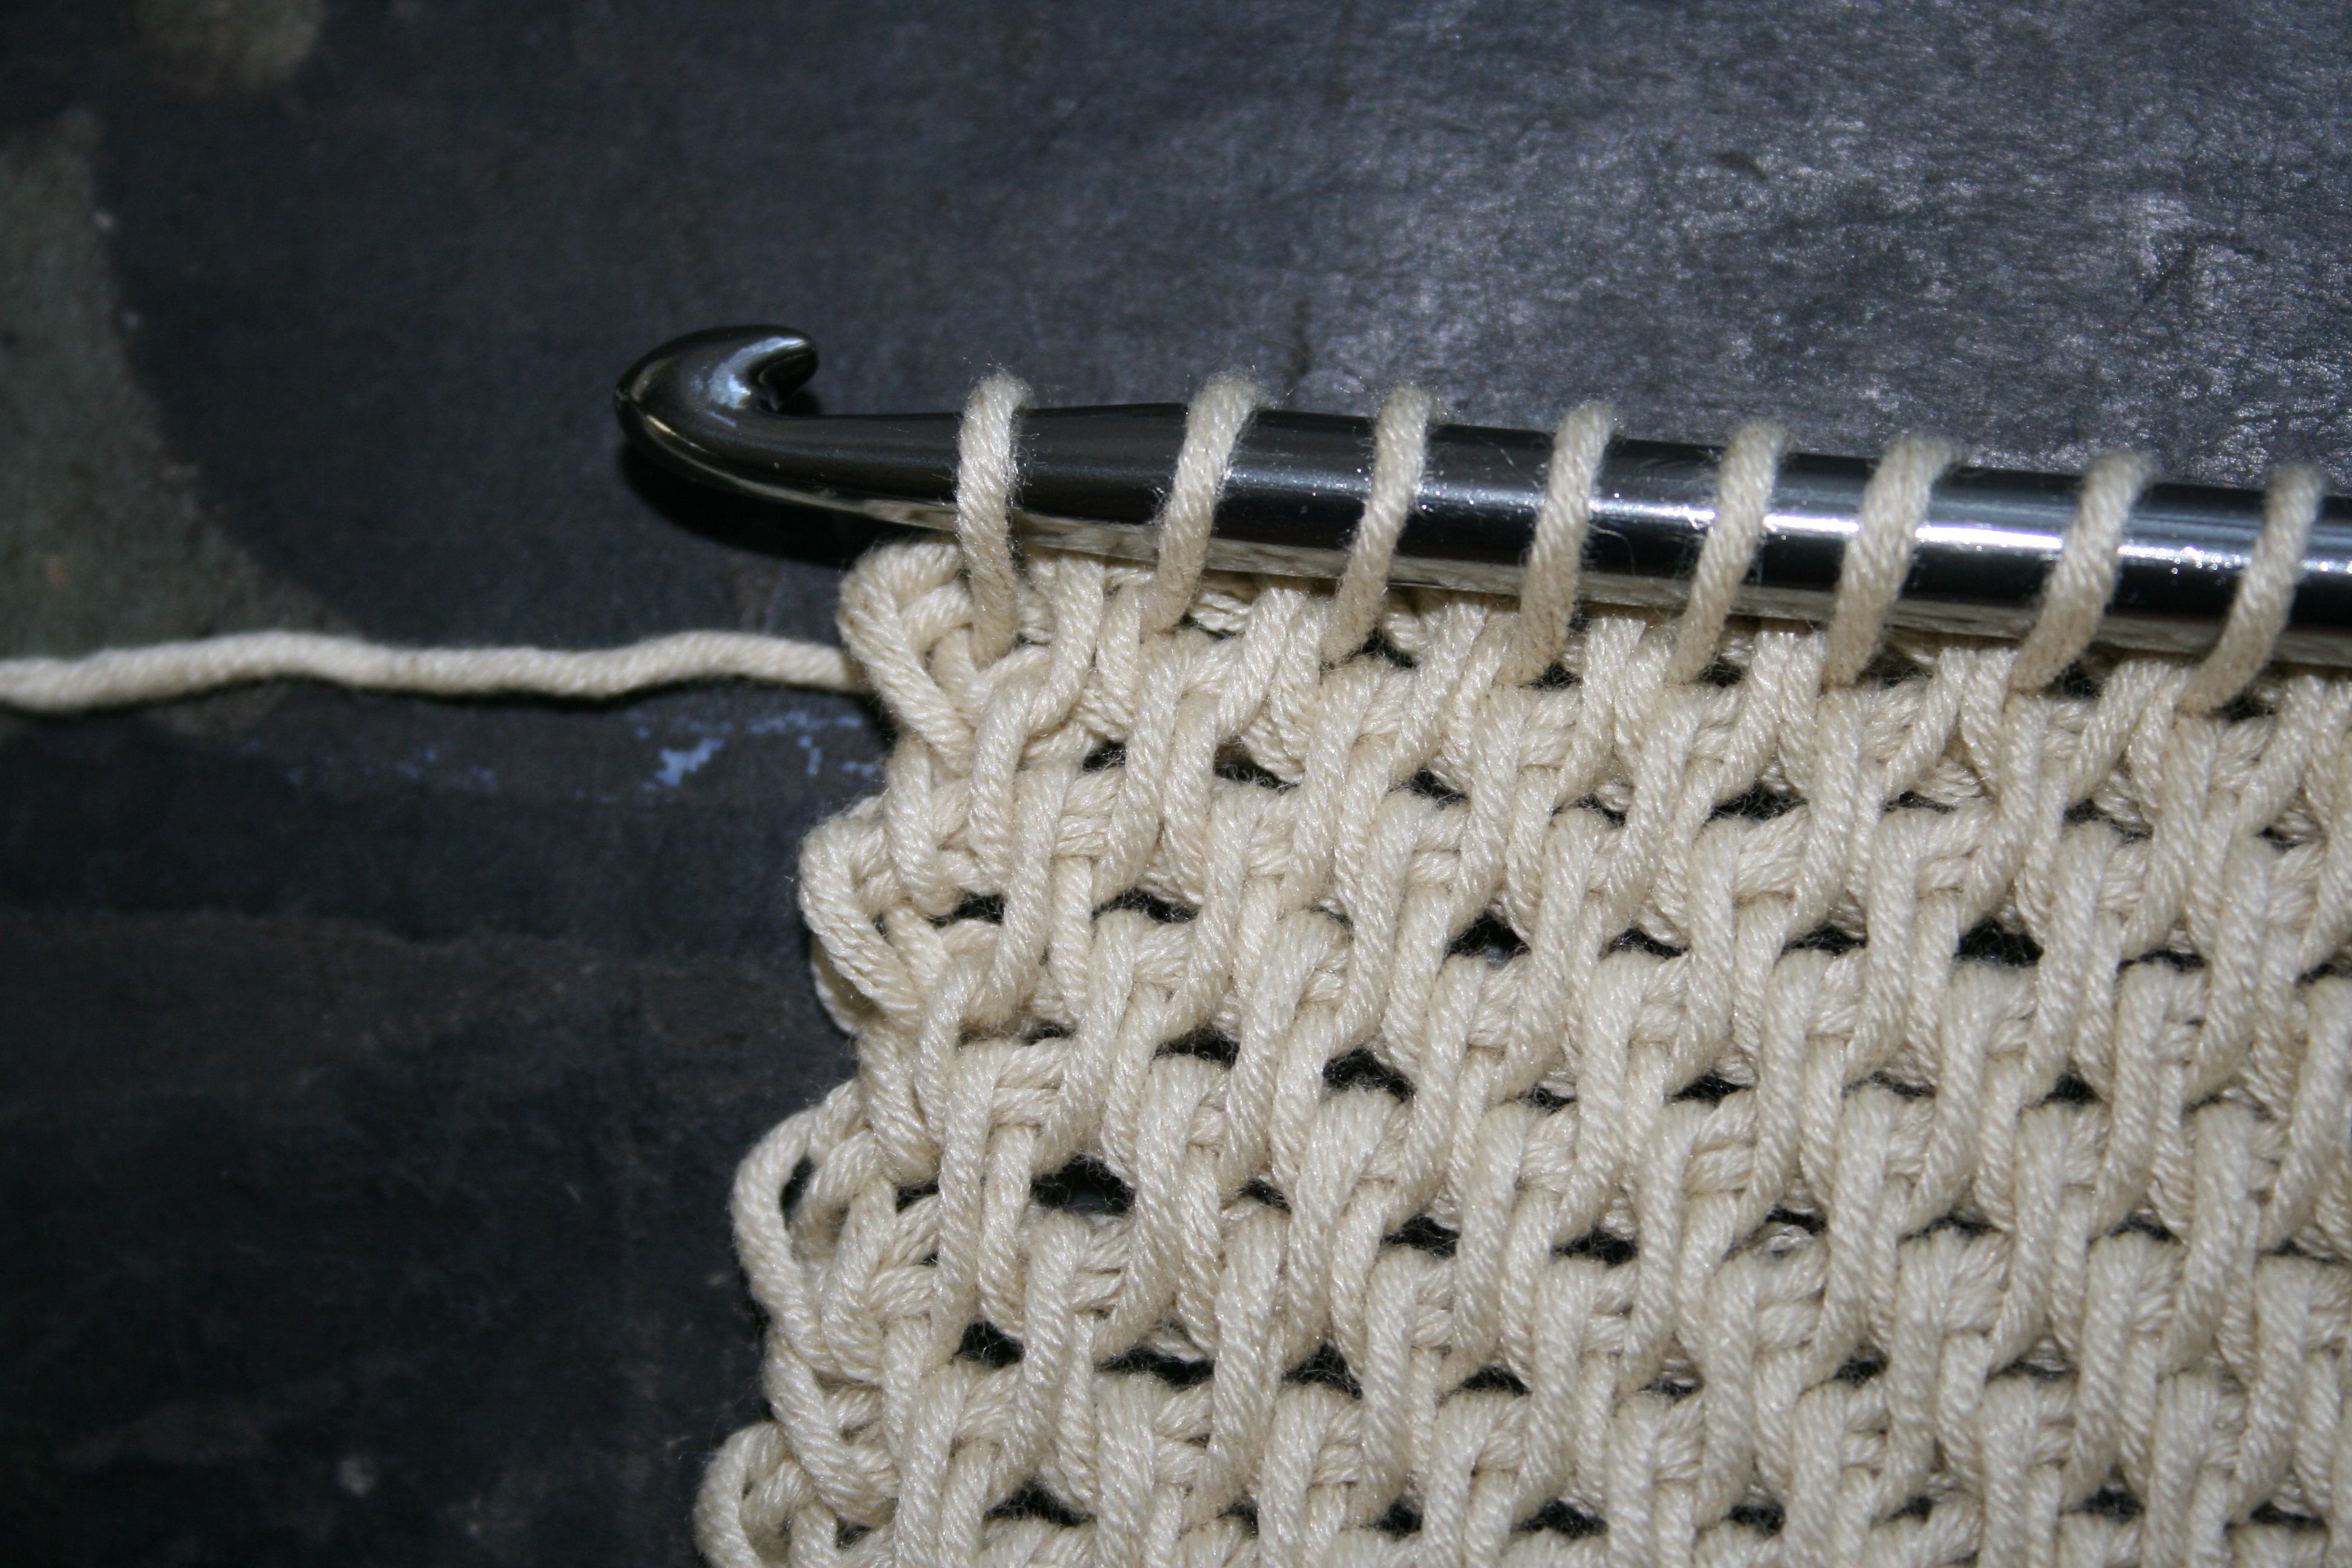
The standard way to turn your fabric it to turn it like the page of a book (like you have been reading the last page of the book and need to turn back to the beginning). Turning this direction keeps the working yarn to the back of the fabric, in the same manner of placement as when you complete your crochet stitch.

Turning like a page of the book (right handed)

Turning the fabric in the opposite direction the working yarn is placed in the front of the fabric. While you can still create a stitch creating a yarn over feels a bit different, maybe even awkward. This placement also sets up some challenges depending on what stitch is being worked next.

Turning the page backward (right handed)

I have primarily found this with working a back loop single crochet. By having the working yarn in the front of the work, it can make it difficult to get the hook placement in the first back loop as it is not readily apparent and thus this stitch may be skipped.
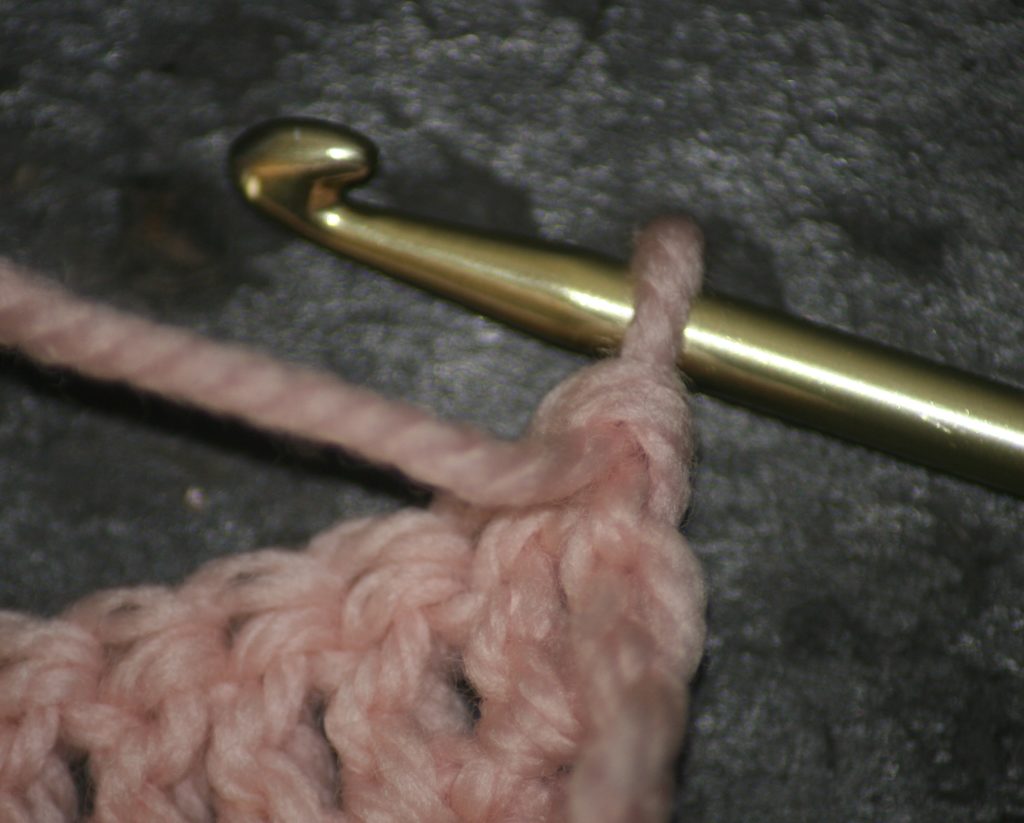
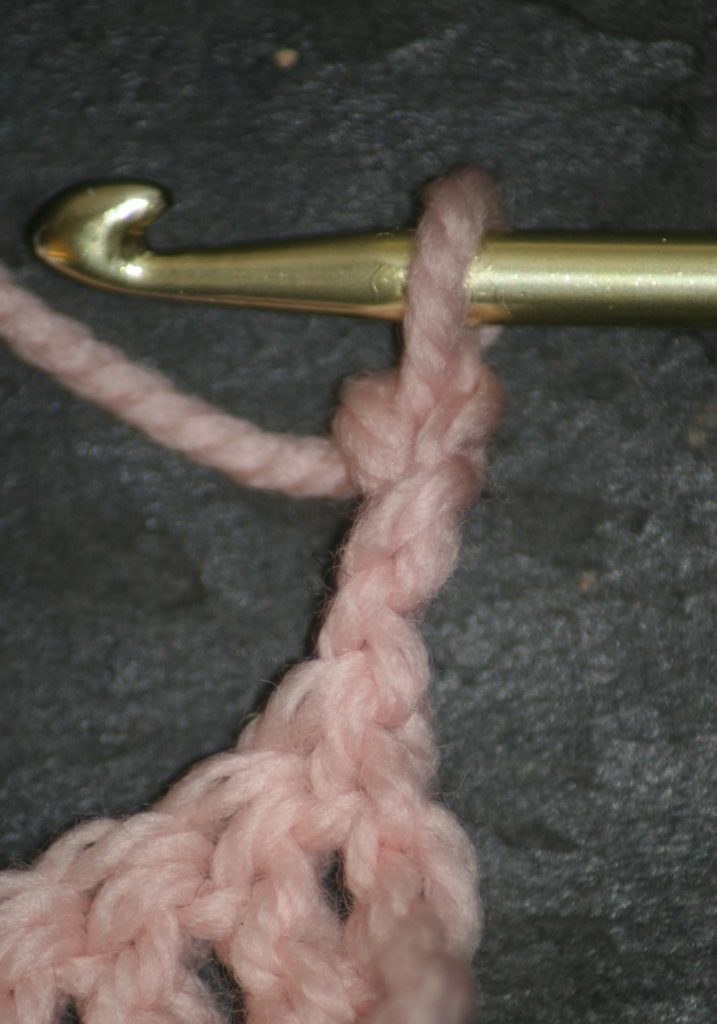
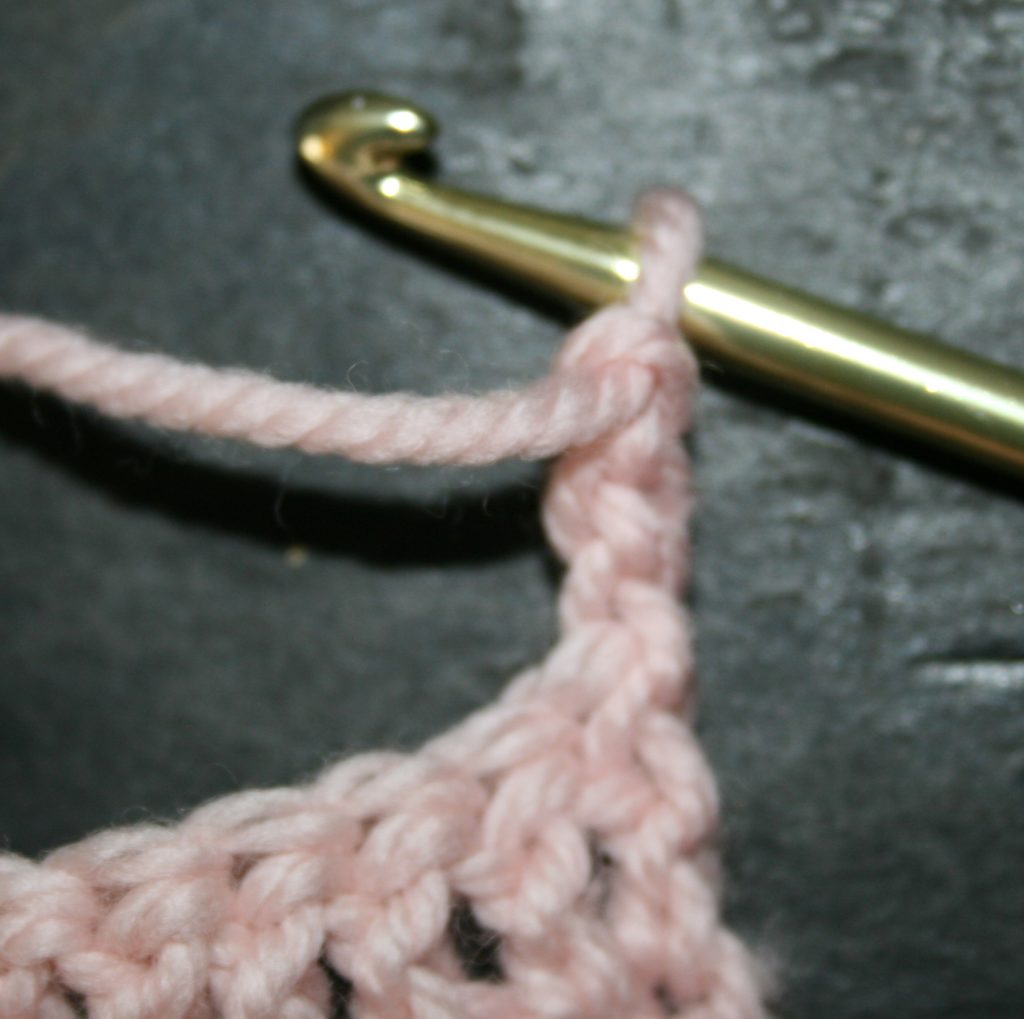
To Chain or Turn

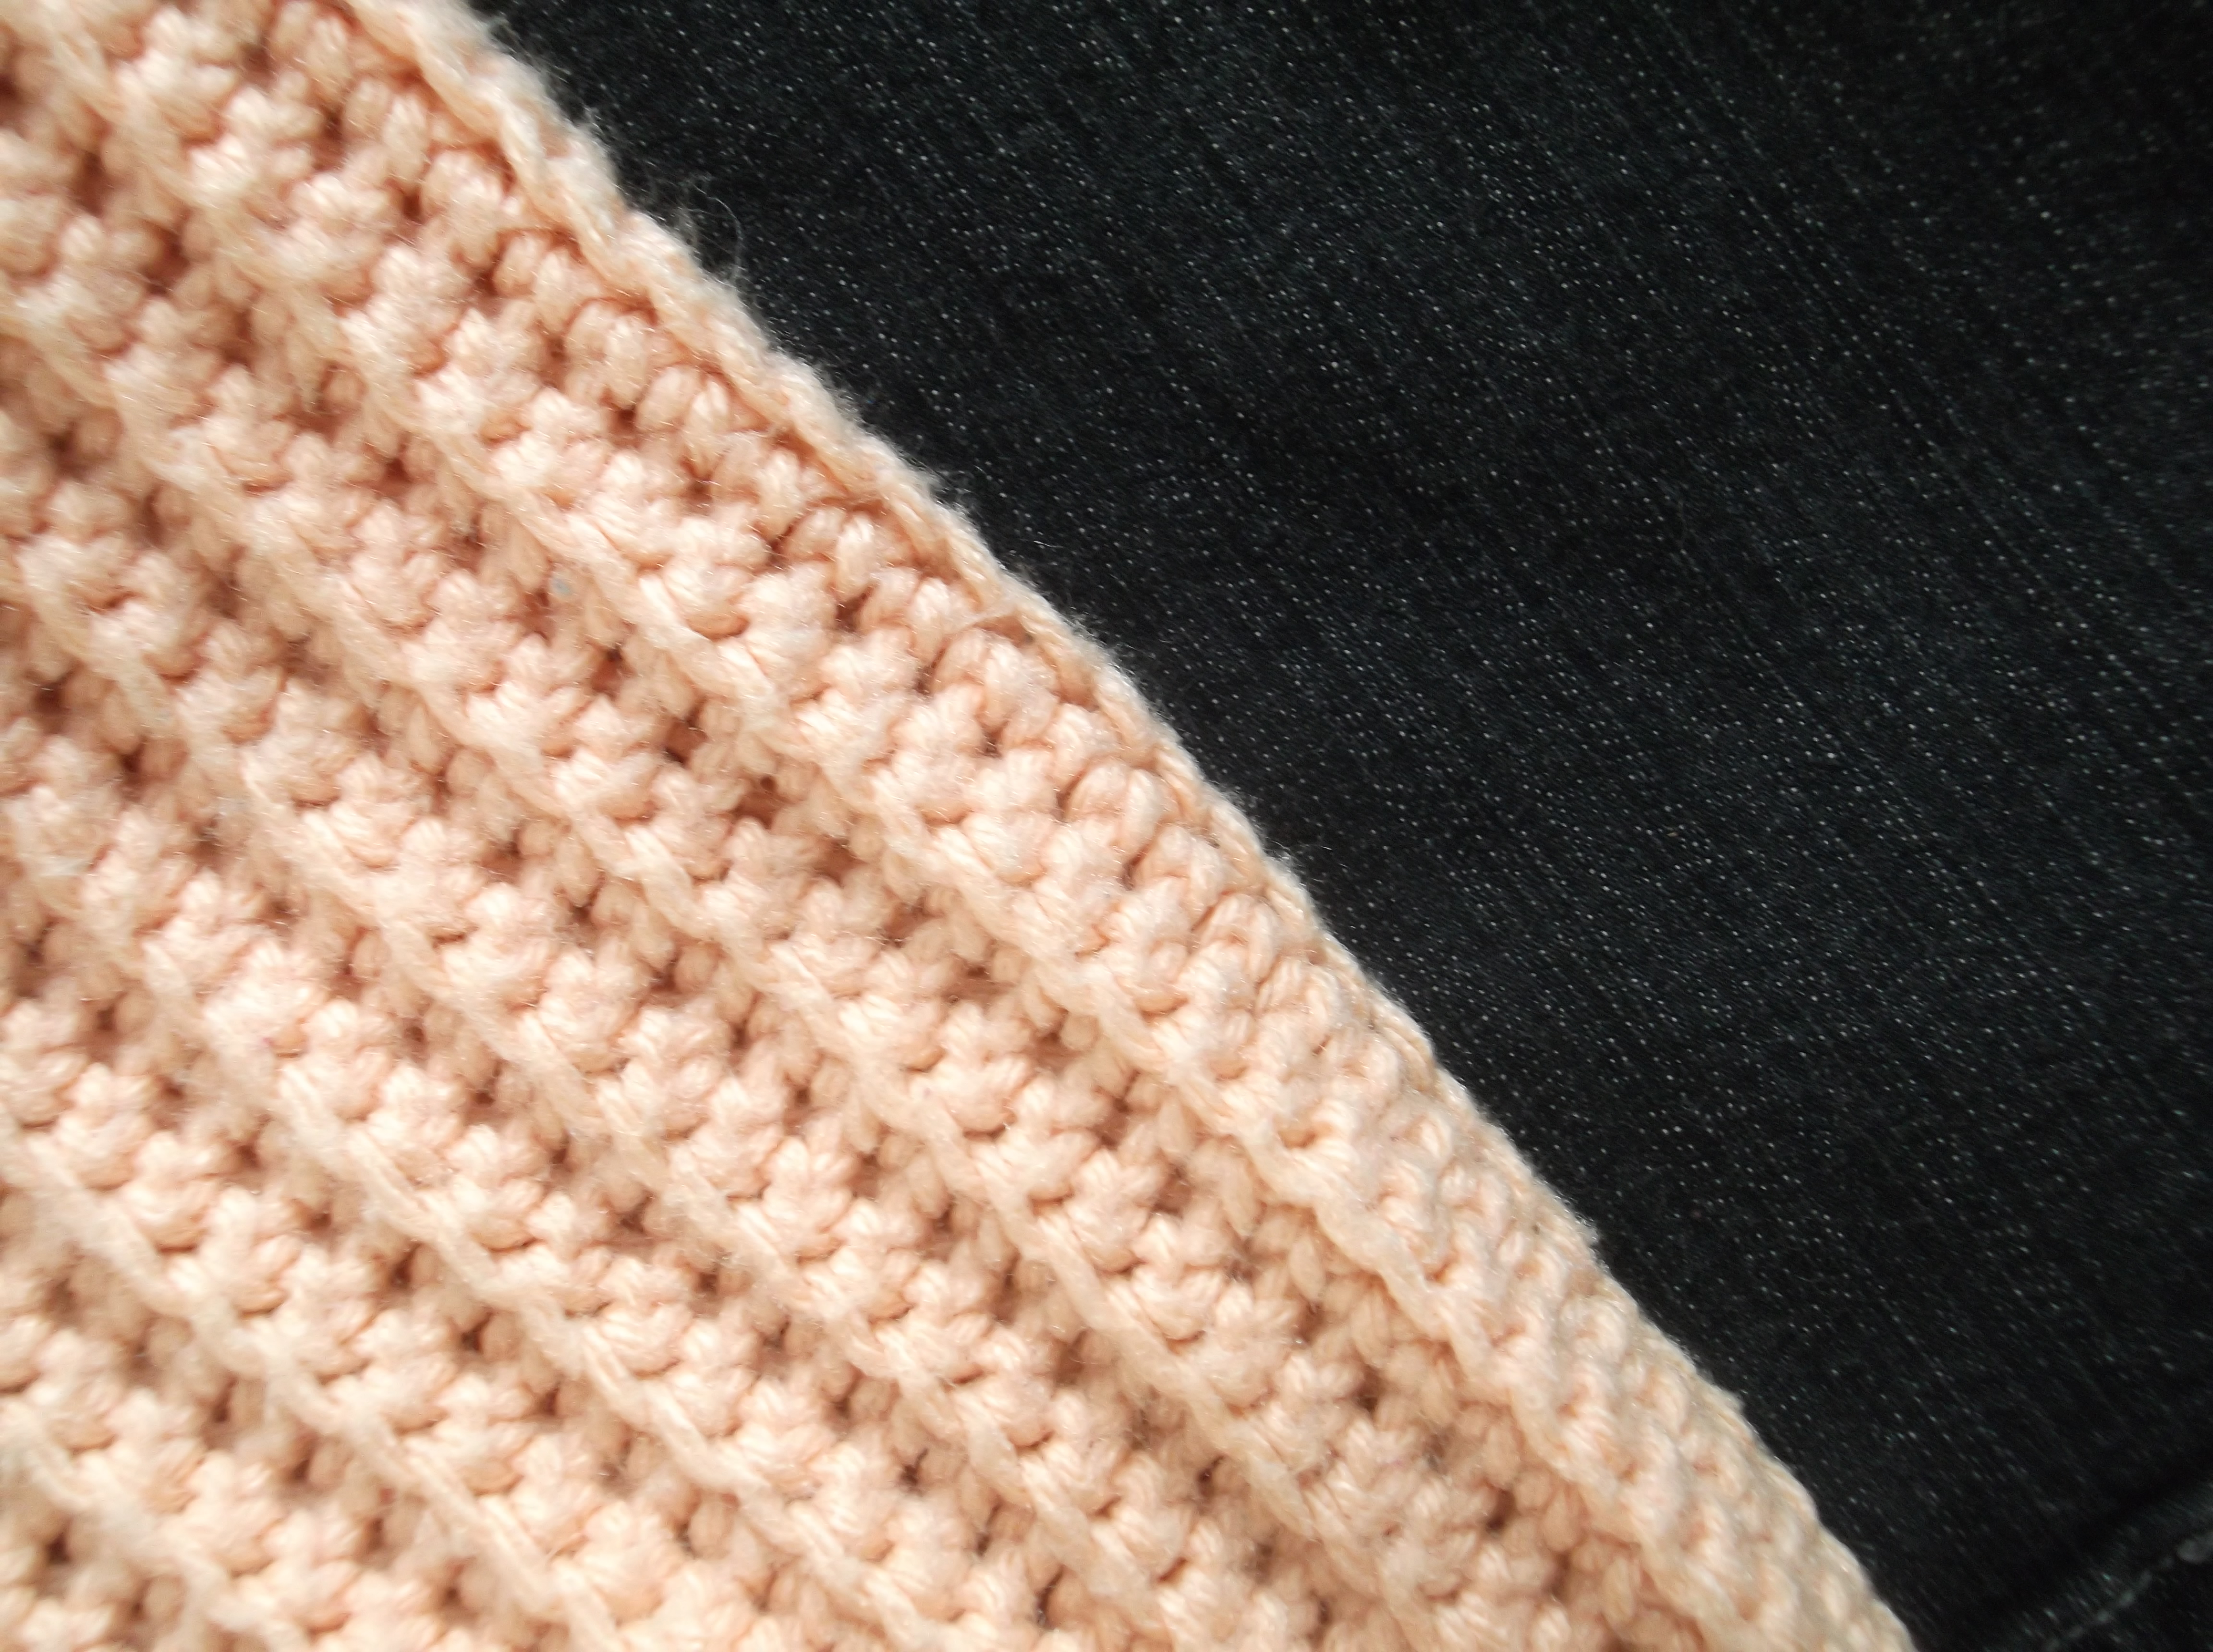
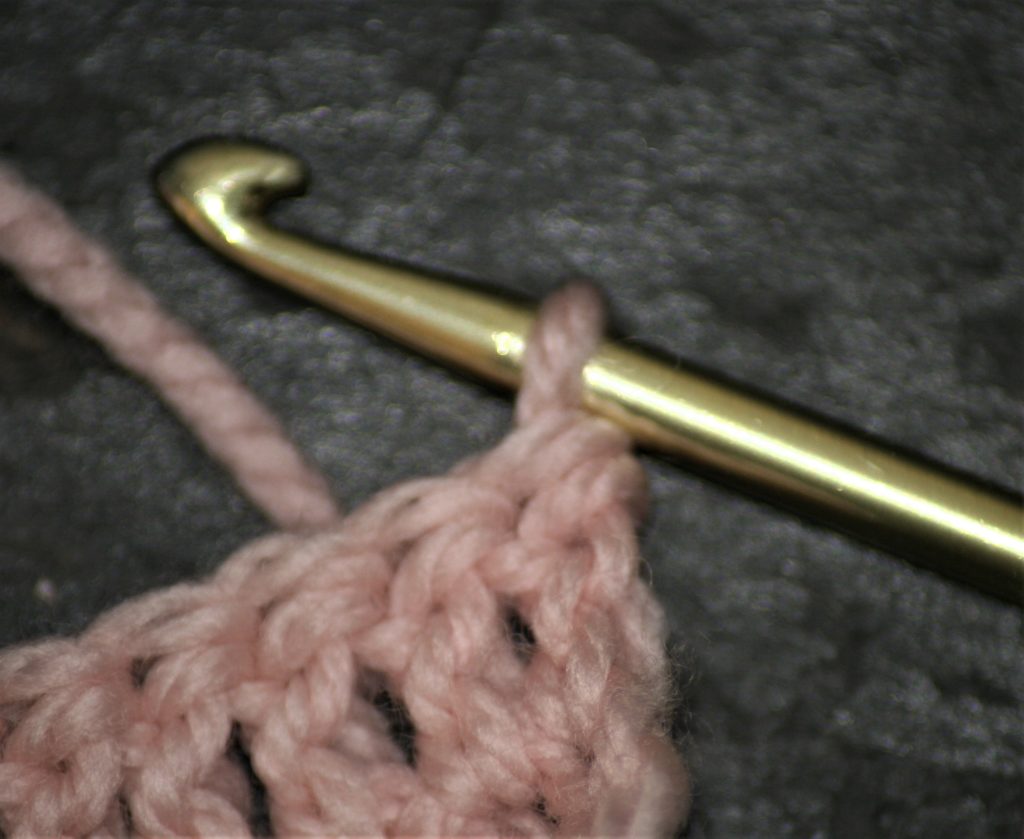
So, then to turn and chain, or chain and then turn? As long as you are only turning 180° there is no real apparent difference. In either case, if the chain is created on a fabric that has the yarn to the front of the work, the back side of the chain is facing forward. If the fabric is created with the working yarn to the back the chain will appear to have a slight twist.

The chain created when the fabric is turned like a book (right handed)…notice how the back of the chain (the bumps) are facing the edge and there is a slight twist.
The chain created when the fabric is turned in the opposite direction of a page (right handed)- notice how the back of the chain (the bumps) are facing you

So to summarize, if you find that the first stitch of a row feels a bit different than the other stitches, check the way you are turning and see if it makes a difference, but do not worry about when and how you chain, it works the same either way.

Jogged Edges- Just Finish the Job

I have mentioned in the past that I had been crocheting for quite a few years before I ever attempted to a sweater. I actually remember the exact “awe ha” moment that spurred me to consider it, I was feeling under the weather, and was grabbing a quick bit at a deli before my work shift began at the local drugstore. A conversation with the sandwich artist behind the counter somehow came around to crochet. He had asked about how to make a sweater, if it was all on piece of pieces put together. My mind automatically shifted to sewing patterns from my days in my 4H sewing project, and it then hit me…I had been crocheting fabric all along. I only needed to crochet the fabric to the shape of the pattern and put it together.

I mention this as I have received some questions lately about the shaping of pieces to create a sweater, and that I often design them with jogged edges. The art of crochet, I have found, is a bit more forgiving than sewing with fabric (granted, I can sew, but it has never been my favorite past time). I have found that crocheting the most basic of shape of the fabric, without worrying about matching the lines exactly, but getting the basic shape, is all that is really necessary to be successful.

My jogging edges are most frequently found in neckline shaping, and the “bell” shaping at the top of set in sleeves. Yet, in the finished garment these jogs are not noticeable, simply because of seaming and edging. Edgings smooth over these jogs, creating a nice completed finish, while seaming pieces together the jogs can actually allow for a bit more stretch. In the seaming I am usually whip stitching (the act of inserting the needle from only 1 side of the fabric and pushing through to the opposite side, bringing the needle and thread over the seam and reinserting the needle from the same side).

The edges do not match up perfectly on the sleeve seaming, however, you are not usually seaming the top of a stitch to a matching top of stitch. In this process you are often seaming tops of stitches to the sides if rows, and the jogs help you better fit this together.

Basically, don’t worry about over thinking your crochet, minor tweaks and simple tricks can smooth it out and get the result you are hoping for.


Taking a Look at the “Extras” that make Crochet

ScannedImageI usually find myself to be a very simple person. I have crocheted for more years then I care to count, and have never thought about much more then my hook and my yarn. However recently I have started to look at “accessories”.

It probably came about from a ceramics class. A group of former students/friends arranged a day out to a local studio called “Color Me Mine”. It is apparently a chain of studios that have ceramic pieces for purchase, that you can then glaze and they will fire in a kiln, resulting in a personalized project that has a professional feel. At our studio day it was arranged for us to create our own yarn bowls.DSCF0937

A yarn bowl is a newer concept to me; it is a bowl that holds yarn but has decorative edge that actually functions in reducing your yarn from tangling. So balls of yarn are contained and do not run wild in the house and the pull of the yarn is from the same place every time. I admit, in the past I managed unruly balls of yarn by placing them in a tennis shoe or hiking boot, but this bowl seems to be much more effective. Of the finished pieces I had the pleasure of seeing, they are all beautiful.

Funny how one open door to a new thought can open the door to many others. As this experience had me looking at travel holders for hooks, bags, hooks in general, even coffee cups. So when I was attempting to find a “thank you” gift for a friend, instead of looking at the usual yarn, I began thinking of other possibilities. One that I have decided to undertake and make myself, a hook/needle travel case.

DSCF0927.1

Small pouches for hooks/needles

DSCF0929.1

Wrong side of sewn fabric, 2 sets of pockets are created with folds. (hook/needle pouches sewn on the main pocket)

It has not been as difficult as I would have first thought. I found a fabric I liked in my stash, a velvet or velour type in a dark green; I cut a rectangle of 13”x 30” (33x76cm), and then began folding. I folded up 8” (20cm) from the short side, and then folded it in half back down (so that the velvet side of the fabric was facing outward, while at the same time lining the pocket). I then began to stitch creating a pocket and then slender pocket of ½” (1cm) width to hold hooks/needles. I then created a second set of pockets behind the hooks, by pulling up the recently sewn pocket about 2 ½” (6cm) and stitching the sides down. I also placed a couple of additional seams over the stitches created in the hooks sleeves to make about 3” (7.5cm) pouches.

DSCF0931.1

The crochet fabric is sewn to the velvet fabric, wrong sides together.

Now that the stitching was done, it was on to the crochet. I made a piece of crochet fabric from some rayon yarn I had, and utilized the Tunisian simple stitch to highlight the subtle color changes, in a size of a 9”x13” (23x33cm)rectangle. Matching the 13” (33cm) sides of the velvet and the crochet, with wrong sides together I stitches the seam, as well as at either end of the of the 9”(23cm) side of the crochet fabric to the velvet piece, and finally stitched the last side of the crochet fabric in place leaving the remaining velvet fabric unstitched (this is used to fold over the hooks/needles). Then sew on some ribbon ties and I think it looks good.

DSCF0936.1

Tied up and ready to go!

DSCF0933.1

Just needs to be filled!

Looking at accessories for the world of fiber, is opening up many new ideas….it seems like a whole new world!

Tunisian Full Stitch….How I Found It for Myself

ScannedImageMany years ago I taught myself to crochet, I remember seeing the “Afghan Stitch” in the book I was using, but I was never interested in doing cross stitch embroidery, so I never looked at it too long. Then several years later I was taking a free form class and the teacher mentioned using some Tunisian Simple Stitch in the piece for fun.

IMG_6555.1

Tunisian Full Stitch

Well what I remembered of the stitch, insert you hook, pull up a loop, repeat, and then work them all off, so I proceeded to do just that. What I was not paying attention to was working behind the vertical bar; instead I worked between the vertical bars, you know that space that somewhat reminds me of chain space, and pulled a loop up. Later I realized my error, but I was sure that I was just doing a different stitch, however when I began looking around for the name, I couldn’t quite find it.

I searched on-line and through various books, and found some different names for it. Some called it “net stitch”, others “Basic Stitch”, and as Tunisian Crochet is becoming more mainstream and the terms more universal I have finally found it; the “Tunisian Full Stitch”.

IMG_6558.1

Working in the space Immediately next to the current loop on the hook

As I stated earlier there the stitch is worked between the vertical bars, but there are a couple of things to keep in mind. Since the stitch staggers on either side of the stitches below, you need to make adjustments at one side or the other of the fabric, or you will be making a piece that is not square. To make this adjustment on the beginning of one row you work a stitch immediately in front of the loop already on your hook, and end that row pulling up a loop in the last space between vertical bars. Then work the usual Return Pass (Chain 1, *YO, pull through 2 loops; rep from * across, until 1 loop remains). On the next row, you skip the space immediately next to the loop on the hook, and work in the rest of the spaces between vertical bars to the end of the row, insert hook in the chain-1 of the Return Pass below, YO and pull up a loop, then work the Return Pass again. Alternate these rows throughout the fabric. You will notice that the side that the Return Pass is begun, the edge will not be perfectly straight and this is normal, as you are adjusting a stitch to the last stitches every other row.

IMG_6560.1

Working the last stitch in the last space between vertical bars. This is the row ending to working the first loop in the space immediately next to the hook.

I personally really like this Tunisian Stitch, I am not sure if it is because it is the stitch I stumbled upon early on, or if it is because it does not give you a set straight line appearance but pulls the eye diagonally instead. The fabric does have a lot of stretch with this stitch and I find that useful in many designs, not to mention it is a fairly forgiving technique.

Air Pockets…They make the Difference

DSCF0578 - Copy

Rugby in the rain. We received about 8″ with this storm, completely welcomed after nearly 2 months of dry and warm weather.

ScannedImageThe other day, while standing in the long overdue rain, watching my son’s Rugby game, I was thinking about what makes my crochet hat and gloves warmer then my denim jeans. The answer is simple, but also kind of surprising; air. The more little pockets of air that are trapped next to the skin, the warmer you can stay.

The process used in twisting the yarn and creating little knots, creates little pockets that trap air. Depending on the yarn and stitch combination, different levels of warmth can be created; this is why lace can be warmer than expected. The more things are compressed and made tight and dense, does not necessarily create a warmer fabric as it can press the air out of the work.

This is true with the yarn as well. Often it is realized that wool is warmer then bamboo, this is because of the fibers that are used. Bamboo, even though it is a plant fiber, is processed and extruded in factories creating a long smooth yarn that absorbs moisture, and thus in hot weather will keep you cooler by wicking away perspiration and allowing it to be evaporated. While the animal fibers that are utilized in wool yarns, are created naturally to keep the animal warm and dry. This is done by the crimp of the fiber itself.

DSCF0582

2 locks of wool, notice the crimp of the fiber

Wool fibers are not like hair, they are crimped (like the fashion in hairstyles from the 1980’s), it has stretch (like elastic) and it grows in clusters (a patch grows together and can be plucked out together as one group). This nature helps to create air pockets in the yarn that is being created (depending on the process used, more or less air can be trapped).

DSCF0584

My single crochet ribbed hat over my denim pants

So while my woven denim might be durable it does not offer as much warmth because the amount of trapped air is limited. But that hat, made only out of single crochet ribbing and my gloves made from back loop single crochet kept me quite toasty in comparison.