Wow! I am excited about this!
This has been a unique undertaking in which I have partnered with Lickin Flames and Mountain Colors Yarn to put together an AWESOME Kit.
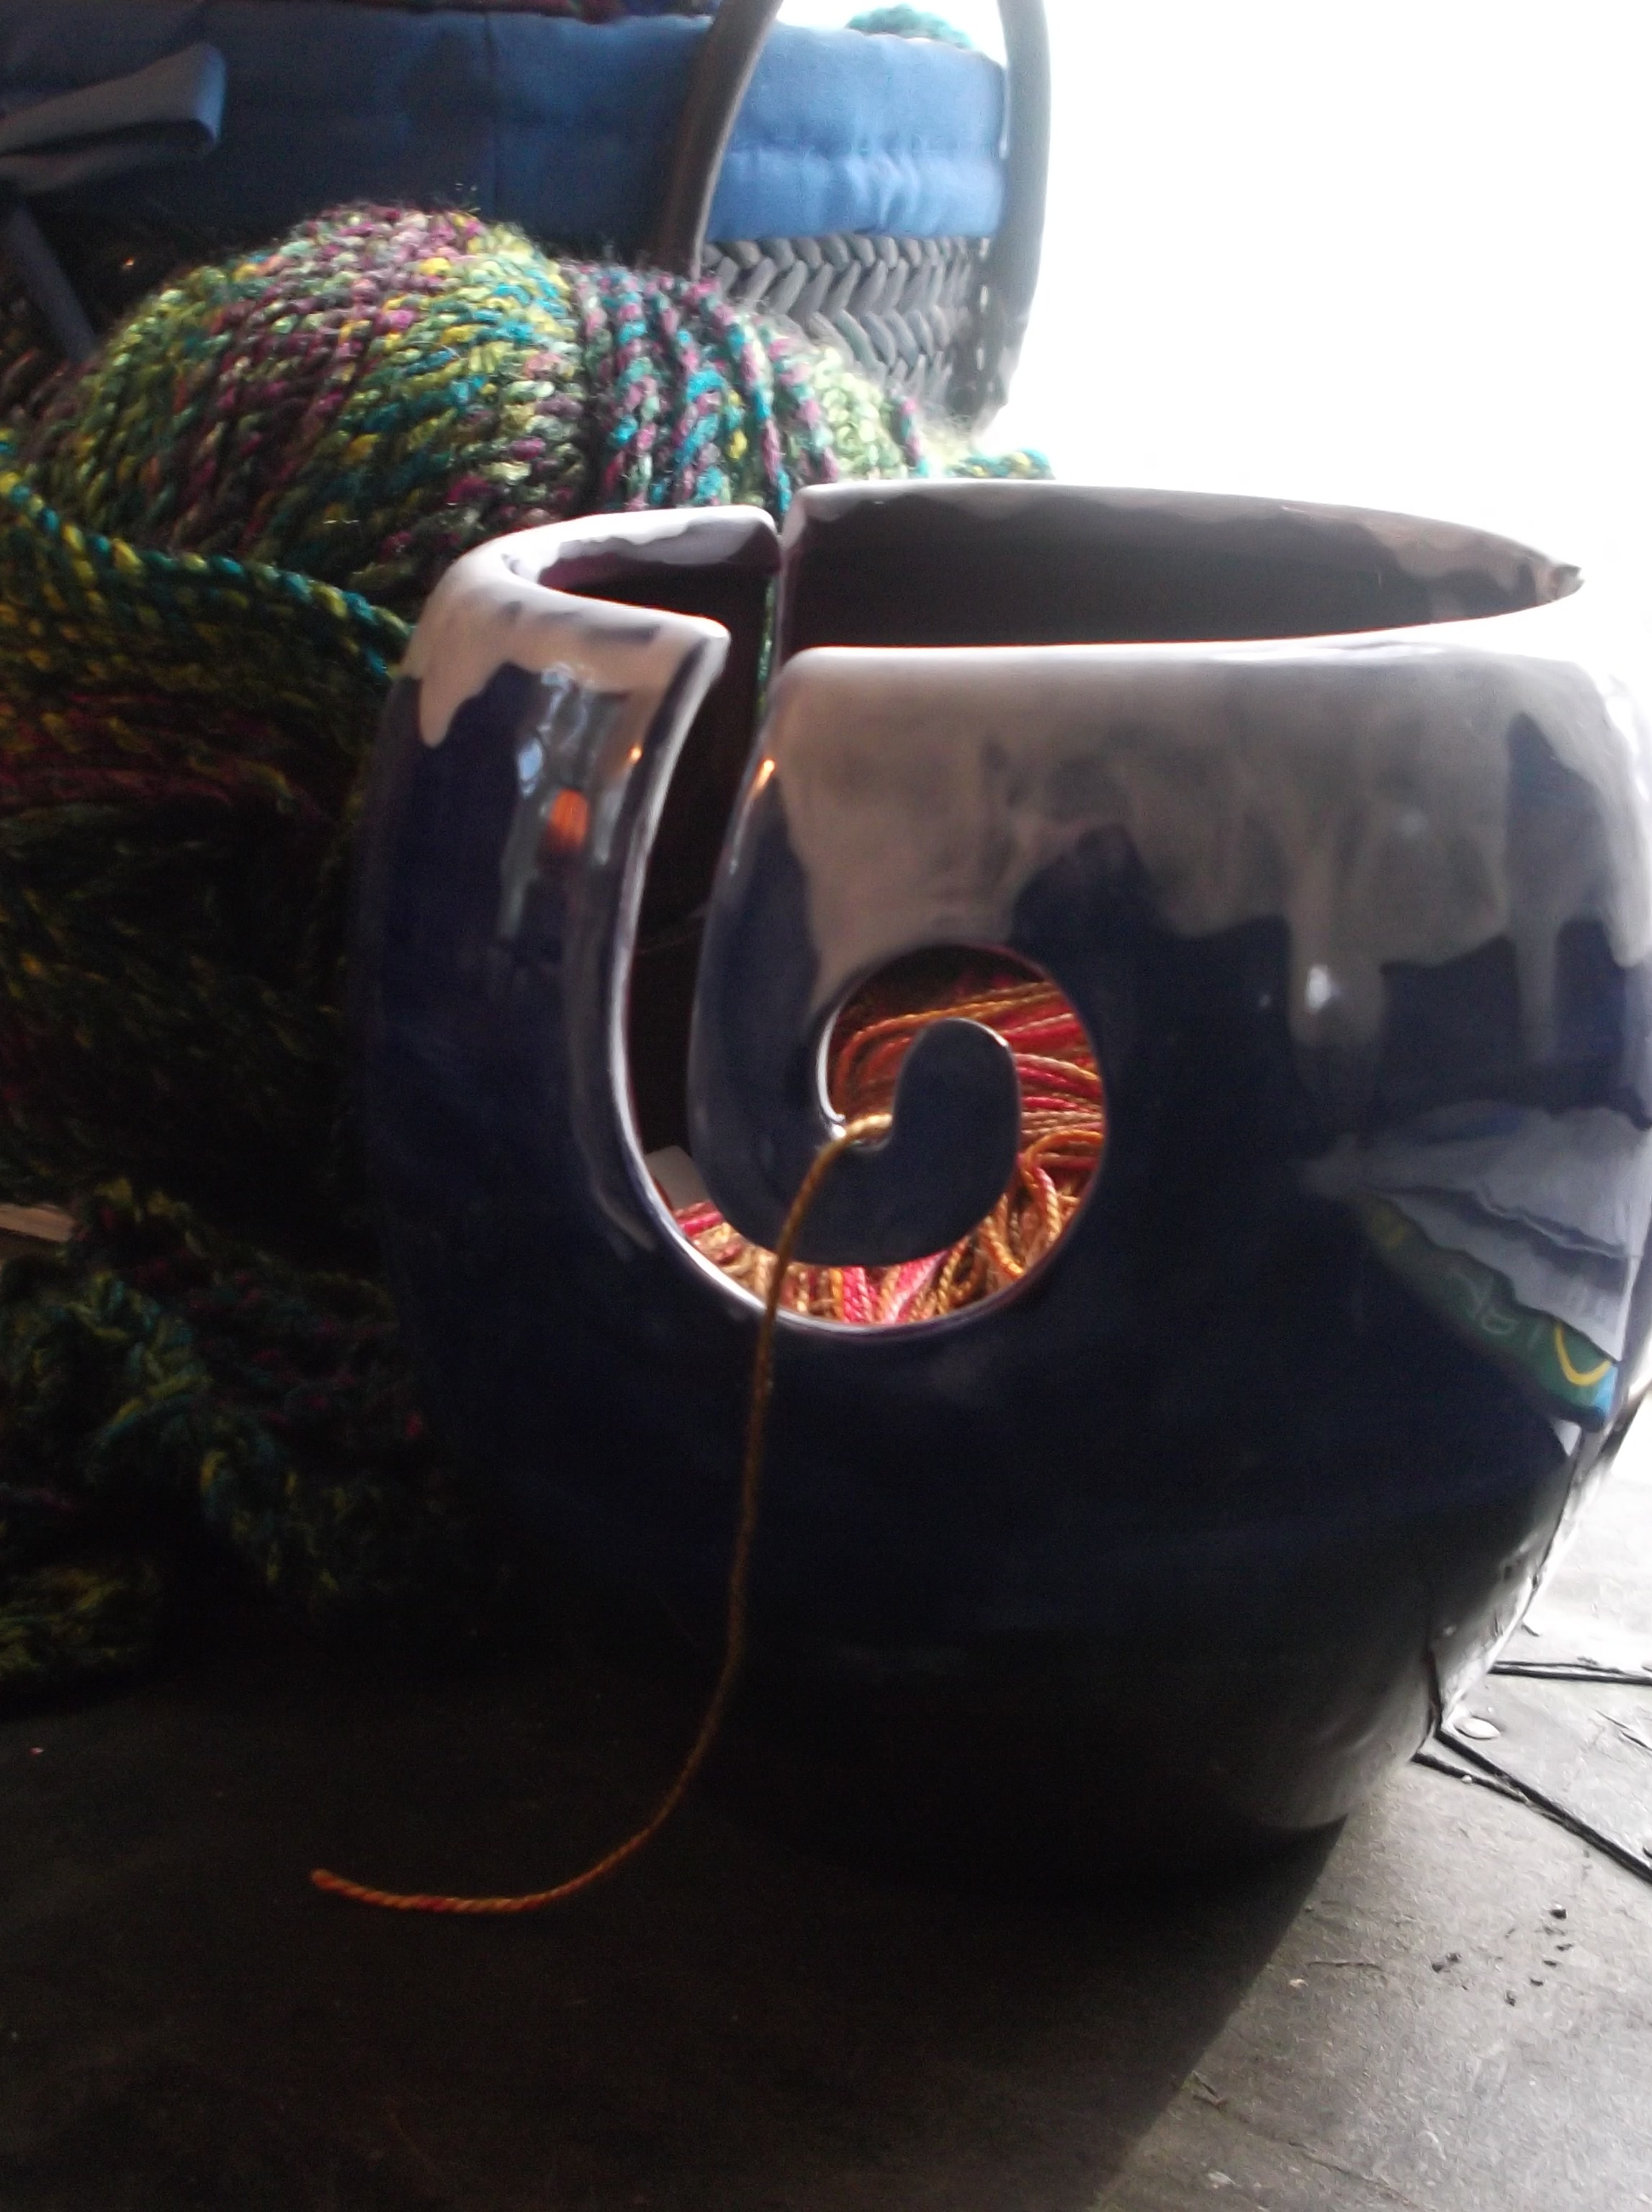
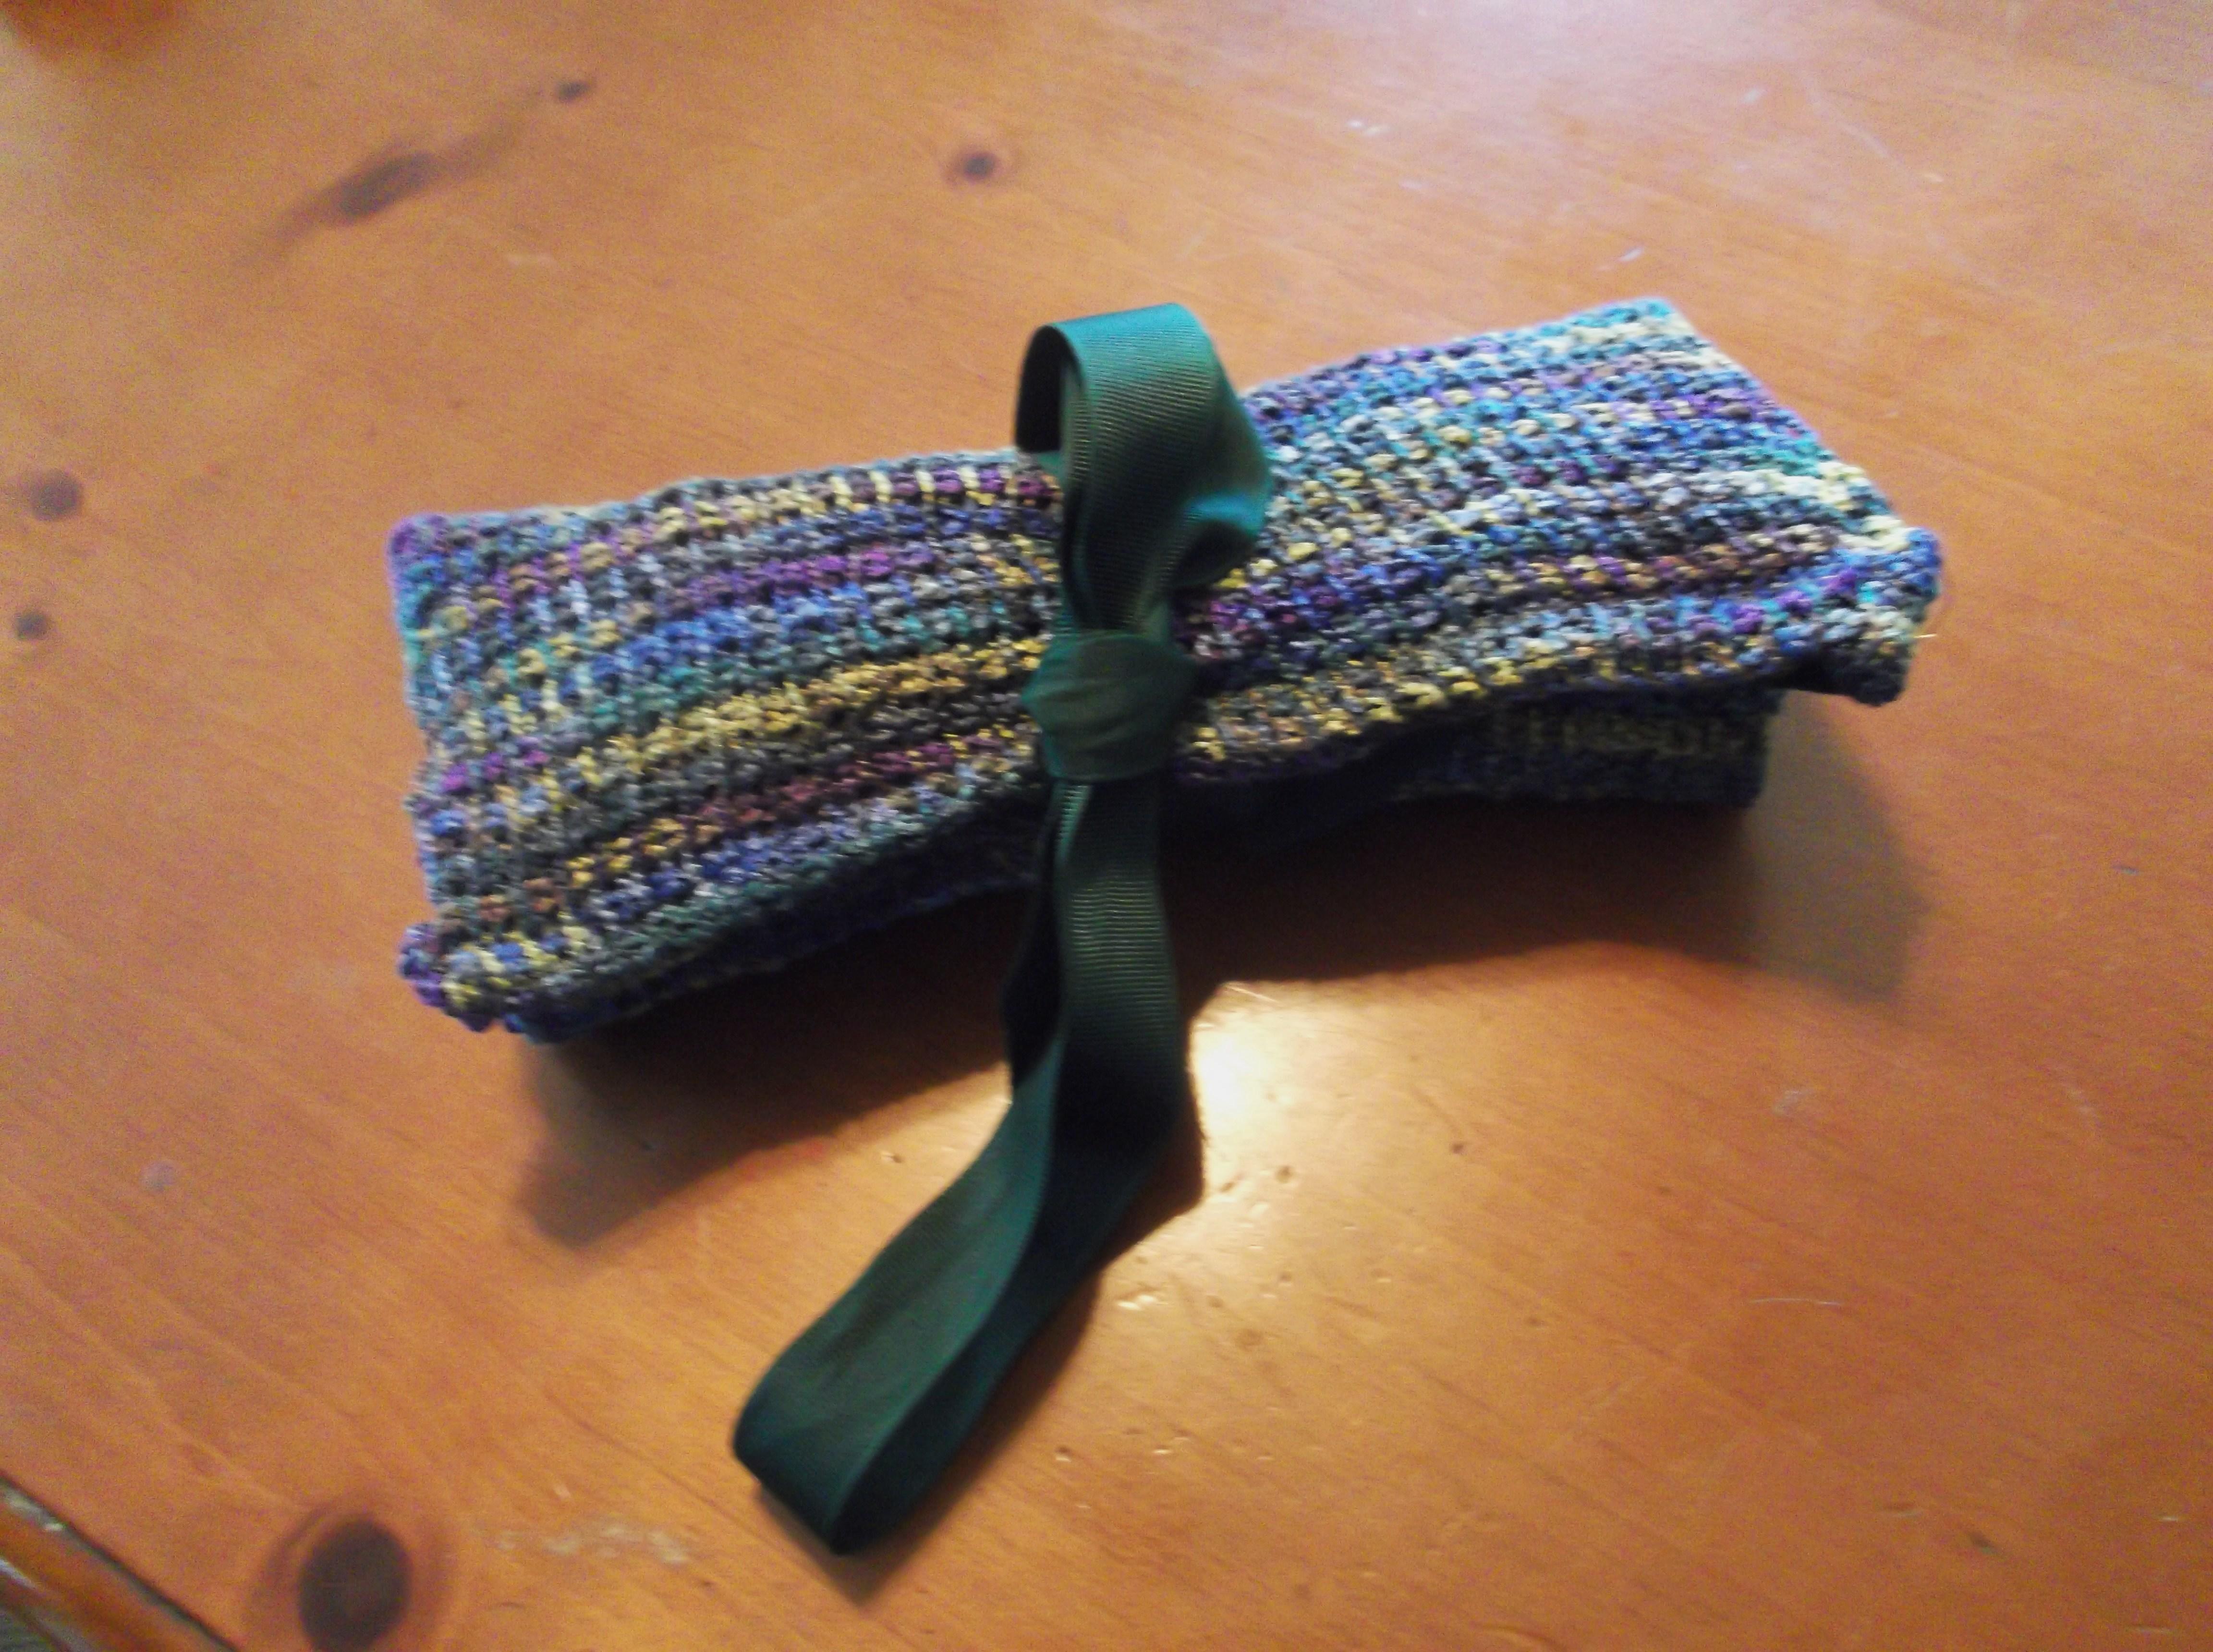
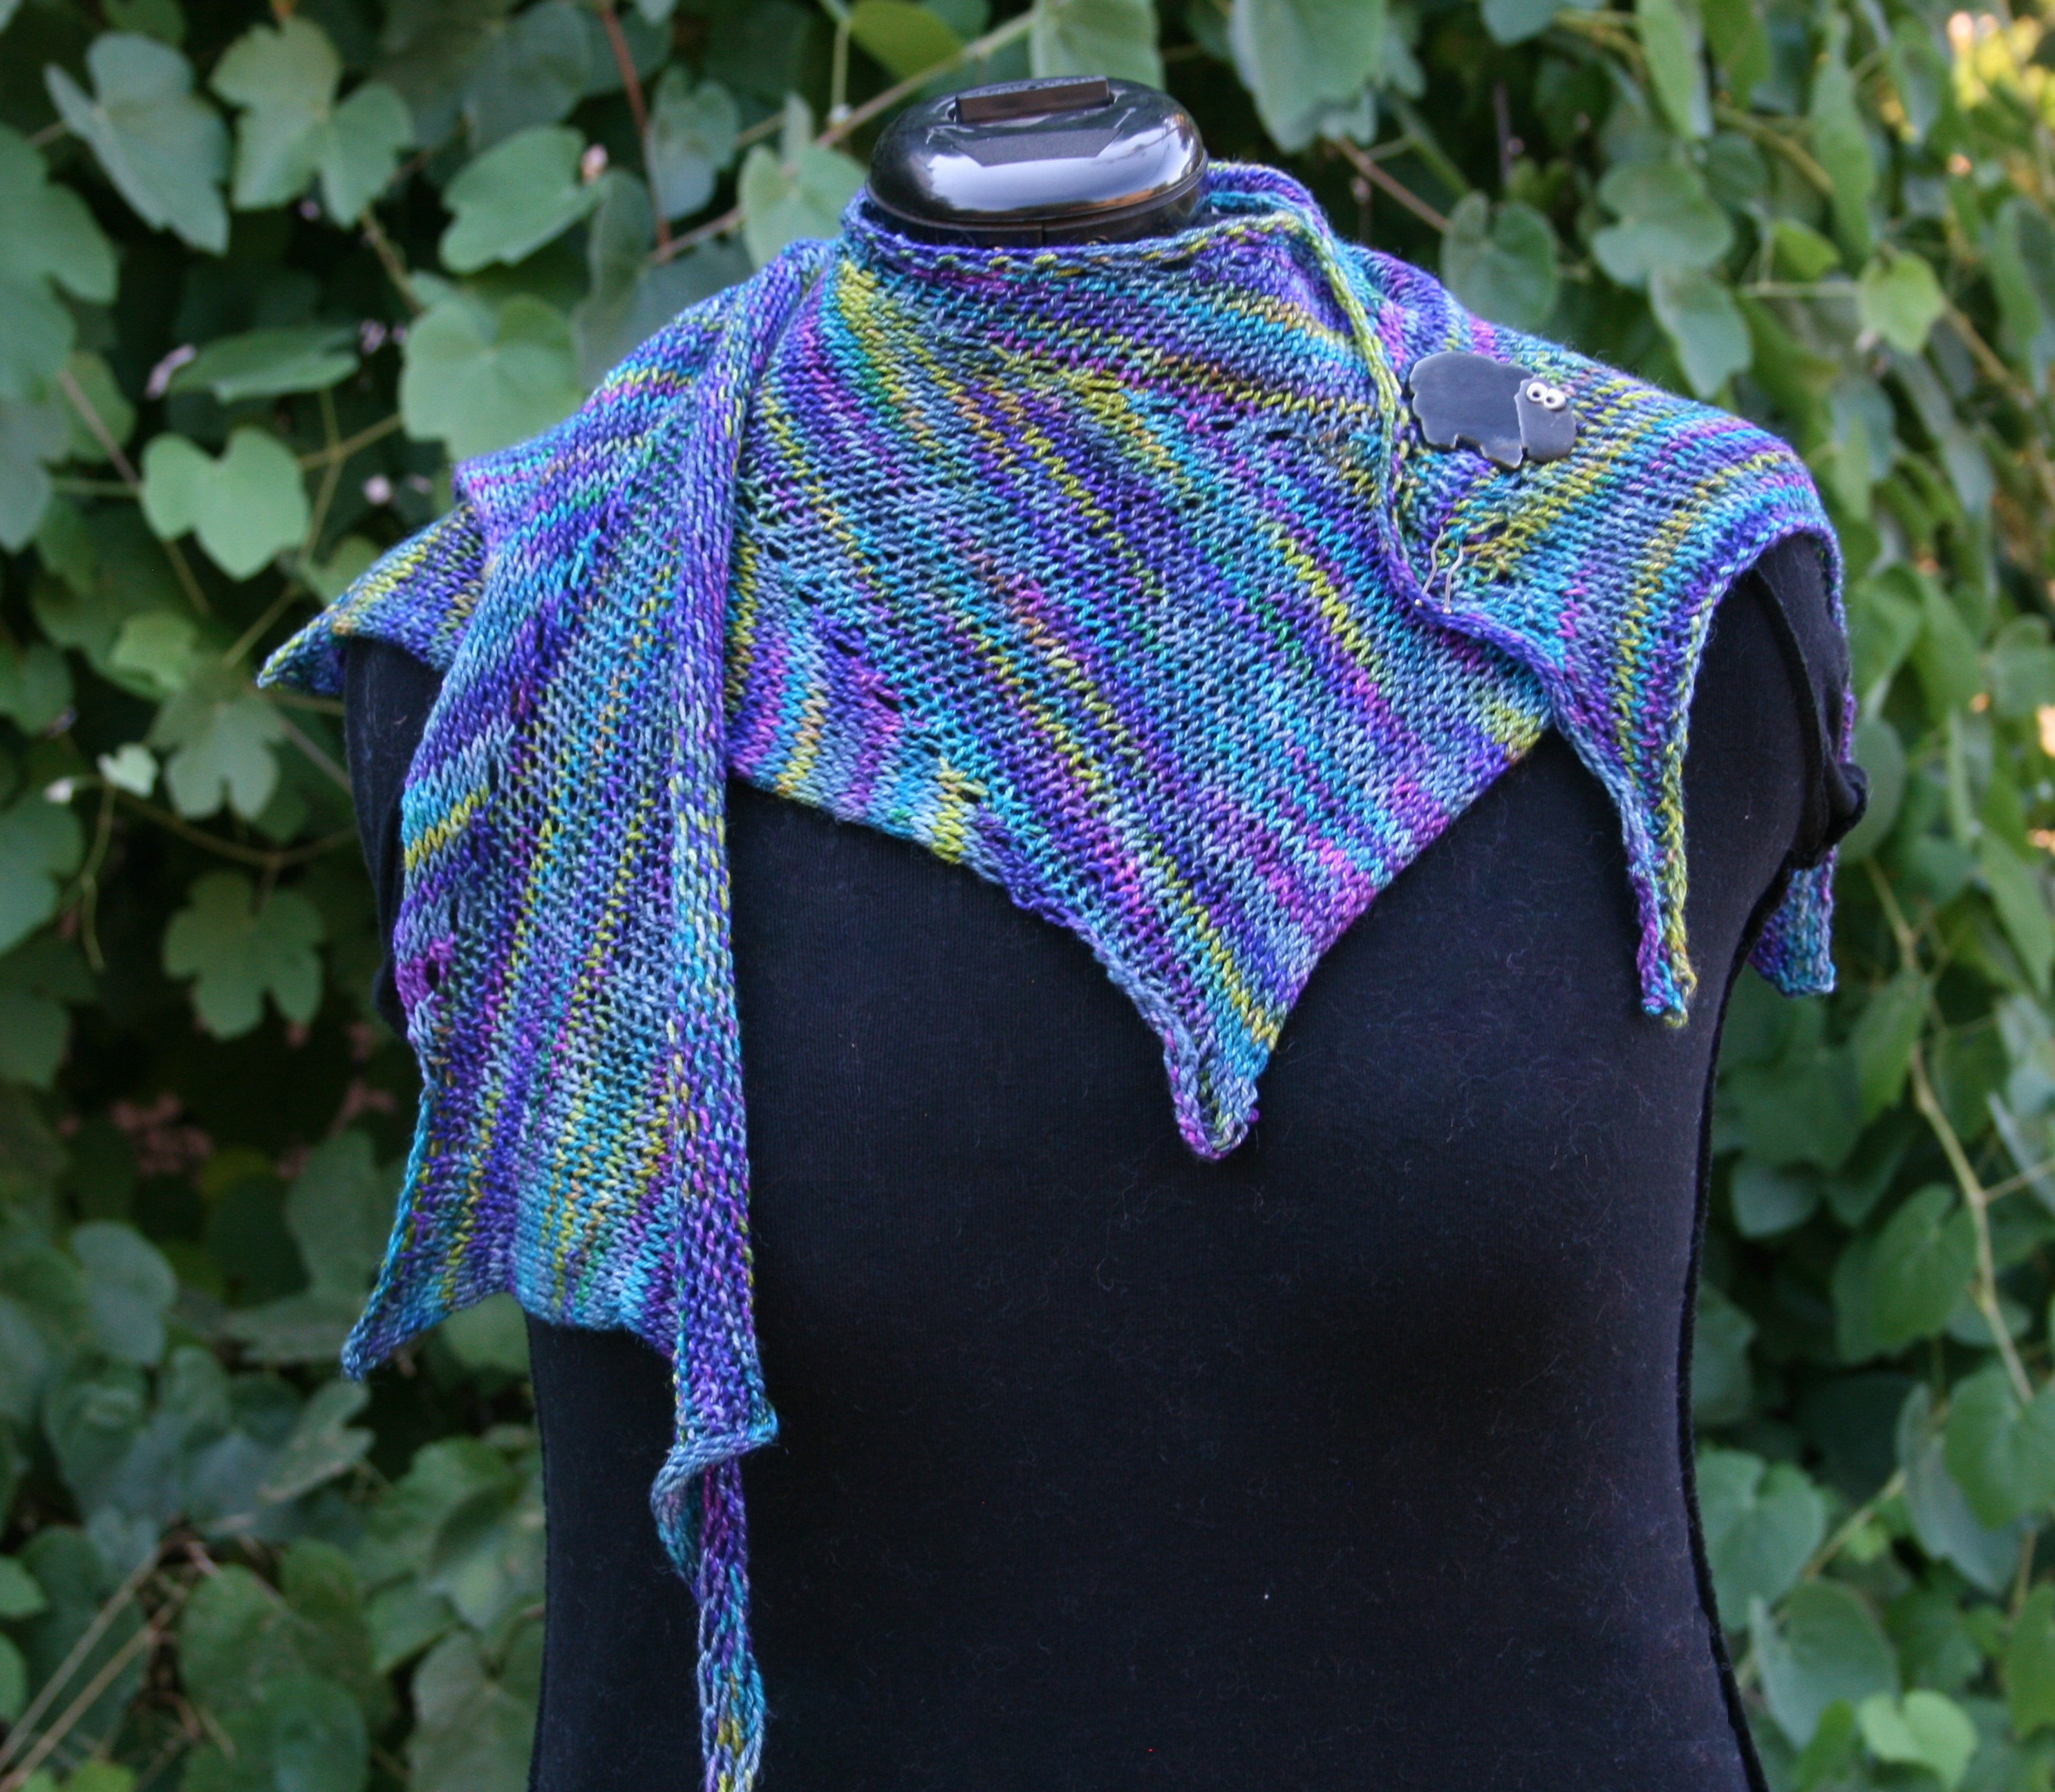
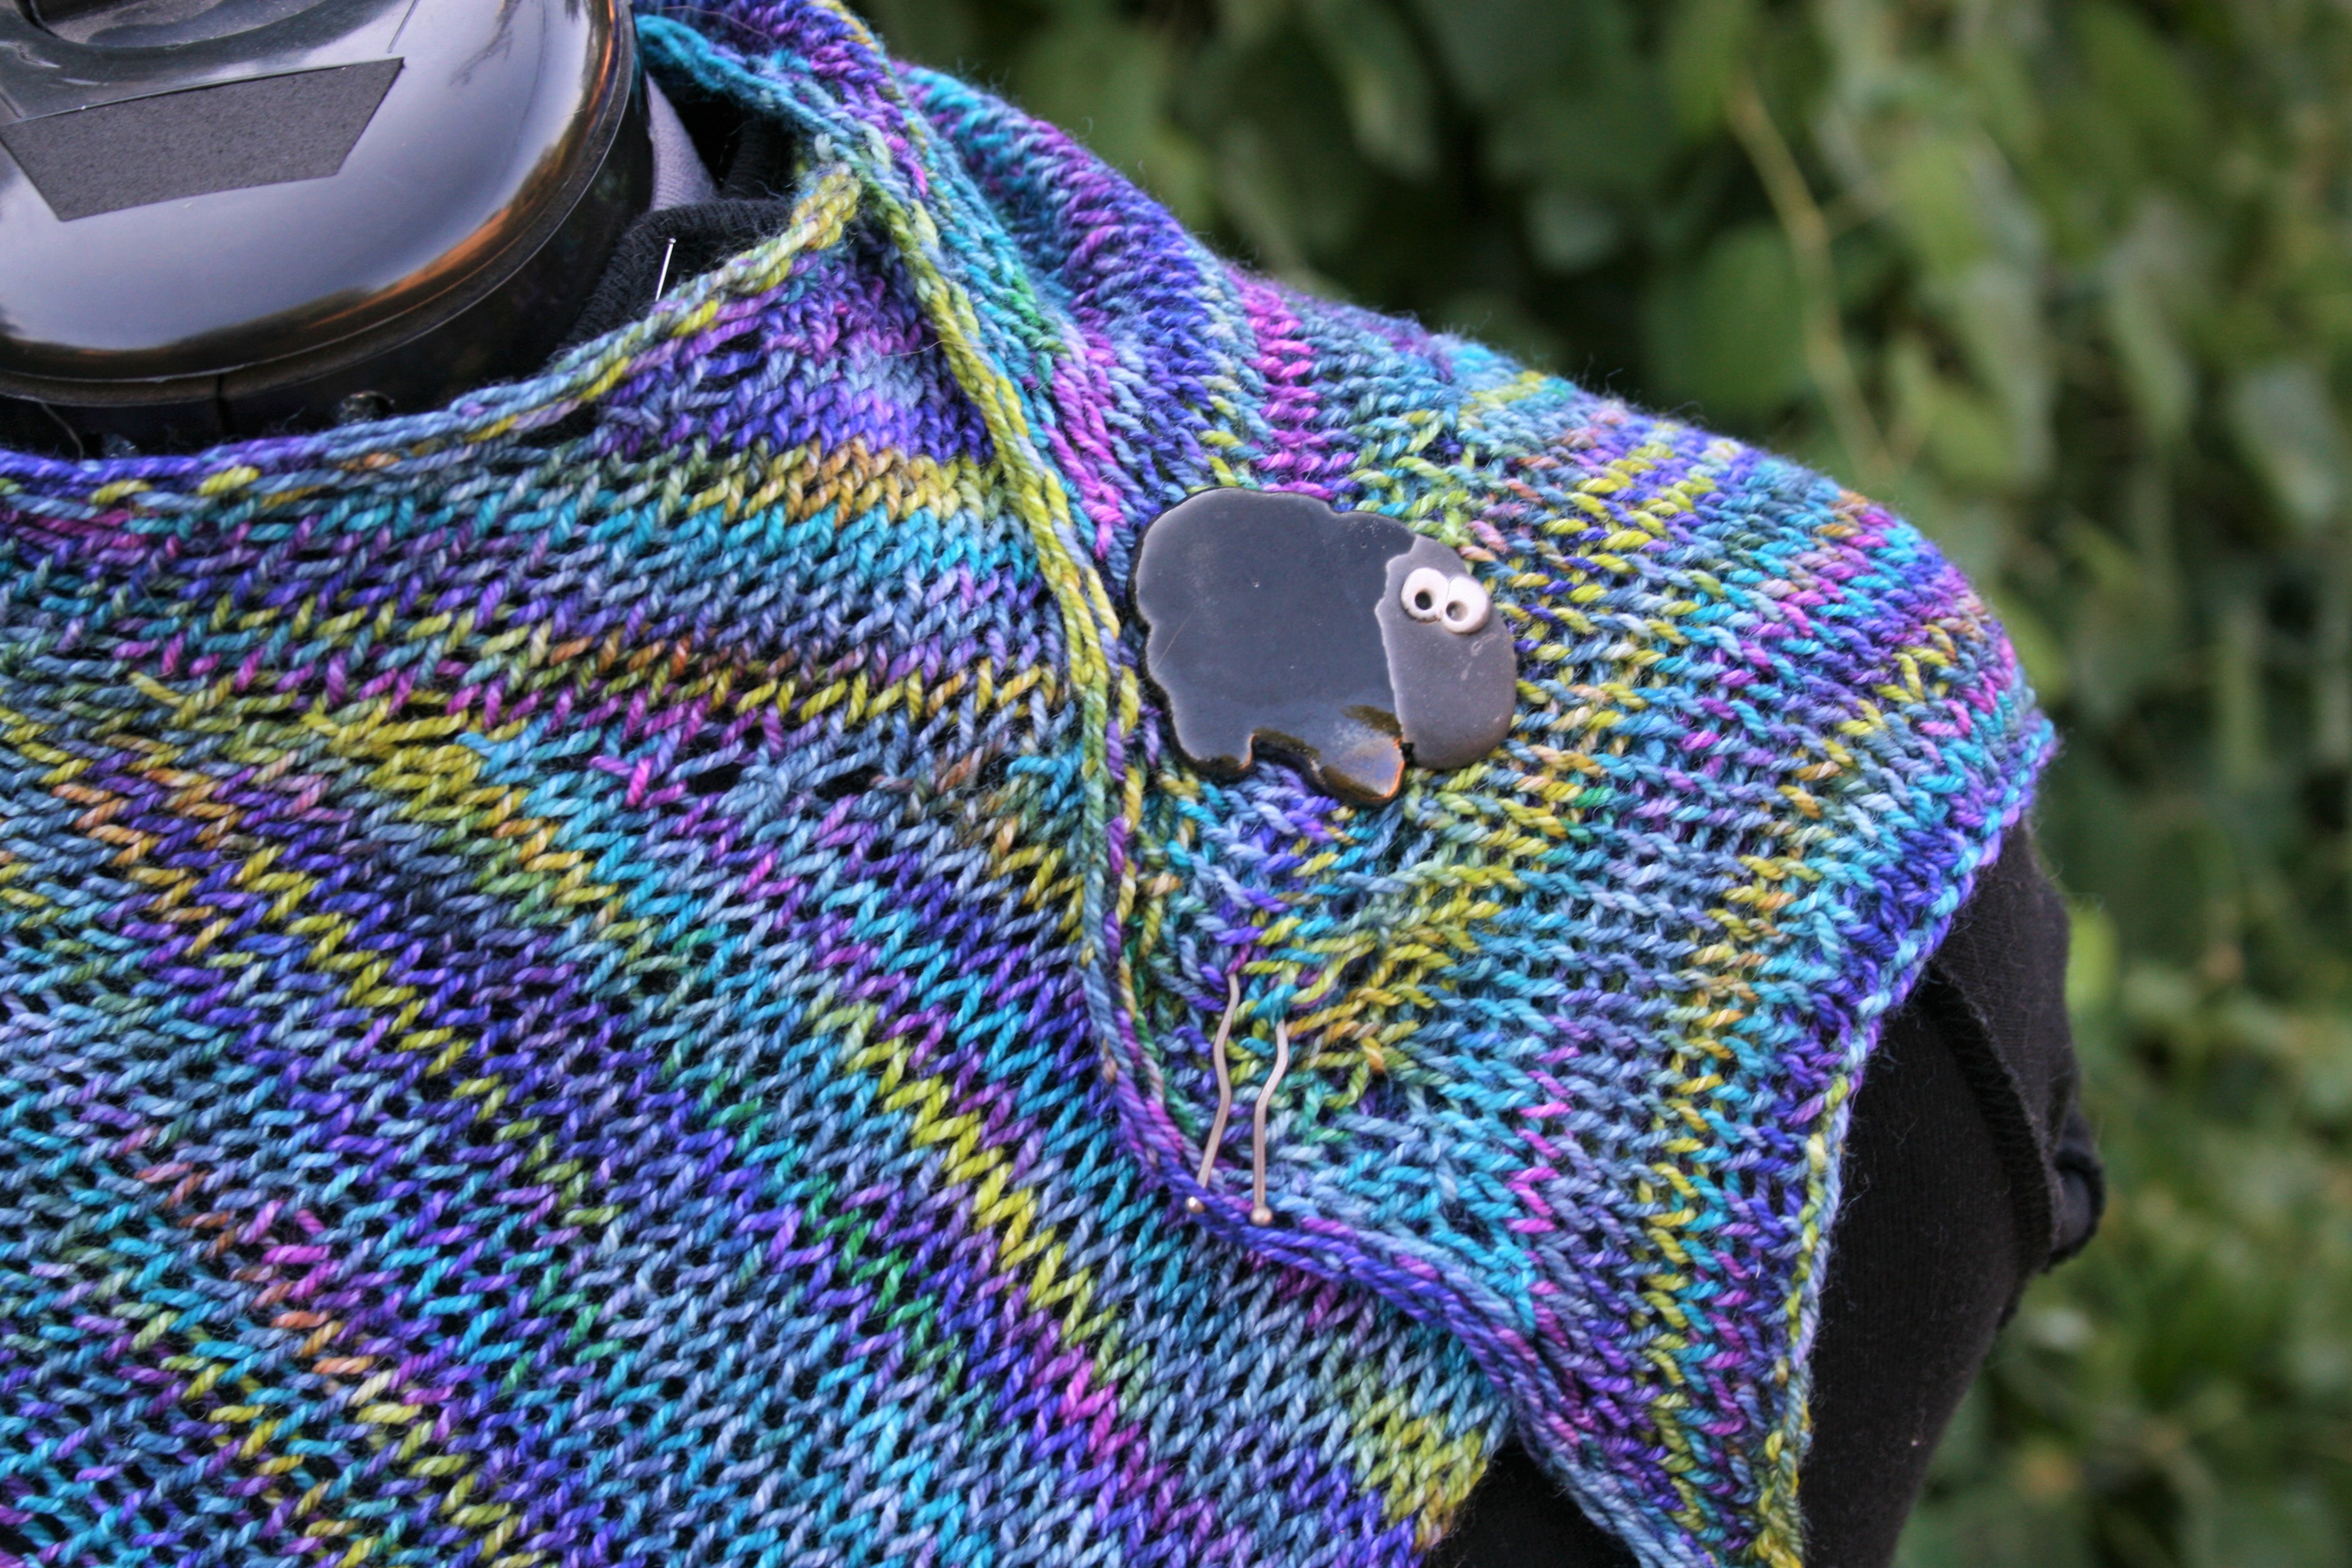
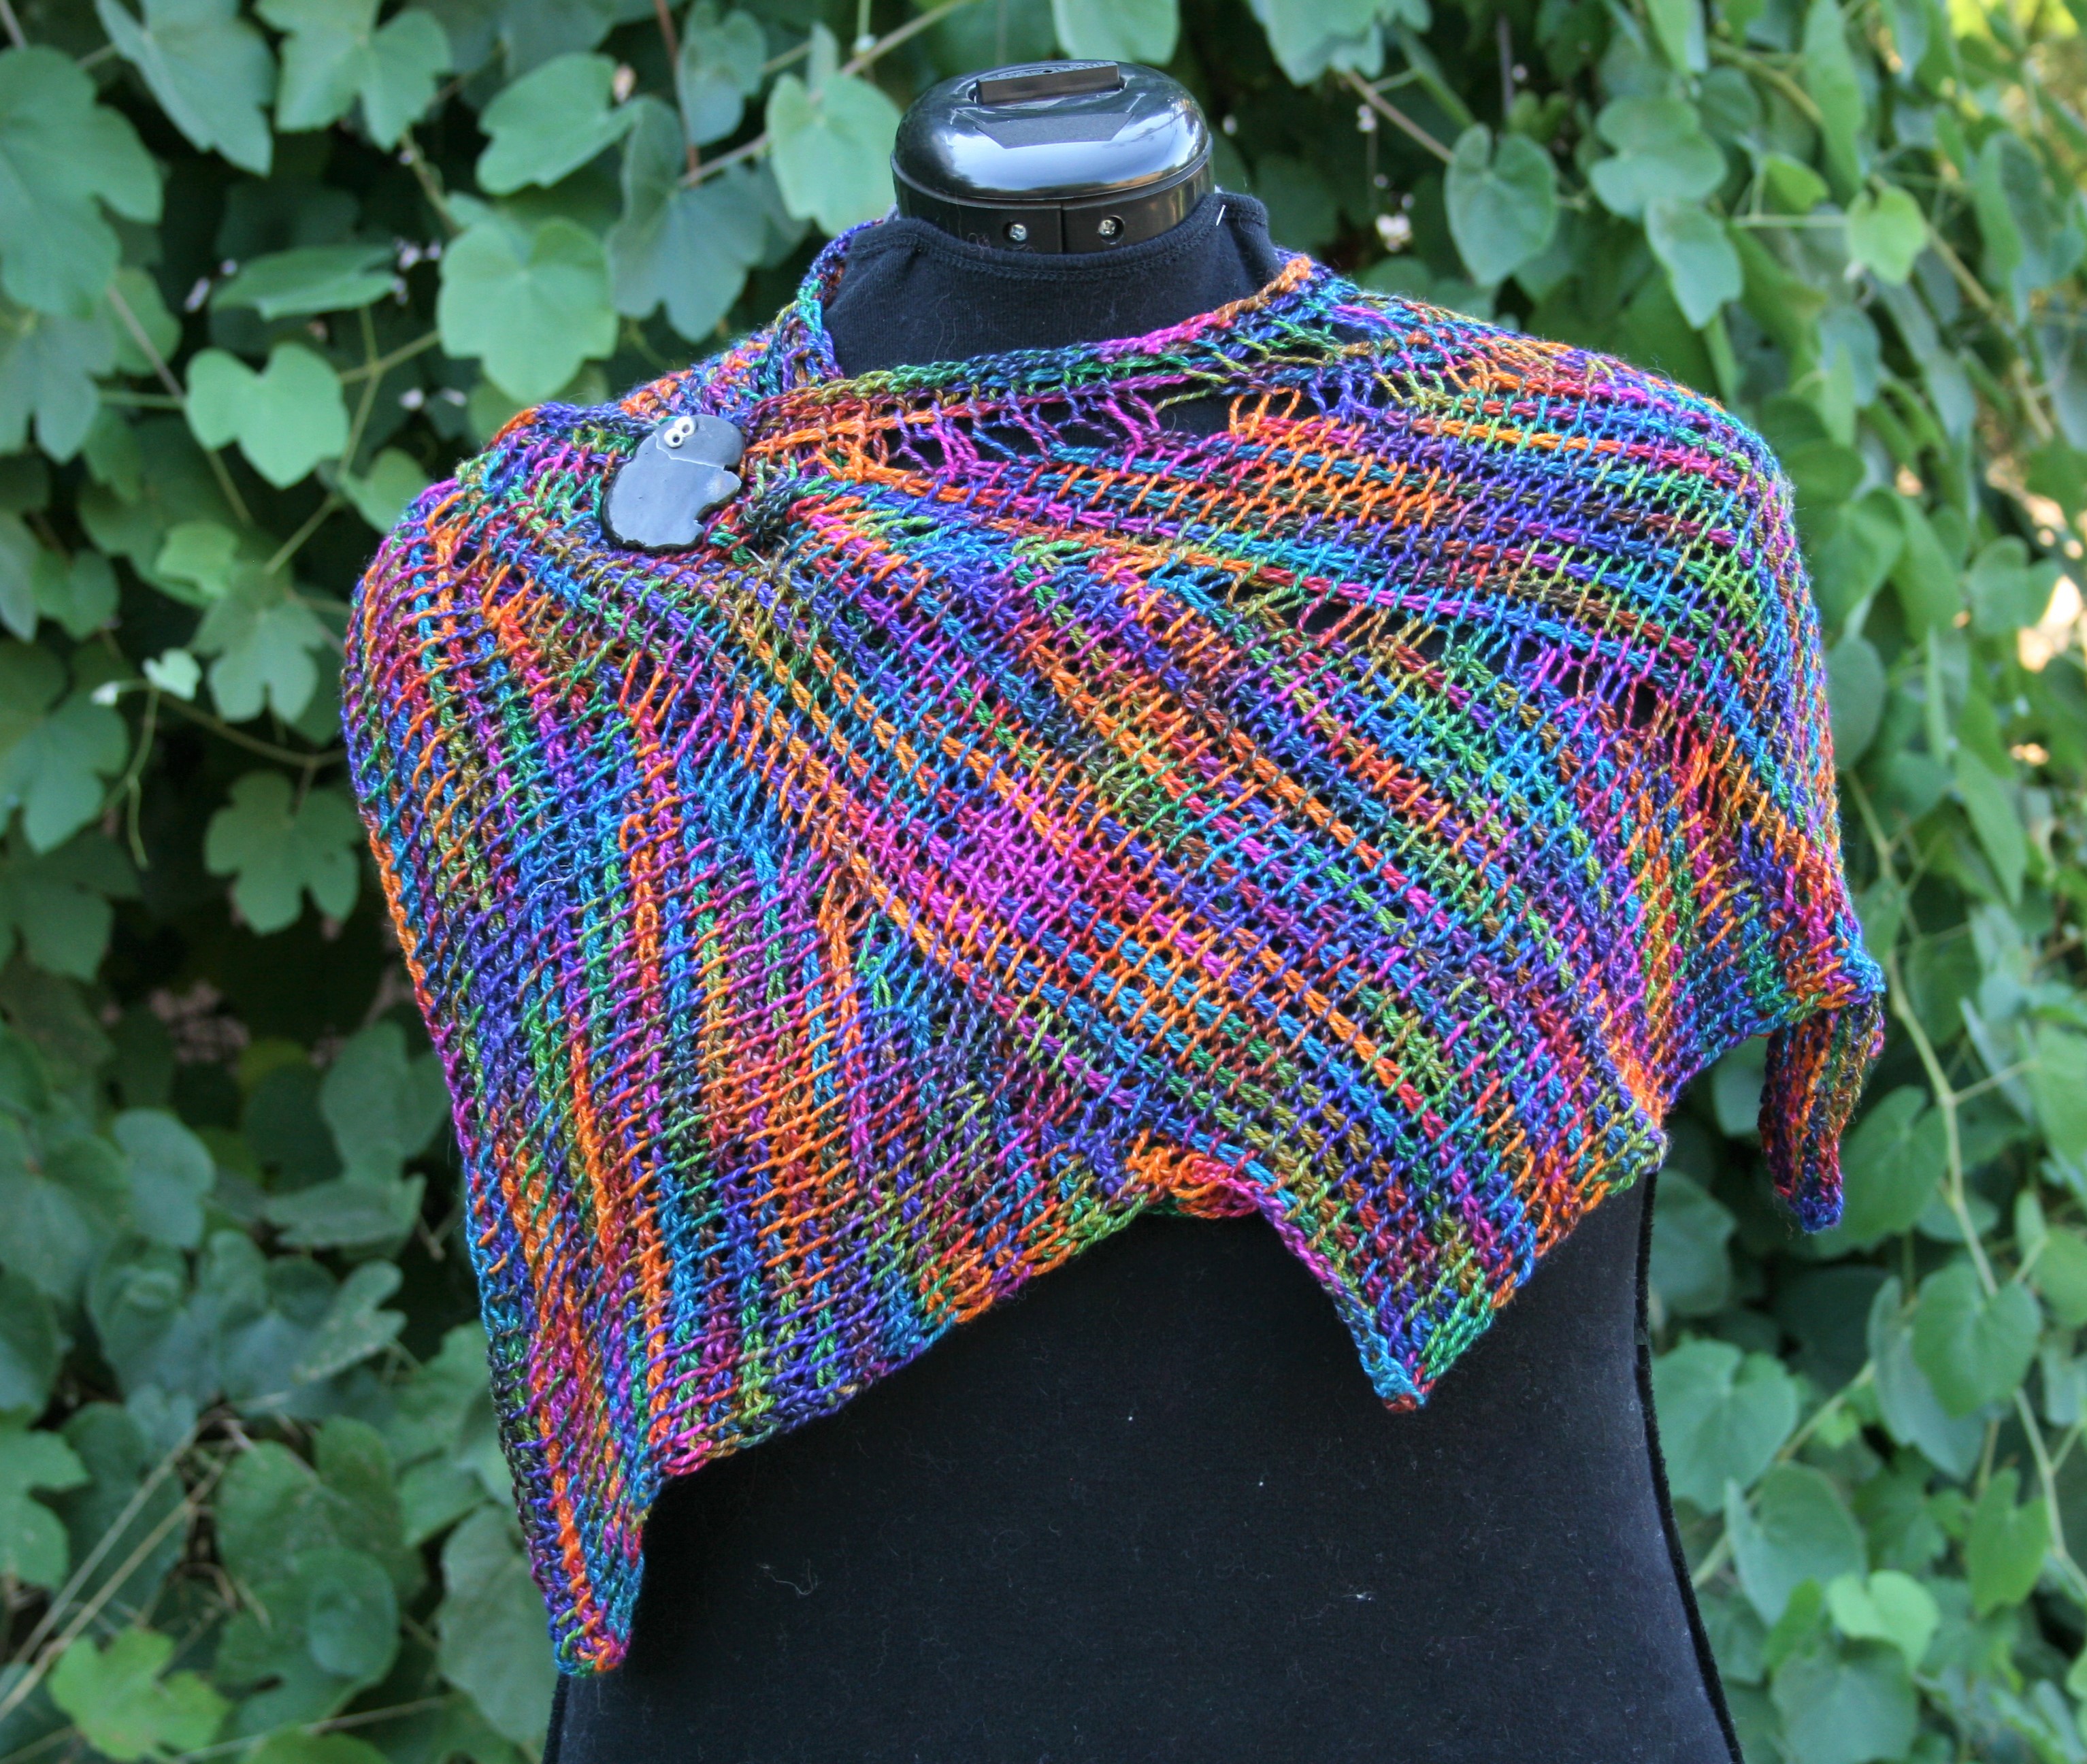 I contributed the patterns, both crochet and knit (Brenda Atchison helped a lot with the knit version), for this cute one skein shawl. Lickin Flames added an adorable Shawl Pin, this little black sheep, which works wonders at pinning a shawl while making everyone smile. Mountain Colors contributed the yarn, a skein of Twizzlefoot (a great blend of Superwash Merino and Domestic Wool with silk and nylon), a great sock weight yarn.
This kit features 2 brand new colors from Mountain Colors….Shooting Star and Silver Anniversary, as well as the classic Ruby River.
 We released this kit last month exclusively on the wholesale market, getting it in the hands of shop owners, so that anyone needing a holiday gift would find the perfect kit for their loved one…either the knitter or crocheter.
It is FINALLY available for direct sale, so you can get your own kit! Or one for a loved one!
This really is a great kit. The colors of the yarn or FABULOUS…not to mention that the yarn is pretty great too….and the Shawl pin is really adorable…I think you will like it. The pattern, okay, well I always have a hard time talking about my work…but those that have already worked it tell me that they LOVE it…That makes me feel good.
 I have never had something put together in such a way as to allow everyone contributing really shine. It was fun to work on the collaboration, and I hope we can pull off another one in the future. If you are looking for a perfect Christmas gift for your yarn lover, or just looking a gift for yourself, please consider checking out the Cooperation Shawl.