Crochet Knees

ScannedImageIf you have read my blog for a while you may have realized that I am a little, let’s see, what’s the word…ah yes, thrifty. So in the spirit of thirstiness, I have been attempting to get some more life out of blue jeans my children run wild in.

0601161404

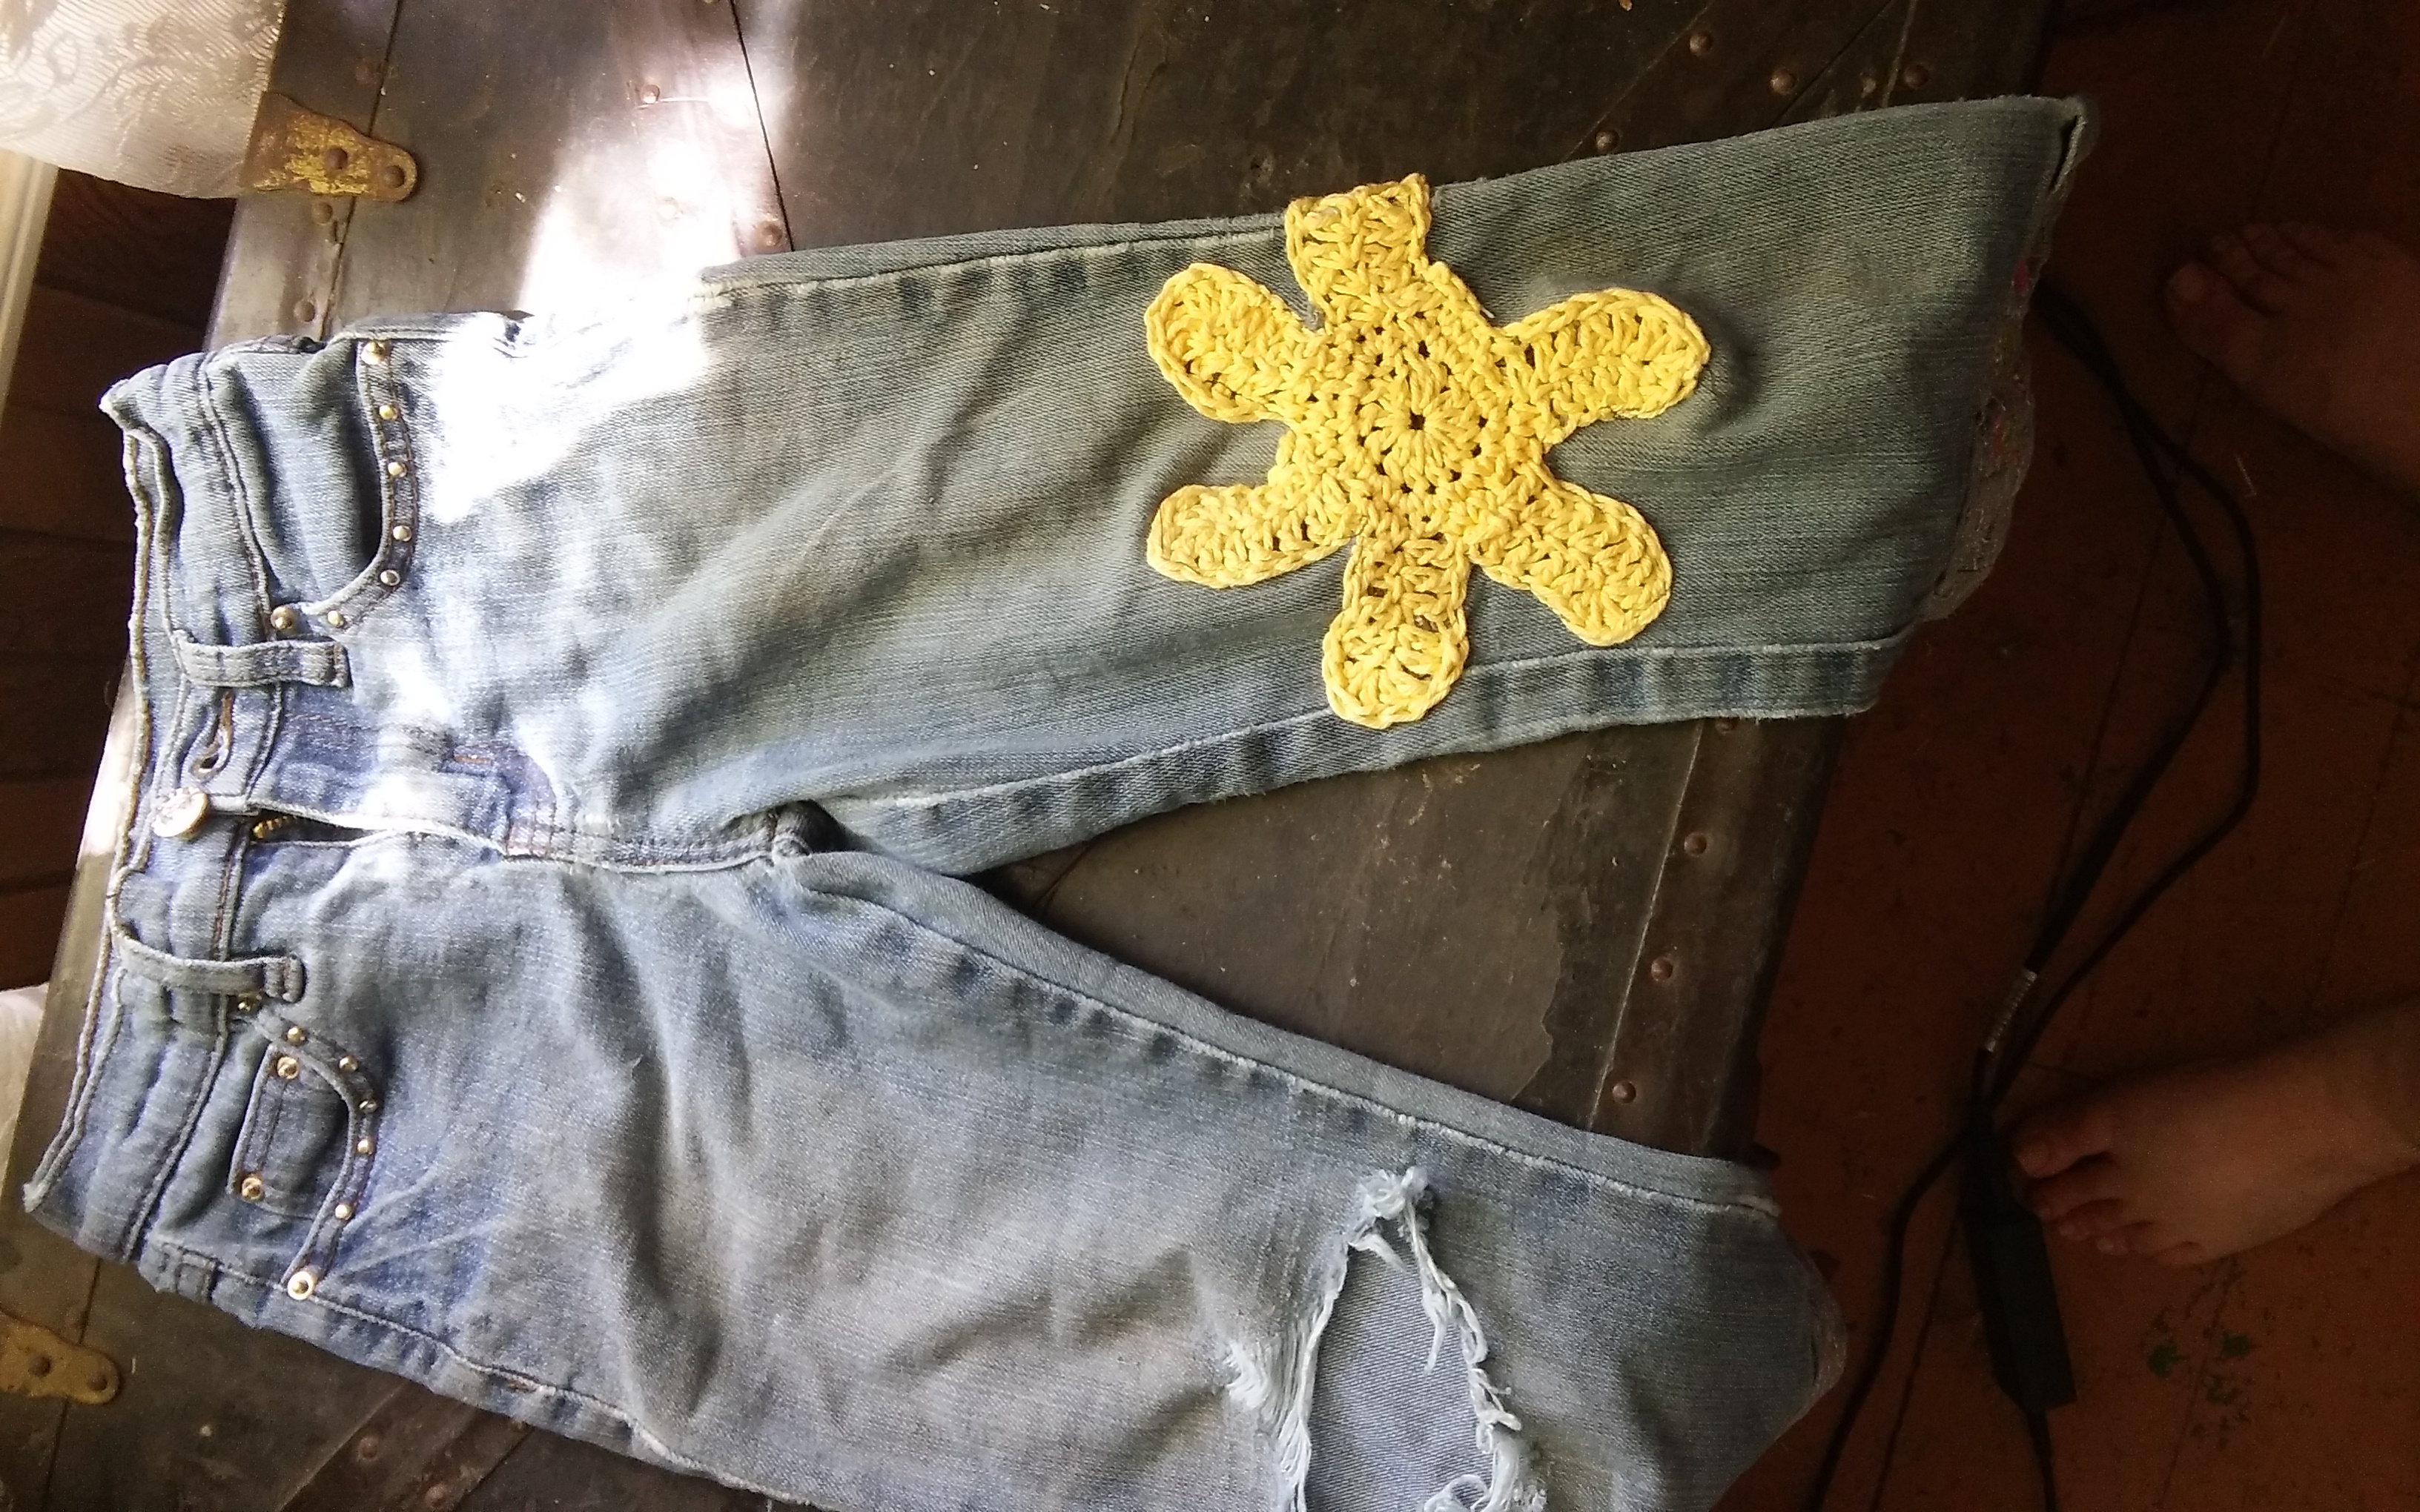
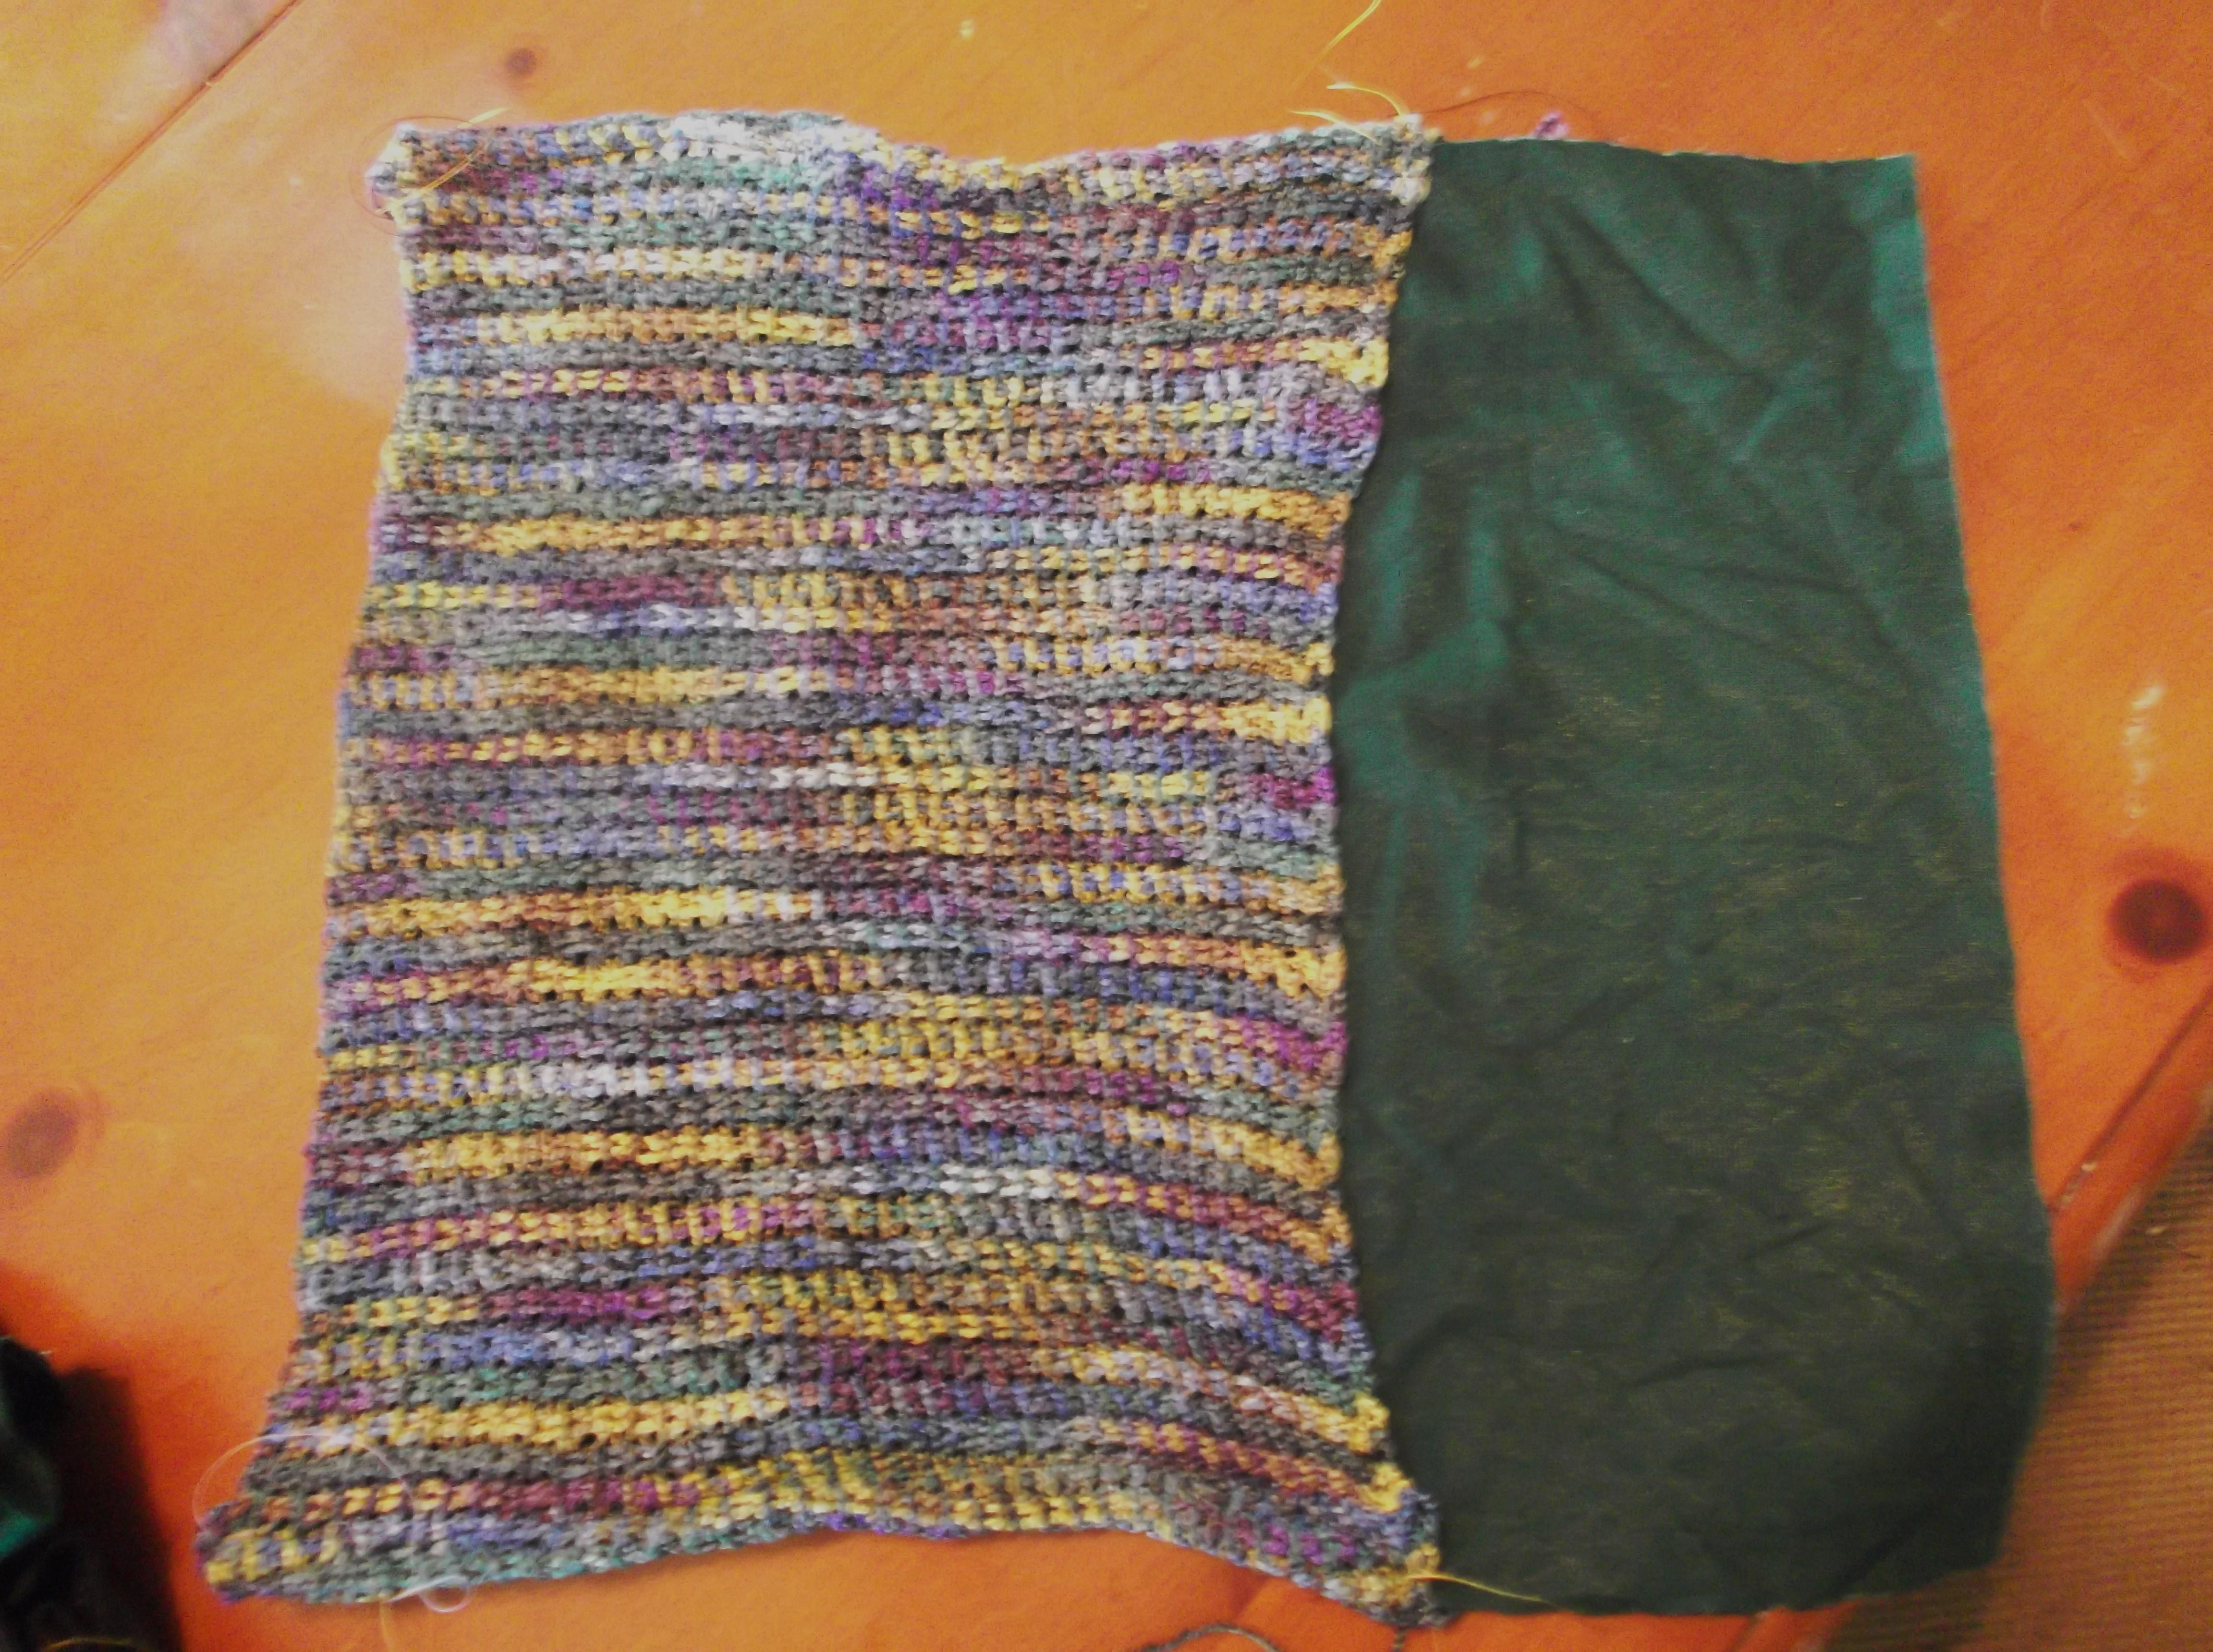
One knee mended, one more to go. Crochet patches tend to have more stretch

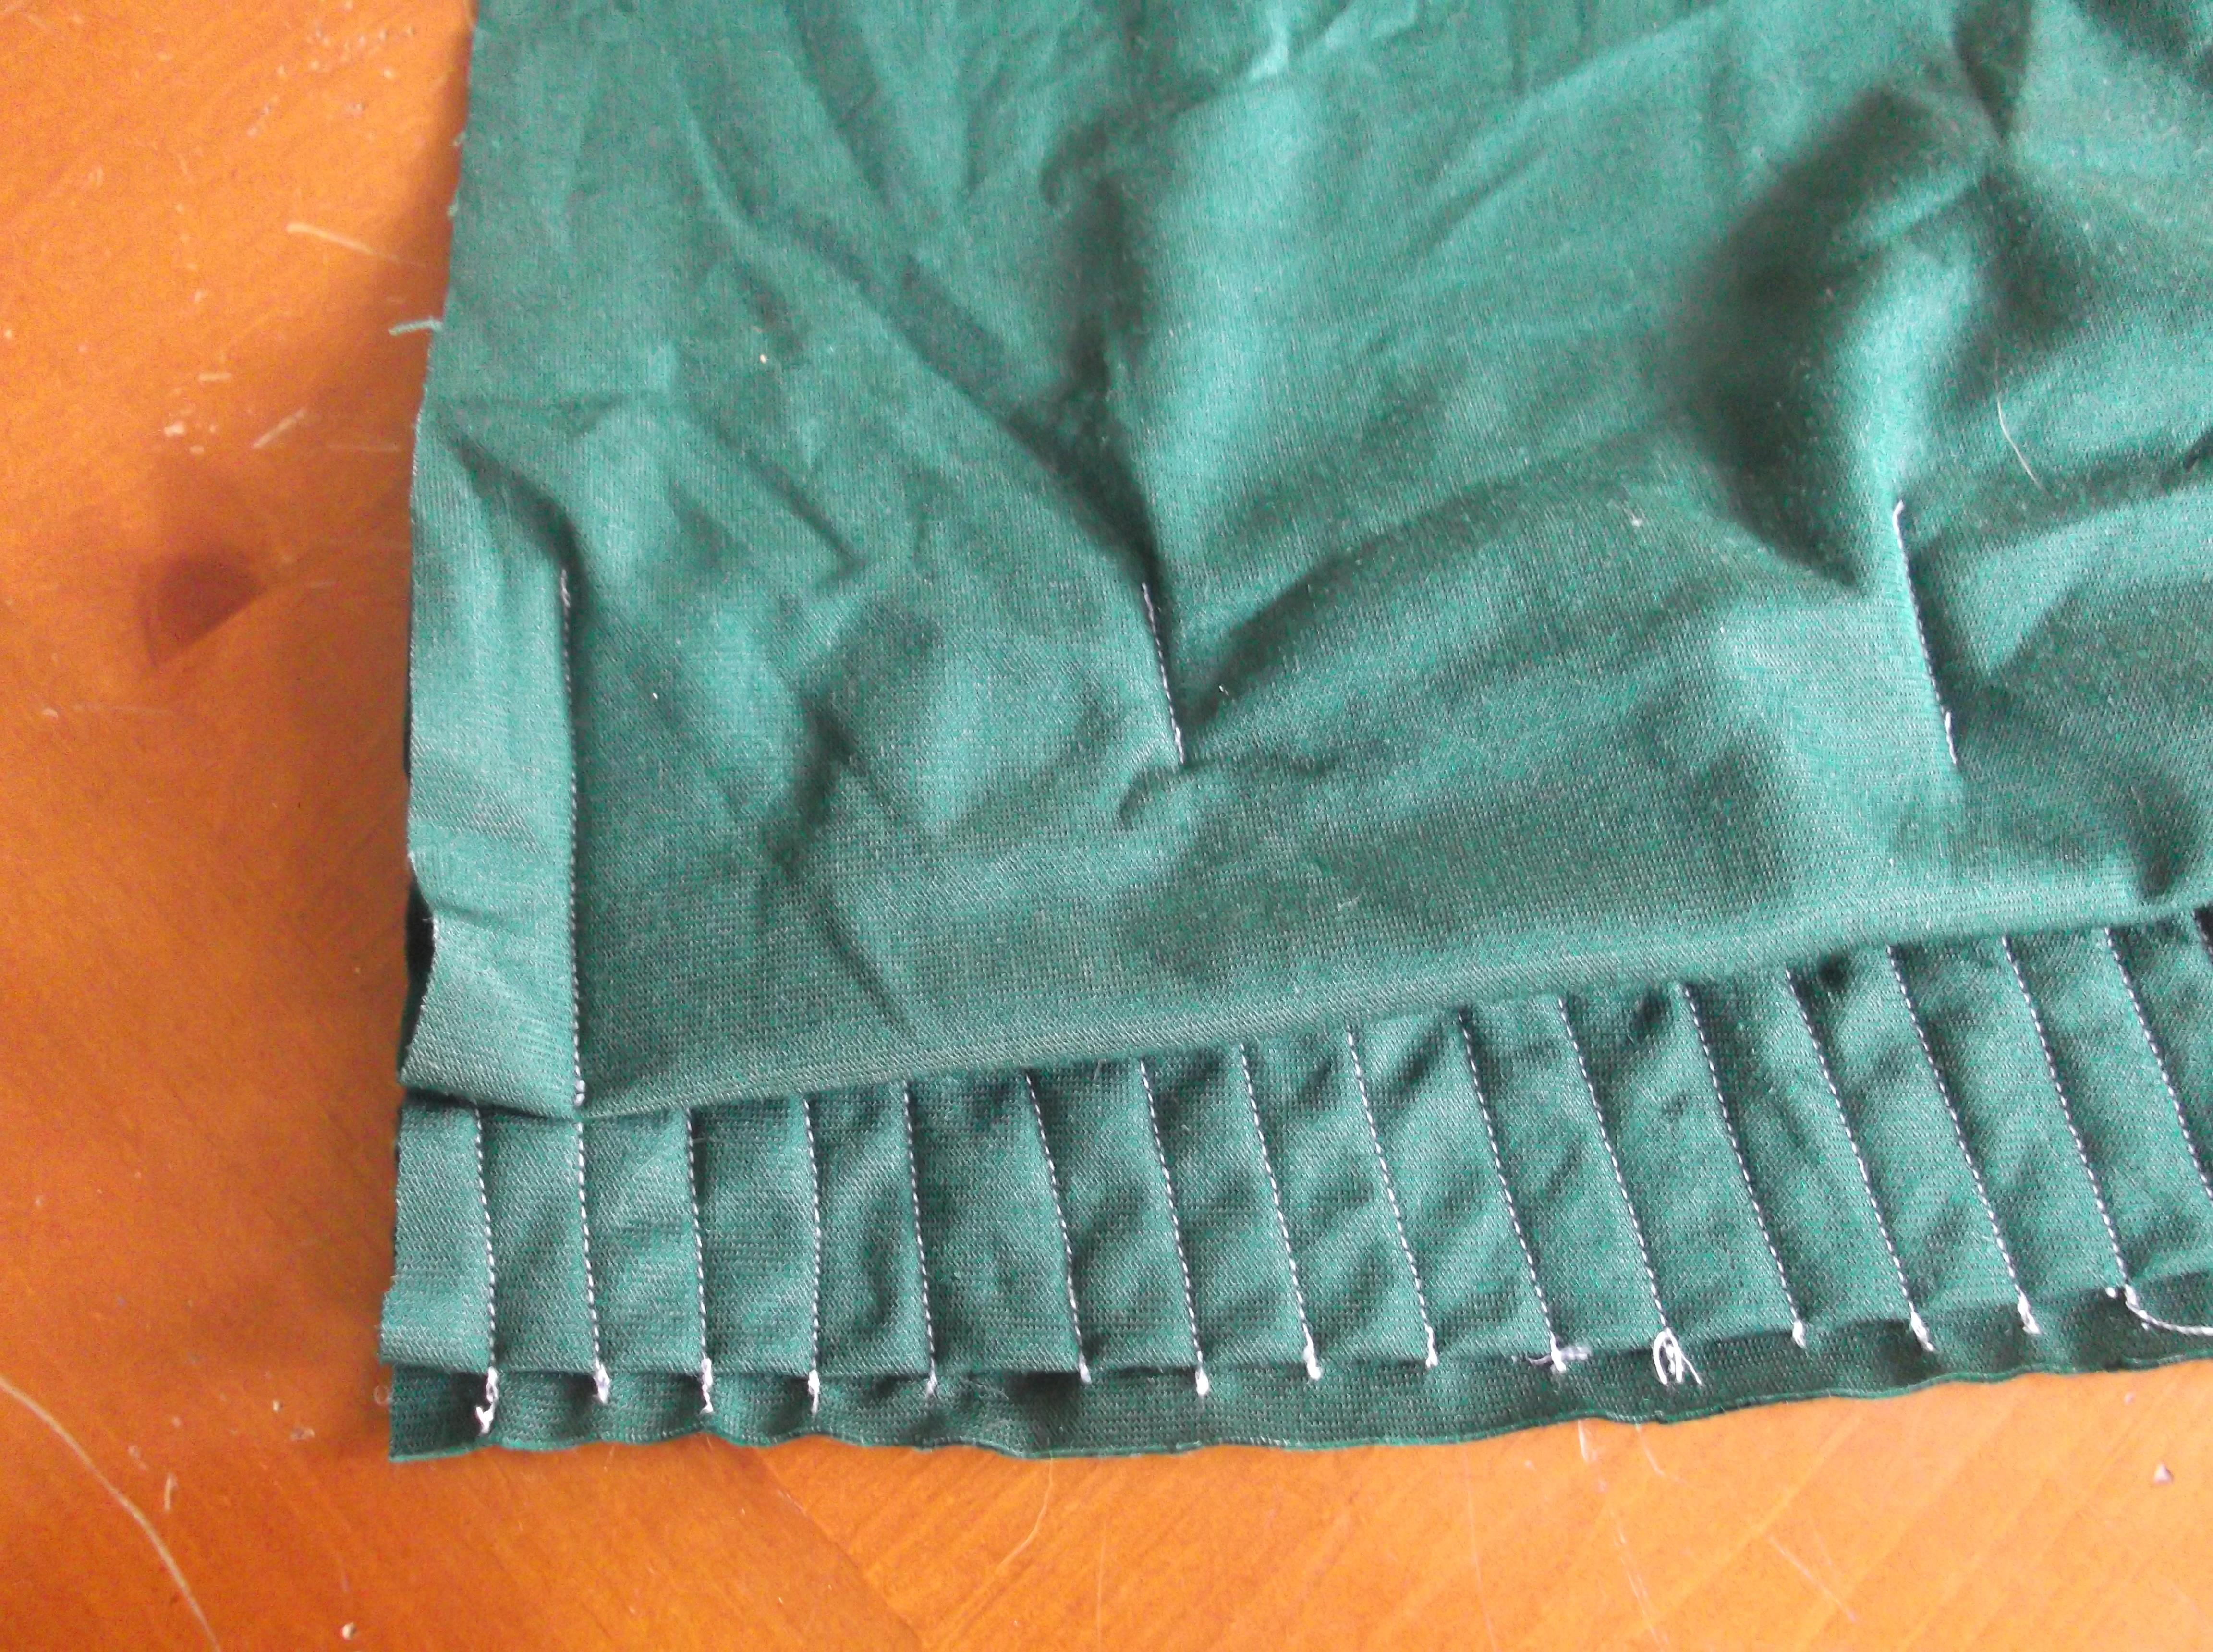
I am not sure if something has changed in the manufacturing over time, but the knees on their pants tend to split open in a relatively short period of time. Maybe it is the tree climbing, the running, or the playing in dirt that my kids still do within our rural lifestyle, but it seems that they are hard on their clothes. So of course that means that we have “good” clothes and “play” clothes. However when the knees get bad enough that they can stick a leg threw, I find a way to mend them to get a little more time out of them.

Sure I could cut them and make them shorts, but trust me they have an abundance of those. I have used fabric patches, but they do not tend to last as long as I would like, tearing out and just becoming flaps over the open knees. So I have taken to making my own, with crochet.

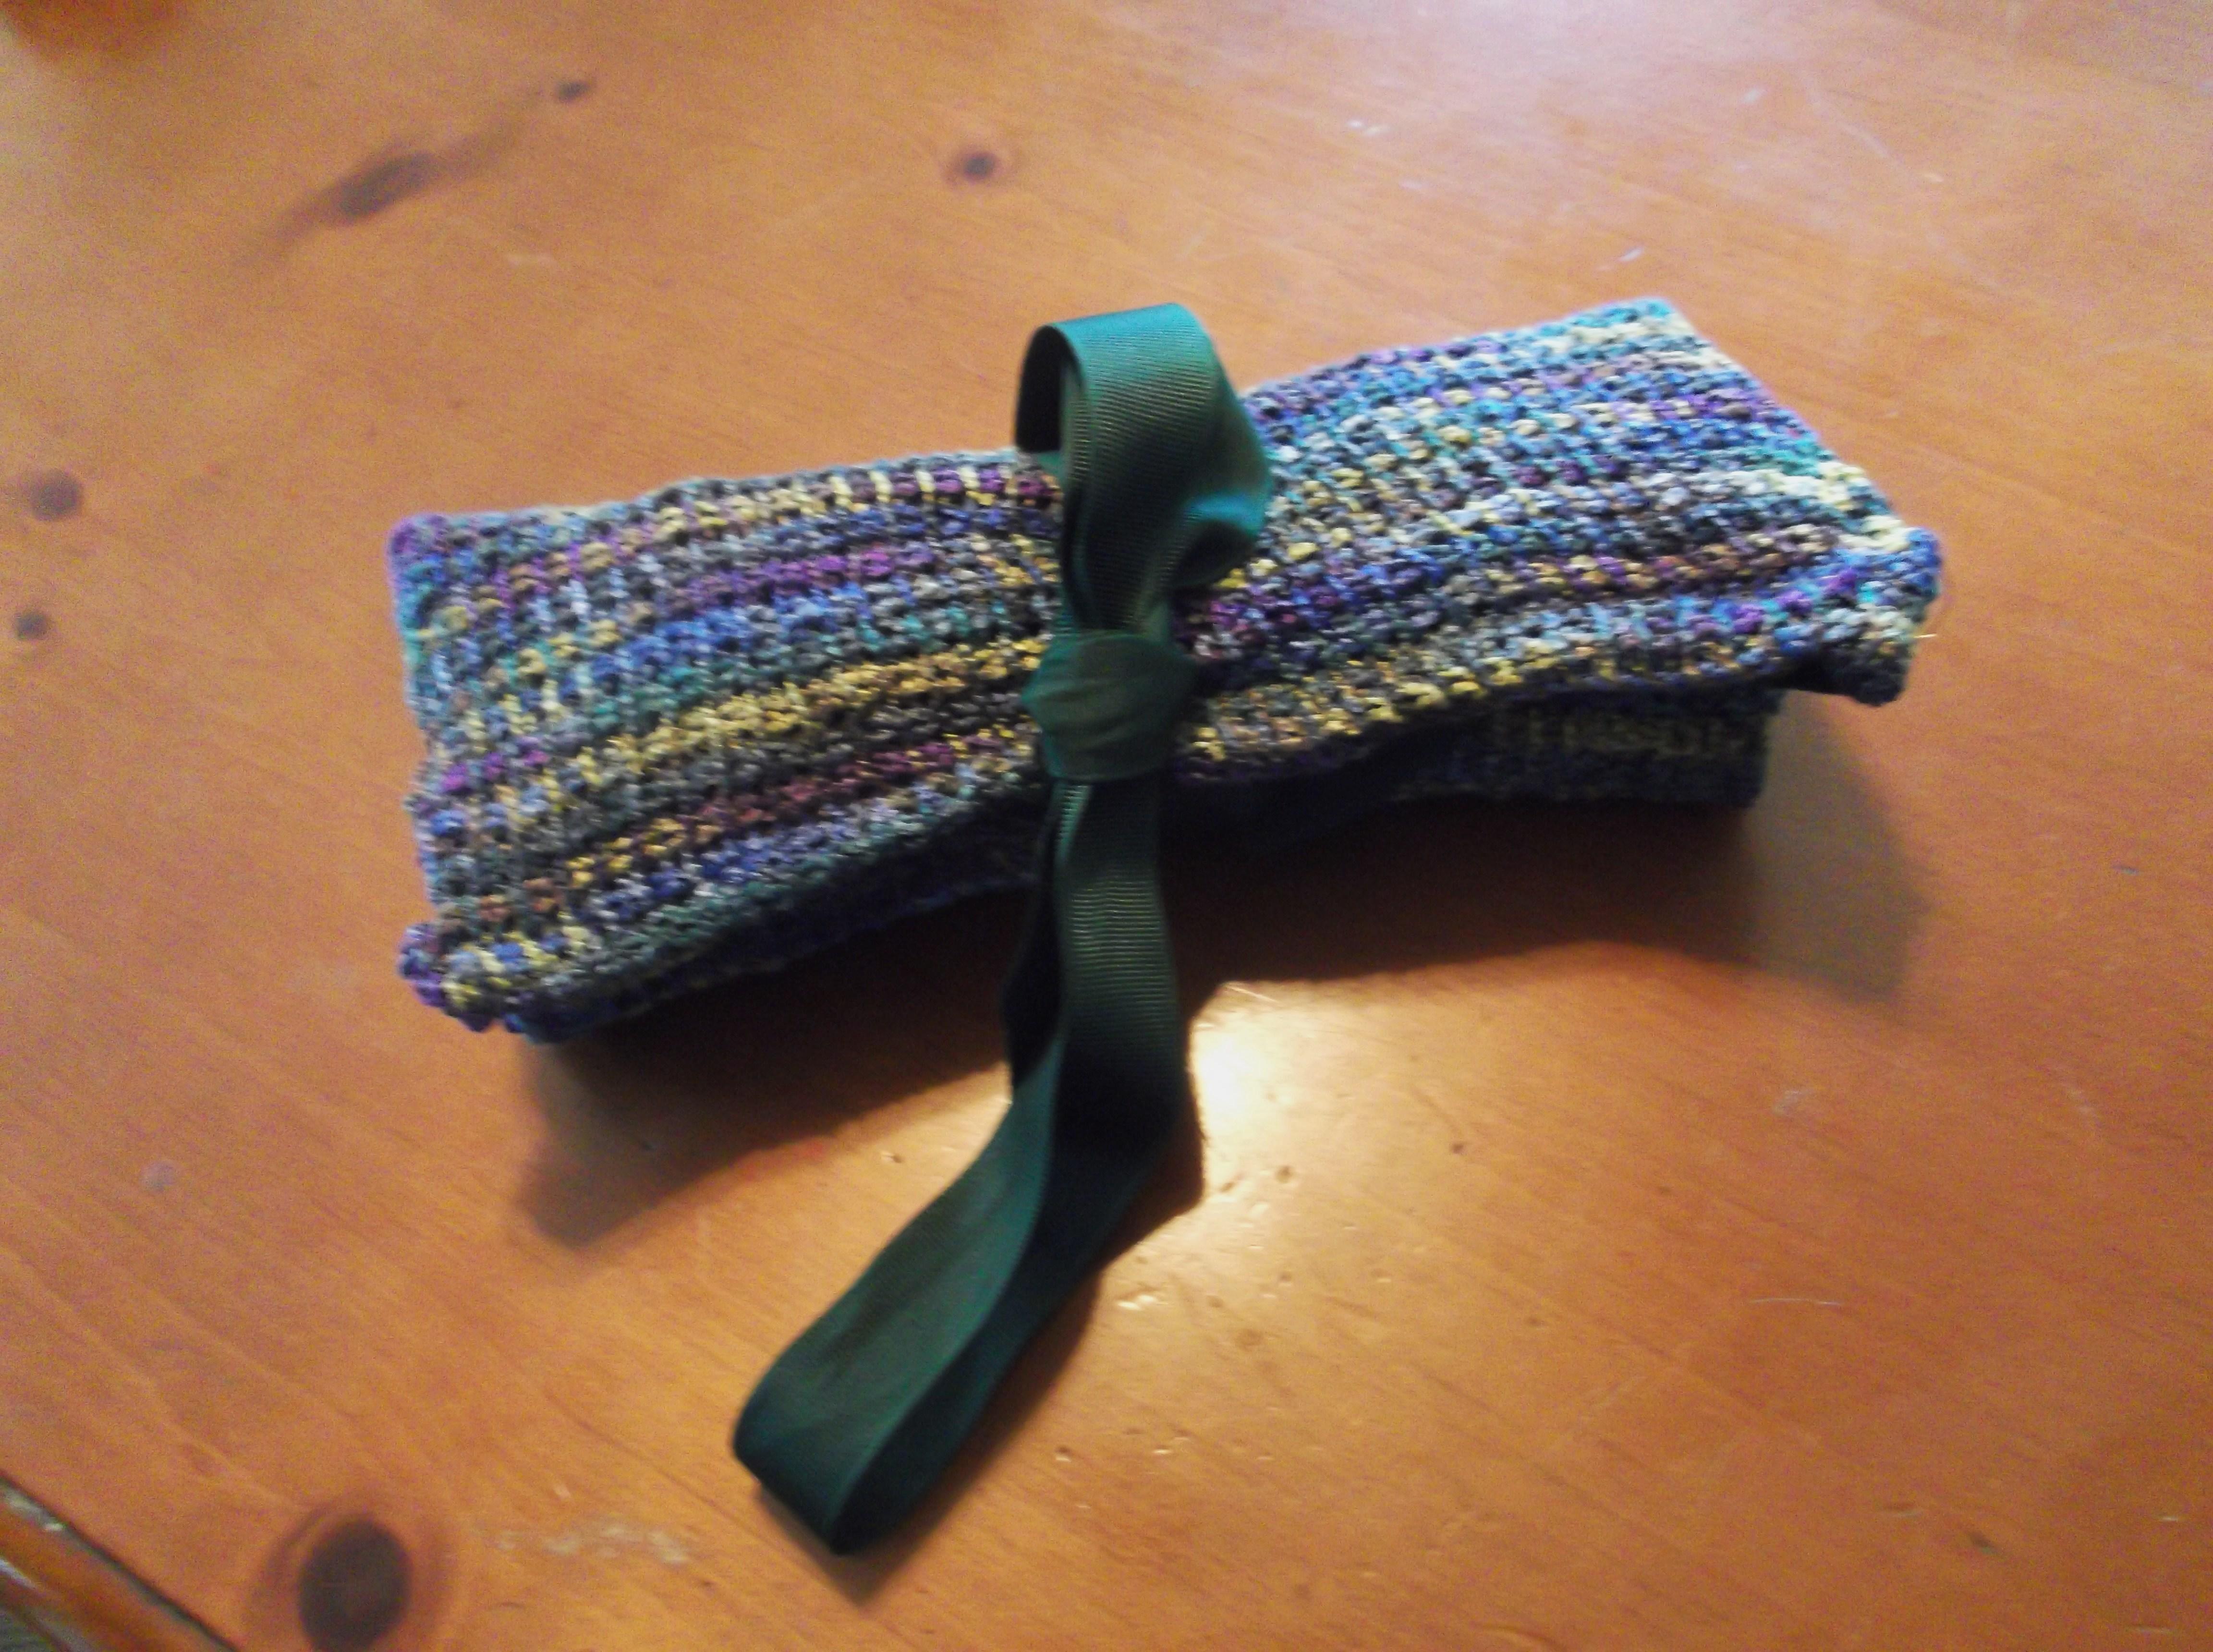
I crochet a few motifs, different shapes like flowers, and different colors. My kids enjoy coming up with ideas for me to crochet into patches, and the stitches seem to allow the fabric to stretch more and thus do not wear out as quickly as the fabric patches. I then pin them in place and reluctantly sew. I say reluctantly as sewing is not my number one favorite skill, but at least this way I get to enjoy some crochet in the chore.

I keep telling them that it is a new fashion statement, who knows maybe it will be. I just really hope that they are not tearing out the knees so that they can keep up with this “new” fashion.

Taking a Look at the “Extras” that make Crochet

ScannedImageI usually find myself to be a very simple person. I have crocheted for more years then I care to count, and have never thought about much more then my hook and my yarn. However recently I have started to look at “accessories”.

It probably came about from a ceramics class. A group of former students/friends arranged a day out to a local studio called “Color Me Mine”. It is apparently a chain of studios that have ceramic pieces for purchase, that you can then glaze and they will fire in a kiln, resulting in a personalized project that has a professional feel. At our studio day it was arranged for us to create our own yarn bowls.DSCF0937

A yarn bowl is a newer concept to me; it is a bowl that holds yarn but has decorative edge that actually functions in reducing your yarn from tangling. So balls of yarn are contained and do not run wild in the house and the pull of the yarn is from the same place every time. I admit, in the past I managed unruly balls of yarn by placing them in a tennis shoe or hiking boot, but this bowl seems to be much more effective. Of the finished pieces I had the pleasure of seeing, they are all beautiful.

Funny how one open door to a new thought can open the door to many others. As this experience had me looking at travel holders for hooks, bags, hooks in general, even coffee cups. So when I was attempting to find a “thank you” gift for a friend, instead of looking at the usual yarn, I began thinking of other possibilities. One that I have decided to undertake and make myself, a hook/needle travel case.

DSCF0927.1

Small pouches for hooks/needles

DSCF0929.1

Wrong side of sewn fabric, 2 sets of pockets are created with folds. (hook/needle pouches sewn on the main pocket)

It has not been as difficult as I would have first thought. I found a fabric I liked in my stash, a velvet or velour type in a dark green; I cut a rectangle of 13”x 30” (33x76cm), and then began folding. I folded up 8” (20cm) from the short side, and then folded it in half back down (so that the velvet side of the fabric was facing outward, while at the same time lining the pocket). I then began to stitch creating a pocket and then slender pocket of ½” (1cm) width to hold hooks/needles. I then created a second set of pockets behind the hooks, by pulling up the recently sewn pocket about 2 ½” (6cm) and stitching the sides down. I also placed a couple of additional seams over the stitches created in the hooks sleeves to make about 3” (7.5cm) pouches.

DSCF0931.1

The crochet fabric is sewn to the velvet fabric, wrong sides together.

Now that the stitching was done, it was on to the crochet. I made a piece of crochet fabric from some rayon yarn I had, and utilized the Tunisian simple stitch to highlight the subtle color changes, in a size of a 9”x13” (23x33cm)rectangle. Matching the 13” (33cm) sides of the velvet and the crochet, with wrong sides together I stitches the seam, as well as at either end of the of the 9”(23cm) side of the crochet fabric to the velvet piece, and finally stitched the last side of the crochet fabric in place leaving the remaining velvet fabric unstitched (this is used to fold over the hooks/needles). Then sew on some ribbon ties and I think it looks good.

DSCF0936.1

Tied up and ready to go!

DSCF0933.1

Just needs to be filled!

Looking at accessories for the world of fiber, is opening up many new ideas….it seems like a whole new world!