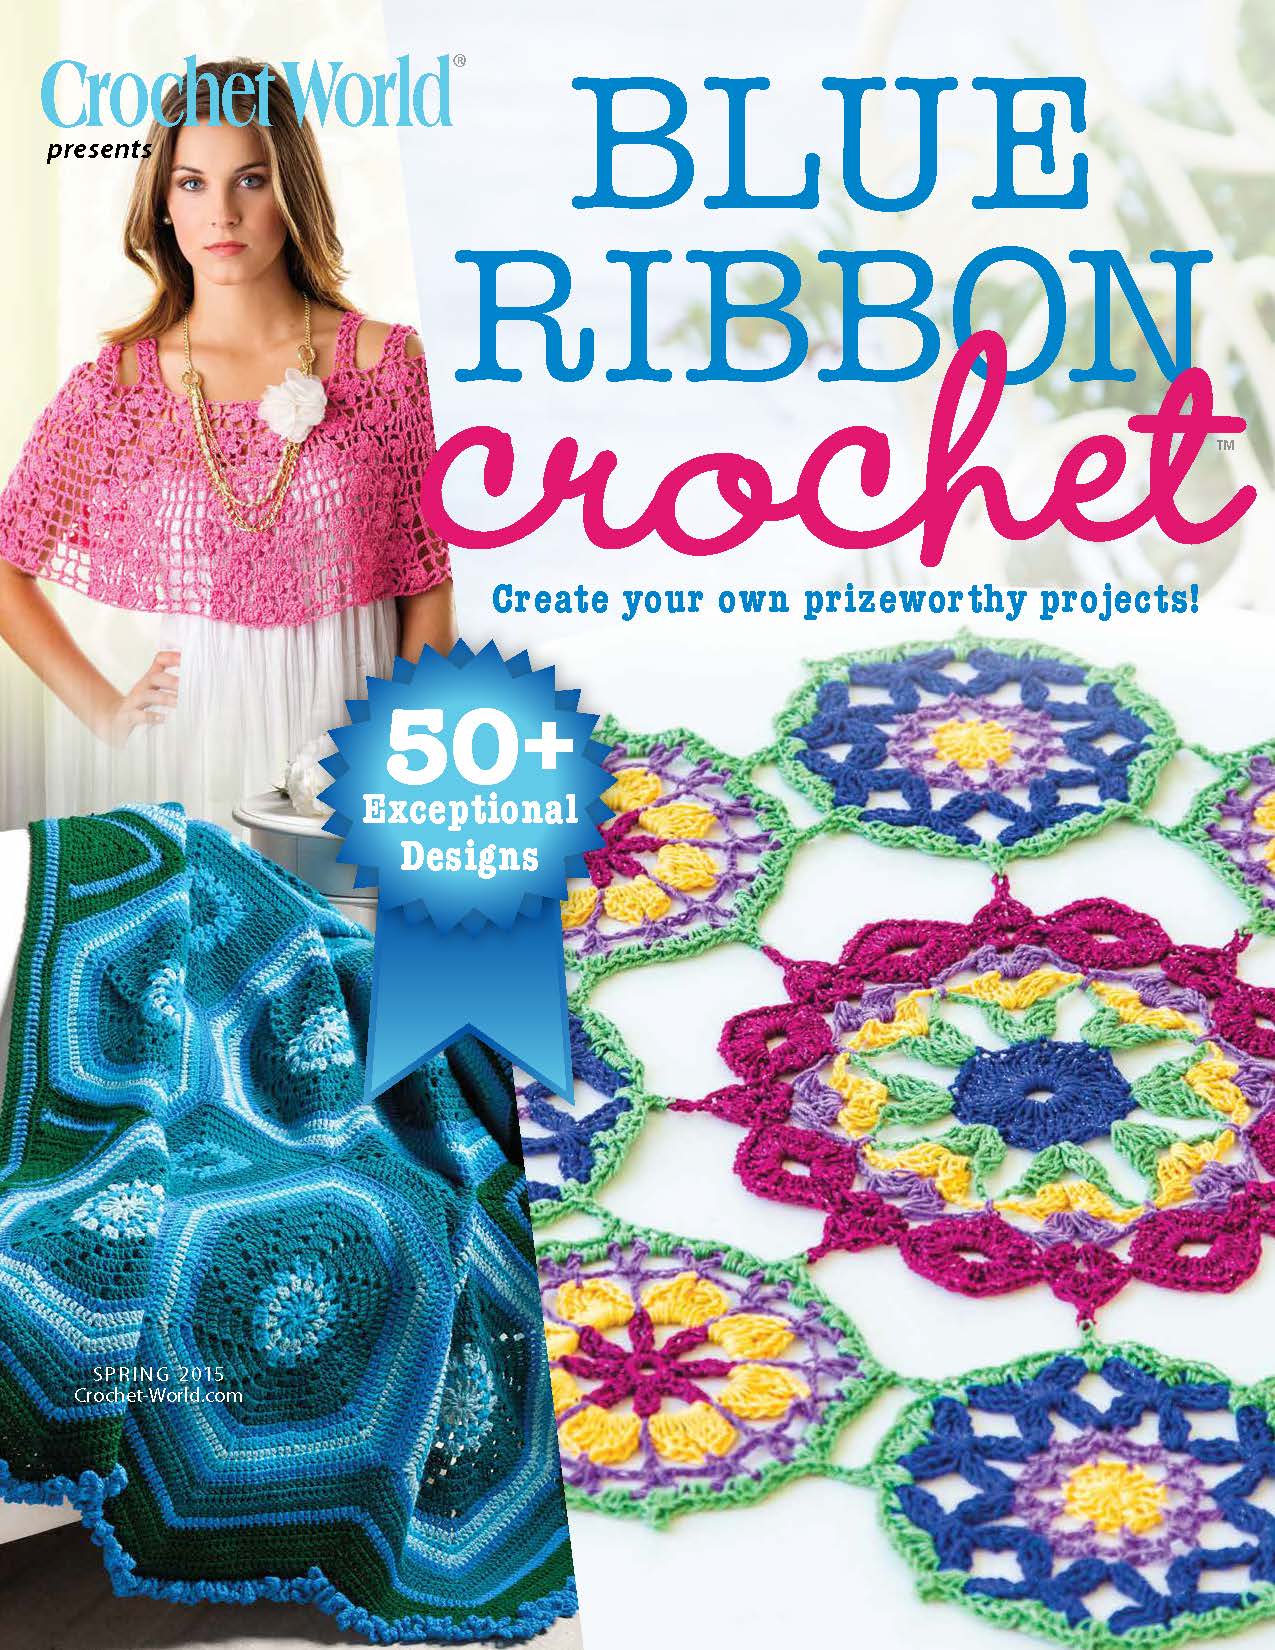
The New Year seems like it has been a bit of a whirl wind, especially since I have several designs coming out in various publications over the next several weeks. I enjoy sharing my thoughts of where these designs grew from, and the latest of these is the Bharat Star Table Runner, that is now available in the special issue of Crochet World Magazine, Blue Ribbon Crochet (available on newsstands and for download now).
 This table runner created with #10 cotton thread (Nazli Gelin Garden, color #700-09), was a design that grew out my approach to seeing in uses for the picot stitch. The picot stitch is a crochet classic, which is often used in an edging, sometimes within lace stitches, and is essentially working a chain-3 loop among a row or round of stitches. This creates a little, for lack of a better term, “nub” to rise above the other stitches and create a visual interest.
In playing with this classic technique, I have used the picot, instead of an embellishment as a location of additional stitch work. I have found that increasing the picot to a chain-4 loops, this becomes an excellent place to put shell or fan stitches, that creates a nice rounded arch.
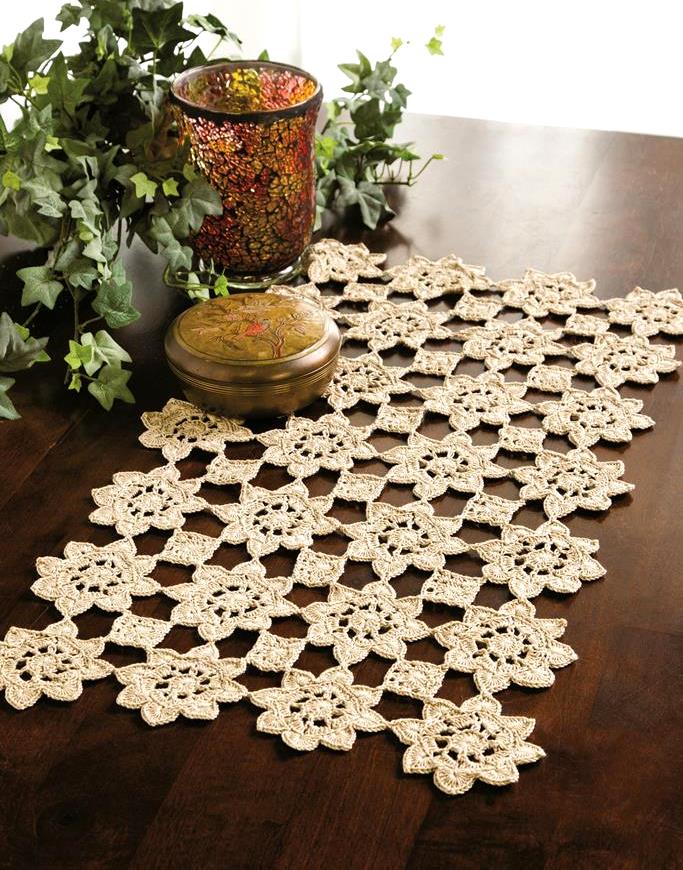
photo courtesy of Annie’s
So while sitting in grass at my old high school, waiting for my kids to finish their parks & recreation tennis lessons last summer, I was playing with motifs. I was originally attempting to create large lace motif, but after working my fourth round by working a shelled arch in a picots I could not find a way to continue it further. I loved the shape that it made. I knew I was really on to something with it when the other parents waiting for their kids commented on how much they liked what I was making (once again crochet is an ice breaker).
I added the small motif squares to the mix, as a way to assist in a smooth join to the fabric, and believe that the square shape is a nice compliment to the star shape. I actually enjoy this stitch pattern enough that I have considered, several times, adding more motifs to make a wrap, or even a full table cloth.
If you do not feel comfortable using thread, this pattern can use yarn, and offer beautiful results as well.
I enjoy many of my designs, but this one is up among my favorites.