Taking a Look at the “Extras” that make Crochet

ScannedImageI usually find myself to be a very simple person. I have crocheted for more years then I care to count, and have never thought about much more then my hook and my yarn. However recently I have started to look at “accessories”.

It probably came about from a ceramics class. A group of former students/friends arranged a day out to a local studio called “Color Me Mine”. It is apparently a chain of studios that have ceramic pieces for purchase, that you can then glaze and they will fire in a kiln, resulting in a personalized project that has a professional feel. At our studio day it was arranged for us to create our own yarn bowls.DSCF0937

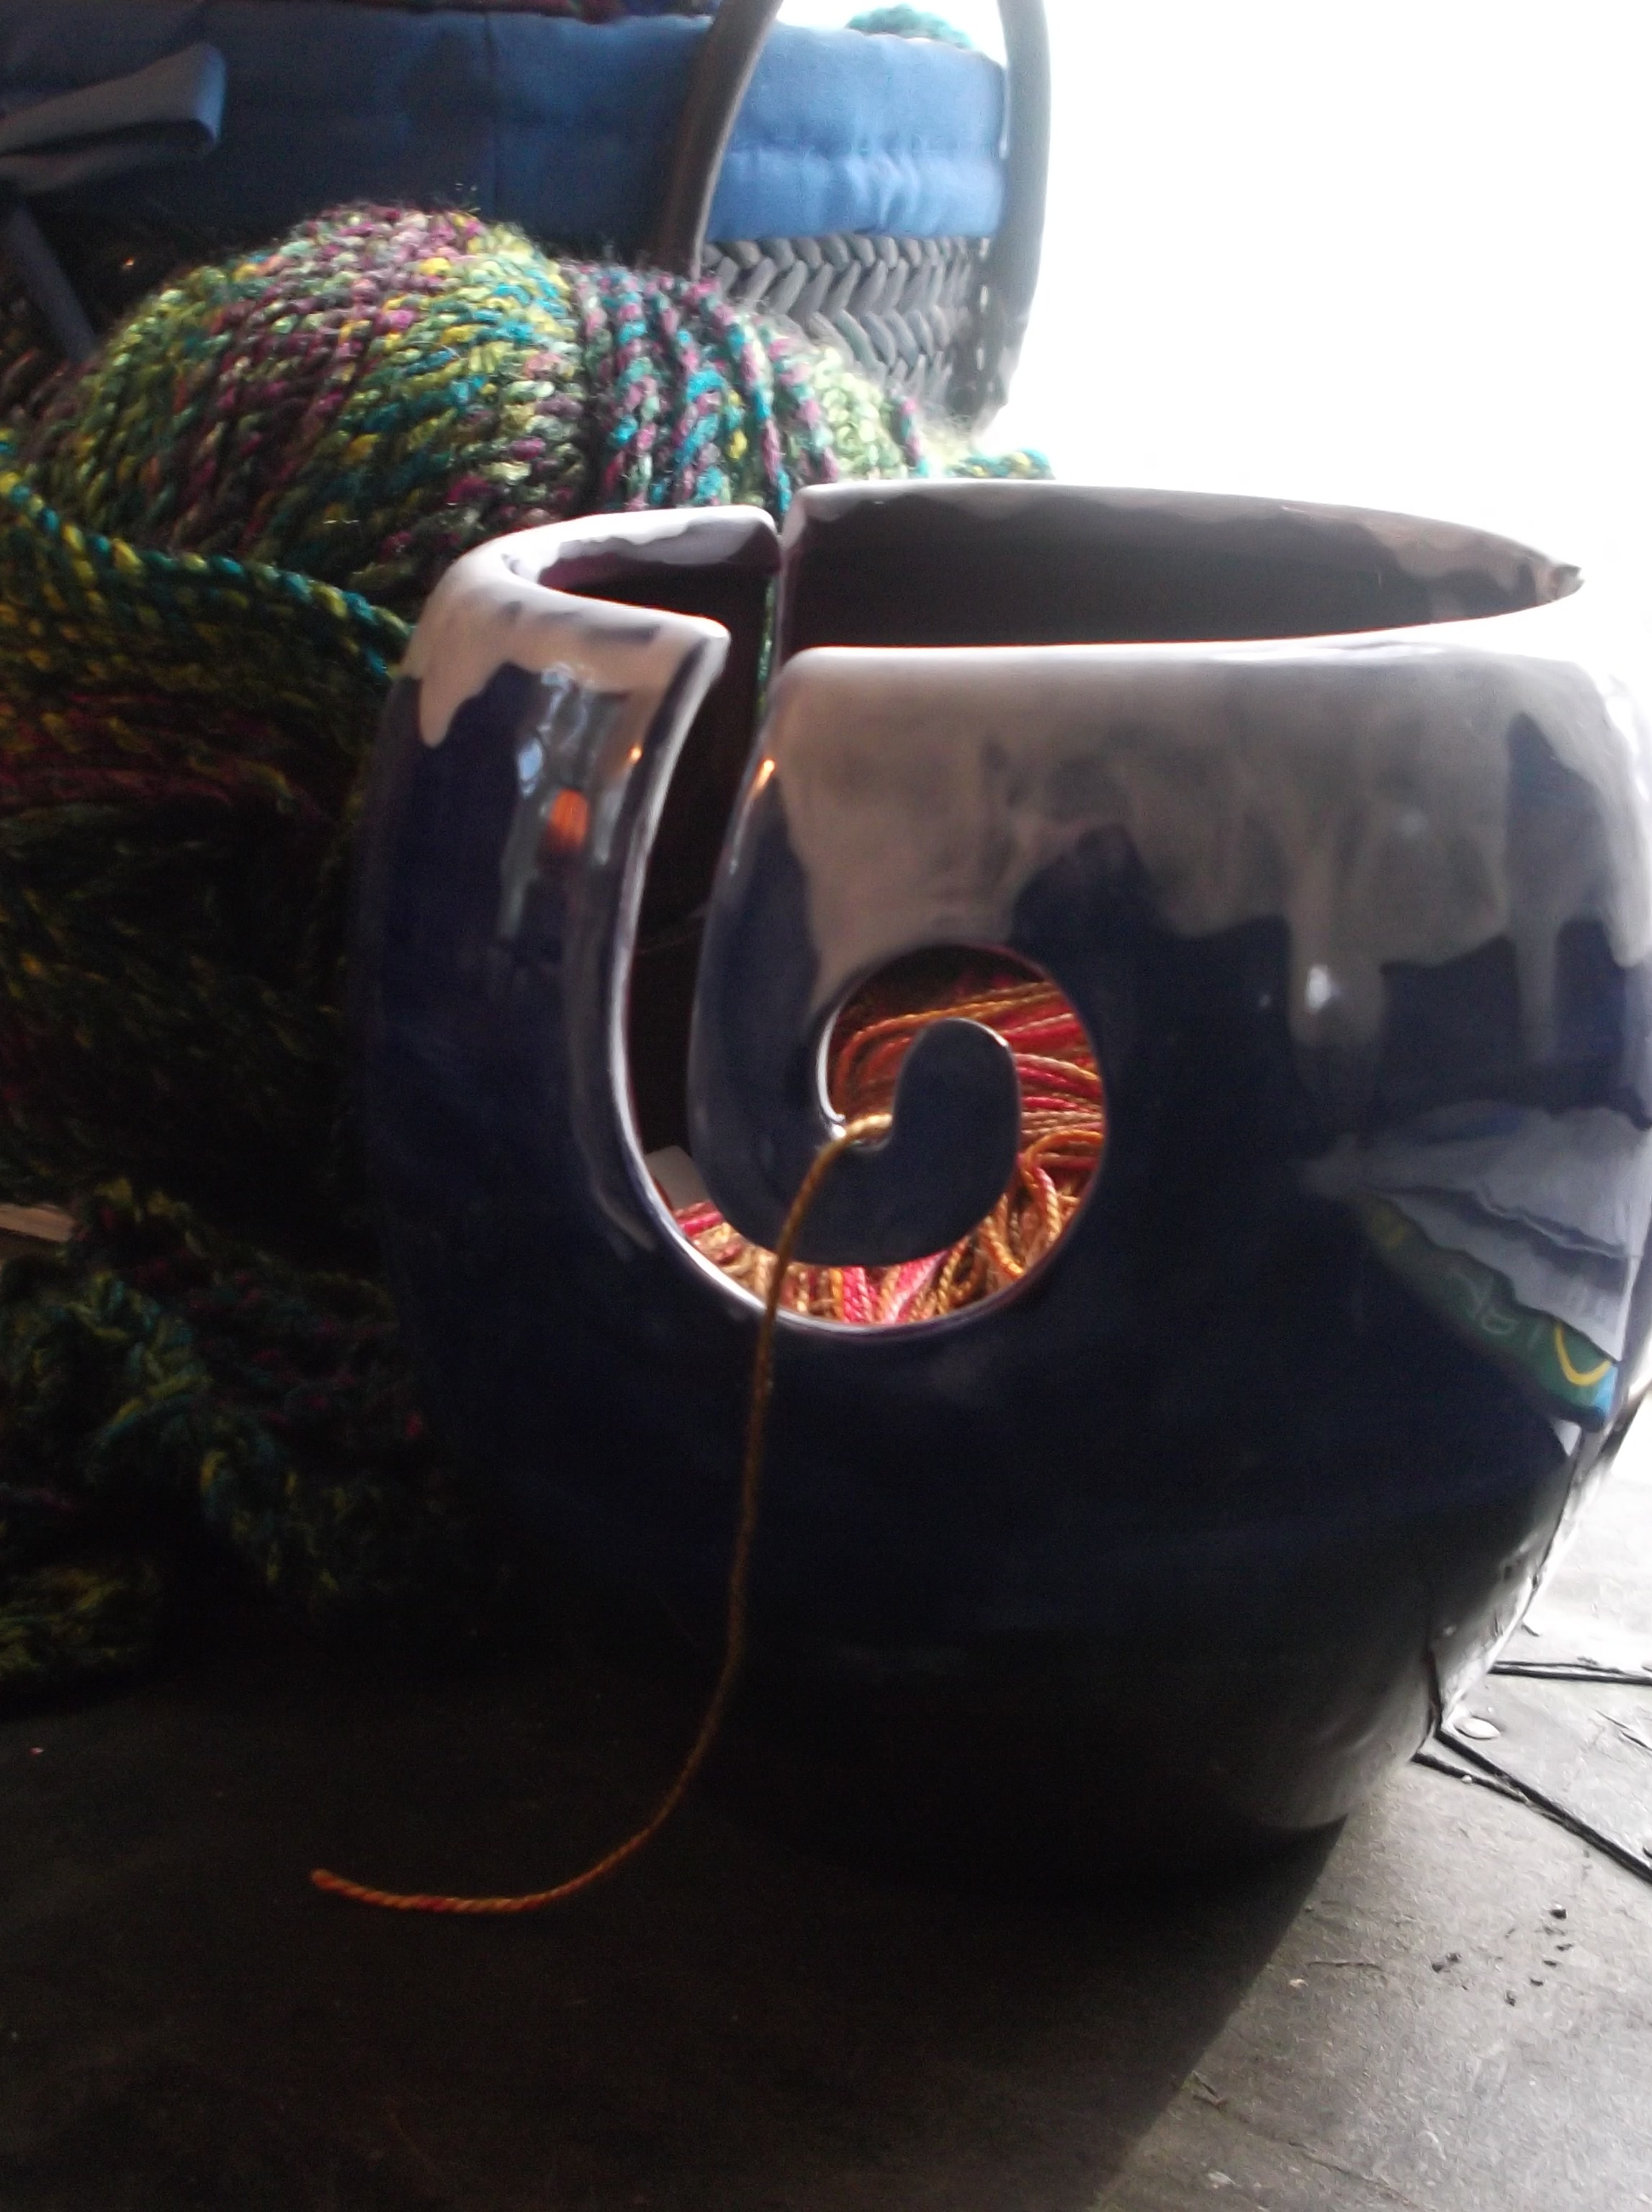
A yarn bowl is a newer concept to me; it is a bowl that holds yarn but has decorative edge that actually functions in reducing your yarn from tangling. So balls of yarn are contained and do not run wild in the house and the pull of the yarn is from the same place every time. I admit, in the past I managed unruly balls of yarn by placing them in a tennis shoe or hiking boot, but this bowl seems to be much more effective. Of the finished pieces I had the pleasure of seeing, they are all beautiful.

Funny how one open door to a new thought can open the door to many others. As this experience had me looking at travel holders for hooks, bags, hooks in general, even coffee cups. So when I was attempting to find a “thank you” gift for a friend, instead of looking at the usual yarn, I began thinking of other possibilities. One that I have decided to undertake and make myself, a hook/needle travel case.

DSCF0927.1

Small pouches for hooks/needles

DSCF0929.1

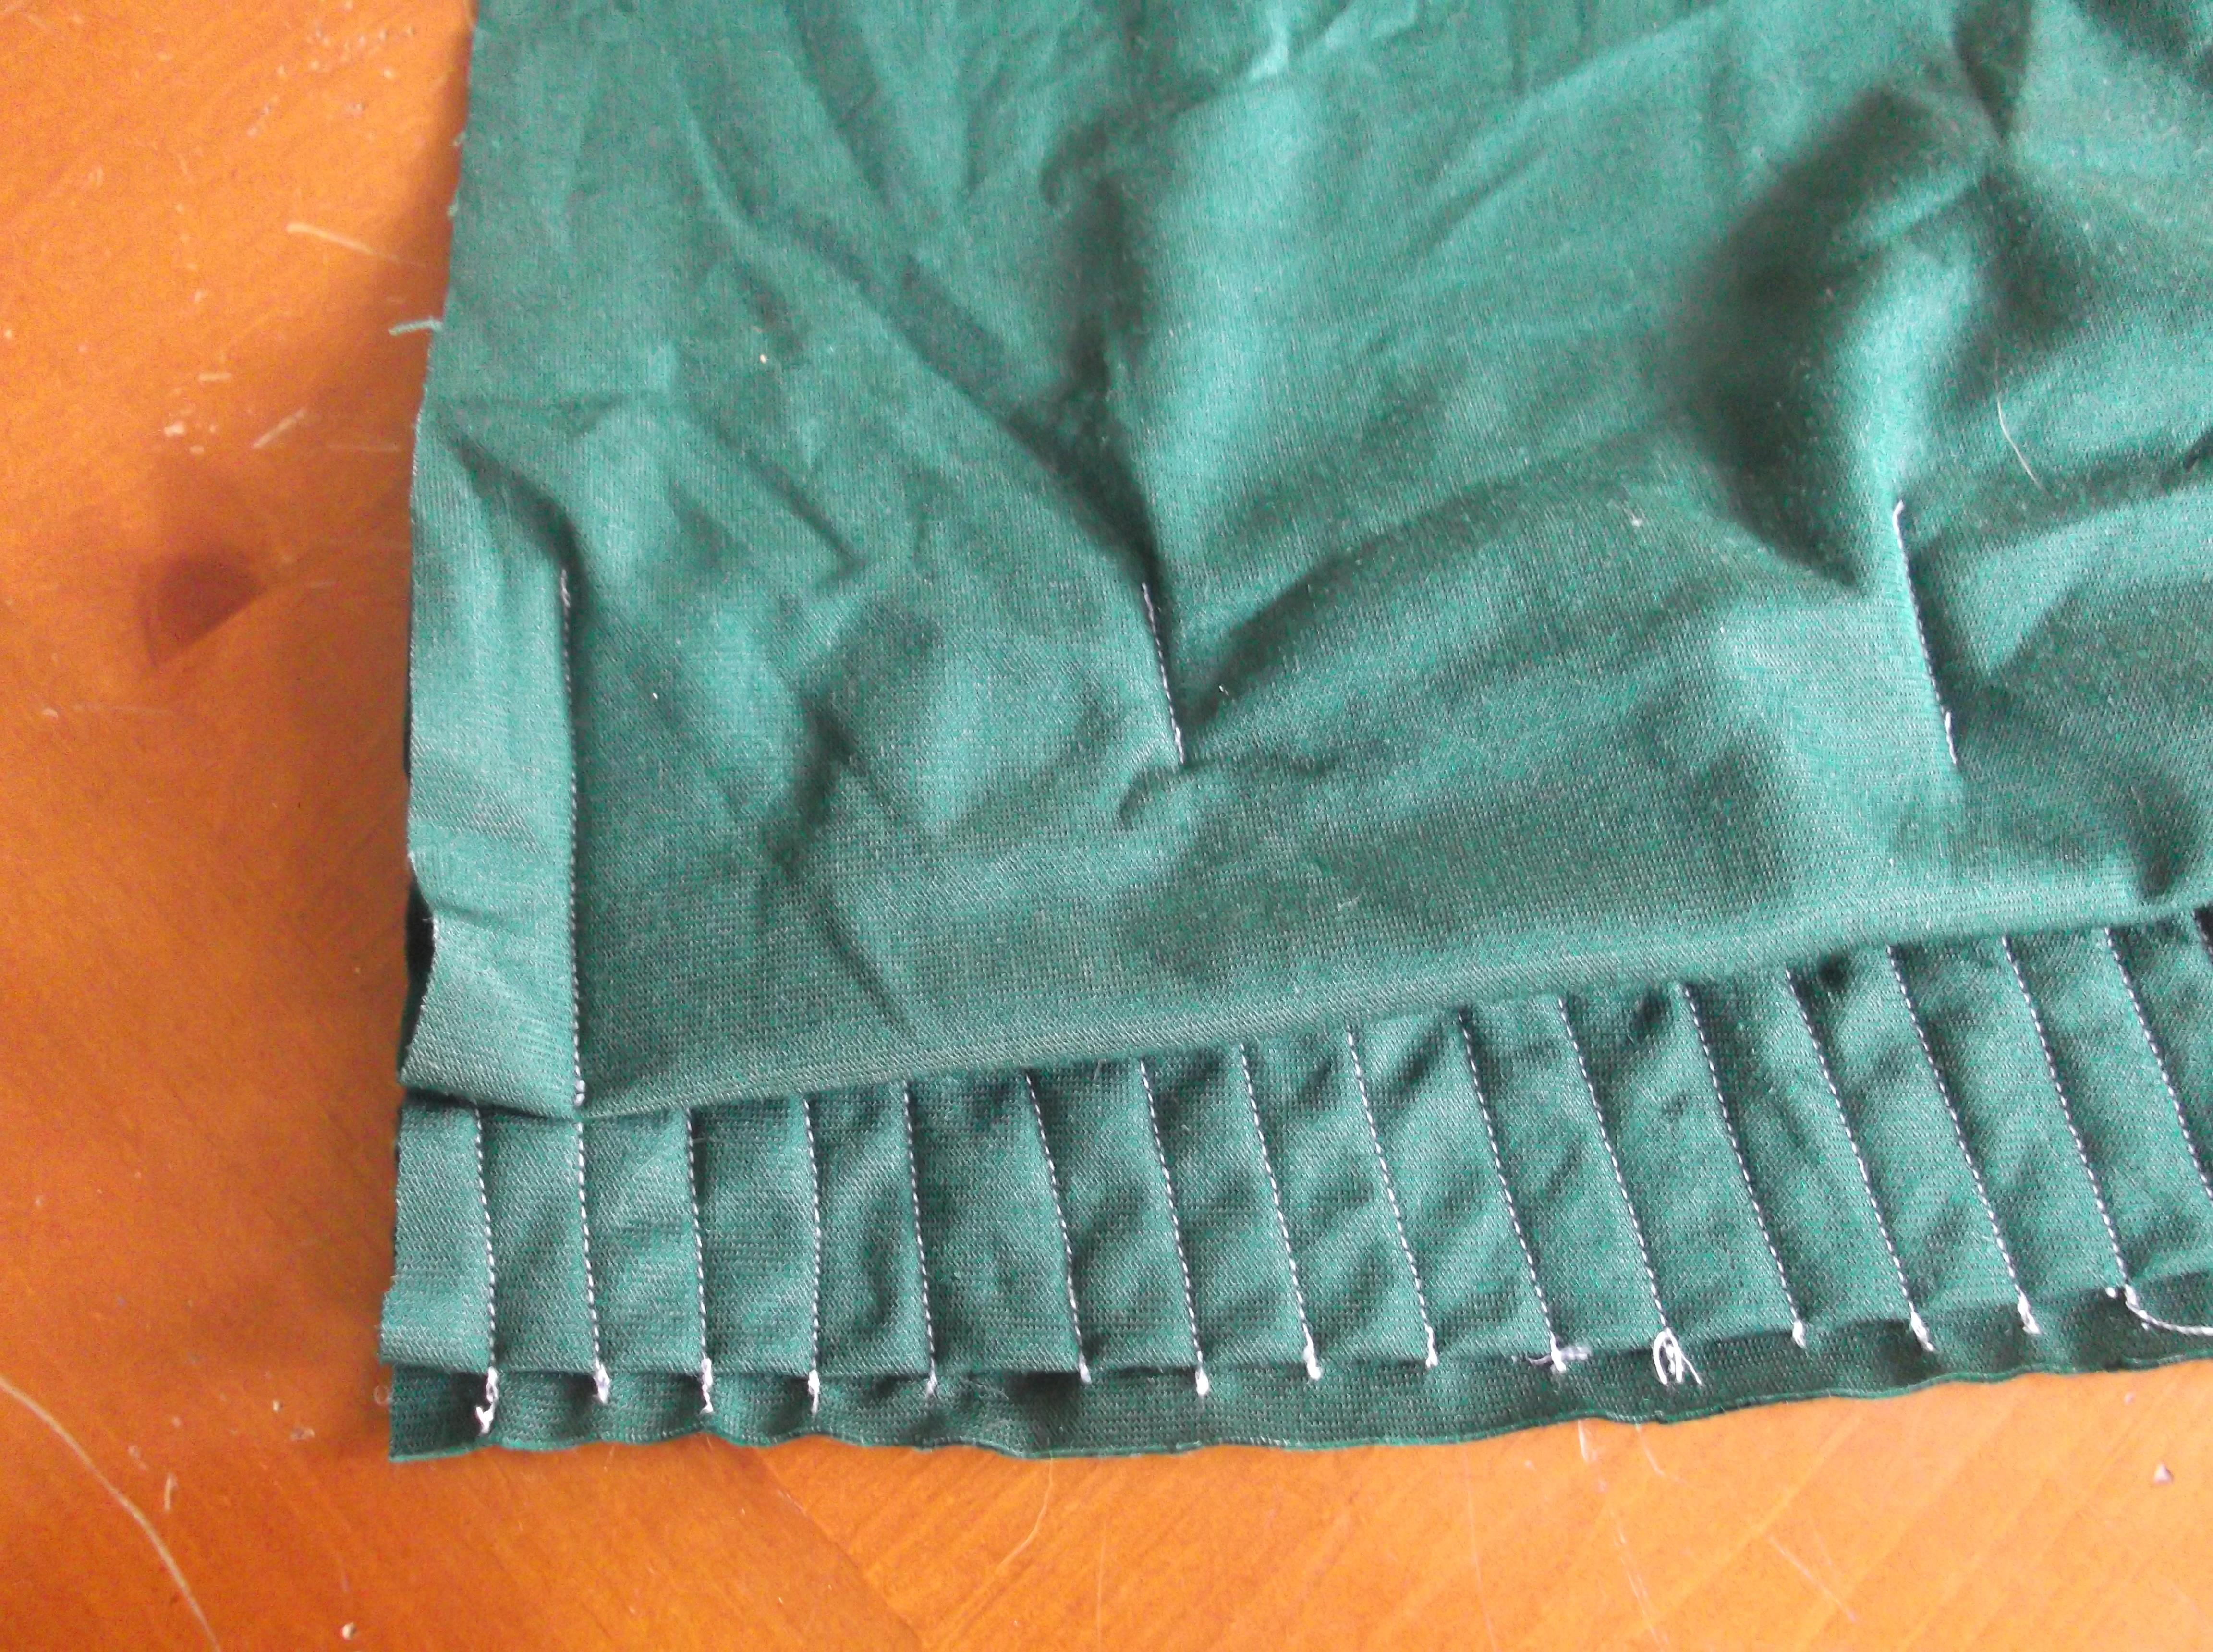
Wrong side of sewn fabric, 2 sets of pockets are created with folds. (hook/needle pouches sewn on the main pocket)

It has not been as difficult as I would have first thought. I found a fabric I liked in my stash, a velvet or velour type in a dark green; I cut a rectangle of 13”x 30” (33x76cm), and then began folding. I folded up 8” (20cm) from the short side, and then folded it in half back down (so that the velvet side of the fabric was facing outward, while at the same time lining the pocket). I then began to stitch creating a pocket and then slender pocket of ½” (1cm) width to hold hooks/needles. I then created a second set of pockets behind the hooks, by pulling up the recently sewn pocket about 2 ½” (6cm) and stitching the sides down. I also placed a couple of additional seams over the stitches created in the hooks sleeves to make about 3” (7.5cm) pouches.

DSCF0931.1

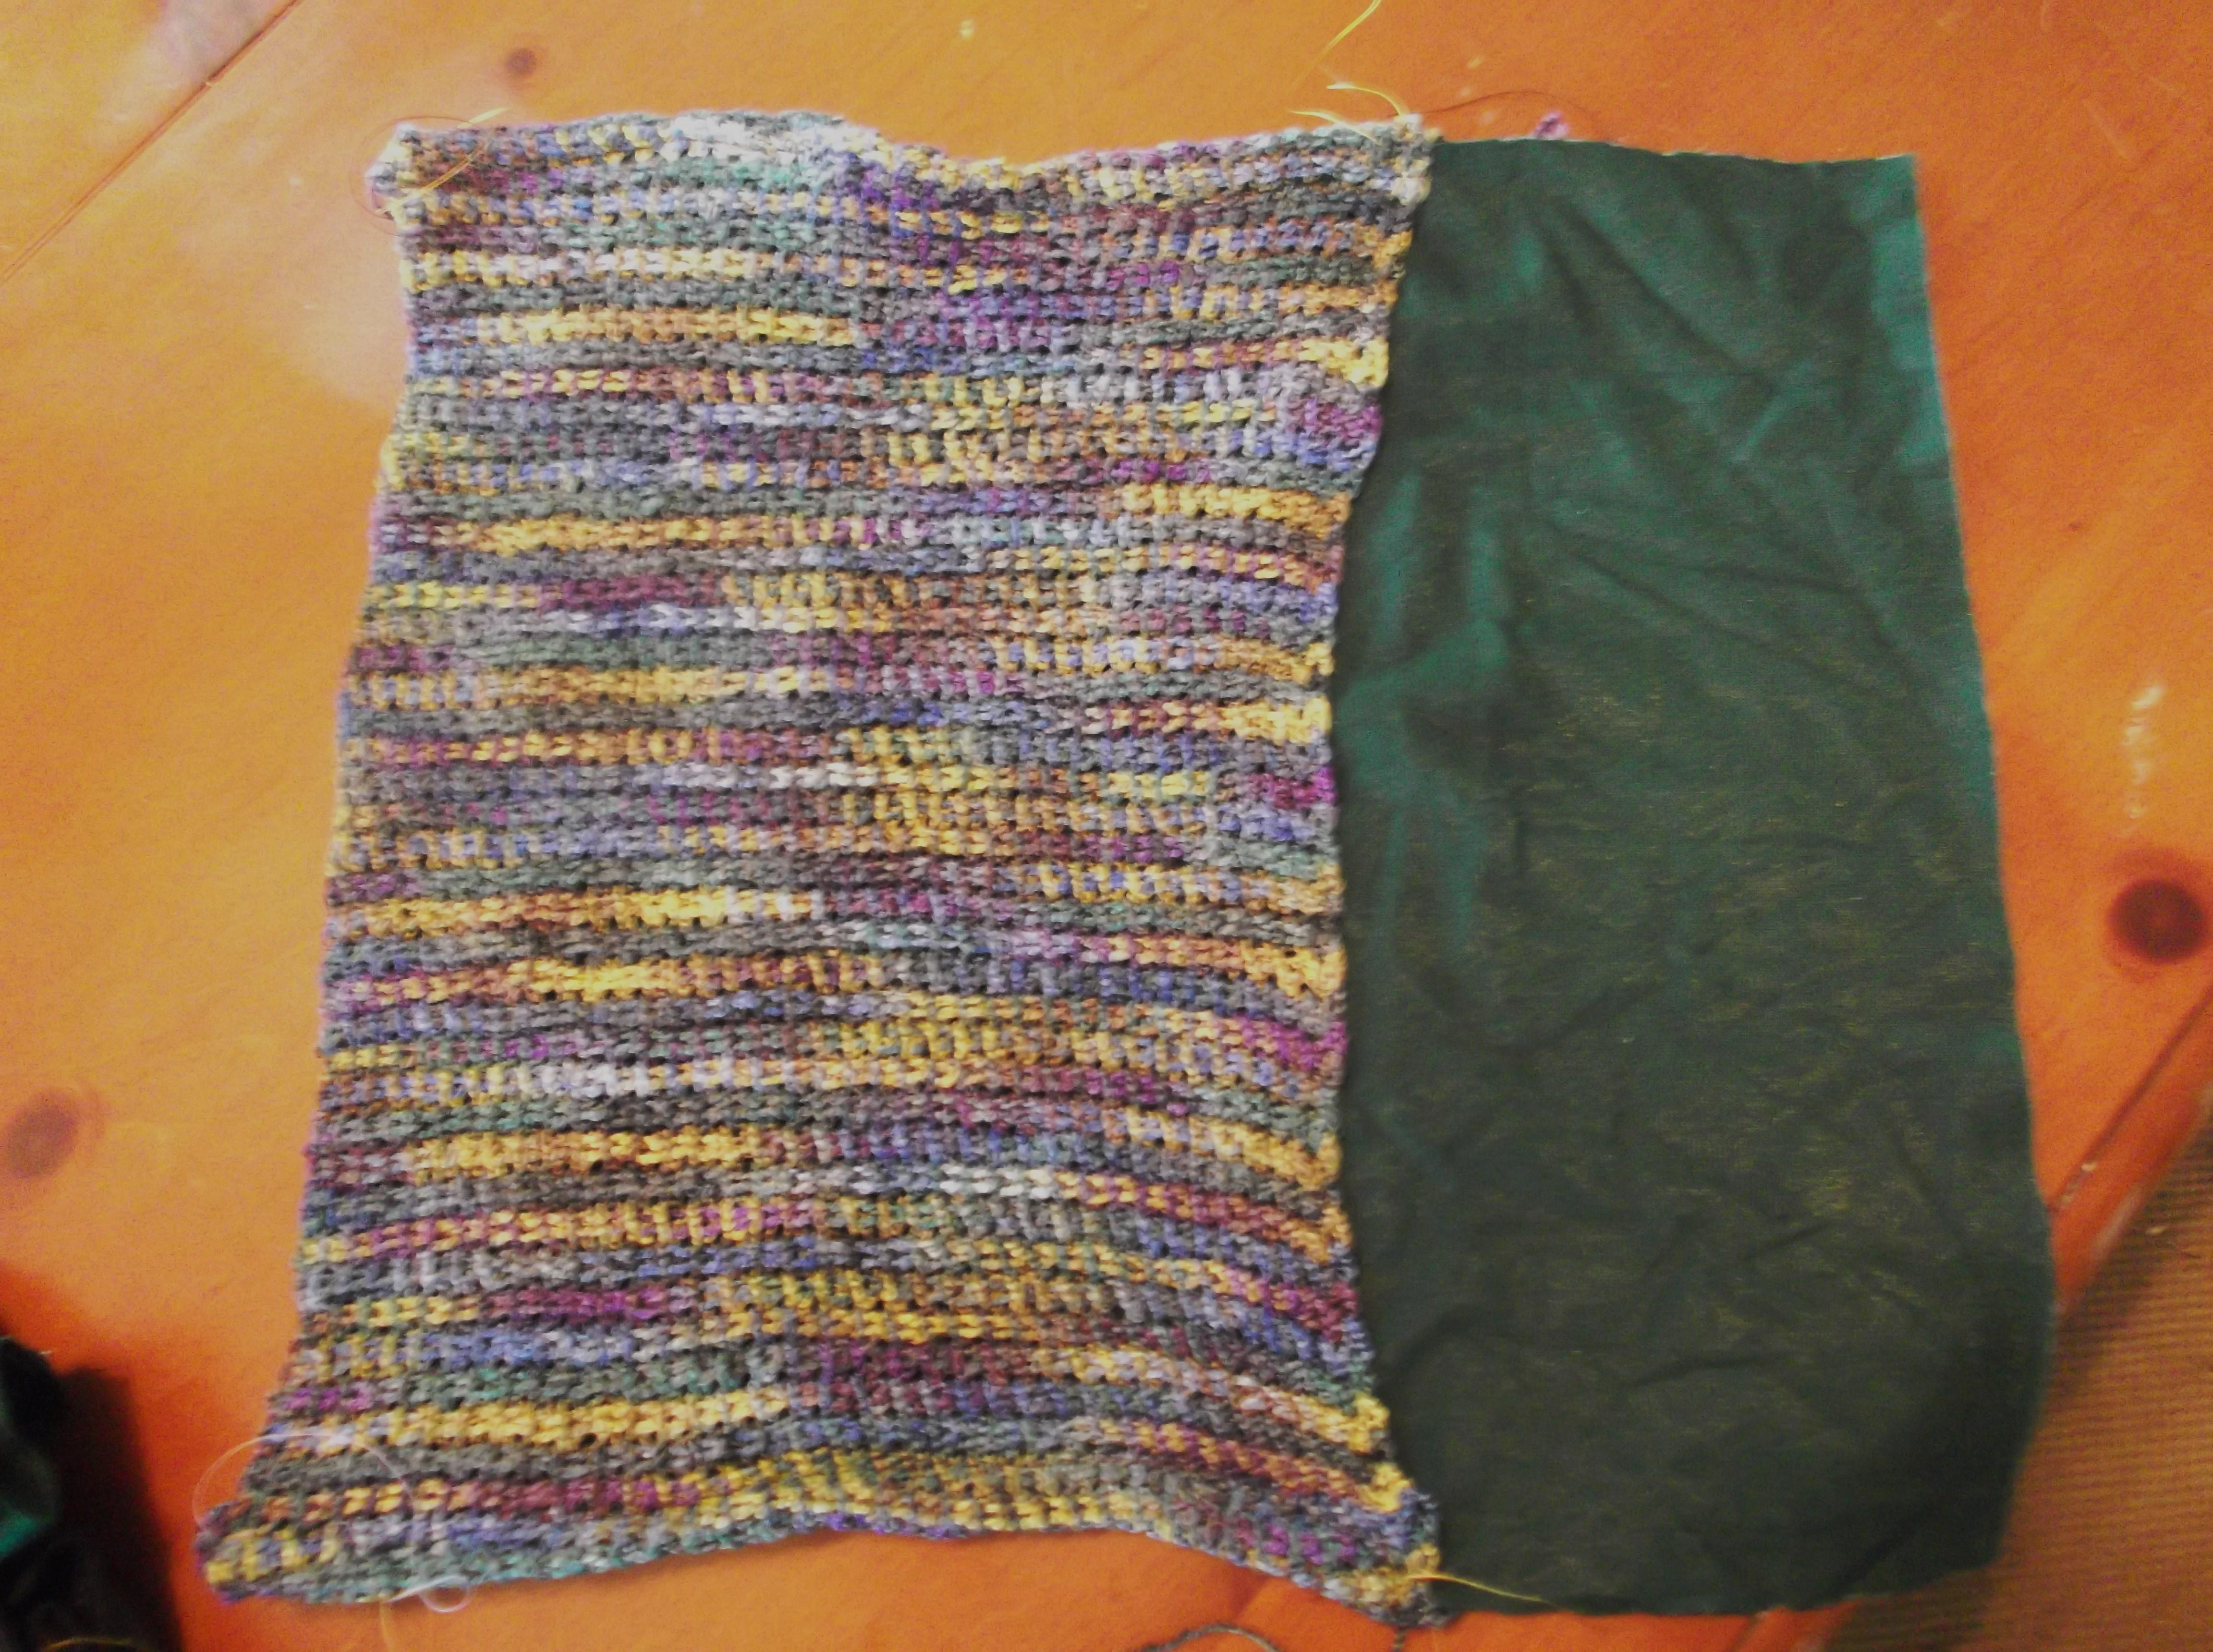
The crochet fabric is sewn to the velvet fabric, wrong sides together.

Now that the stitching was done, it was on to the crochet. I made a piece of crochet fabric from some rayon yarn I had, and utilized the Tunisian simple stitch to highlight the subtle color changes, in a size of a 9”x13” (23x33cm)rectangle. Matching the 13” (33cm) sides of the velvet and the crochet, with wrong sides together I stitches the seam, as well as at either end of the of the 9”(23cm) side of the crochet fabric to the velvet piece, and finally stitched the last side of the crochet fabric in place leaving the remaining velvet fabric unstitched (this is used to fold over the hooks/needles). Then sew on some ribbon ties and I think it looks good.

DSCF0936.1

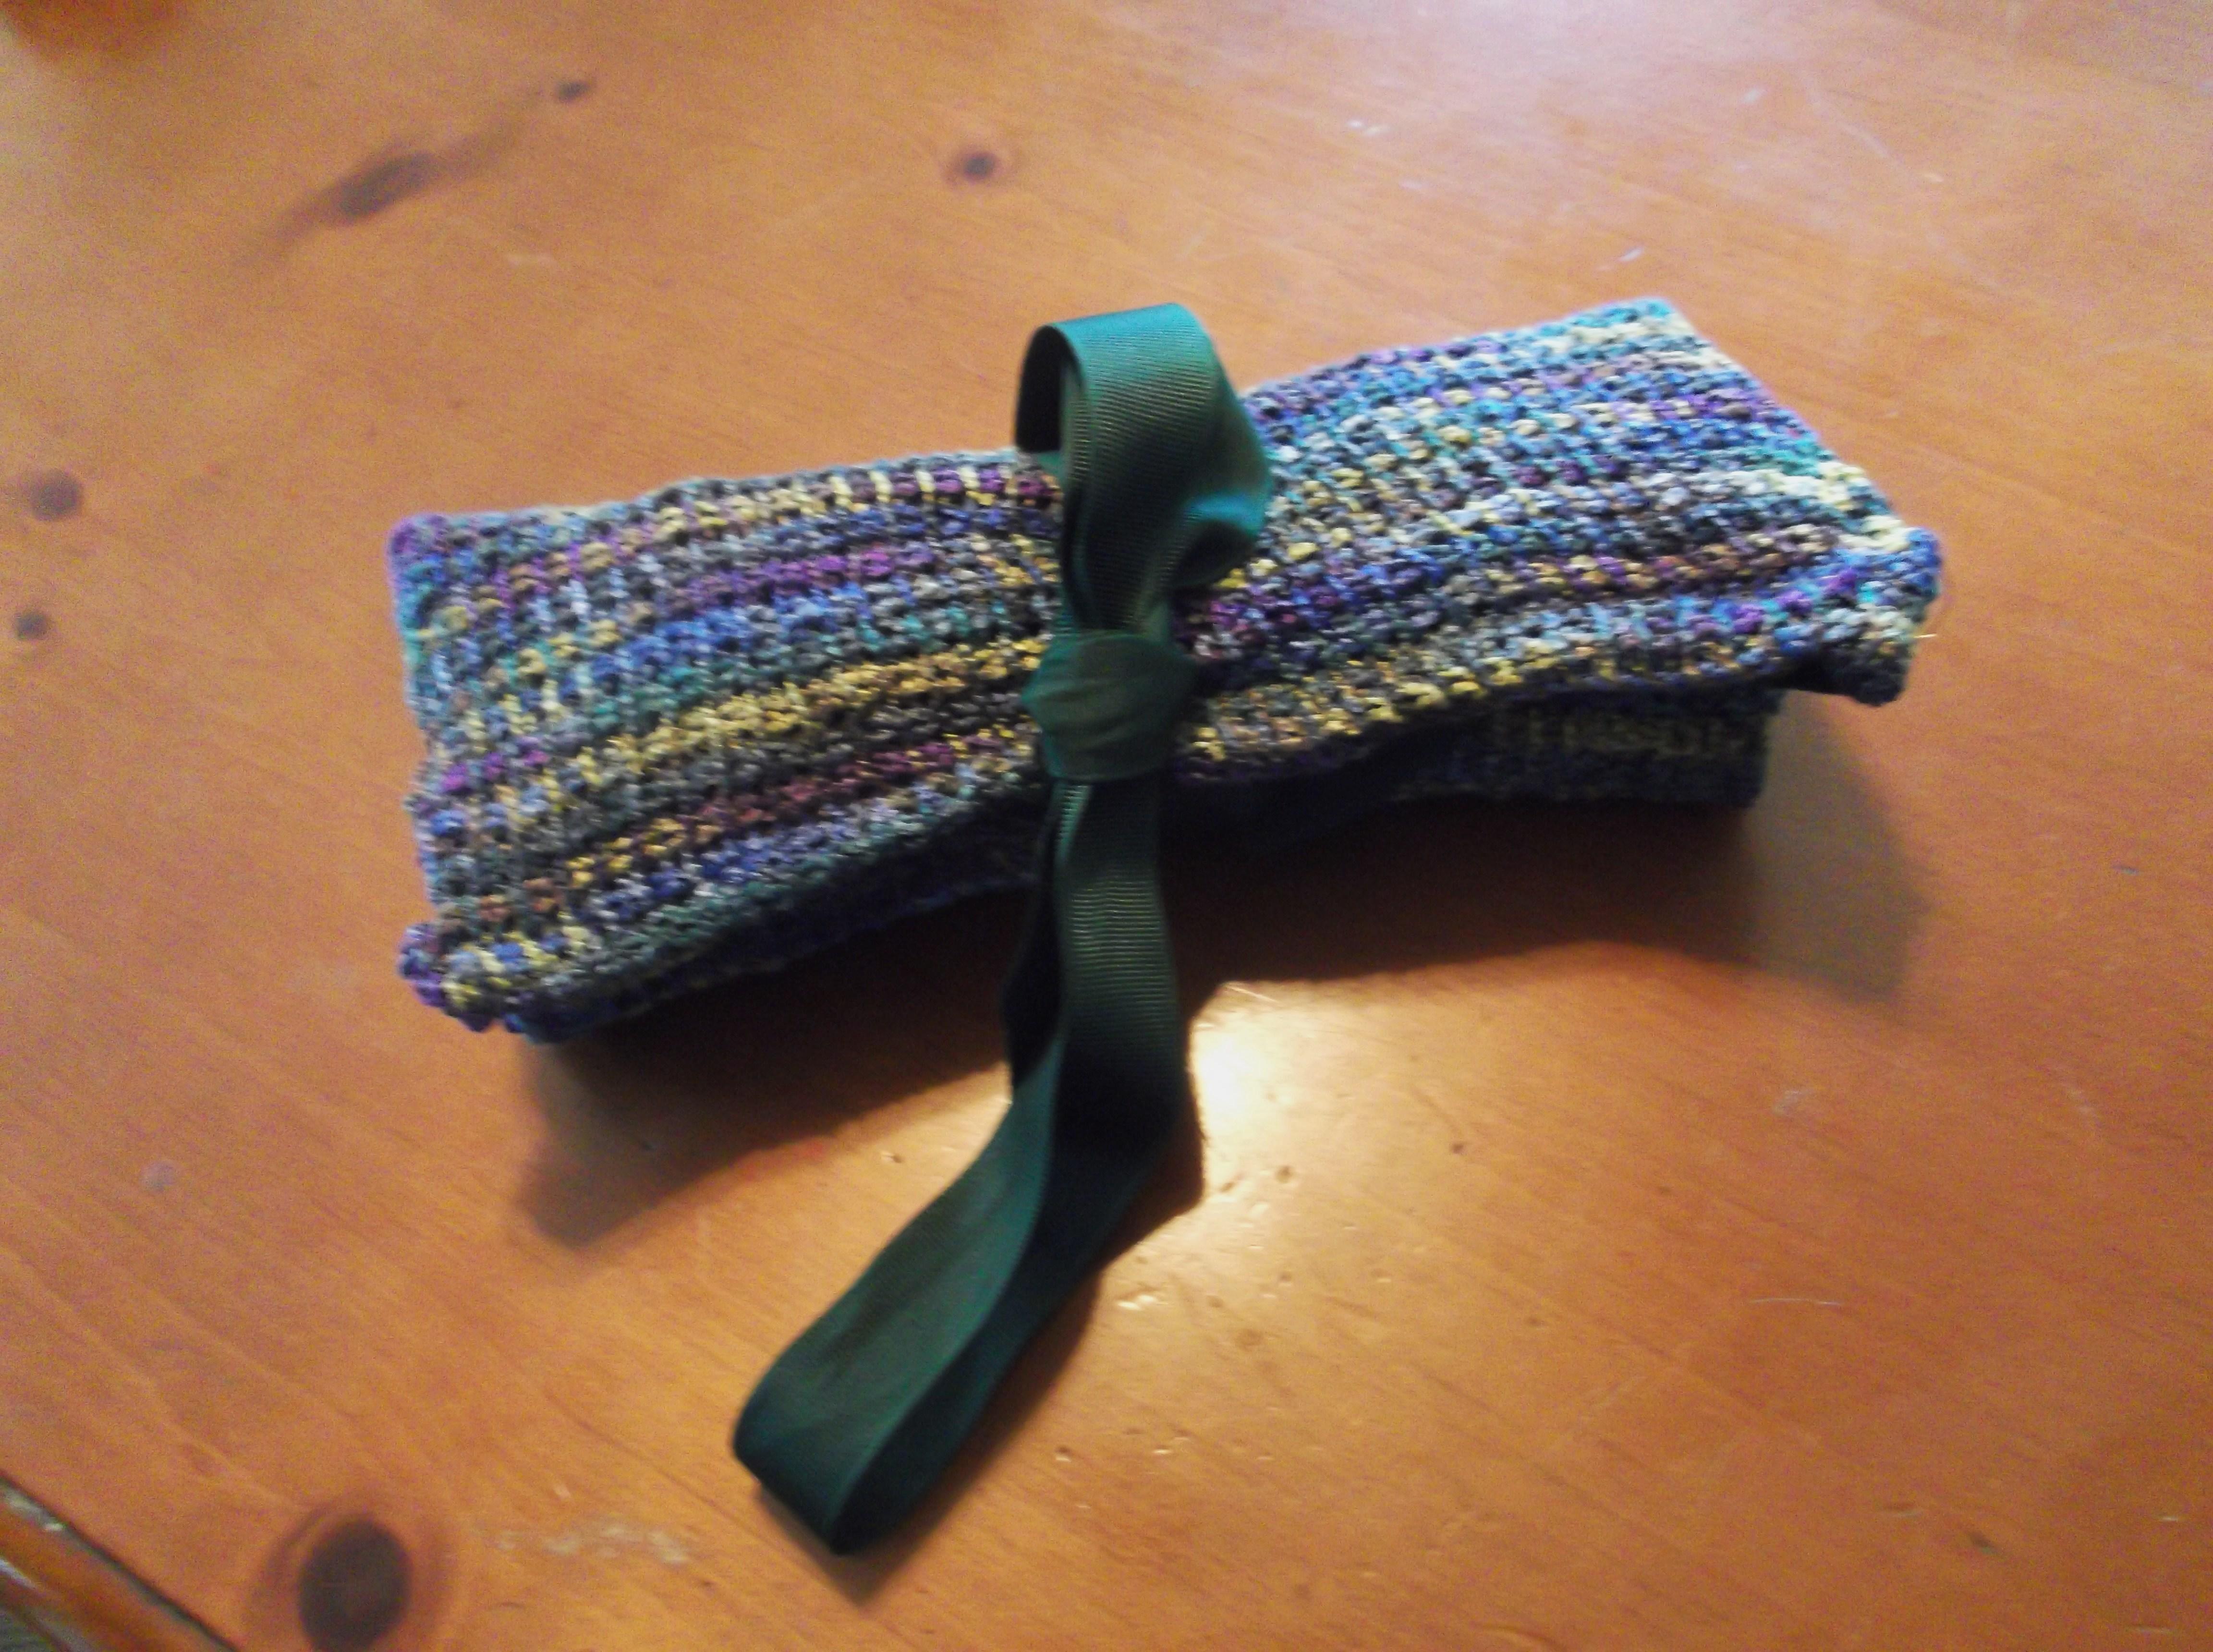
Tied up and ready to go!

DSCF0933.1

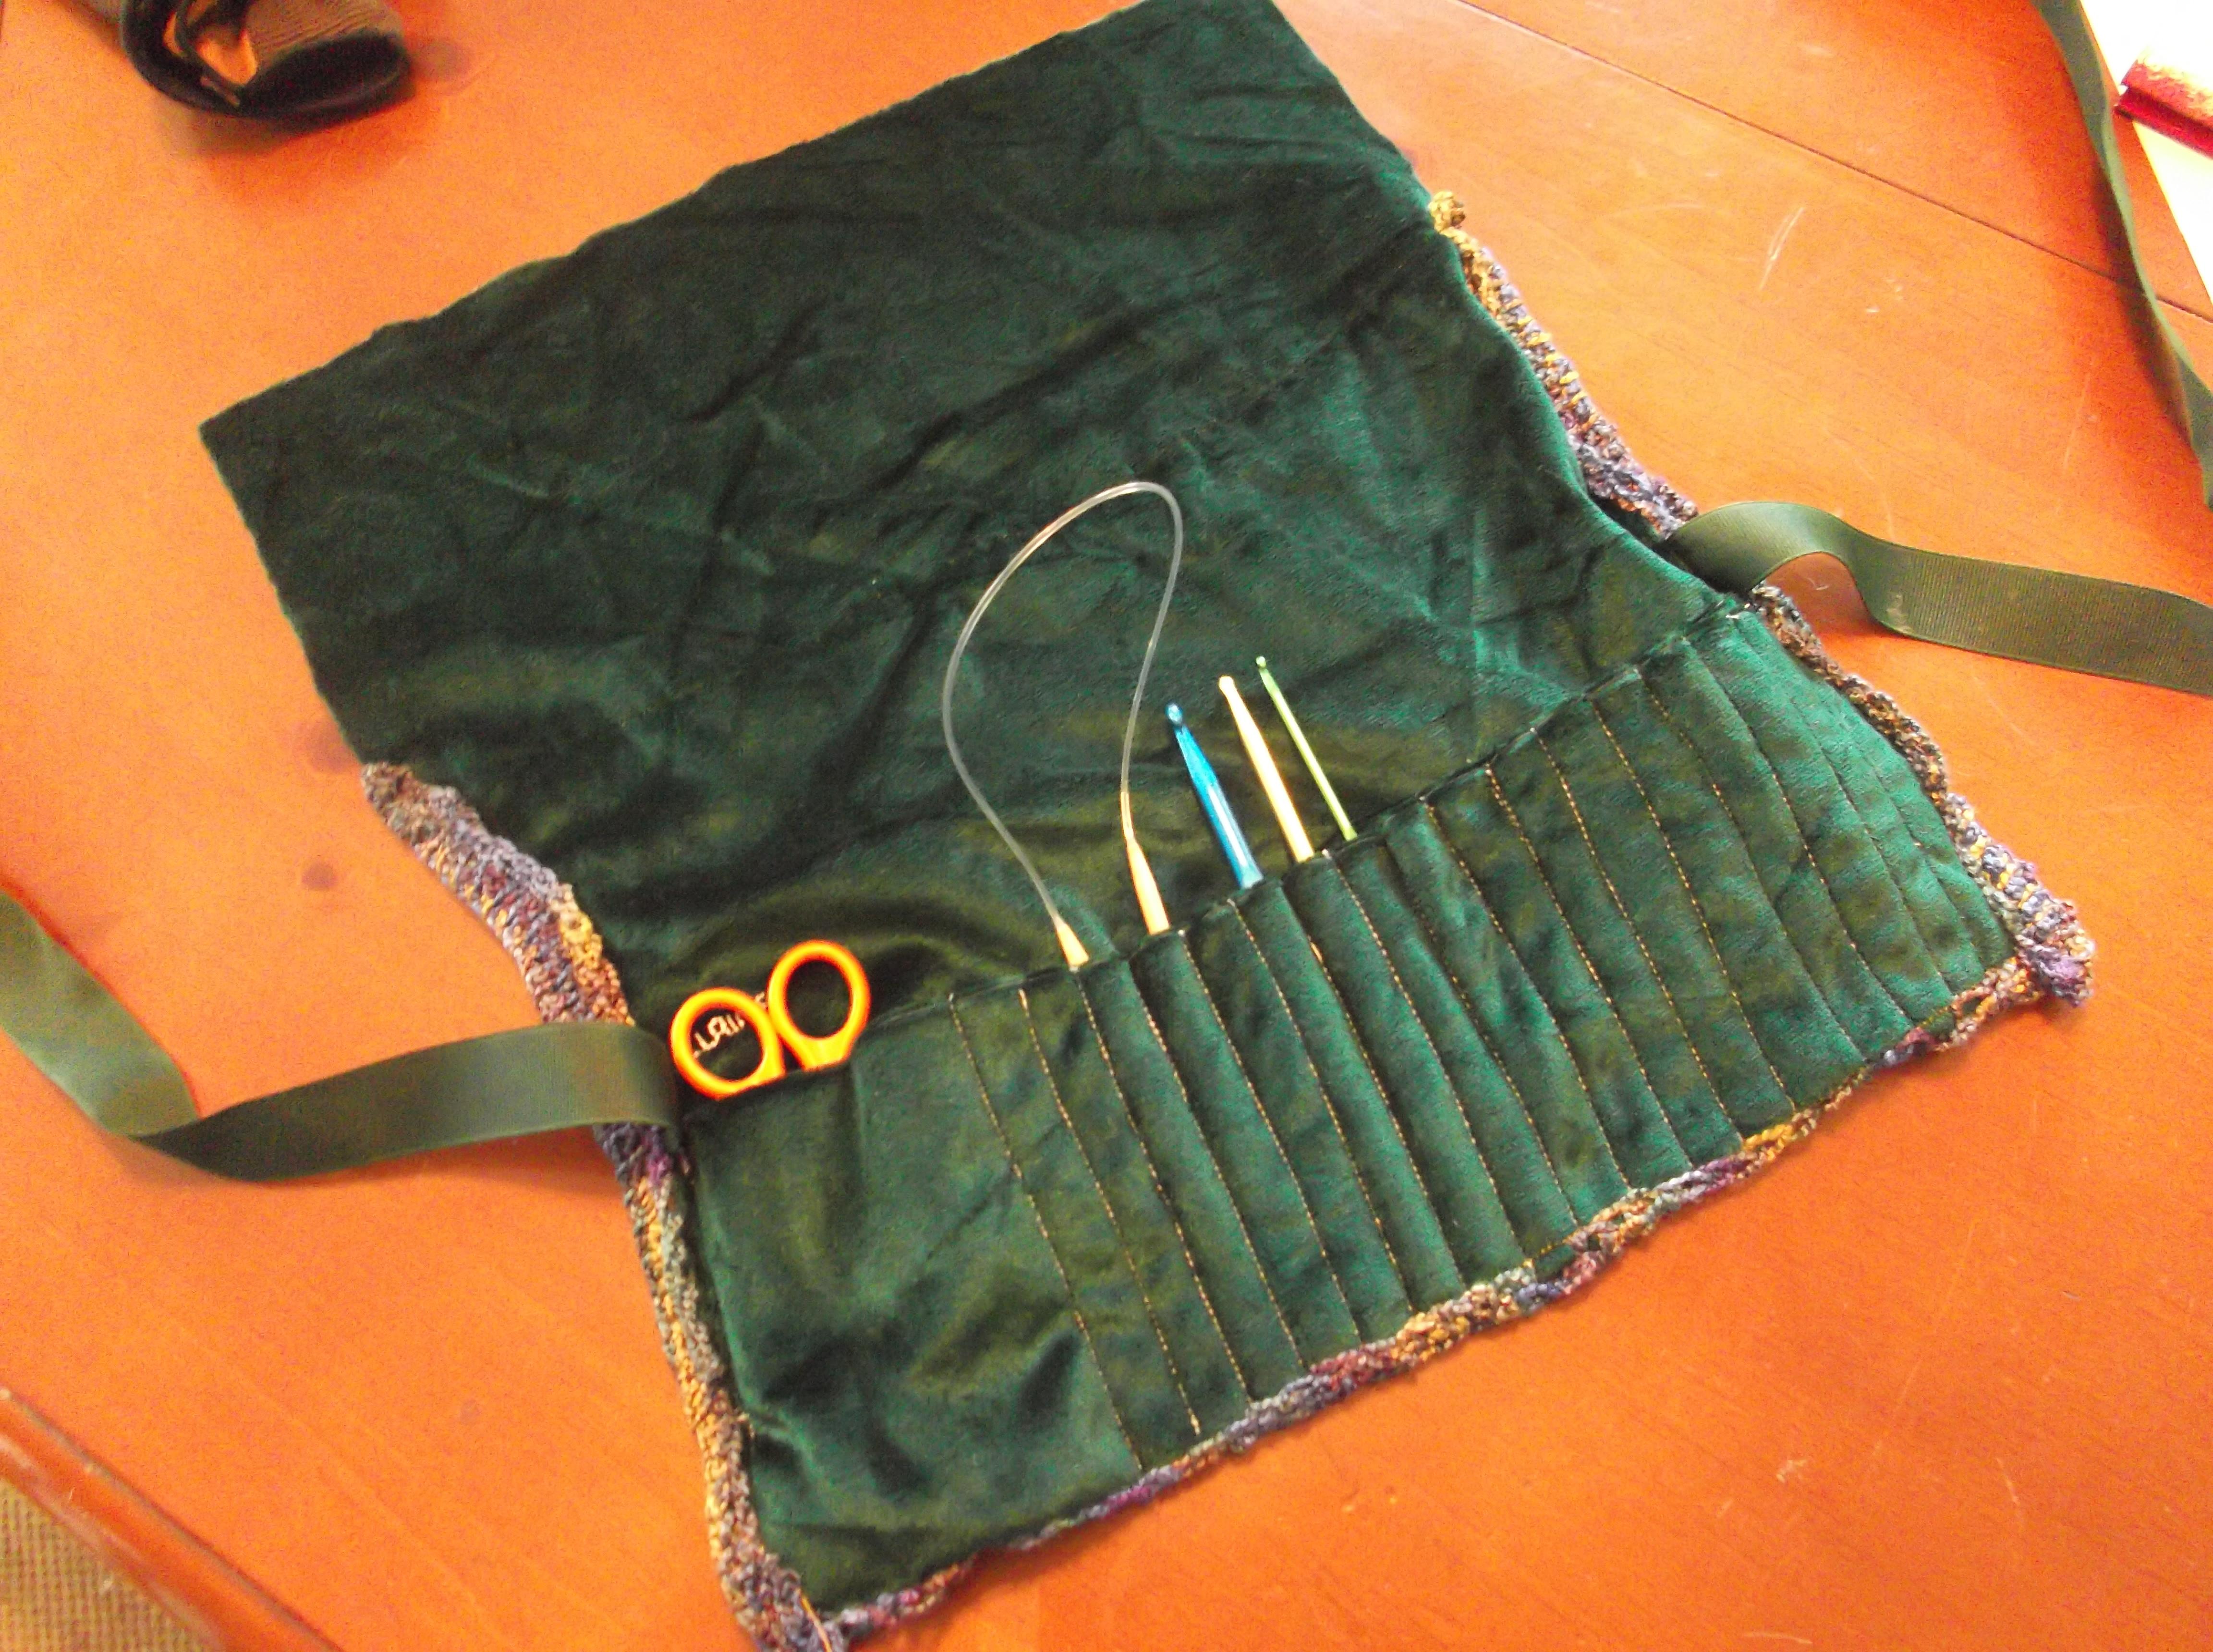
Just needs to be filled!

Looking at accessories for the world of fiber, is opening up many new ideas….it seems like a whole new world!

Bruges Lace and Best of Show

ScannedImageSome take one look at the pattern length of Bruges Lace and feel that it is to overwhelming to work, however once you understand the principals it really is quite easy and can create beautiful works.

M22159_Bruges_300_small2

Bruges Multi Shawl Photo courtesy of Annie’s

Bruges Lace is essentially like a ribbon; each row is created with just a few stitches and is joined to other portions of the “ribbon” with large turning chains. It is these turning chains that create the open lacy effects that this technique can create.

One of my latest designs uses this technique, the Bruges Multi Shawl in the Summer 2015 issue of Crochet! Magazine. This shawl begins at the base of the neck and curves outward in rows that end up more like arches. The ribbon is comprised of only 5 stitches, but is also designed to create more open work.

IMG_20140609_161055

My “Best of Show”, it is laying flat on the table at my local county fair.

This design was originally created as a personal challenge. I often enjoy limiting my ideas to what can be created with only one skein of yarn. This shawl was originally created that way, however it was with a different skein of yarn then what the published version is in. I made the original shawl with 1 skein of Lisa Souza Dyeworks Baby Alpaca/Silk yarn in the color of Cranilicious, and entered it in my local county fair. I do not enter my local fair for the ribbons or prizes, but more to inspire others to beauty that can be created in crochet, yet this shawl won me a “Best in Show” (my one and only).

I really enjoy the structural appearance of this shawl; it almost reminds me of old fashion iron work. This shawl almost seems weightless, yet adds just enough warmth to take the chill off. Another point I love with this design is that the front comes over the shoulders enough that it really stays on! I do not use a shawl pin or anything, I just throw it on and go, and it stays where I put it. That is something that I really enjoy.

DSCF0731

The original version of the Bruges Multi Lace Shawl

I hope that you take up your hooks and give Bruges Lace a try, its unique construction is easier then it seems and can be quite fun. Any continuous line you can draw can be worked as a ribbon of Bruges Lace, imagine the possibilities.

Where Designs Grow- The Bharat Star Table Runner

ScannedImageThe New Year seems like it has been a bit of a whirl wind, especially since I have several designs coming out in various publications over the next several weeks. I enjoy sharing my thoughts of where these designs grew from, and the latest of these is the Bharat Star Table Runner, that is now available in the special issue of Crochet World Magazine, Blue Ribbon Crochet (available on newsstands and for download now).

871501_BlueRibbon_COVERThis table runner created with #10 cotton thread (Nazli Gelin Garden, color #700-09), was a design that grew out my approach to seeing in uses for the picot stitch. The picot stitch is a crochet classic, which is often used in an edging, sometimes within lace stitches, and is essentially working a chain-3 loop among a row or round of stitches. This creates a little, for lack of a better term, “nub” to rise above the other stitches and create a visual interest.

In playing with this classic technique, I have used the picot, instead of an embellishment as a location of additional stitch work. I have found that increasing the picot to a chain-4 loops, this becomes an excellent place to put shell or fan stitches, that creates a nice rounded arch.

image-1

photo courtesy of Annie’s

So while sitting in grass at my old high school, waiting for my kids to finish their parks & recreation tennis lessons last summer, I was playing with motifs. I was originally attempting to create large lace motif, but after working my fourth round by working a shelled arch in a picots I could not find a way to continue it further. I loved the shape that it made. I knew I was really on to something with it when the other parents waiting for their kids commented on how much they liked what I was making (once again crochet is an ice breaker).

I added the small motif squares to the mix, as a way to assist in a smooth join to the fabric, and believe that the square shape is a nice compliment to the star shape. I actually enjoy this stitch pattern enough that I have considered, several times, adding more motifs to make a wrap, or even a full table cloth.

If you do not feel comfortable using thread, this pattern can use yarn, and offer beautiful results as well.

I enjoy many of my designs, but this one is up among my favorites.