Walking Pathways- A Free Blanket Pattern

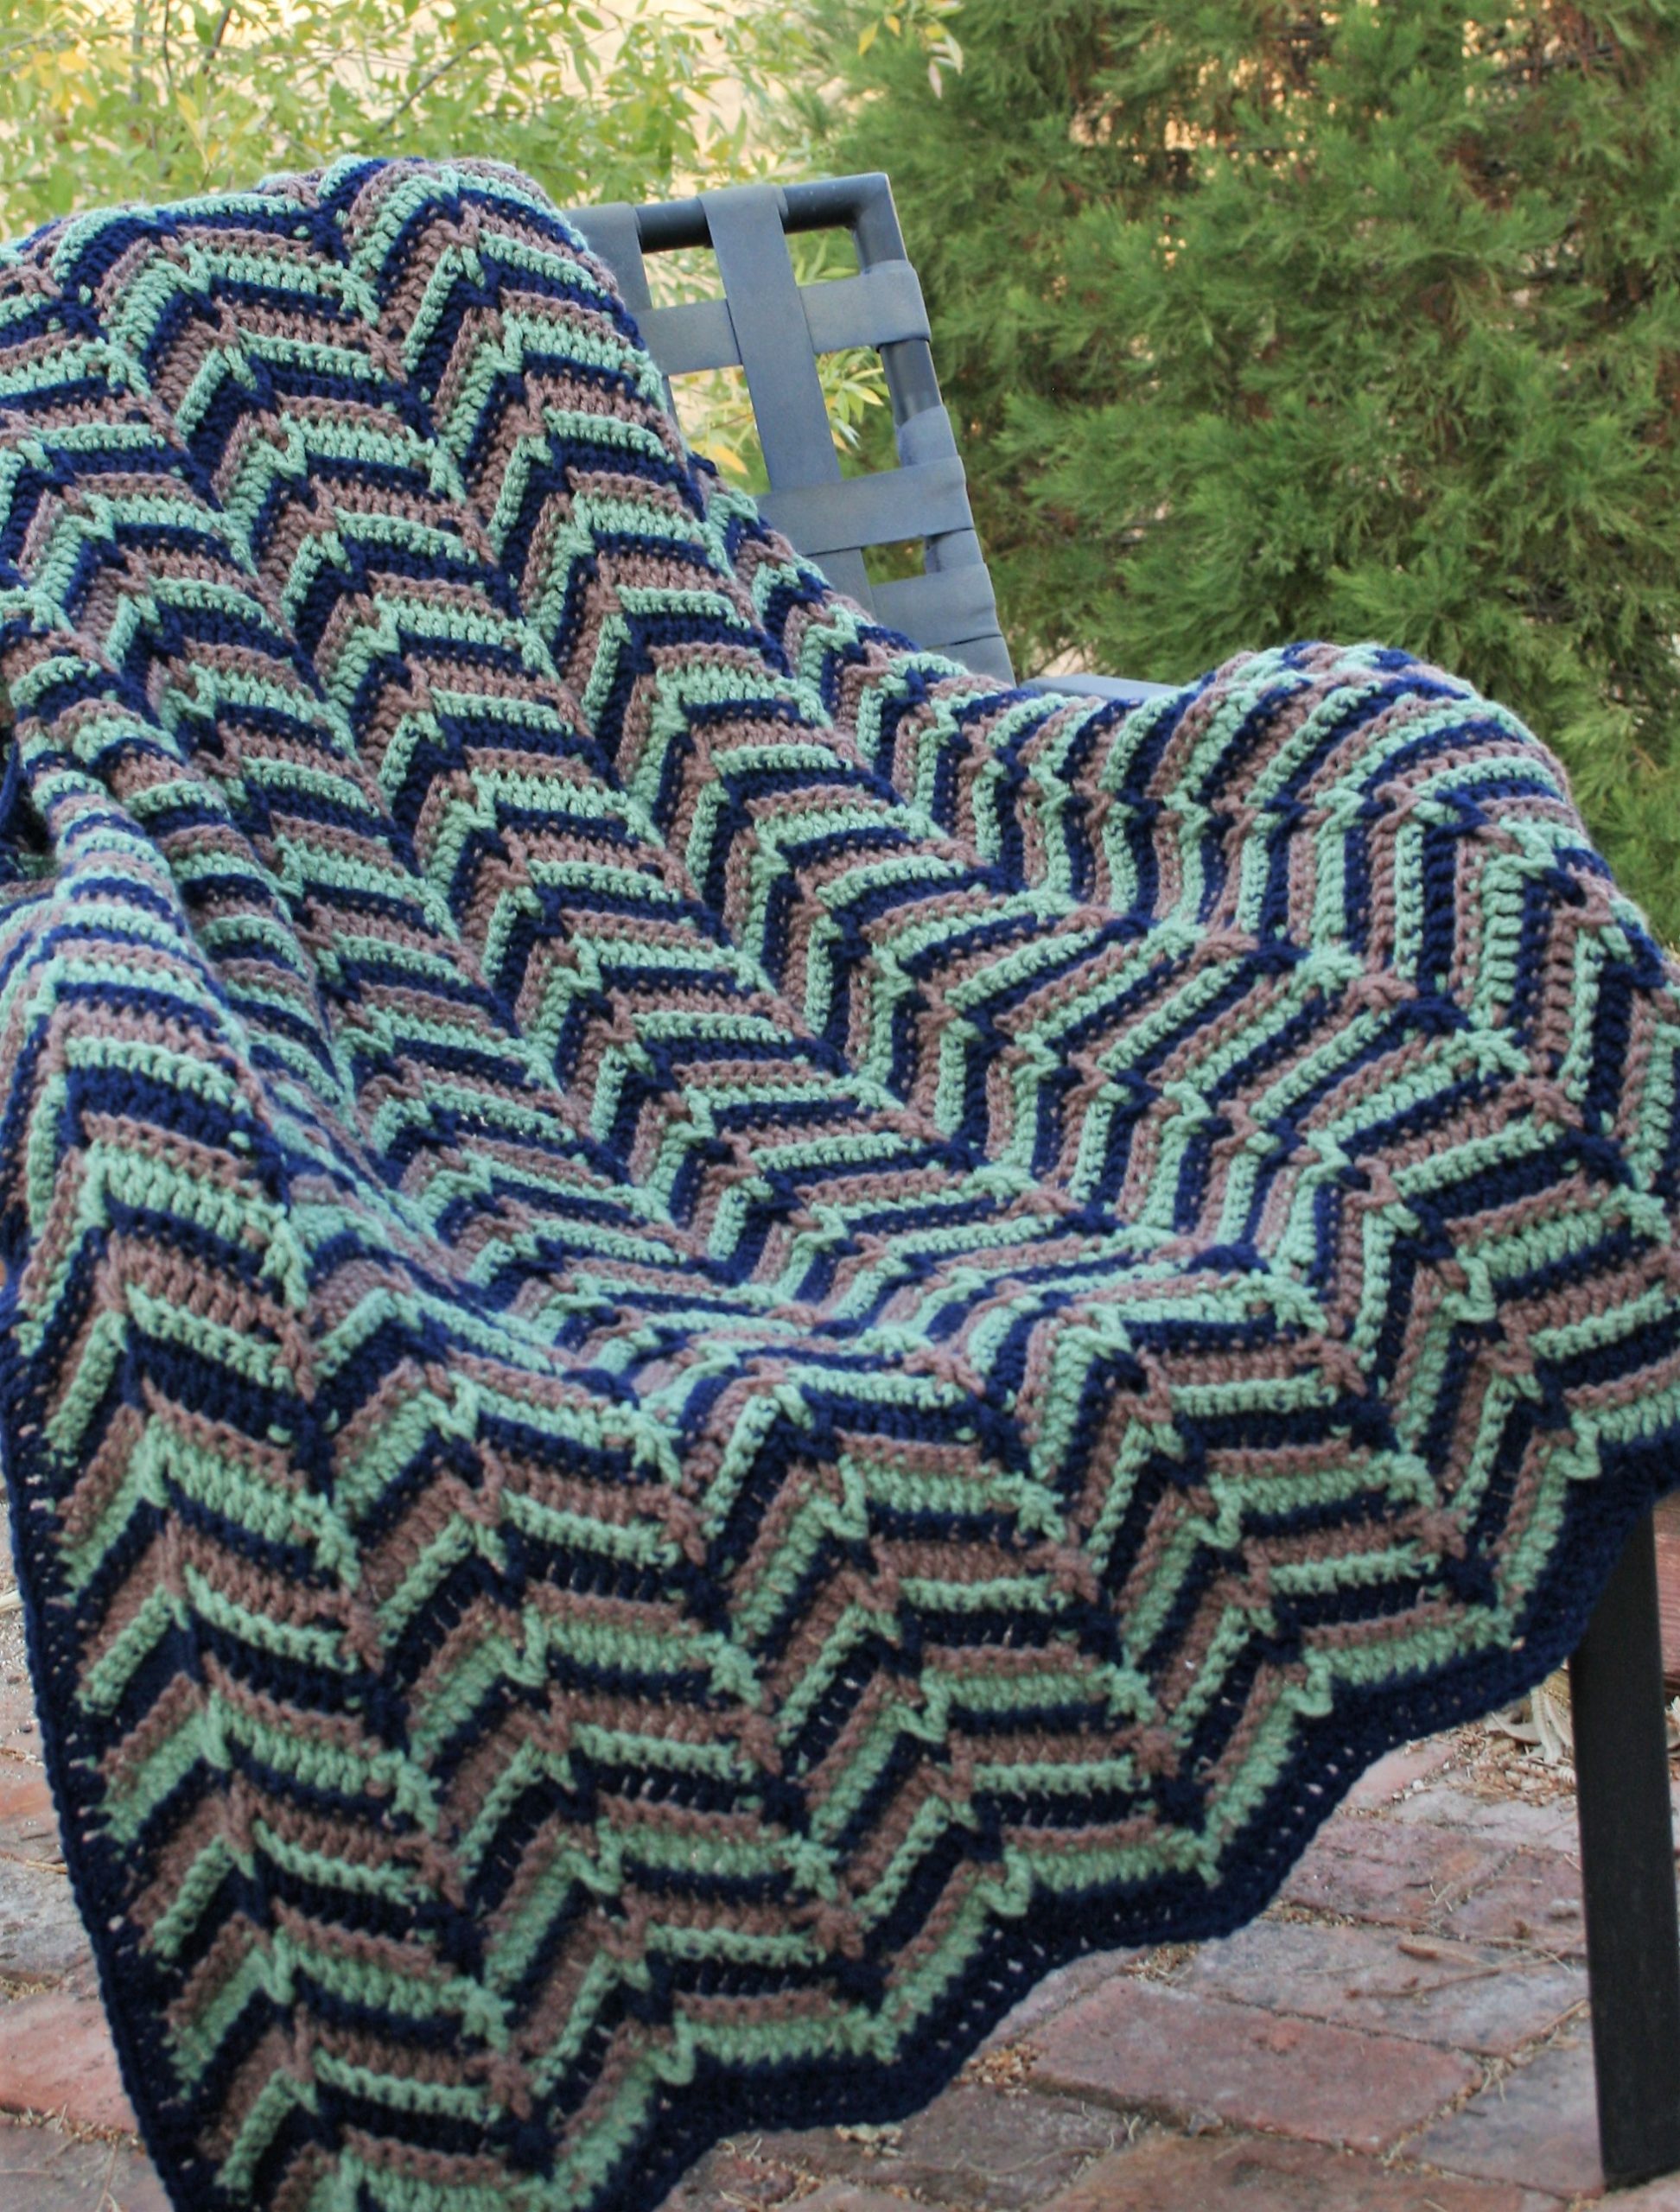
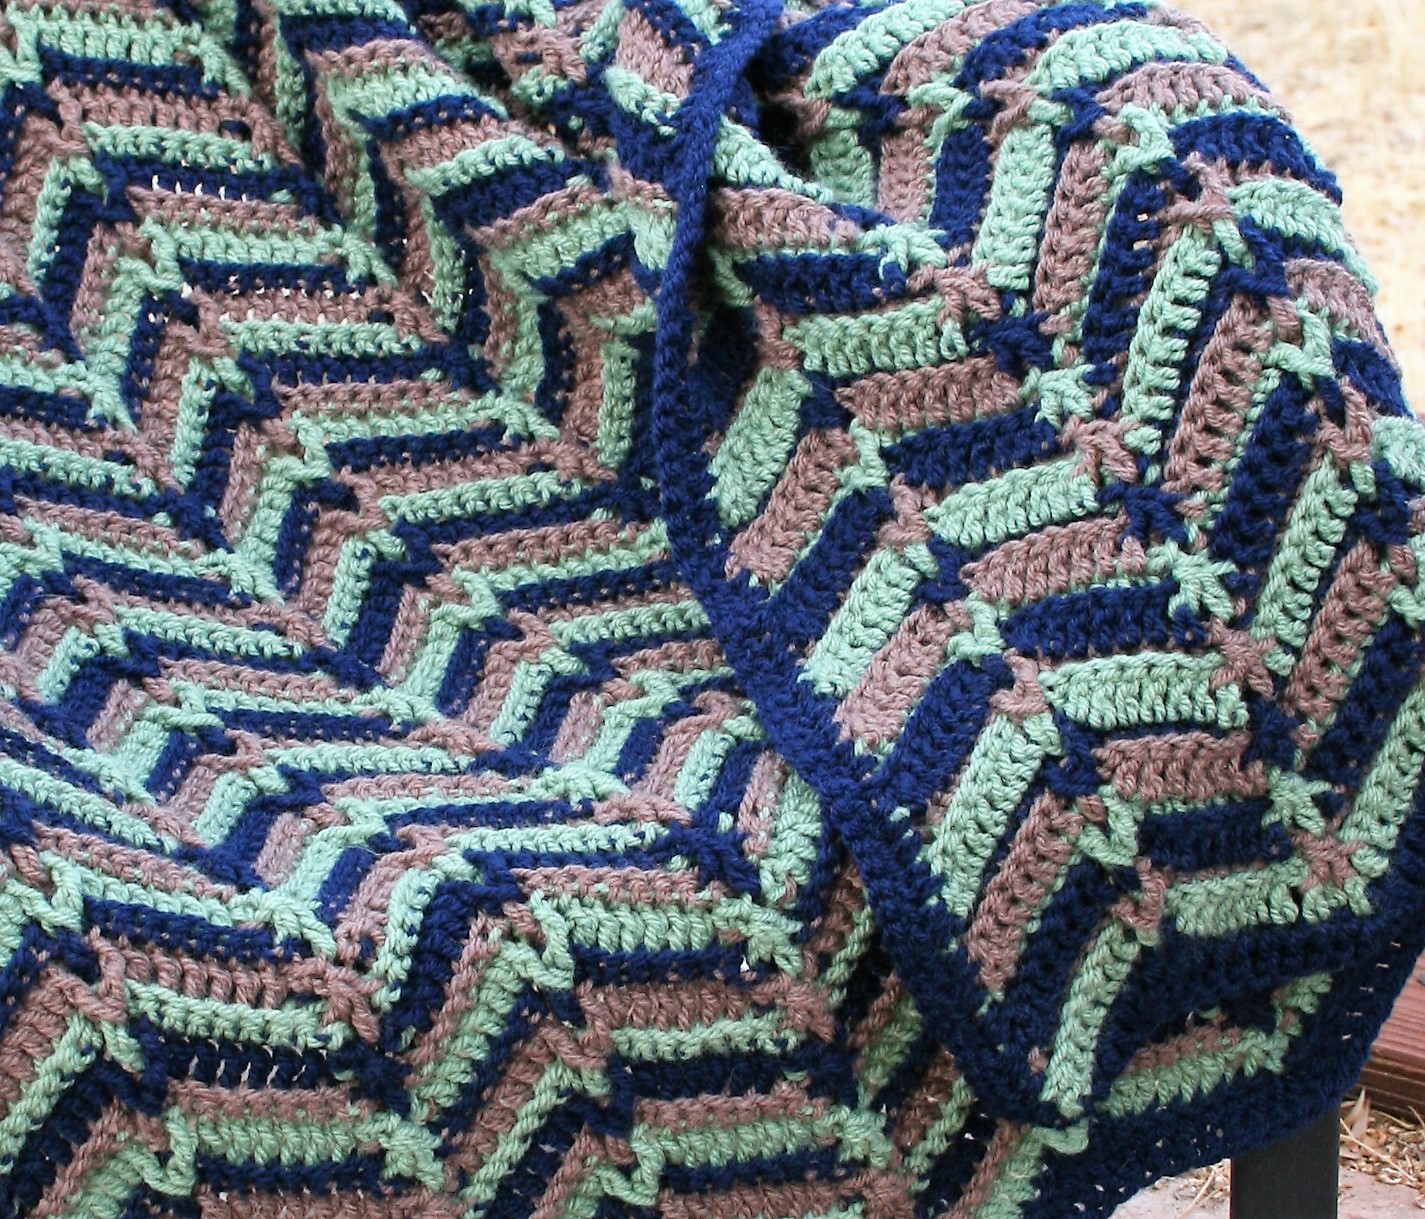
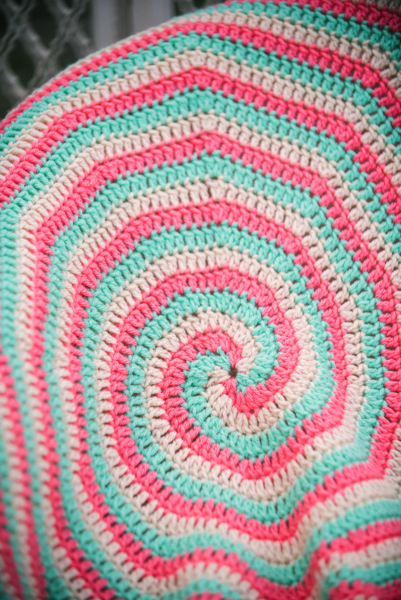
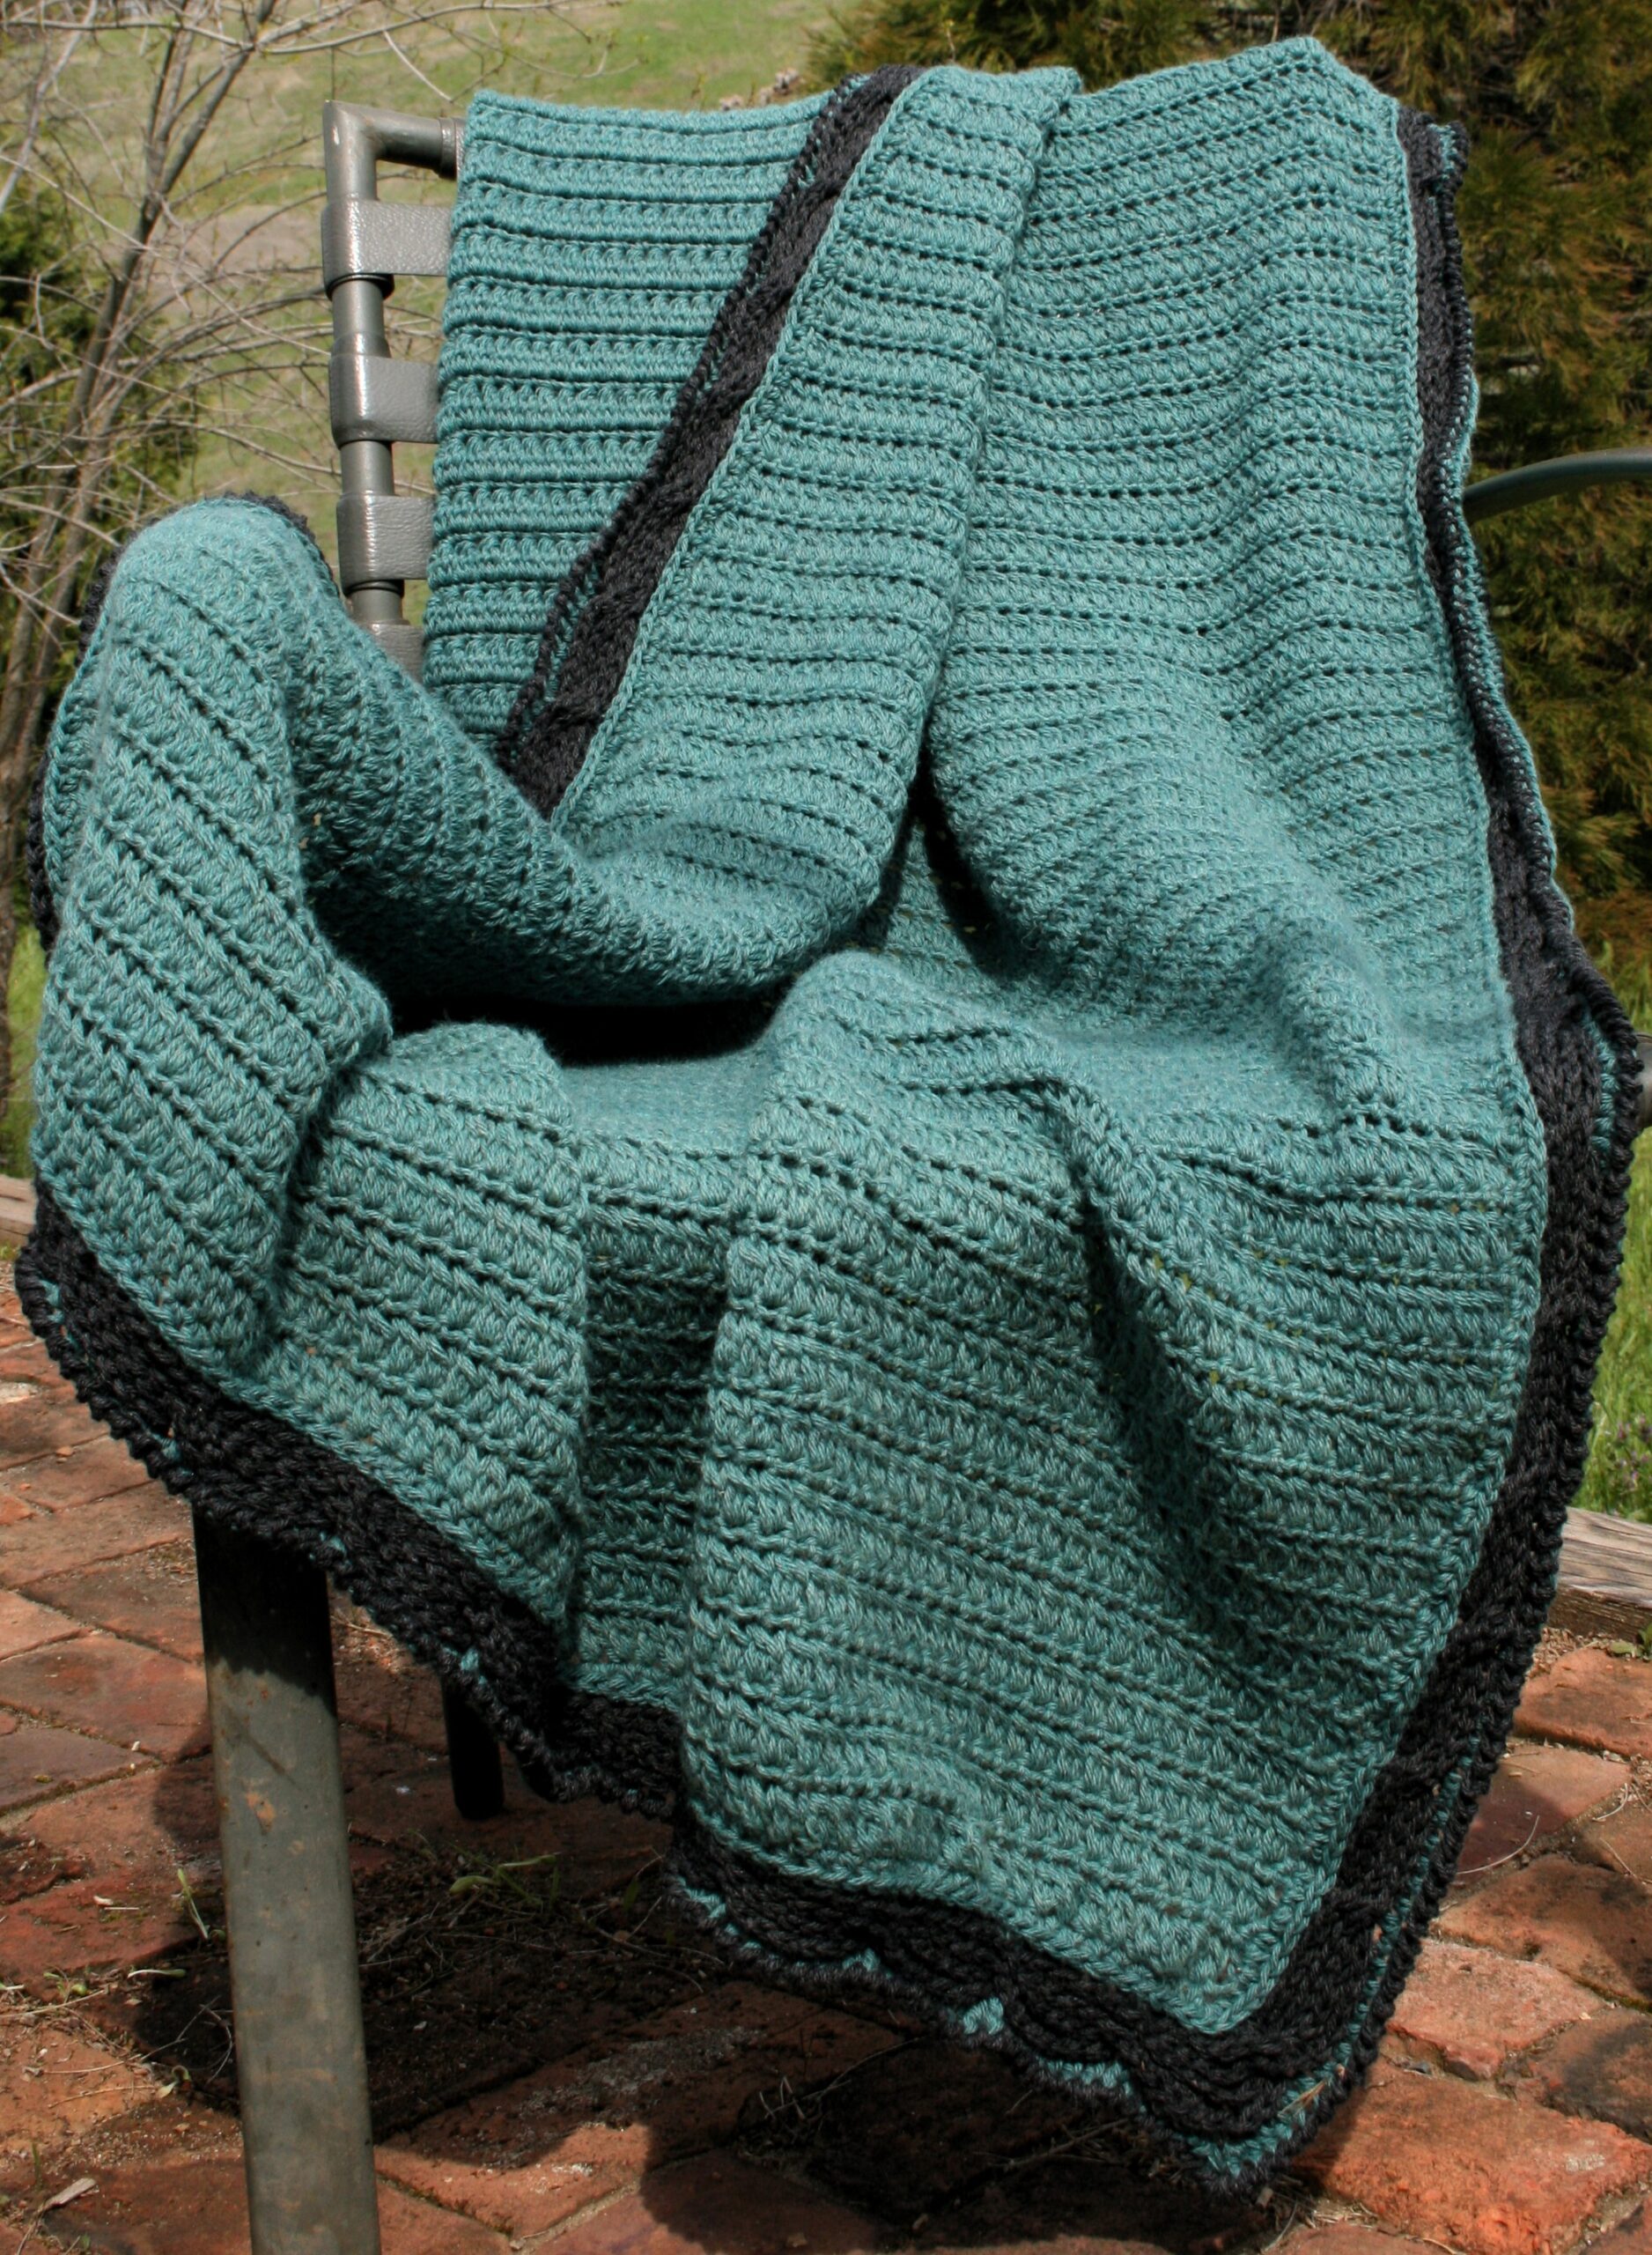
I found a stitch pattern that I really got into a rhythm working. I could keep working it for hours, with the Walking Pathways Throw. The cluster row might be a bit involved. But following it up with a simple row keeps it fun.

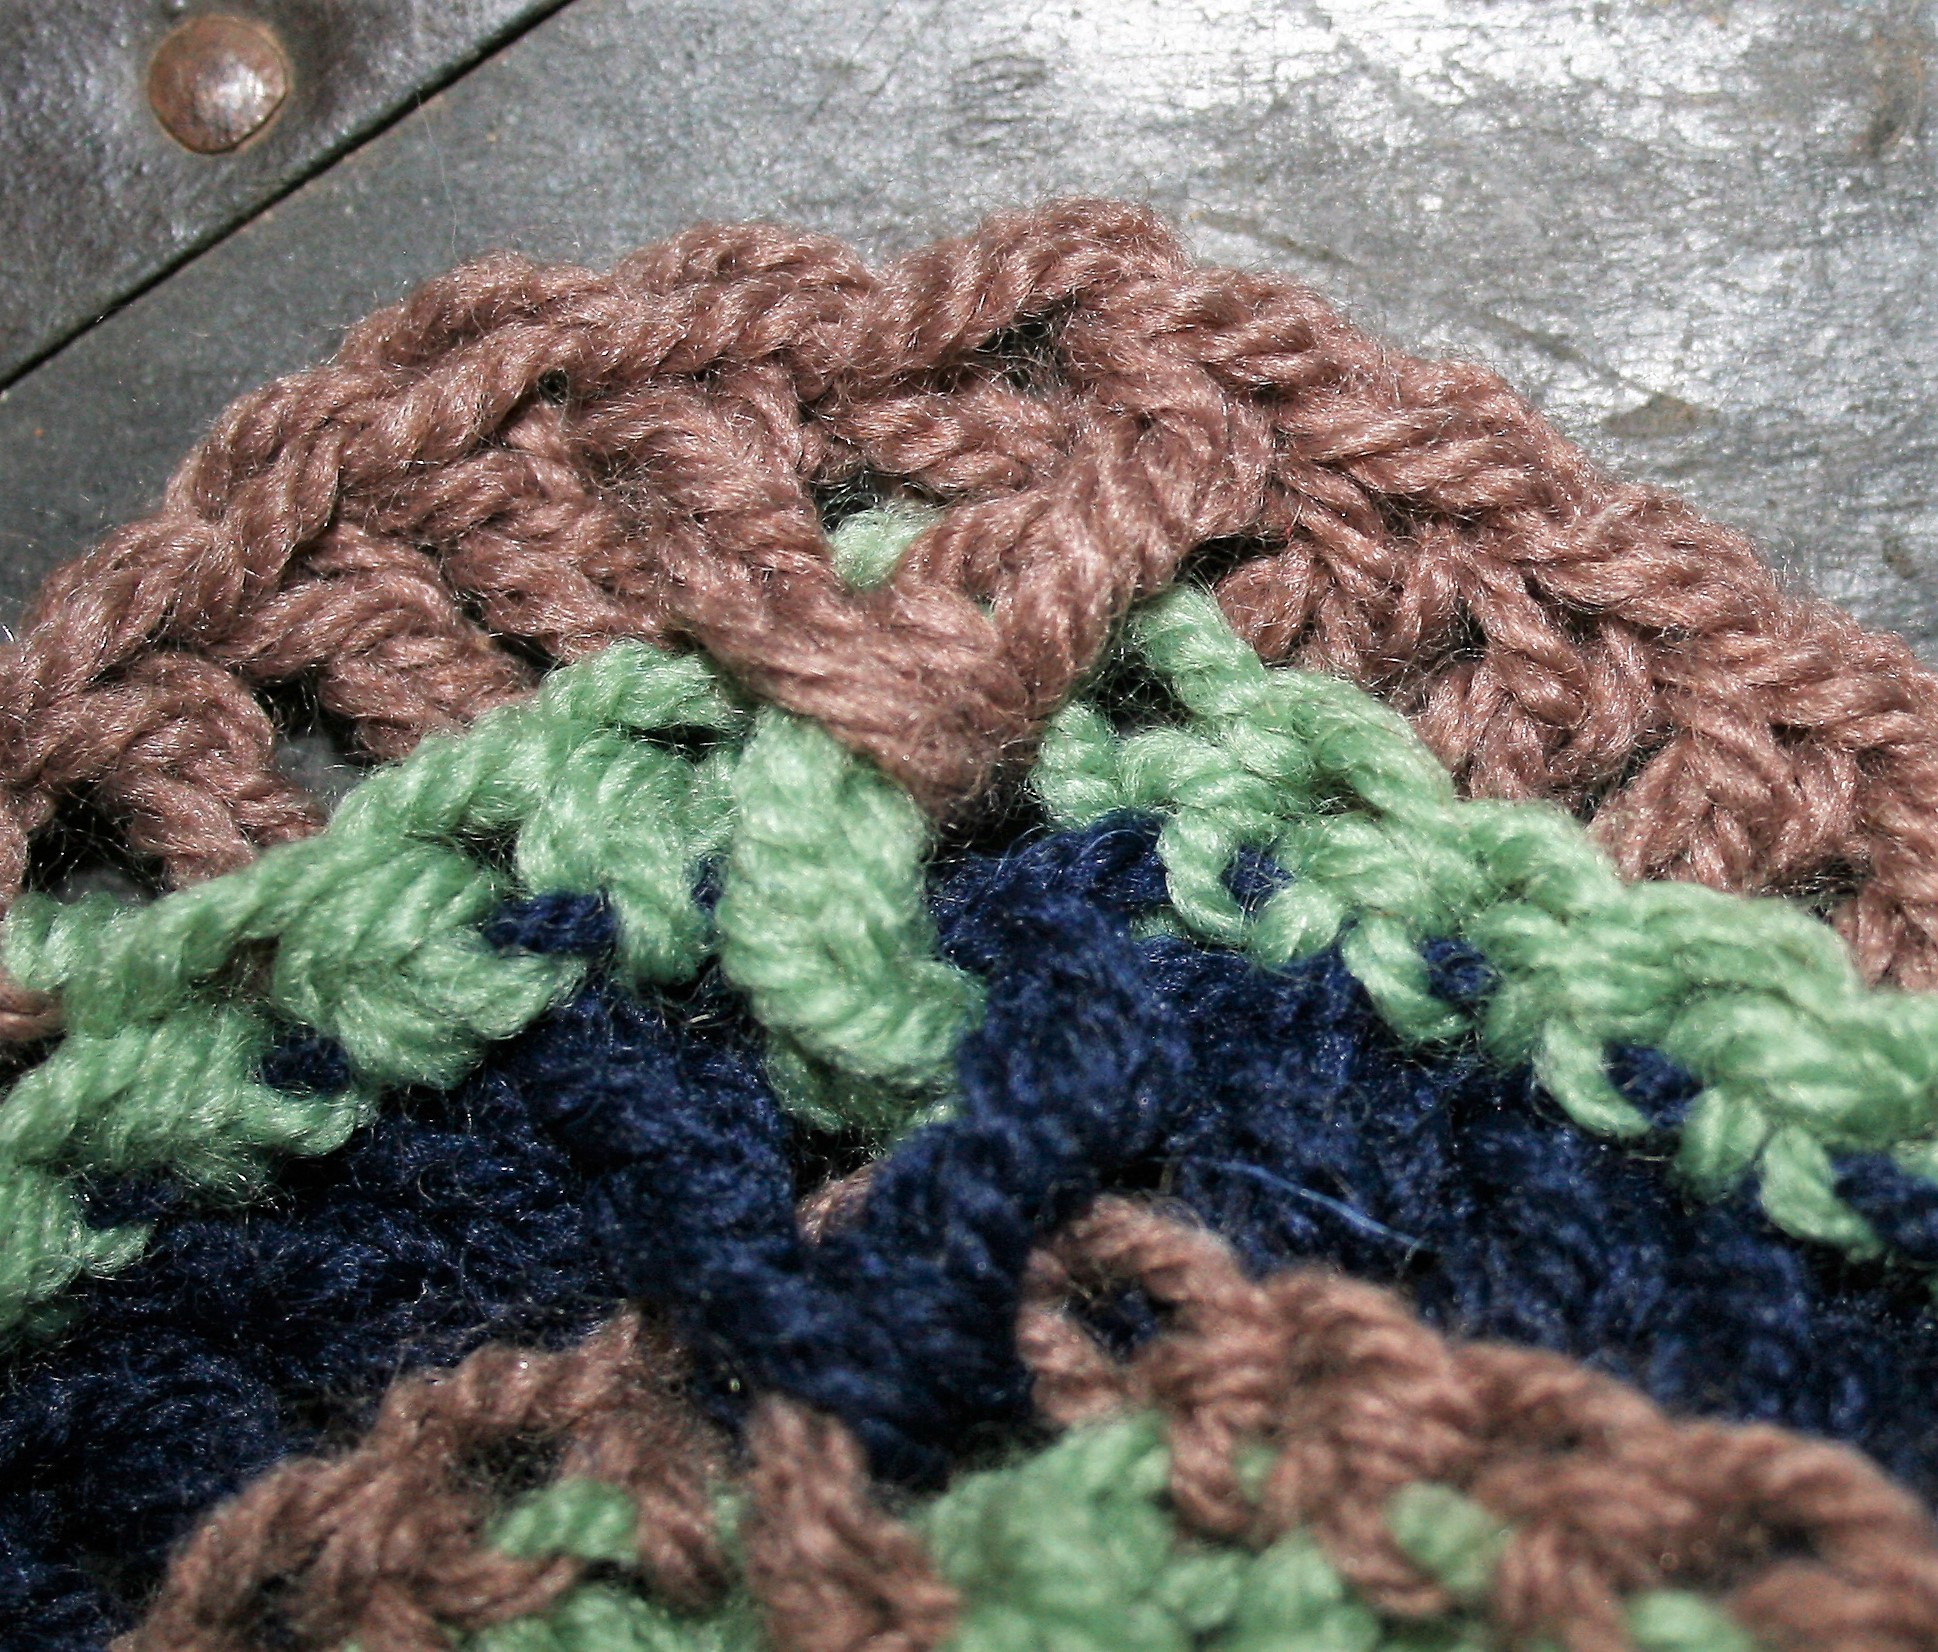
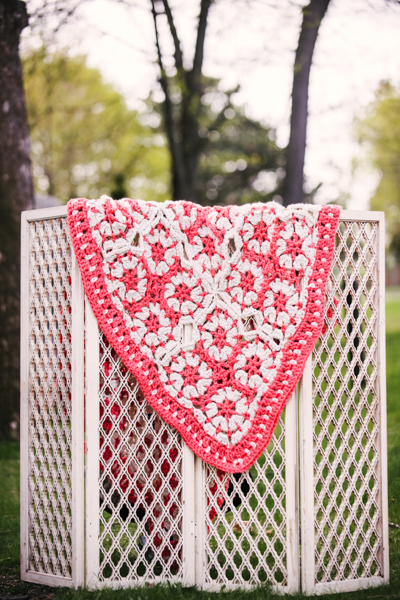
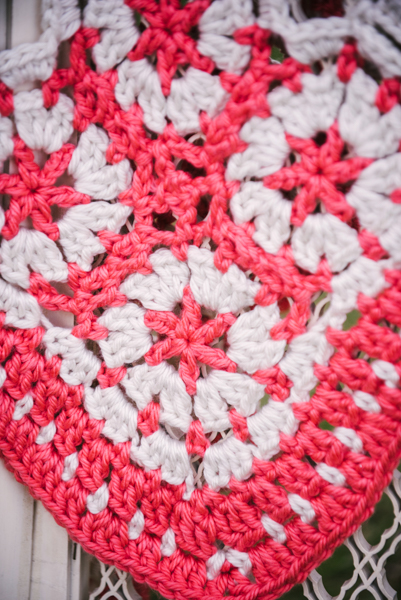
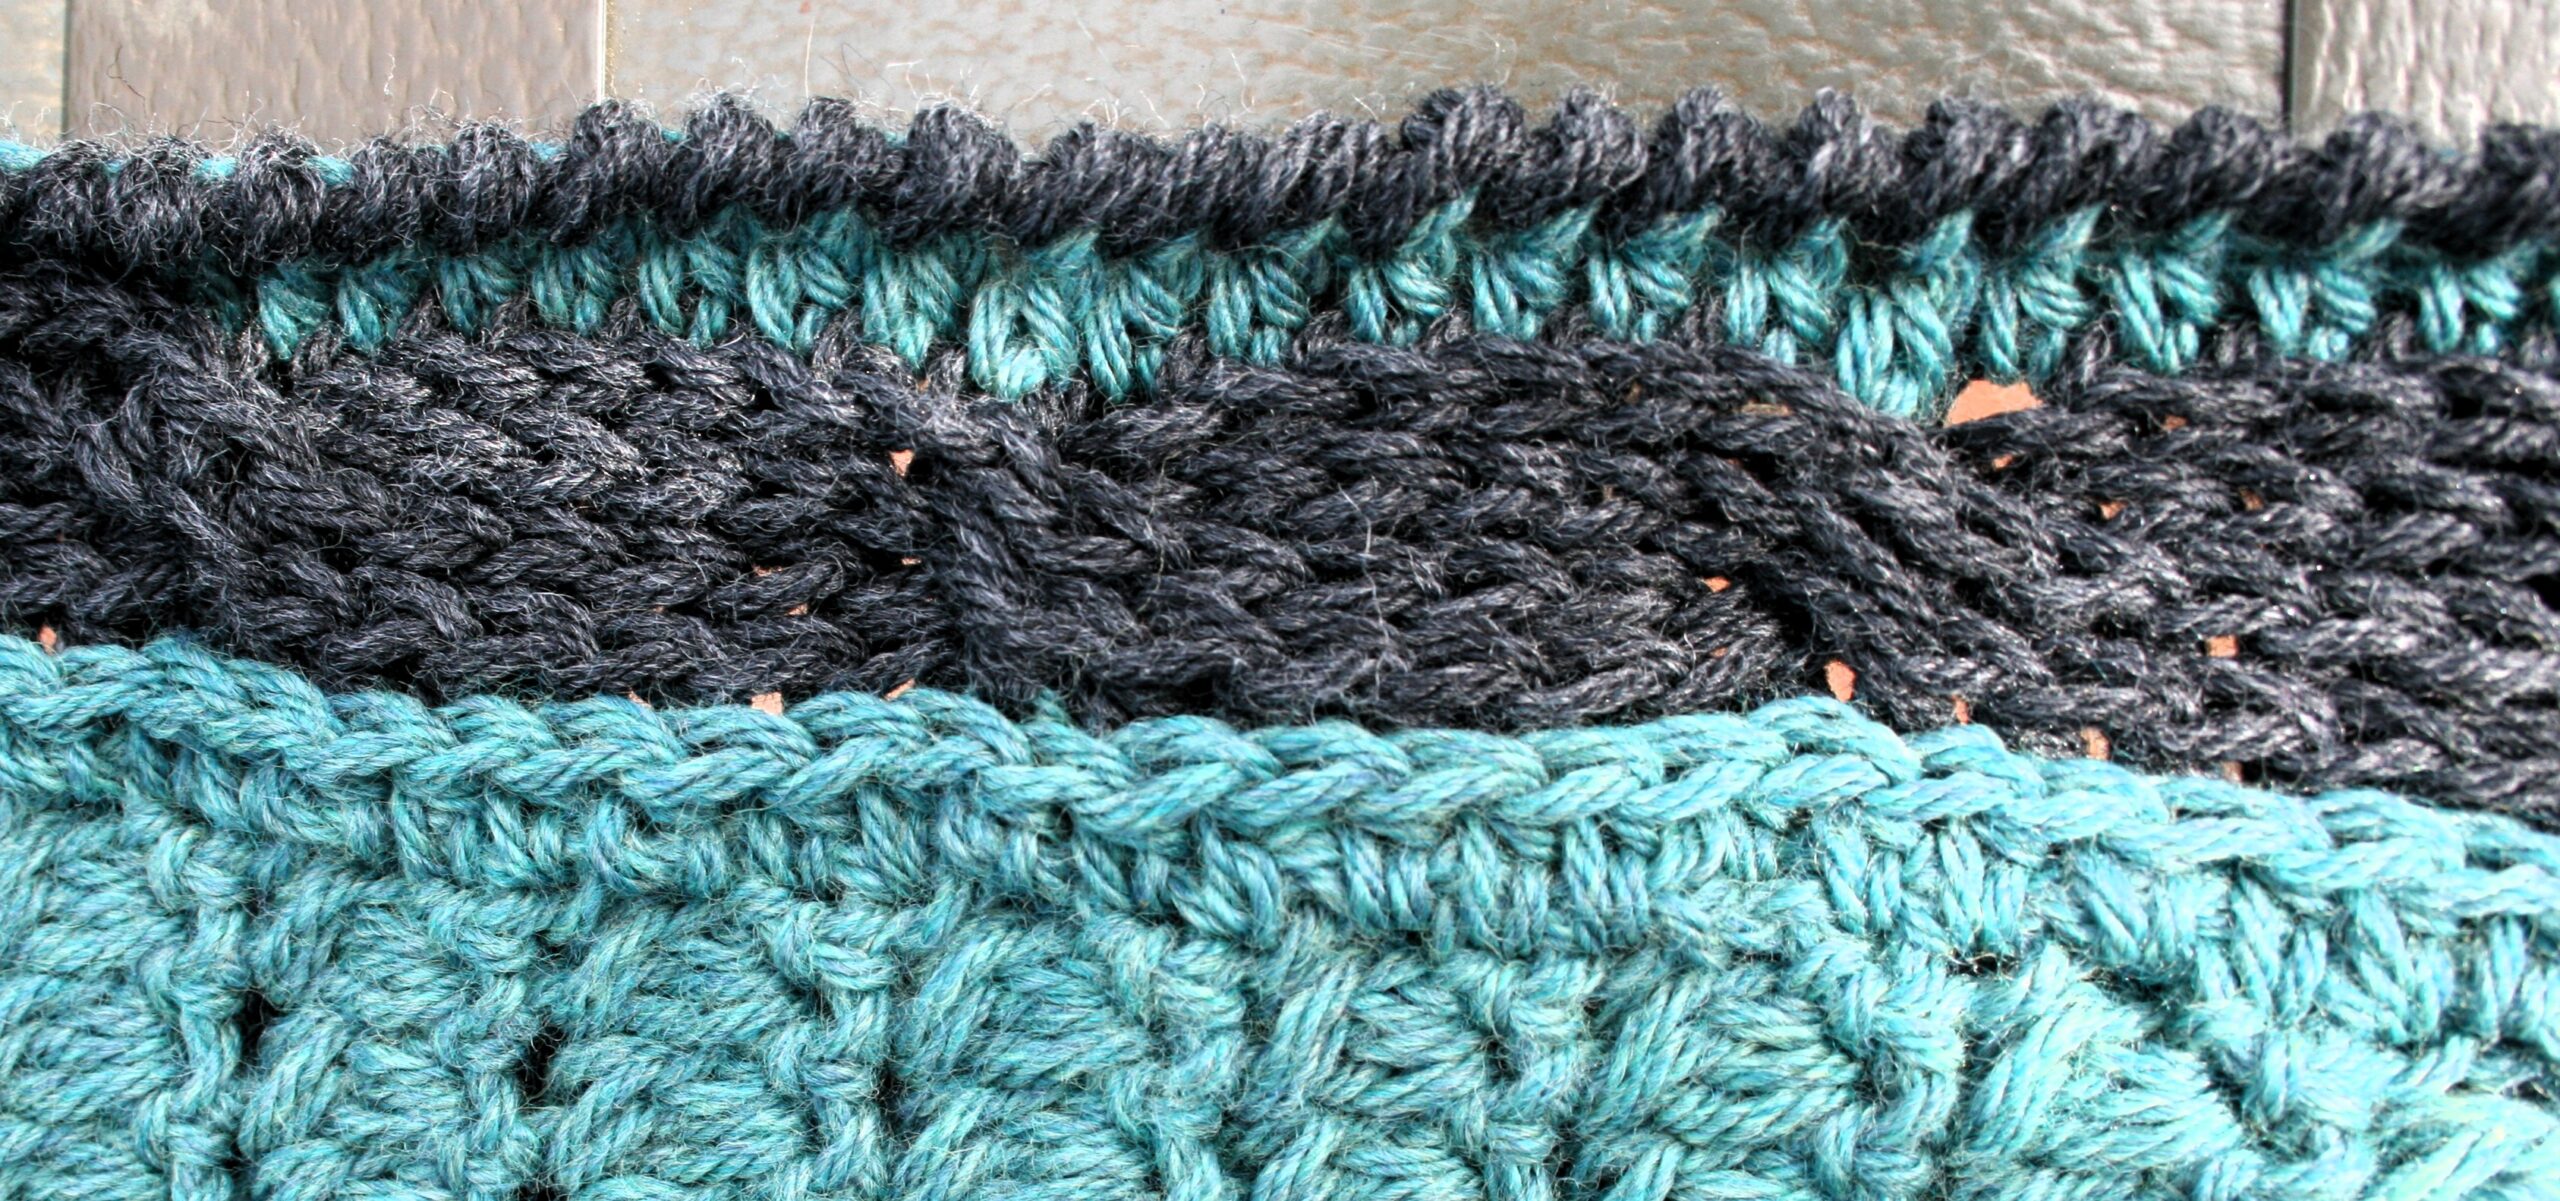
What brings this throw to life however is the edging, featuring a horizontal cable in a contrasting color.

So way it was made

I created the original of this design for a long time friend. We reconnected with just as they were moving across the country. The throws that followed were made for others that hold a special place in my heart.

Walking Pathways Throw

It has taken me a while to actually get this design written and out in the world. This is mostly because the horizontal cable is not completely straight forward to write. I have managed to complete a visual post about it (see it here). You will also find a link to a video to help explain to further.

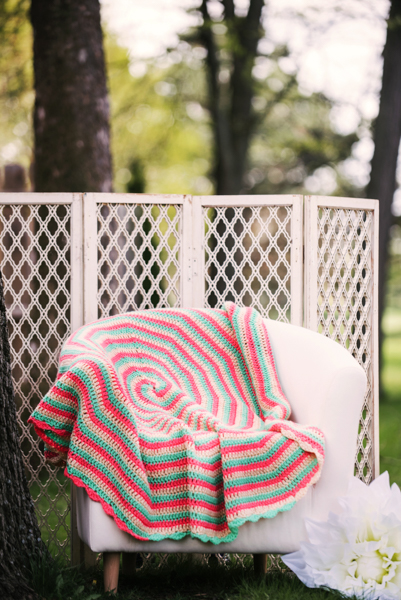
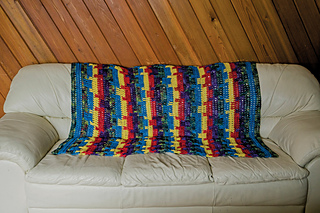
Some of my students have taken up the stitch pattern of the body, loving the subtle texture. They have played with varying stripes of color. It really does lend itself to many possibilities.

Main fabric of Walking Pathways Throw

The name comes from my personal walk of figuring out midlife. All the differing paths this journey of life has been taking me on.

The Pattern

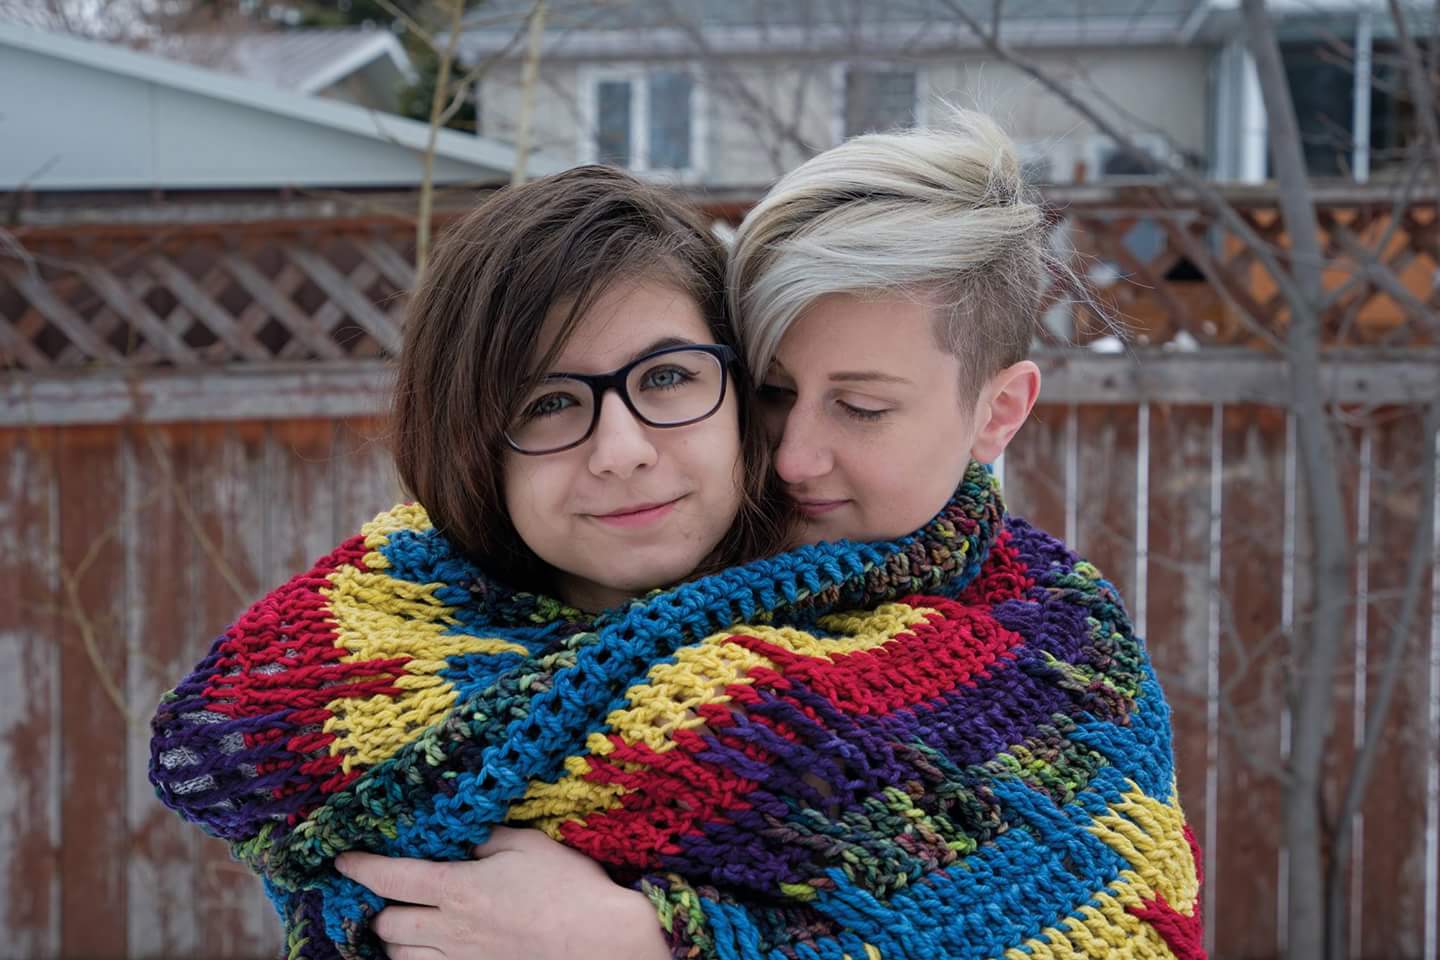
Walking Pathways Throw by Linda Dean

A relatively simple 2 row repeat gets an eye catching and rhythmic edging of a horizontal cable. Quicker to work than you might think, this throw will be a delight.

Size 46”x  60” (including a 2” boarder all the way around)

Skill intermediate

Gauge 10 CL sts/ 9 rows 4”

Materials

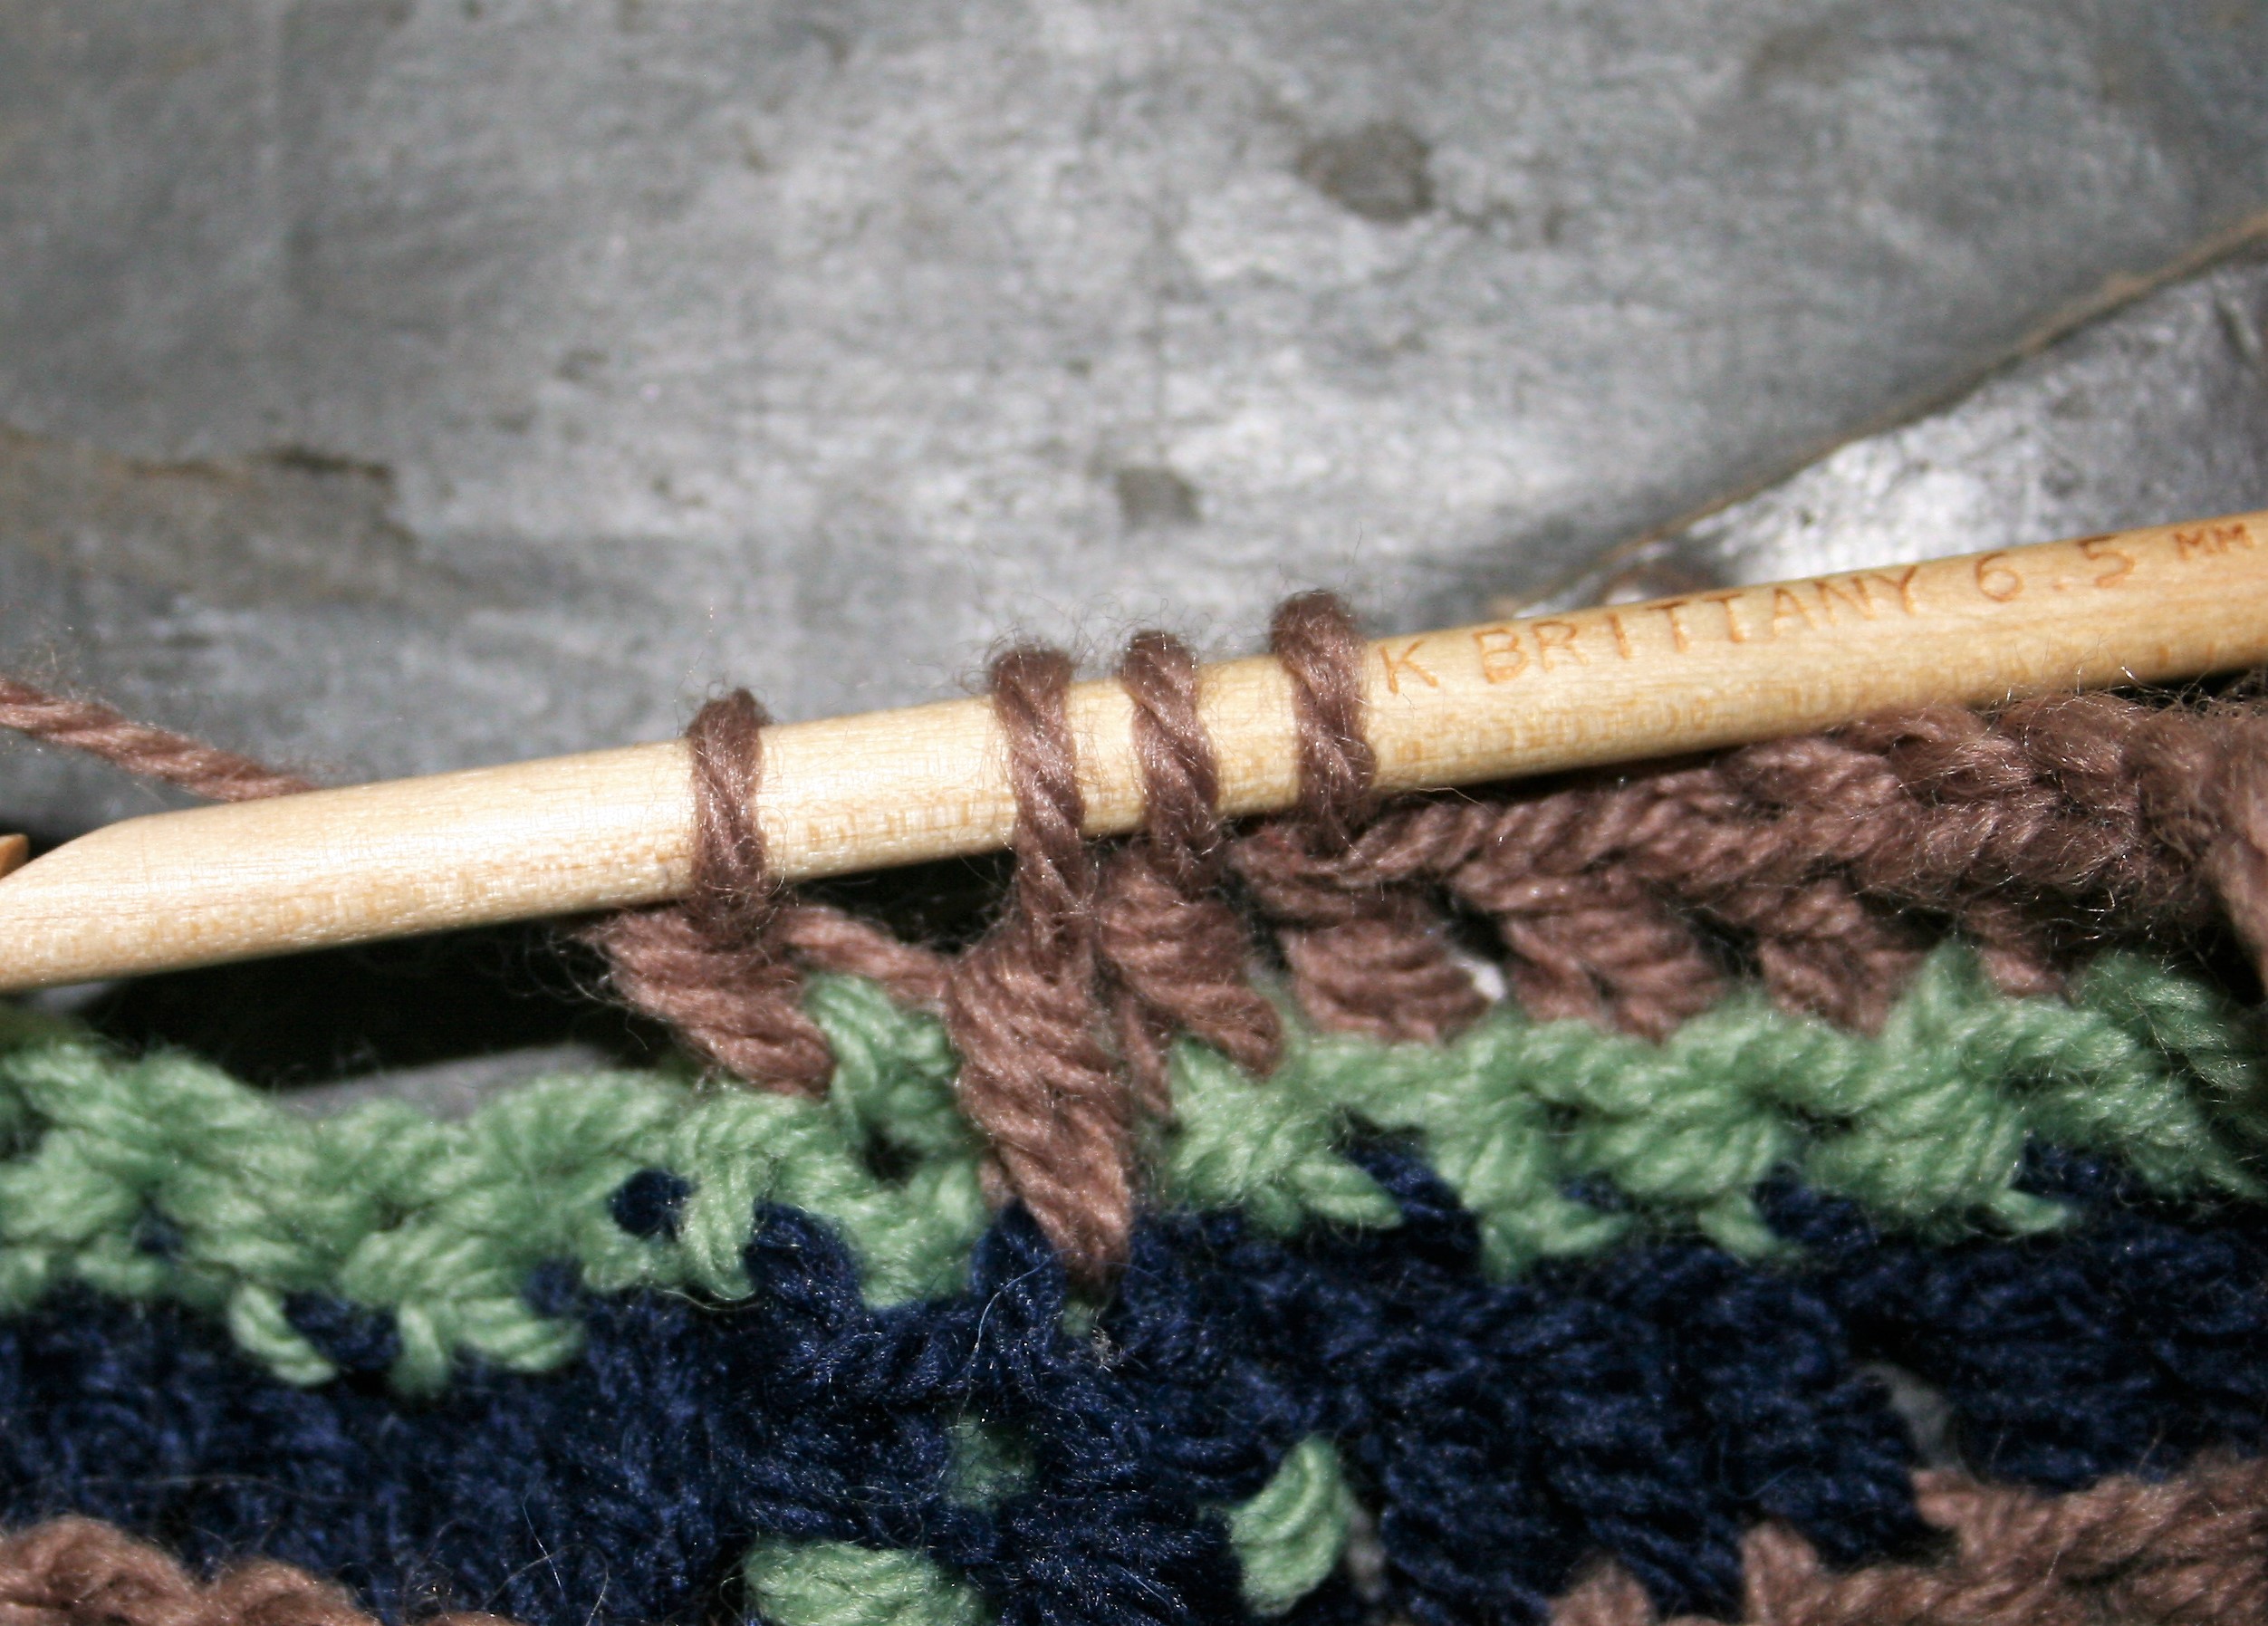
  • K/10 ½ /6.5 mm crochet hook
  • Berroco Vintage  medium weight, 52% Acrylic, 40% Wool, 8%Nylon yarn (3.5oz/100g/218yd/200m) per ball; 12 skeins MC #5189 Charcoal and 2 skeins (divided in half) of CC #5194 Breezeway

Special Stitches

Foundation Double Crochet Cluster (FCL): Yo, insert hook in chain/base of previous stitch, yo, pull up a loop, ch 1 (creates base of current stitch), yo, pull through 2 loops, [yo, insert hook into chain/base of current stitch, yo, pull up a loop, yo, pull through 2 loop] twice, yo, pull through 4 loops.

Double Crochet Cluster (CL): [Yo, insert hook into st, yo, pull up a loop, yo, pull through 2 loops] rep 3 times, yo, pull through all 4 loops on hook.

Standing Half Double Crochet (Shdc): Yo, hold yo on hook, insert hook into indicated stitch, yo, pull up a loop, yo pull through all 3 loops on hook.

Reverse Single Crochet (Rsc): Working in the opposite direction as normal, insert hook into next stitch and complete a single crochet.

Let’s Start The Main Body

Row 1:

Version1: With MC, chain 205, CL in 5th ch from hook, [sk 1 ch, CL in next ch] rep across until 2 chs rem, sk 1 ch, dc in last st, turn. -100 CL, 2 dc

Version 2: With MC, ch 4, FCL in 4th ch from hook, FCL 99 times, Fdc. -100CL, 2 dc

Row 2: Ch 1, sc in each st across, turn.

Row 3: Ch 3, CL next st, CL in each st across until 1 st rem, dc in last st, turn.

Rows 4-119: Rep Rows 2 & 3, 58 times. Do not fasten off.

Let’s Start the Edging

Rnd 1: Working down edge, sc in the ends of the rows evenly across to corner, 3 sc in corner, sc in unused loops of foundation chain to corner, 3 sc in corner, sc in ends of rows evenly across to corner, 3 sc in corner, sc across last row 3 sc in last st, sl st to join, fasten off.

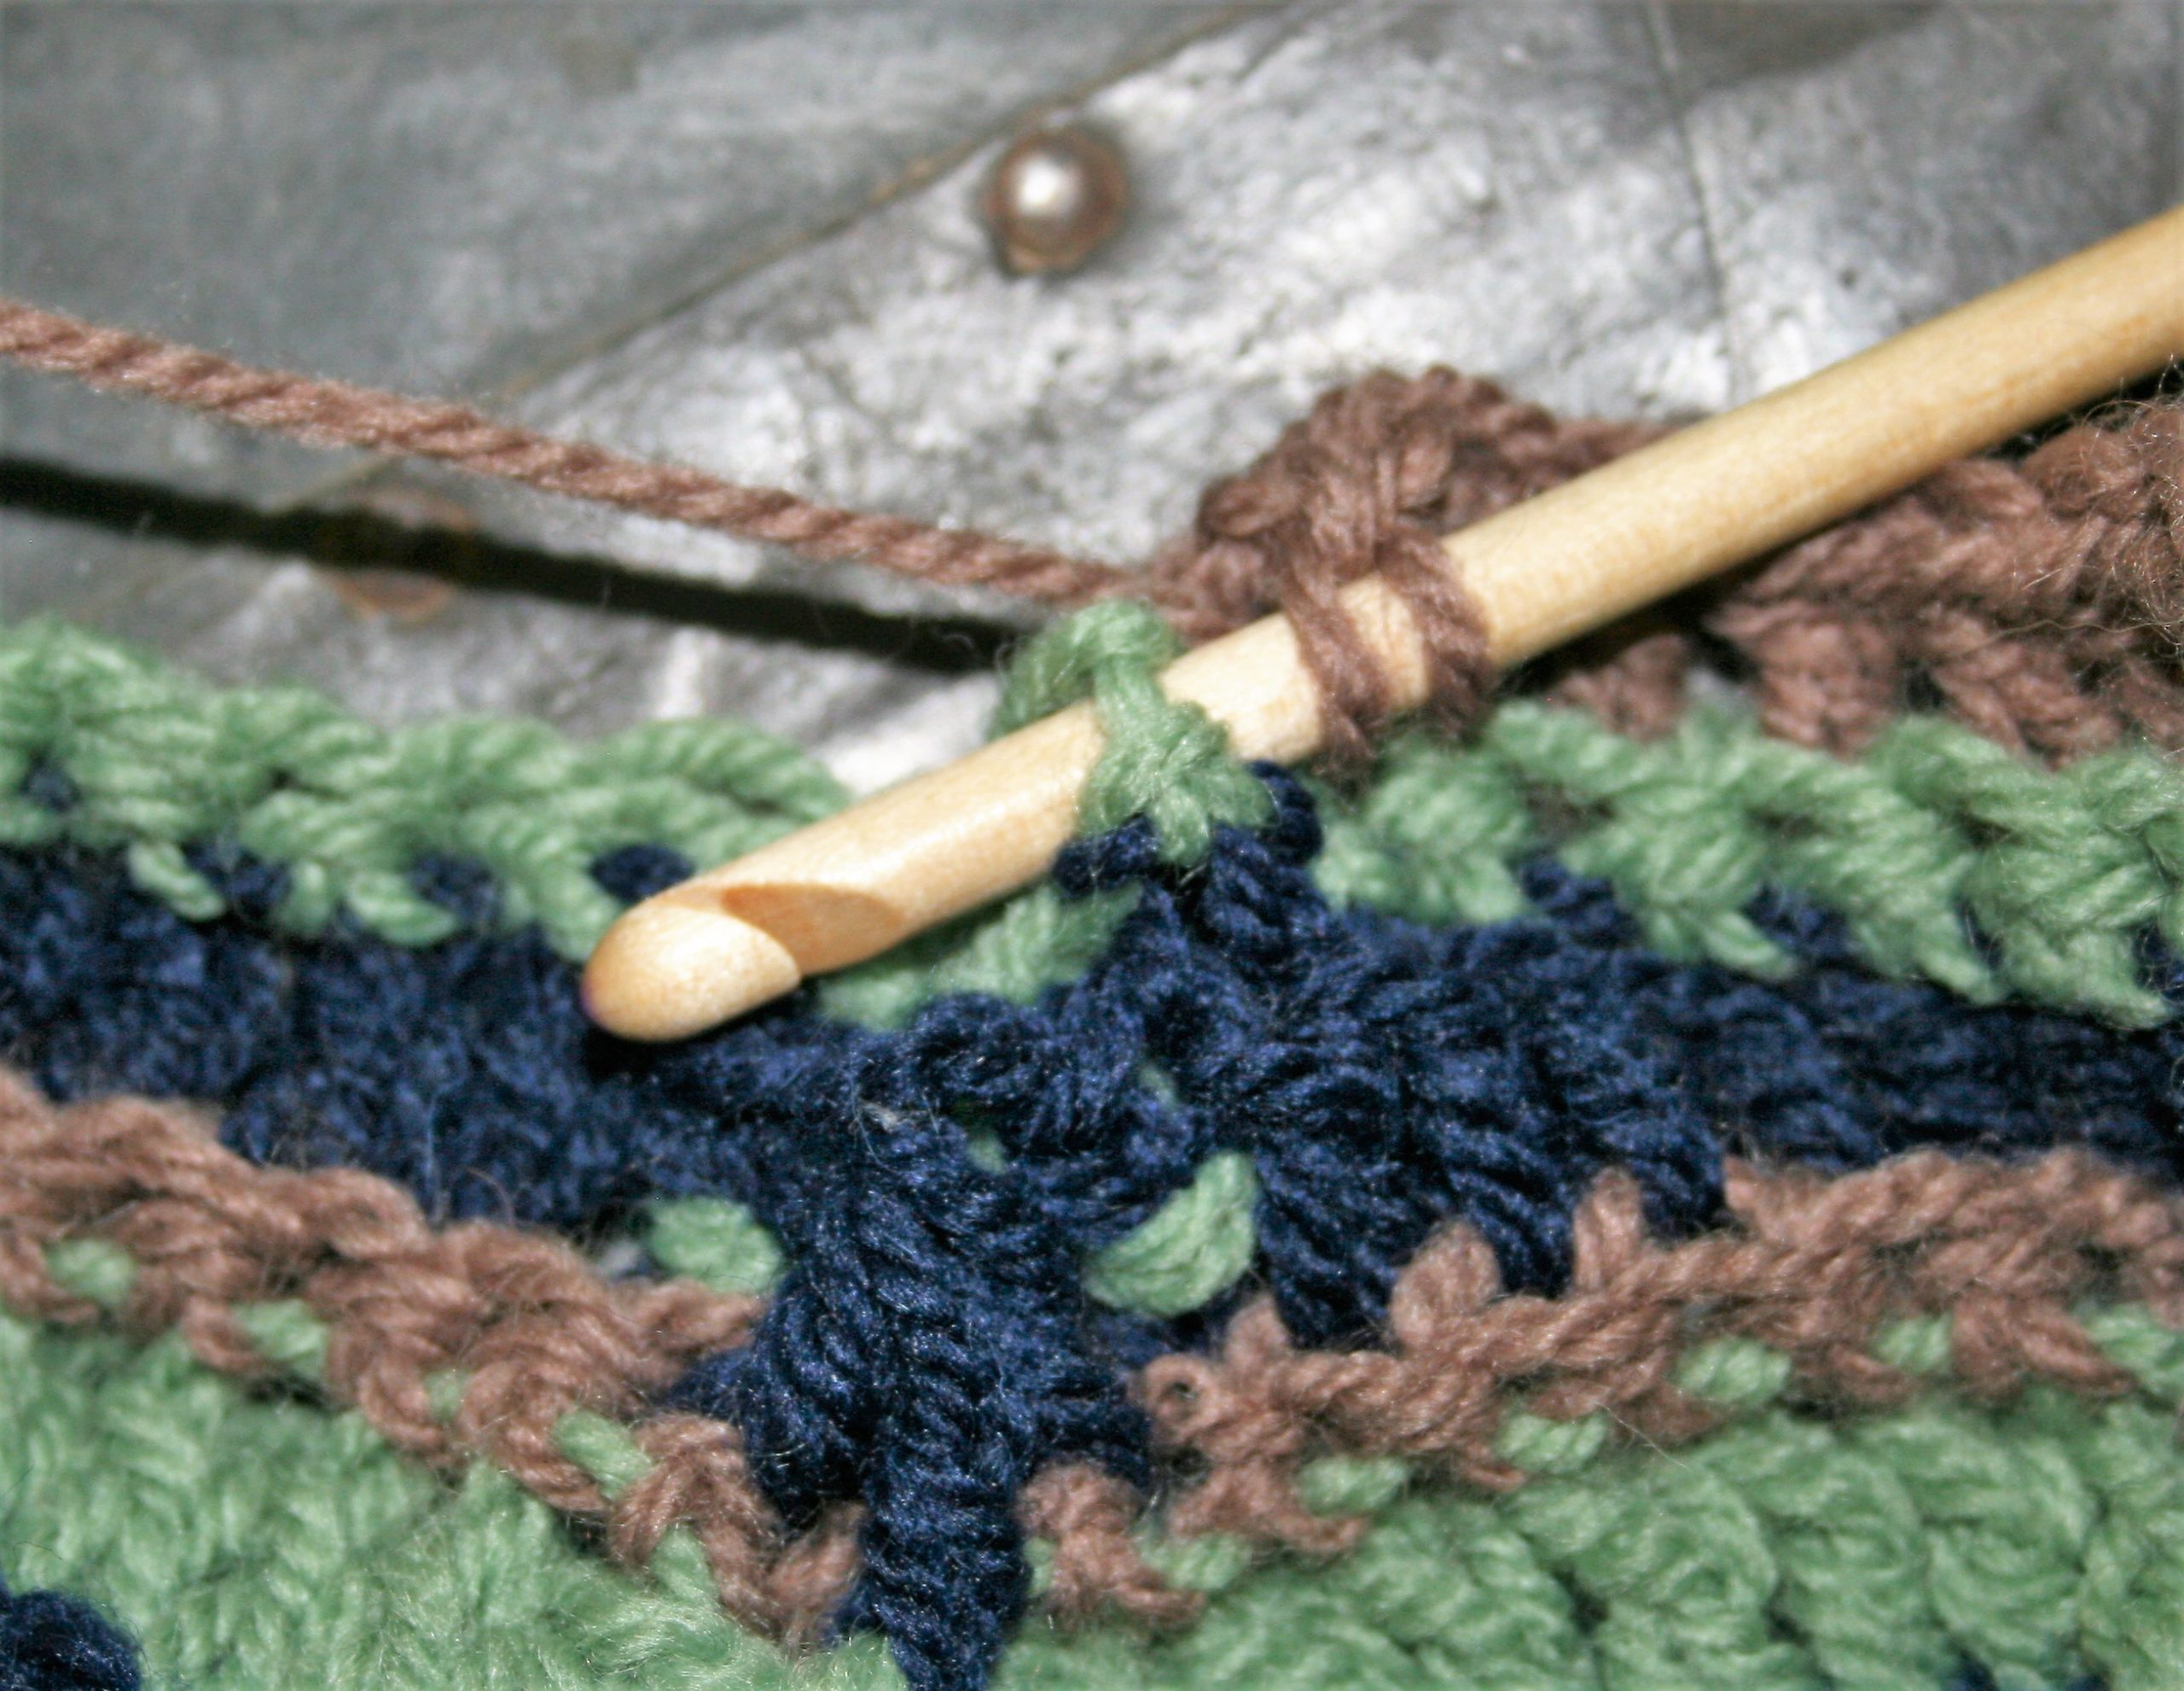
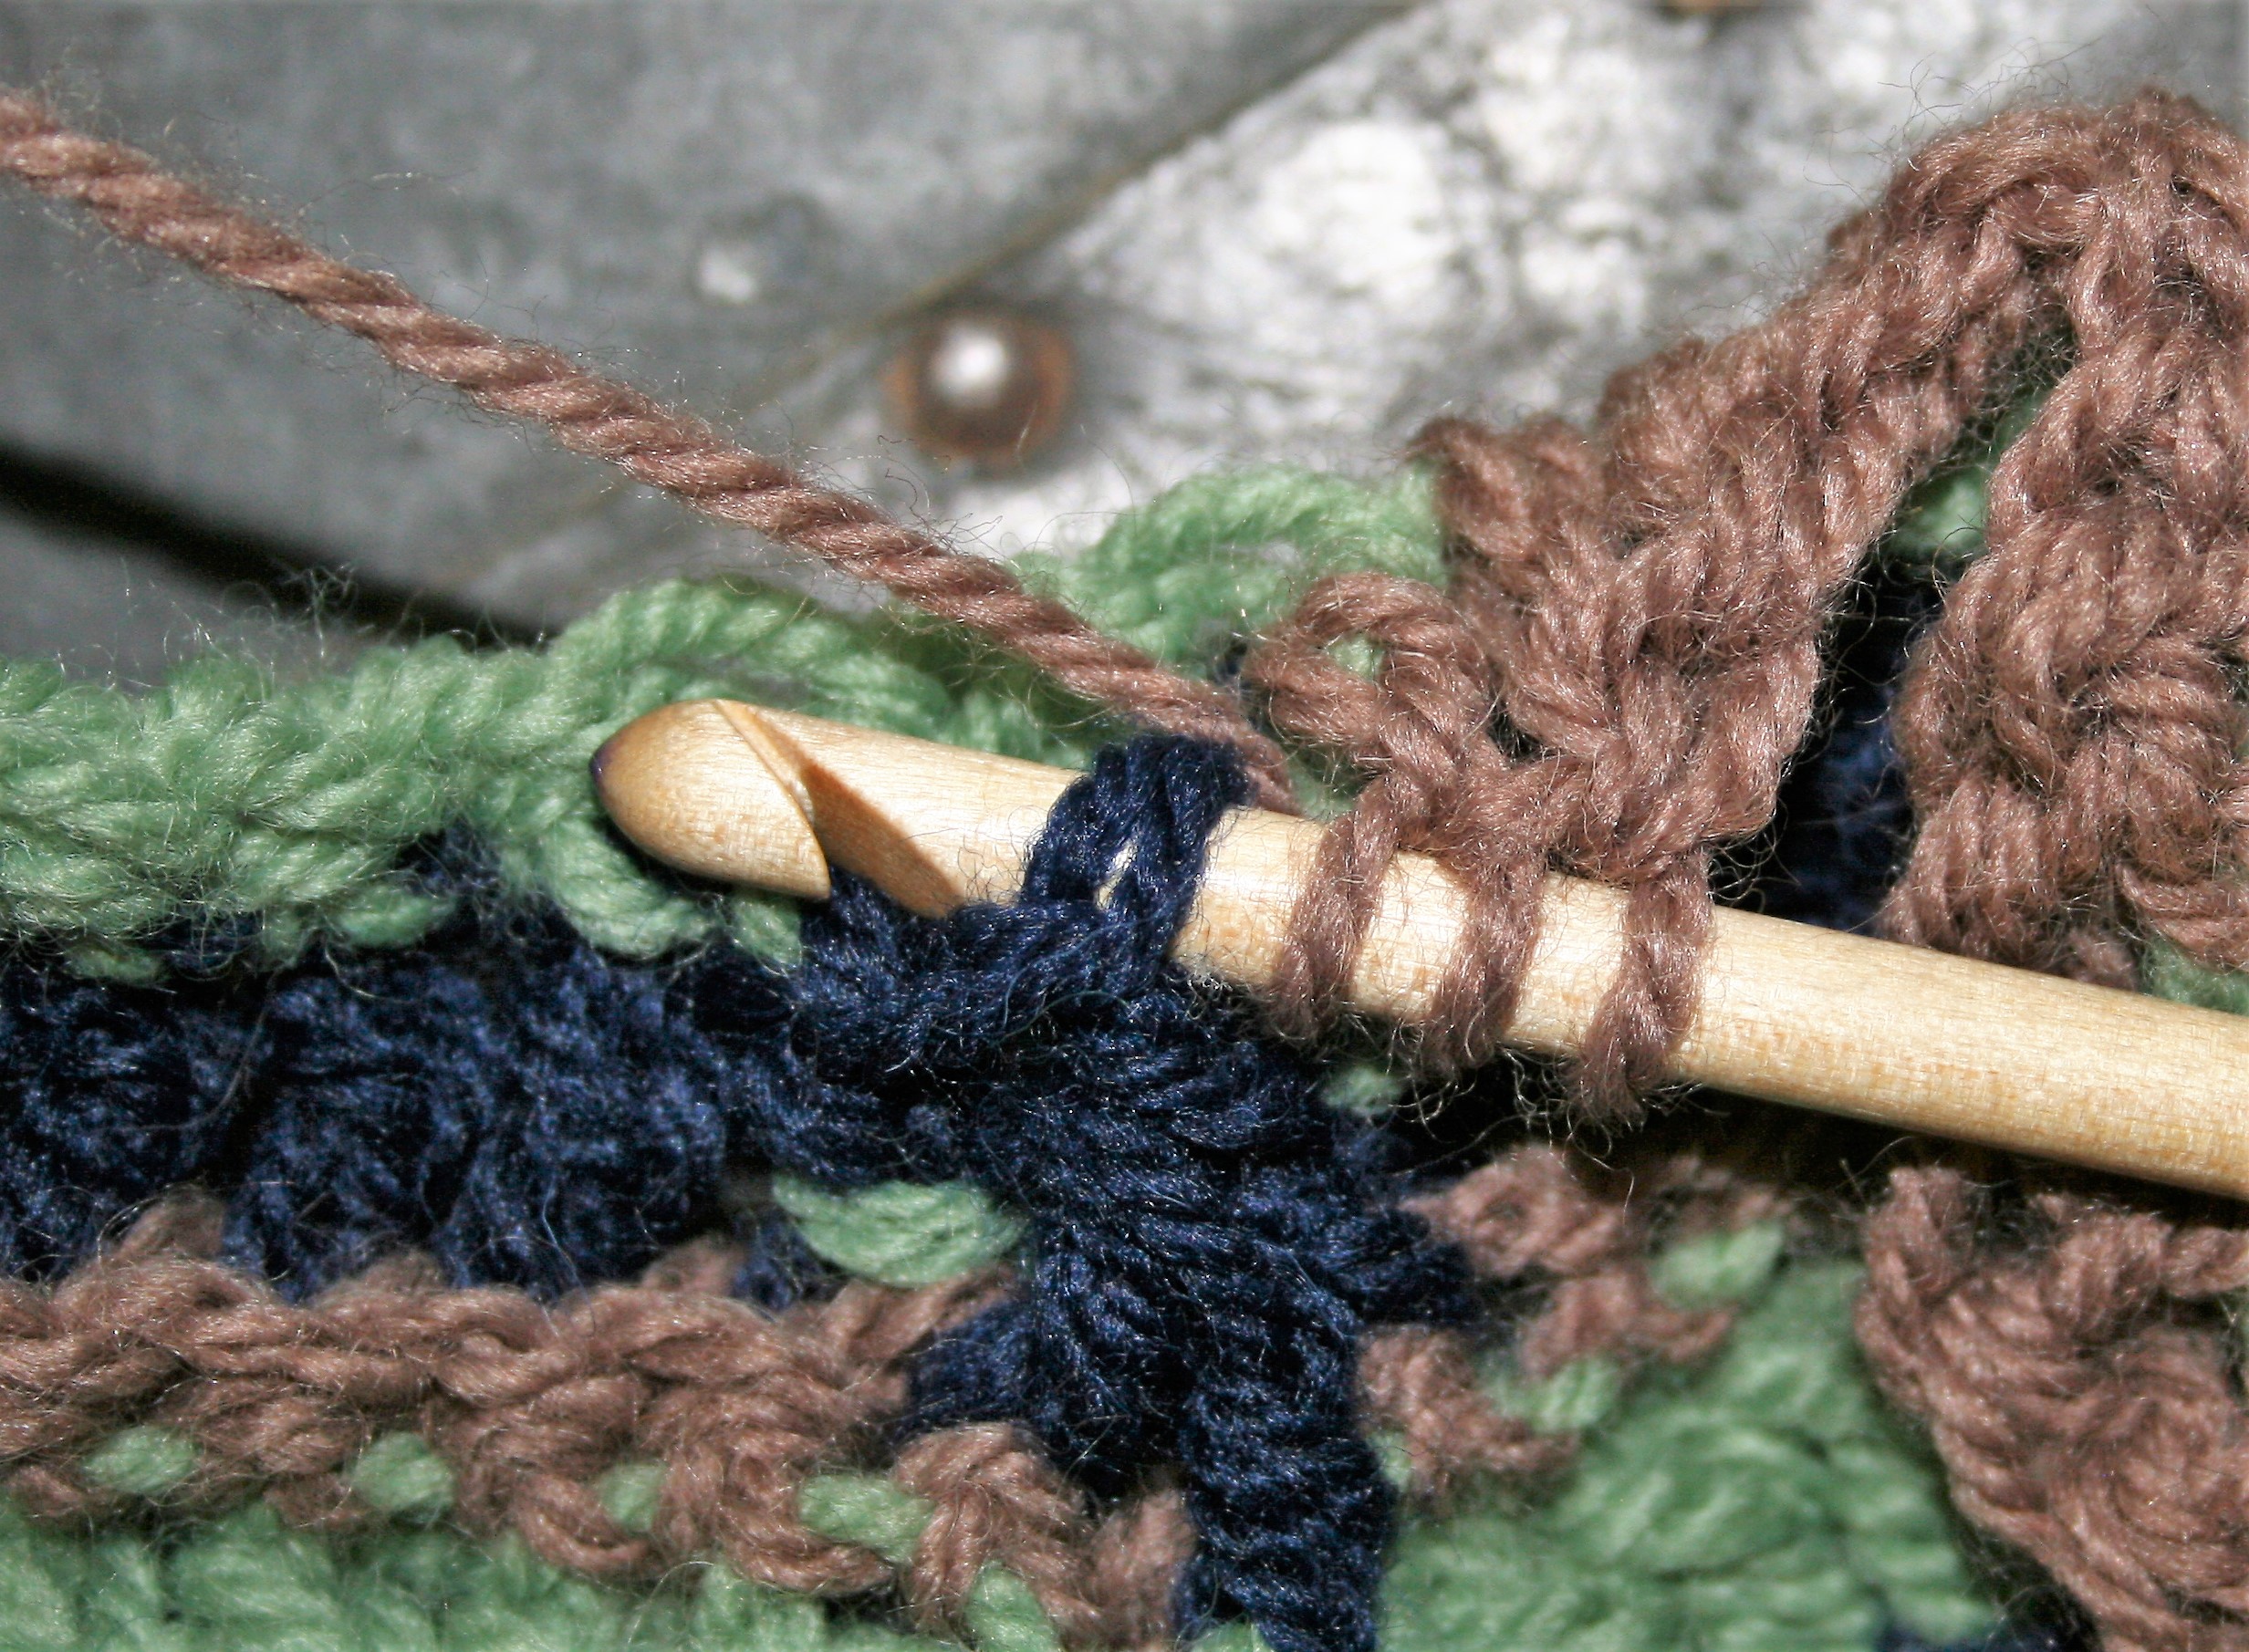
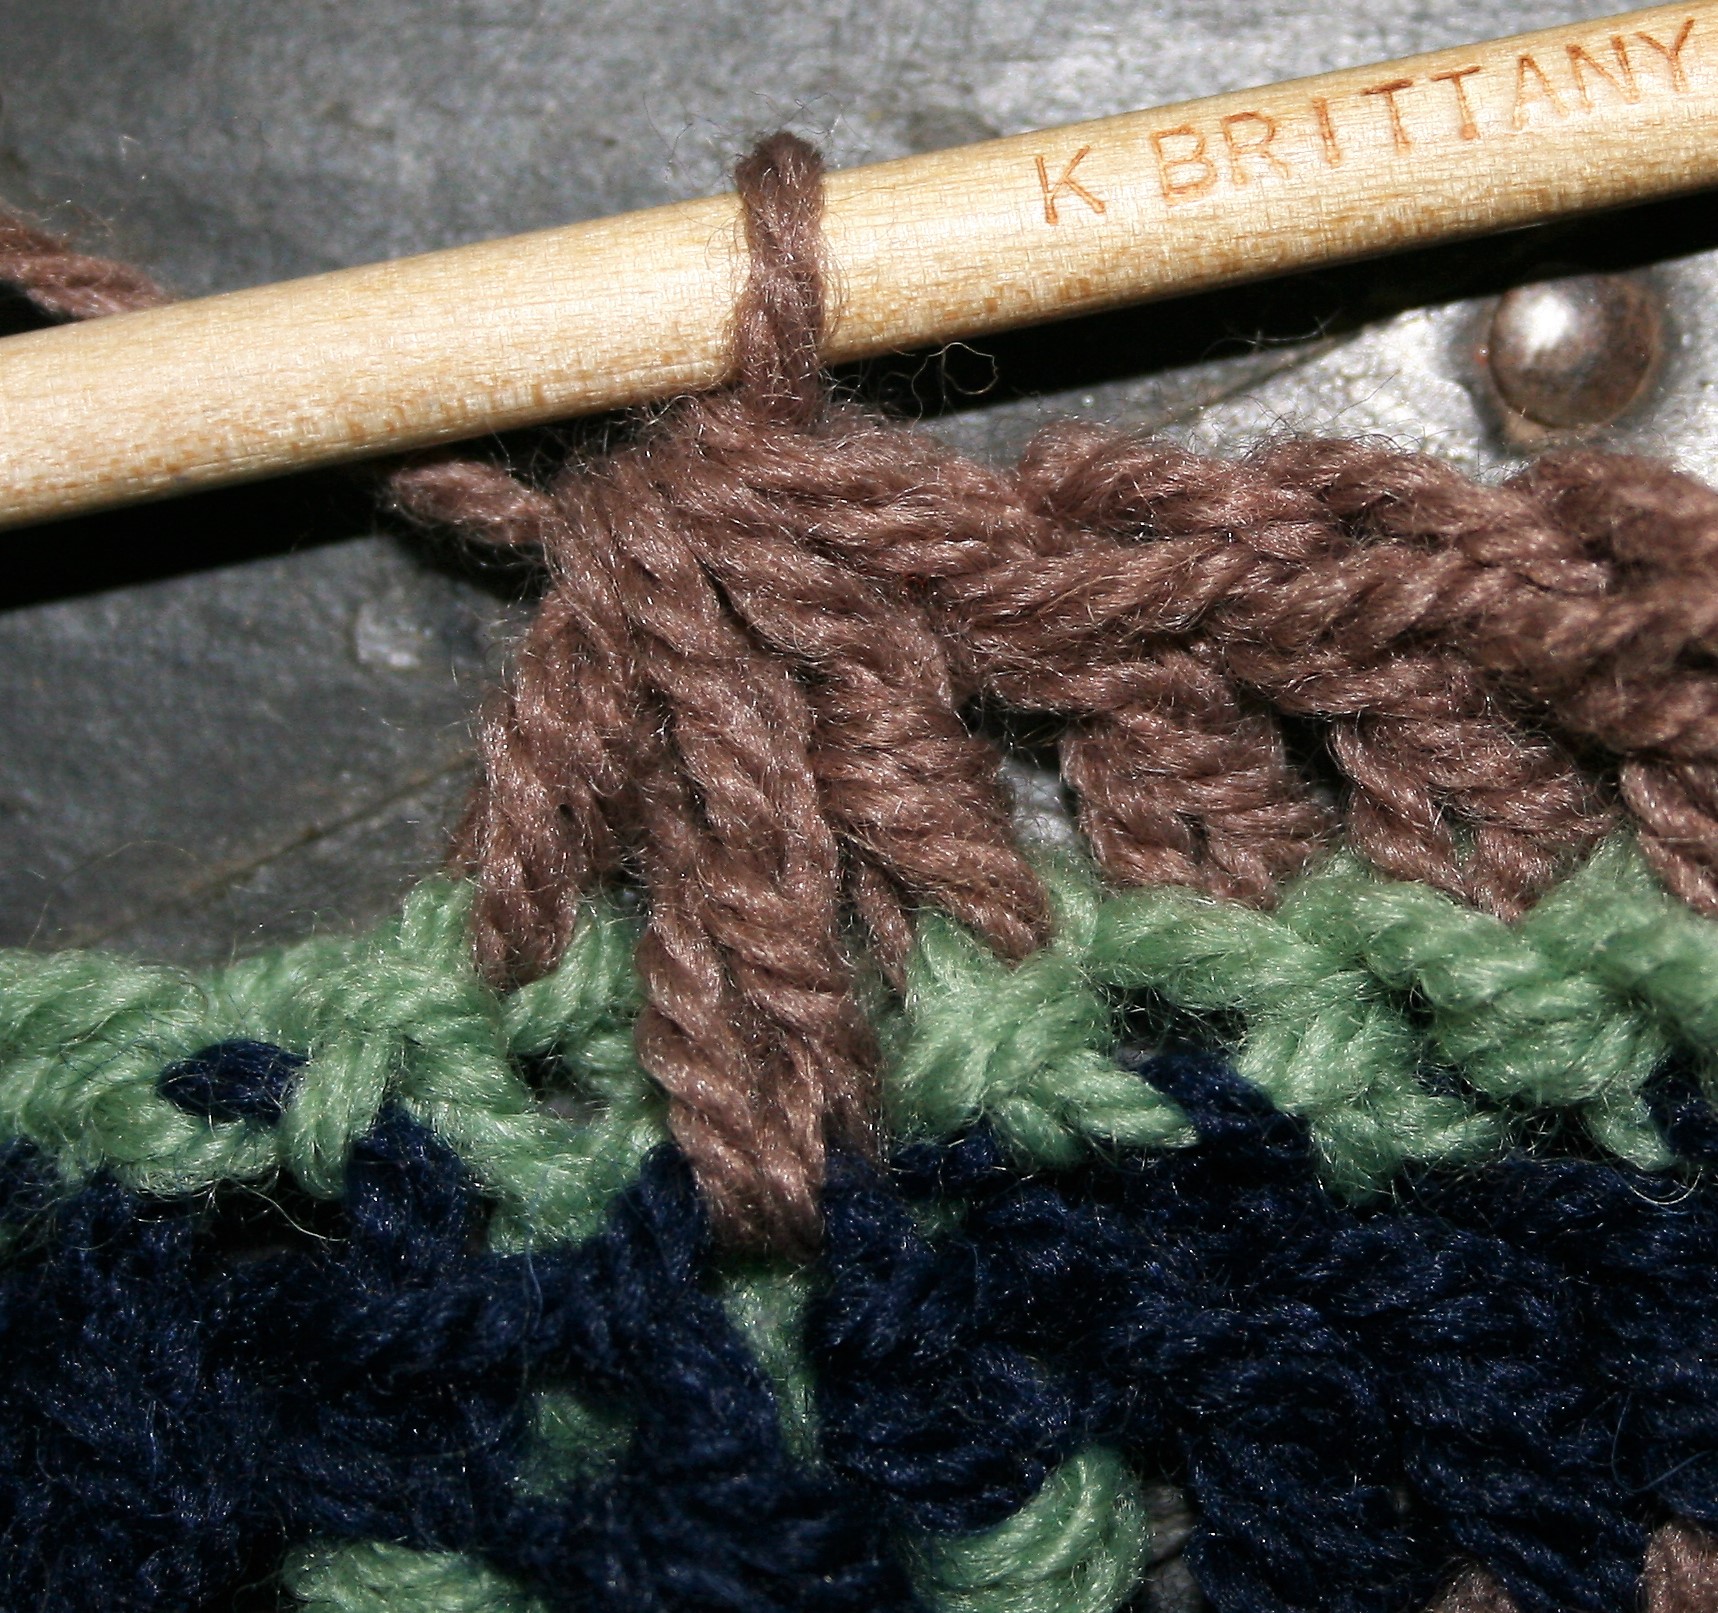
Work Horizontal Braid using 4 different balls of CC- each ball will need to be at least 26 grams in weight. For a step by step of how to work the braid, please check out this post, which will have a link to a video if needed. To ensure that the corners do not cup, make note of the corners in this post as well.

Braided Edging featuring a horizontal cable

Let’s start the Braid…or Cable

Rnd A: With CC, join to any st on edge with a Shdc, hdc in next 6 sts, remove hook from loop and bring yarn to front of fabric. Work Rnd B

Rnd B: With CC, join to back bar first hdc of Rnd A  with a Shdc, hdc in back bar of each hdc across, remove hook from loop and bring yarn to front of fabric. Work Rnd C

Rnd C: With CC, join to back bar of first hdc of Rnd B with a Shdc, hdc in back bar of each hdc across, hdc in next 7 sts of edging Rnd 1, remove hook from loop and bring yarn to front of fabric. Work Rnd D

Rnd D: With CC, join to back bar of first hdc of Rnd C with a Shdc, hdc in back bar of each hdc across, remove hook from loop and bring yarn to front of fabric. Work Rnd A1

This is where you can start repeating

Rnd A1: Pick up working loop of Rnd A, working in back bar of hdc of Rnd D hdc in each st across, hdc in next 7 sts of edging Rnd 1, remove hook from loop and bring yarn to front of fabric. Work Rnd B1

Rnd B1: Pick up working loop of Rnd B, working in back bar, hdc in each st across, remove hook from loop and bring yarn to front of fabric. Work Rnd C1

Rnd C1: Pick up working loop of Rnd C, working in back bar of hdc of Rnd B hdc in each st across, hdc in next 7 sts of edging Rnd 1, remove hook from loop and bring yarn to front of fabric. Work Rnd D1

Rnd D1: Pick up loop of Rnd D, working in back bar of hdc, hdc in each st across, remove hook from loop and bring yarn to from of fabric. Work Rnd A1

Repeat Rnds A1-D1 round, join to the corresponding Round, Fasten off all 4 rounds.

Time to finish this up

Rnd 2: With MC join to back bar of any stitch with a Shdc, working in back bar hdc in each st around, join, fasten off.

Rnd 3: With CC join to any st, ch 1, Rsc around edge, fasten off.

Weave in all ends. Block if desired.

Crochet Unspoken Words The Free Pattern

Crochet Unspoken Words, the free pattern. Often I find that crochet can speak emotions when I cannot, and it really does speak from the heart. At times when I am overwhelmed emotionally I can easily find my fingers and hands nimbly moving a hook with yarn to work through my feeling and sharing them with others.

I know that I am not alone in this feeling. Many use crochet for charity and gift giving, however I recently found myself crocheting due to natural disaster.

When I learned my friend lost her home during the Northern California Caldor fire this last August I felt at a loss. My heart was heavy for the undertaking she was facing, so I created an afghan to wrap an eternal hug.

Unspoken Words Throw

Just some pattern insight

I know that many find themselves in similar situations, so I thought I would share the pattern. It is a 2 row repeat just changing the straight edge stitches from single to double crochet, while having the same stitches used at the “valleys” and “peaks” of this ripple pattern. The colors are alternated between three colors, there is no need to cut the yarn, just carry it up the side (learn how here).

Unspoken Words Throw

Finished size: approximately 55”x55”

Materials

  • K/10 1/2 /6.5mm crochet hook
  • Medium Weight yarn in 3 colors, 600 yrds of each color. (Sample created in Plymouth Encore 75% acrylic, 25% wool (100g/3.5oz/200yd) yarn, 3 skeins each of color #848, 1204, 1232)

Special Stitches

Back Loop 3 double crochet together over center (blodc3togcenter)– yo, insert hook into back loop of next st, yo, pull up a loop, yo pull through 2 loops, yo insert hook into top of decrease worked 2 rows below, yo pull up a loop, yo pull through 2, yo, insert hook into back loop of next st, yo, pull up a loop, yo, pull up 2 loop, yo, pull through all 4 loops on hook.

Step One: yarn over, insert hook into first back loop
Yarn over, insert hook into top of decrease 2 rows below
Yarn over, insert hook in last back loop
Completed Back Loop 3 double crochet together over center stitch

Abbreviations

  • ch(s)=chain(s)
  • sc= single crochet
  • blodc= back loop double crochet
  • blosc= back loop single crochet
  • blsc2tog= back loop 2 single crochet together
  • bpdc= back post double crochet
  • fpdc= front post double crochet
  • sk= skip
  • st(s)= stitch(es)
  • rep=repeat

Crochet Unspoken Words -the Free Pattern

Row 1: Ch 160, sc in 2nd ch from hook, sc in next 6 chs, 3 dc in next ch, sc in next 7 chs, [sk 3 chs, sc in 7 sts, 3 dc in next ch, sc in next 7 sts] rep 8 times, change color, turn.

The (fpdc, bpdc, fpdc) around the next stitch….

The Repeat Begins

Row 2: Ch 2, working back loops, blodc in next st, blodc in next 6 sts, (fpdc, bpdc, fpdc) around next st, blodc in next 7 sts, [blodc3togcenter, blodc in next 7 sts, (fpdc, bpdc, fpdc) around next st, blodc in next 7 sts] rep 8 times, dc2tog, change color, turn.

Row 3: Ch 1, blsc2tog, blosc next 6 sts, (fpdc, bpdc, fpdc) around next st, blsc in next 7 sts, [blodc3togcenter, blosc in next 7, (fpdc, bpdc, fpdc) around next st, blsc in next 7 sts] rep 8 times, sc2tog, change color, turn.

Repeat Rows 2 and 3, changing colors every row, alternating between three colors, until desired length.

Crochet Unspoken Words, the free pattern

Edging for Crochet Unspoken Words free pattern

Worked sc evenly around entire afghan. Fasten off, weave in ends.

Swirls That Will Brighten Your Day

Sometimes while crocheting my mind can completely wonder and I have no idea what I am stitching. This is actually a really therapeutic approach at times, it allows me to be productive and keep my hands busy while allowing my mind to day dream or work things out. My latest design Swirling Valley Circular Throw, in the August issue of I Like Crochet Magazine, actually was created this way.

Photo courtesy of I Like Crochet Magazine

I began working on a spiral motif, but then I began thinking of other things and before I knew it I had an entire throw. The stitch pattern is essentially that needed to create a flat circle, but you have to work more than one color, and thus more than one strand of yarn, in each round. This can be a bit daunting as you need to keep the strands from tangling, but I have found that by twisting the yarn in the same direction each time I switch colors that I can at least create a uniform tangle that I can easily untwist every few rounds. I know others that have easier techniques, using holders that keep the skeins apart so they cannot wrap around each other, or little finger rings that hold each color independently ready for use. However I have never really gotten the hang of these and simply just untangle as needed…this at least changes my task at various times.

Photo courtesy I Like Crochet Magazine

Swirling Valley Circular Throw is made up of only three colors but utilizes six colors per round, so if you wanted something to have a real spiral effect you could simply use six different colors in this throw instead of each color twice.

I like this design for kids, I can easily see it in bright vibrant colors to adorn a play room, or even in soft pastels to create a dazzling throw for baby.

I have an additional confession, when I started working the final rounds I was getting a bit exhausted, thinking that they would never end. This is typical of large circles, but the color changes at least kept it more interesting and manageable, so this did not become an un-finished project (UFO) in my work bag.


Parisian Champagne Throw-A Nice Little Piece

It is always a fun morning when I learn  that I have a new design out and published that I can share with the world. Today the Parisian Champagne Throw is available in the August 2017 issue of I Like Crochet Magazine is out and alive in the world.

This throw actually started out in a smaller format. The motifs that I have designed, I originally considered for a thread table cloth. I have fun working up the little round motifs and thought they fit together a bit like clockwork. However after creating a square contaminating 4 of them I felt that they would be a really busy looking pattern for a table cloth. Thus they became a 4 square motif in themselves, and then joined with others. As is usual I have worked these motifs as “join as you go”, so there is no sewing or seaming needed.

My decision to alter the original design from a thread table cloth, really was one of complete practicality. This design really works best with two colors and weaving in all the ends necessary for a table cloth…in thread…was a bit too daunting for me to consider.

The design is worked up in a heavier weight yarn then you might usually consider, but this helps give it a practical picnic use for these warm months, while still giving a practical warmth factor for cooler months. It is pretty easy to find two colors that you enjoy together, and this throw works great with any of them. Personally I really like how the soft cream really allows the coral to pop, giving a comfortable and subtle contrast.

This throw can also be taken down a bit, attempt it in a baby yarn and create a memorable baby blanket, without having to worry about meeting the gauge, as the smaller yarn and hook will automatically adjust the motifs to a correct size.

I hope that you give this throw a try, and share your progress with me. I still haven’t got a table cloth, but maybe the next design.

A Subtle Pattern Hit, the Subtle Diamonds Throw

There are times that I undertake a project and later wonder what I was thinking. Sometimes this is because I have bitten off more than I can chew, maybe I hadn’t thought my plan through enough, or maybe my timetable really will not allow for what I think it would. Yet with some perseverance it all comes out in the end. So when I took on the challenge of the Subtle Diamonds Throw I should have already been aware of my own pitfalls, but I jumped in anyway.

The challenge of Subtle Diamonds was really of my own creating, as it was designed as a challenge, could I create an afghan from a few skeins of hand dyed yarns. Some may think this really isn’t a challenge, yarn is yarn, and you are making a blanket…that seems pretty straight forward. However using hand dyed yarns can create a bit more thought in the designing.

Subtle Diamonds Throw Photo courtesy Ancient Arts Yarn

Some may not realize it but one of the thoughts that goes into a design for a pattern is if it would be cost prohibitive. By this I mean, if I designed a pattern that took 25 skeins of a $10 per skein yarn, would anyone realistically spend $250 in materials to make it? Probably not, especially if it was something pretty basic. This thought comes into play not only with the designer but with publishers and yarn manufactures. So working with hand dyed keeps this price pointing in your mind to find the most cost effective way to create.

So with Subtle Diamonds I was limited on the amount of yarn, using only 2 skeins of each color this throw can easily be made into a 48”x48” (122x122cm) throw, adding 1 more skein of 2 colors and it can become a 54”x48” (137x122cm). Then I wanted to ensure that the fabric was appropriate and would keep you warm, as well as the stitch pattern being interesting. Utilizing post stitches a staggered diamond pattern is created while helping the colors visually blend and harmonize together. This design as a result took a bit more planning and I am pretty happy with the way it finally came out.

Subtle Diamonds Throw Photo courtesy Ancient Arts Yarn

I teamed up with Ancient Arts Yarn to bring this design to you, they loved the idea of the challenge and added a bit of a twist to the process by requesting that the design have a modern, contemporary feel. I will in no way claim to be an expert in meeting, understanding, or designing to specific “type” or “style”, but apparently I came close since they liked it.

This challenge did help me grow as a designer, as all challenges do in general. It sharpens your senses and helps you to focus.