Help me help local communities by creating blocks for Warm Up America, by making a block for yourself and one for a community project with this free pattern. I will be creating a new block every few weeks and sharing it with you, I just ask that make one for donation.
Warm Up America is a nationwide organization that encourages local donations, but will also except donations to be sent to their office so that blocks can be assembled and then blankets can be donated through the United States.
Even if you do not want to participate with Warm Up America, please consider creating blocks, or blankets for your local community. There are various places in every community that accept donations.
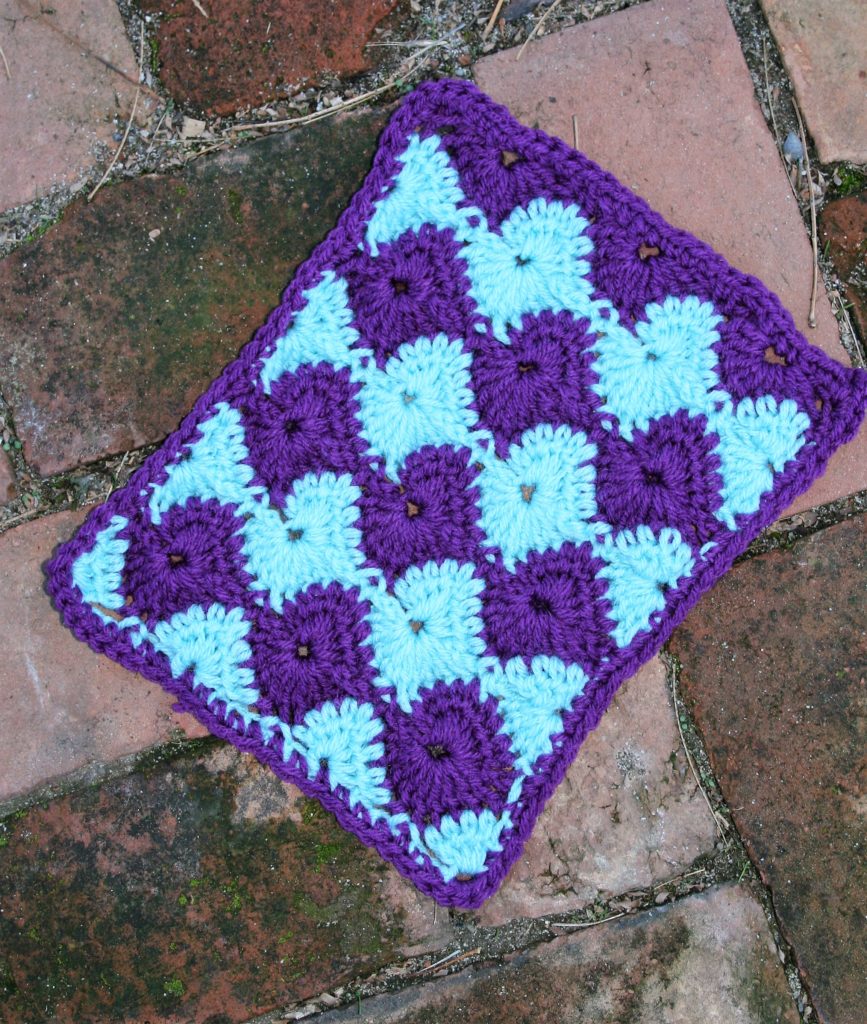
Rolling Along Block
Working the Catherine’s Wheel
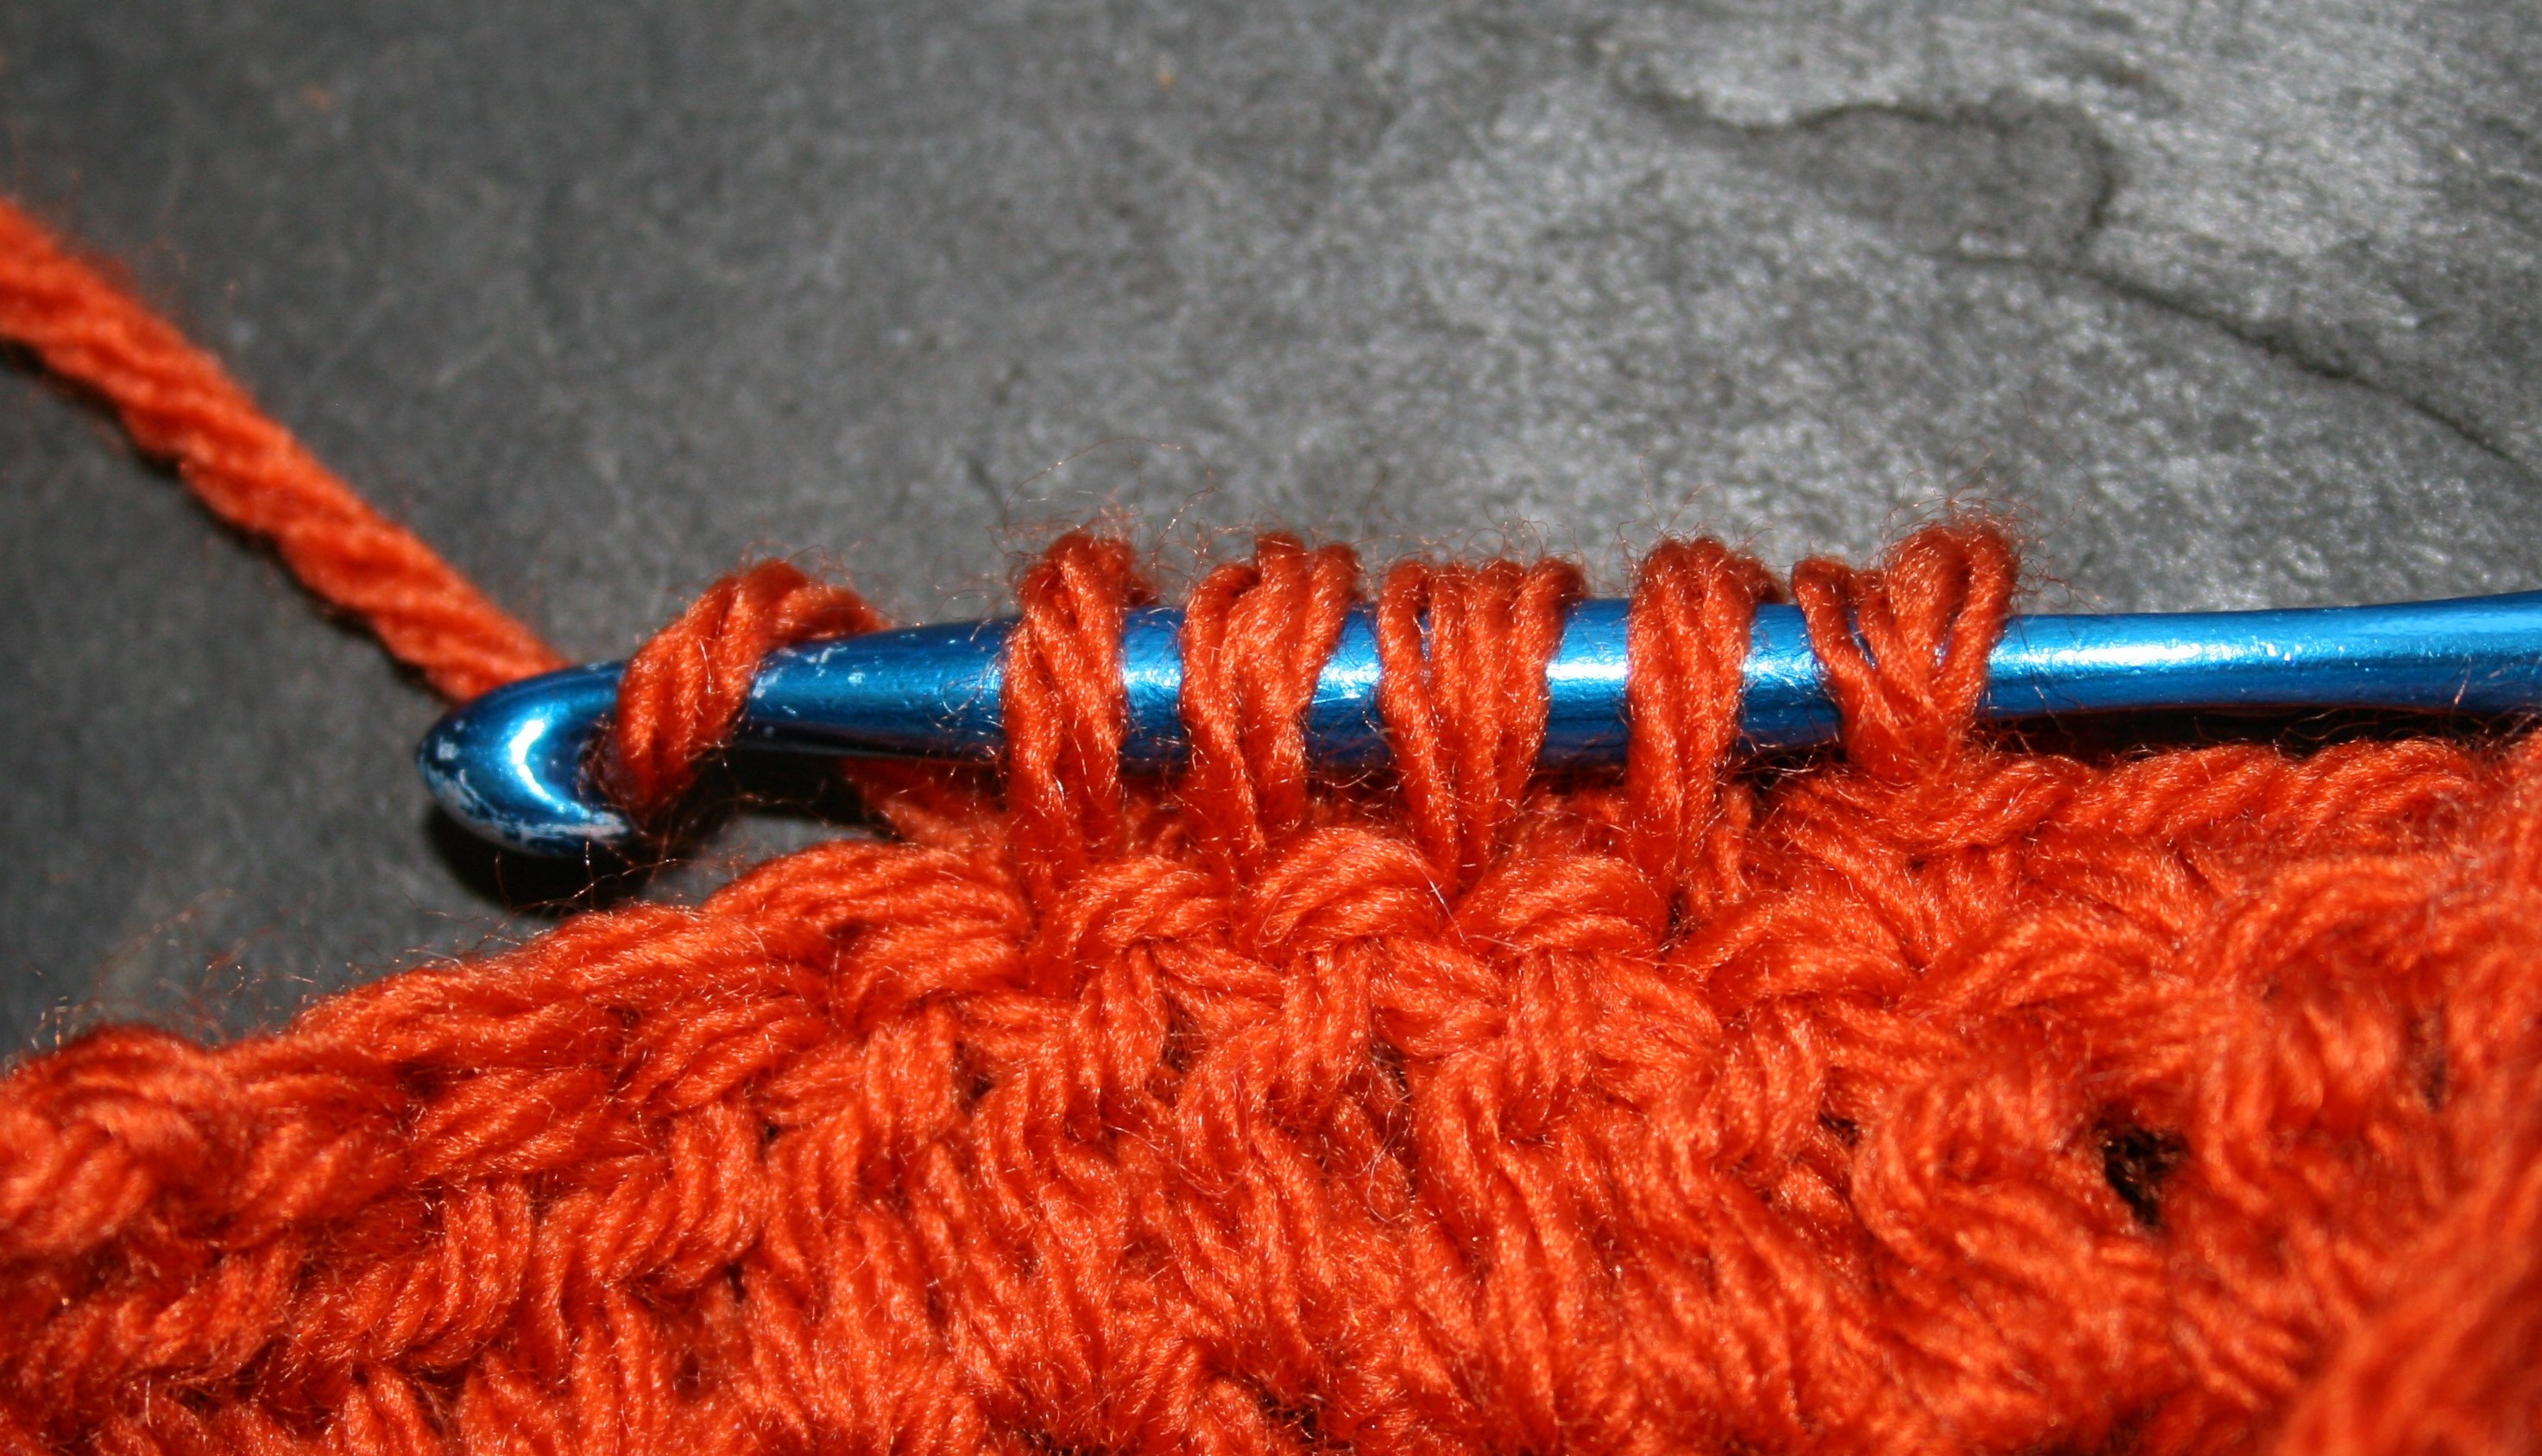
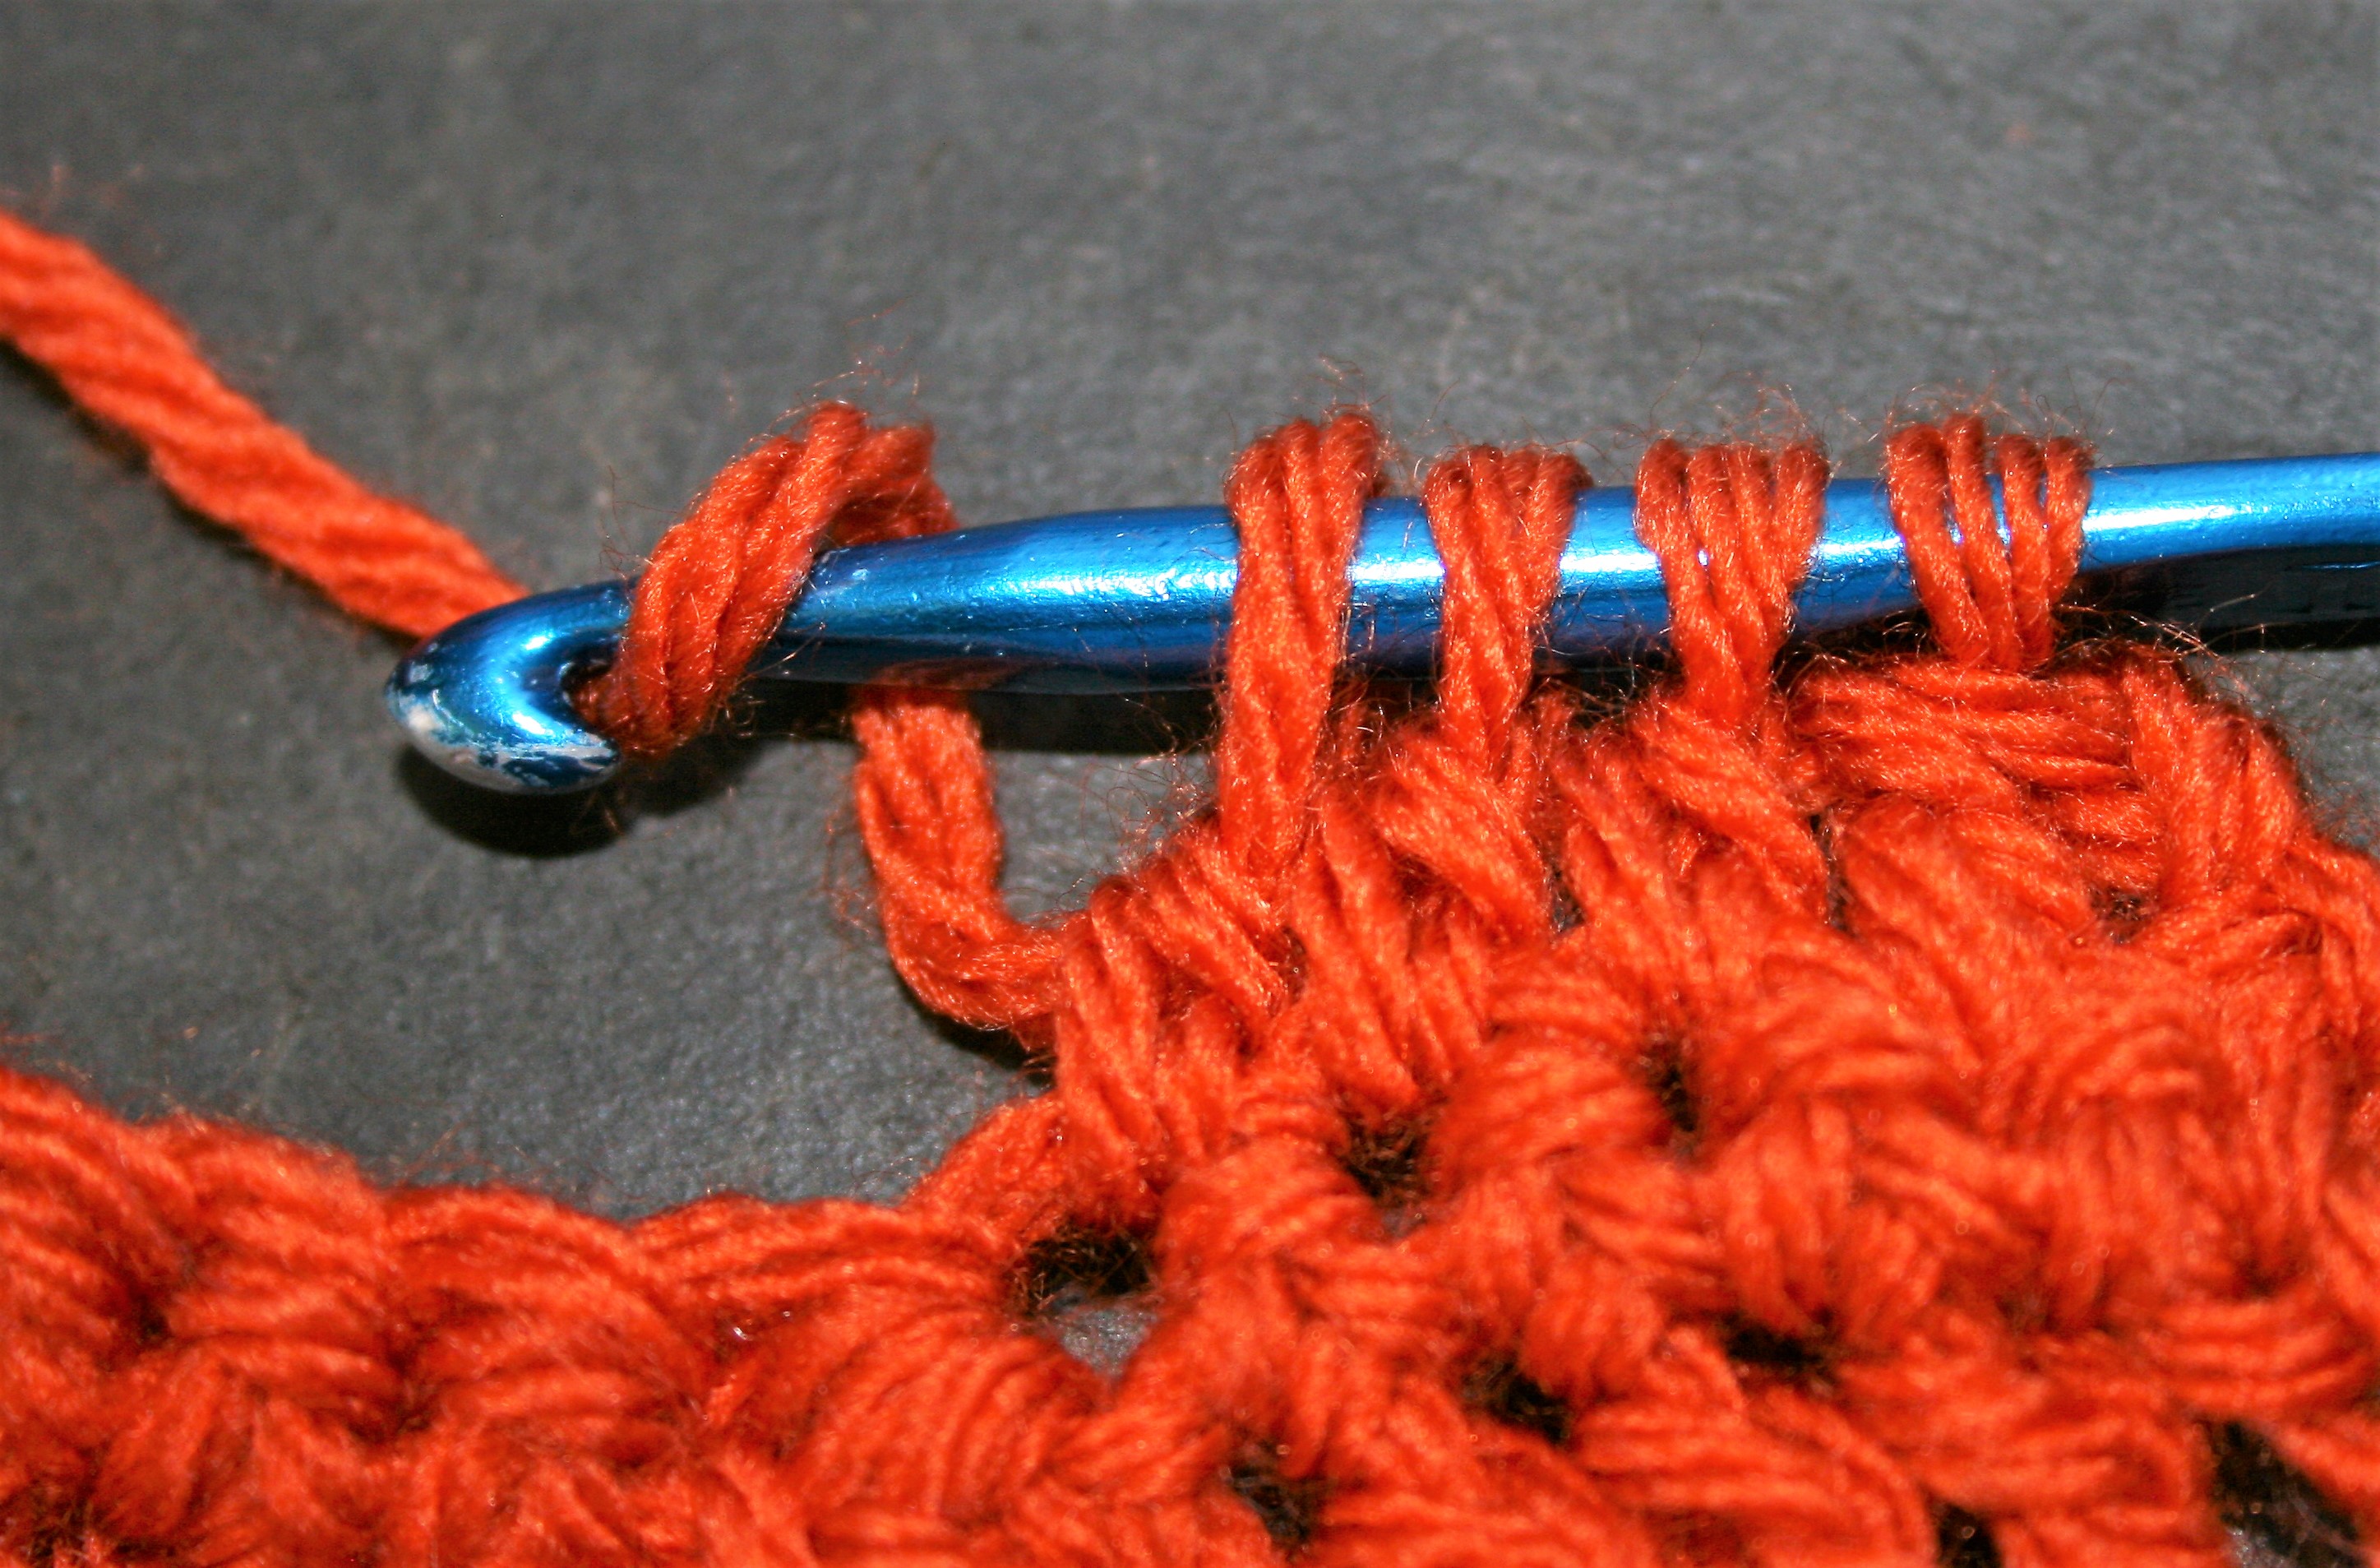
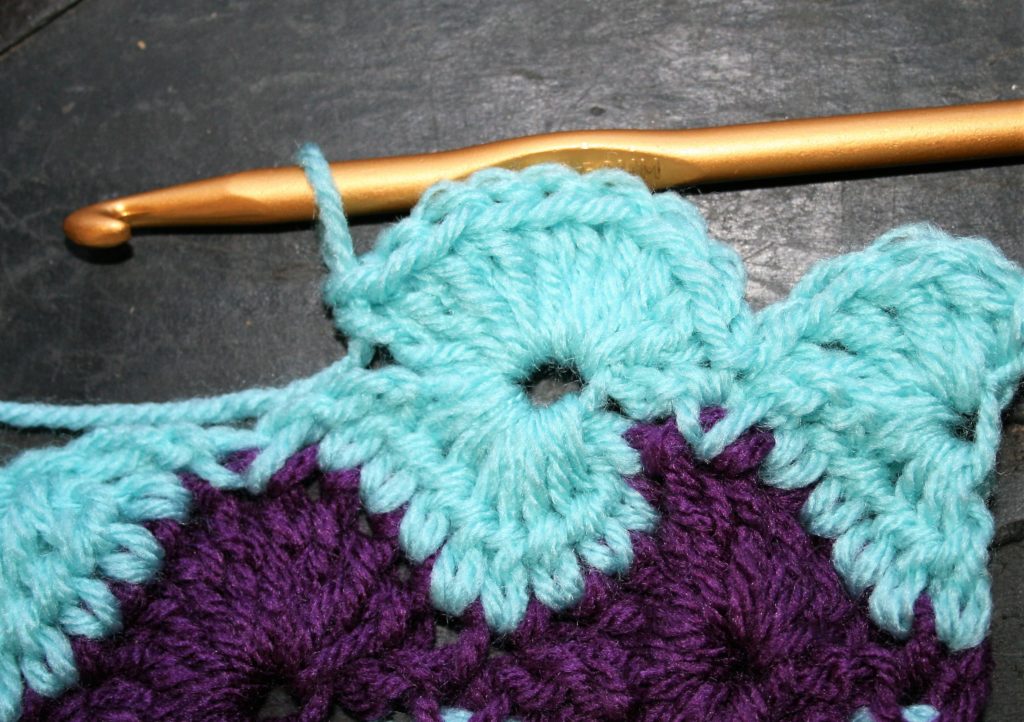
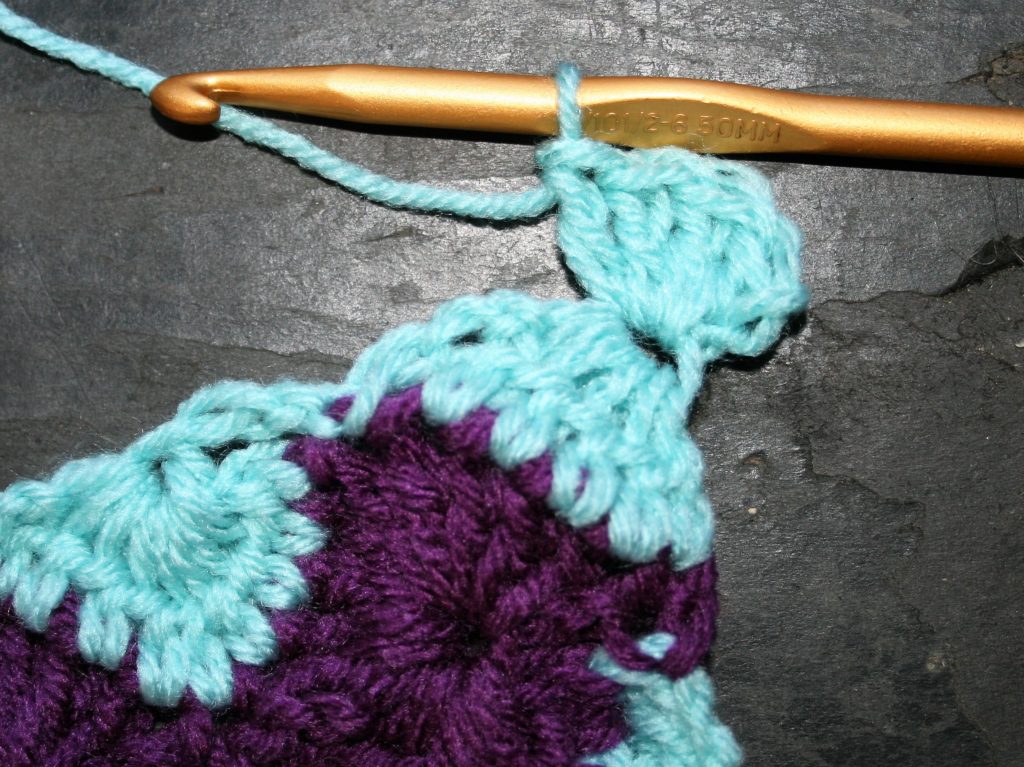
Catherine’s Wheel is a classic crochet stitch that works one row of shells over a row of decreases to create a circle or wheel look. I have made a couple of changes to the classic pattern. For starters instead of working a single crochet after completing the shell or decrease, I work a slip stitch. I find that this help prevent “gapping” that occurs in the chain 3 area.
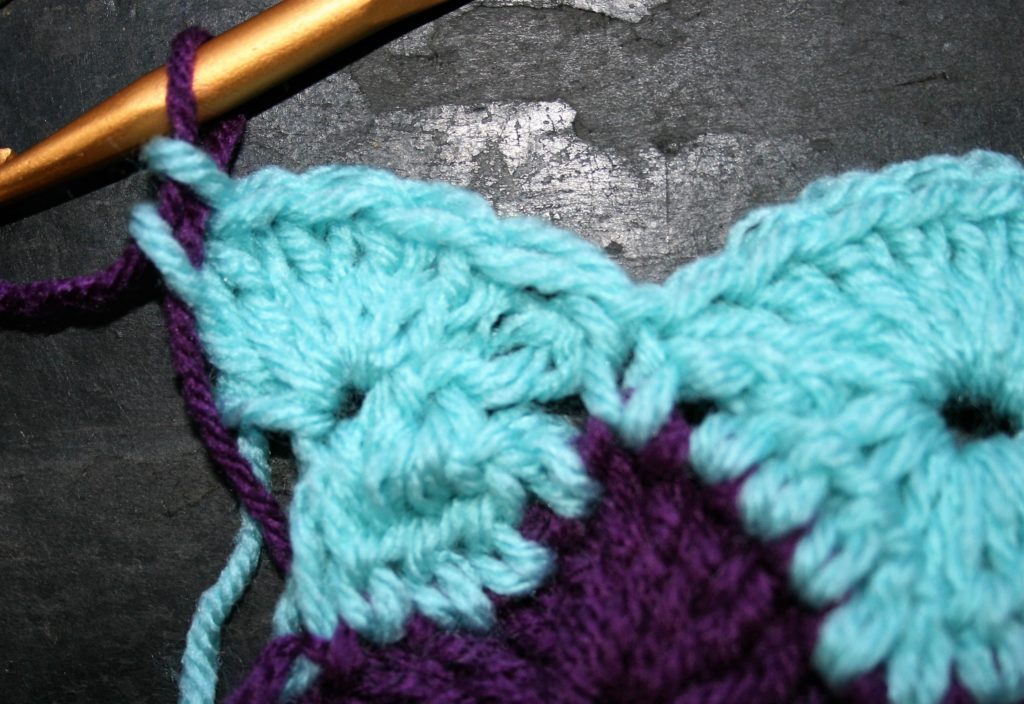
I should also point out that I work the shells in “the center of the decrease”, this is the biggest opening. However it is really not the completion of the decrease stitch, but the third chain. I feel that working here emphasizes the “center”, when working in the actual point of completion just looks a bit wonky.
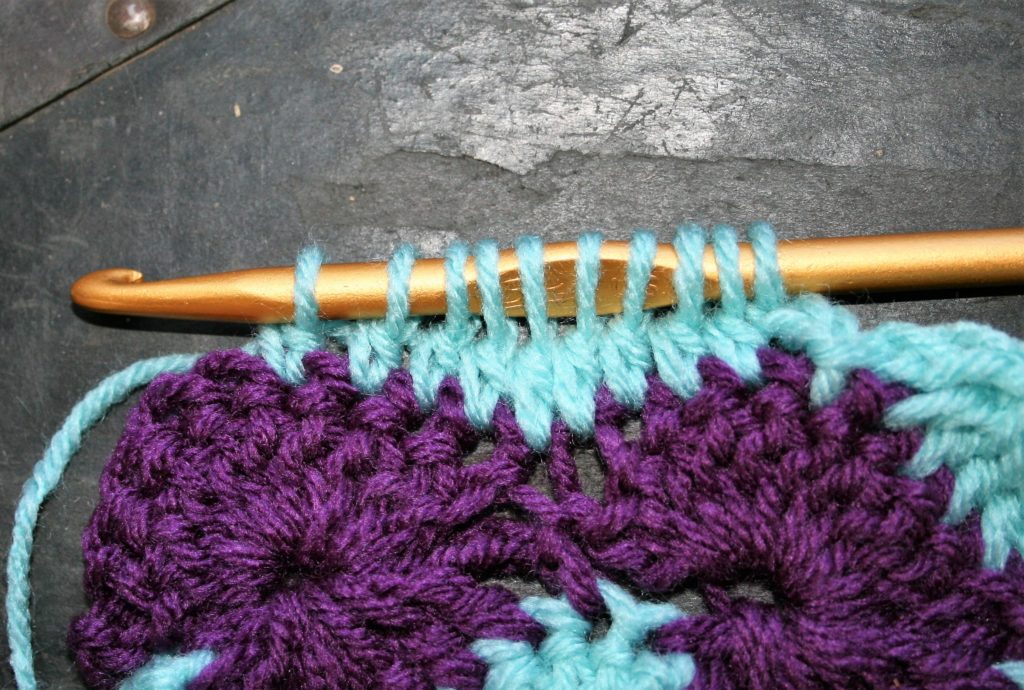
I do have an exception to this, and that is when finishing a row with a shell it needs to be worked in the top of the turning chain to keep the edge straight. This will be just over from the “center”.
Gauge
7”x9” rectangle
Materials
Medium weight yarn, in 2 colors MC (main color), CC1
K/10 ½/6.5mm crochet hook
Special Stitches
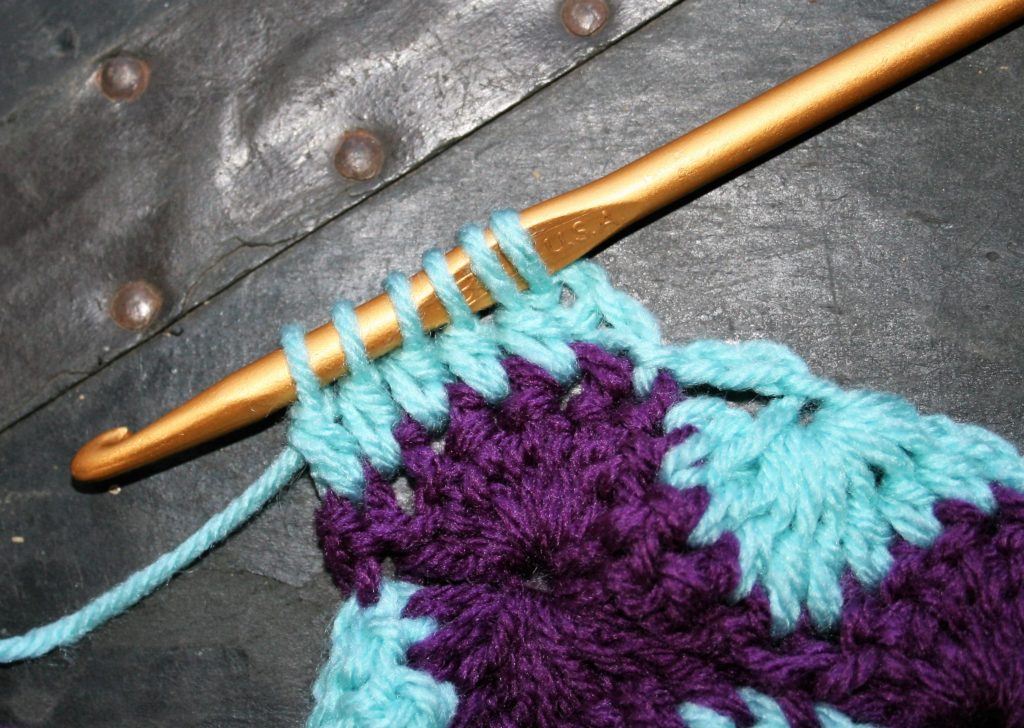
Double crochet 4 together (dc4tog): Working over the next 4 sts, [yo, insert hook into next st, yo, pull up a loop, yo, pull through 2 loops] six times, yo, pull through all 5 loops on hook.
Double crochet 5 together (dc5tog): Working over the next 5 sts, [yo, insert hook into next st, yo, pull up a loop, yo, pull through 2 loops] six times, yo, pull through all 6 loops on hook.
Double crochet 9 together (dc9tog): Working over the next 9 sts, [yo, insert hook into next st, yo, pull up a loop, yo, pull through 2 loops] six times, yo, pull through all 10 loops on hook.
Note:
Change colors without fastening off the yarn. Instead carry the yarn along the edge, and it will be hidden in the edging round. Here are some tips for do it.
The Pattern
With MC Chain 25
Row 1: Sc in 2nd ch from hook, [sk 3 chs, 9 dc in next ch, sk 3 chs, sc in next ch] three times, change to CC1, turn. –(3) 9 dc shells, 5 sc
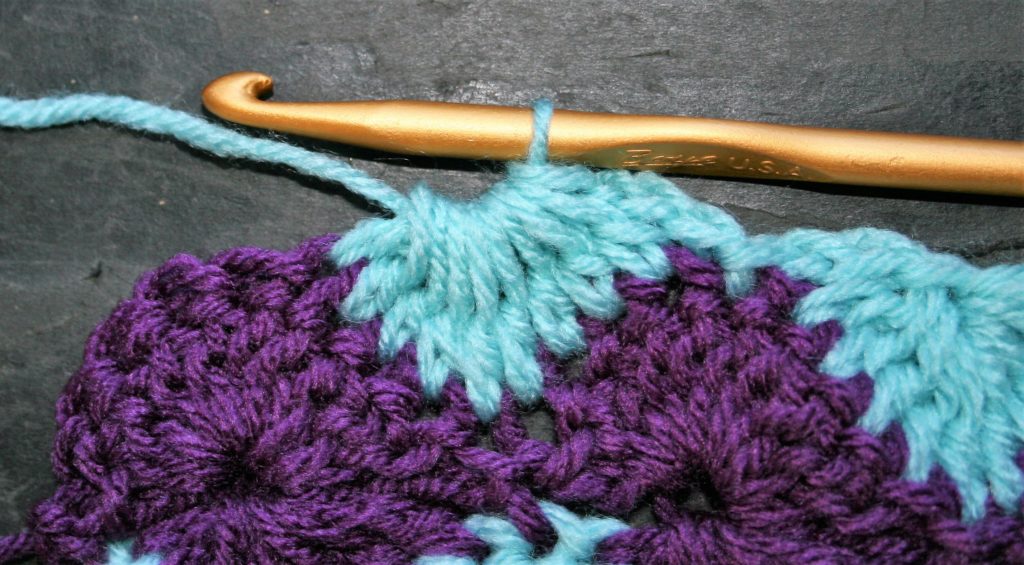
Row 2: Ch 3, dc4tog, ch 3, sl st in next st, ch 3, dc9tog, ch 3, sl st in next st, ch 3, dc9tog, ch 3, sl st in next st, ch 3, dc5tog, turn. – (2) dc9tog, (1) dc4tog, (1) dcs5tog
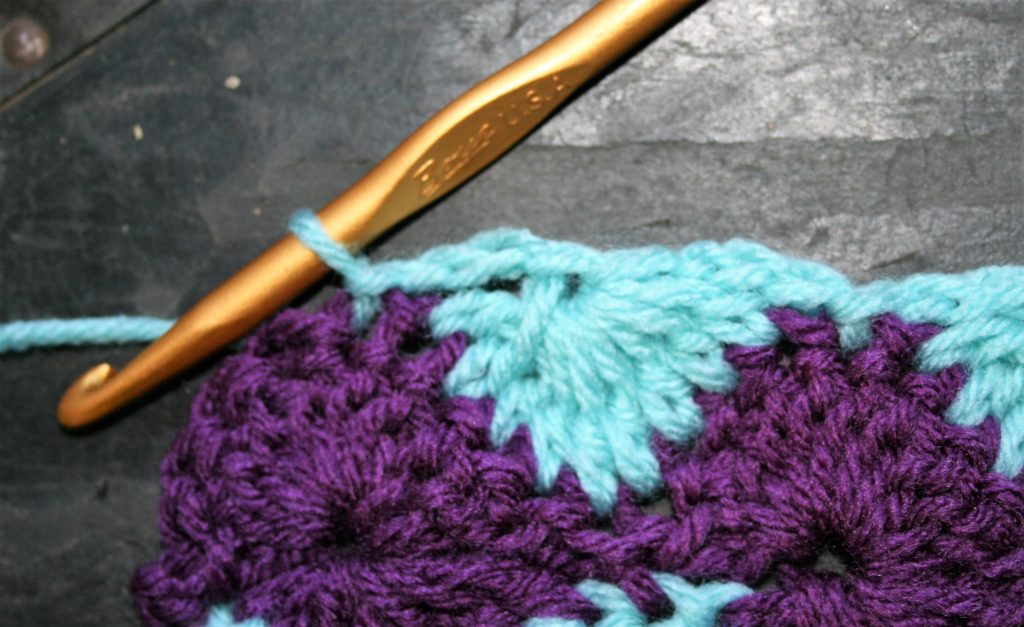
Row 3: Ch 3, 4 dc in same st, sl st in next sl st, 9 dc in center of dc9tog, sl st in next sl st, 9 dc in center of dc9tog, sl st in next sl st, 5 dc in top of turning ch-3, change to MC, turn. (2) 9 dc shells, (2) 5 dc shells
Row 4: Ch 1, sl st in same st, ch 3, dc9tog, ch 3, sl st in next st, ch 3, dc9tog, ch 3, sl st in next st, ch 3, dc9tog, ch 3, sl st in last st, turn.
Row 5: Ch 1, sl st in same st, 9 dc in center of dc9tog, sl st in next sl st, 9 dc in center of dc9tog, sl st in next sl st, 9 dc in center of dc9tog, sl st in last st, change to CC1, turn.
Row 6-13: Rep Rows 2-5 twice.
Row 14: Rep Row 2. Fasten off.
Edging
With color MC, sc in each st across, 3 sc in corner, work evenly sc around block working 3 sc in each corner. Finish off.