Nothing Ever Stays the Same

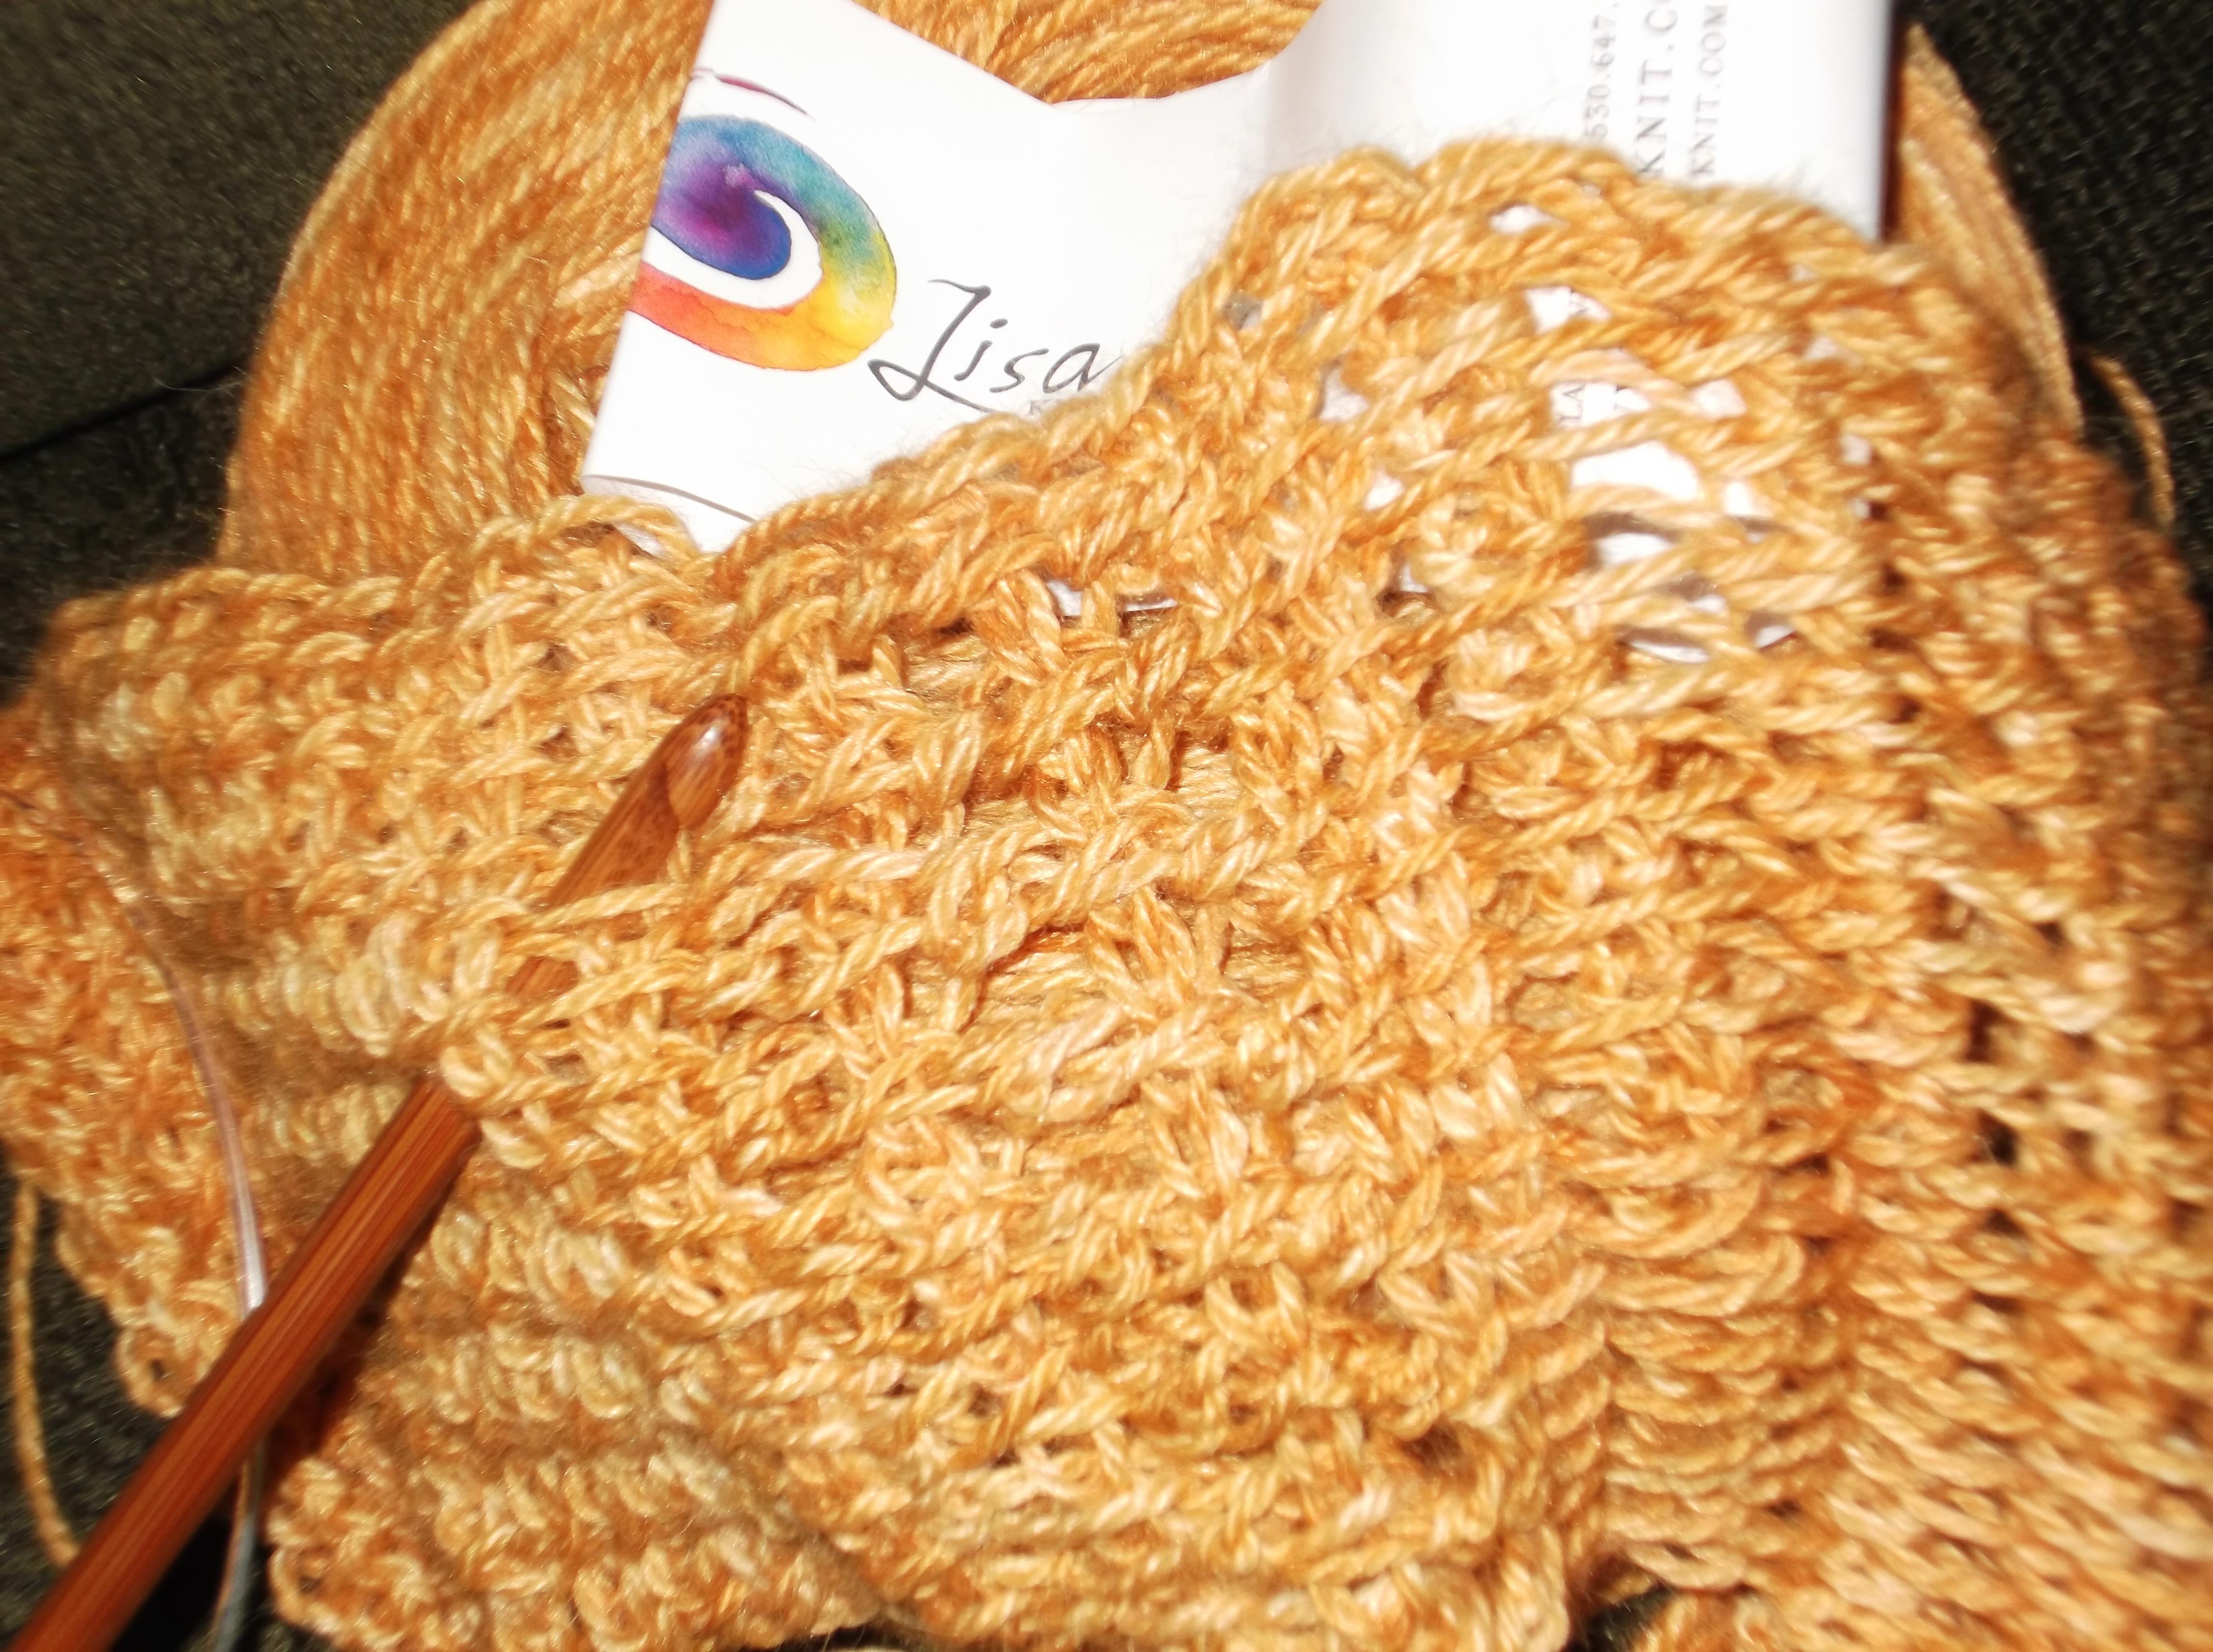
ScannedImageI usually see an image of what I want a particular yarn to be, by simply holding it and letting my mind wander, but that is where things actually become difficult. Now I need to play, okay, it is swatching, but I have never been good at creating swatches, I want to get on to making something not just make squares of stitching.

However, I usually need to figure out how to get my image translated into an actual creation, and that often means finding the stitch patterns that will accomplish this.DSCF0868.1

Sometimes I get into the process and realize that I like something else better, and either re-create my idea or create something completely new. Okay, this happens in many aspects of life; from everything like what to have for dinner of what I am wearing to that holiday party. Ideas constantly evolve. This is my reminder that nothing is a constant; the only thing that I can accurately predict is that everything will always change. I will admit, this keeps me from getting too attached to any one idea for very long, and I hope helps keep my work fresh. One can hope at least.

Making the Sweater Work for Me

ScannedImageCooler weather reminds me of a learning experience I have had with crochet, something that I greatly appreciate and has changed my approach to my personal wardrobe; being able to create a sweater that actually fits.
DSCF0743.1

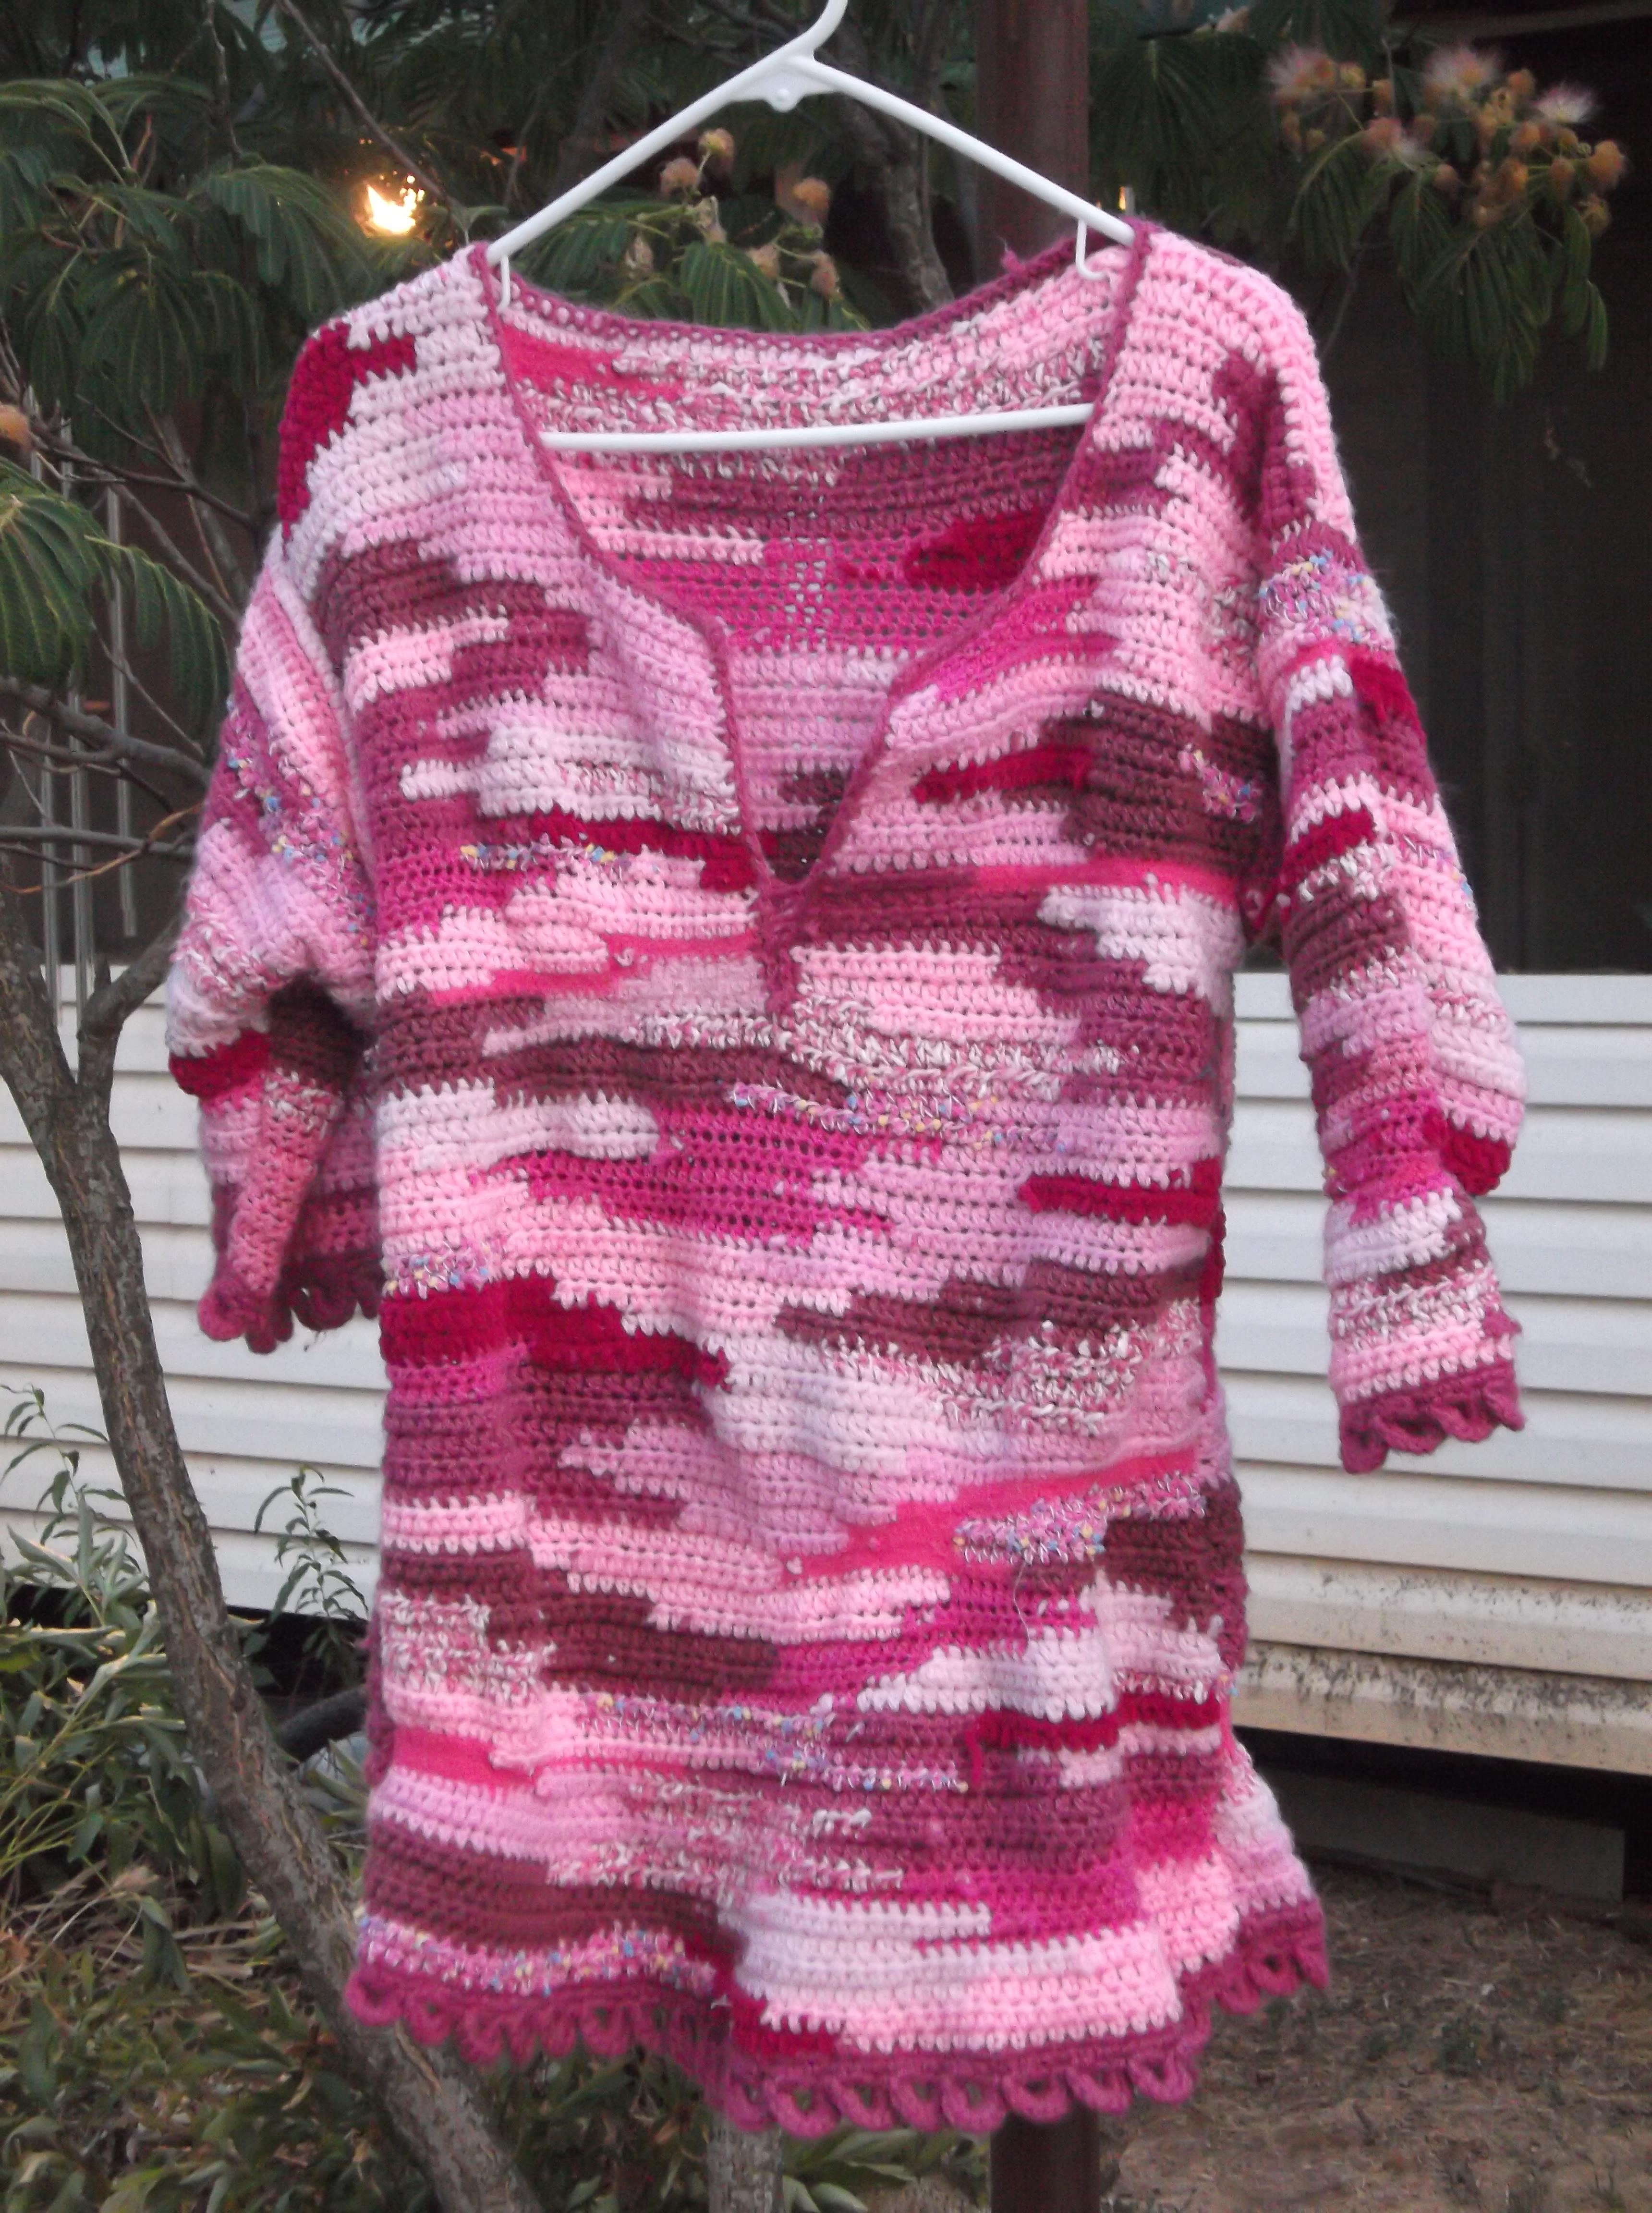
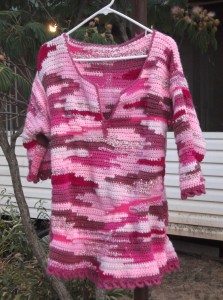
A sweater/tunic that I made a little longer than is written to customize to me.

Now I am not a seamstress, nor am I altering crochet patterns to a great degree to add bust darts or remove some extra fabric at the arms. That is a little more technical than I like to get. I was, at one time, very intimidated with even the idea of making a sweater, but once I realized that I was really only making fabric, it helped to remove the anxiety and allow me to expand my repute and create clothing. But when I finally undertook the challenge of making my own sweater, I could actually make them long enough to actually keep the chill off!

Now I am not a small petite little woman, not that there is anything wrong with that, but I come from a larger stock. As I remind my daughter, we have Viking heritage, and when you think of Vikings you do not readily think of tiny fragile women, you think of women that can make their presence known. A drawback to this body style is that standard clothing does not easily meet our needs. The biggest problem I have is a long waist; there is considerable distance between by last rib and my hips, yet most off-the-rack shirts have standard length that ends up resting just at the top of my hip bone. A little extra length creates a nicer appearance for me, in my opinion, and the more practical it keeps me covered better.

So how do I tie this to crochet? Well, it is relatively easy to add a little extra and make a sweater longer then is written; I just have to understand where to look. For a pattern written from the top down, this is pretty simple, I just continue working until I am happy with the length. For the more common bottom-up patterns, I have to do a little more planning. I have to pay attention to the gauge that is given and do a little math. It is not something to run away from, it is really not that hard. I simply figure out the number of rows per inch, and then figure the number of inches that I want to add to the final measurements provided in the pattern, and add the number of corresponding rows at the beginning of my stitching. To make my life easier when counting rows and knowing where I am in a pattern, I take a safety pin and insert it at the end of the last “added” row then I “begin” the actual pattern so now I start Row 1.

There is another way I can lengthen my sweater, but it is not my first or favorite choice, for a couple of reasons. This is adding an edging to the hem of the sweater; to begin with it takes away from the original design. I chose the pattern for a reason and attempting to add on an edging that actually compliments the overall design is more difficult than it sounds. This comes to the other problem I find with this approach, all of my attempts to do such, look like an afterthought. It does not flow like I would like, and therefore doesn’t end up as my favorite sweater to wear.

One thing I can say for adding some extra fabric to my sweaters, it has allowed me to take more pride in my stitching. Now not only can my loved ones enjoy the blankets I have made them, or keep warm with a hat, I can enjoy my own work and have something that feels more comfortable in the long run.
Tunisian Full Stitch….How I Found It for Myself

ScannedImageMany years ago I taught myself to crochet, I remember seeing the “Afghan Stitch” in the book I was using, but I was never interested in doing cross stitch embroidery, so I never looked at it too long. Then several years later I was taking a free form class and the teacher mentioned using some Tunisian Simple Stitch in the piece for fun.

IMG_6555.1

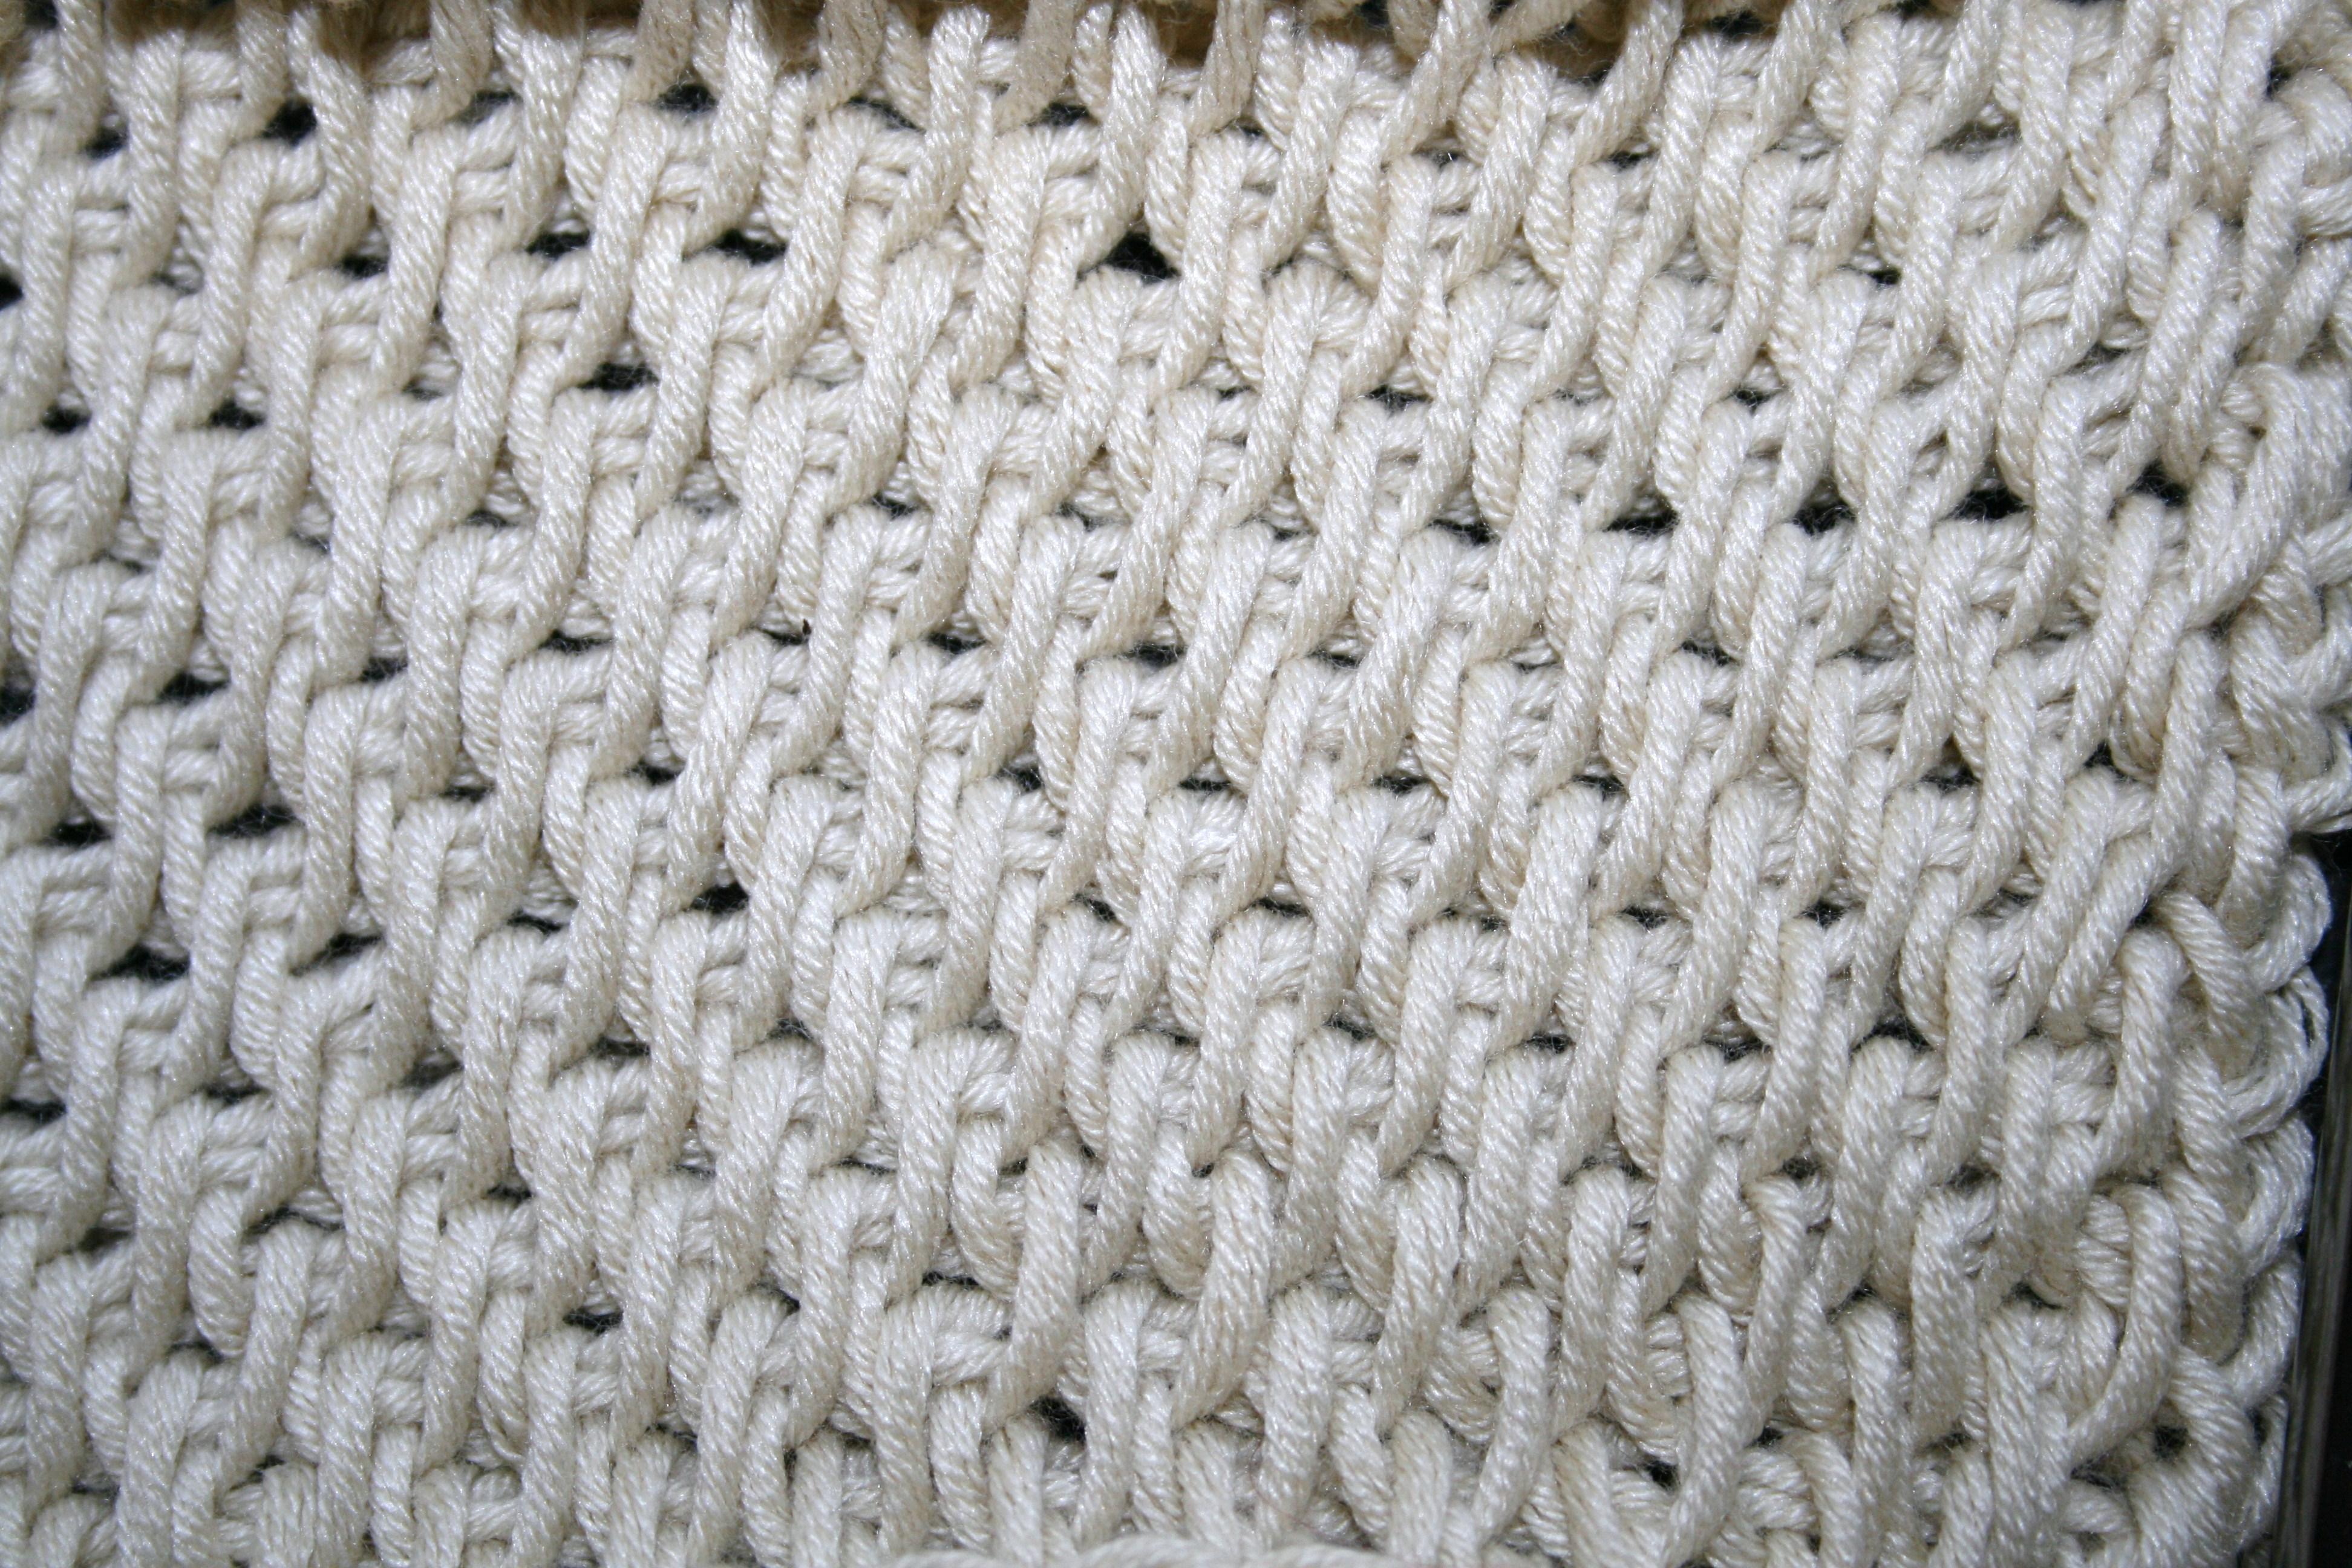
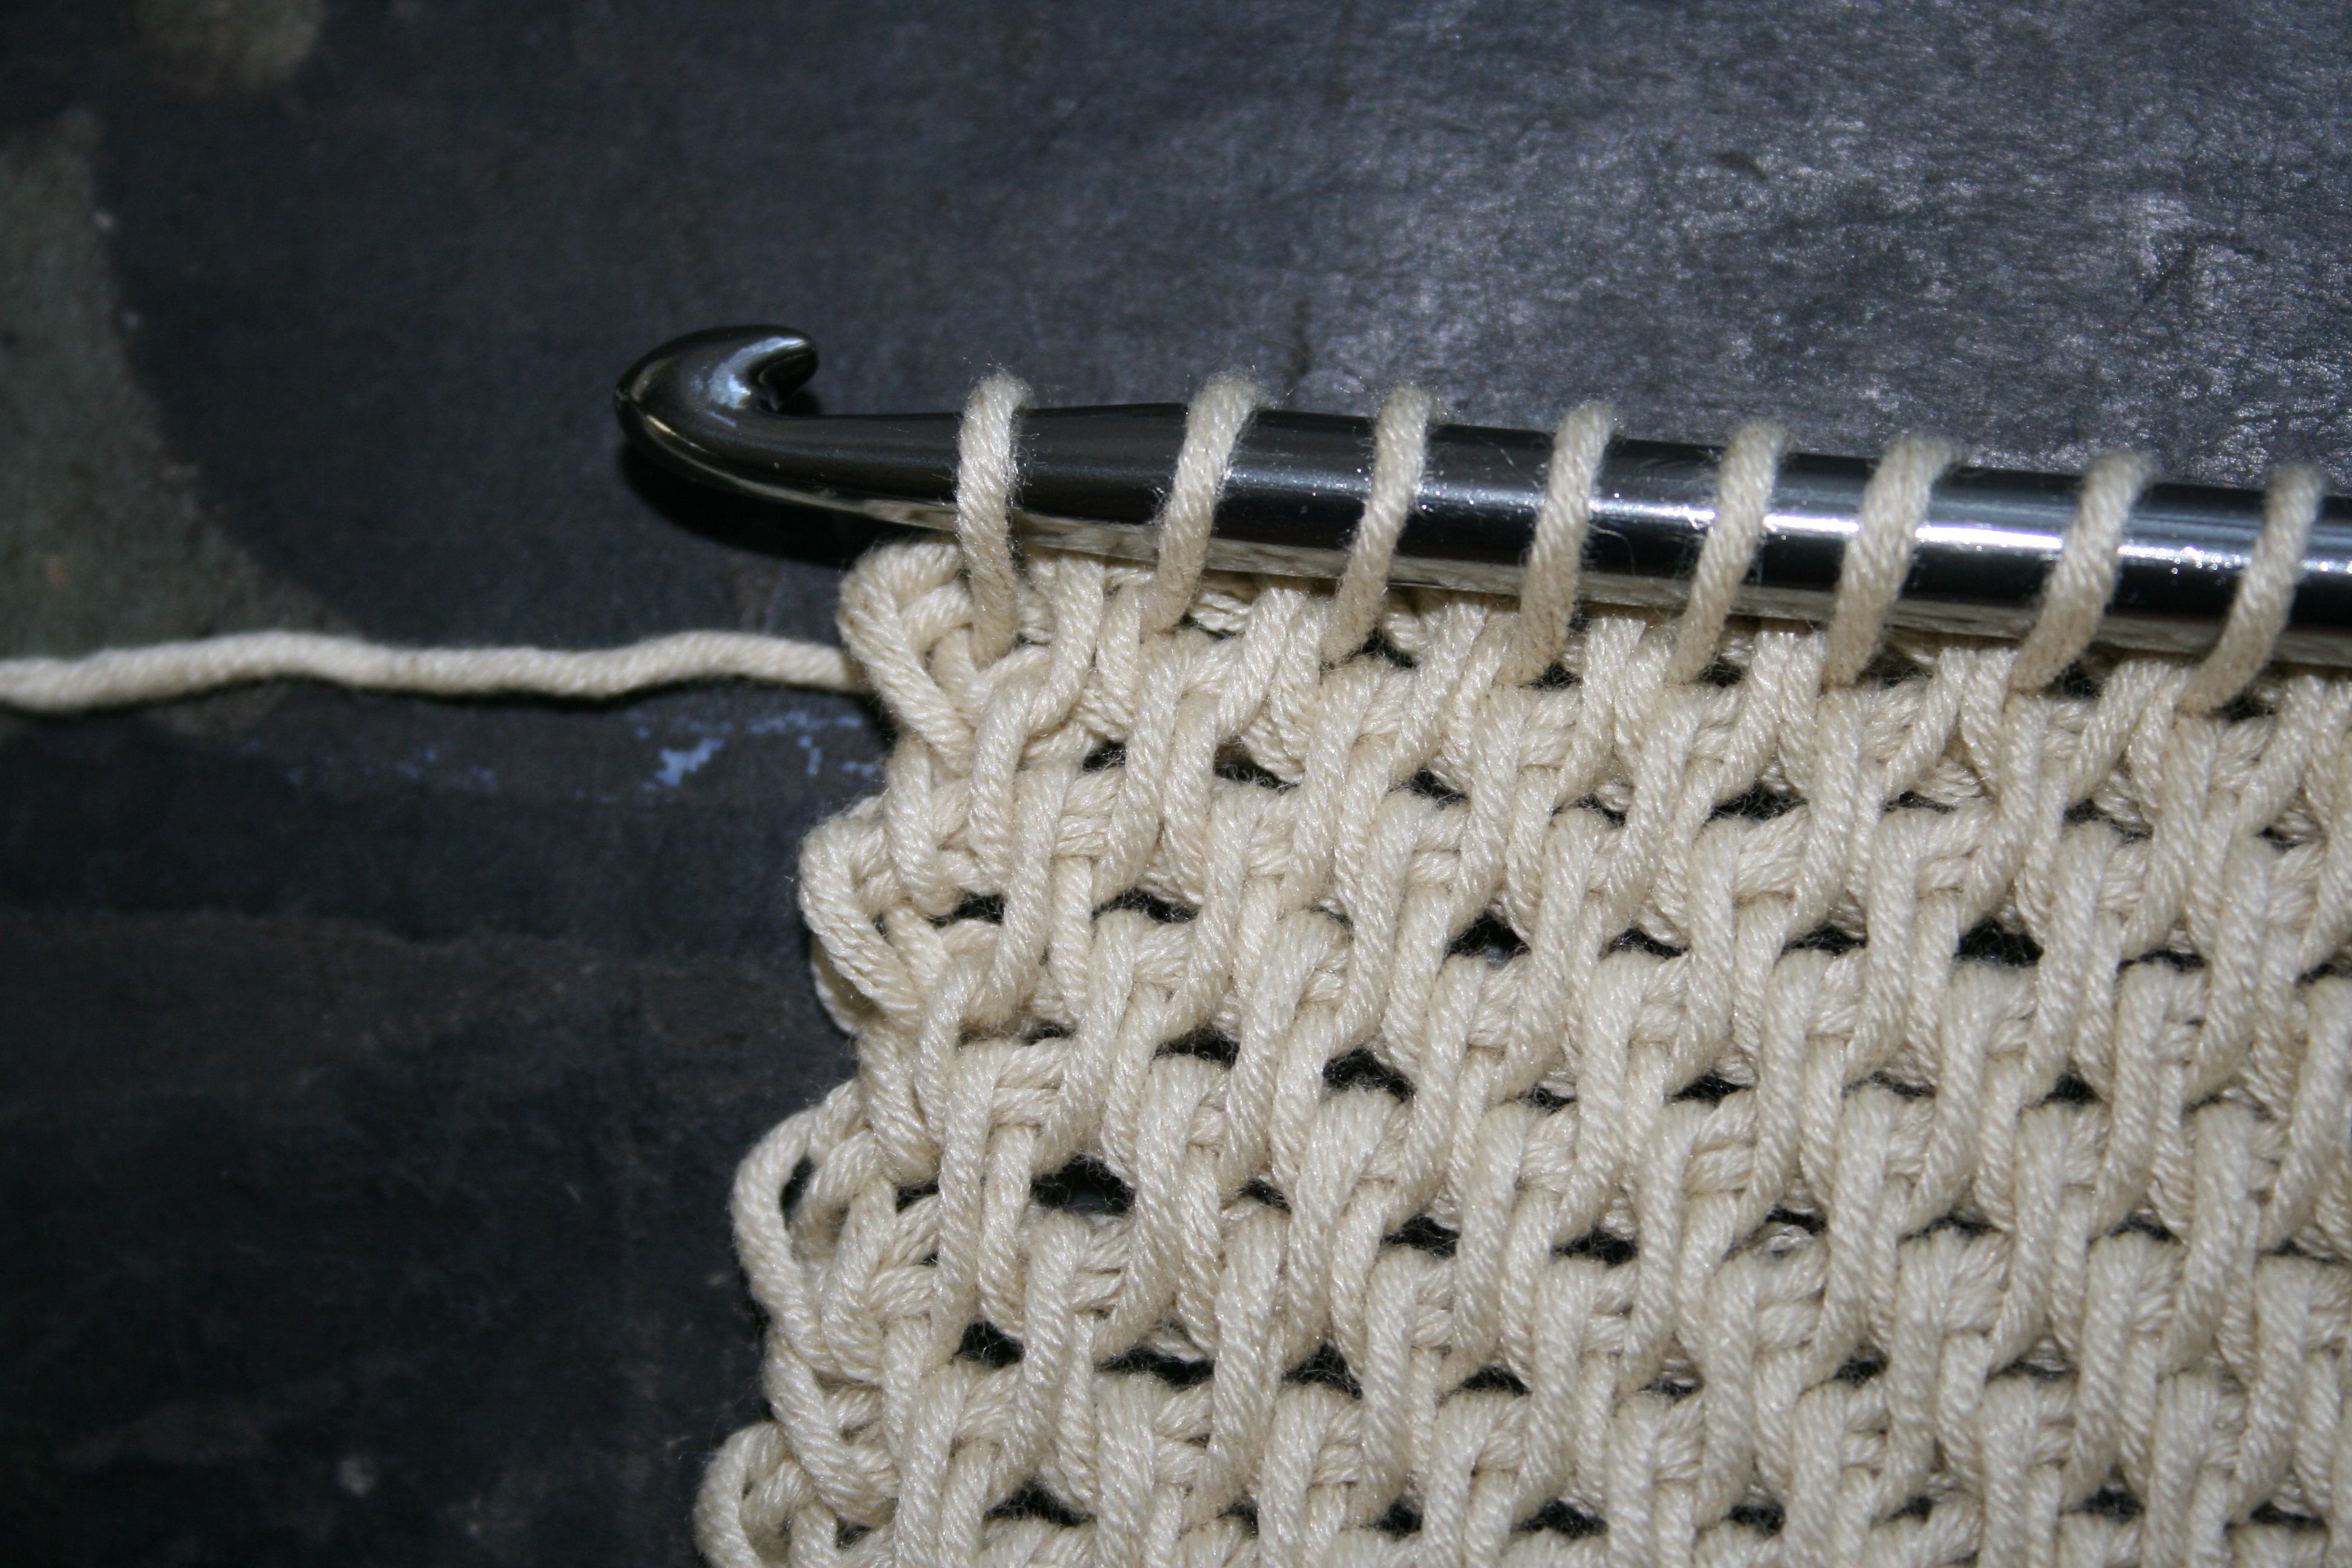
Tunisian Full Stitch

Well what I remembered of the stitch, insert you hook, pull up a loop, repeat, and then work them all off, so I proceeded to do just that. What I was not paying attention to was working behind the vertical bar; instead I worked between the vertical bars, you know that space that somewhat reminds me of chain space, and pulled a loop up. Later I realized my error, but I was sure that I was just doing a different stitch, however when I began looking around for the name, I couldn’t quite find it.

I searched on-line and through various books, and found some different names for it. Some called it “net stitch”, others “Basic Stitch”, and as Tunisian Crochet is becoming more mainstream and the terms more universal I have finally found it; the “Tunisian Full Stitch”.

IMG_6558.1

Working in the space Immediately next to the current loop on the hook

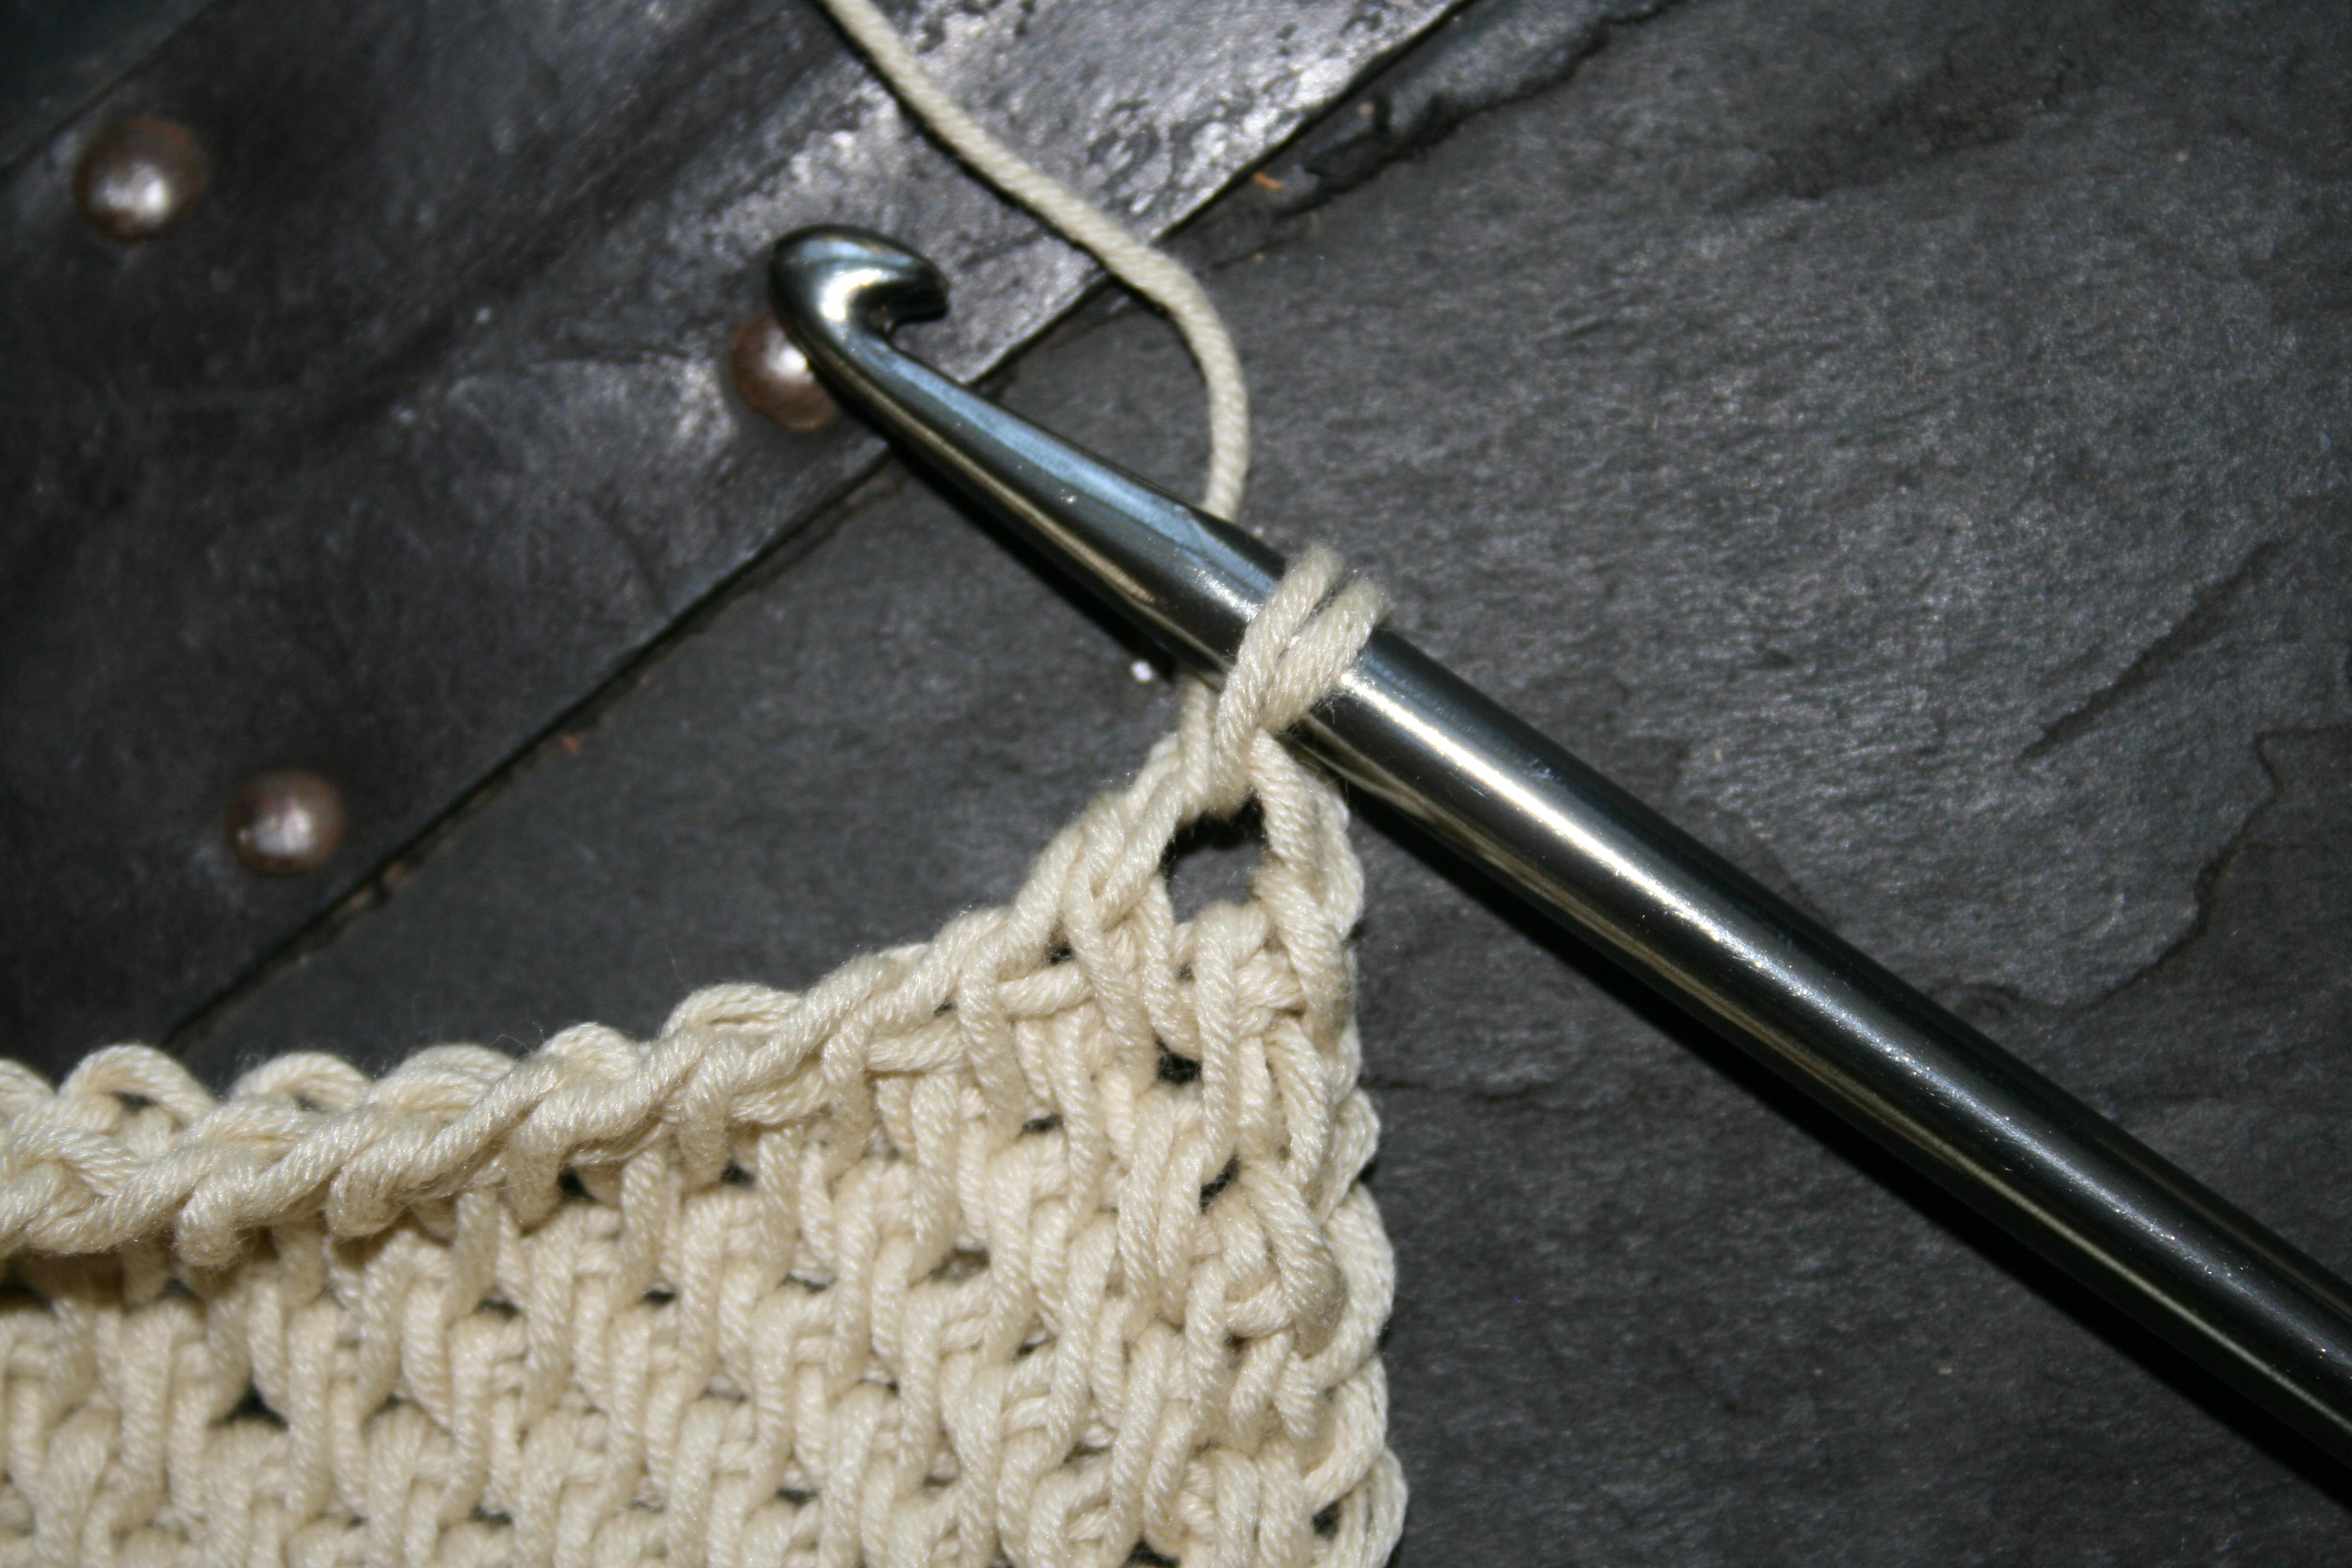
As I stated earlier there the stitch is worked between the vertical bars, but there are a couple of things to keep in mind. Since the stitch staggers on either side of the stitches below, you need to make adjustments at one side or the other of the fabric, or you will be making a piece that is not square. To make this adjustment on the beginning of one row you work a stitch immediately in front of the loop already on your hook, and end that row pulling up a loop in the last space between vertical bars. Then work the usual Return Pass (Chain 1, *YO, pull through 2 loops; rep from * across, until 1 loop remains). On the next row, you skip the space immediately next to the loop on the hook, and work in the rest of the spaces between vertical bars to the end of the row, insert hook in the chain-1 of the Return Pass below, YO and pull up a loop, then work the Return Pass again. Alternate these rows throughout the fabric. You will notice that the side that the Return Pass is begun, the edge will not be perfectly straight and this is normal, as you are adjusting a stitch to the last stitches every other row.

IMG_6560.1

Working the last stitch in the last space between vertical bars. This is the row ending to working the first loop in the space immediately next to the hook.

I personally really like this Tunisian Stitch, I am not sure if it is because it is the stitch I stumbled upon early on, or if it is because it does not give you a set straight line appearance but pulls the eye diagonally instead. The fabric does have a lot of stretch with this stitch and I find that useful in many designs, not to mention it is a fairly forgiving technique.

Some Crochet Enhancements

IMG_20140830_101009

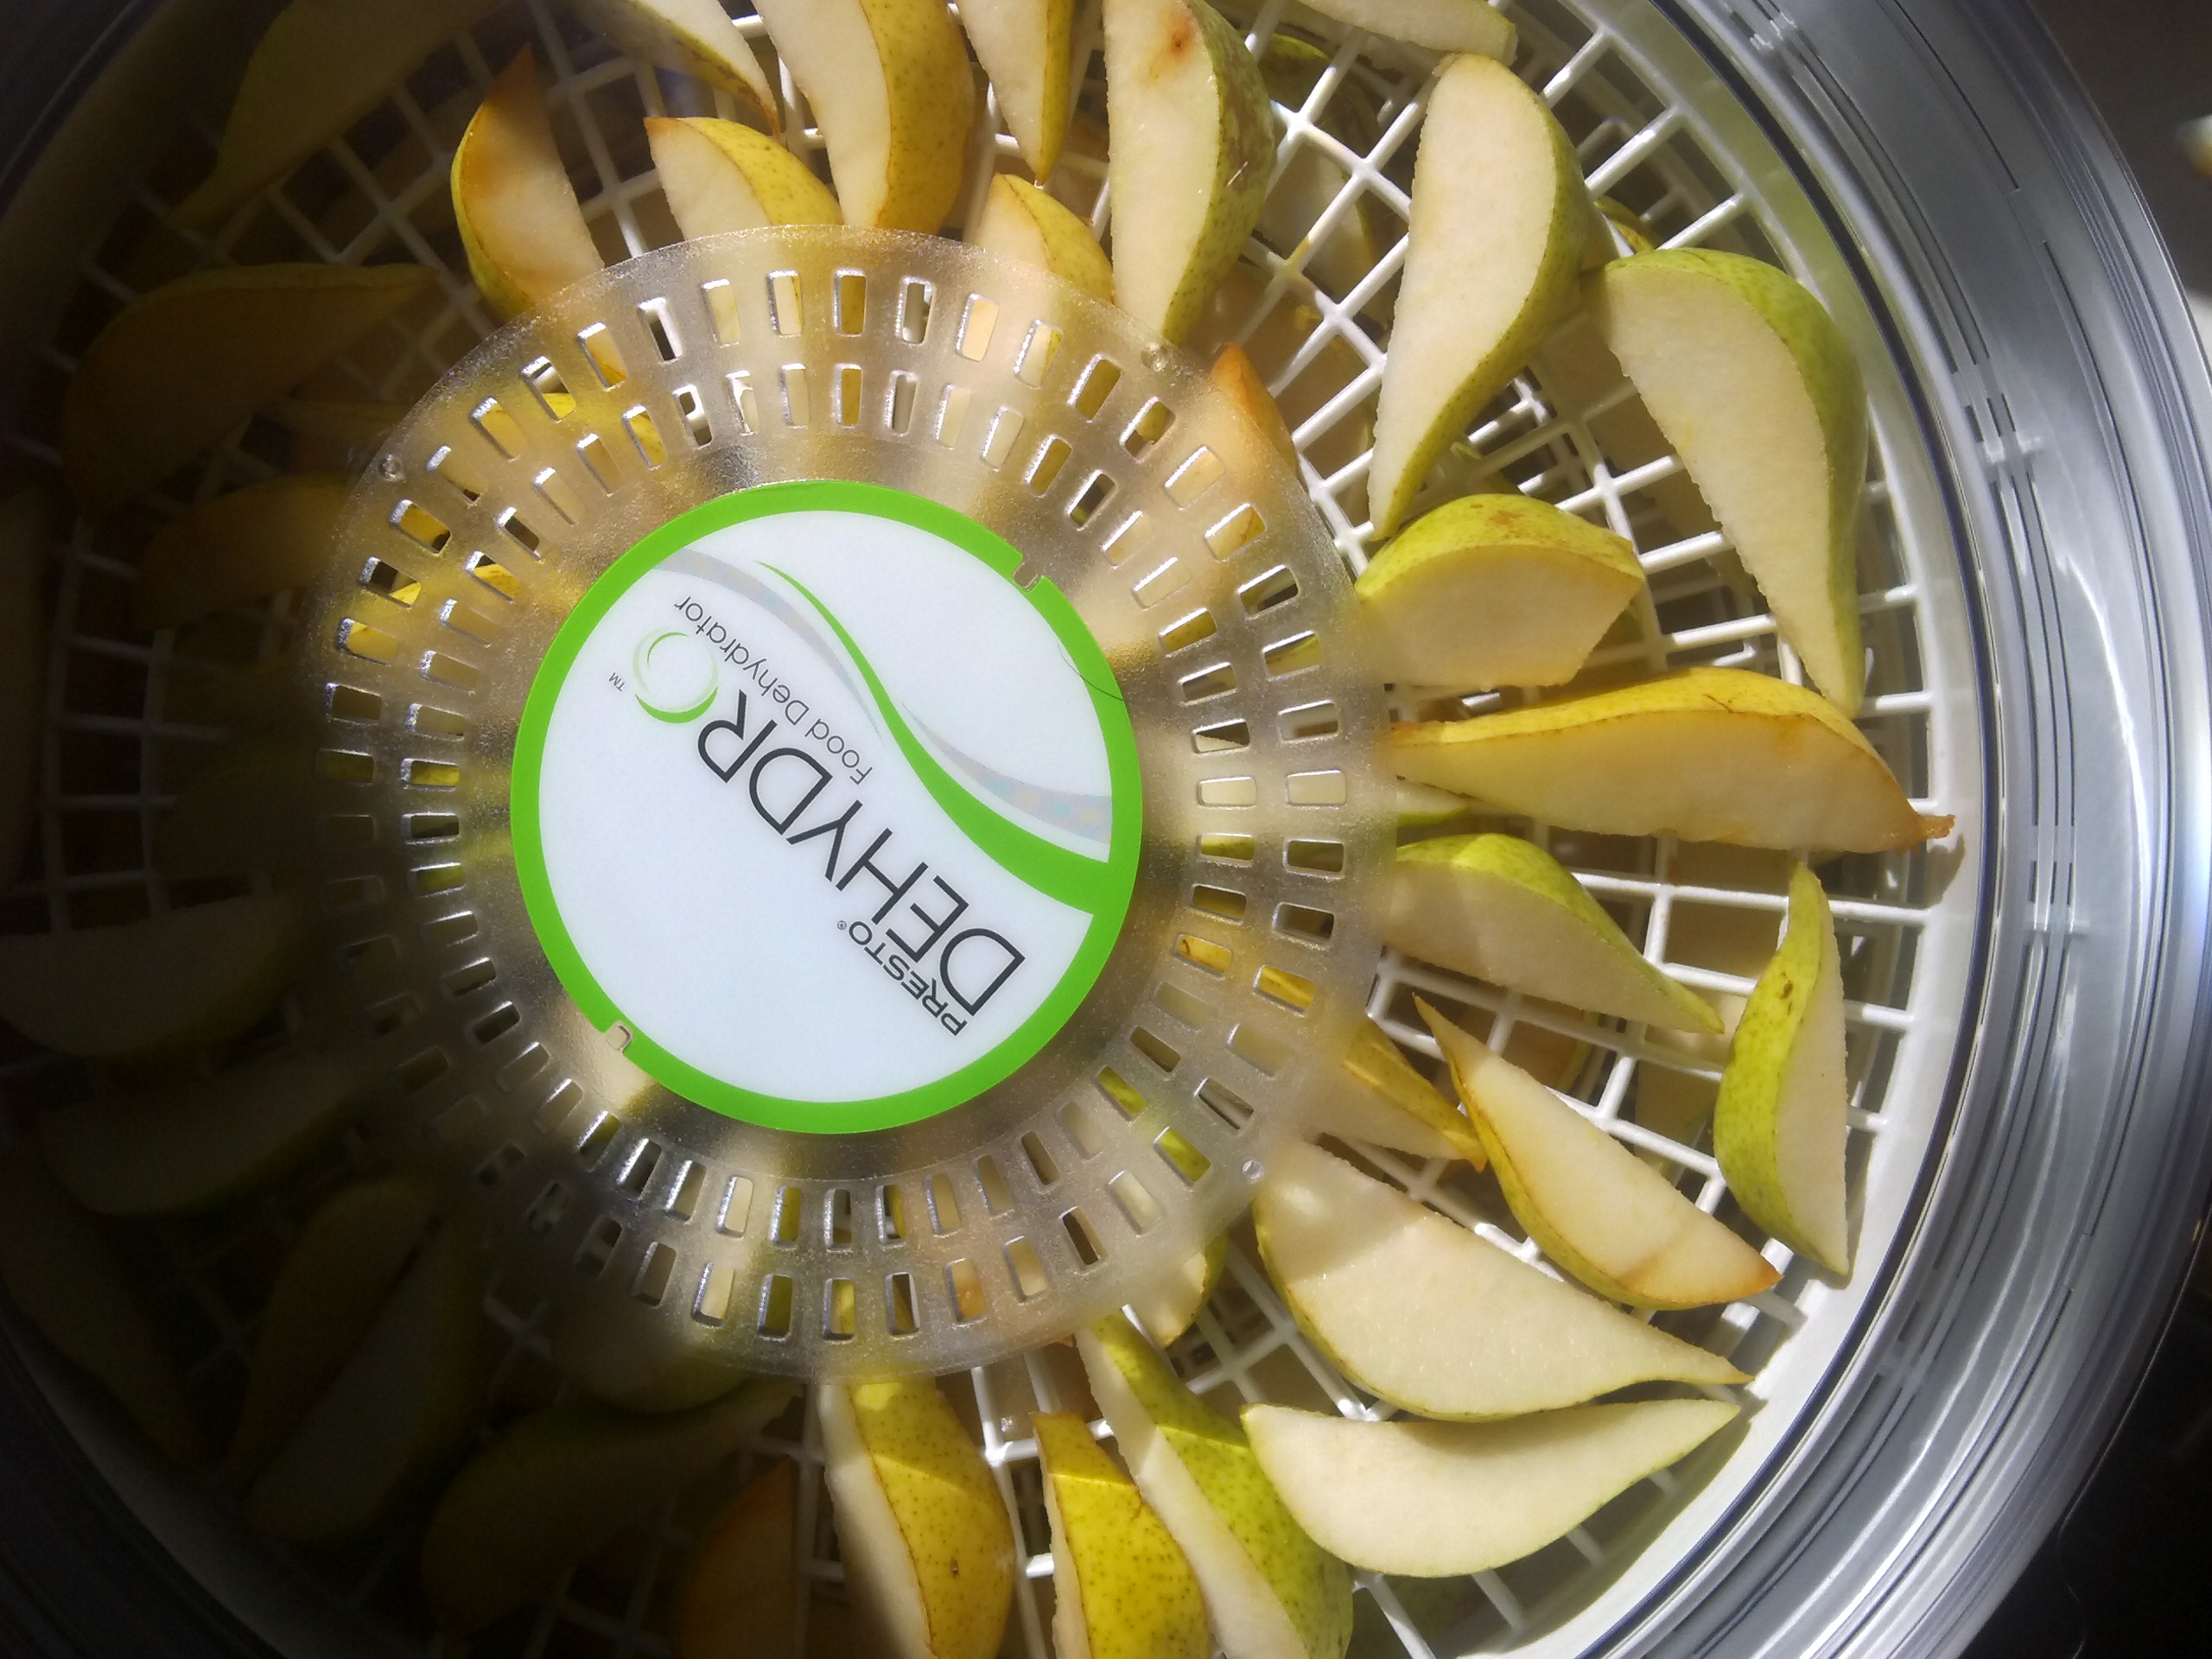
I have been drying fruit from the orchard…the pears are coming out quite nice.

ScannedImageSometimes it seems like time flies in the wink of an eye…again it seems to be that time of year for me. The kids have started back to school, I am getting the fruits from the orchard harvested (I am making my first attempts at using a dehydrator this year, so far it has been a success), and my fingers are nimbly working on various designs that you’ll see out in the world this next Spring & Summer.

Working my flying crochet hook, I have undertaken a couple of new techniques, some that I have not undertaken for a while. I would like to share with you one that I am working on that I will admit is outside of my complete comfort level…beading.

I believe that beads can really add to a crochet design, that they give a nice texture difference, sometimes some needed weight for a project, and sometime just a hint of added sparkle; so why is it not a constant wheelhouse in my work…I hate threading those little beads on the yarn. It seems like a daunting task and I inevitably get it tied in knots, it is just that one added step that doesn’t allow me to mindlessly crochet.

DSCF0790

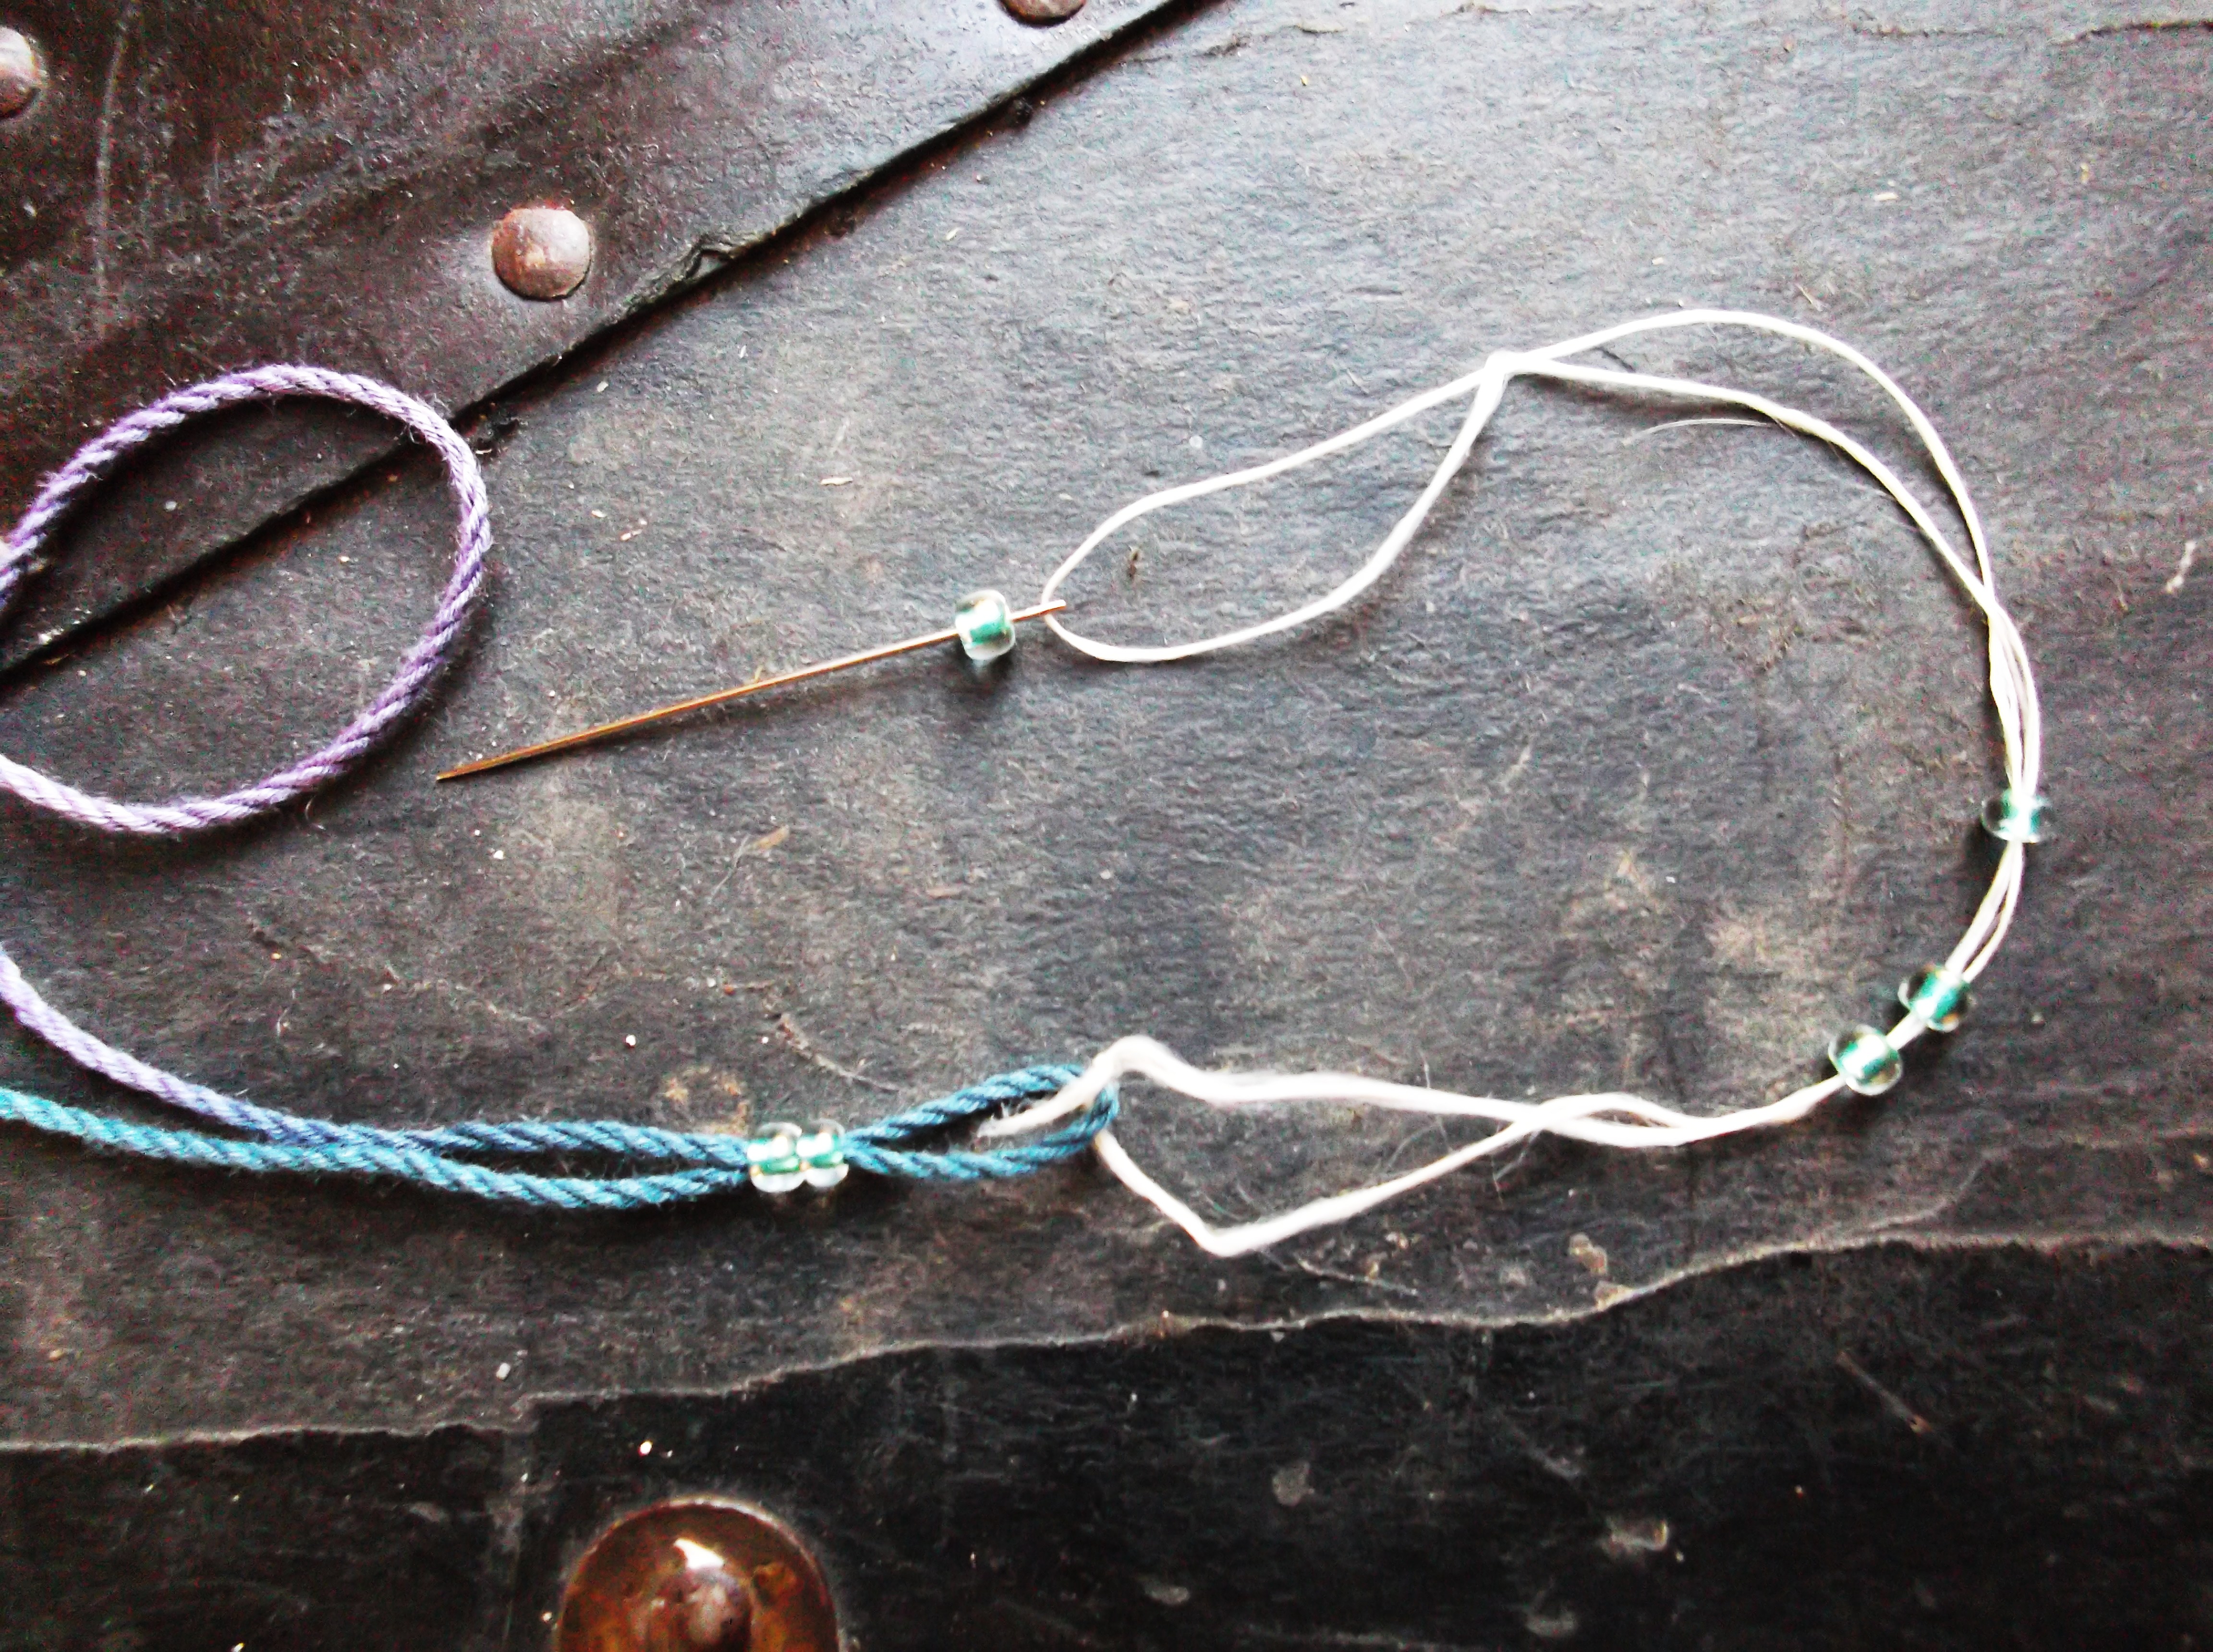
Thread dental floss through the sewing needle and tie a knot creating a loop, slip yarn through loop and fold back on itself (creating a link of 2 loops), thread beads onto sewing needle and slide them over the dental floss and onto the yarn

That being stated, I have been playing with ways to get beads in my stitches, and here is what has worked for me; a sewing needle and dental floss. Yes, it does sound a little funny, but it works better than other approaches for me (although I am always open to new ideas!).

First I thread the dental floss through the sewing needle, creating a tail on either side of the needle of at least 4” (10cm) (so a piece of floss at least 8” (20cm) long to begin with), and tie the ends making a loop. This loop is the trick. I then tread the yarn through the loop of floss and fold to back on itself; this creating what would appear to be 2 loops linked together. I using the sewing needle I thread through the beads and slid them down the needle, over the dental floss and then over the yarn.

So now I have them threaded, and the playing can begin.

Some of my Tips to Conquer Crochet Procrastination

ScannedImageSo when I do not enjoy something I procrastinate…I think that is true for many. This explains many of my UFO (Un-Finished Objects). When reviewing what makes these projects unfinished, many of them become finish work, or simply patterns that just began to bore me. But I have found some techniques that actually allow me to get these projects done.

A few years ago I have a sweater that had several color changes. I was using a variety of yarns that I had won in a raffle, I began working it up and finished the sleeves, and began the front…then I put it down and it haunt me from across the room. I felt pressure to finish it, of course self imposed, yet I had no desire to pick up the hook, I wanted to work something else…anything else. So how did I finally manage to get it finished, I created a support group.

DSCF0743.1

My Support Group Sweater. With the support of my friends I finally finished this sweater that was beginning to haunt me.

I set up an informal support system at my workplace, I had co-worker hold me accountable to goals I set for myself. It is kind of like having someone holding you accountable during a diet (which is how I returned the support they gave me), I would set a goal of completing so many rows a week, and then during lunch once a week, we would all get together and discuss how are goals were coming along, and set new ones. This is how I finally finished the sweater…6 weeks of goal setting to get to the end. I admit it feels like quite an accomplishment.

For projects that may not need as much goal setting to get finished I have found another trick, I bring projects that are not on my favorite list to knitting and crocheting events and gatherings. Why you might ask, because I enjoy the company and then usually don’t mind the work as much. It is not the focus of my attention, I can weave in ends and work on patterns that I no longer have much interest in while talking to friends, enjoying some snacks and beverage, as well as admiring the beautiful work of others. Hours can pass and I can get much accomplished, and not even realize it.

It seems funny how the support of others can improve my work, and actually get my UFO’s to a state of completion. I guess this is just another point in my life that shows that the Village makes the difference.