It is finally beginning to feel like fall, and those designs that I made last spring are finally available to keep yourself or a loved one warm. The Winter 2015 issue of Crochet! Magazine is packed full of great designs, and I am fortunate enough to be included among them.
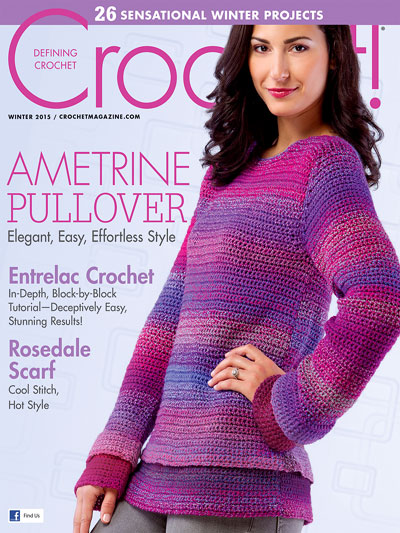
The Essential Fingerless Mitts are sized for both men and women, and have a nice stretch in the stitch work. Now I must admit, I use to wonder what the fascination with fingerless gloves was. Why only keep part of your hand warm? I hate it when my fingers are cold, and usually notice this before my palm; however I had some scrap yarn a few years ago, and was having the need to move a crochet hook. I had made plenty of hats, and was not in the mood to start another scrap afghan, so why not give this trend a try. I created a pair of fingerless gloves and immediately understood the benefits.
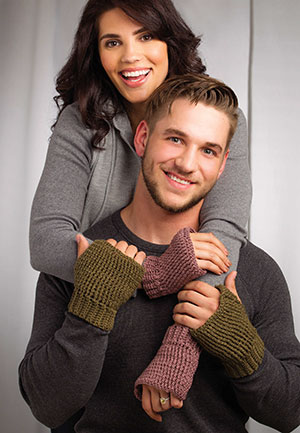
Essential Fingerless Mitts, Crochet! Winter 2015 Photo courtesy of Annie’s
They really do keep my hands warm, while actually keeping my hands fully functional. When I wear standard gloves I do not like to eat food, driving the car doesn’t feel as natural, I wouldn’t even think about crocheting while wherein gloves, but fingerless gloves are a completely different story. I have no problem doing almost anything while wearing them. I even would wear them while practicing at my dance class, as the room always seems to have a chill. It was a way of adding warmth to my hands while still being able to do just about anything. It is almost like having extra long sleeves. I am now a fan, and this pattern is a quick project so you can work them up as a gift for the holidays or simply as personal need to keep warm for this upcoming winter.
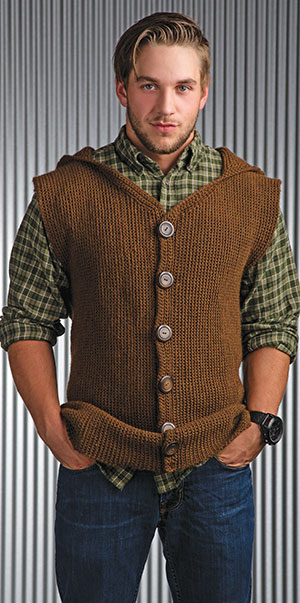
Brewer Jacket, Crochet! Winter 2015 photo courtesy of Annie’s
In addition to the fingerless gloves, I have the Brewer Jacket, designed with the men in my life, in mind. This hooded vest is created in the Thermal Stitch (want to learn how to work this stitch, check it out here). This stitch creates a fabric that is double layered and has an appearance that resembles being woven. I have found that if I create any fabric that you can see any light through that the men in my life consider it too feminine. This creates a fabric is dense, thus it is not the fastest project in the world, but it does have a nice even repeatable pattern that does not require a lot of attention. So you may not finish this jacket over night, but it is a relaxing pattern to follow, and ends up looking great.
I even found the button selection interesting when seeing the masculine perspective. I had pick out some wooden buttons originally, and the guys at my home felt they were to bold, they wanted something simpler, something that did not stand out against the fabric. I found some coconut buttons that almost matched perfectly the color of the yarn, but they felt that they were too textured. So after much trial and error the simple plastic button was the one. I do think that the final design looks great, and will get a lot of use.
In addition to the above mentioned designs, you can also find my article about wool in the magazine. I did some research and share my findings about how not all wool is created equal. There are so many breeds of sheep and the wool that they produce has properties that can make a difference in the yarn and thus your final project. Some yarn manufactures are beginning to highlight some of the breeds in yarn lines, so this article helps you to understand what they mean on you yarn label.
So, if you haven’t, already pick up the latest issue and give it a read. I think you will enjoy yourself…and while you’re at it if you happen to want to check out one of my designs, I think you will enjoy them too.