Essentially there are 2 ways to create a thermal crochet stitch. I was first introduced to this technique over a decade ago. “Thermal” is worked one way, and today you can find it worked in a completely different manner. This is proves to me even more, that you cannot rely on the fancy names of crochet stitches, make sure and check the special stitches of a pattern.
However, I thought I would share what I have learned about this stitch. Basically a thermal stitch is one that creates a double sided fabric. Stitches are connected by working through the loops of 2 different rows to create the third.
Bottom Up method of Thermal Single Crochet FabricTop Down Method Thermal Single Crochet Fabric
Bottom Up -1 of 2 ways thermal crochet
I learned to connect these stitches from the “bottom up”. Insert the hook through the loop of the row 2 rows below upwardly and then through the front loop of the row typically be worked into. Yarn is wrapped around the hook and then pulled through these 2 loops. There is an additional yarn over, and pull through the last two loops; a single crochet thermal stitch is created. Learn it here.
Inserting hook from the “bottom up” to create the thermal single crochet
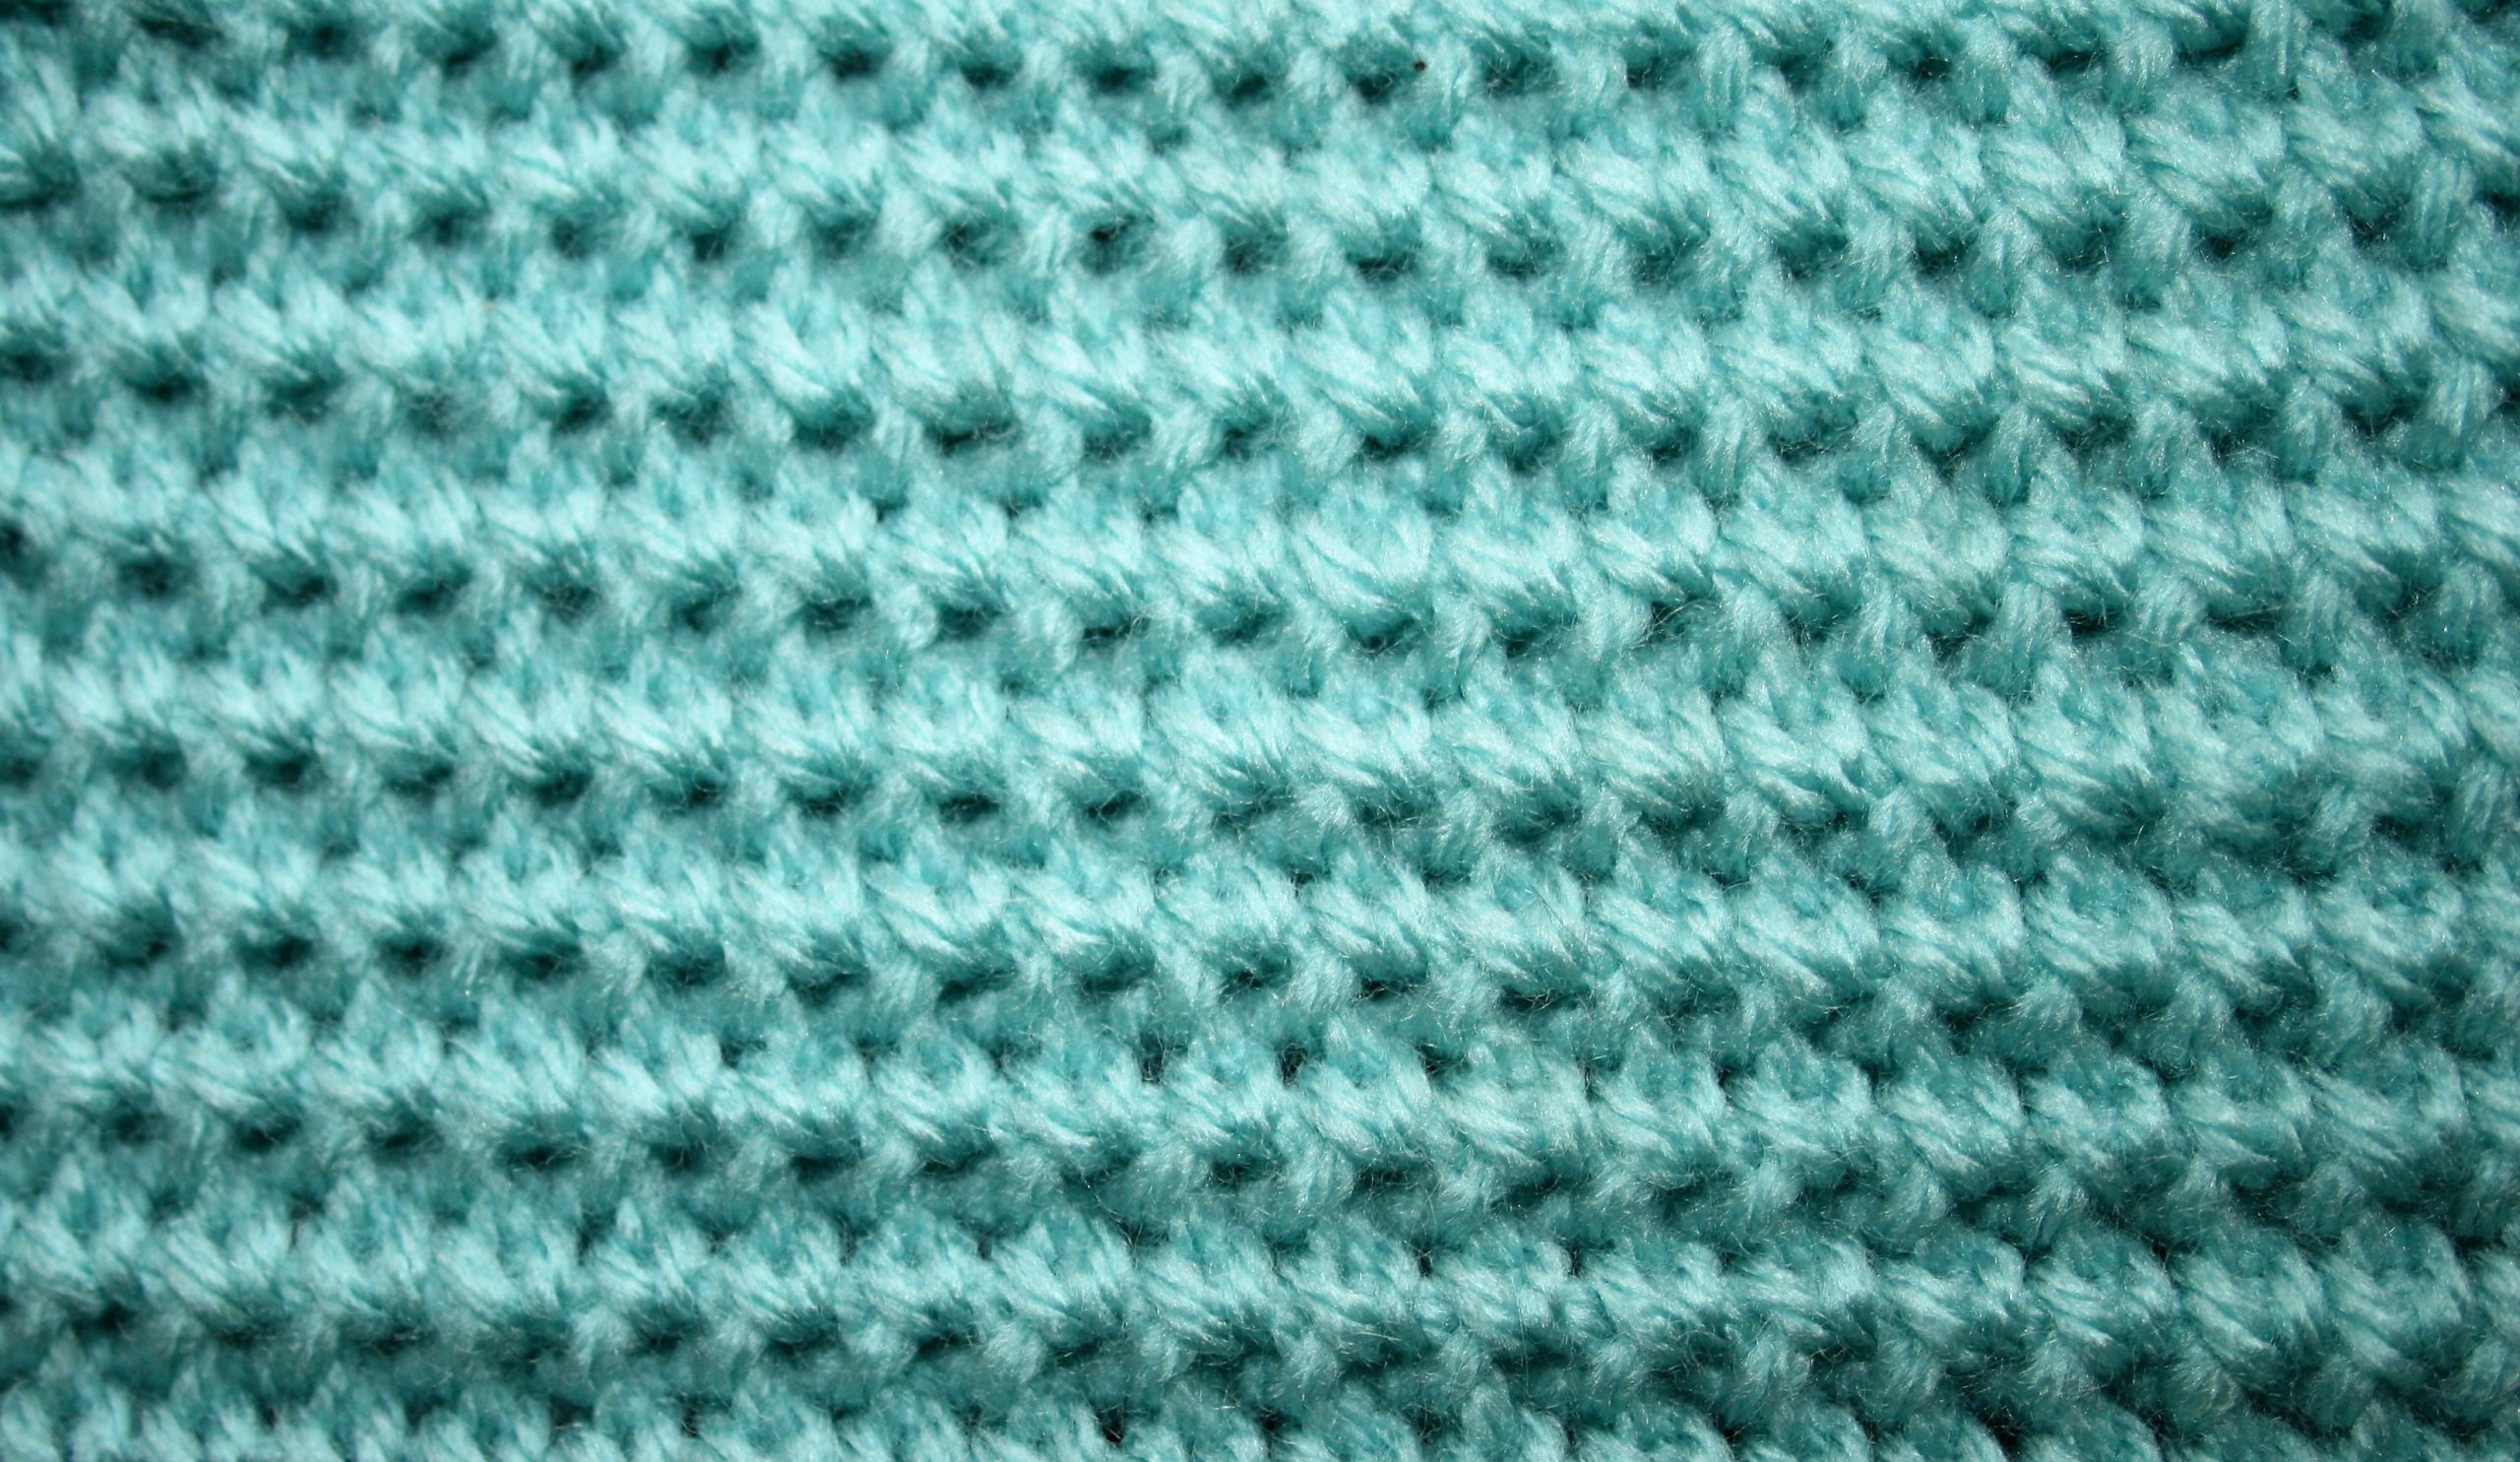
The bottom up method creates a fabric that has the “front” or “right” side of the fabric facing outward, while the “back” of the stitch is captured in the center of the fabric.
Top Down -1 of 2 ways thermal crochet
The latest way I have seen this stitch explained, uses the same loops of the stitch rows has the base of the stitch, but instead works the hook down through the front loop of the regular working row and then through the unused loop of the row 2 rows below.
Created from the “top down” method thermal single crochet
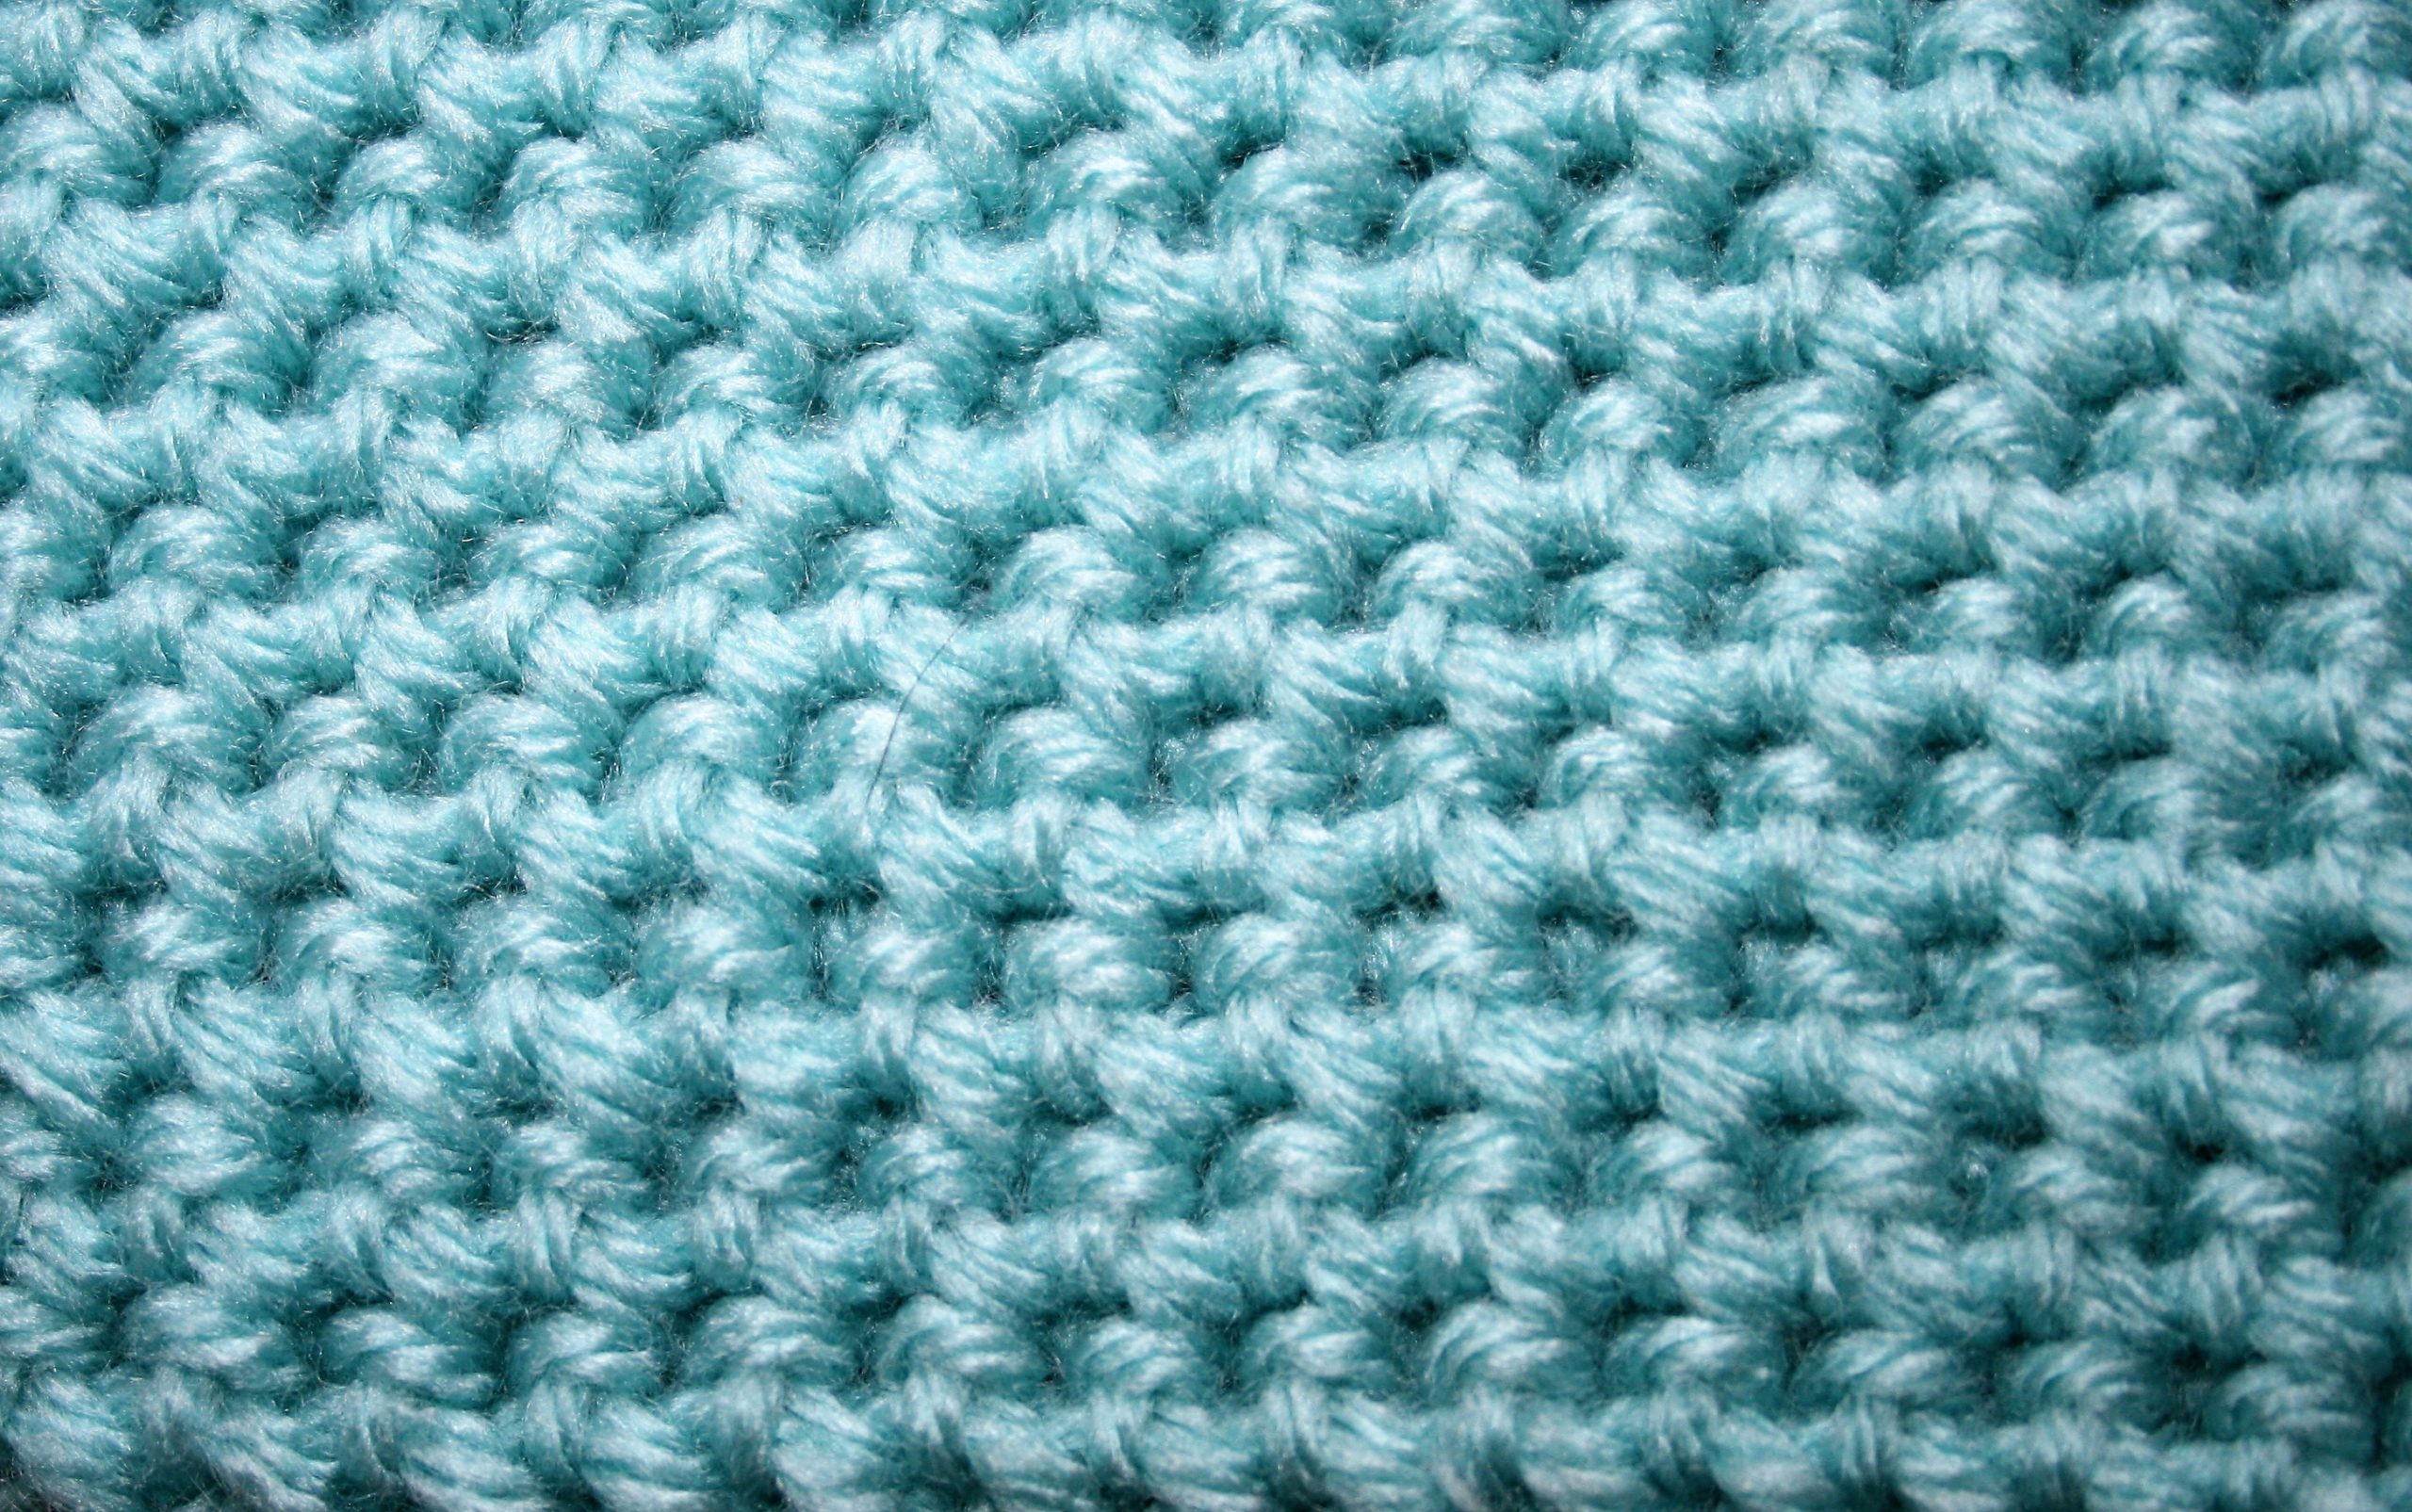
To prevent the stitches from twisting, the work is essentially worked “backwards”. Meaning that you are crocheting the fabric in the opposite direction from that which you usually do. This “top down” method creates a fabric that has the “wrong” of “back” side of the fabric facing outward with the “front” encapsulated in the center.
There are some slight visual differences with these methods, and the Bottom up approach tends to lend itself better to working in the round.
This is an interesting stitch, either way you work it. I am continuing to explore its possibilities.
I pick up this stitch again recently and begun playing with
it in the round. This stitch is typically worked at only half the row height
increase of the single crochet stitch, working in both its on row stitch and
the one adjacent. As a result of this one, stitch stacked upon one stitch approach
it takes a bit of thinking to work the flat circular increases.
The first hurdle is to actually begin the round. You really
need to work 2 rows of fabric in the same beginning stitches to ensure an even
fabric consistency throughout. I have found two approaches to this in the
round.
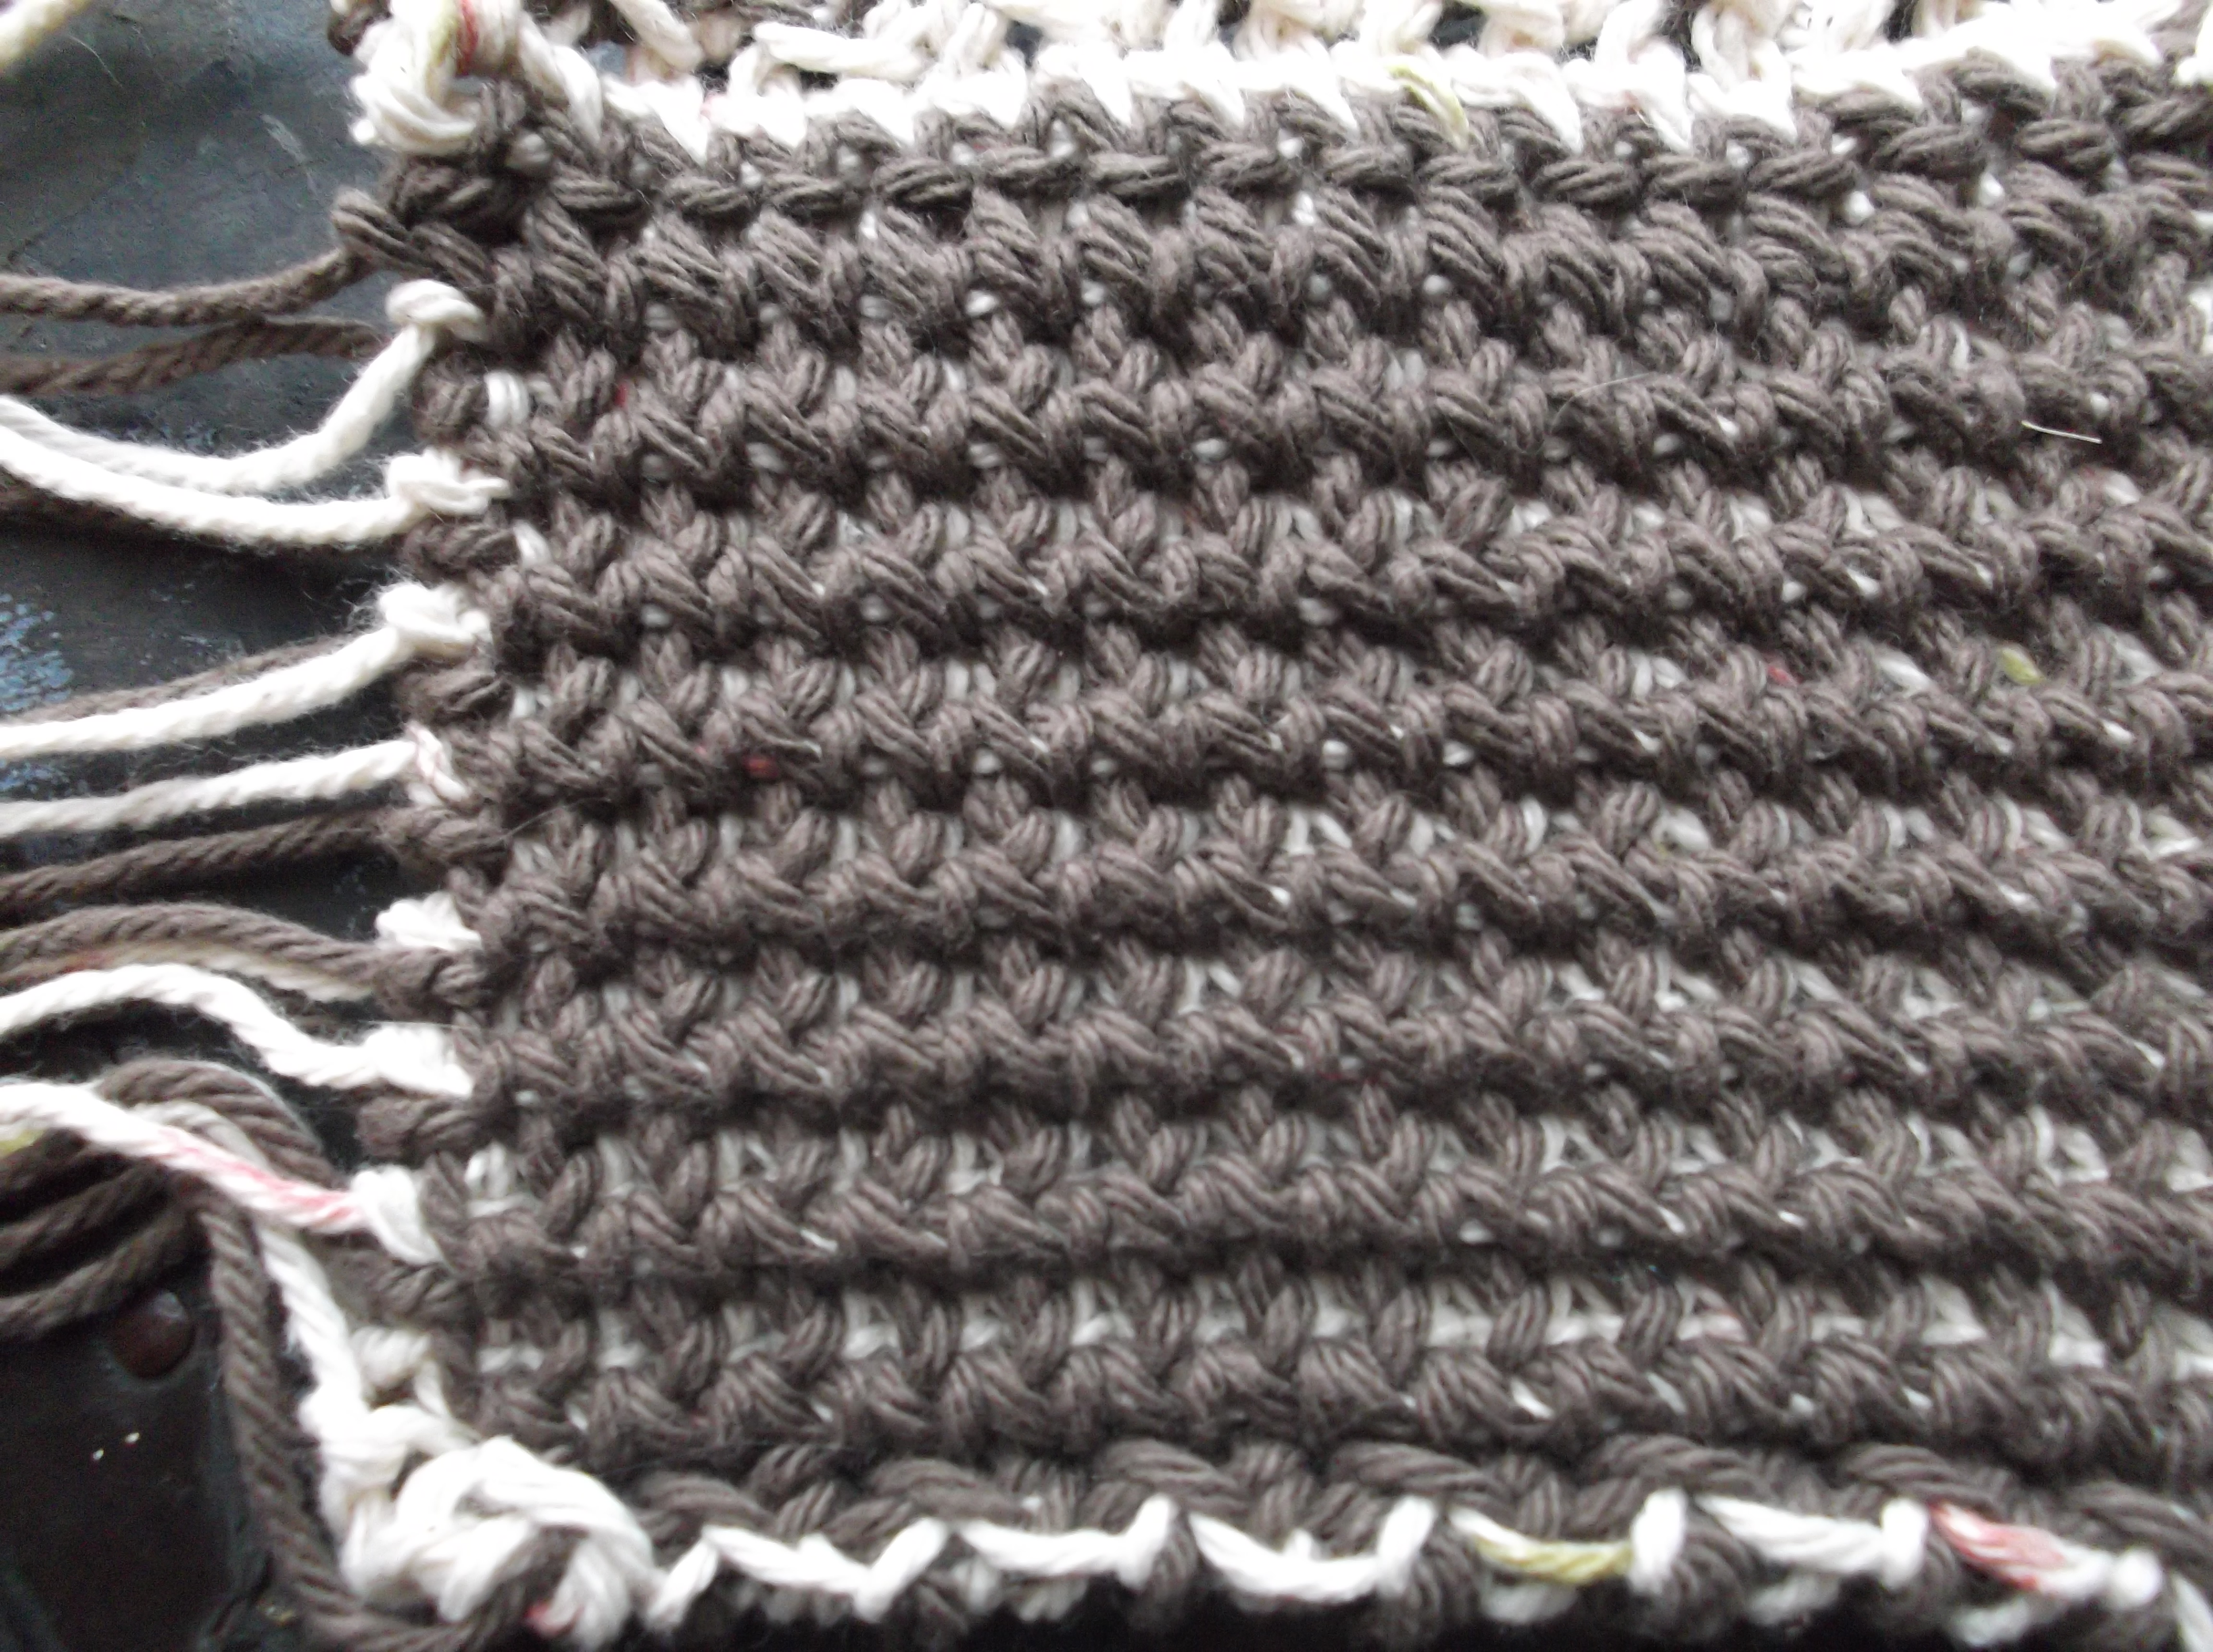
Please note that I worked this fabric as a different color
on each side, as it really helped me to keep the process understandable. In
doing such I would drop the color, leaving the working loop for the color live
and pick up the new color, switching like this between every Round. In addition,
I worked the entire fabric in a spiral method, meaning I did not join the
rounds when completed, I simply began the next stitches in the next round. This
was also so ease of keeping track of my location in the work. I have to play a
bit more with the end of the Rounds, as even working in a spiral they appear to
easily as the stitches become a bit clustered and dense, but it does allow for
the thermal stitch to be created.
Beginning:
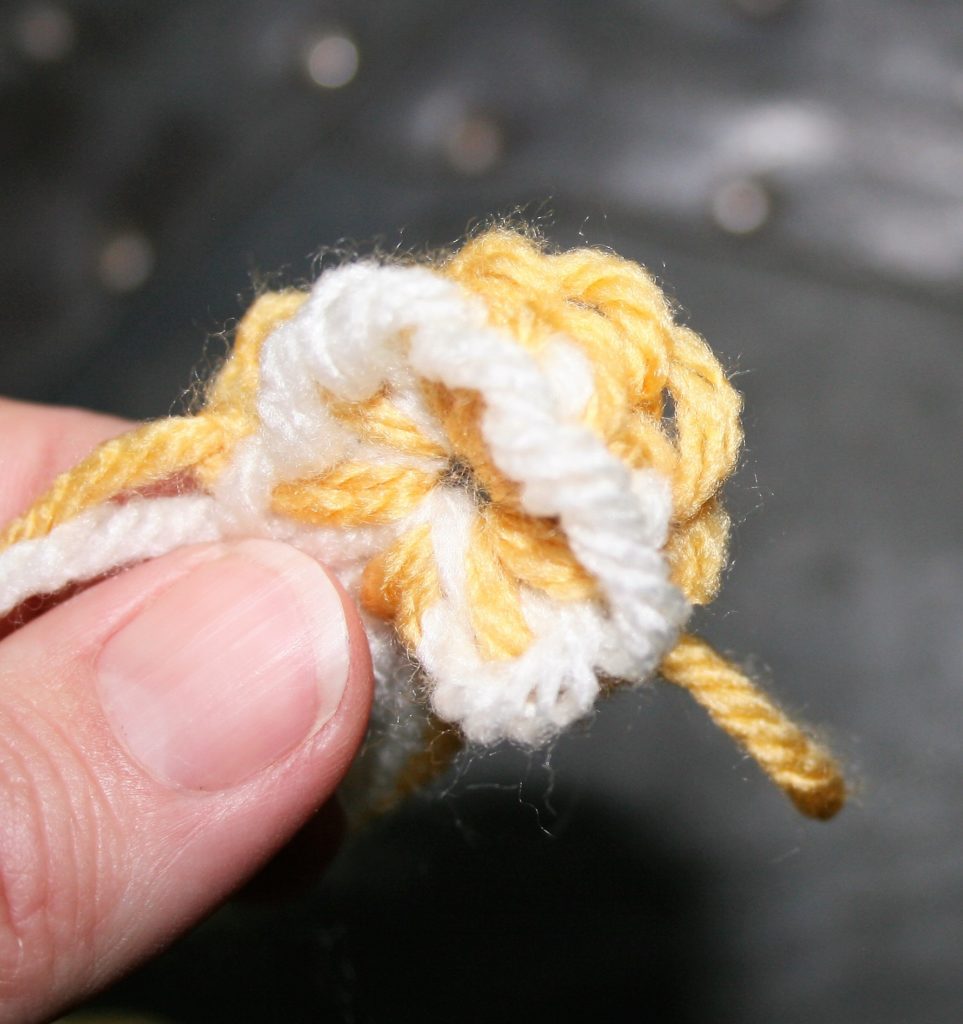
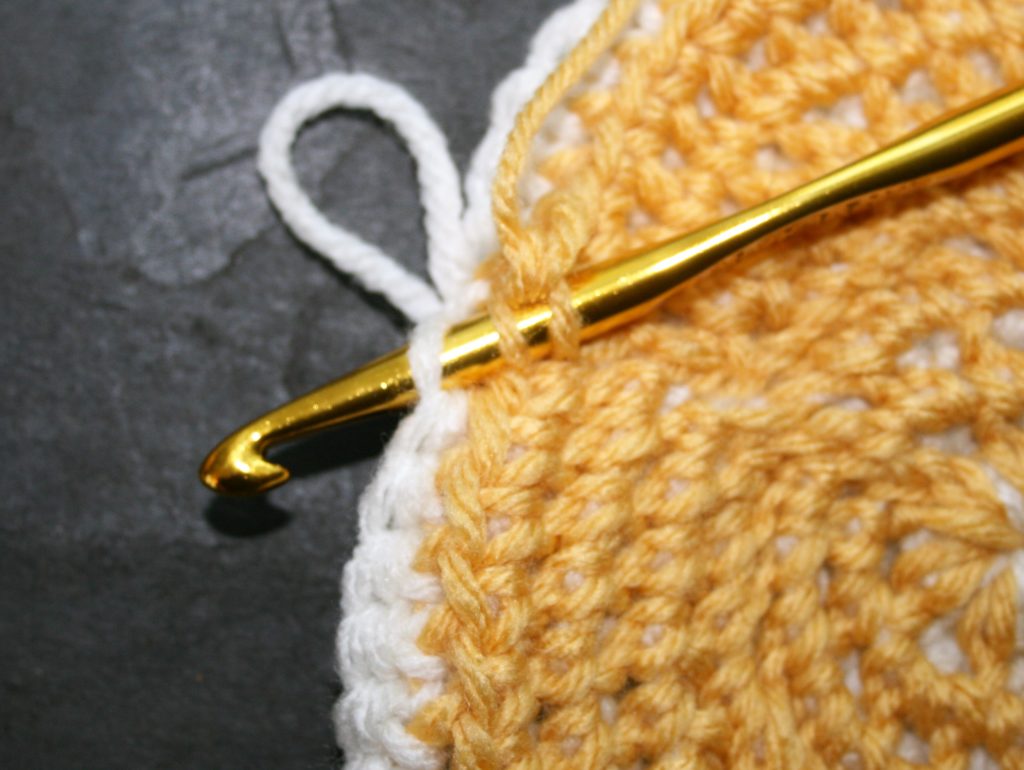
Method one: The magic loop/ring/circle. Essentially this technique involves making a loop of yarn and crocheting in this loop, like when crocheting over item (like the demonstration here making holiday wreaths).
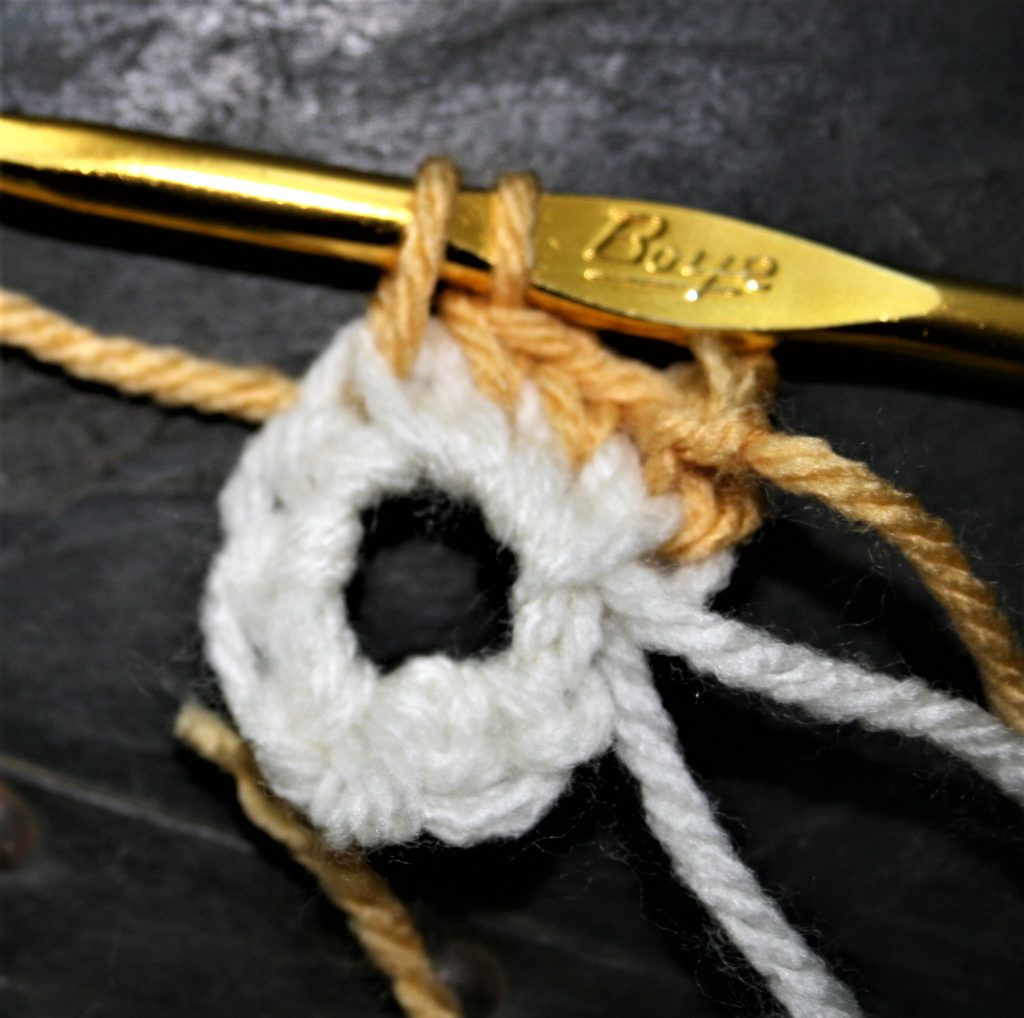
Round 1: Work 8 single crochets into the loop (color cream),
turn.
Round 2: Drop color
from round one, join new color (color yellow). Working between stitches in between
the stitches of Round 1, [insert your from behind the magic ring, and through
the top loop closest to you in Round 1….this feels a bit awkward, but
essentially what you are doing is inserting your hook into the bottom ring and
the loop of the stitch in round 1, yo, pull through a loop, yo, pull through 2
loops] repeat 8 times, turn. -8 sts
Pull ring closed.
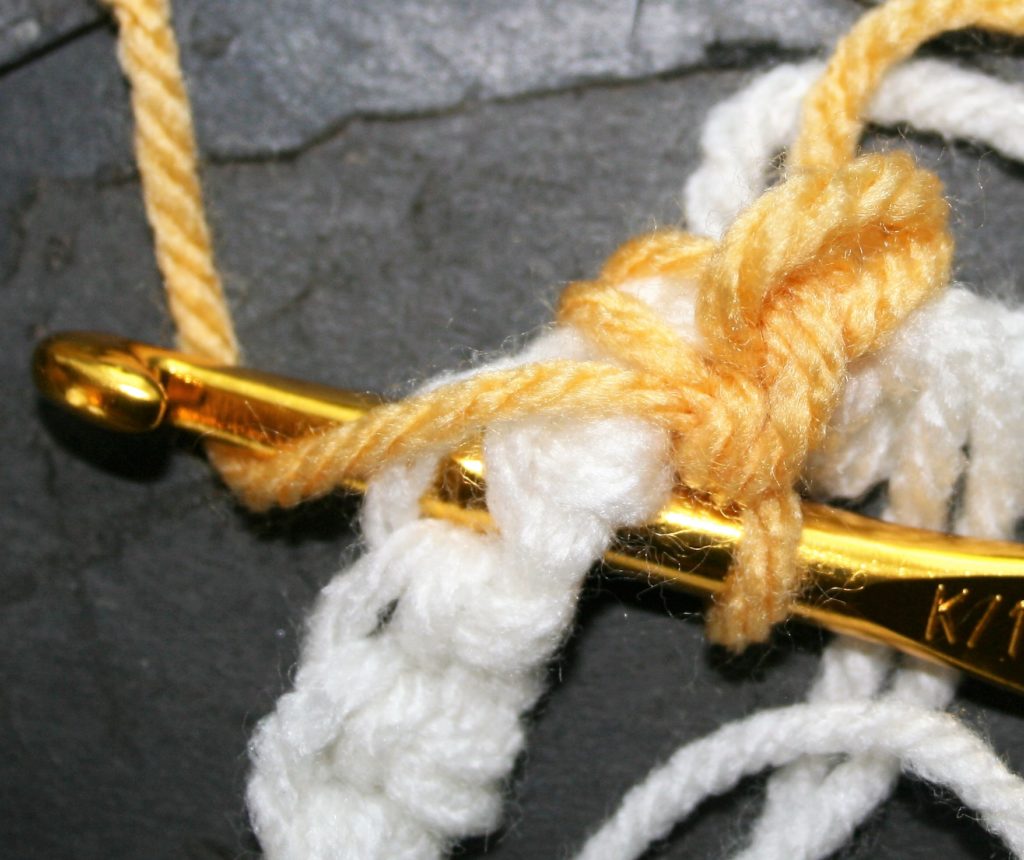
Working Round 2 of Magic Circle method, inserting hook behind ring and through top loop closest to you,Working Round 2 of Magic Circle Method as viewed from the Wrong SideThermal in the Round, Completed Round 1 & 2
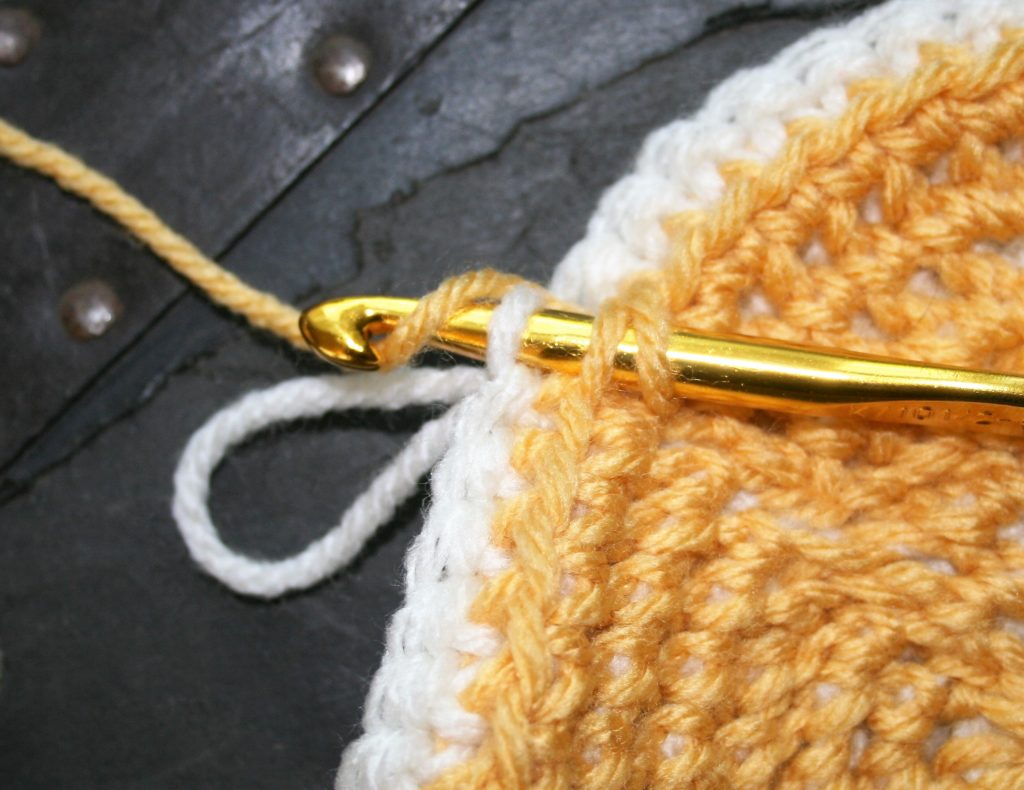
Method two: Working into a ring. Chain 4, and slip stitching to the first chain to form a ring.
Round 1: Ch 1, 8 sc in ring (color white), turn. -8 sts
Round 2: Drop color from Round 1, join new color (color
yellow) to one “leg” of the single crochet stitch, insert hook through same
point as join and the top loop closes to you of Round 1, yo, pull through a
loop, yo, pull through 2 loops, [insert hook into one “leg” of next single crochet
and the top loop of next stitch, yo, pull through a loop, yo, pull through 2
loops] 7 times, turn. -8 sts
Thermal in the Round, Round 2 working in the “through the stitch leg” method. Insert hook through one “leg” of the stitch and the top loop closest to you.
All Subsequent Rounds….Working the Increases
Increases need to happen in each Round, but you are
essentially working the same increase for 2 rounds. Meaning that the stitch
count for Rounds 3 and 4 will be in same, the same number of stitches are
worked in the white, the same number in the yellow….like working two separate fabrics
at once. However the increases are slightly different in approach.
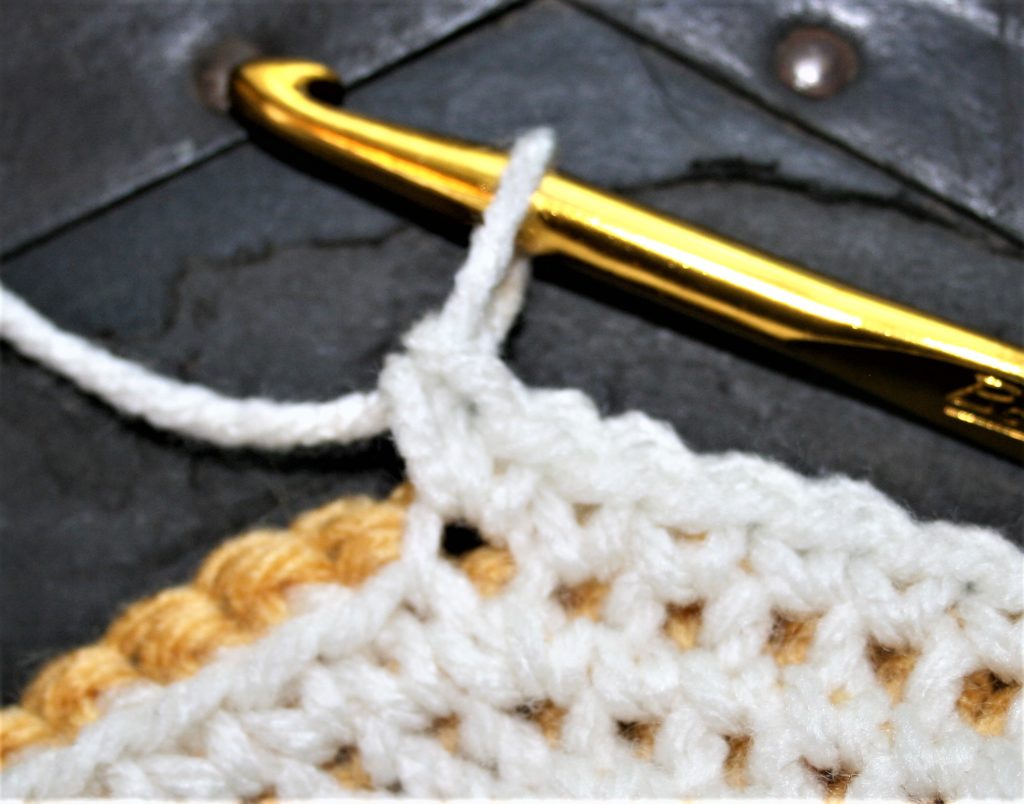
Round 3: Dropping yellow and picking up white, insert hook
through the front loop of Round 1, and the top loop closest to you in Round 2, yo,
pull through, yo, pull through 2 loops, insert hook into same location as
stitch just made and rework stitch, this is your increase. Work 2 thermal
stitches in each stitch around, turn. -16 sts
Thermal in the Round, Odd Round increase
Round 4: Dropping white and picking up yellow, [insert hook
through the front loop of Round 2 and the top loop closest to you in Round 3,
yo, pull through, yo, pull through 2 loops, insert hook into the same front
loop of Round 2, and next top loop closest to you in Round 3 (note there are
already twice as many stitches in Round 3 as there are in Round 2…so there are
less front loops to work into then there are completed stitches, as a result
you need to increase Round 4 by working 2 stiches in the same Front loop, but
do not in the top loop closest to you)] repeat 7 times, turn. -16 sts
Thermal in the Round, Even Round Increase, first stitchThermal in the Round, Even Round Increase, second stitch
You work the same formula for a flat circle (you can find that here), in all the rounds going forward. I tend to think of the rounds in sets, a pair of one odd round and one even round (Round 1 & 2, Round 3 & 4, Round 5 & 6, etc.) Working all increases in Odd number rounds by working into the same front loop and the same top loop closest to you. Working all Even Round increases as the same front loop but different top loop closest to you. All non-increase stitches are worked as traditional Thermal Stitch (see tutorial for basic stitch)
This subtle difference in the increases between the rounds
is one reason the different colors helped me. I could remember that every time
I used the yellow yarn I was doing an even number Round increase.
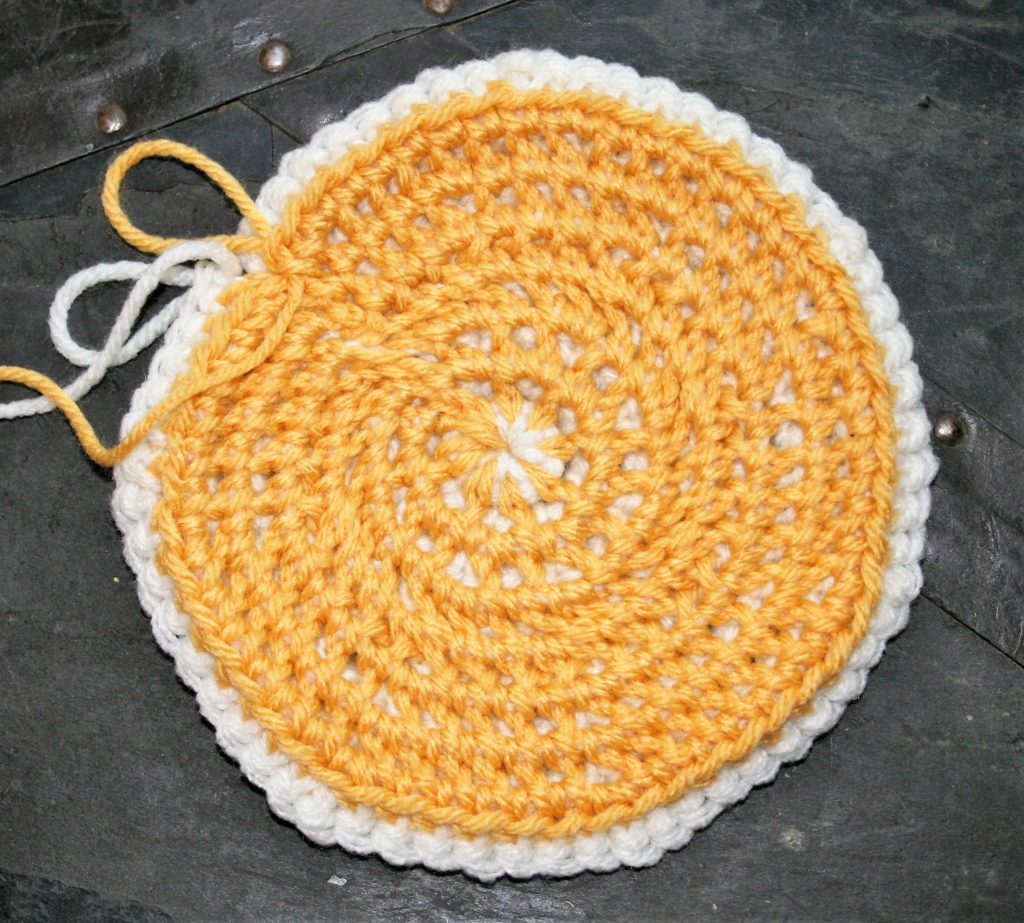
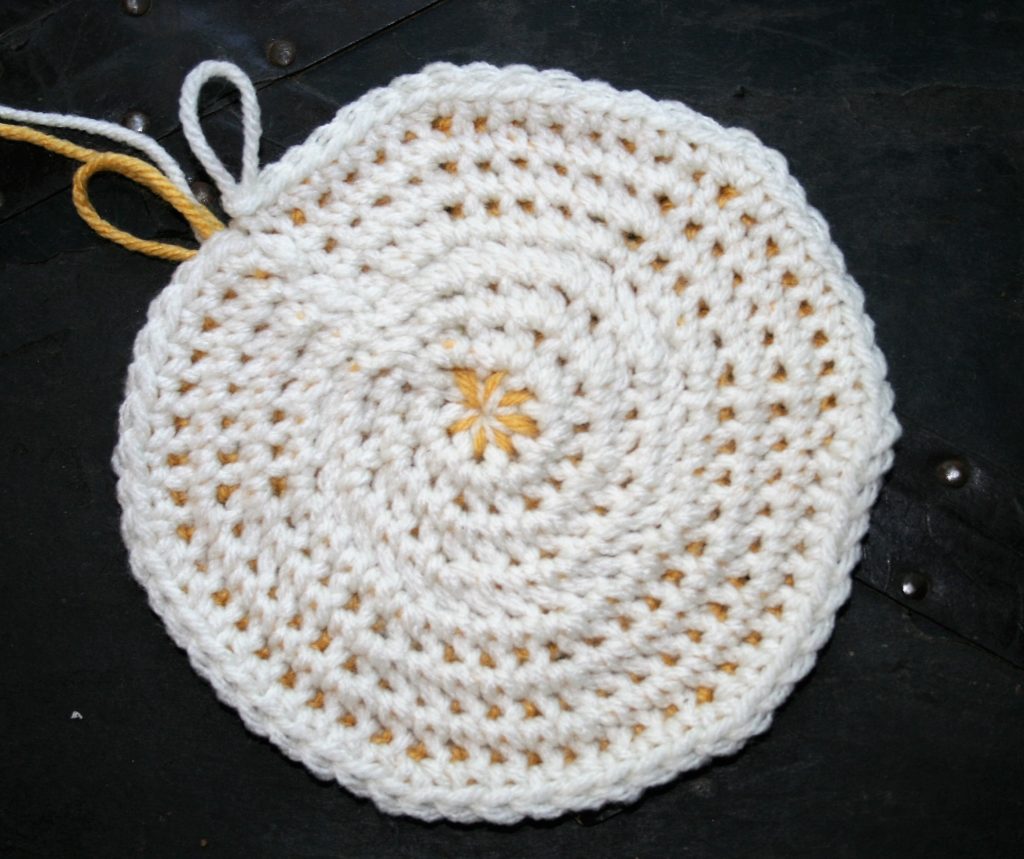
Thermal in the Round view from Odd Rounds
This process takes a bit of practice, but the resulting
fabric has a nice textured look, and the dense nature lends itself nicely to
pot holders, trivets, wash scrubby, I could even see a nice warm hat in the
future.
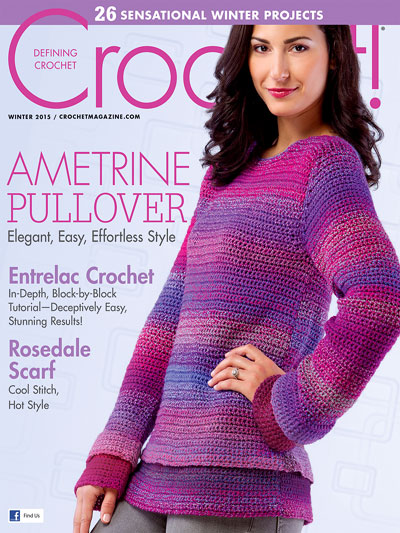
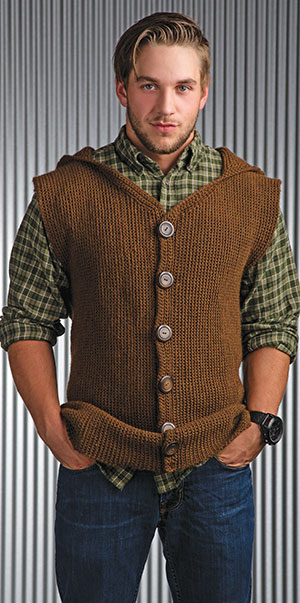
It is finally beginning to feel like fall, and those designs that I made last spring are finally available to keep yourself or a loved one warm. The Winter 2015 issue of Crochet! Magazine is packed full of great designs, and I am fortunate enough to be included among them.
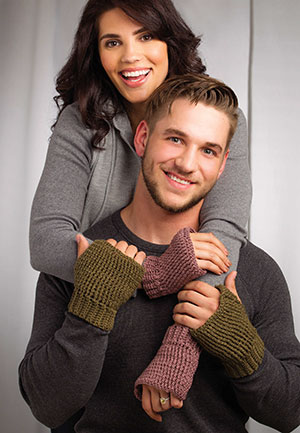
The Essential Fingerless Mitts are sized for both men and women, and have a nice stretch in the stitch work. Now I must admit, I use to wonder what the fascination with fingerless gloves was. Why only keep part of your hand warm? I hate it when my fingers are cold, and usually notice this before my palm; however I had some scrap yarn a few years ago, and was having the need to move a crochet hook. I had made plenty of hats, and was not in the mood to start another scrap afghan, so why not give this trend a try. I created a pair of fingerless gloves and immediately understood the benefits.
Essential Fingerless Mitts, Crochet! Winter 2015 Photo courtesy of Annie’s
They really do keep my hands warm, while actually keeping my hands fully functional. When I wear standard gloves I do not like to eat food, driving the car doesn’t feel as natural, I wouldn’t even think about crocheting while wherein gloves, but fingerless gloves are a completely different story. I have no problem doing almost anything while wearing them. I even would wear them while practicing at my dance class, as the room always seems to have a chill. It was a way of adding warmth to my hands while still being able to do just about anything. It is almost like having extra long sleeves. I am now a fan, and this pattern is a quick project so you can work them up as a gift for the holidays or simply as personal need to keep warm for this upcoming winter.
Brewer Jacket, Crochet! Winter 2015 photo courtesy of Annie’s
In addition to the fingerless gloves, I have the Brewer Jacket, designed with the men in my life, in mind. This hooded vest is created in the Thermal Stitch (want to learn how to work this stitch, check it out here). This stitch creates a fabric that is double layered and has an appearance that resembles being woven. I have found that if I create any fabric that you can see any light through that the men in my life consider it too feminine. This creates a fabric is dense, thus it is not the fastest project in the world, but it does have a nice even repeatable pattern that does not require a lot of attention. So you may not finish this jacket over night, but it is a relaxing pattern to follow, and ends up looking great.
I even found the button selection interesting when seeing the masculine perspective. I had pick out some wooden buttons originally, and the guys at my home felt they were to bold, they wanted something simpler, something that did not stand out against the fabric. I found some coconut buttons that almost matched perfectly the color of the yarn, but they felt that they were too textured. So after much trial and error the simple plastic button was the one. I do think that the final design looks great, and will get a lot of use.
In addition to the above mentioned designs, you can also find my article about wool in the magazine. I did some research and share my findings about how not all wool is created equal. There are so many breeds of sheep and the wool that they produce has properties that can make a difference in the yarn and thus your final project. Some yarn manufactures are beginning to highlight some of the breeds in yarn lines, so this article helps you to understand what they mean on you yarn label.
So, if you haven’t, already pick up the latest issue and give it a read. I think you will enjoy yourself…and while you’re at it if you happen to want to check out one of my designs, I think you will enjoy them too.
When I started out to write this post, I was thinking of the cold weather I was seeing on the news, and it made me think of the thermal stitch. I have always been a little intrigued with this stitch; it makes a double layer fabric and has the resemblance to long johns, with the little indented squares. But as I started writing, I realized that there were questions about the properties of this technique that I couldn’t quite answer. So that is how I will preface this post, that it is a little beginning exploration for me with this technique.
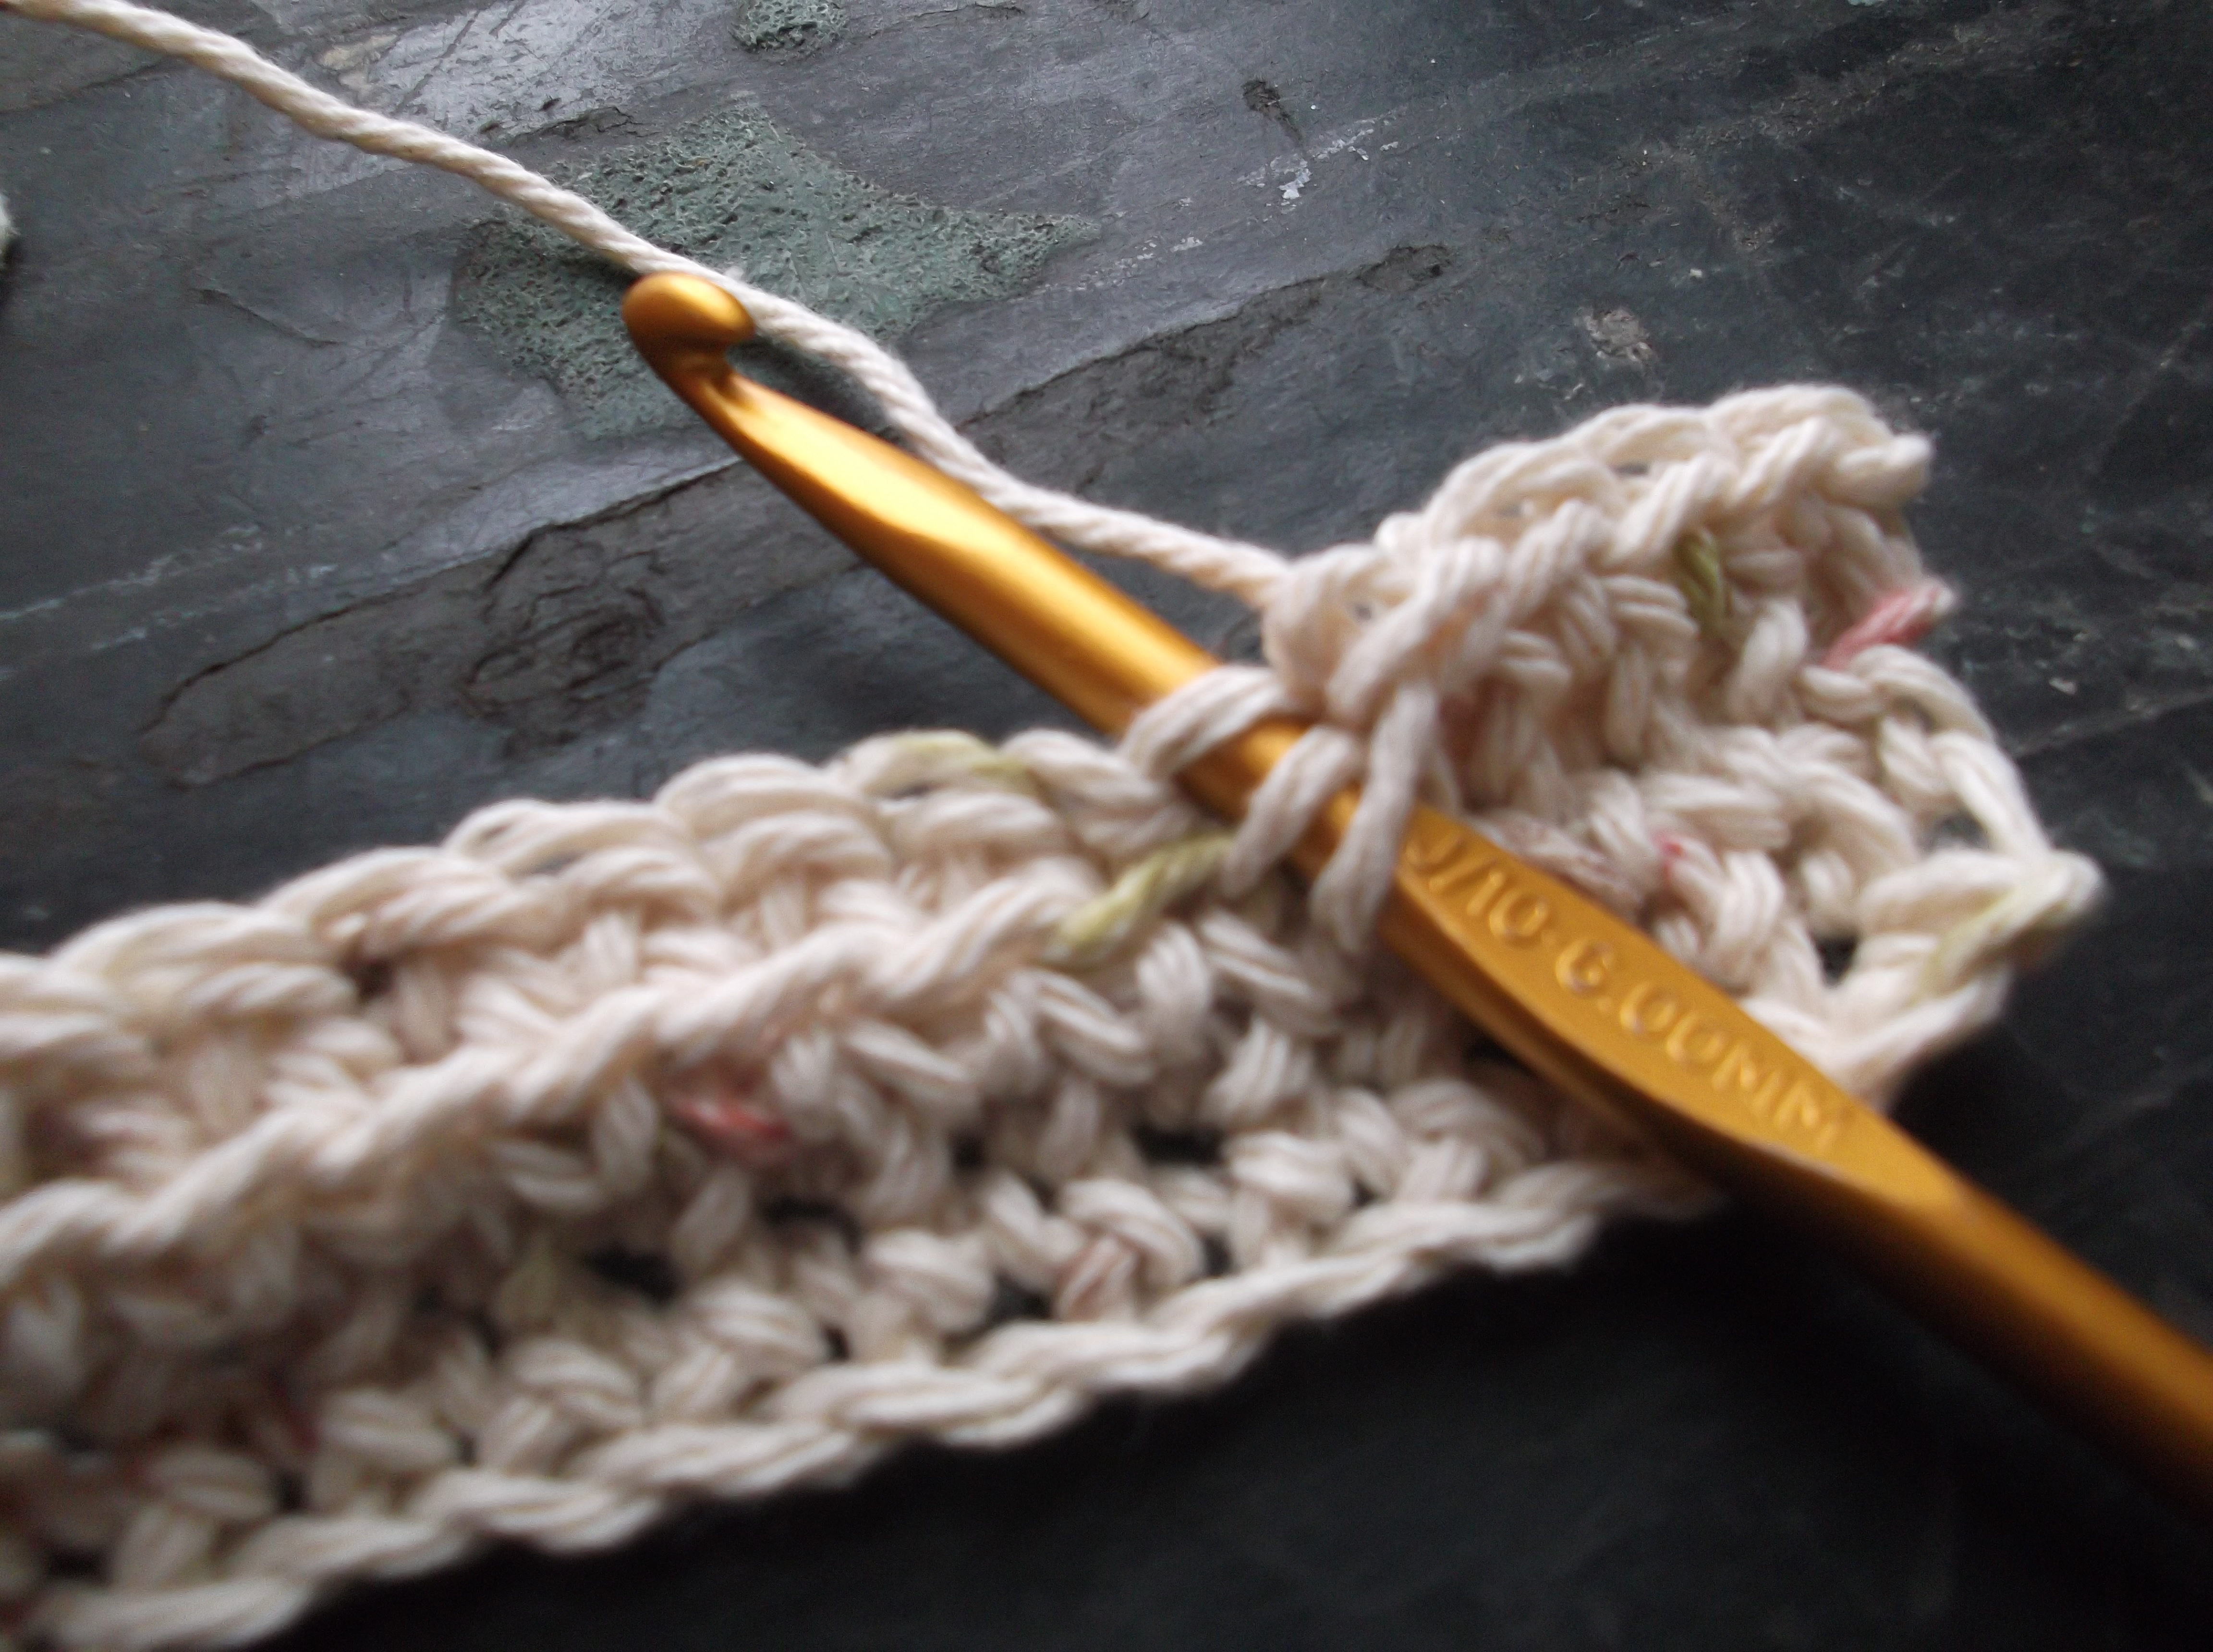
Insert hook from the bottom of the loop, beginning with the back loop from the row below (now facing) and the front loop of the stitch of the current row
Yarn over and pull through 2 loops
The basic premise of this stitch is that you work single crochet stitches in the front loops of the row as well as the back loops of the row below. Working the stitch into the foundation chain can be a little daunting, so to give you an understanding of the stitch I will begin on the second row of a piece of single crochet. The rows of single crochet will be offset from one another, this creates the setback, while pulling up the lo op from a row below creates the edges to the “indented little square”.
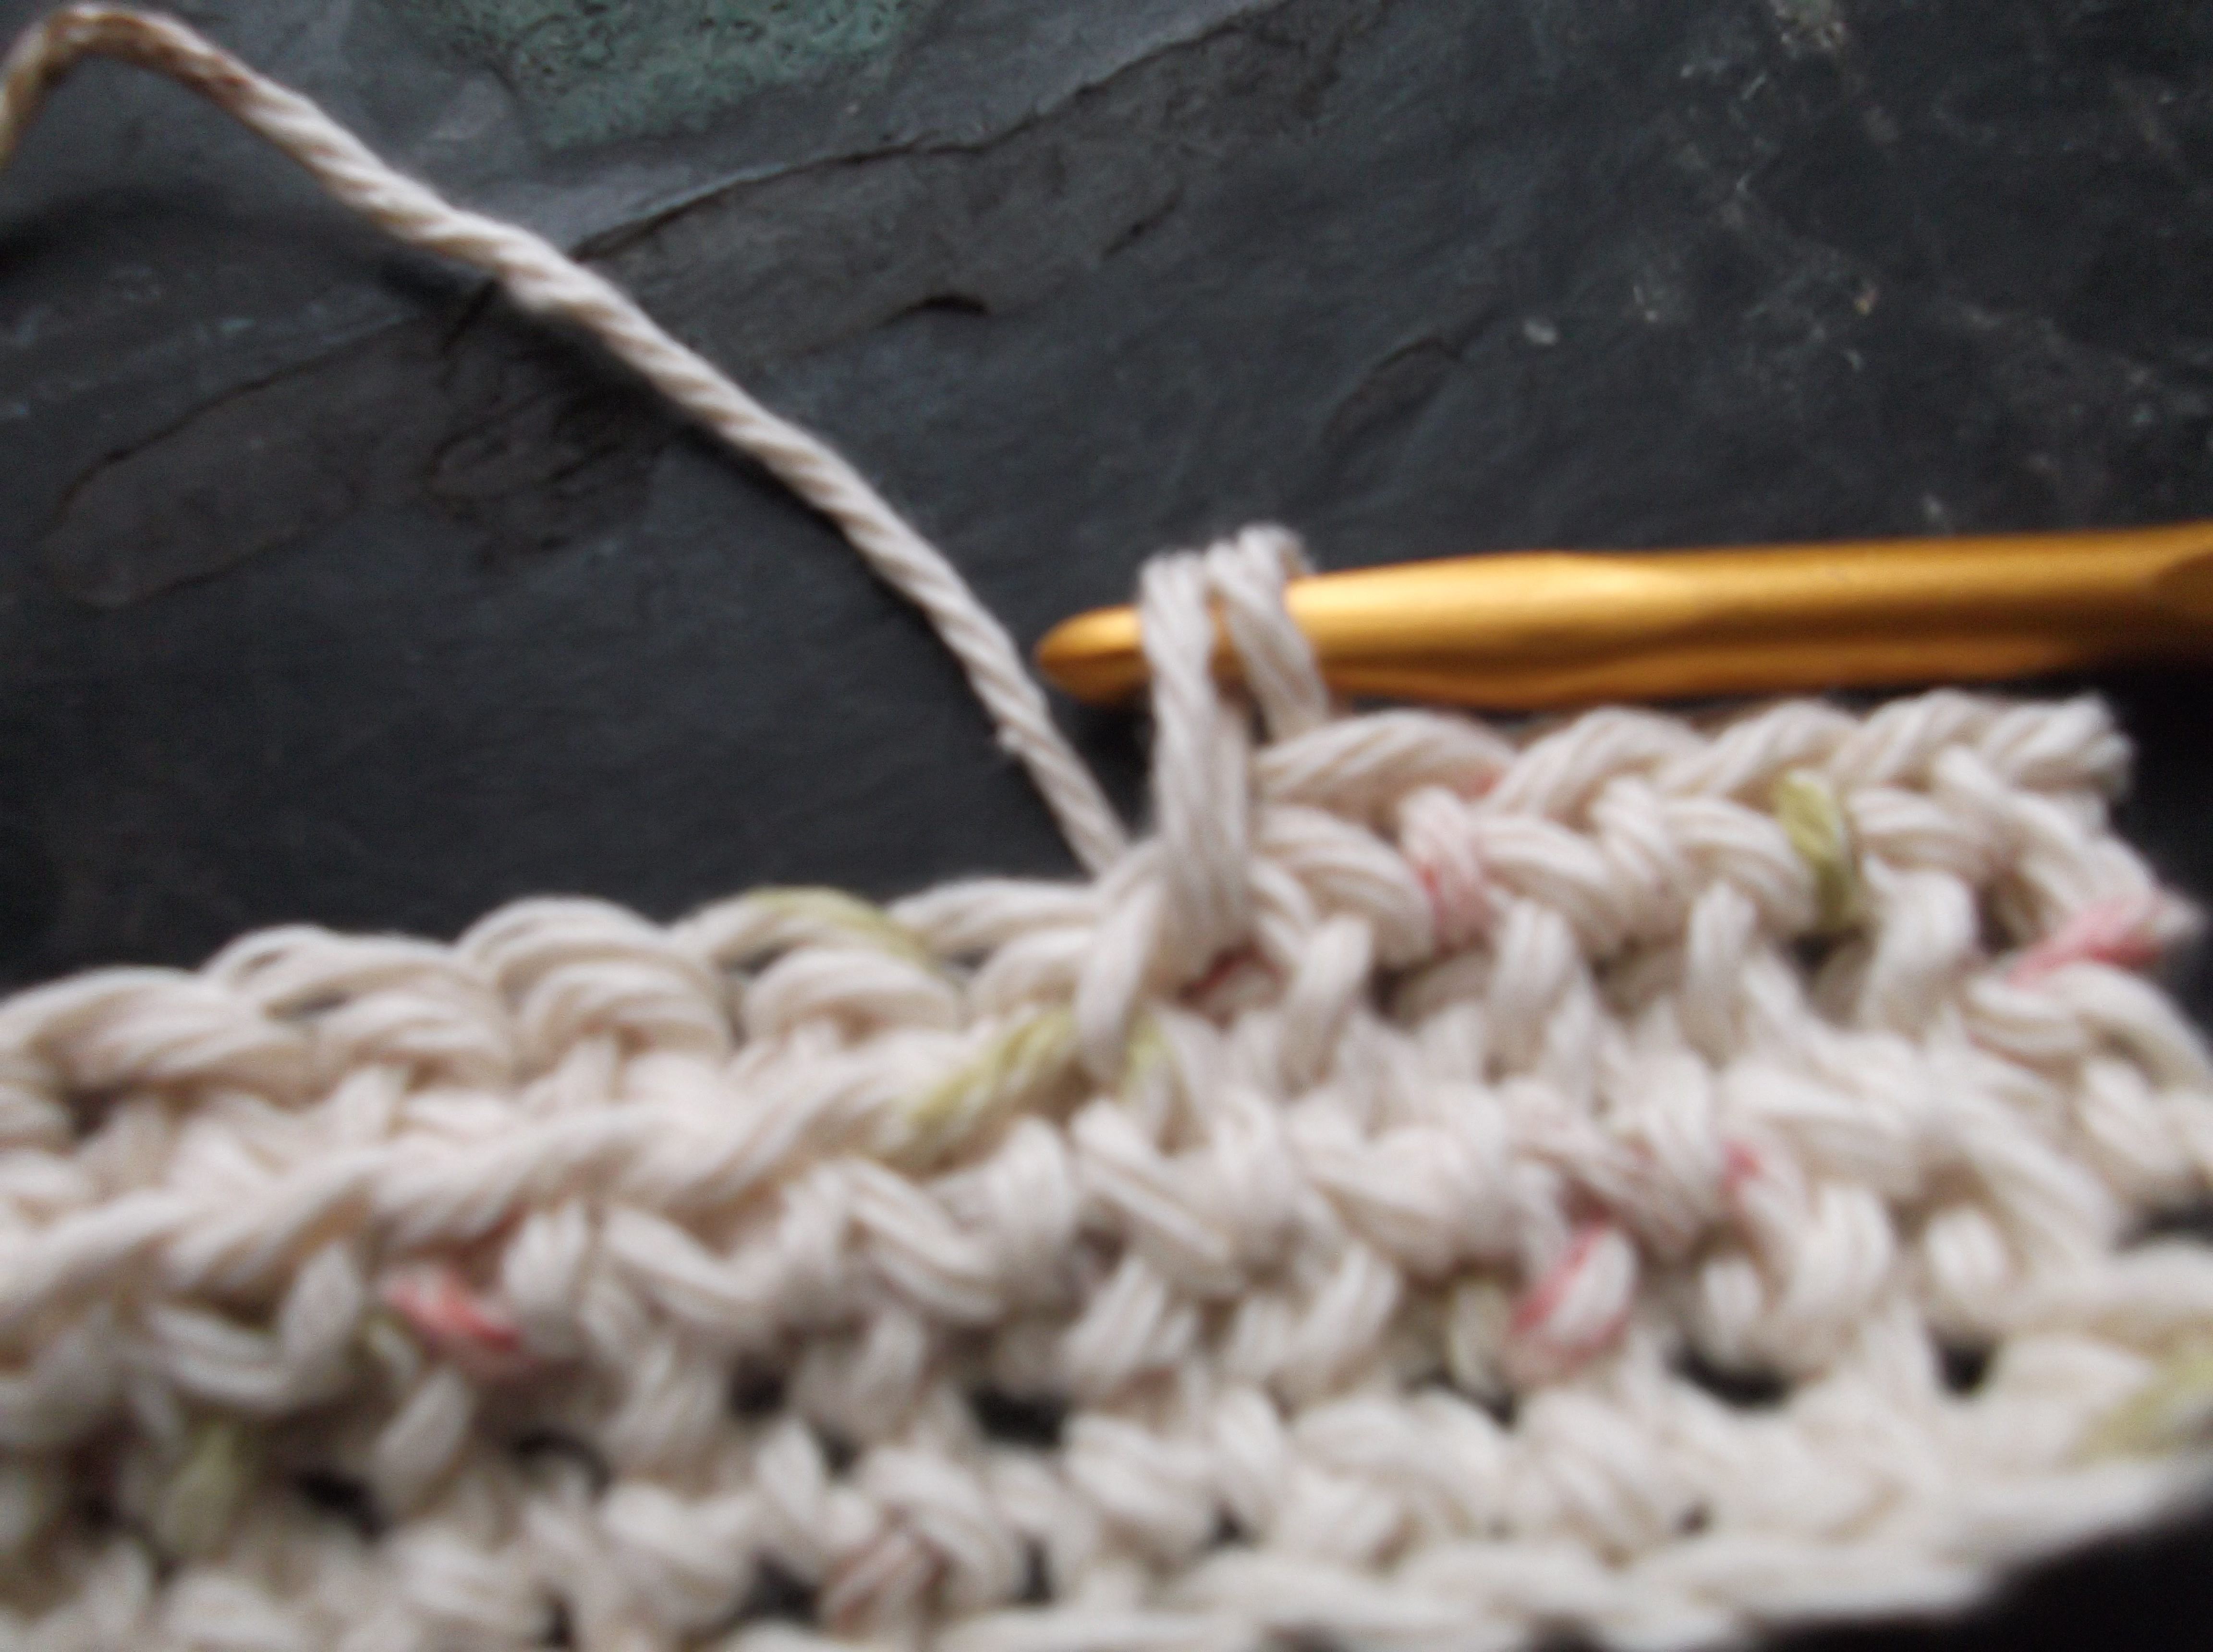
Yarn over and pull through remaining 2 loops to finish stitch
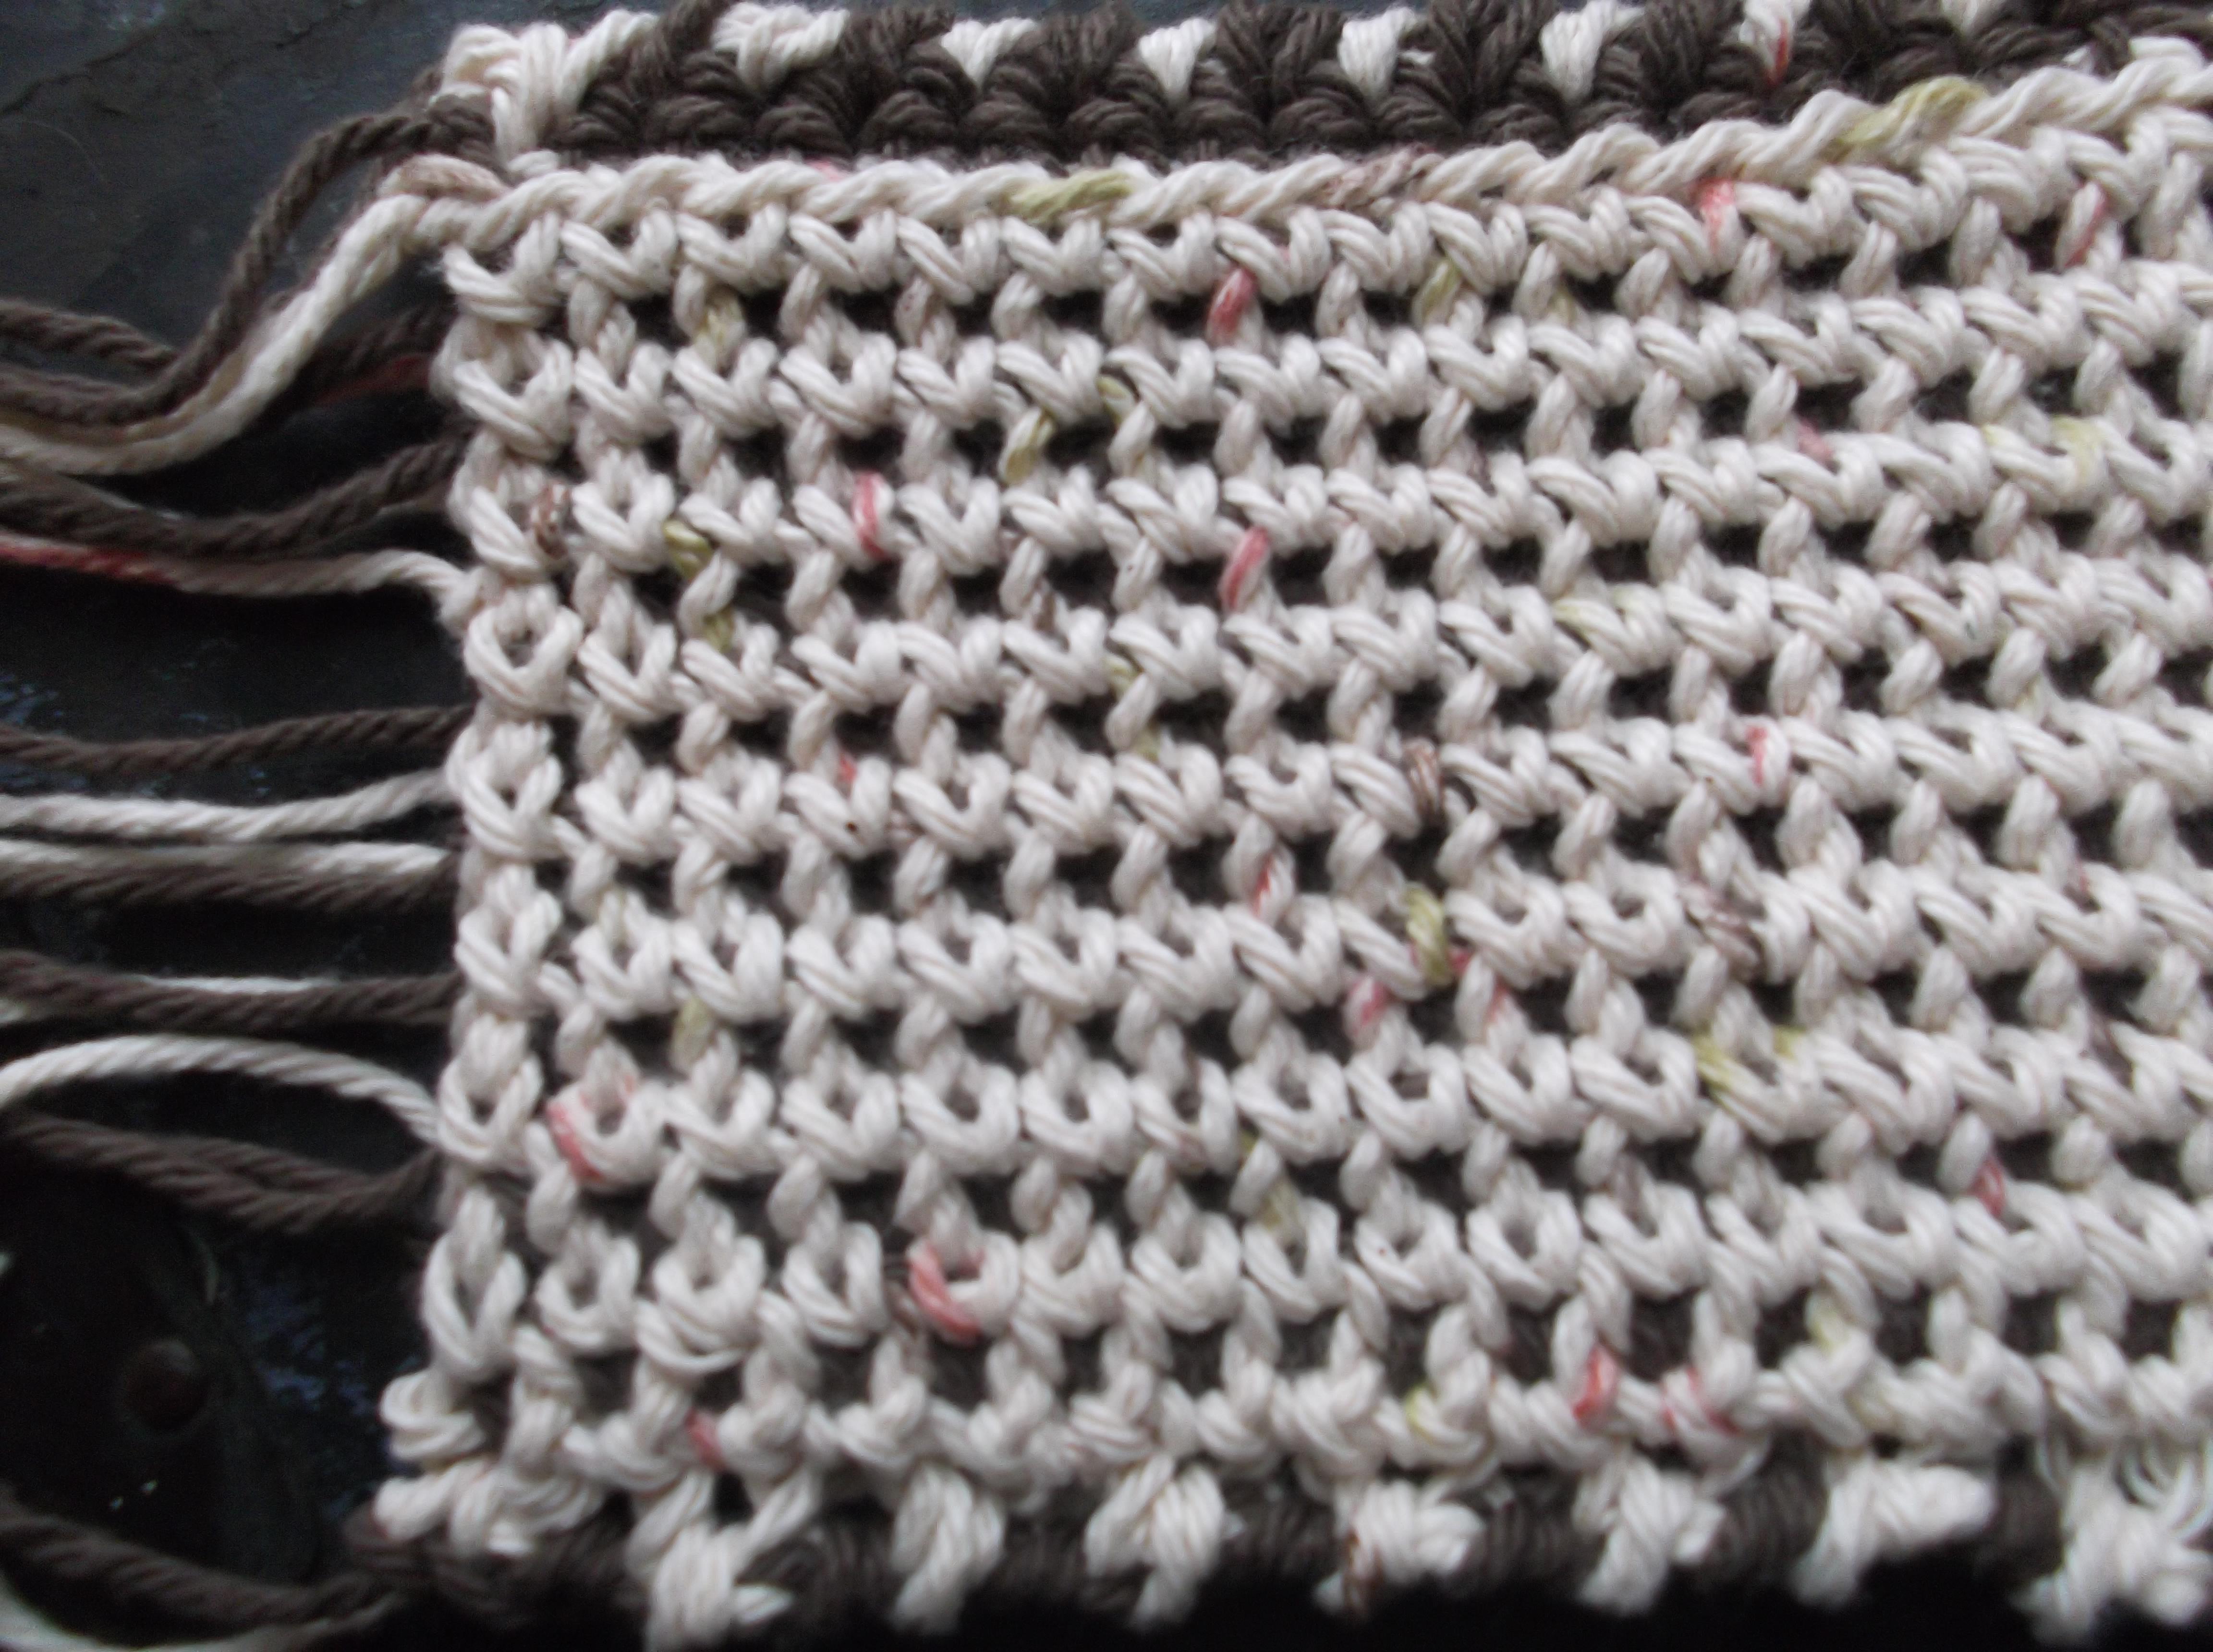
One of the main things to remember with this stitch is to insert the hook in the loop of the row below from the bottom, then insert it into the front loop of the next working row from the bottom.You then yarn over and pull through both loops (you might want to pull up a longer than usual loop), yarn over again and pull through the two loops remaining on the hook to finish the stitch. This will create a dense fabric, and if you want to have a little fun, you can alternate colors every row and get a double sided fabric (although there would be many ends to weave of leave it fringed).
Using two colors, here is one side….
…here is the other.
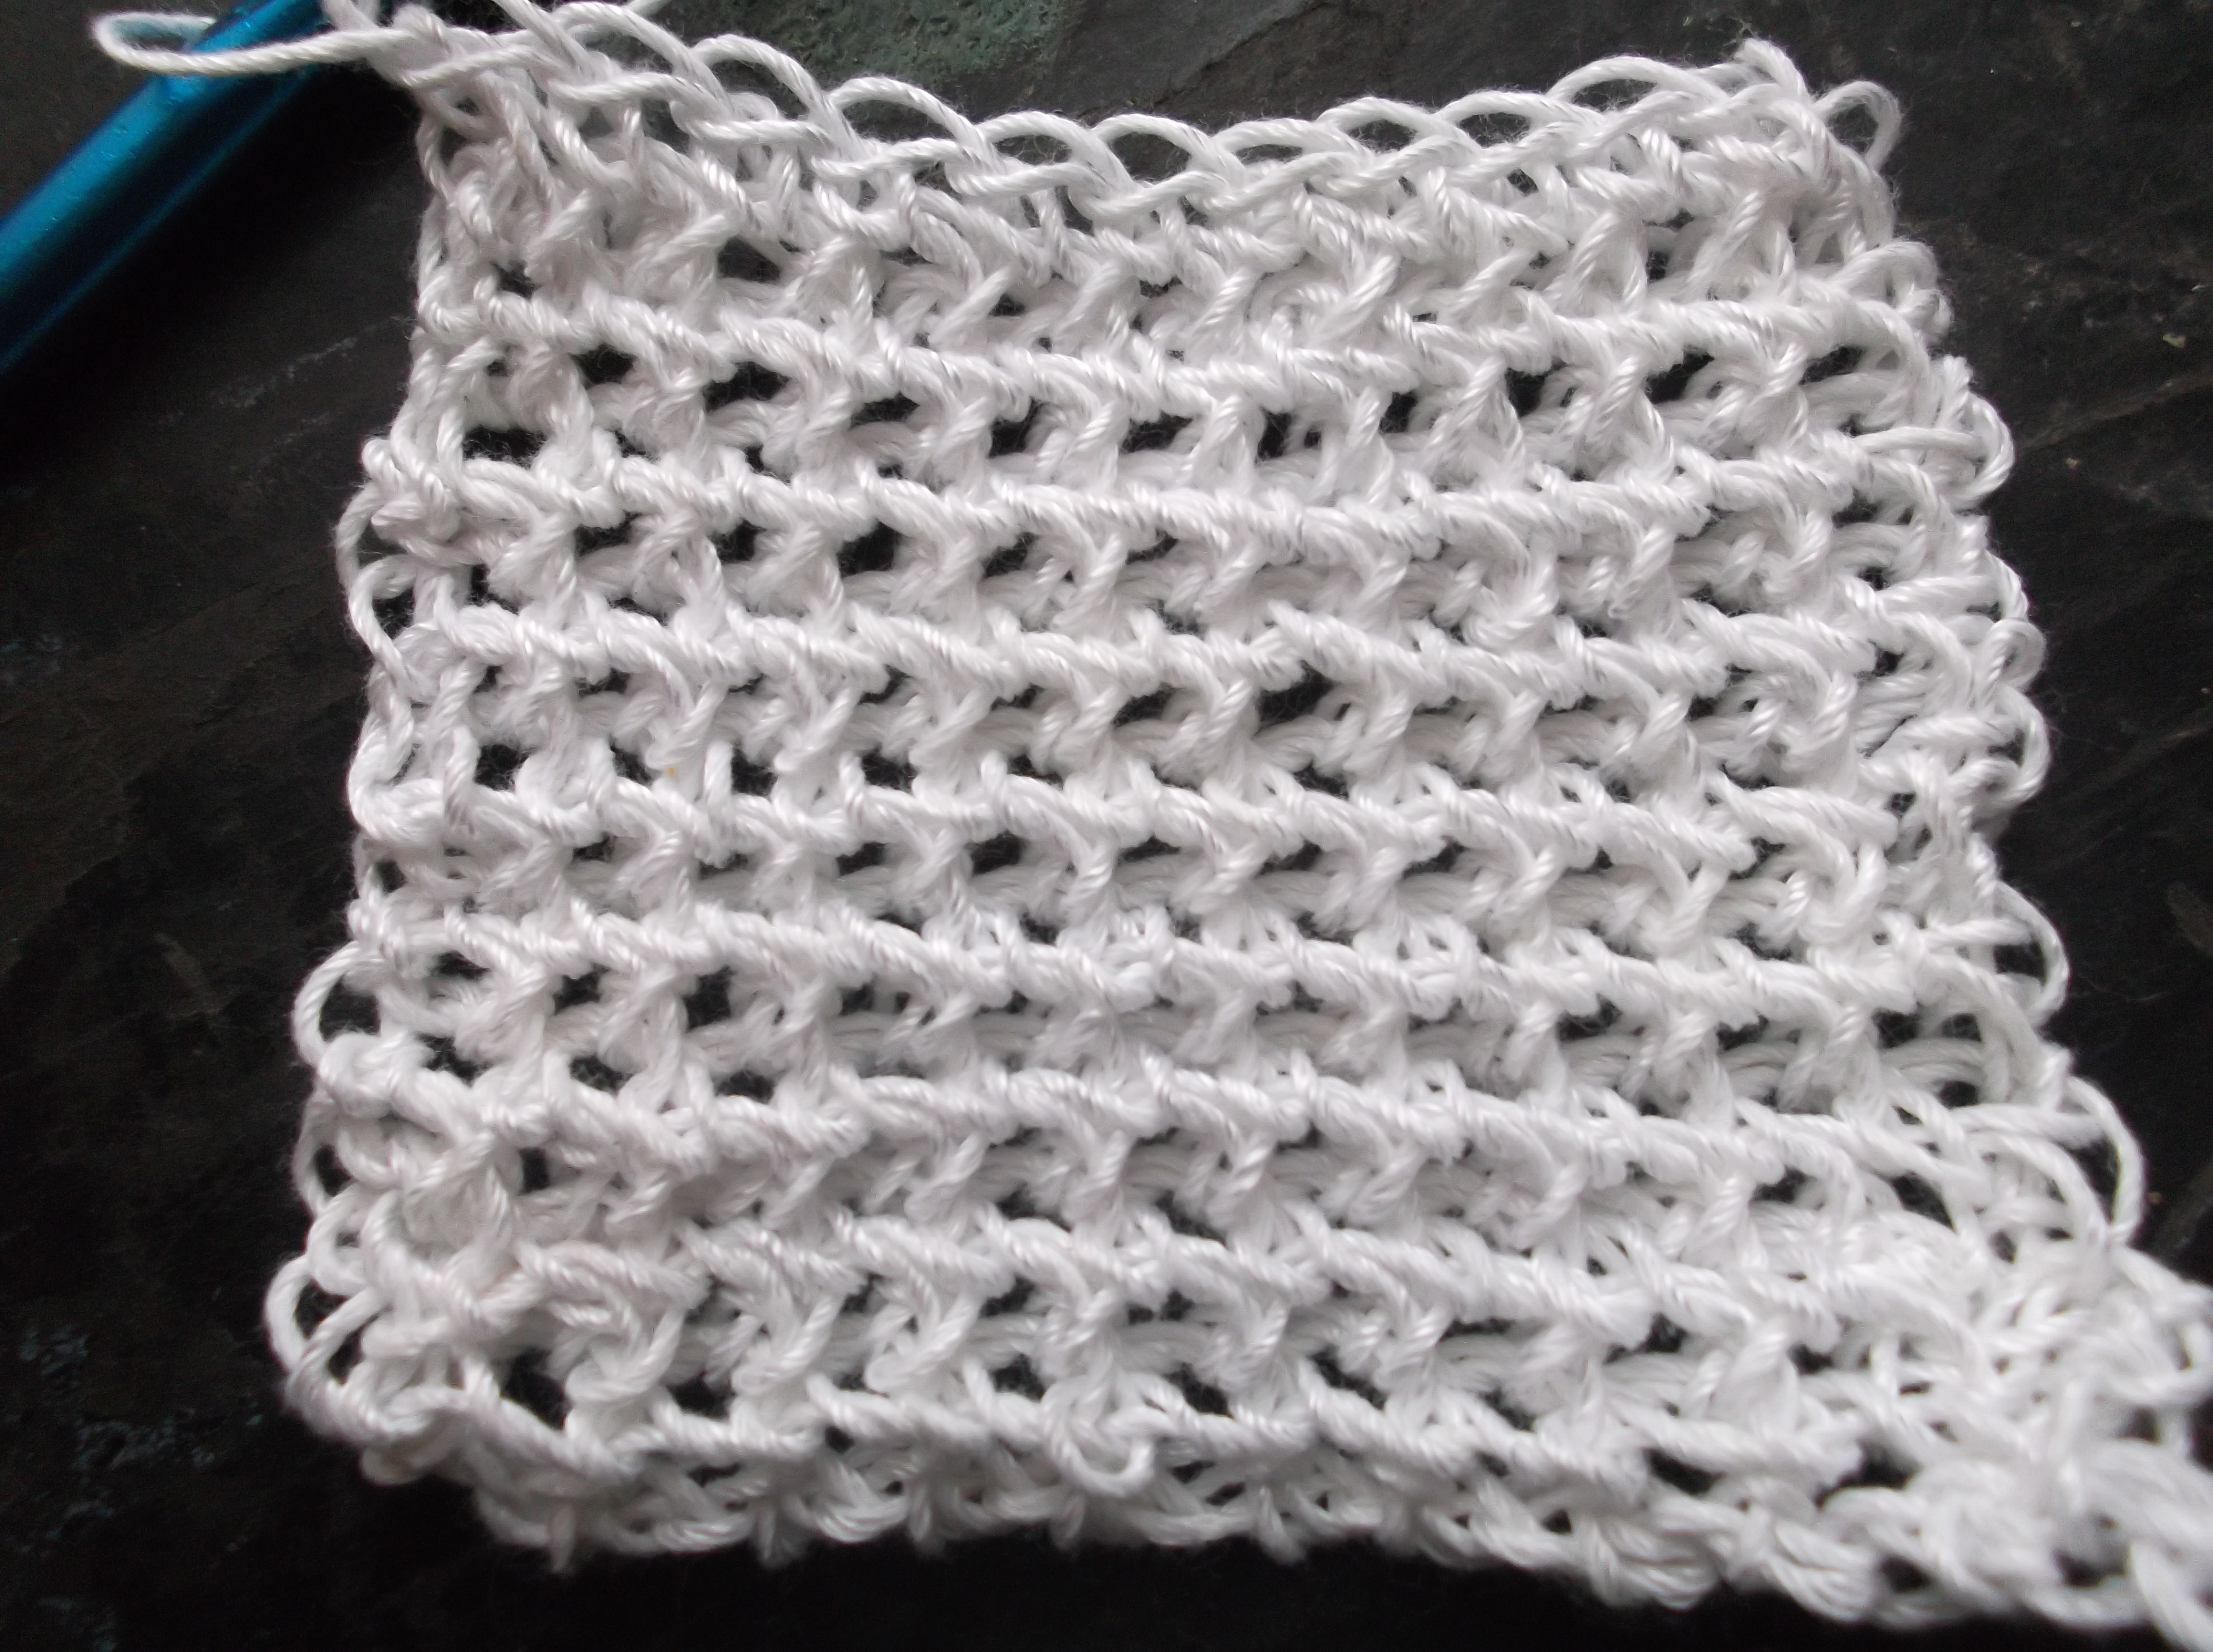
Play swatch, showing same technique using sport weight yarn and an N size hook (in one color), look at the open effect…has some possibilities….
One of the areas I plan on playing with is large hooks with finer yarns. In the small sample I started working with I was impressed with the draping I received as well as the slight openness of the fabric (made me think of springtime). Amazing how attempting to explain a simple concept can yet lead to more questions, and hopefully better understanding…I will keep you posted.