A Really Fun Technique- Planned Pooling Argyle Wristers

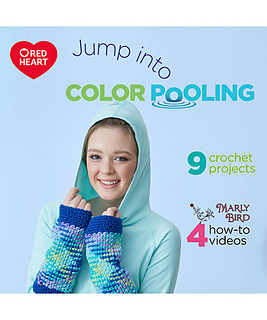
Sometimes you have a design where the yarn does all the work, this means that the stitches may be fairly easy, but since the yarn has character the item really looks more difficult than it is. This is true with color pooling projects, like my latest design Planned Pooling Argyle Wristers from Red Heart Yarns.

Planned Pooling Argyle Wristers www.lindadeancrochet.com

Planned Pooling Argyle Wristers Photo courtesy, Red Heart

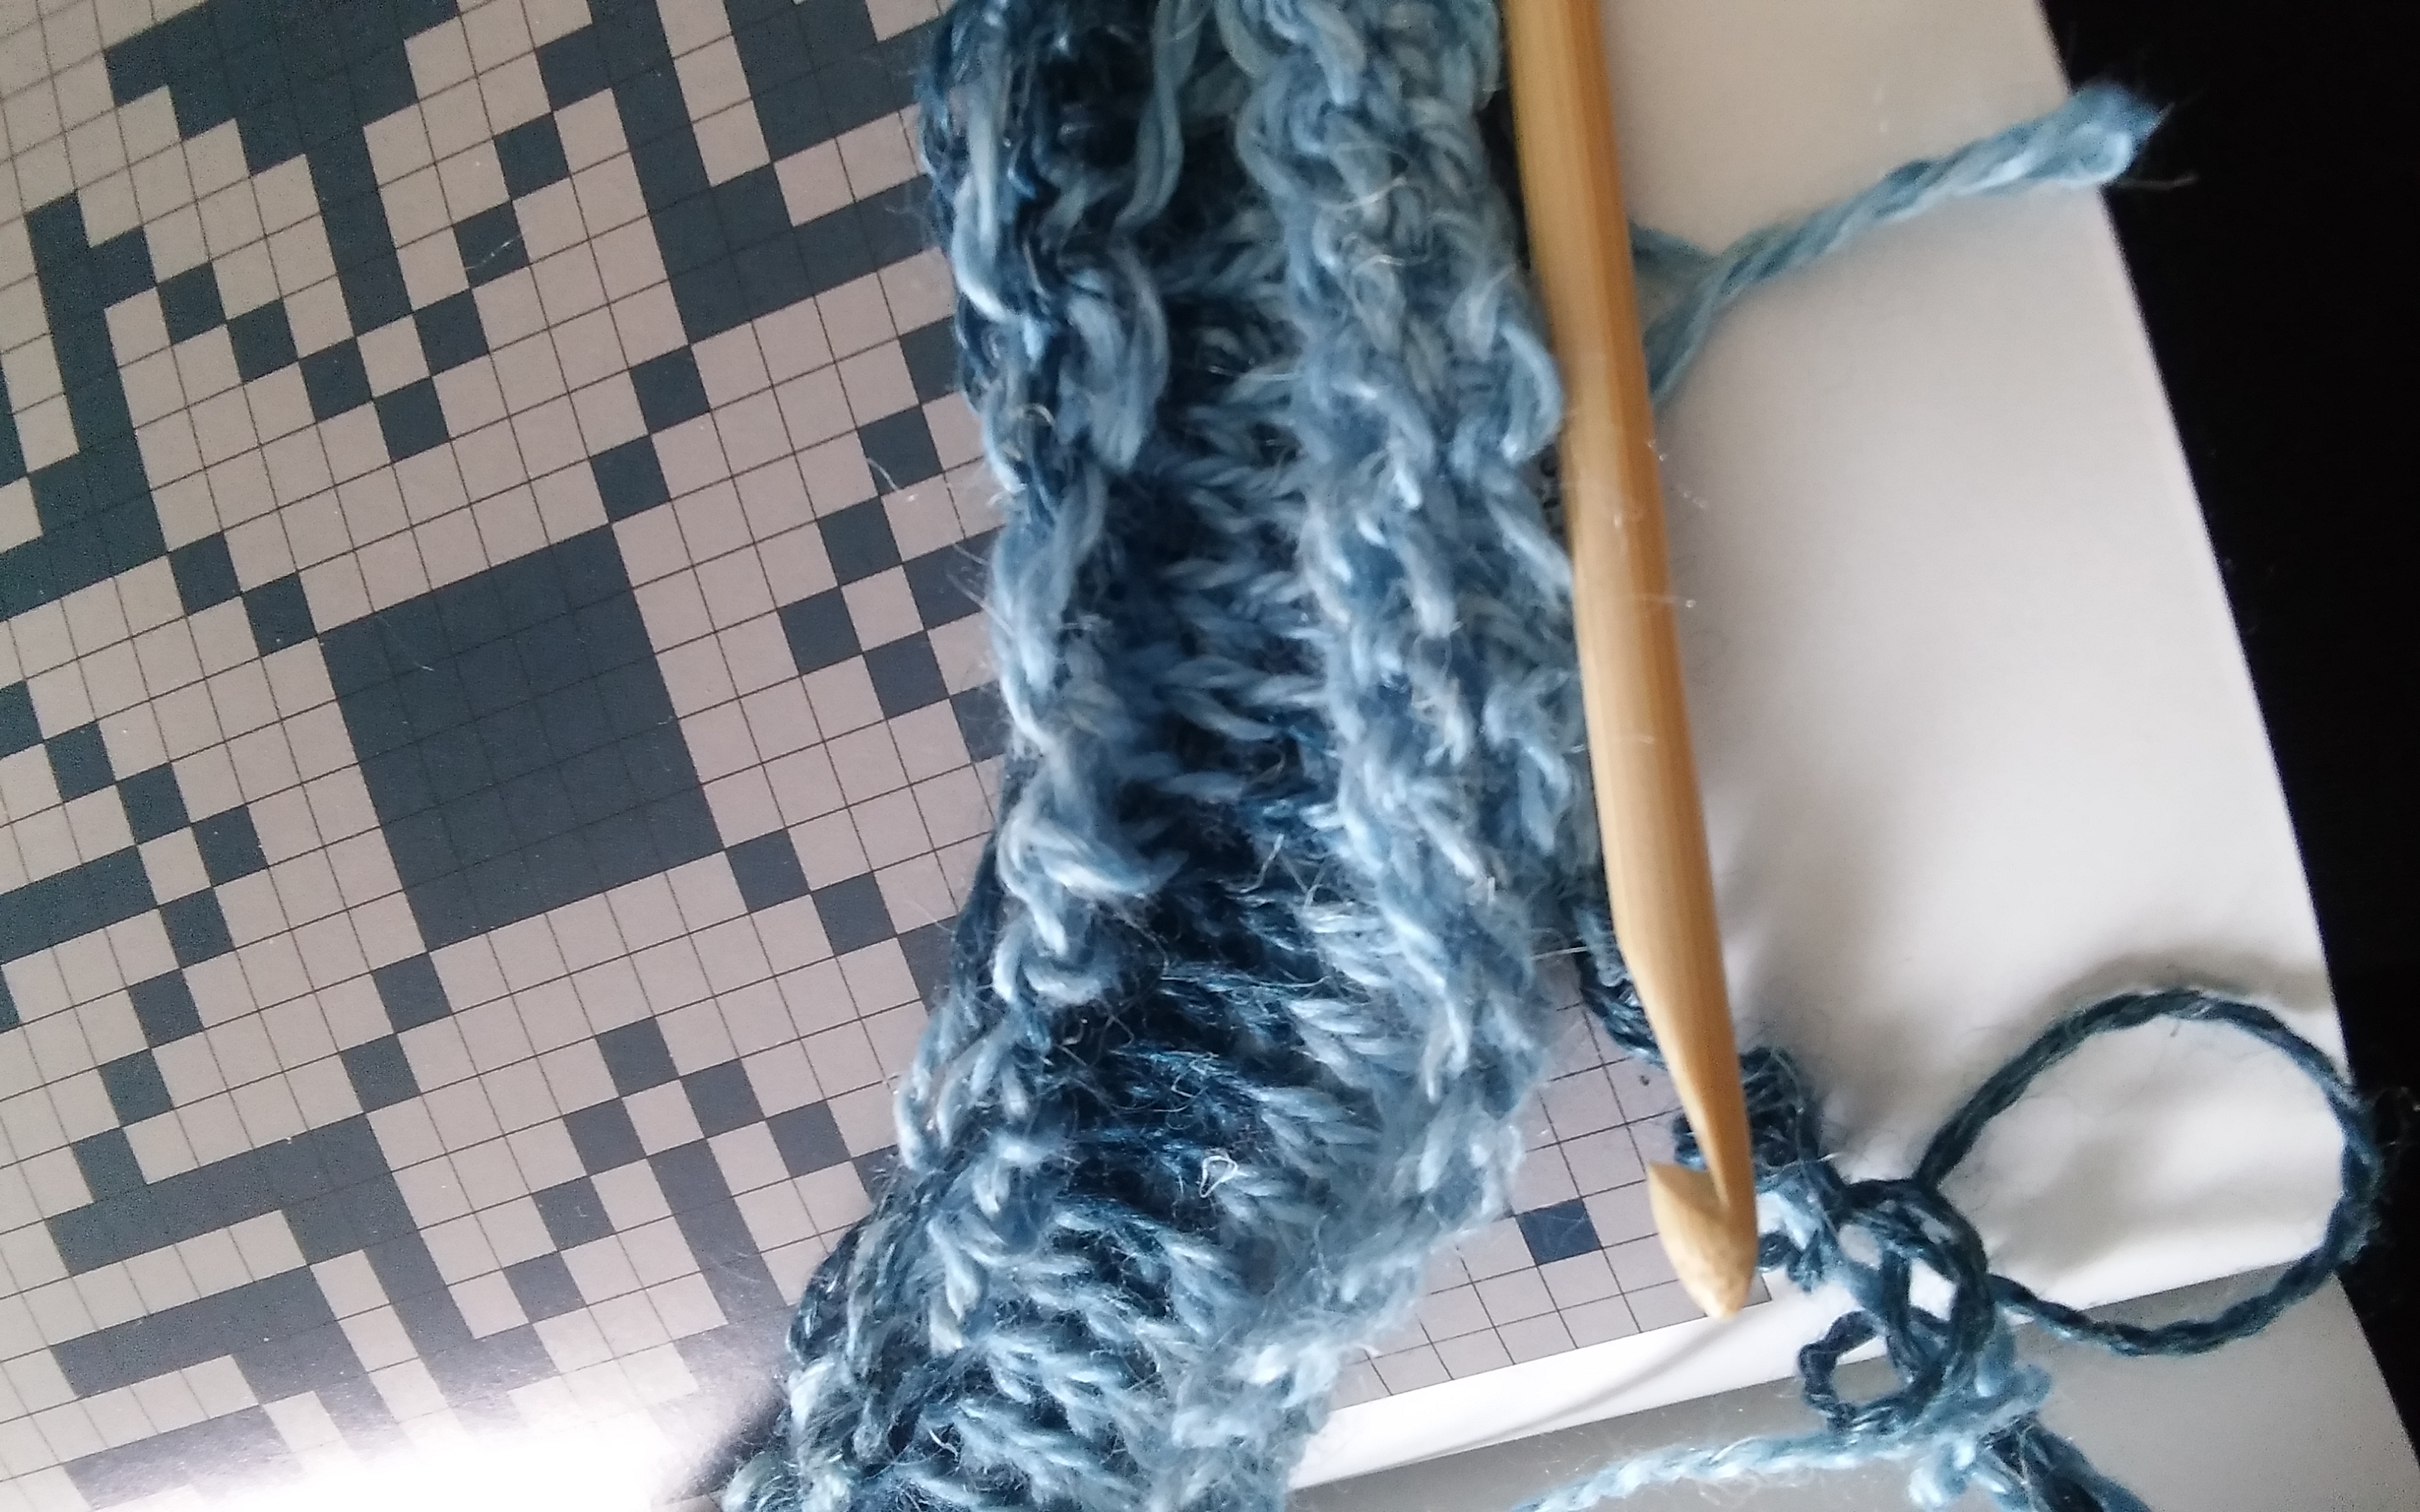
Planned Pooling is when you plan your stitches to have the colors of variegated yarns stack up in a desired way. I might be exaggerating slightly about it being completely easy, you do have to pay attention to your tension so that you place the correct color in the correct stitch (Marly Bird has a great video about it here).

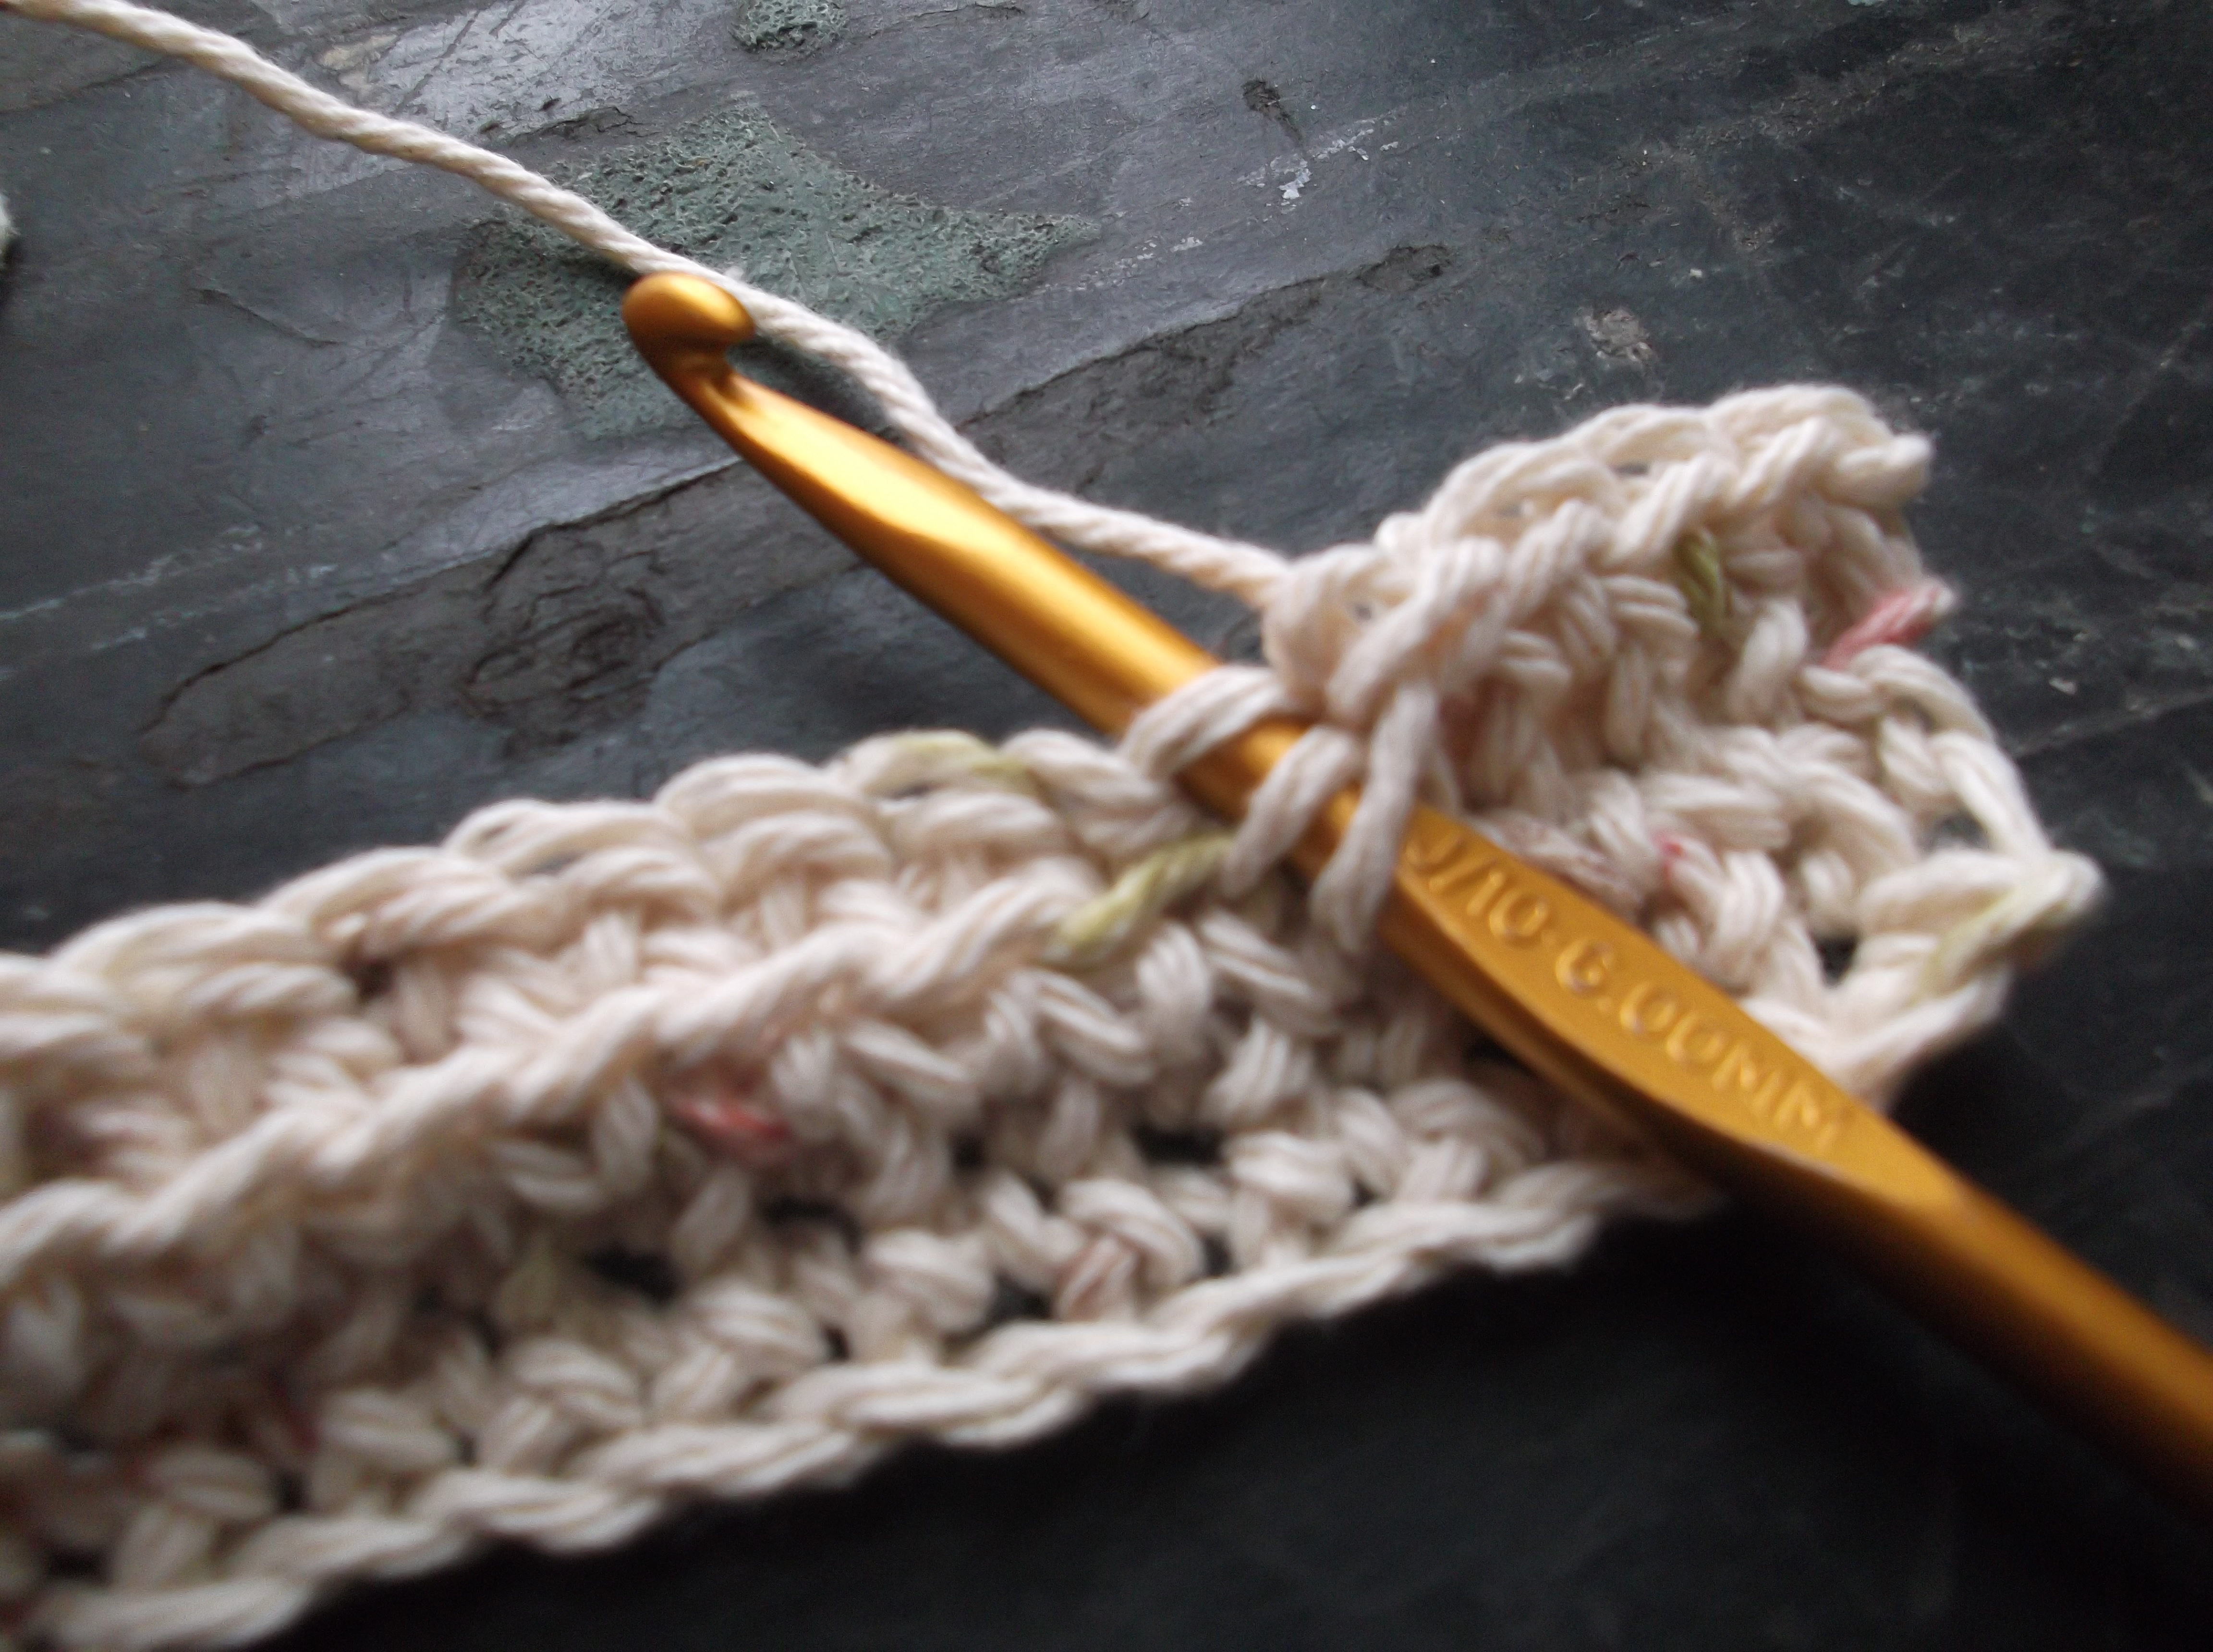
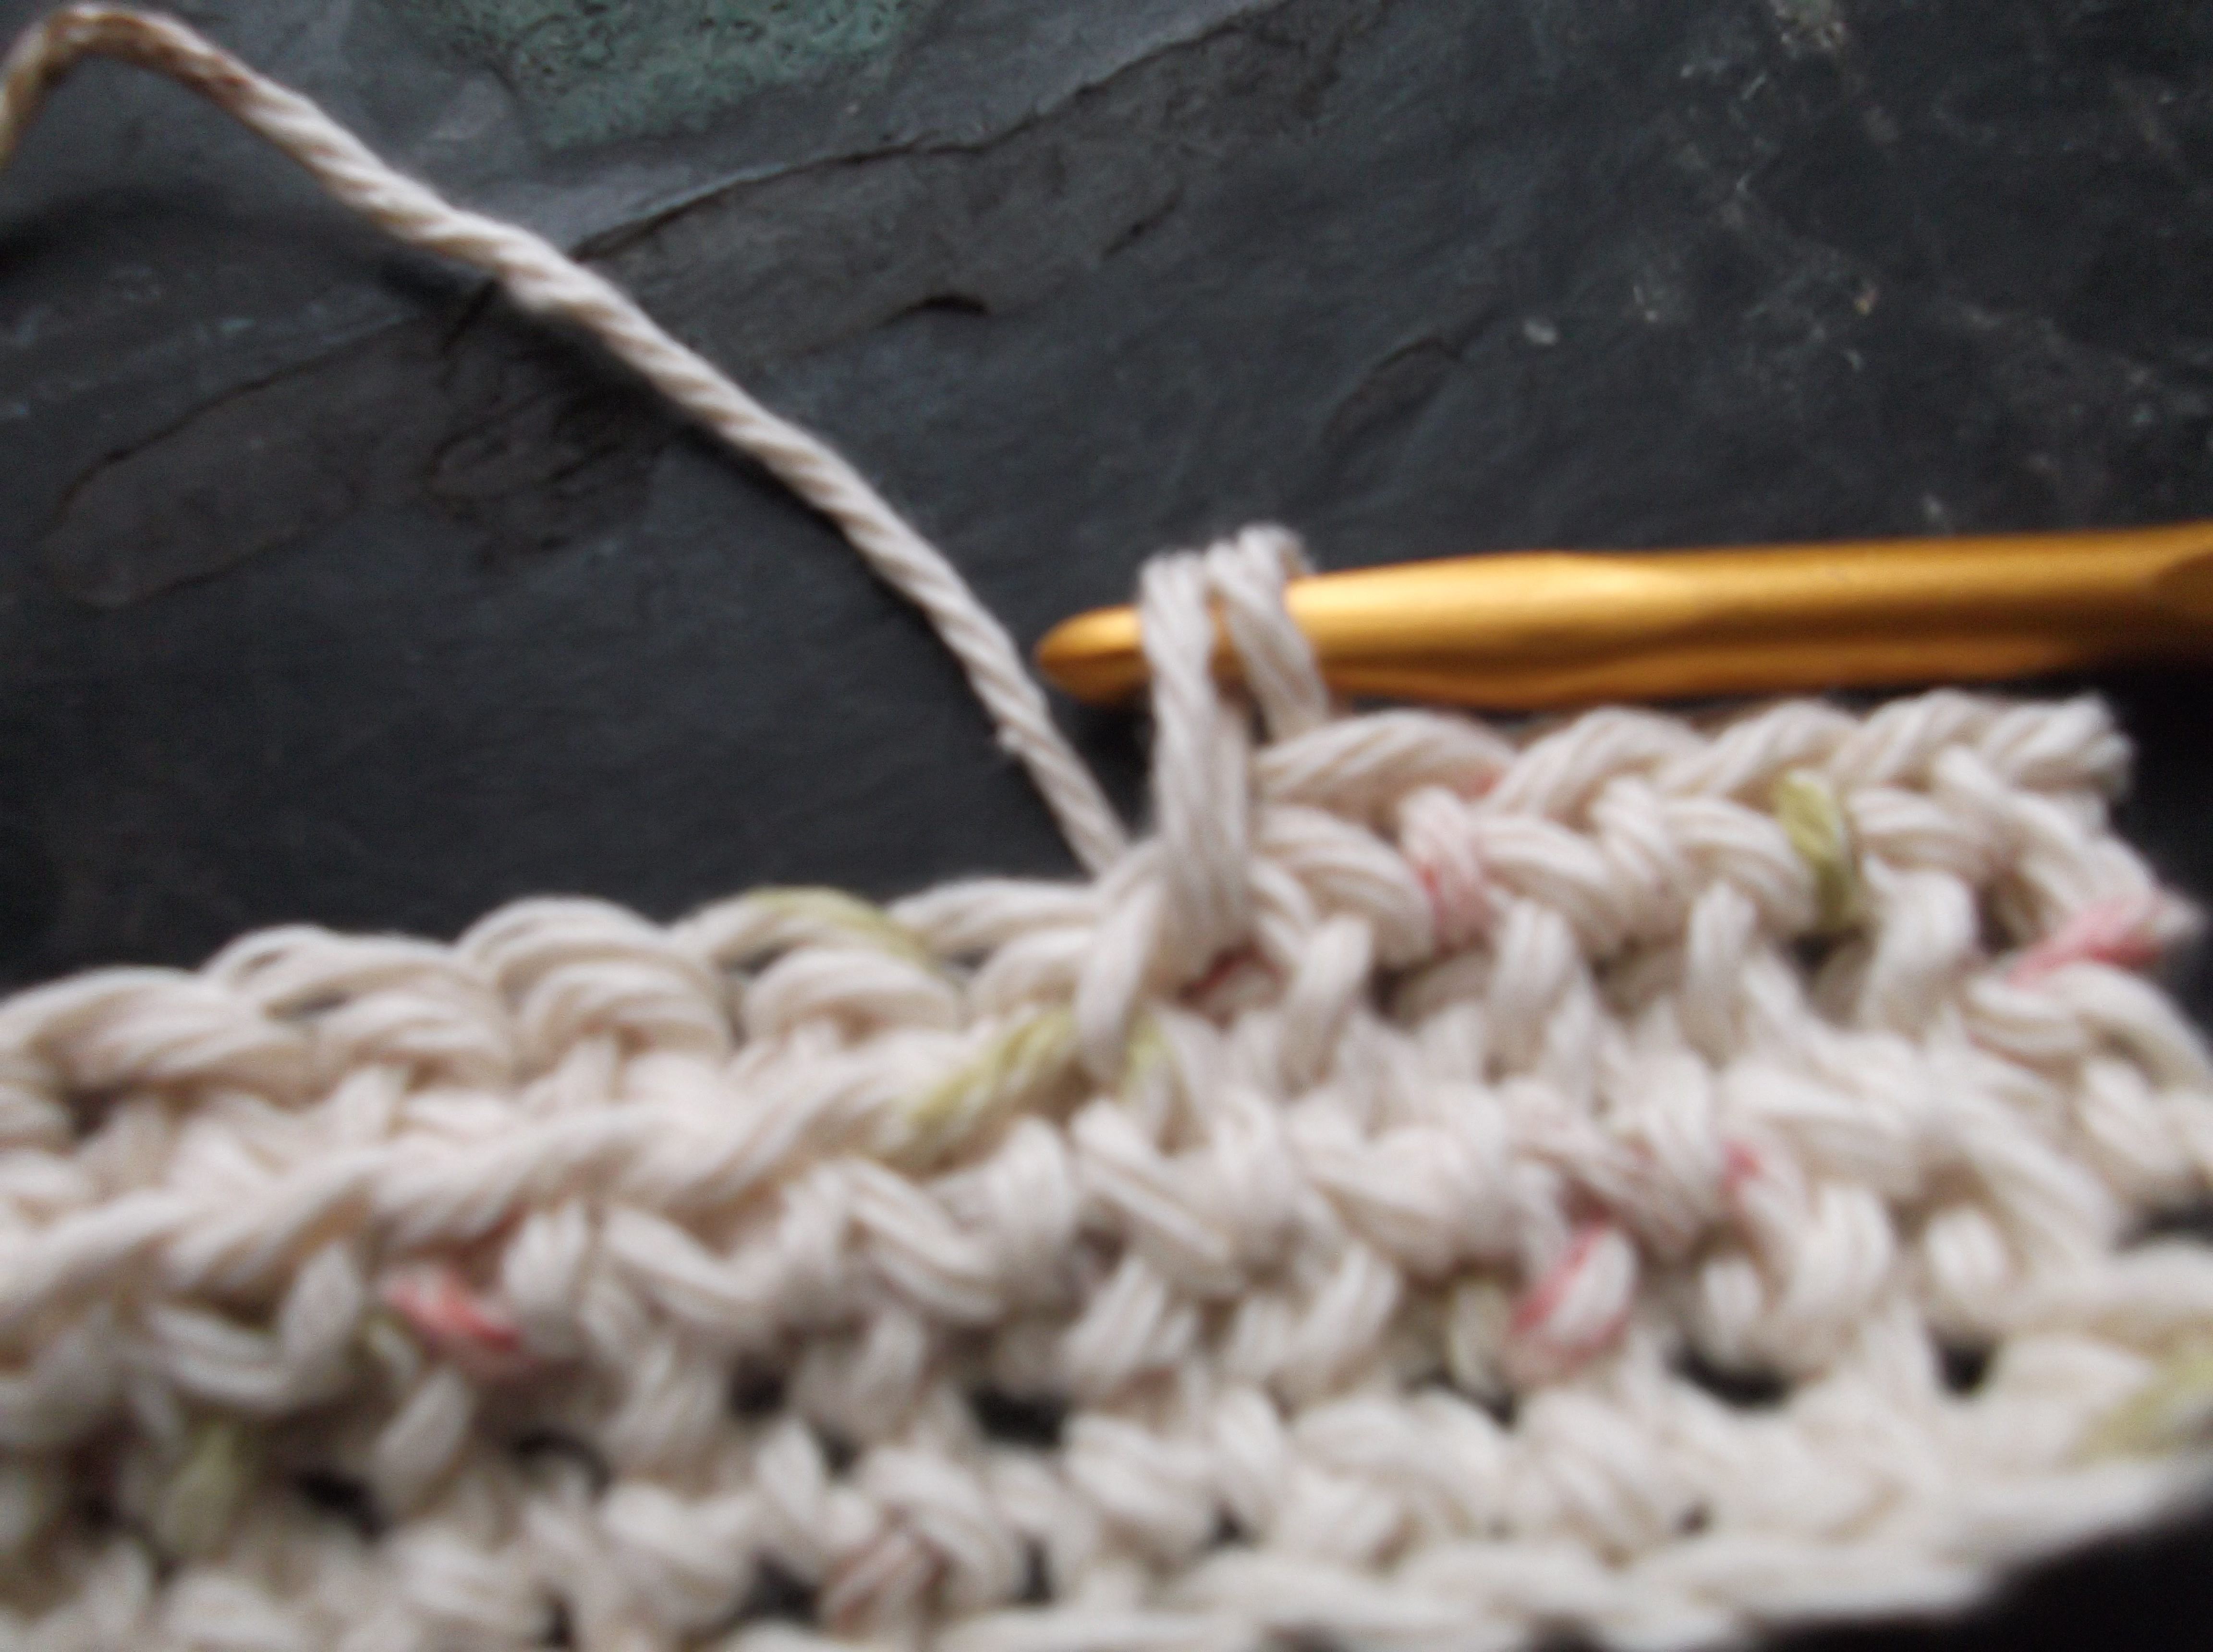
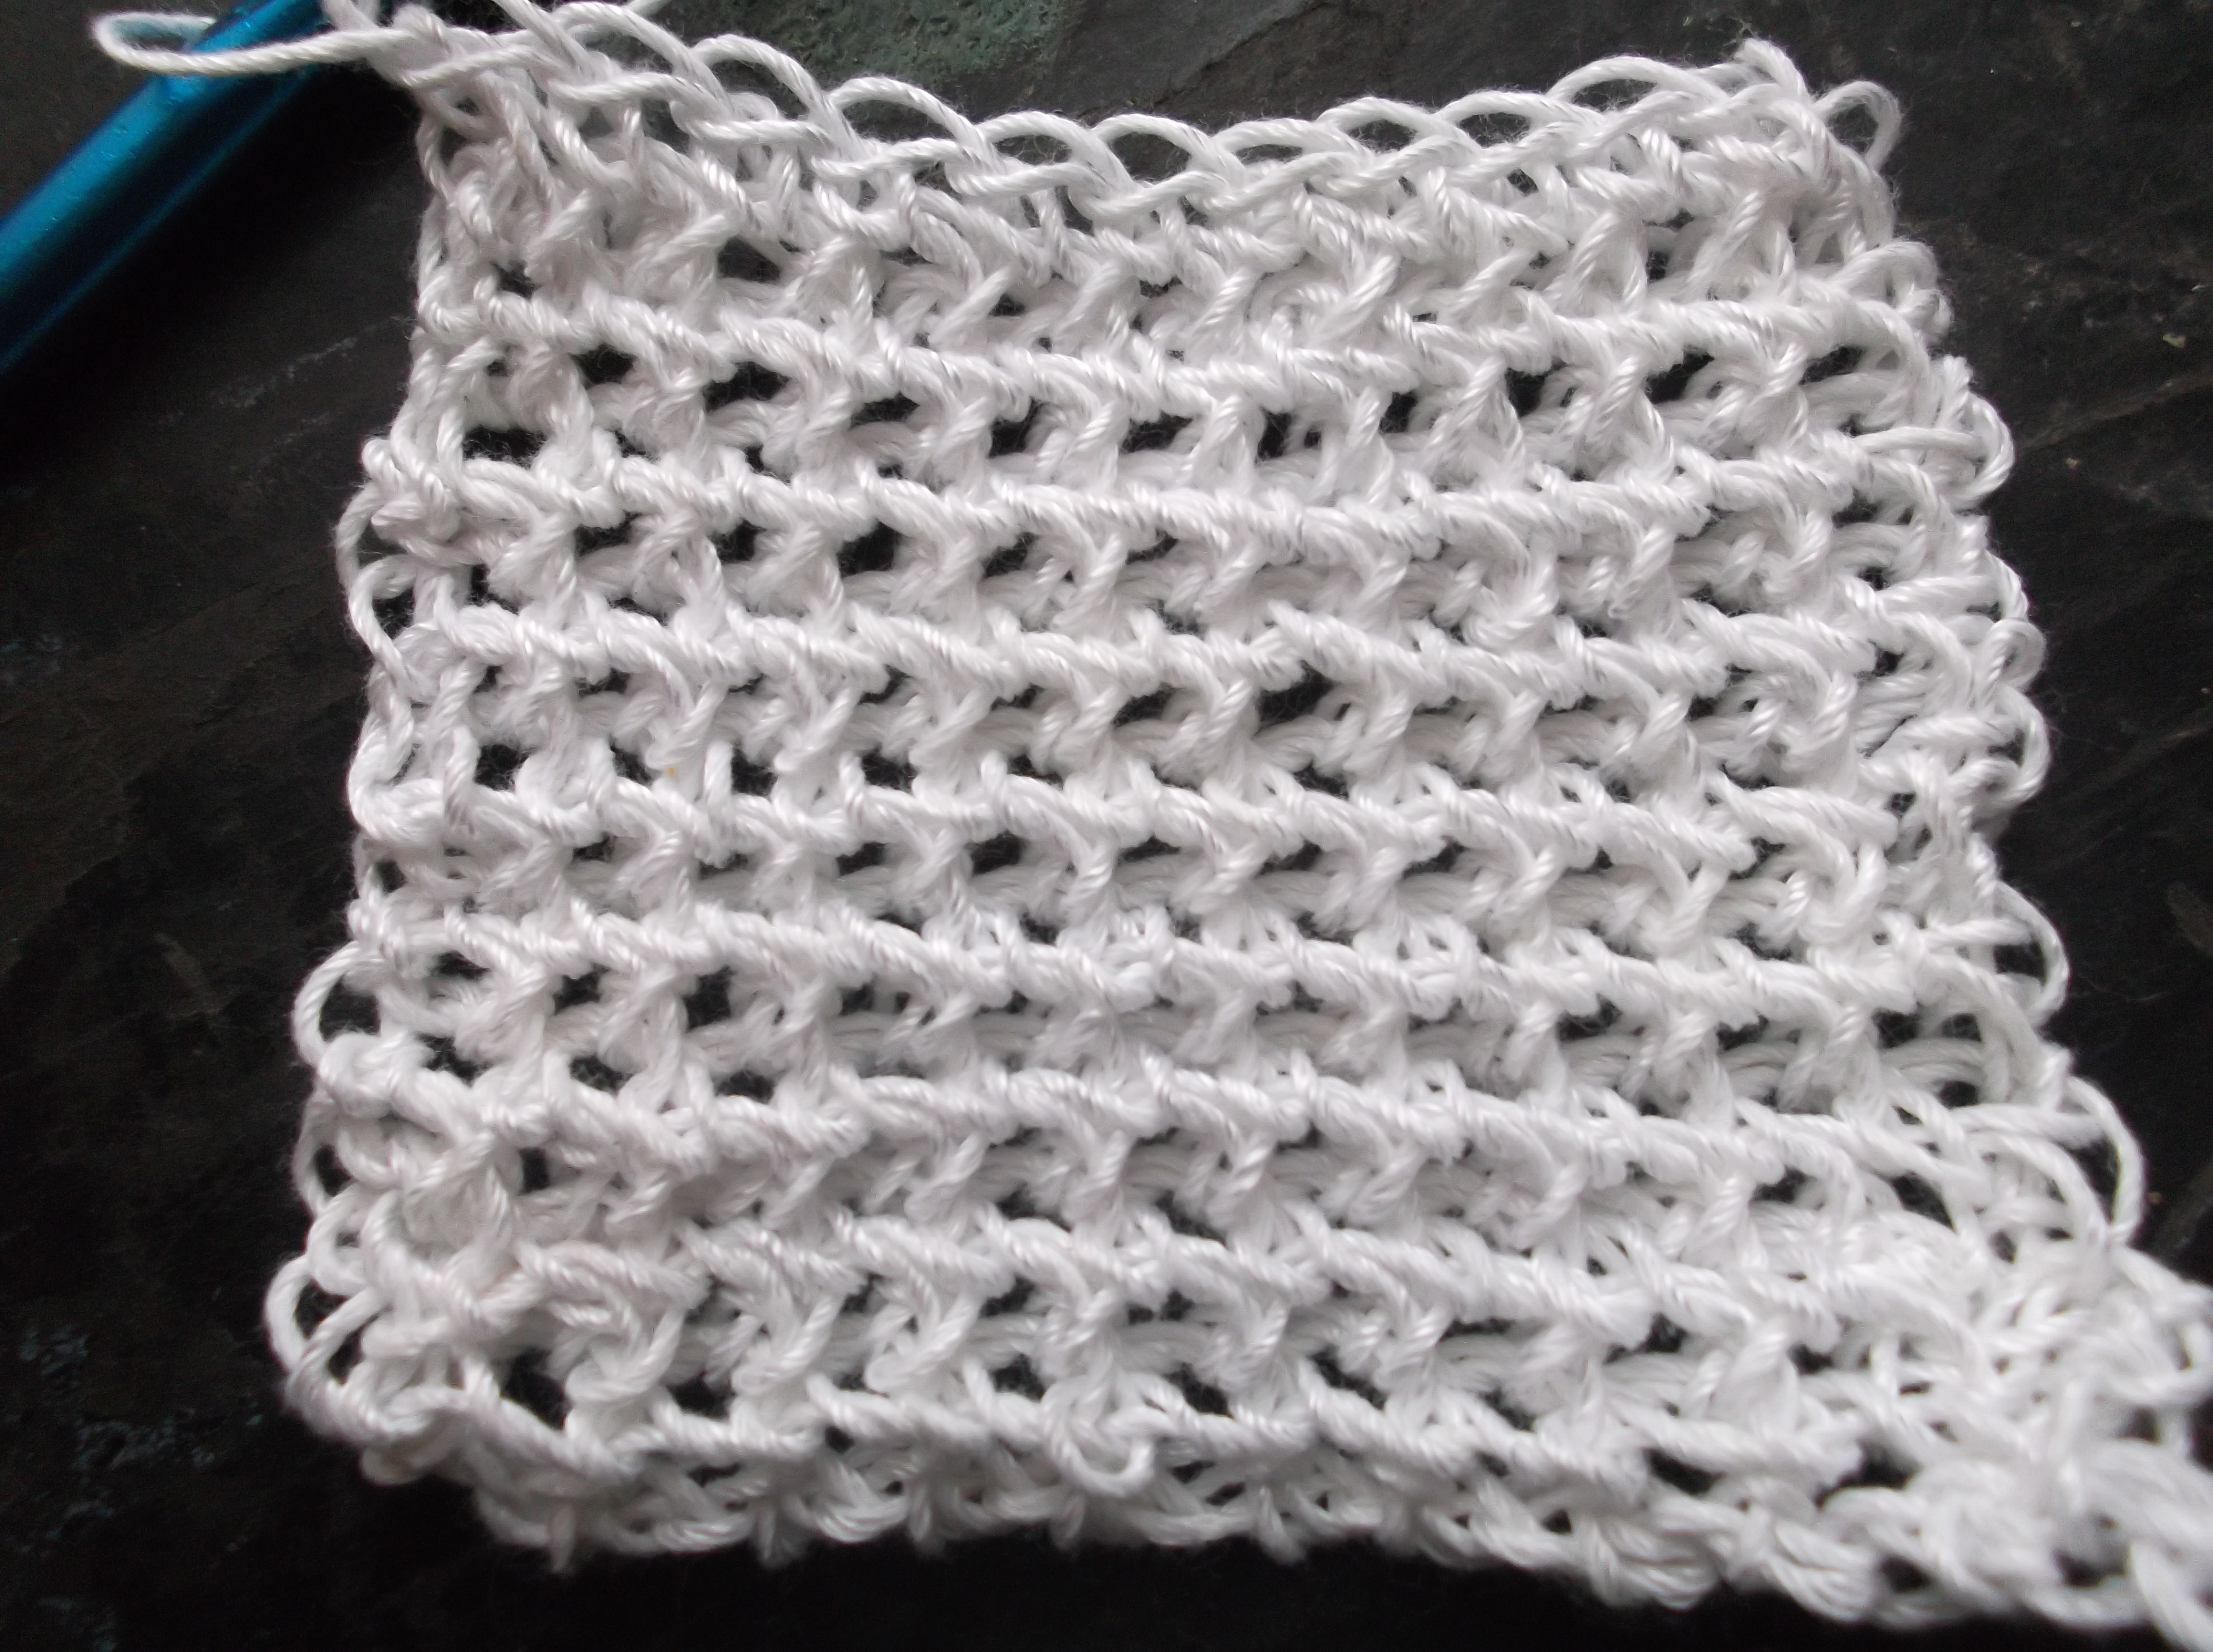
So these wristers look great and keep your arms warm, and only take two skeins (one for the argyle, one for the trim). The argyle is worked in what is referred to as a “Moss” or “Linen” stitch, which is simply a single crochet and a chain 1, worked into a chain-1 space. This stitch has a benefit to planned pooling as it is very forgiving with a change in tension. It is necessary to change your tension (either make a stitch tighter or looser) to ensure that the correct color is worked in the correct location.

Planned Pooling Argyle Wristers www.lindadeancrochet.com

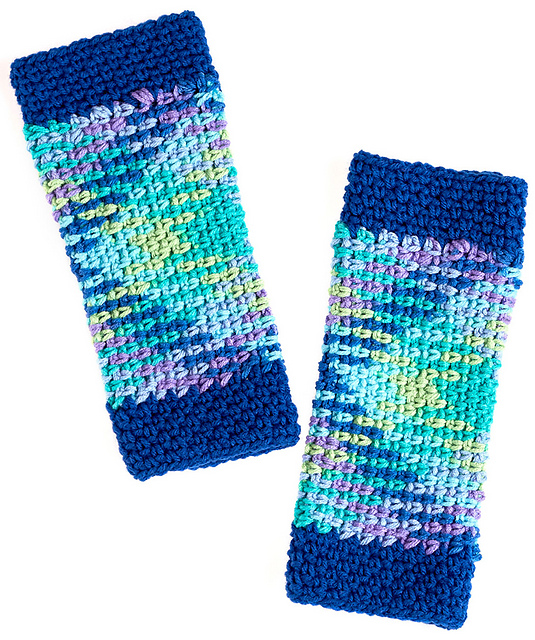
Planned Pooling Argyle Wristers Photo courtesy Red Heart Yarn

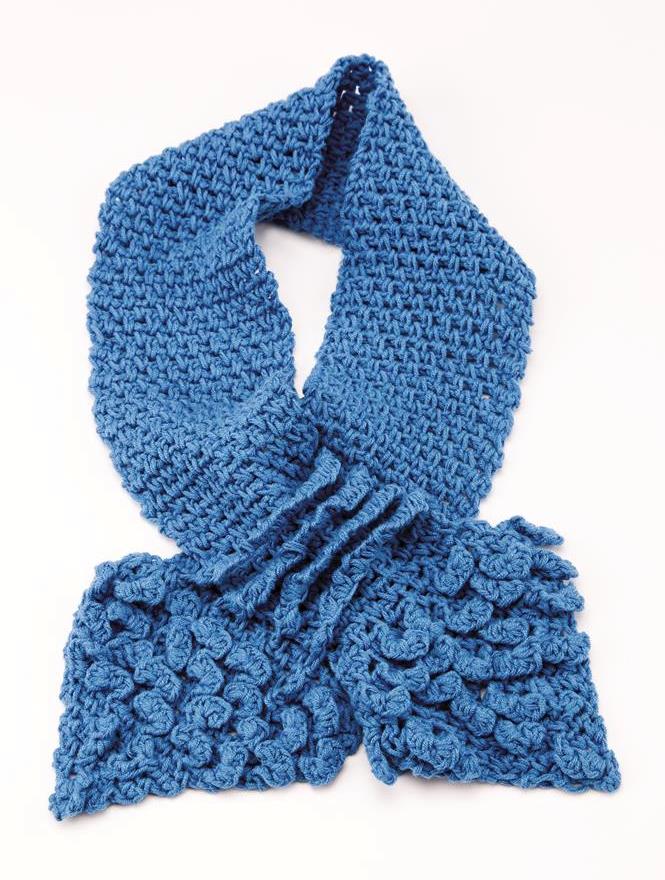
It may take a little practice to get the hang of this technique, but then you might become addicted…I have talked to several people that once they finally discovered how to make the planned pooling work, had to try it with every color variegated yarn they could find, just to see if they could get that yarn to pool too.

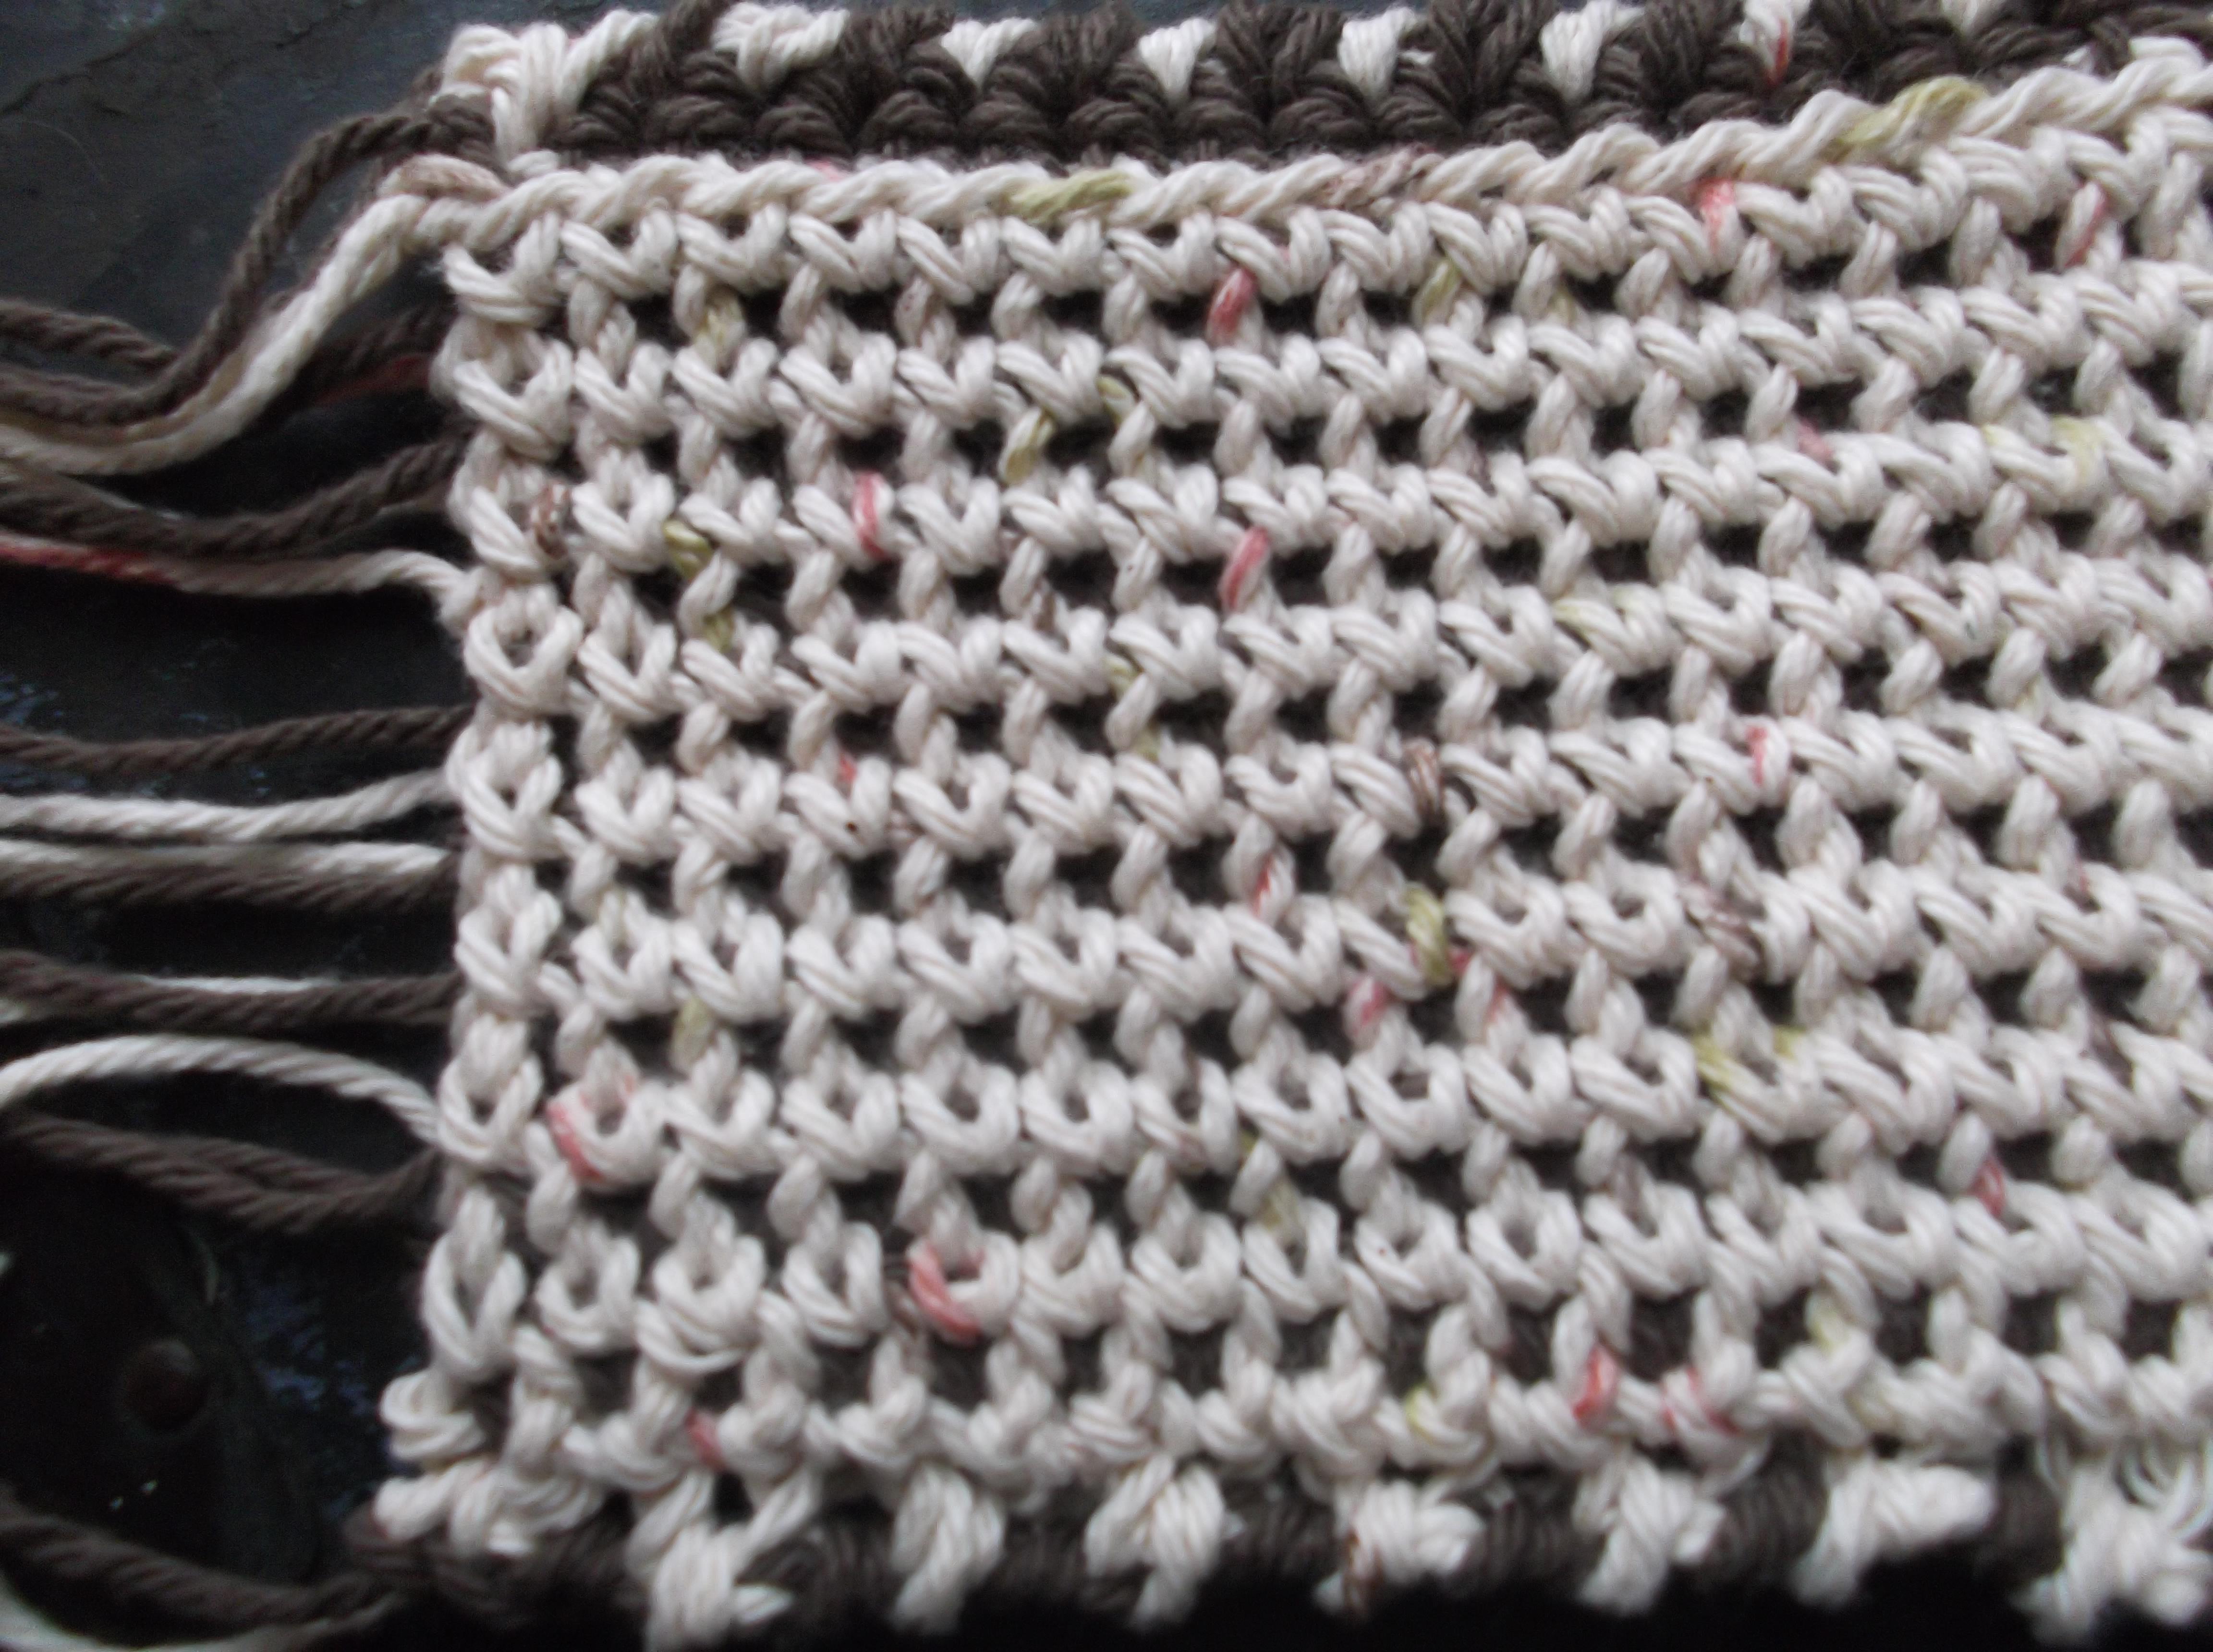
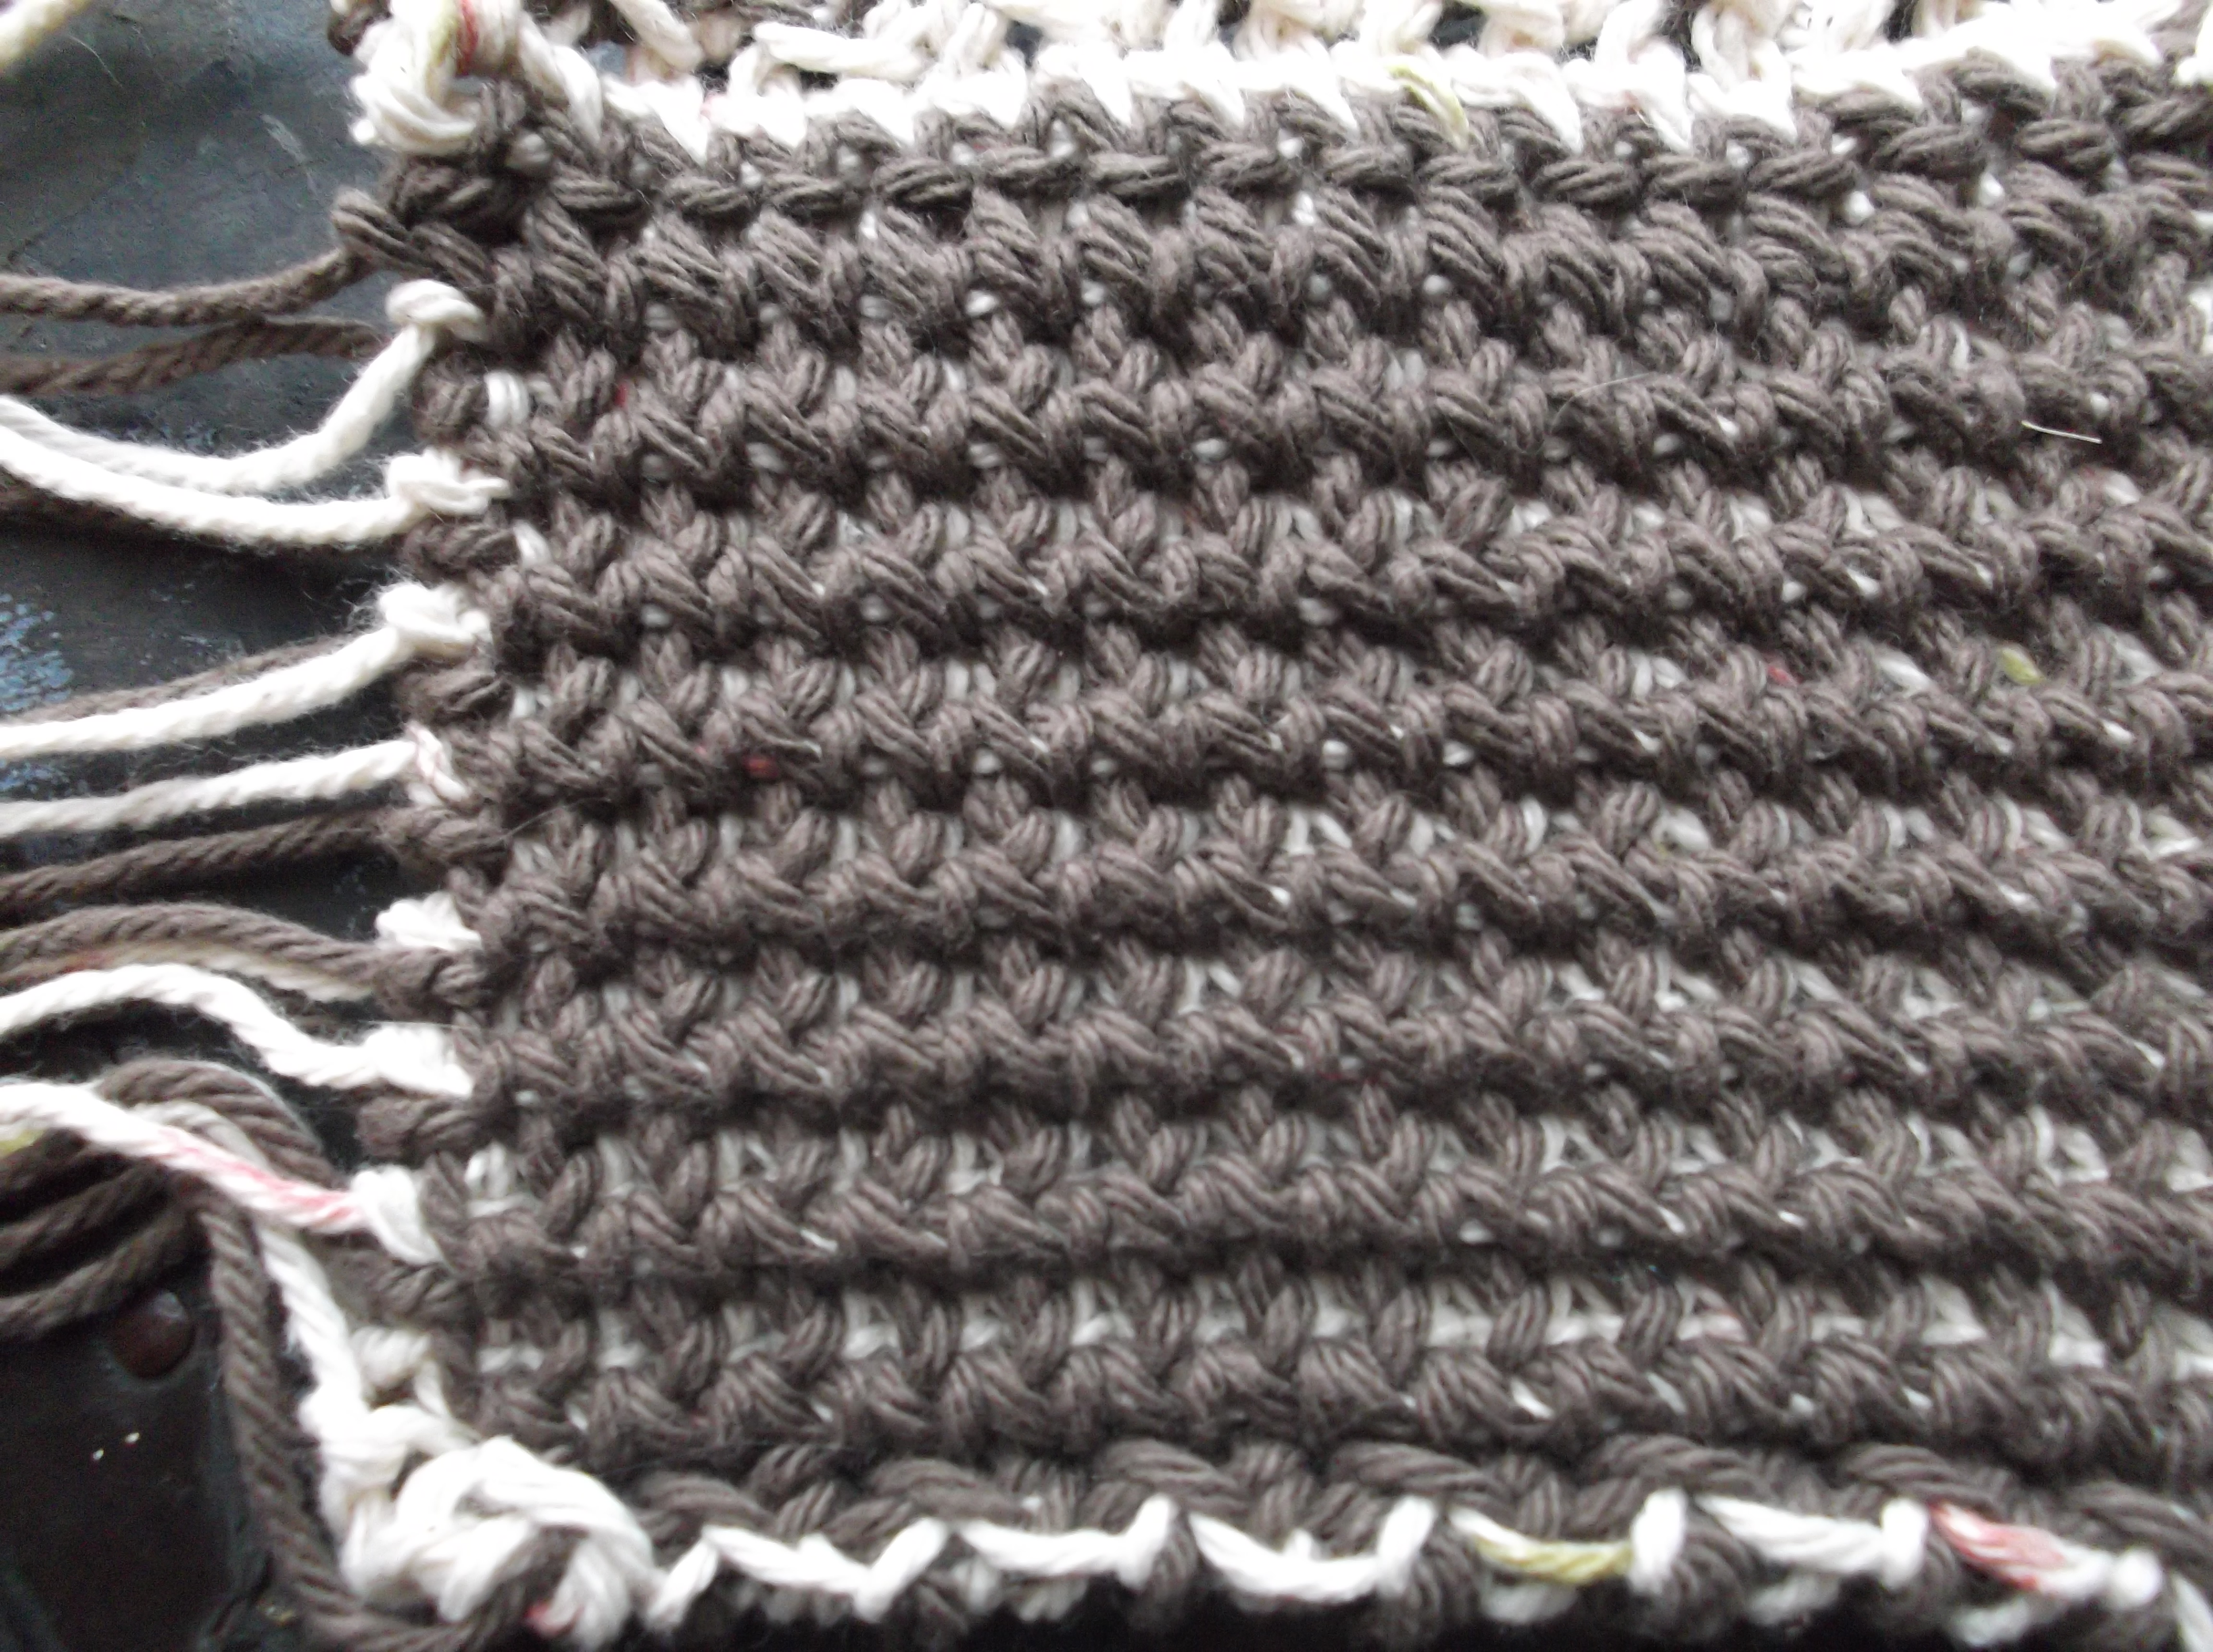
The wristers are worked as a rectangle then seemed, then the trim is added. If you need the wristers to fit a wider arm you simply work the rectangle longer, if you want the wristers to fit your arm longer then you work the trim wider. Making it an easy to customize pattern. The added bonus to this pattern, besides it being free, is that it is available in a free e-book with 9 planned pooling patterns….and did you notice that my design is gracing the cover? Yes, I think that is kind of cool.

Fair Isle- A Great Addition to Tunisian Crochet

ScannedImageIt is not often that I find something that can inspire and challenge me, but the latest book by Brenda Bourg has accomplished this. Fair Isle Tunisian Crochet gives explanation even a beginner can follow while giving create insight for even seasoned crocheters.

512xxyhIDWL._SX398_BO1,204,203,200_This technique and project book takes Tunisian crochet into the direction of a classic knitting style. It addresses the history, as well as color theory to ensure a successful project, while empowering you to make each project your own. There is an entire section that helps you understand and utilize the benefits of the color wheel and demystifies how to get a good combination of colors to find a that balance of compliment and contrast that allows fair isle to highlight your hand work will being pleasant to the eye.

One of the features I really appreciated was that the author speaks to you in practice terms. She addresses problems that you may, or will, encounter. You begin a project already understanding challenges that you may face, it is like a good friend is walking you through the skill and giving you all of the tips  and tricks they found on the journey to make you trip even easier. When you realize that your tension may be off, she has already addressed this and you know to keep an eye open to a certain things, and how often to check your work. It gave the book a very practical and friendly feel. I never felt that the skill was only addressing some crocheting elite, I felt that I could share with book with a beginner crocheter and have them feel comfortable practicing the skills.

0228161359c

Beginning my project from Fair Isle Tunisian Crochet. The charts make it so easy to follow along with.

The author even addresses how your fabric will actually feel when completed, and how to properly block and finish the pieces, explaining why it is important and the applications that may be necessary. It speaks to you on an everyday level and does not just explain how to work the technique but how to make it successful. The projects vary in difficulty to help you build your skills, and it even gives you a sampling of how variegated yarns can add a beautiful touch to this skill. The variety of the projects have a little something for everyone, accessories, home decor, and garments all offer a gradient skill level and the author offers her perspective on what you can expect to gain from each.

If you are interested in trying something new, maybe even take a new approach to color, this is s book you will appreciate. You can purchase it by following this link, and fortunately I am able to share a copy with one reader. All you have to do to check this book out for yourself, is leave a comment about which colors you like to put together in projects by the end of the day, Monday, March 7, 2016. One comment will be selected at random and will a copy of the book (unfortunately this is only available to those in the United States, sorry but it is the shipping restrictions from the publisher).

Double Limpets

Double Limpet Ascot 2

Photo Courtesy of Annie’s

ScannedImageThe Double Limpet is another stitch that I have been playing with. I enjoy the technique to this stitch, probably because I like the “casting on” of loops and working them off to create this unique texture. It reminds me of little shells or fins that stand up and ask to be taken notice of on a fabric.

Double Limpet Ascot 1

Photo courtesy of Annie’s

The ascot scarf grew out of this whimsical approach. The double limpets create a fun texture at either end and also allow for the scarf to be slipped through a “bridge” of stitches to secure to itself.You can find a full description of the stitch technique, in three variations, as well as the ascot pattern in the Summer 2014 issue of Crochet! Magazine (currently available on news stands).  Sm2014 C!

Thoughts on the Thermal Stitch…

ScannedImageWhen I started out to write this post, I was thinking of the cold weather I was seeing on the news, and it made me think of the thermal stitch. I have always been a little intrigued with this stitch; it makes a double layer fabric and has the resemblance to long johns, with the little indented squares. But as I started writing, I realized that there were questions about the properties of this technique that I couldn’t quite answer. So that is how I will preface this post, that it is a little beginning exploration for me with this technique.

DSCF0574

Insert hook from the bottom of the loop, beginning with the back loop from the row below (now facing) and the front loop of the stitch of the current row

DSCF0575

Yarn over and pull through 2 loops

The basic premise of this stitch is that you work single crochet stitches in the front loops of the row as well as the back loops of the row below. Working the stitch into the foundation chain can be a little daunting, so to give you an understanding of the stitch I will begin on the second row of a piece of single crochet. The rows of single crochet will be offset from one another, this creates the setback, while pulling up the lo op from a row below creates the edges to the “indented little square”.

DSCF0576

Yarn over and pull through remaining 2 loops to finish stitch

One of the main things to remember with this stitch is to insert the hook in the loop of the row below from the bottom, then insert it into the front loop of the next working row from the bottom.  You then yarn over and pull through both loops (you might want to pull up a longer than usual loop), yarn over again and pull through the two loops remaining on the hook to finish the stitch.  This will create a dense fabric, and if you want to have a little fun, you can alternate colors every row and get a double sided fabric (although there would be many ends to weave of leave it fringed).

DSCF0572

Using two colors, here is one side….

DSCF0573

…here is the other.

DSCF0571

Play swatch, showing same technique using sport weight yarn and an N size hook (in one color), look at the open effect…has some possibilities….

One of the areas I plan on playing with is large hooks with finer yarns. In the small sample I started working with I was impressed with the draping I received as well as the slight openness of the fabric (made me think of springtime). Amazing how attempting to explain a simple concept can yet lead to more questions, and hopefully better understanding…I will keep you posted.