Beyond Basic Hat- Free Pattern

Last week I shared a Basic Hat free pattern, I had an increased number of people wanting to make hats, and they really are great, quick projects, that can help those fighting cancer by the means of chemo therapy. I have designed both of these hats using baby weight yarn, as I find that it is both soft and hypo-allergenic.

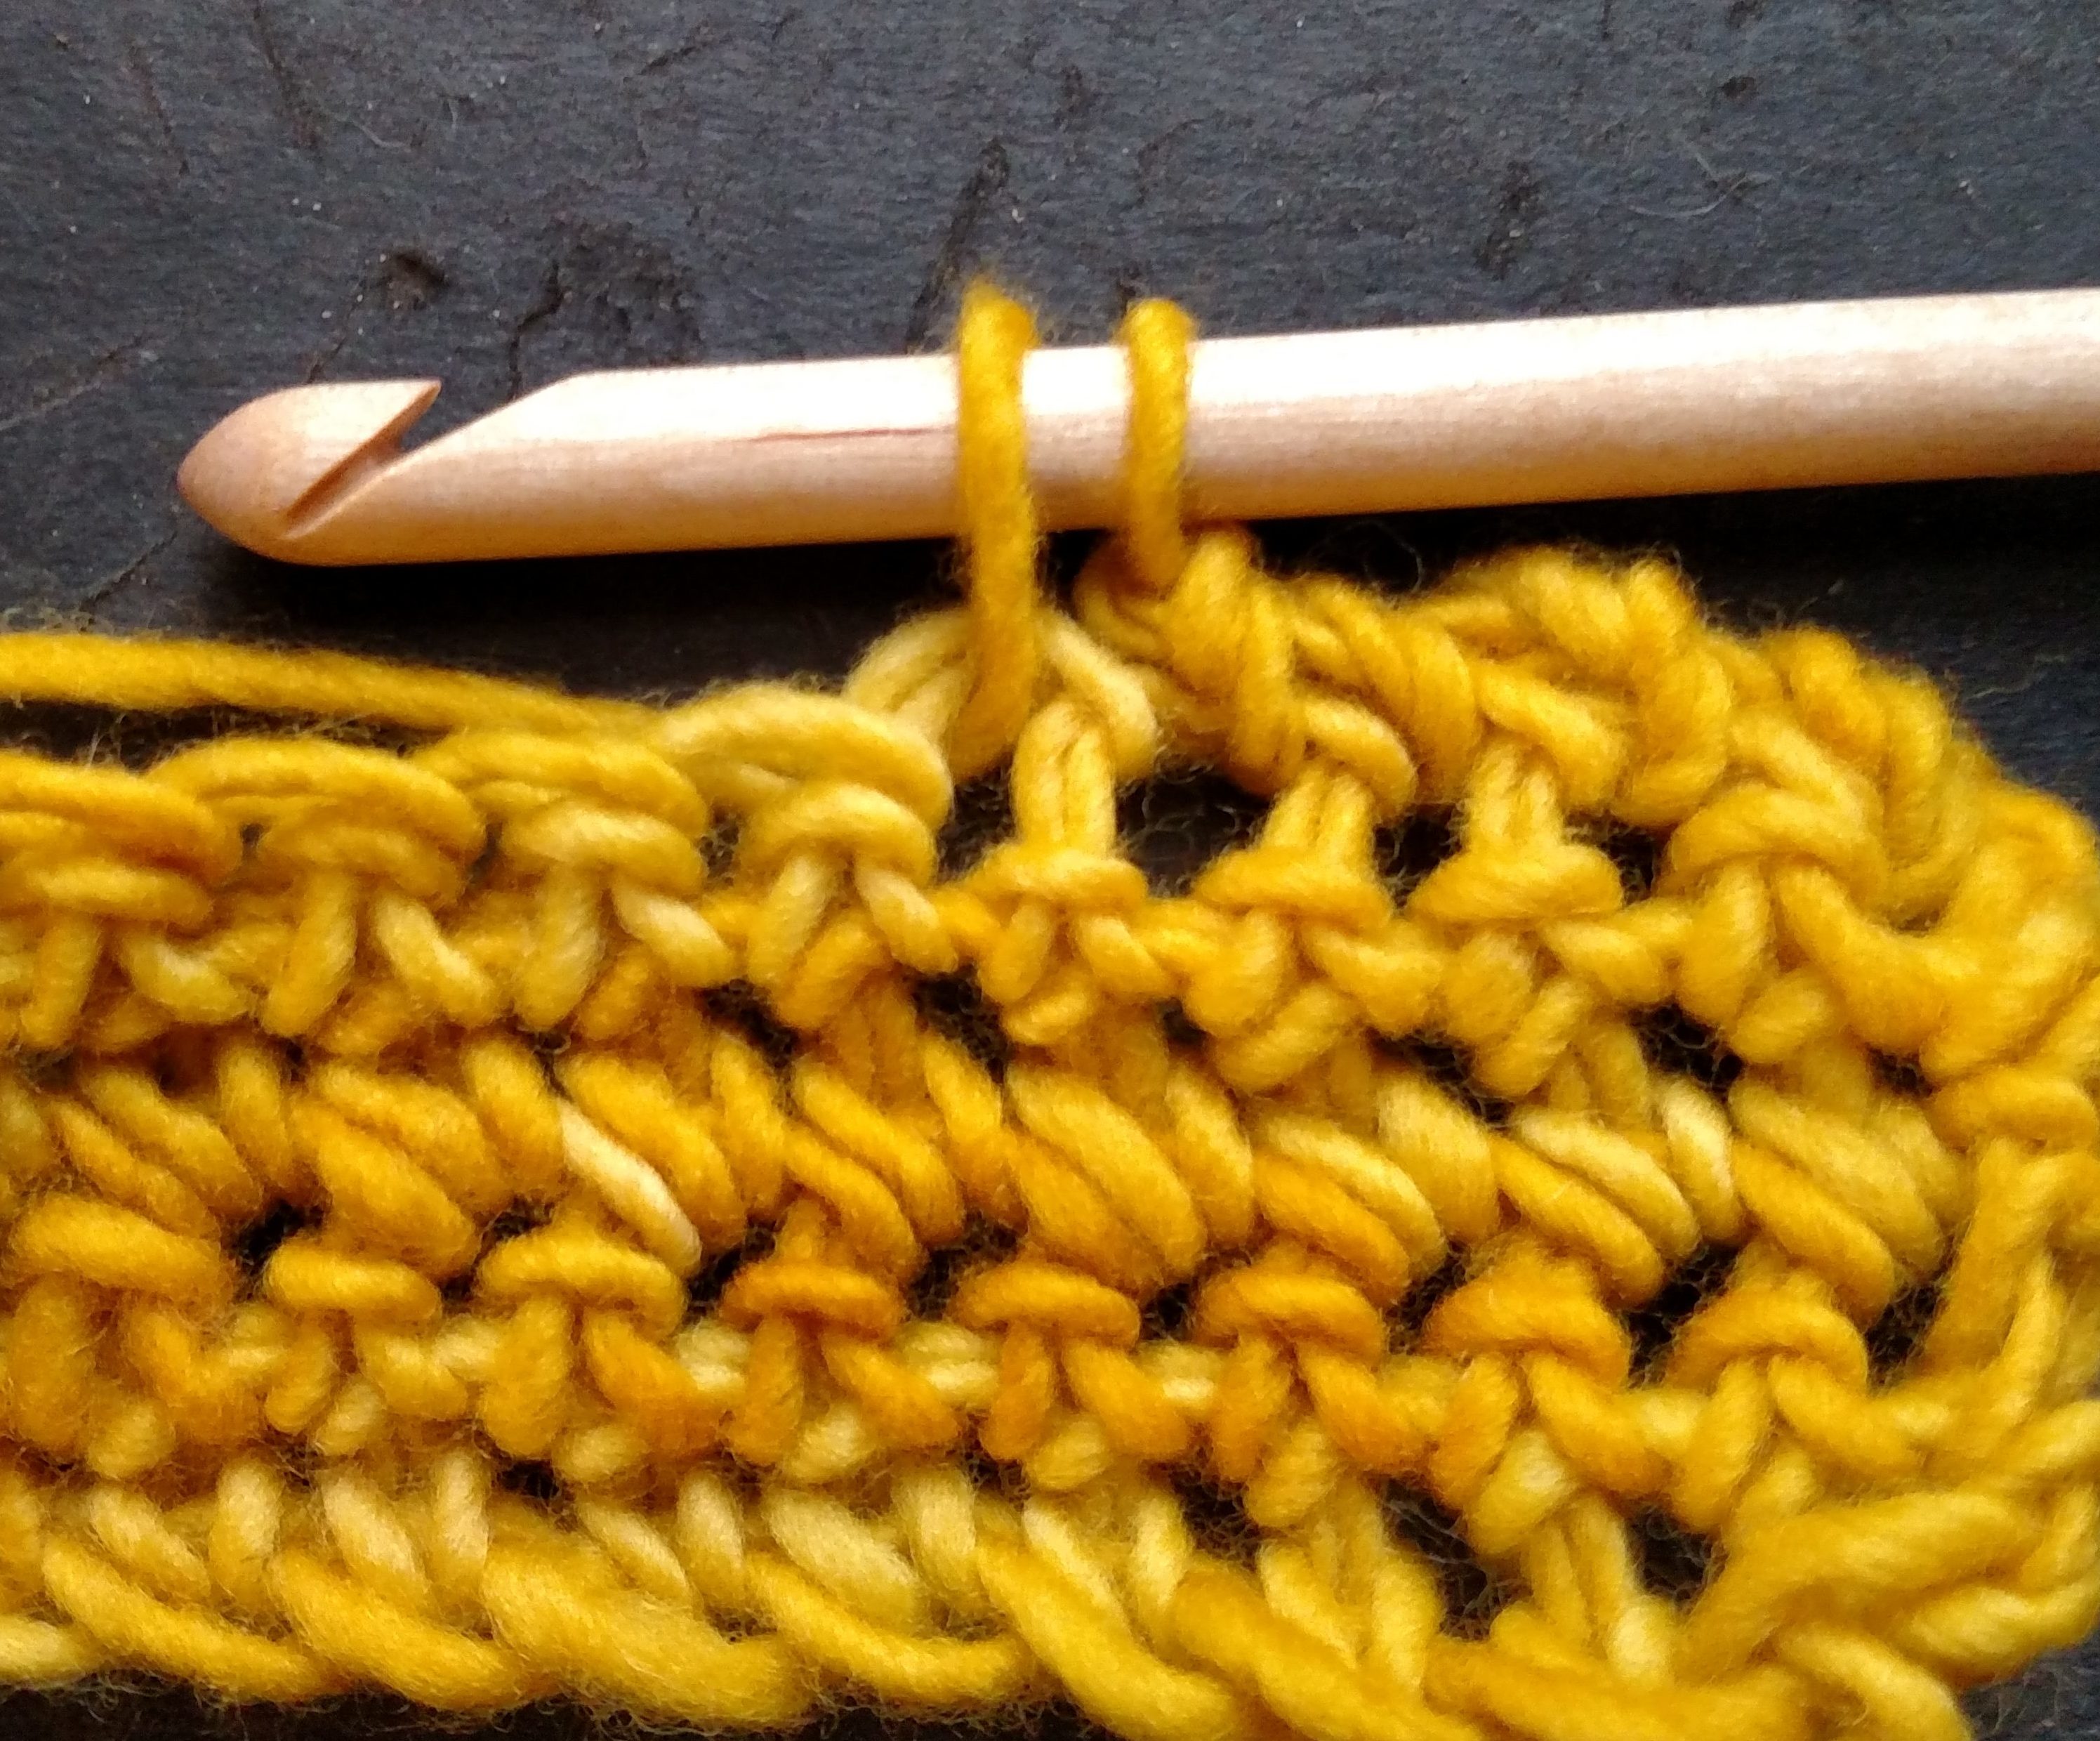
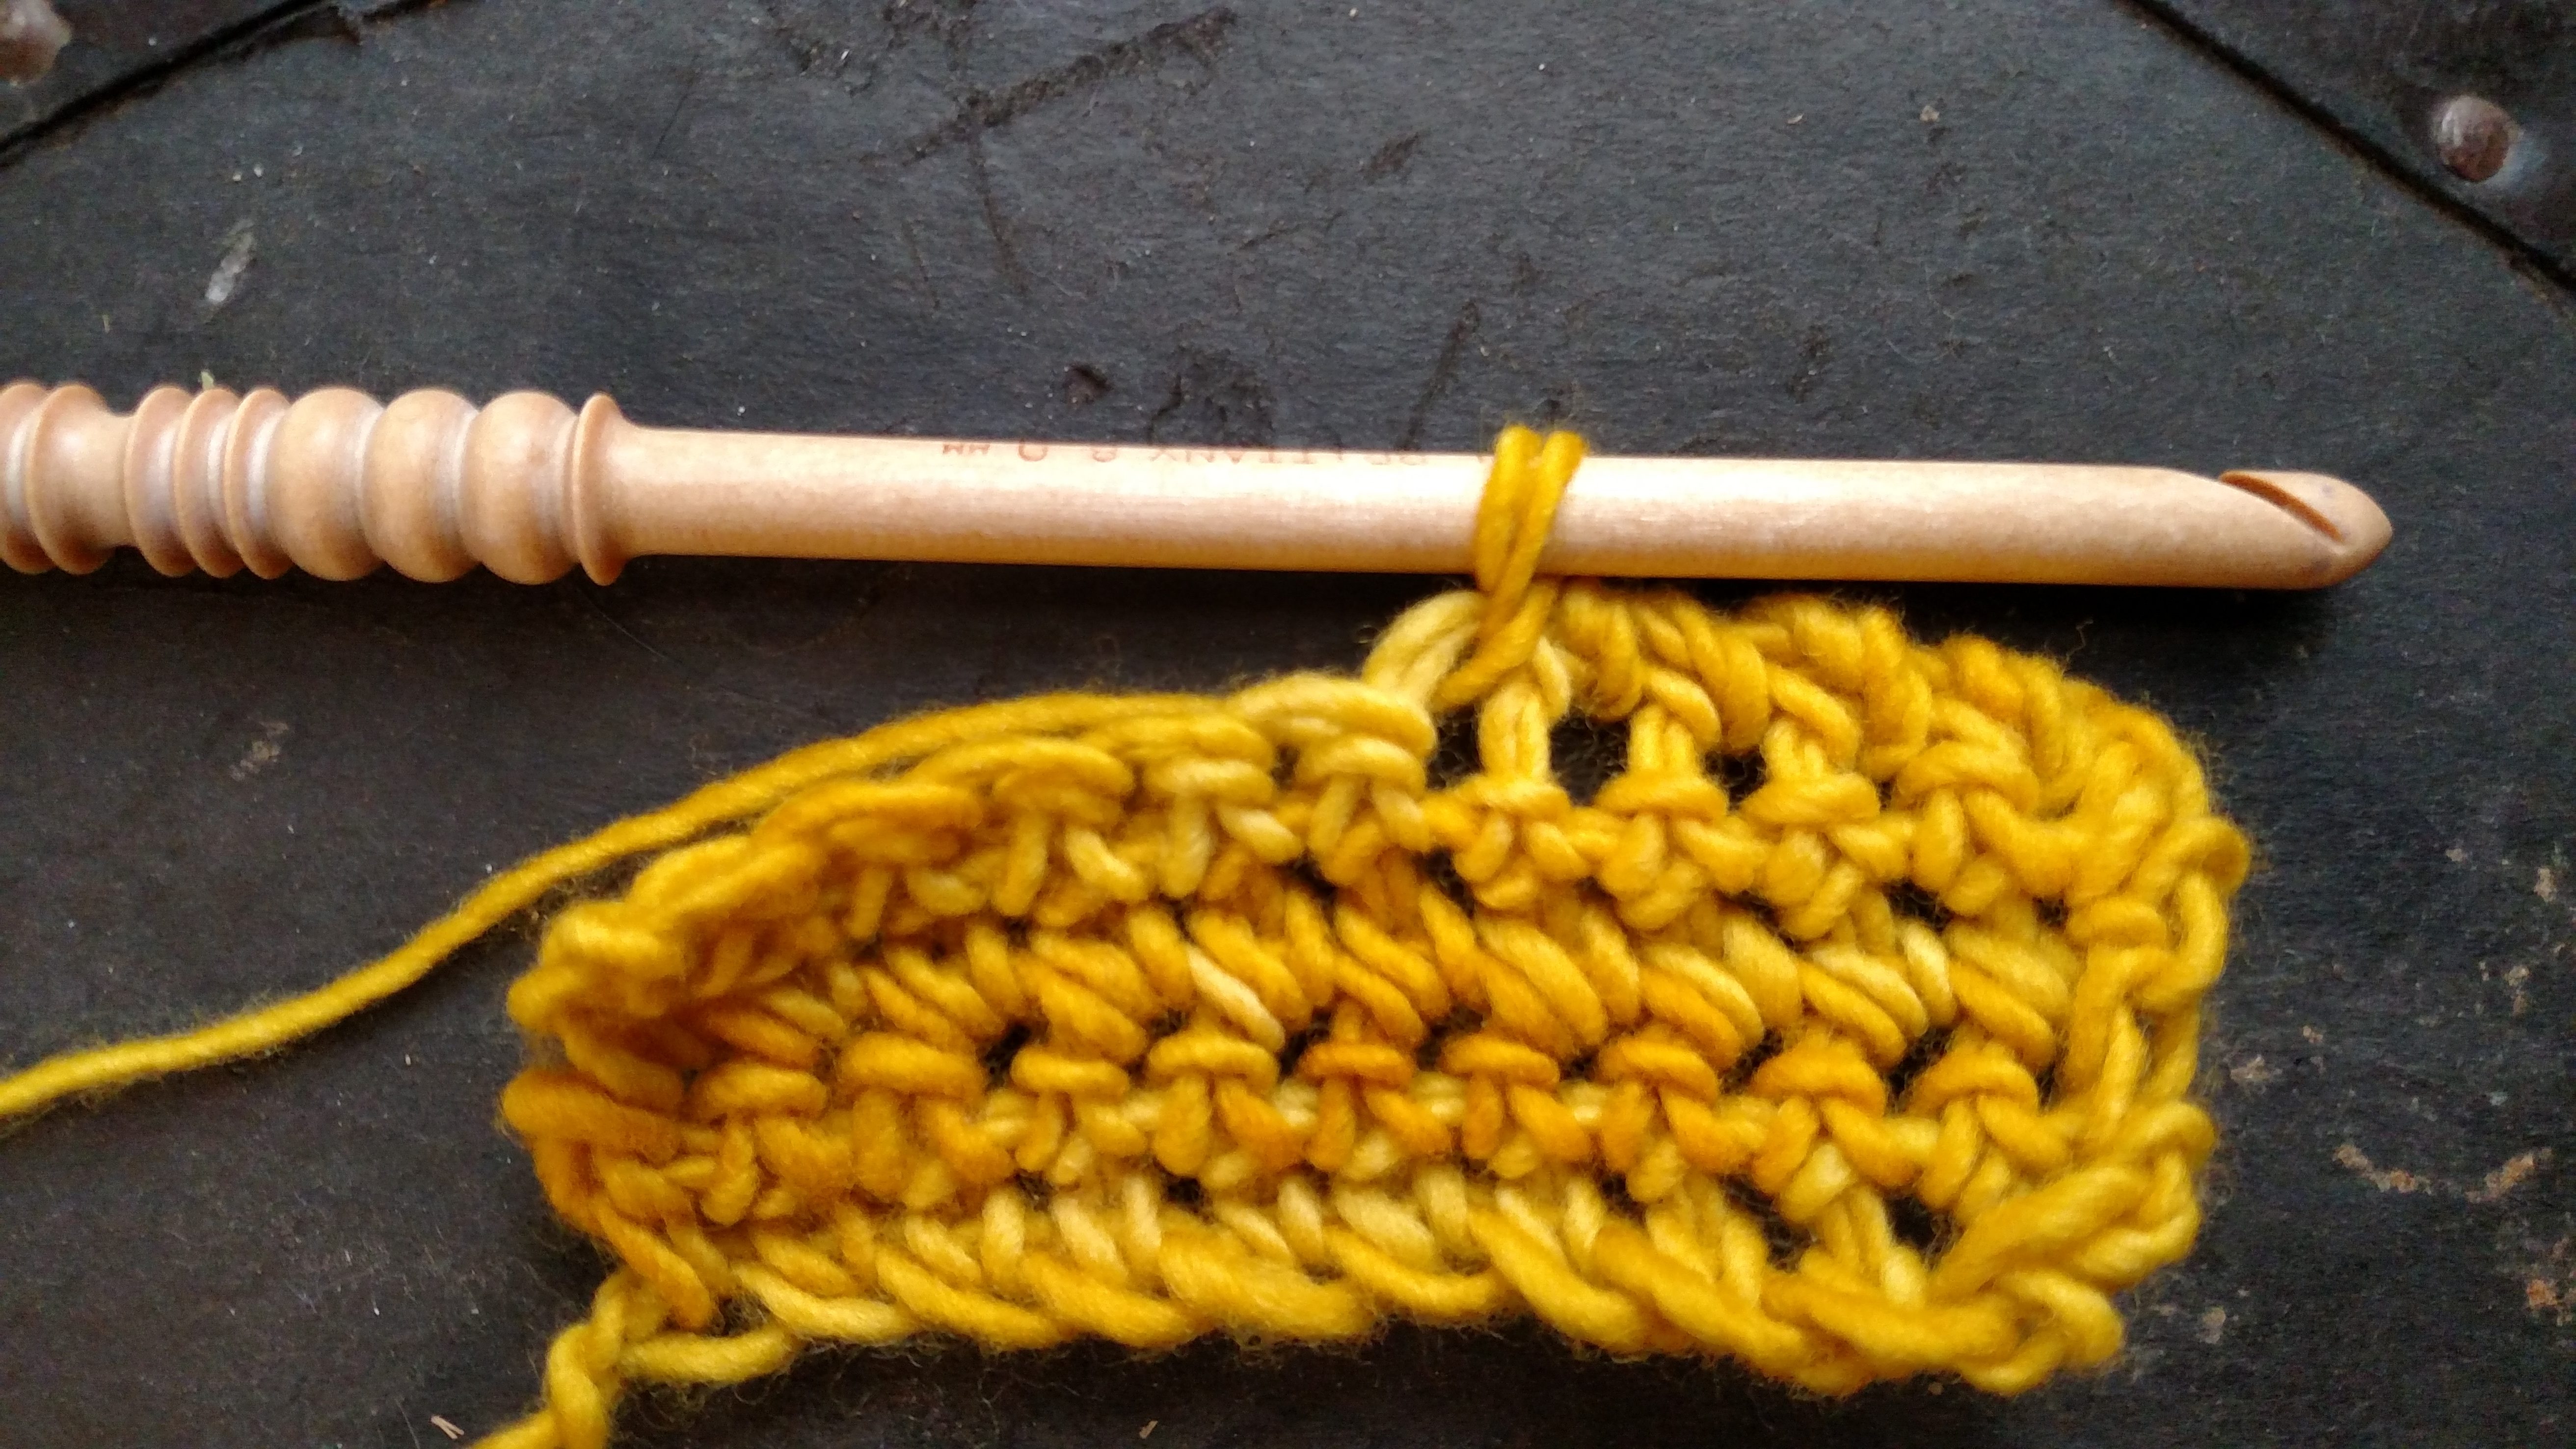
The Beyond Basic Hat is worked holding 2 strands of baby yarn at one time (you could substitute 1 strand of medium weight yarn instead). To use 2 strands is not as difficult as it seems, you simply hold them together and treat them as if they were just 1 strand, so you yarn over using both strands together, you pull through loops using both strands together, they just get worked as one. I find it fun to use 2 different colors, like I did in this sample with teal and lemon yellow.

I find that this pattern tends to be my go to hat more often, as is really works up fairly fast, however if you want to learn how to customize the size of hat, check out my tutorial, Crochet Hat Formula, here.


Beyond Basic Hat

Materials:

2 skeins Lion Brand Soft Baby light weight yarn (60% acrylic, 40% nylon)

I/9/6mm crochet hook

Gauge: 5 rnds/ 8 dc=3”

This pattern is worked holding 2 strands of yarn throughout.

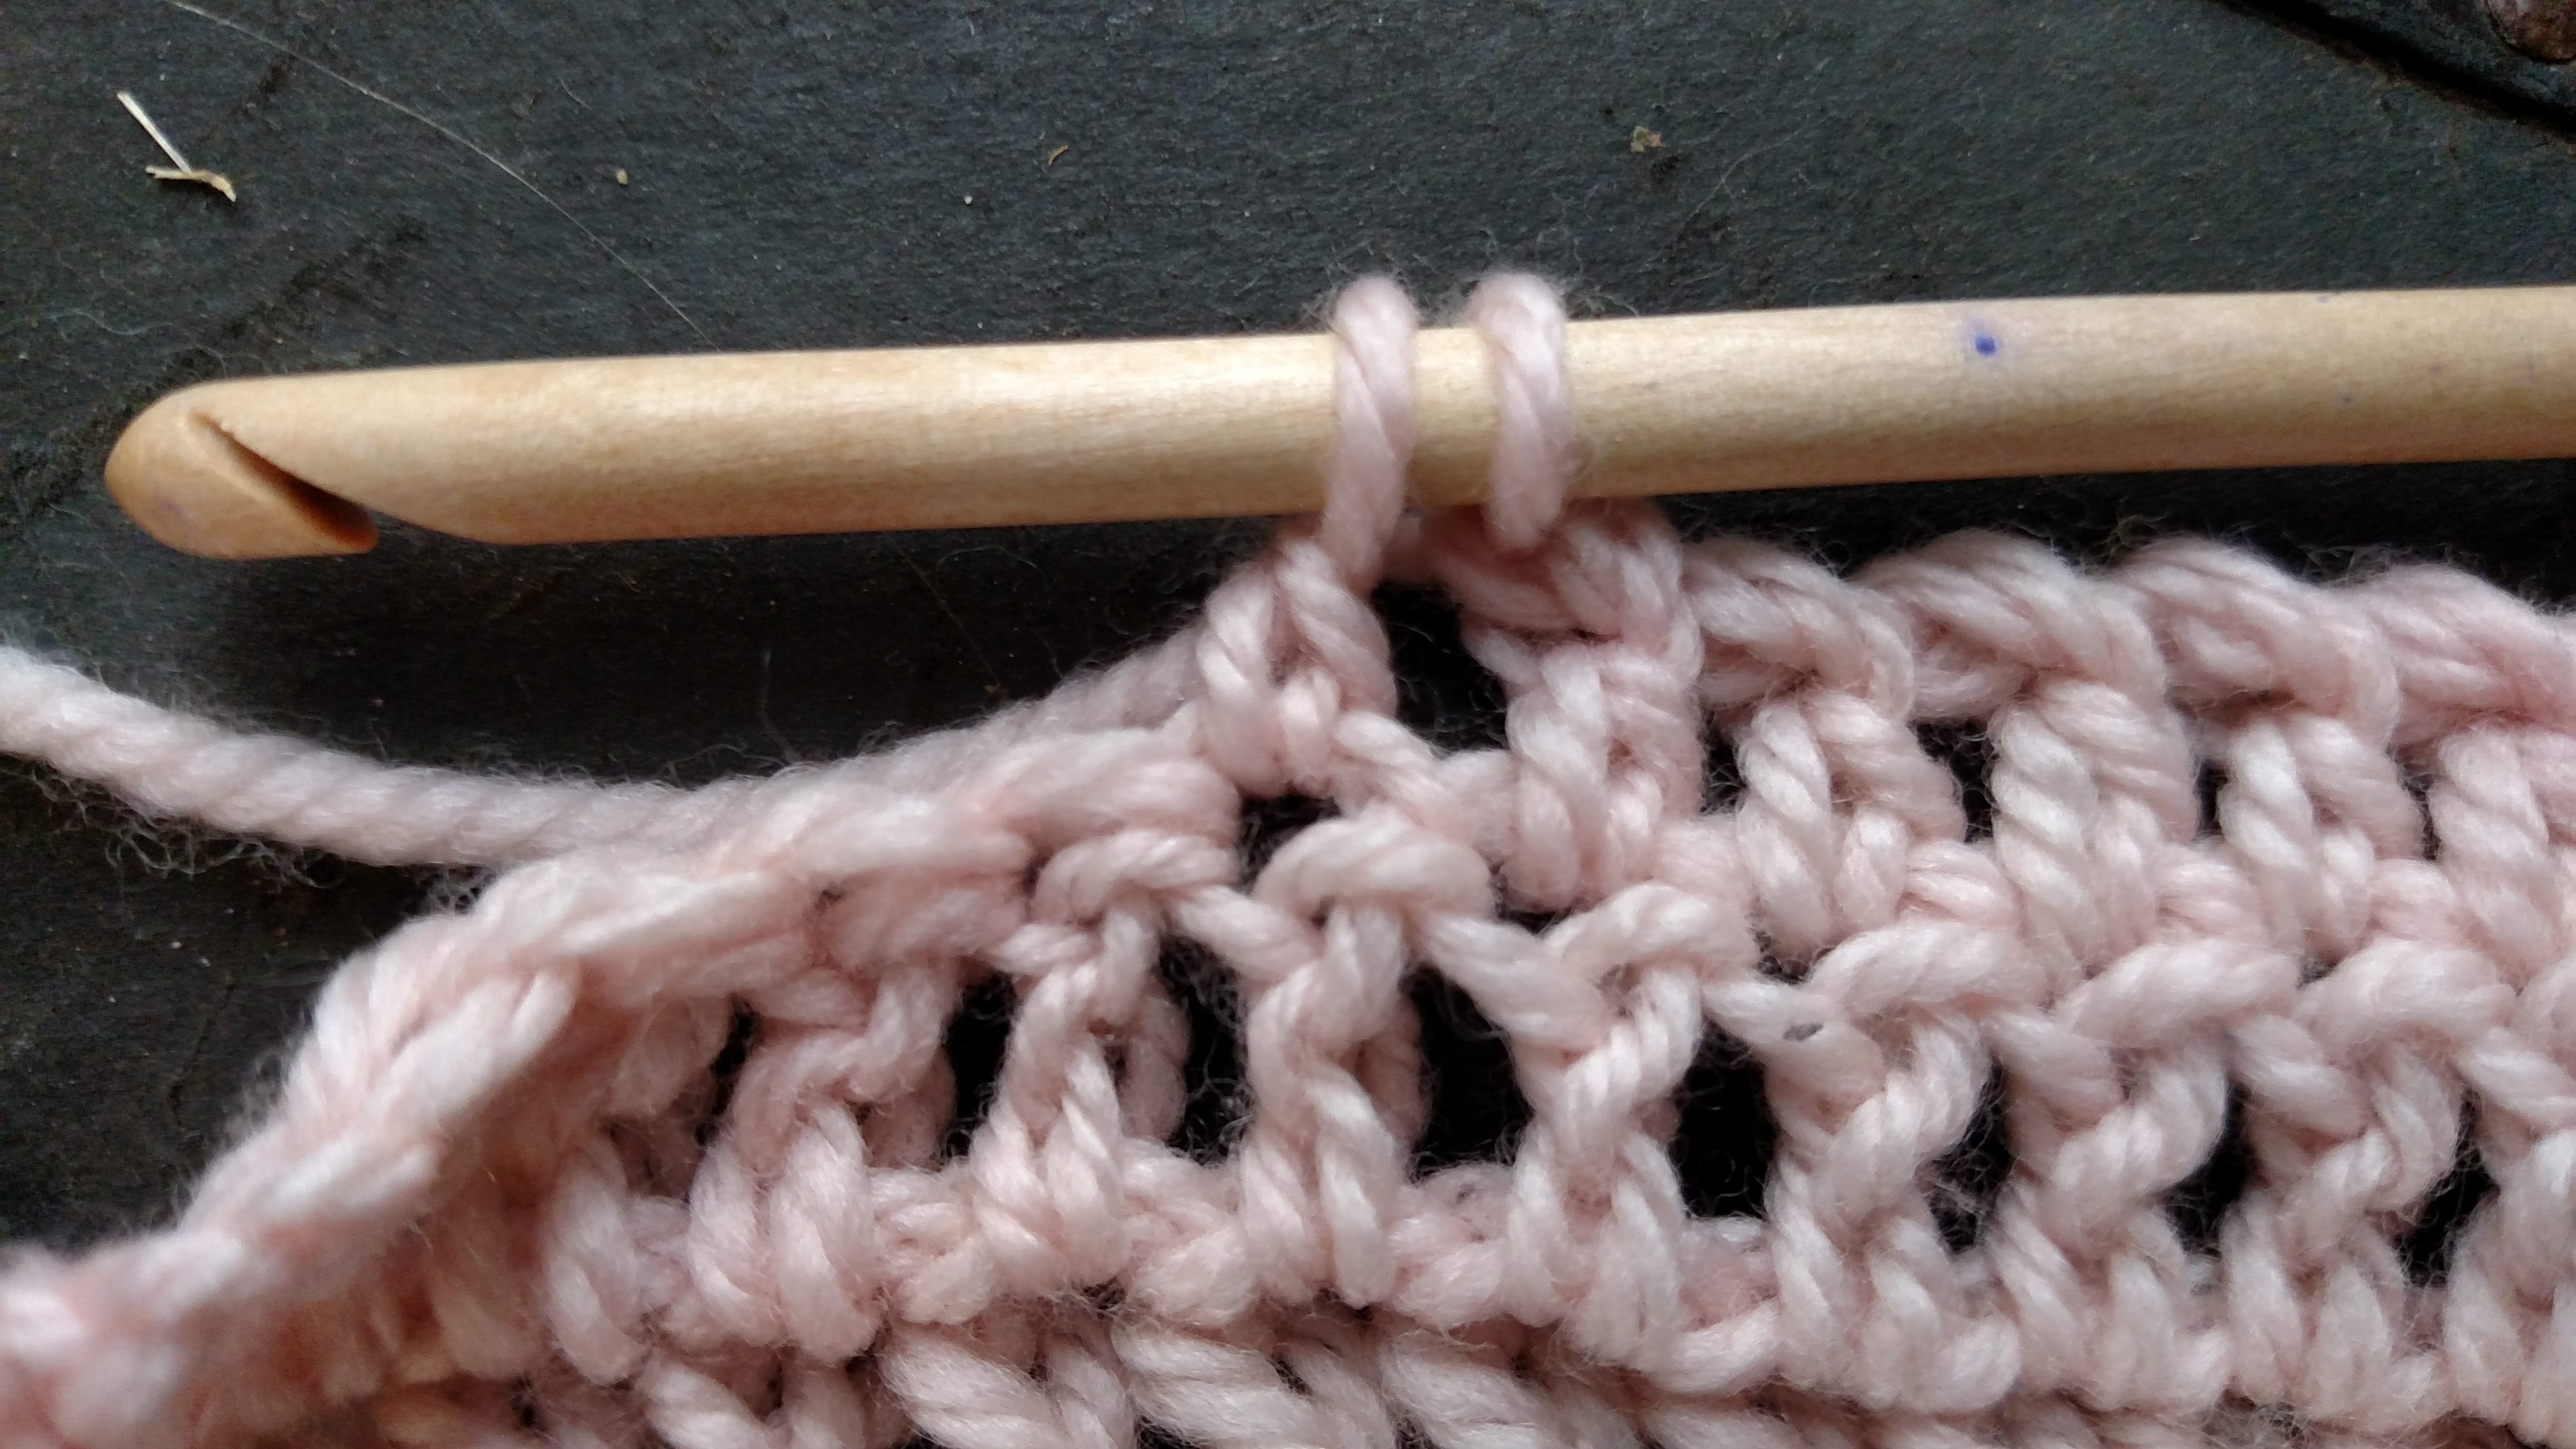
For directions for the Reverse Single Crochet (Revsc) check out my tutorial here.

Sizes: Baby (Kid, Woman, Man)

Rnd 1(1, 1, 1) Ch 4, 11 dc in 4th ch from the hook, sl st to join.

Rnd 2 (2, 2, 2): Ch 3, dc in same st, 2 dc in each st around, sl st to join.

Rnd 3 (3, 3, 3): Ch 3, dc in same st, dc in next st, [2 dc in next st, dc in next st] rep around, sl st to join.

Rnd – (4, 4, 4): Ch 3, dc in same st, dc in next 2 sts, [2 dc in next st, dc in next 2 sts] rep around, sl st to join.

Rnd – ( -, 5, 5): Ch 3, dc in same st, dc in next 3 sts, [2 dc in next st, dc in next 3 sts] rep around, sl st to join.

Rnd – (-, -, 6): Ch 3, dc in same st, dc in next 4 sts, [2 dc in next st, dc in next 3 sts] rep around, sl st to join.

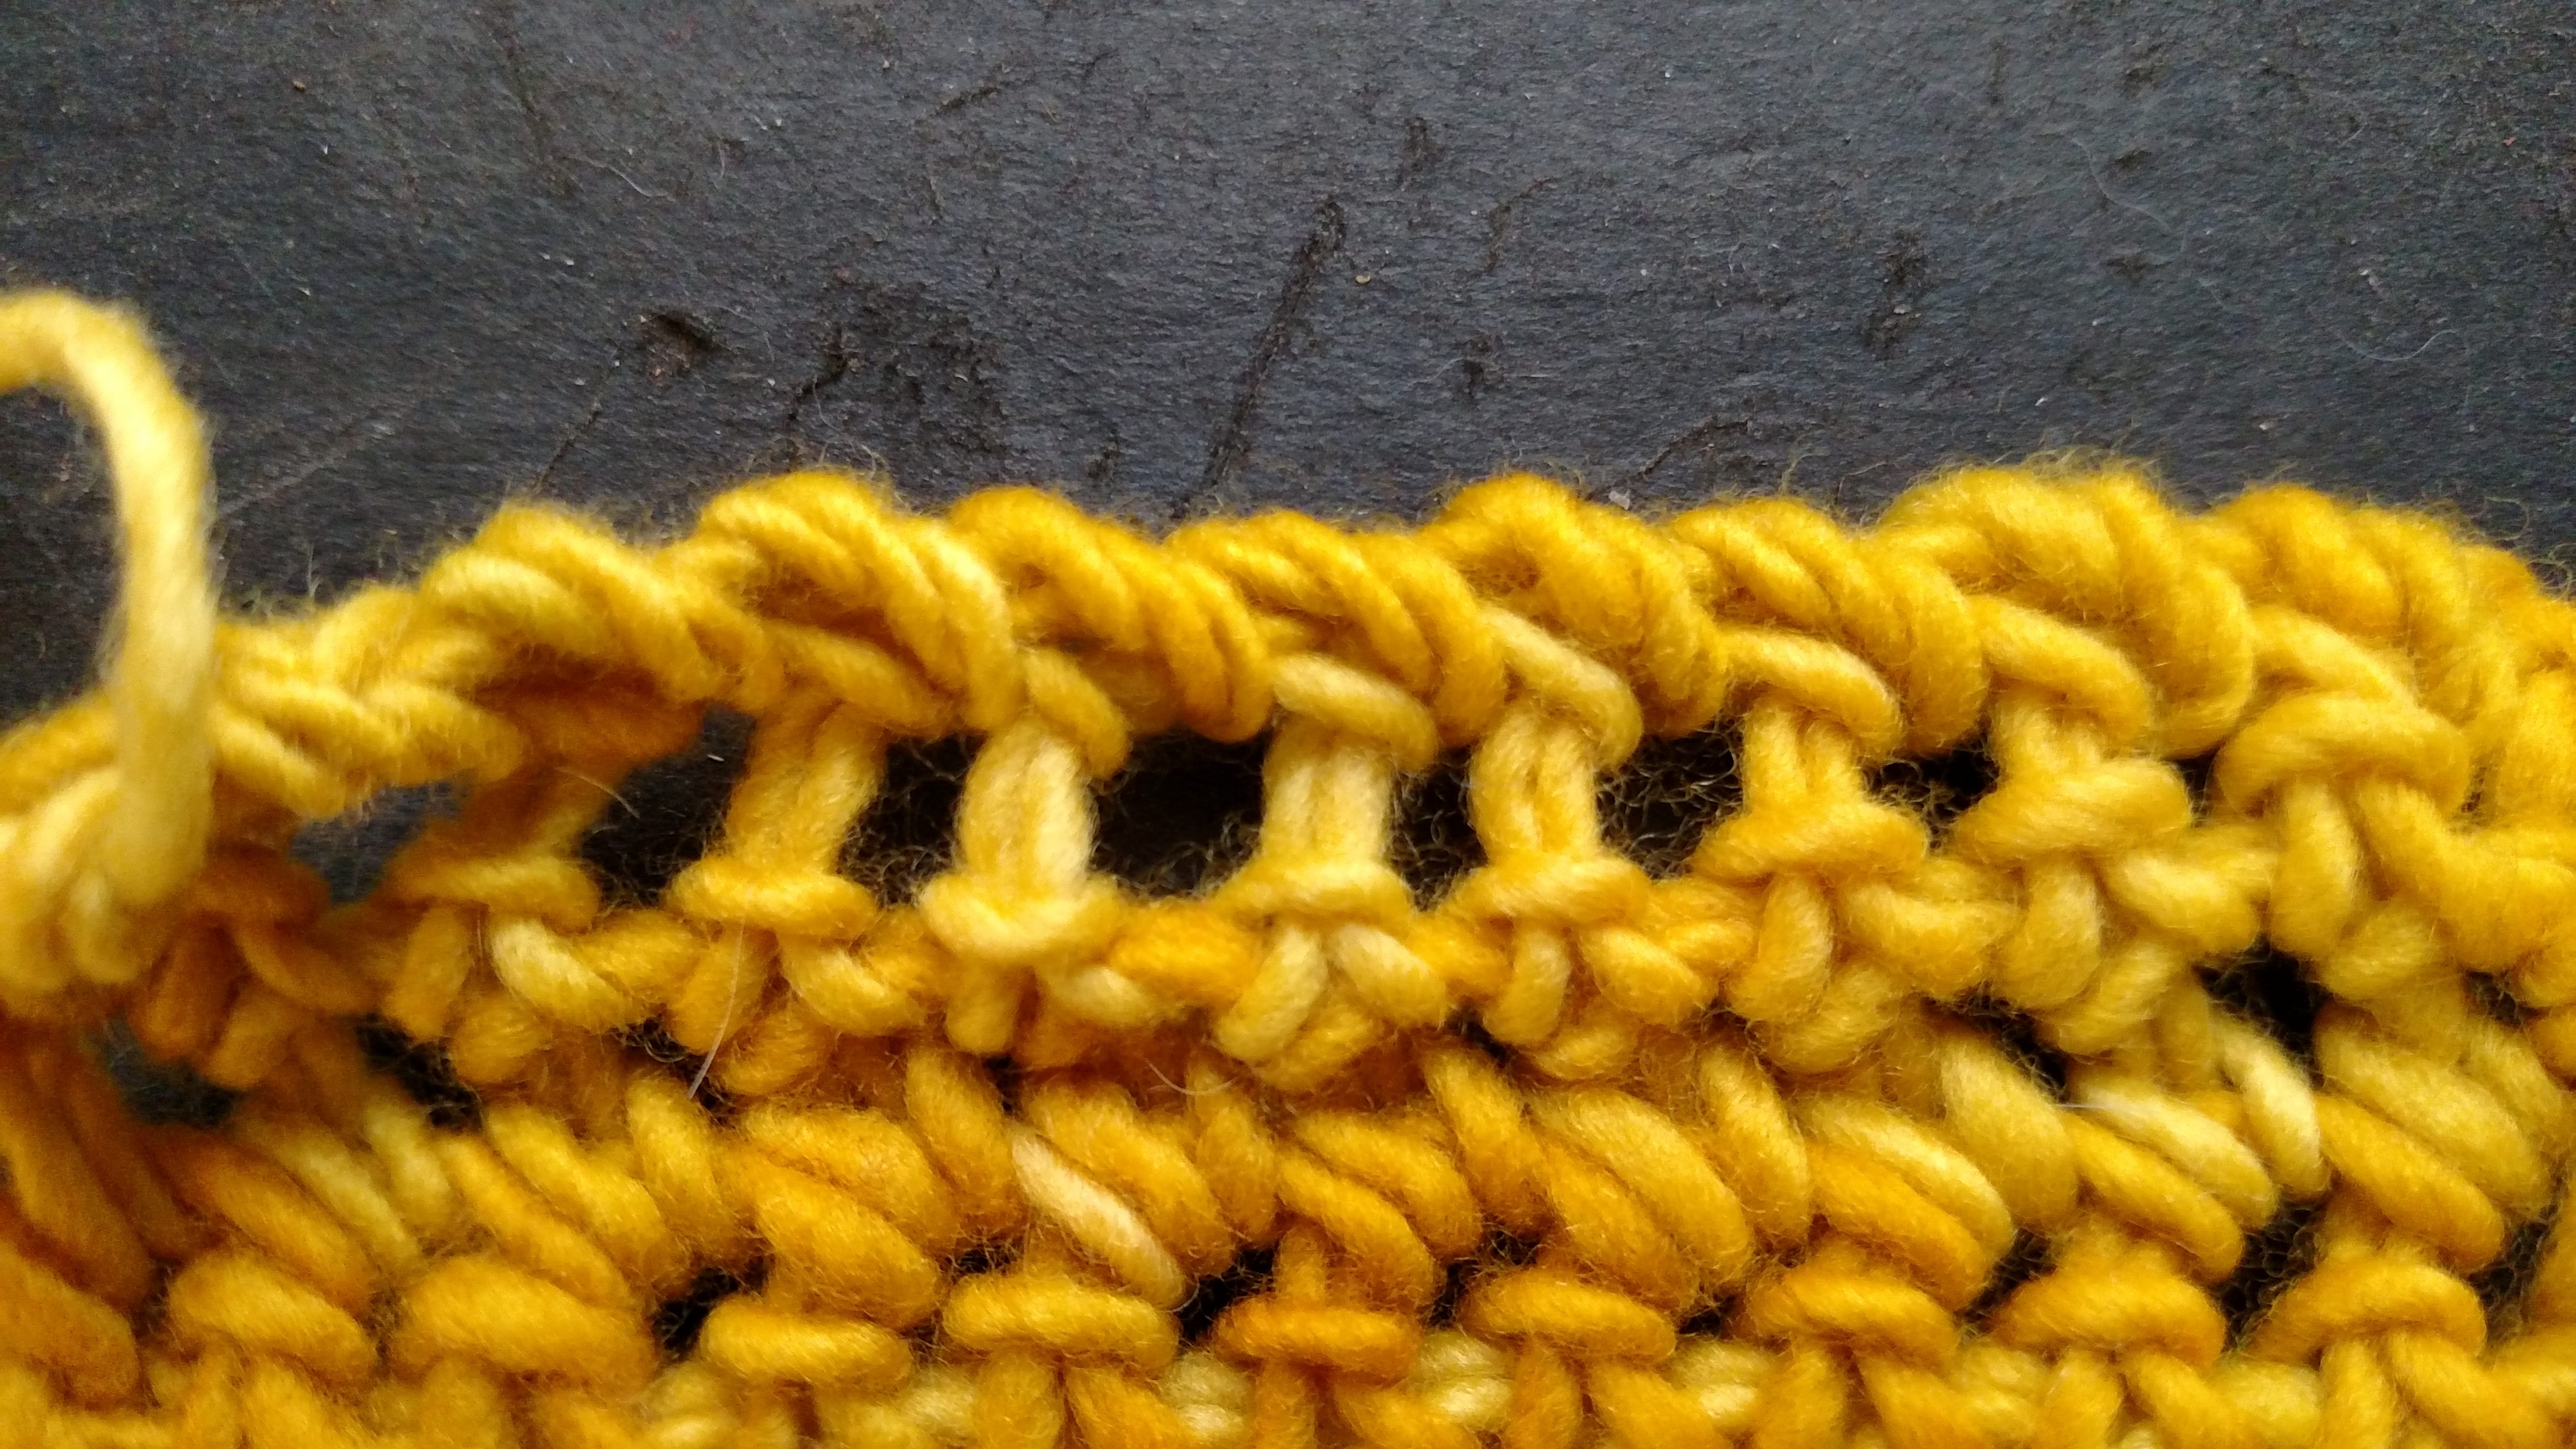
Rnd 4-8 (5-11, 6-12, 7-13): Ch 3, dc in each st around, sl st to join.

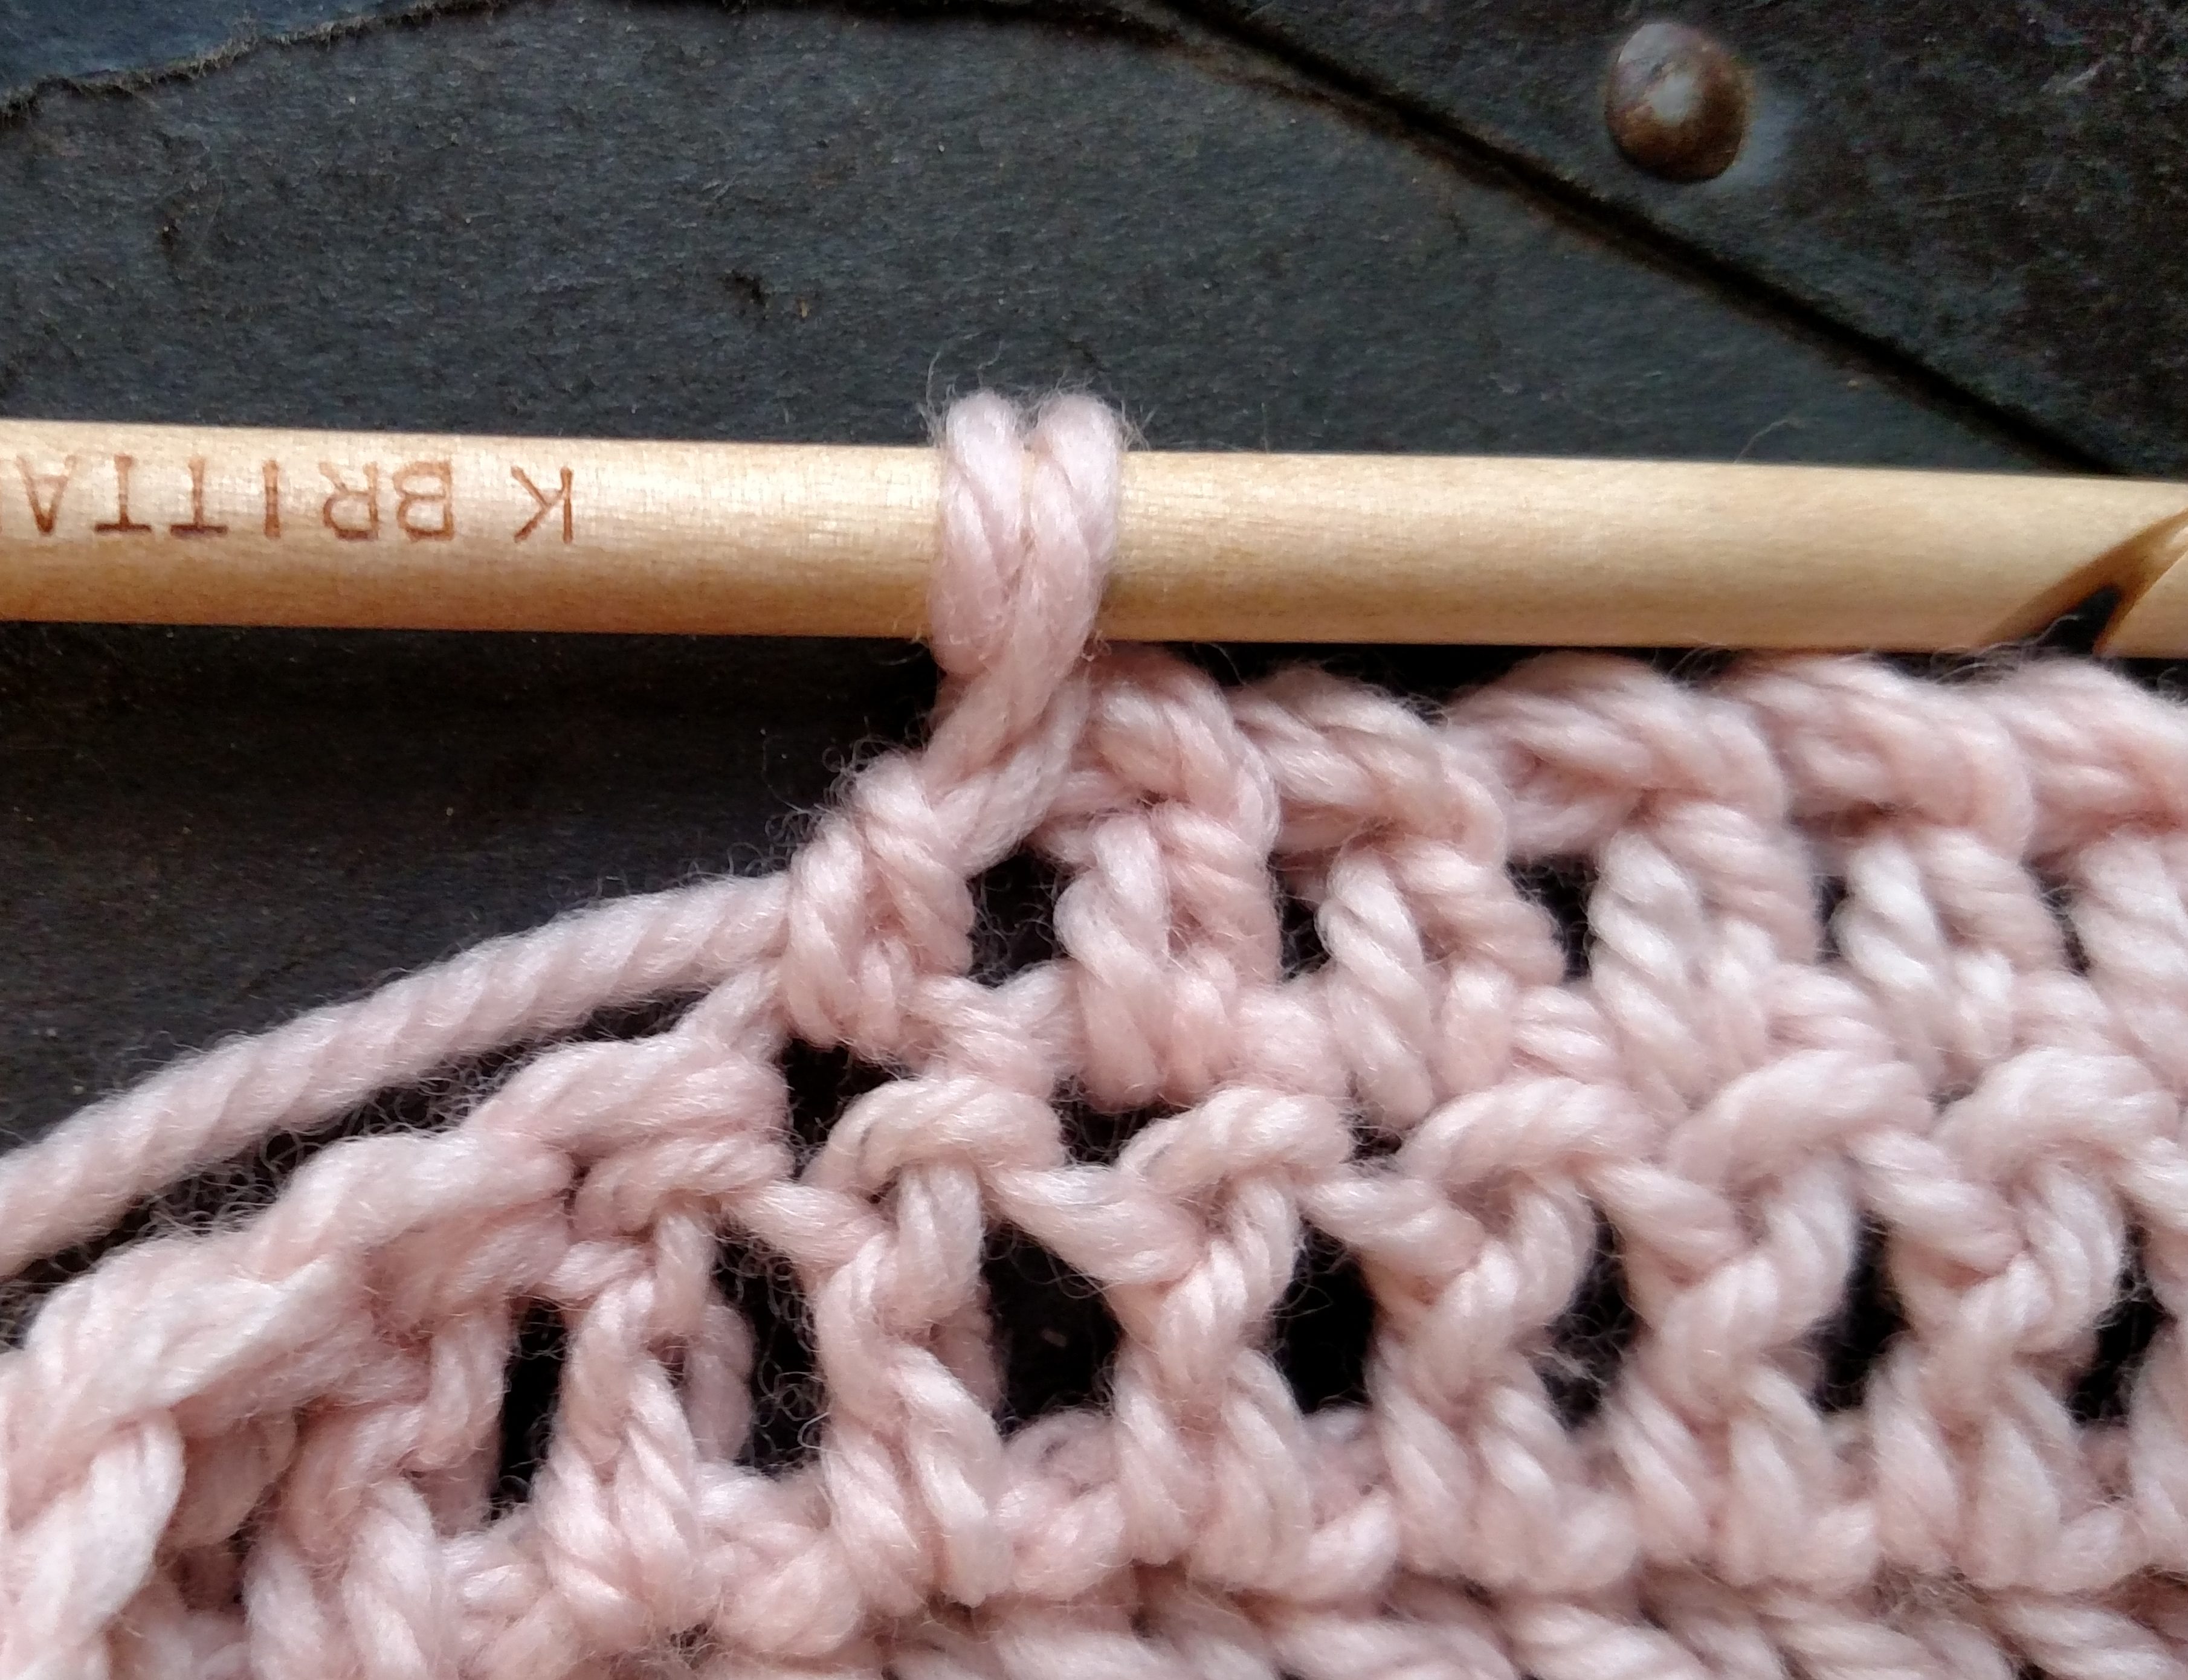
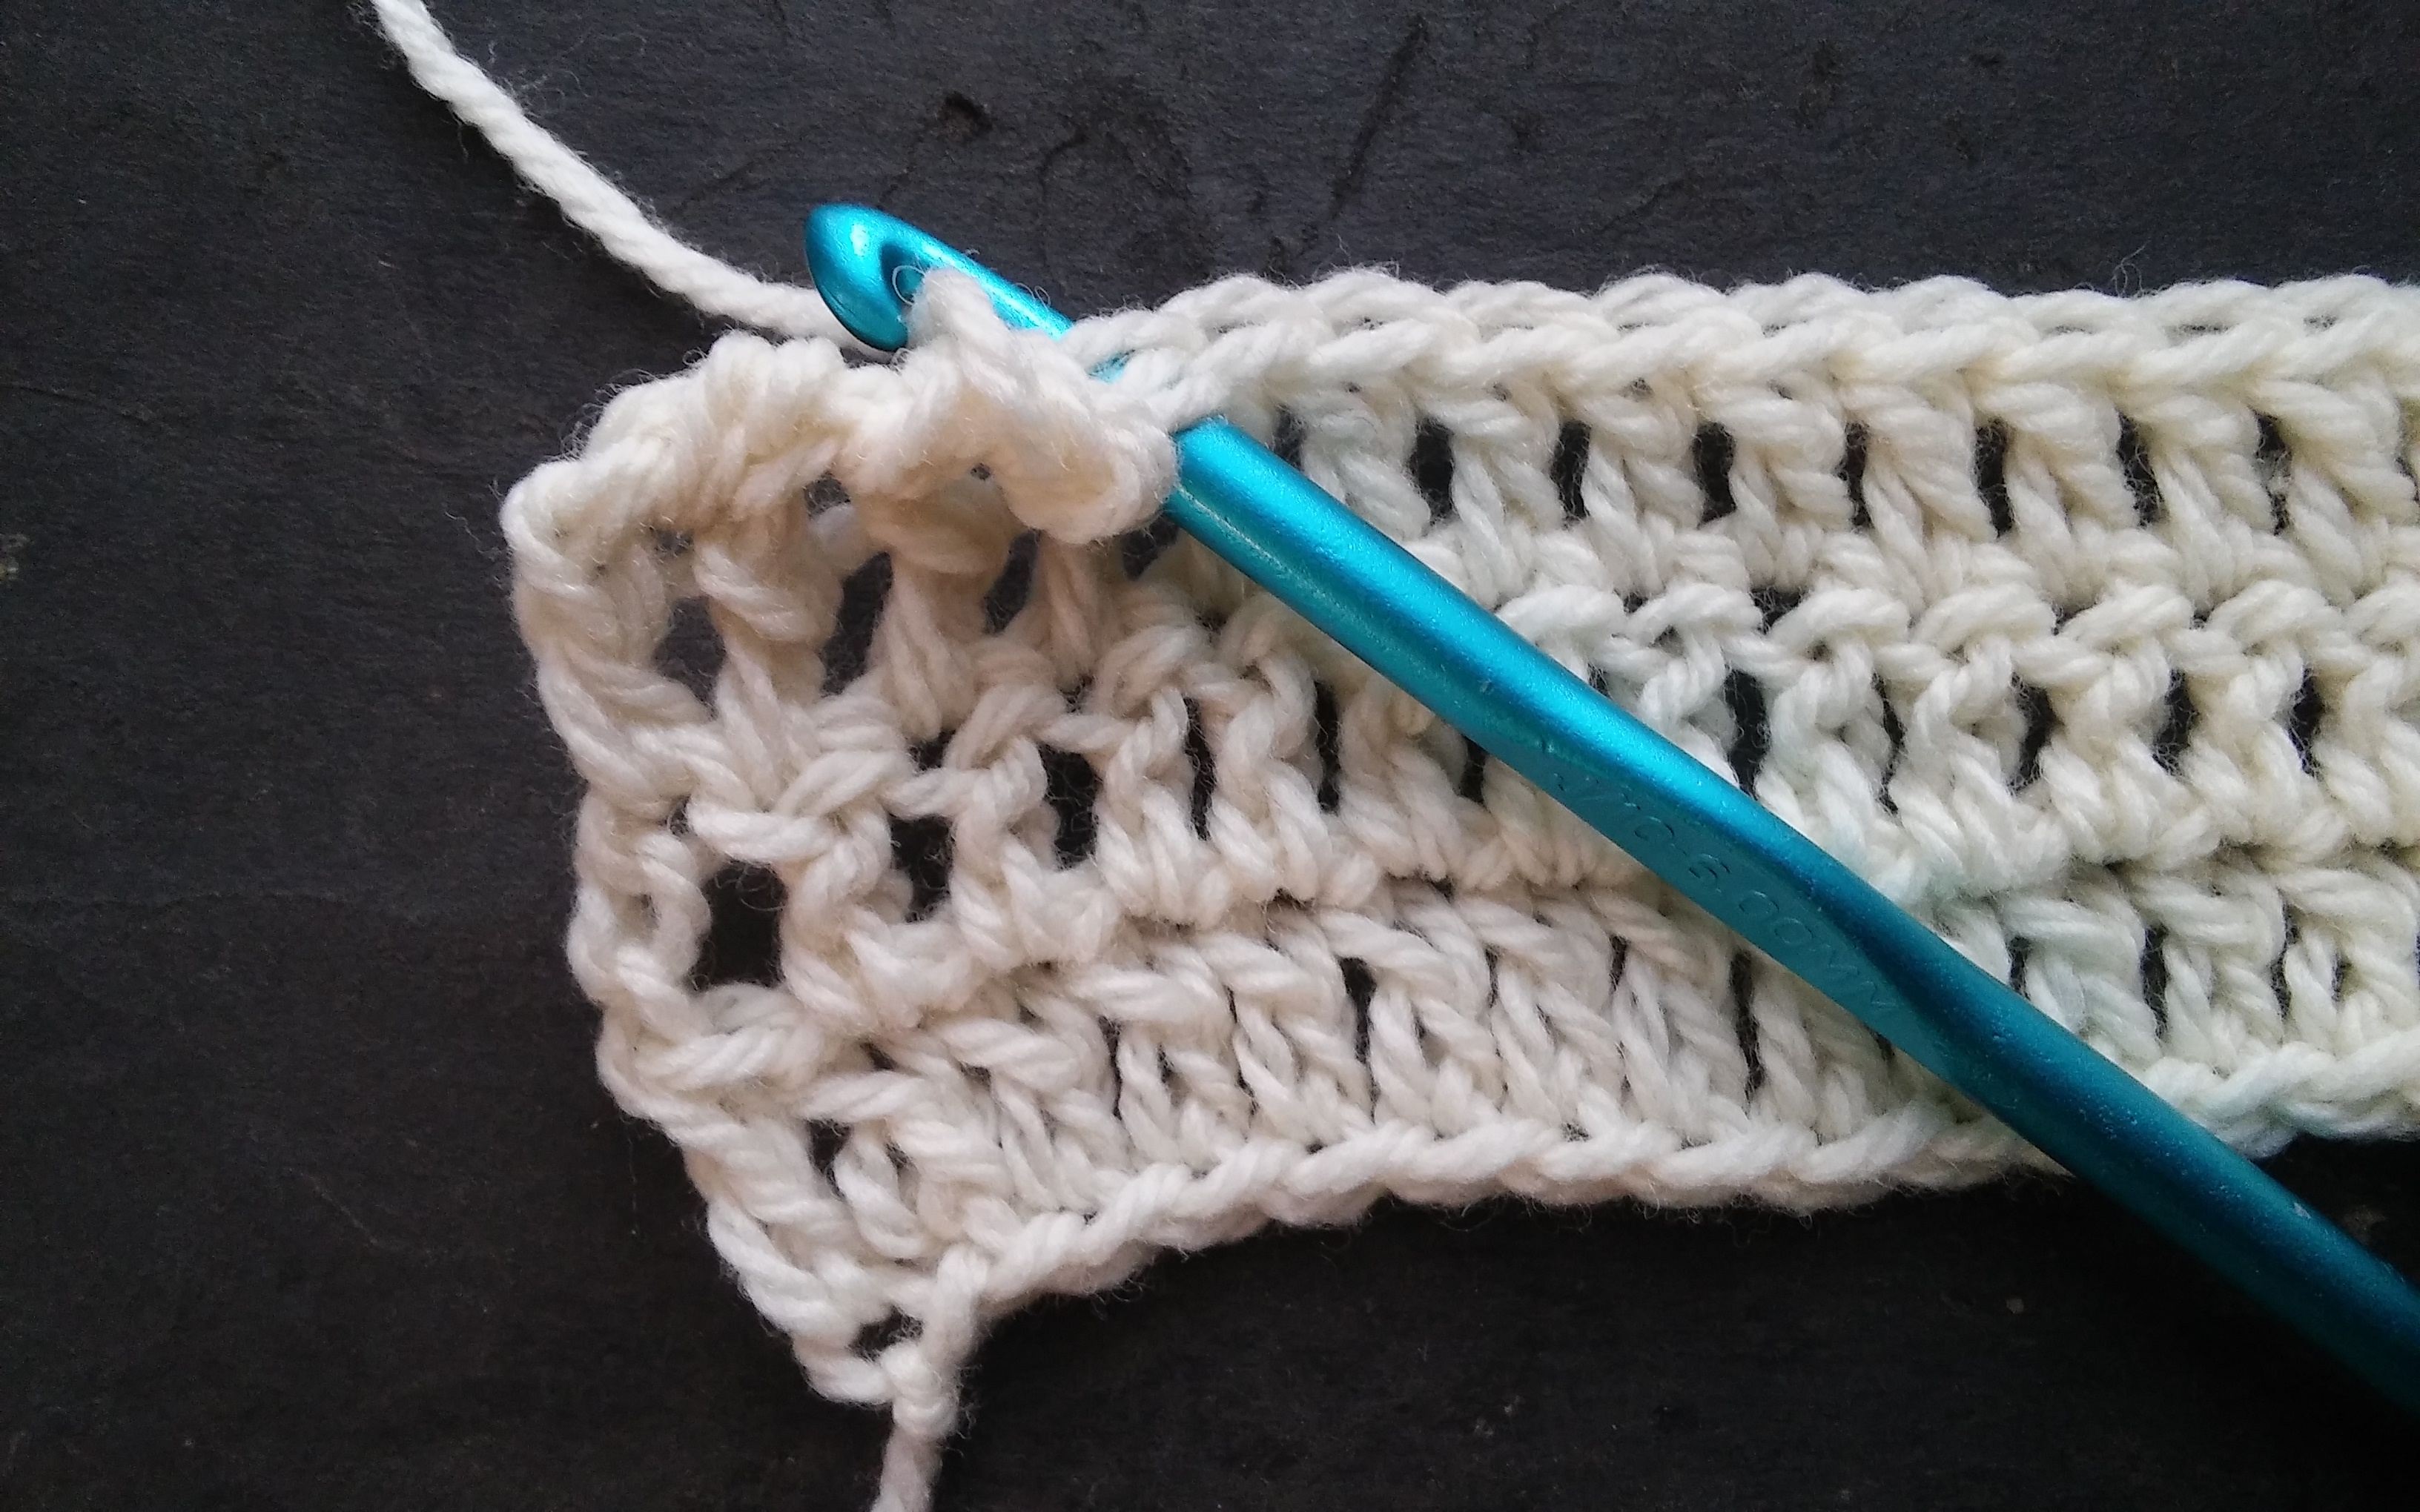
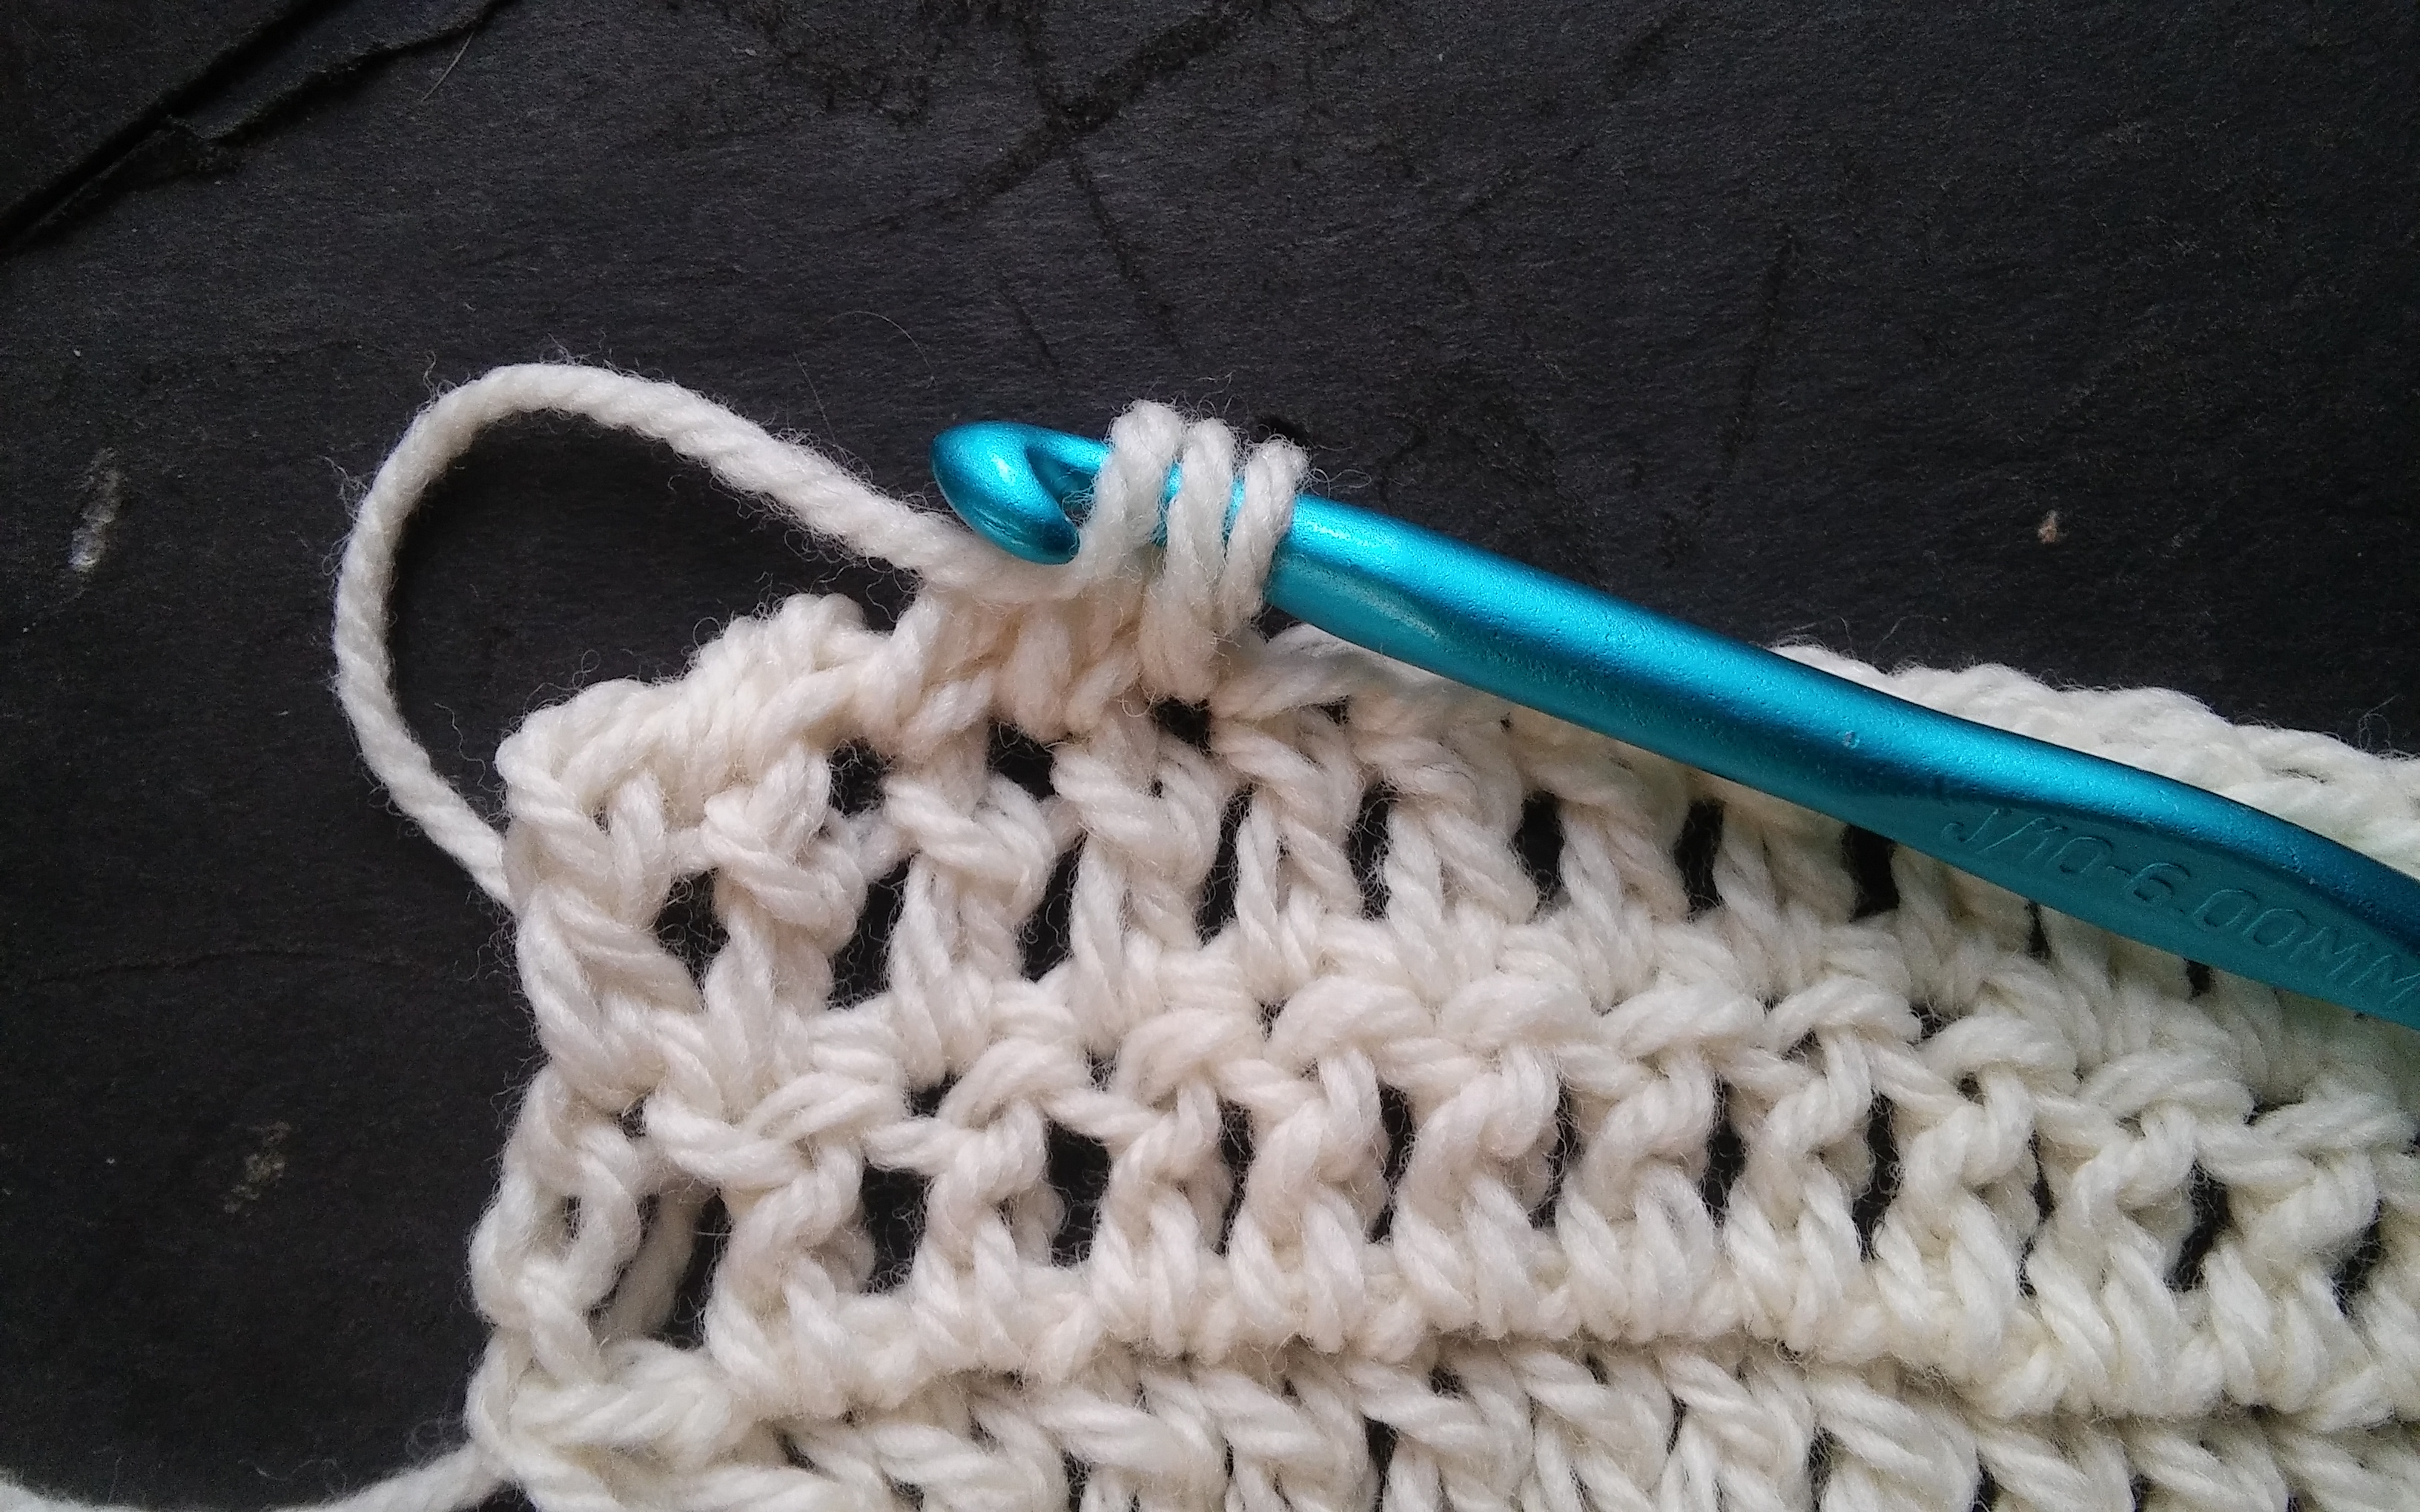
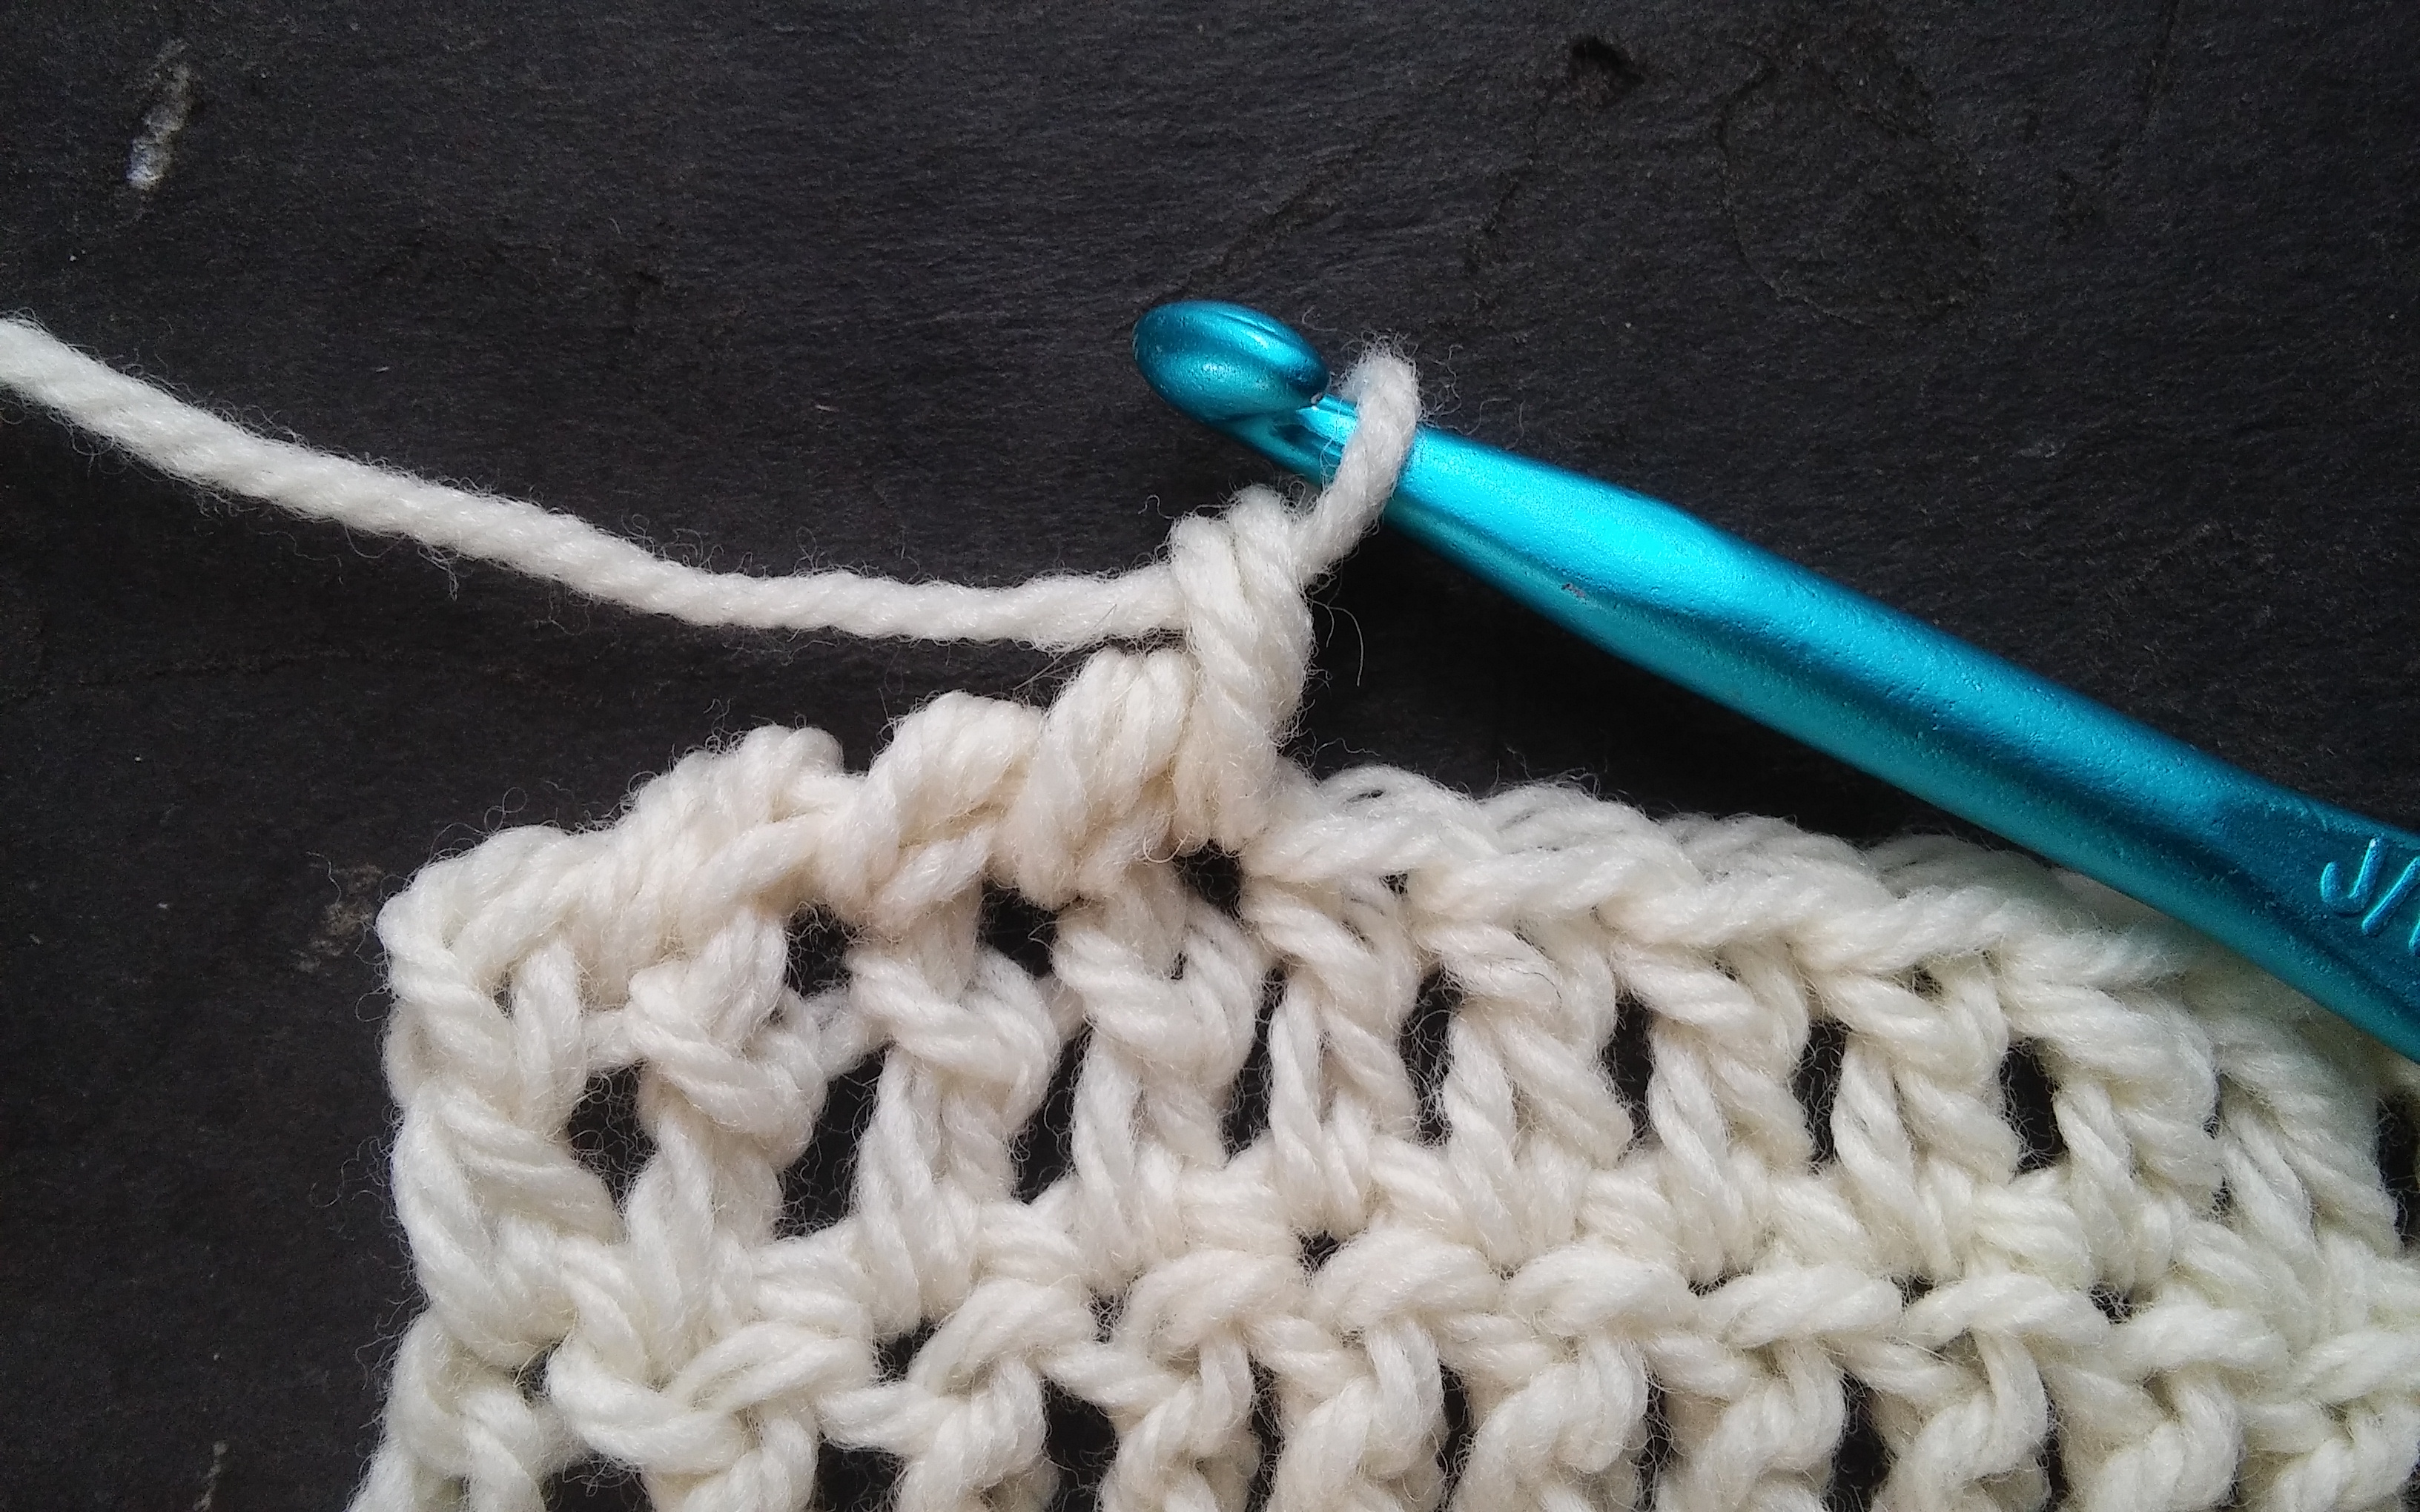
Rnd 9 (12, 13, 14): Ch 1, Revsc around, sl st to join. Fasten off, weave in ends.

Corded Edges-A Great Finish

Often times it is the small details that can really cause your crochet work to shine. One of those details can be found in the edging.

There are many times that I finish off a piece of fabric with a Reverse Single Crochet stitch, also known by the name “Crab Stitch”, but in my time teaching I have found that this stitch can be a bit to trying for some students. It requires a good sense of adjusting your yarns tension and working in the opposite direction (I discuss how to work the stitch here). However there is another stitch, The Corded Edge stitch.

The Corded Edge stitch looks very similar to the Reverse Single Crochet, but is easier to work. It is not quite a stitch as much as a technique that creates a braided or cabled look. It is worked in the last row of the fabric and is worked by rotating the two loops on the hook 360 degrees, and then finish the stitch.

Unlike a Reverse Single crochet, this technique can be used with any stitch. Below I have demonstrated this technique with a Corded Single Crochet and a Corded Double Crochet stitch.

To work a Corded Single crochet, you begin a single crochet just as you always do: Insert hook in indicated stitch, Yarn over and pull through a loop. Now with 2 loops on your hook, you rotate your hook 360 degrees. It is not crucial as to which direction you make this turn as long as you are consistent with each stitch. There is a slight difference in the appearance depending which way you rotate, so sample each and see which you prefer. I typically rotate in the direction it feels most comfortable for my hand to work.

Now you yarn over and pull through the 2 twisted loops on your hook. This completes the stitch, and you repeat it in the next stitch.

To work this technique as a Corded Double Crochet, you begin the Double crochet as normal: Yarn over, insert hook into indicated stitch, Yarn over, pull through a loop, Yarn over, pull through 2 loops. Now with the last 2 loops on the hook you rotate your hook 360 degrees, yarn over and pull through the 2 twisted loops.

It is pretty simple, yet results in an edge that is very finished.

Working the Opposite for Nice Edges

ScannedImageSometimes all the difference in a handmade piece is the finishing. One of my favorite ways to finish a piece is with edging, and one I really like is the reverse single crochet, sometimes known as the “crab stitch”.

1216161043

The Reverse Single Crochet Stitch

Crochet names, like “crab stitch” does not often tell you anything about the stitch, but at least “Reverse Single Crochet” gives you an idea…and it is pretty accurate. Essentially you are working a single crochet in the reverse direction.

1216161041

Insert your hook in the next stitch, from front to back, but in the Opposite direction from what you usually work.

You work the single crochet in the same manner, inserting your hook into the next stitch, yarn over, pull through a loop, yarn over and pull through two loops, but the difference is that instead of working in the normal direction of your crochet rows it is worked in the opposite stitches. So if you are right handed you will be working in the stitches located to the right of your work, and if you are left handed you will be working in the stitches to the left. This is in the opposite direction than you usually work.

1216161041a

After yarning over and pulling through a loop, yarn over again and pull through 2 loops

The most common error made when working this stitch is reversing the processes even further by inserting the hook from the wrong side of the fabric, this actually creates a single crochet stitch, but it is just a single crochet, just as if you had turned the work. So always insert the hook from the front of the fabric and complete the stitch.

1216161042

Relax your tension, and pull up your loops a little taller than usual.

Starting this stitch can feel very awkward, and the first couple of stitches may look a little odd, but after you work a few you will start to see a stich that looks almost like a rope. It is this twisted effect of the stitch that really allows it to be used only as an edging.

Not only do I use this stitch as an edging, I occasionally use it as a joining stitch. I place the fabrics I am joining together wrong side together and work this stitch through both fabrics. It creates a raised rope at the edges of the fabrics. I find that this creates a nice textural effect as well as visual interest.

There is one tip I can offer to working this stitch, relax with your tension and pull up your loop a little higher than usual, this makes it a little easier to work in this different direction.