 I cannot believe that I have already been home from the Knit &Crochet Show for over a week! I basically only just unpacked all of my supplies.
I had a great time while I was there, I took some fabulous classes, talked with some fabulous people, met even more fabulous people, and had a fabulous time (in case you hadn’t realized, crocheters are fabulous)!
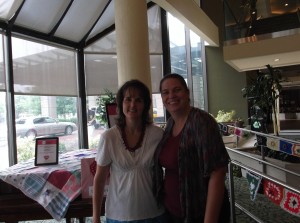
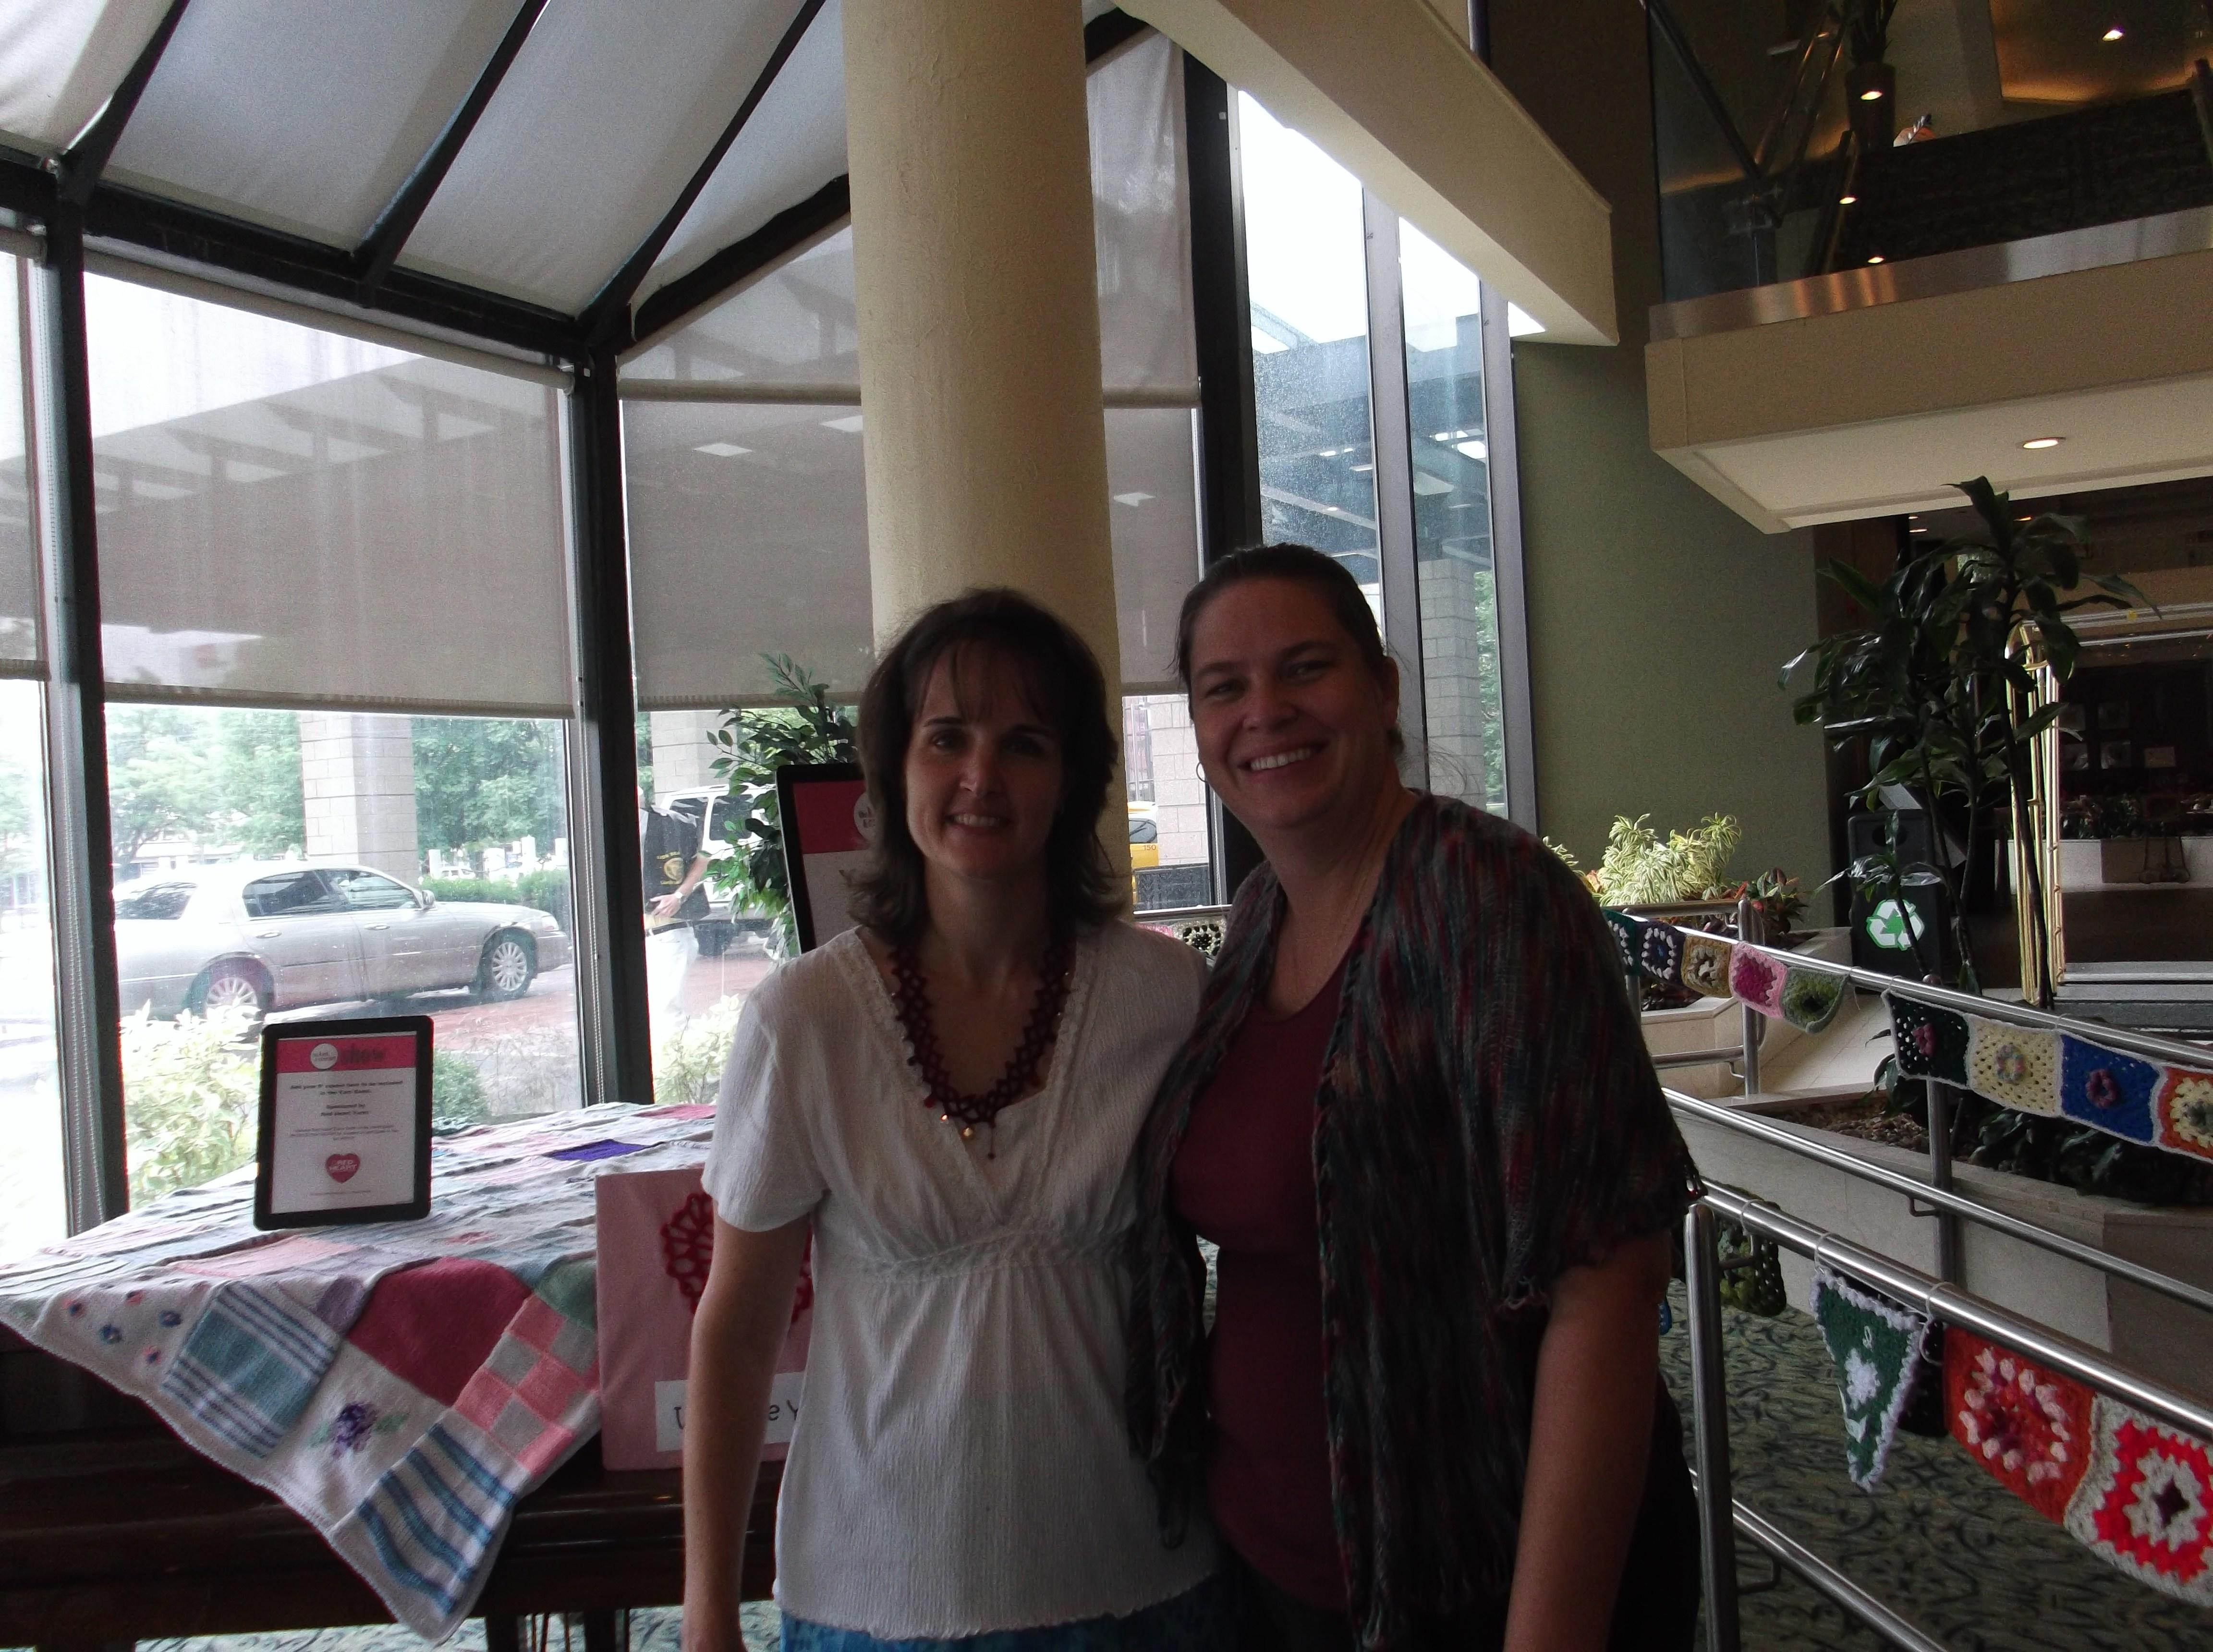
Jennifer Ryan and myself in the middle of some of her yarn bombing.
I love when new things happen and they instantly become occurrences that should continue always, an example of this was the “Yarn Bombing” of the Radisson Hotel in downtown Manchester, NH. Jennifer Ryan (a fellow crochet designer), spear headed this undertaking and it left everyone wondering why it had not happened before now. There were little yarn motifs and decorations almost everywhere you turned. It definitely had a fun feeling.
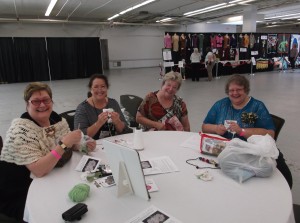
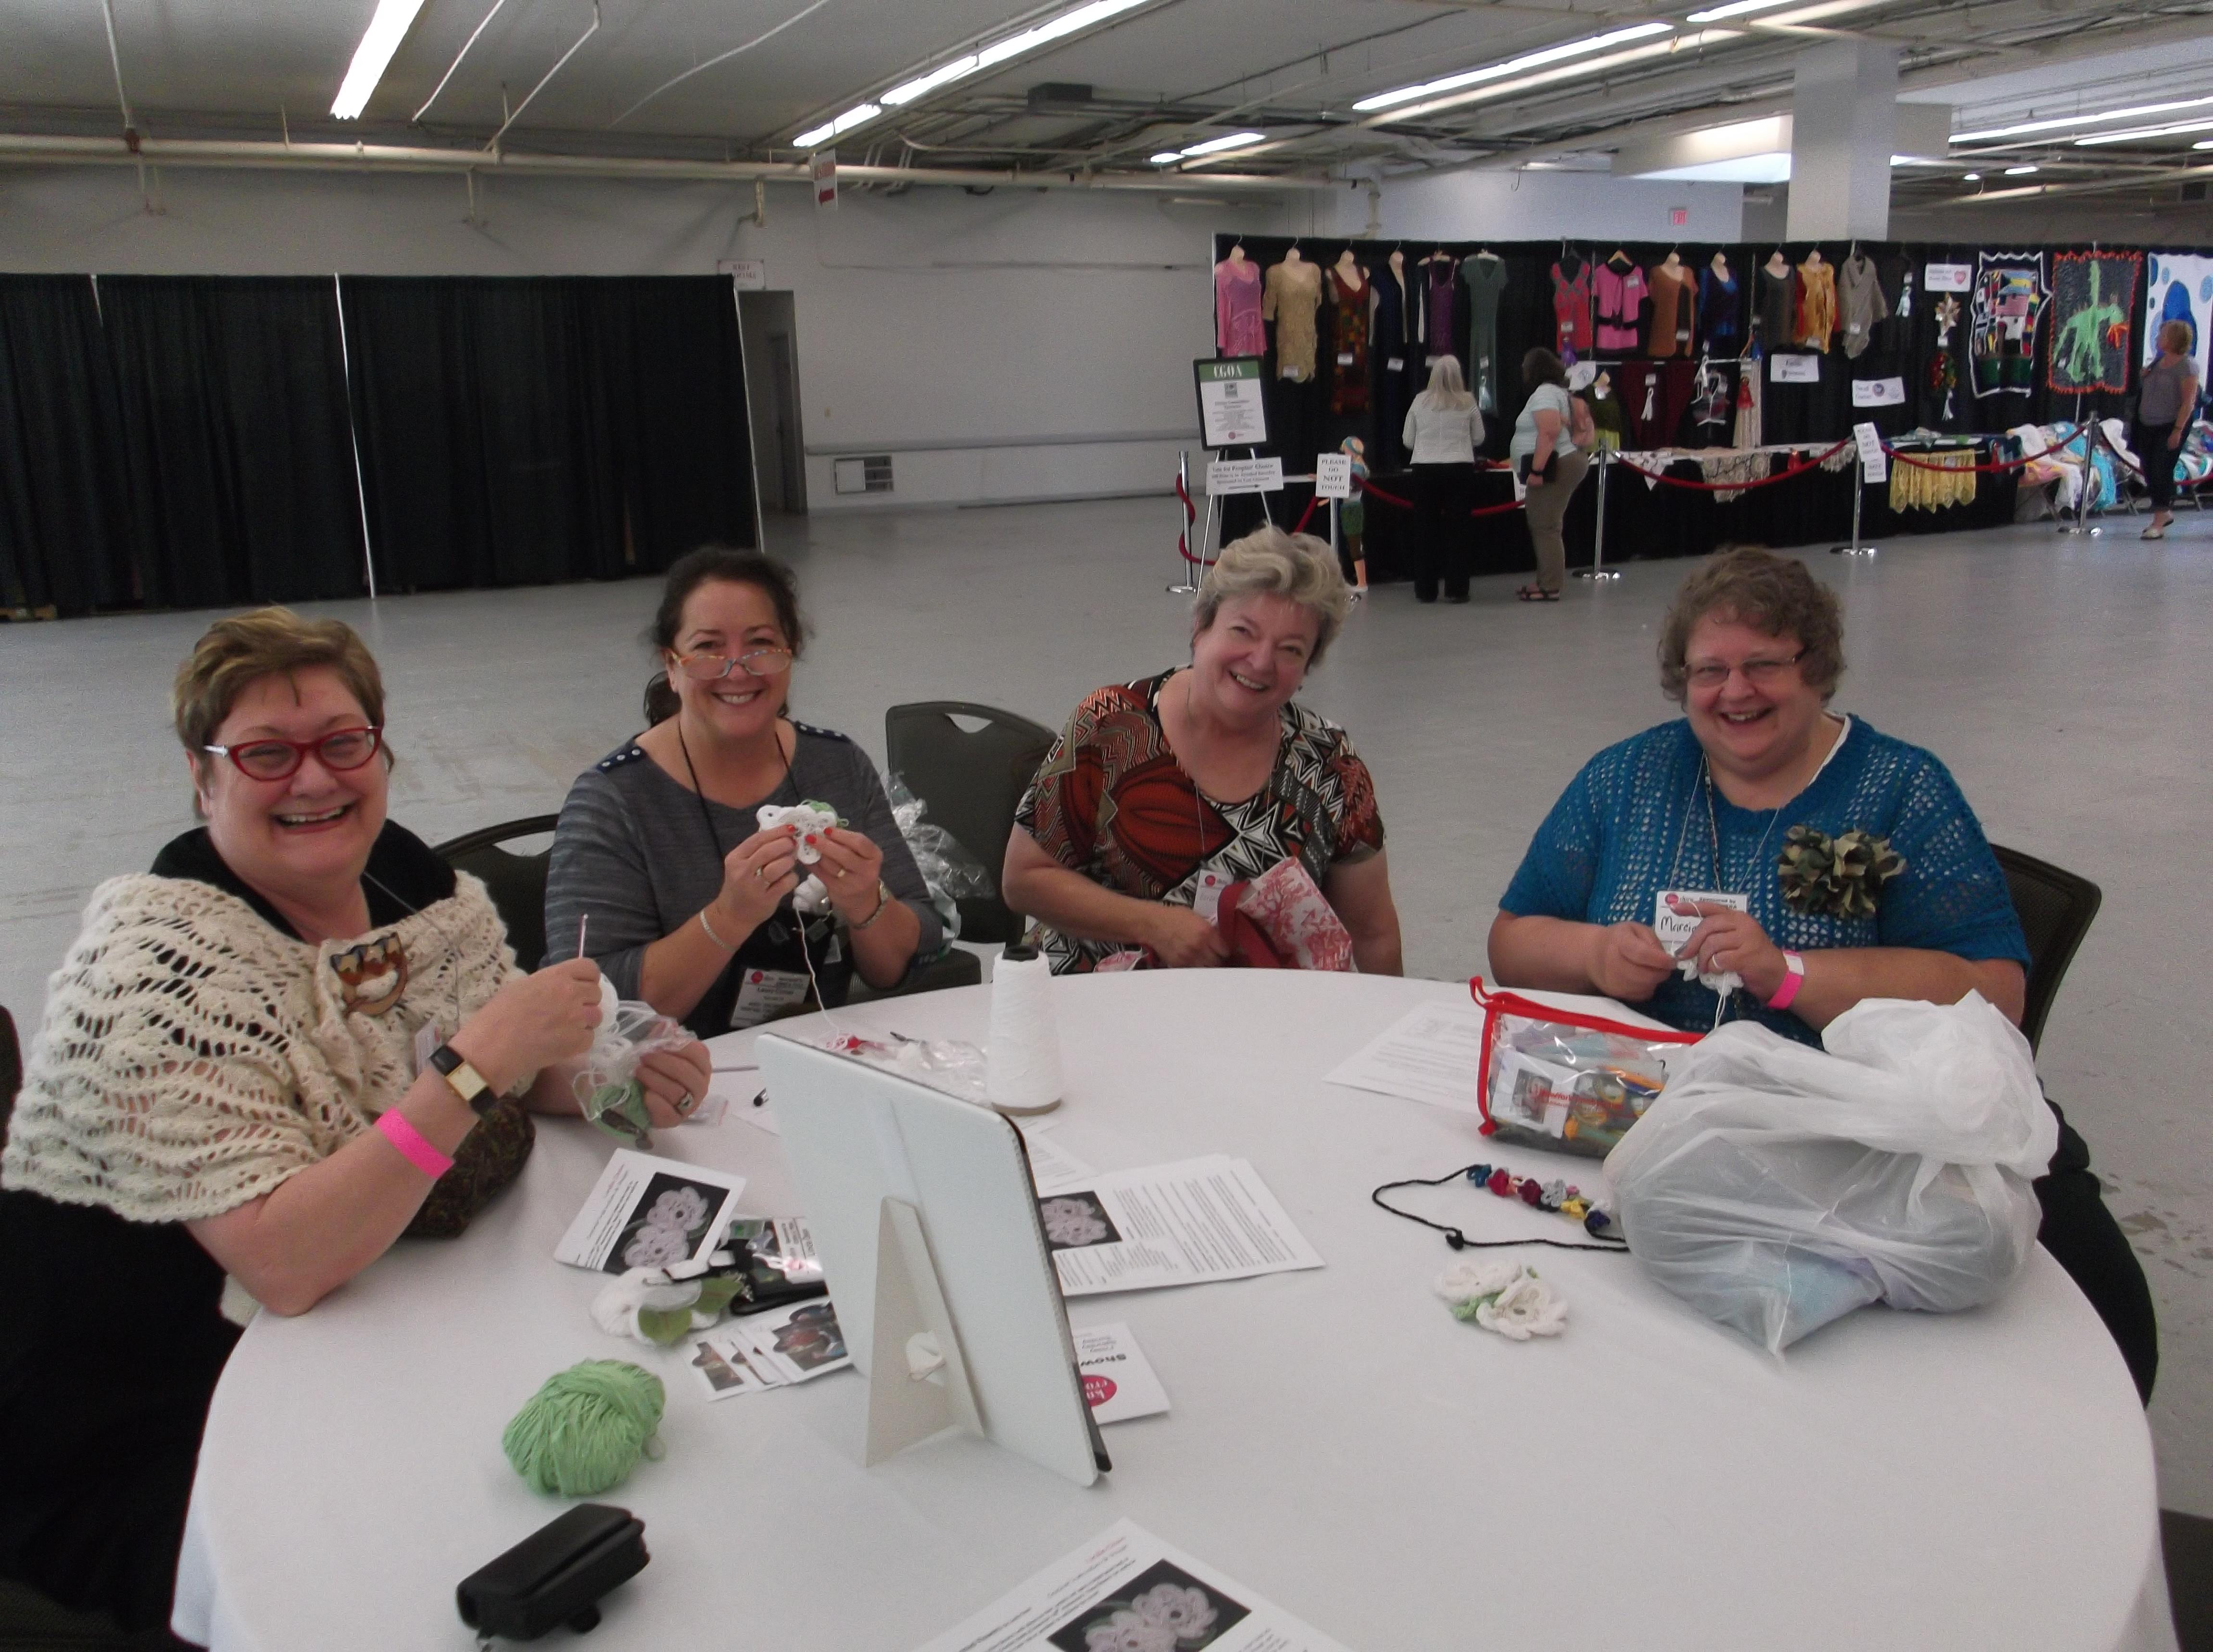
A few of my students at the Make & Take of “Cented Flowers”, they were such a fun bunch!
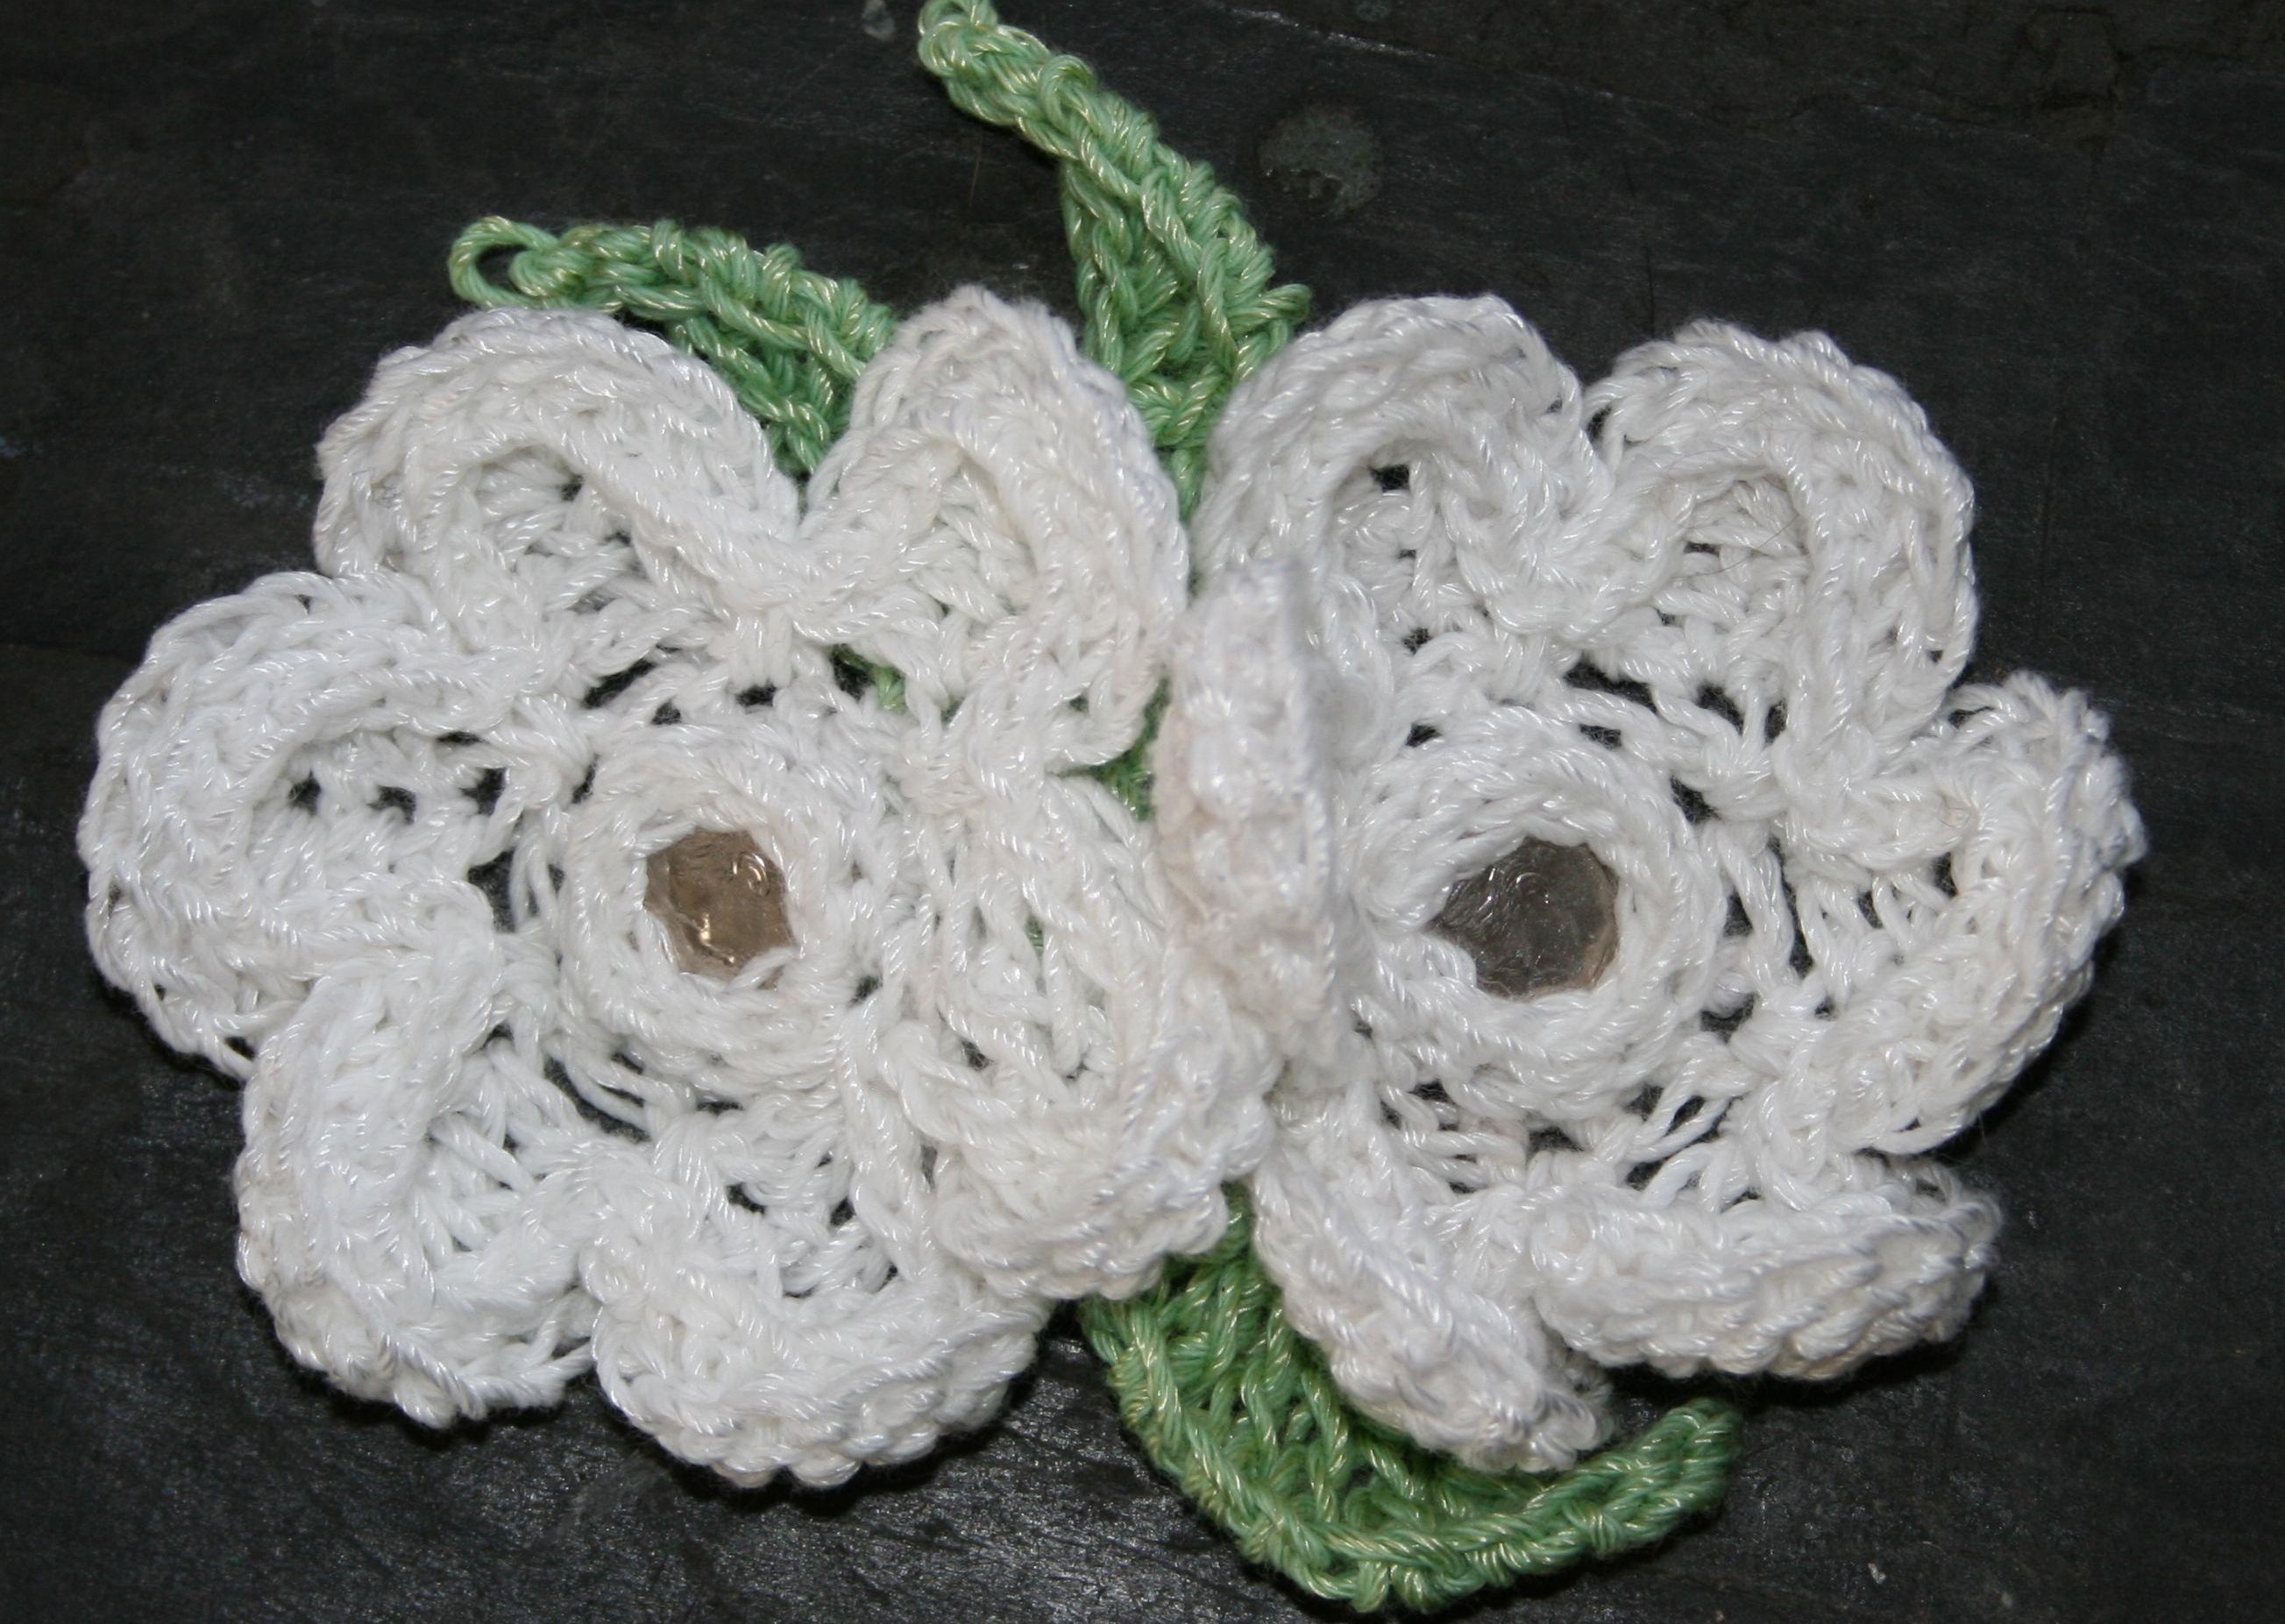
This was the first year I was actually up in front of the room giving some instruction. I moderated the Professional Think Tank, where professionals in the crochet industry, and those striving to be were able to share ideas and ask questions that were relative to their careers. I also helped co-teach the CGOA Master’s Day, with Susan Lowman and Jane Rimmer. We helped those interested in completing the Master’s of Advanced Stitches and Techniques Program with guidance of common mistakes, and overall how to approach their work as a Master. Then I presented a make & take Project and had 18 students learn my “Cented Flowers”, they were created with Designing Vashti Lotus yarn, in white, and green (celebration colors for the conference), with dimes in the center, of 2 flowers 9so there was 20 cents for the 20th anniversary celebration…yes I probably over thought this project), but I had fun teaching it.
I also took some great classes.
I took Shuttle Tatting from Susan Lowman, and what I learned in that class…how I can appreciate the skill and nimble fingers it takes to create these delicate pieces. I practiced for w6 hours, but all I had to show for it was some short threads, and a souvenir butterfly, that Susan made for everyone in class. There were a couple of people that picked it up very quickly, and my hats off to them, I think Lindsey Stephens has already gone home and made a couple of book marks!

Just some general fun with Margaret Hubert, myself, Vashti Braha and Marcy Smith
I was also fortunate to get into Vashti Braha’s Star Stitch Class. I always love taking her classes; she goes so in depth into the ins-&-outs of the stitch and what makes it work, she takes you to the very limit of what that technique has to offer. There is always an “Awe Ha” moment in her class, and this one was no exception. It helped me to look at this stitch that I considered “old & dense” in the past, as one that has some real possibilities to create gorgeous fabric.
I also to a very interesting class by Dora Orhenstien, it was about tension in crochet and how to adjust it. It opened my mind up to a different way of thinking. Usually you find that if your stitches are not coming out correctly that you are either pulling loops up to high, or not high enough, but this class caused you to take into account how your tension can effect various advanced as well as basic stitches. It is something that I never considered before and was really enlightening.
I wrapped up my classes with a Sunday morning class with Karen Whooley on Venetian Lace. I admit I was a little distracted during this class with issues at home, but still Karen presented a well planned class, that gave a complete history and understanding of this different lace style. It opened my eyes, historically speaking. In understanding different approaches to lace throughout Europe and she had beautiful samples that her grandmother had created. A fascinating class, I definitely enjoyed it.
It was a very enjoyable time and I always love the experience I have when I attend, this time was no different.

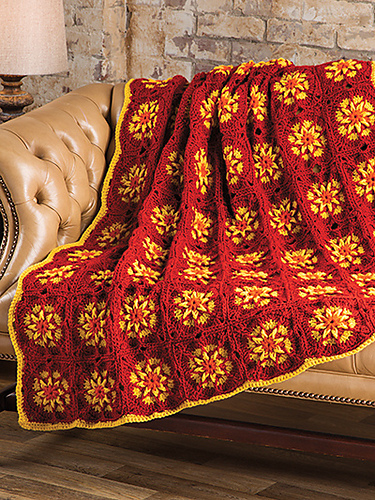
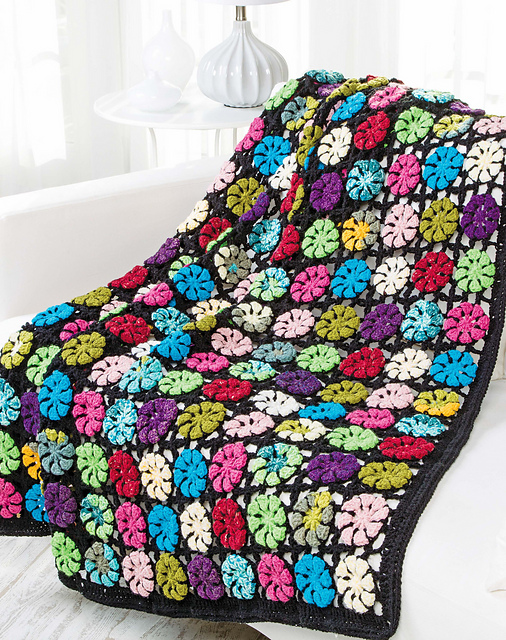
 The Pinwheel Blanket is one that takes a little different approach then I usually do; it is comprised of small motifs that make a larger motif, then joined together. I will admit, I usually think a little more simplistic, I have a motif and that motif gets joined to other motifs, so making a motif out of motifs…well that is like an ah ha moment.
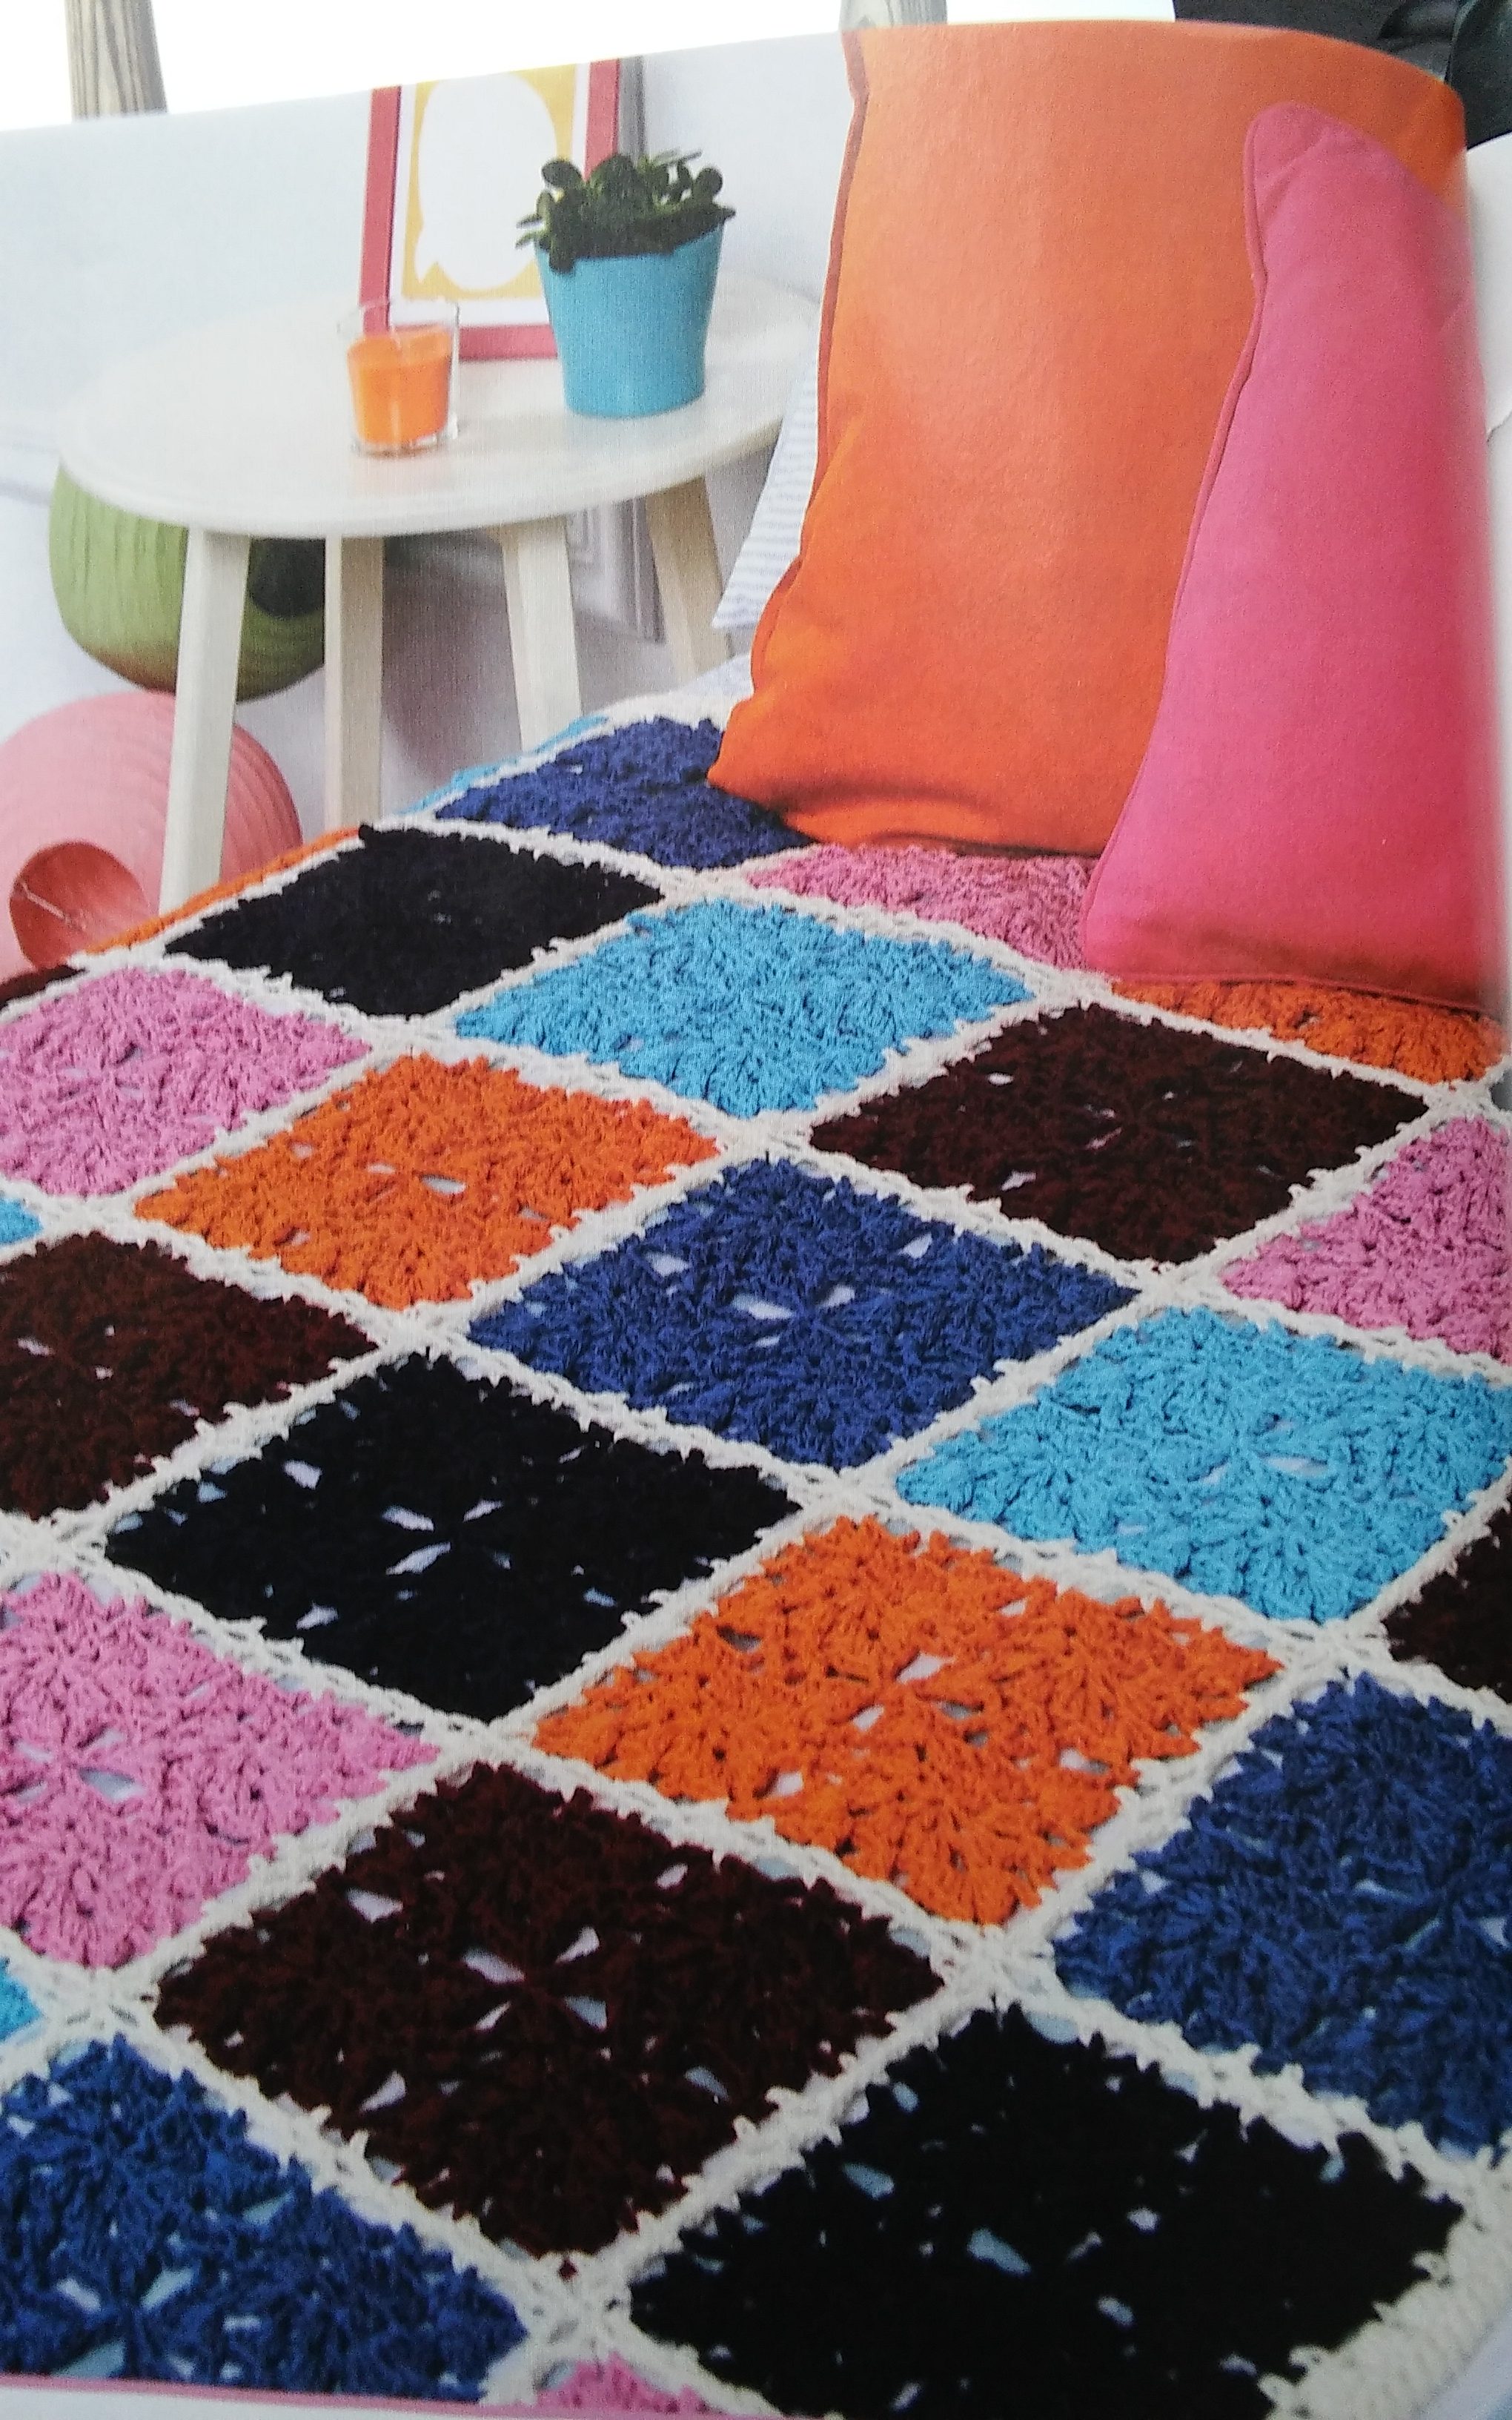
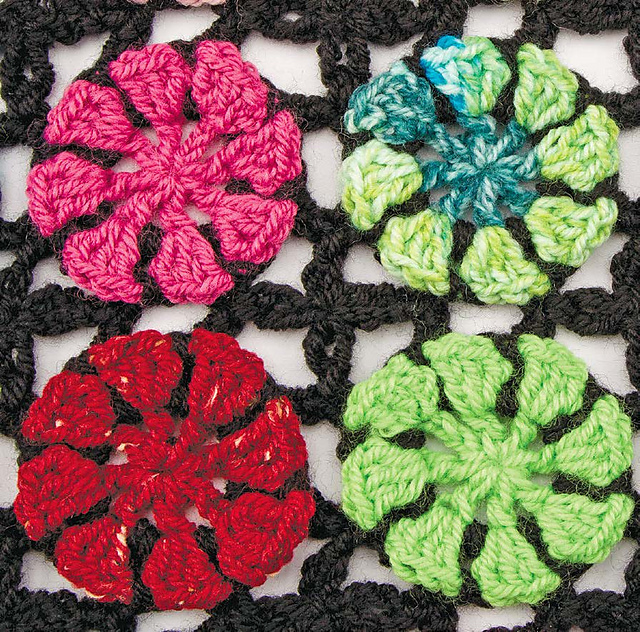
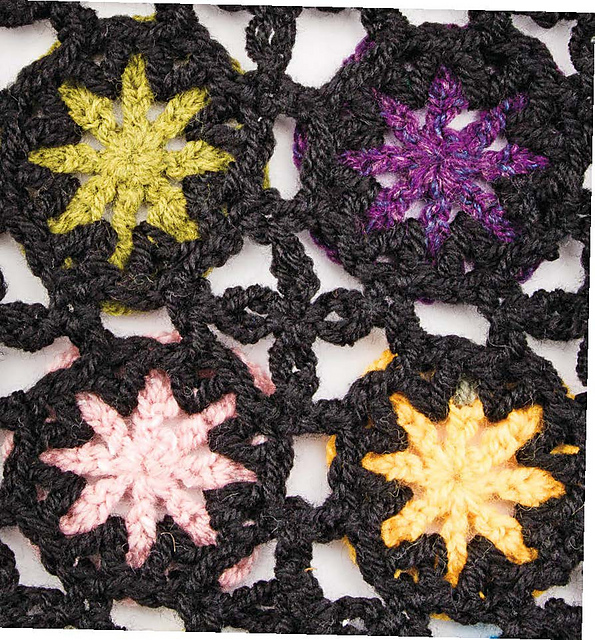
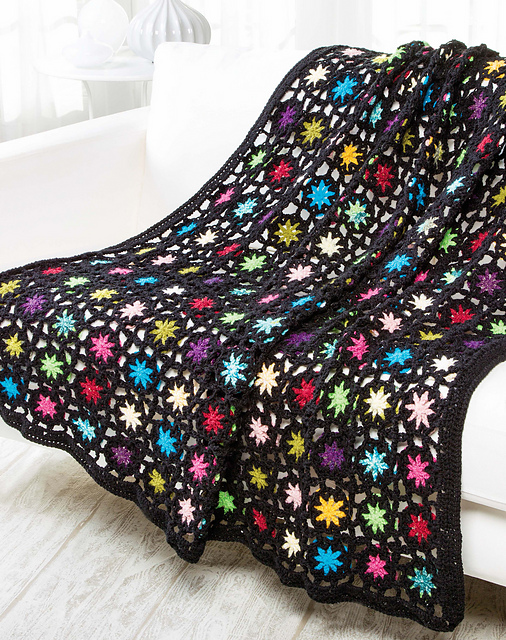
 So about Pinwheel Blanket, the initial small motif is only comprised of three rounds, so it works up quickly. It grew from a flower, and I feel it has a floral feel. It is at the join point that I see the pinwheel, with a feeling of the whirly-gigs I have seen in the garden. So I guess in a sense this throw has a garden feel for me. With flowers and whirly-gigs it does have an outdoor feel, and even the colors are bright like flowers.