As any long time crochet has realized “fancier” crochet stitches really do not have a single name. The term Popcorn, or Cable give you the basic idea, but a Cluster can have a few different interpretations. So it is important to pay close attention to the “Special Stitches” selections of patterns, and if working up your own idea, remember to be consistent with the process or steps of your stitch.
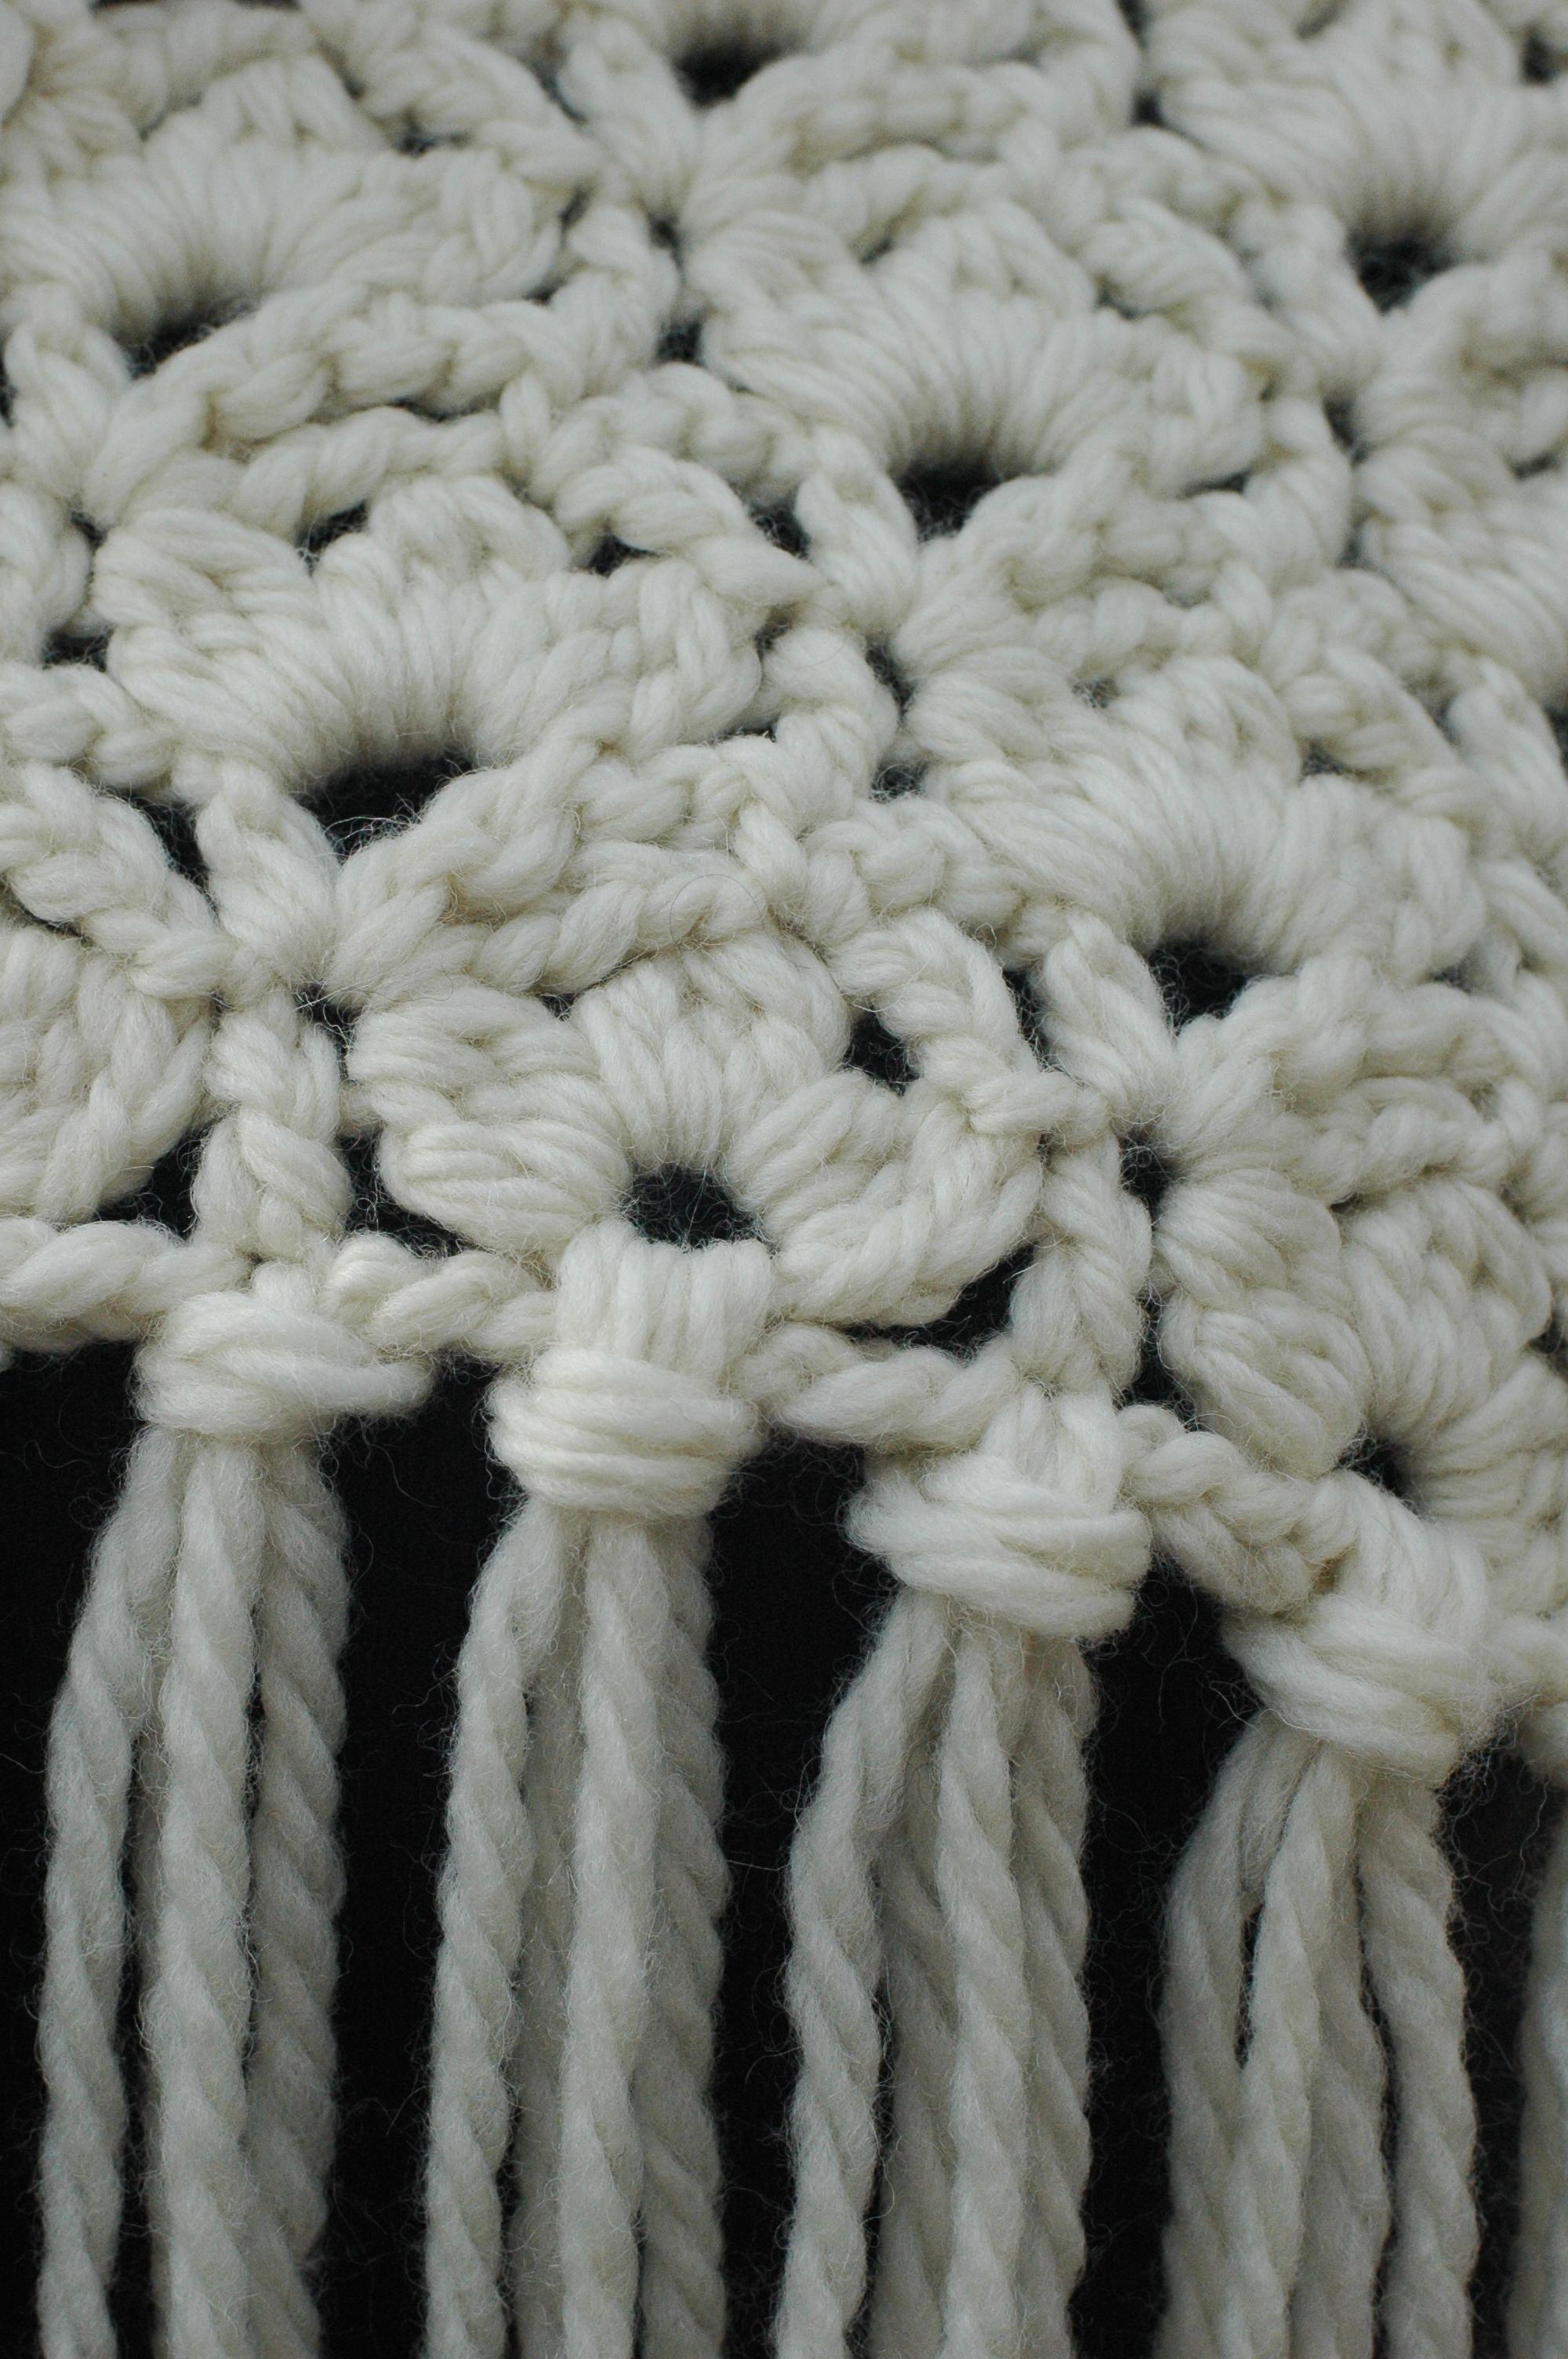
The Drop Stitch with Shells
With that being stated, I wanted to share how my version of the “Drop Stitch” came about.
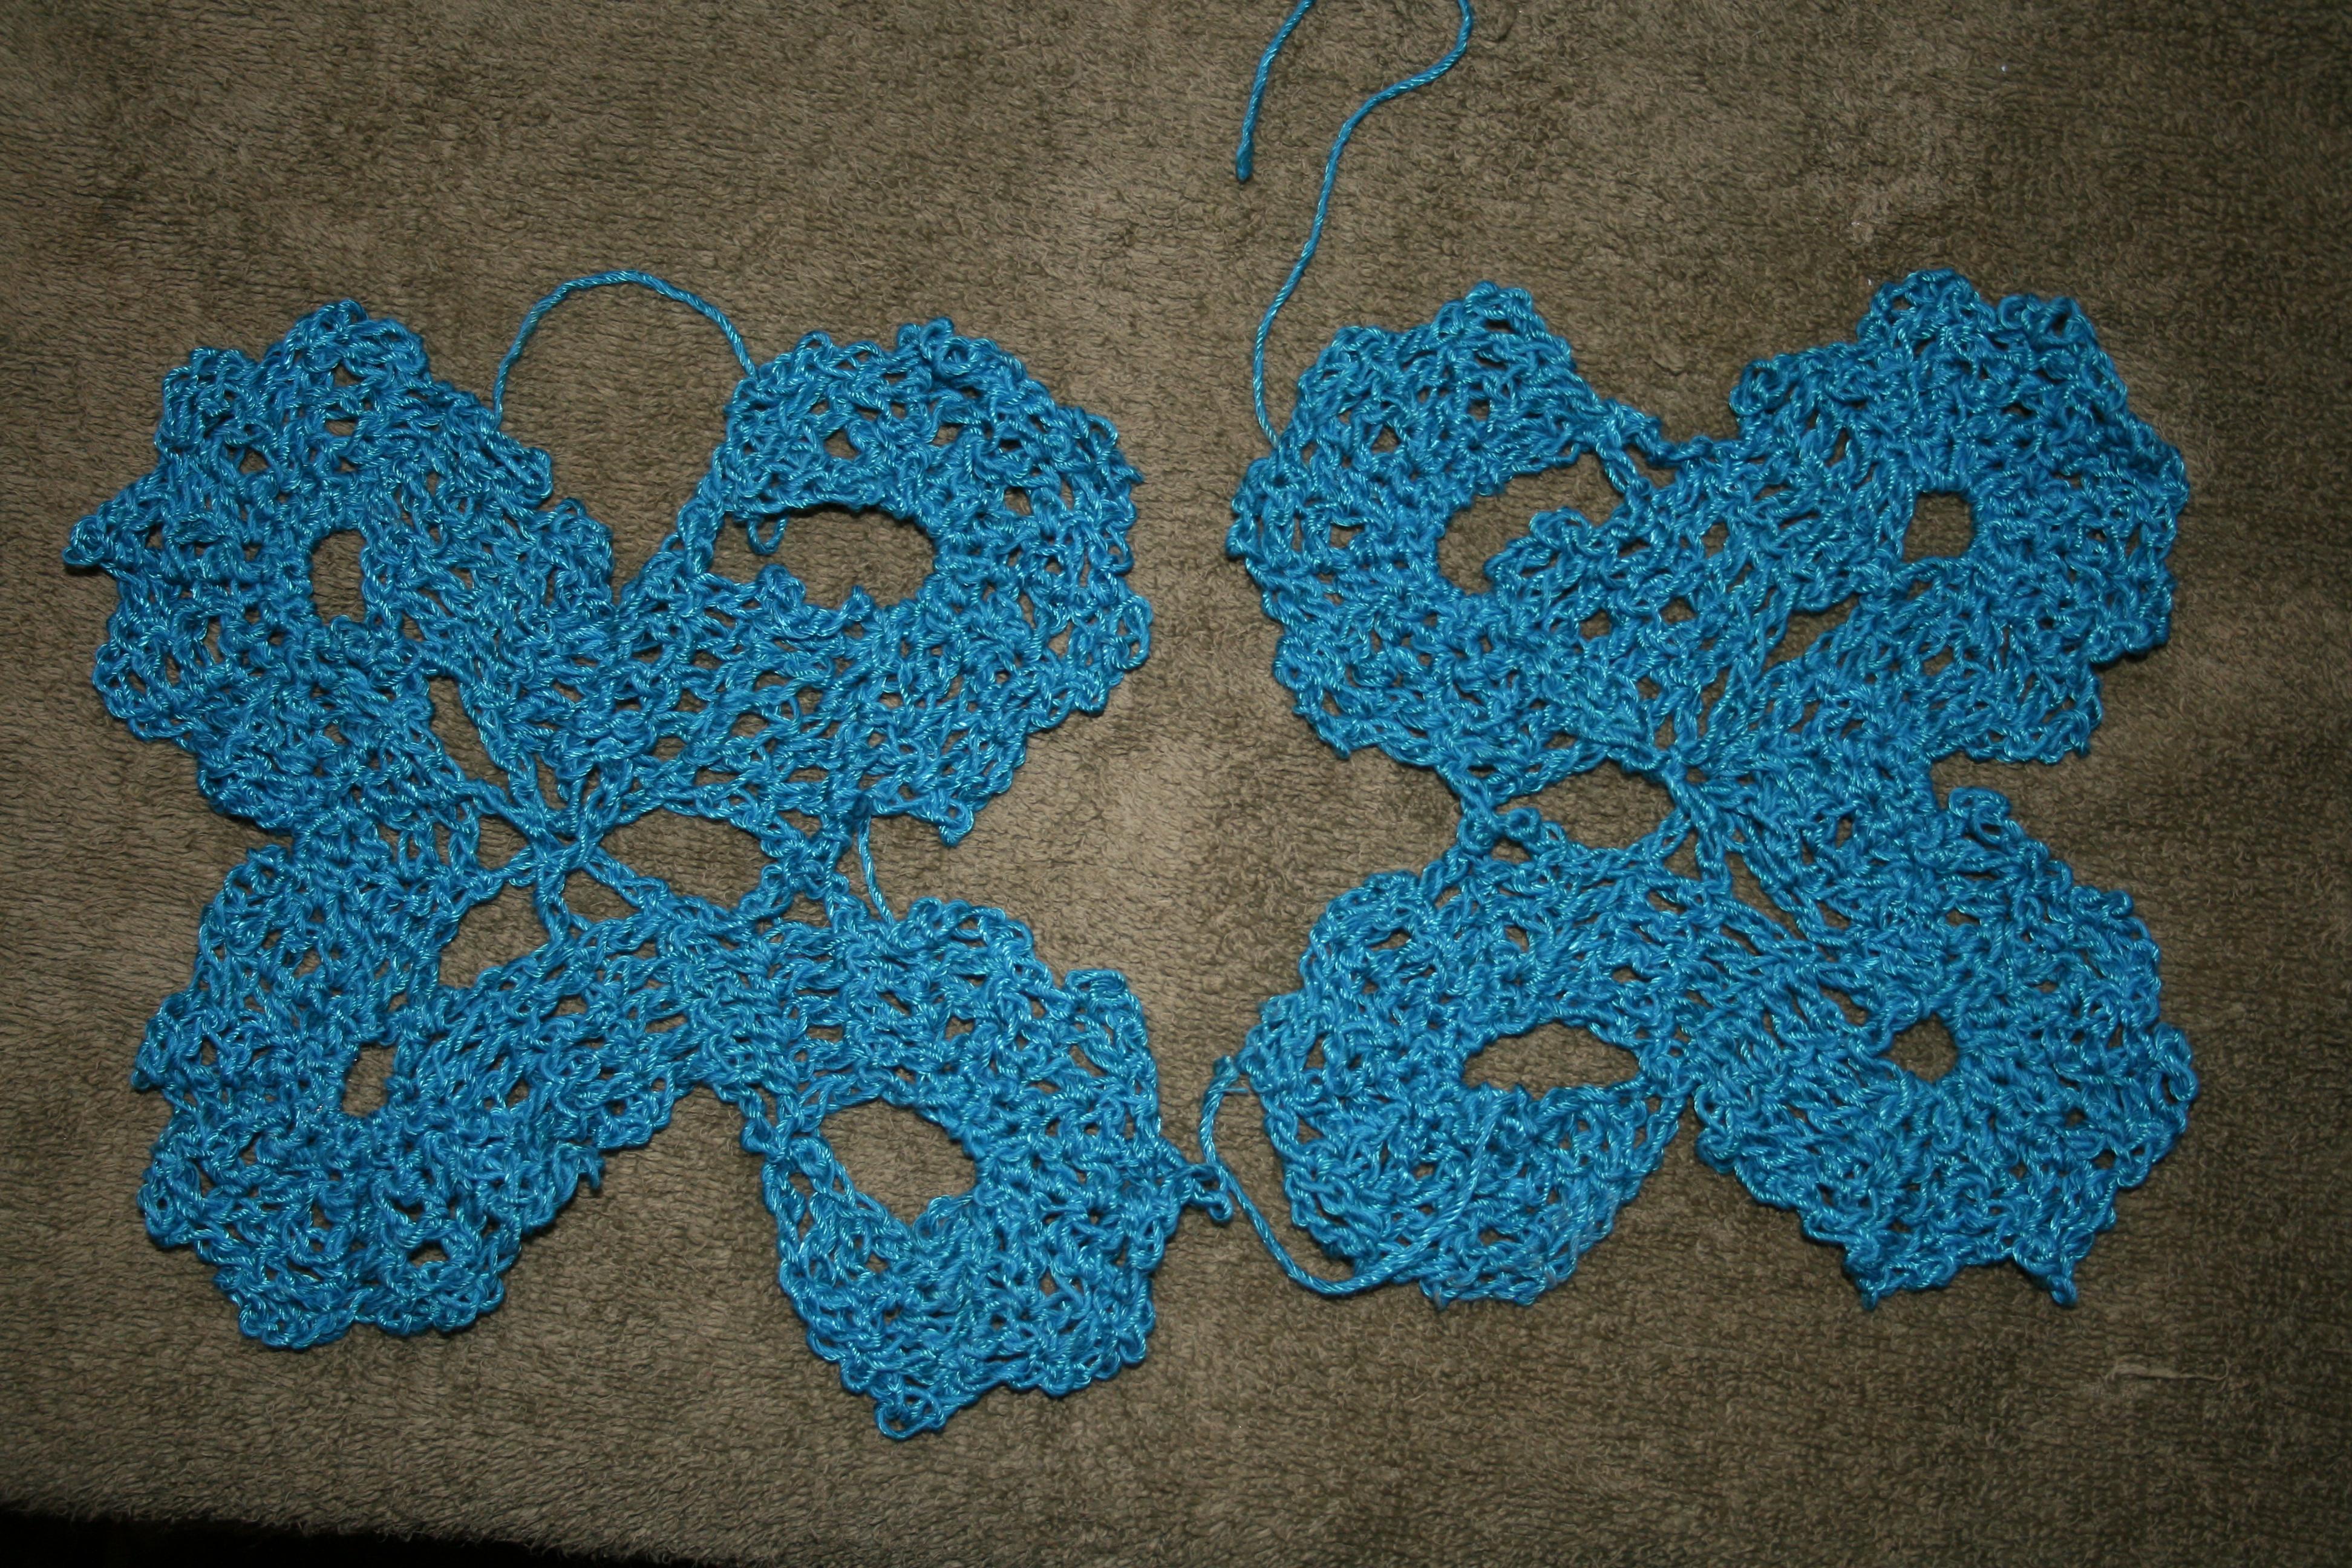
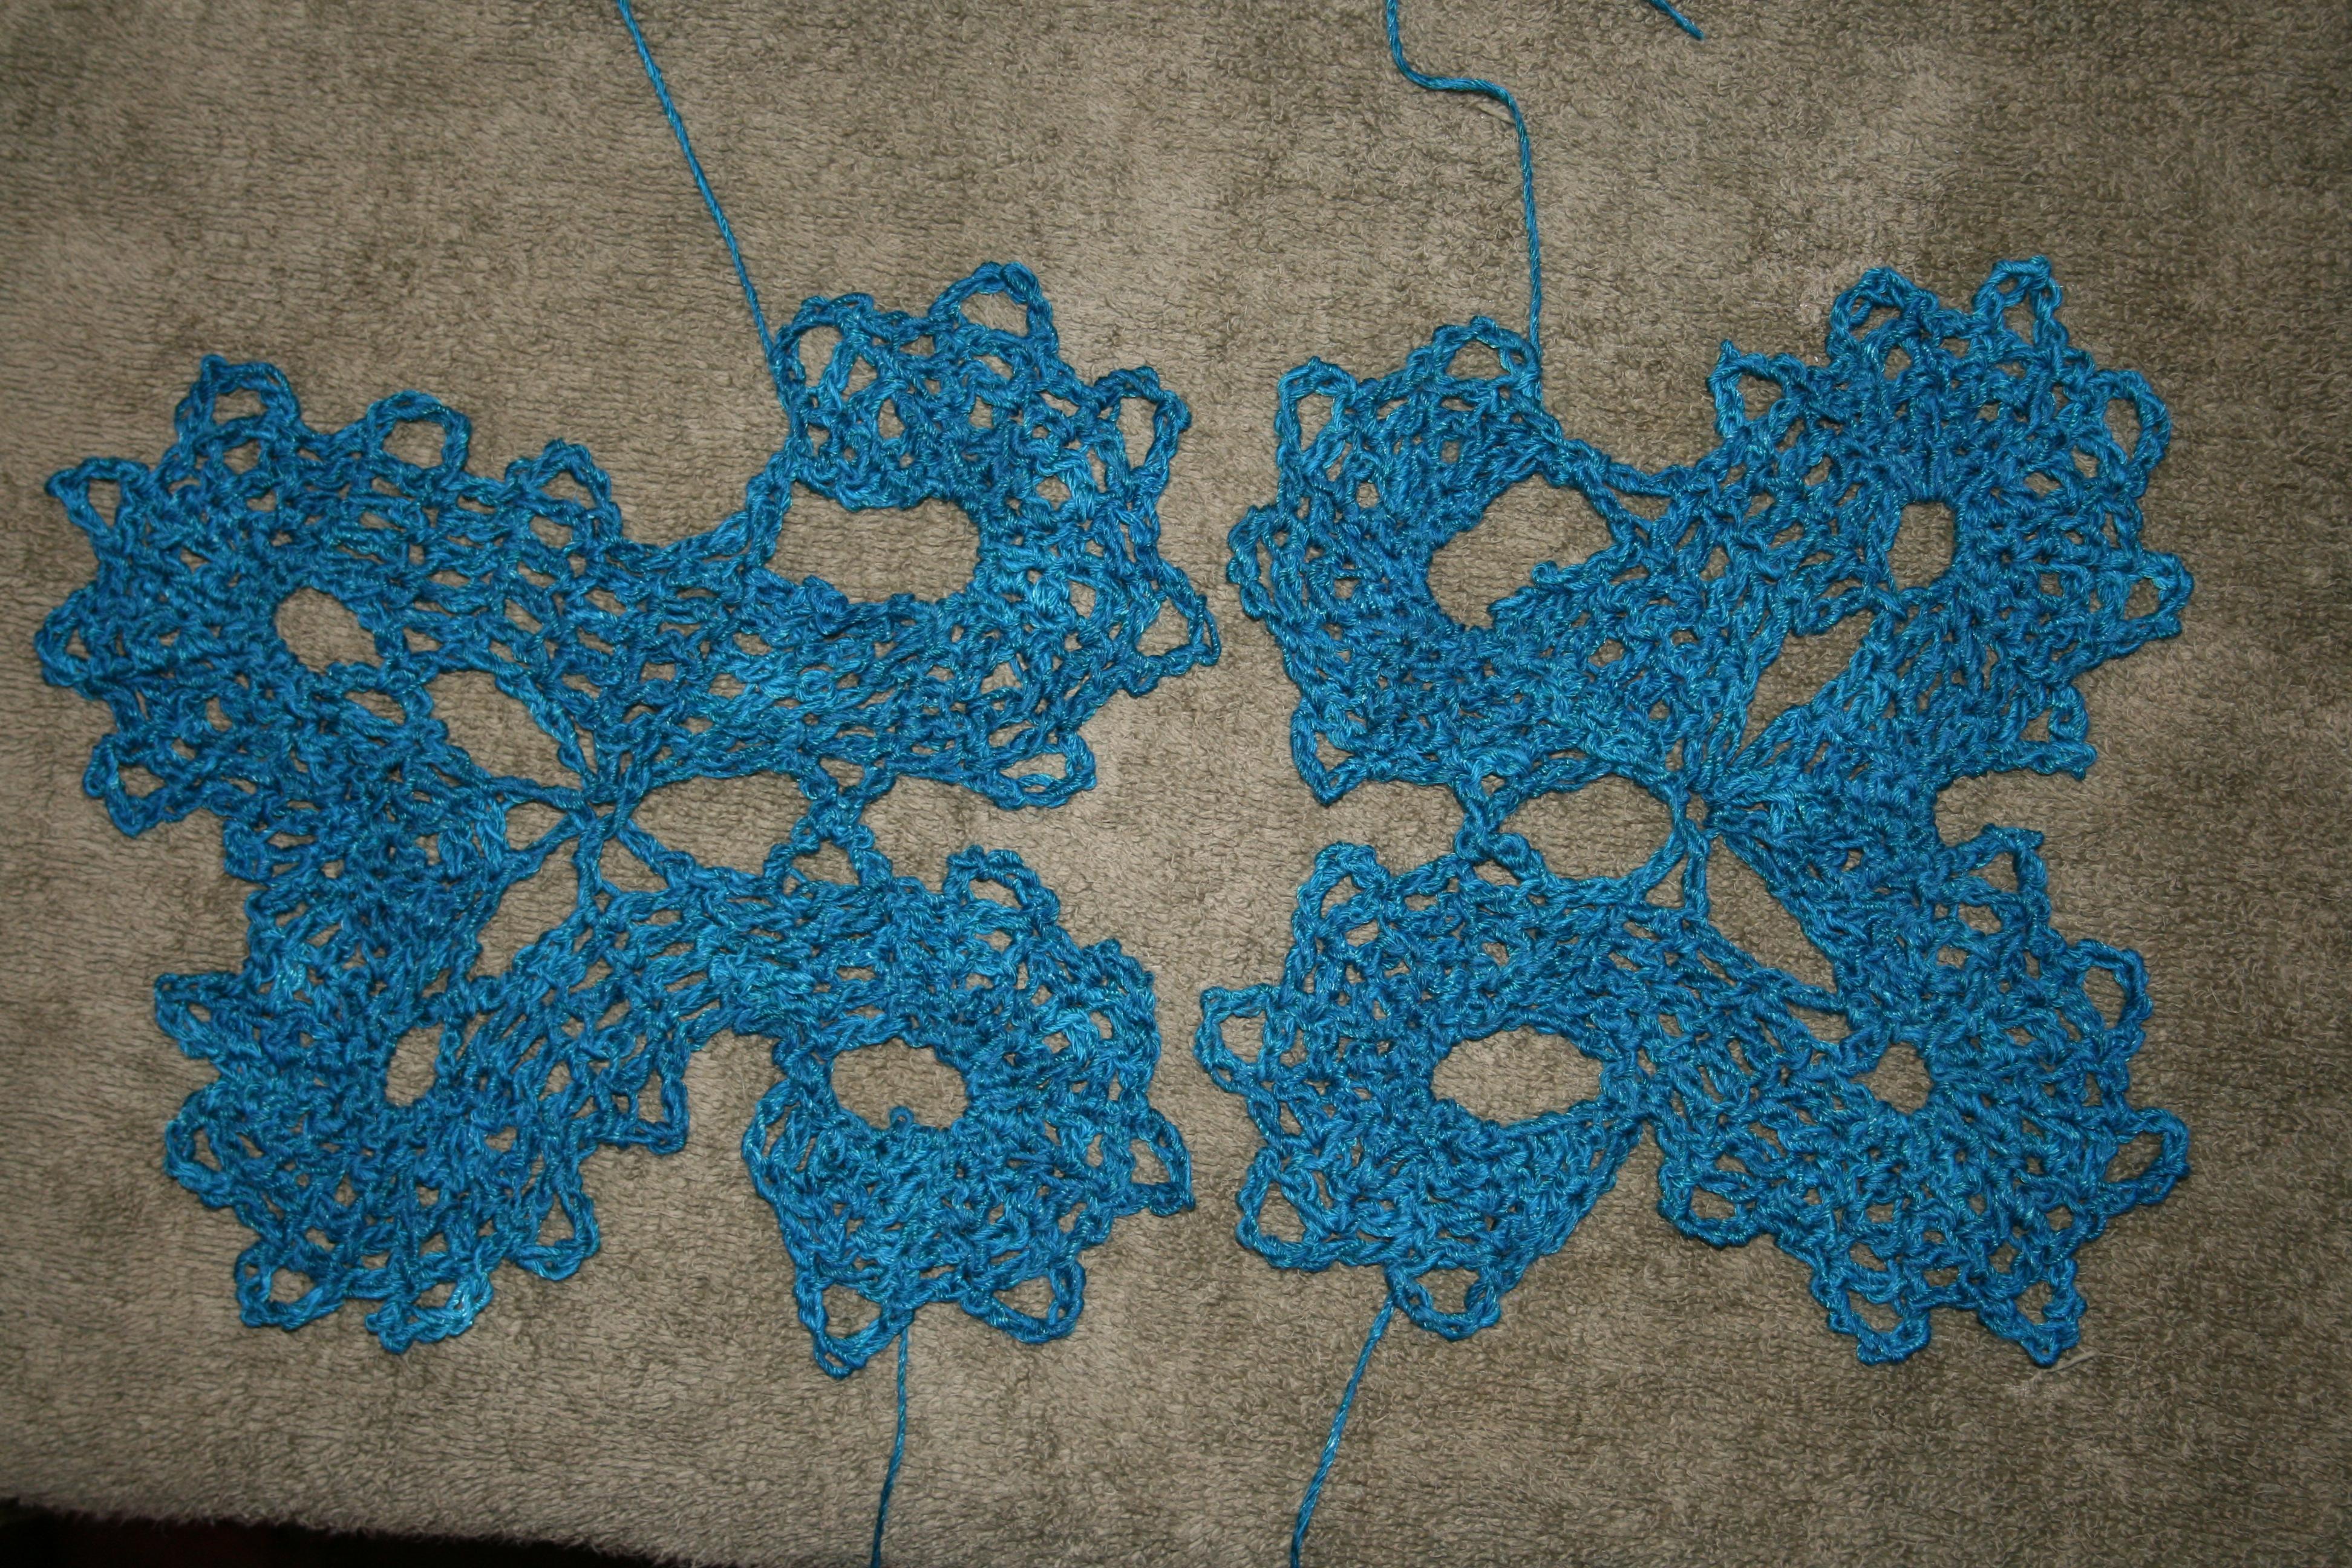
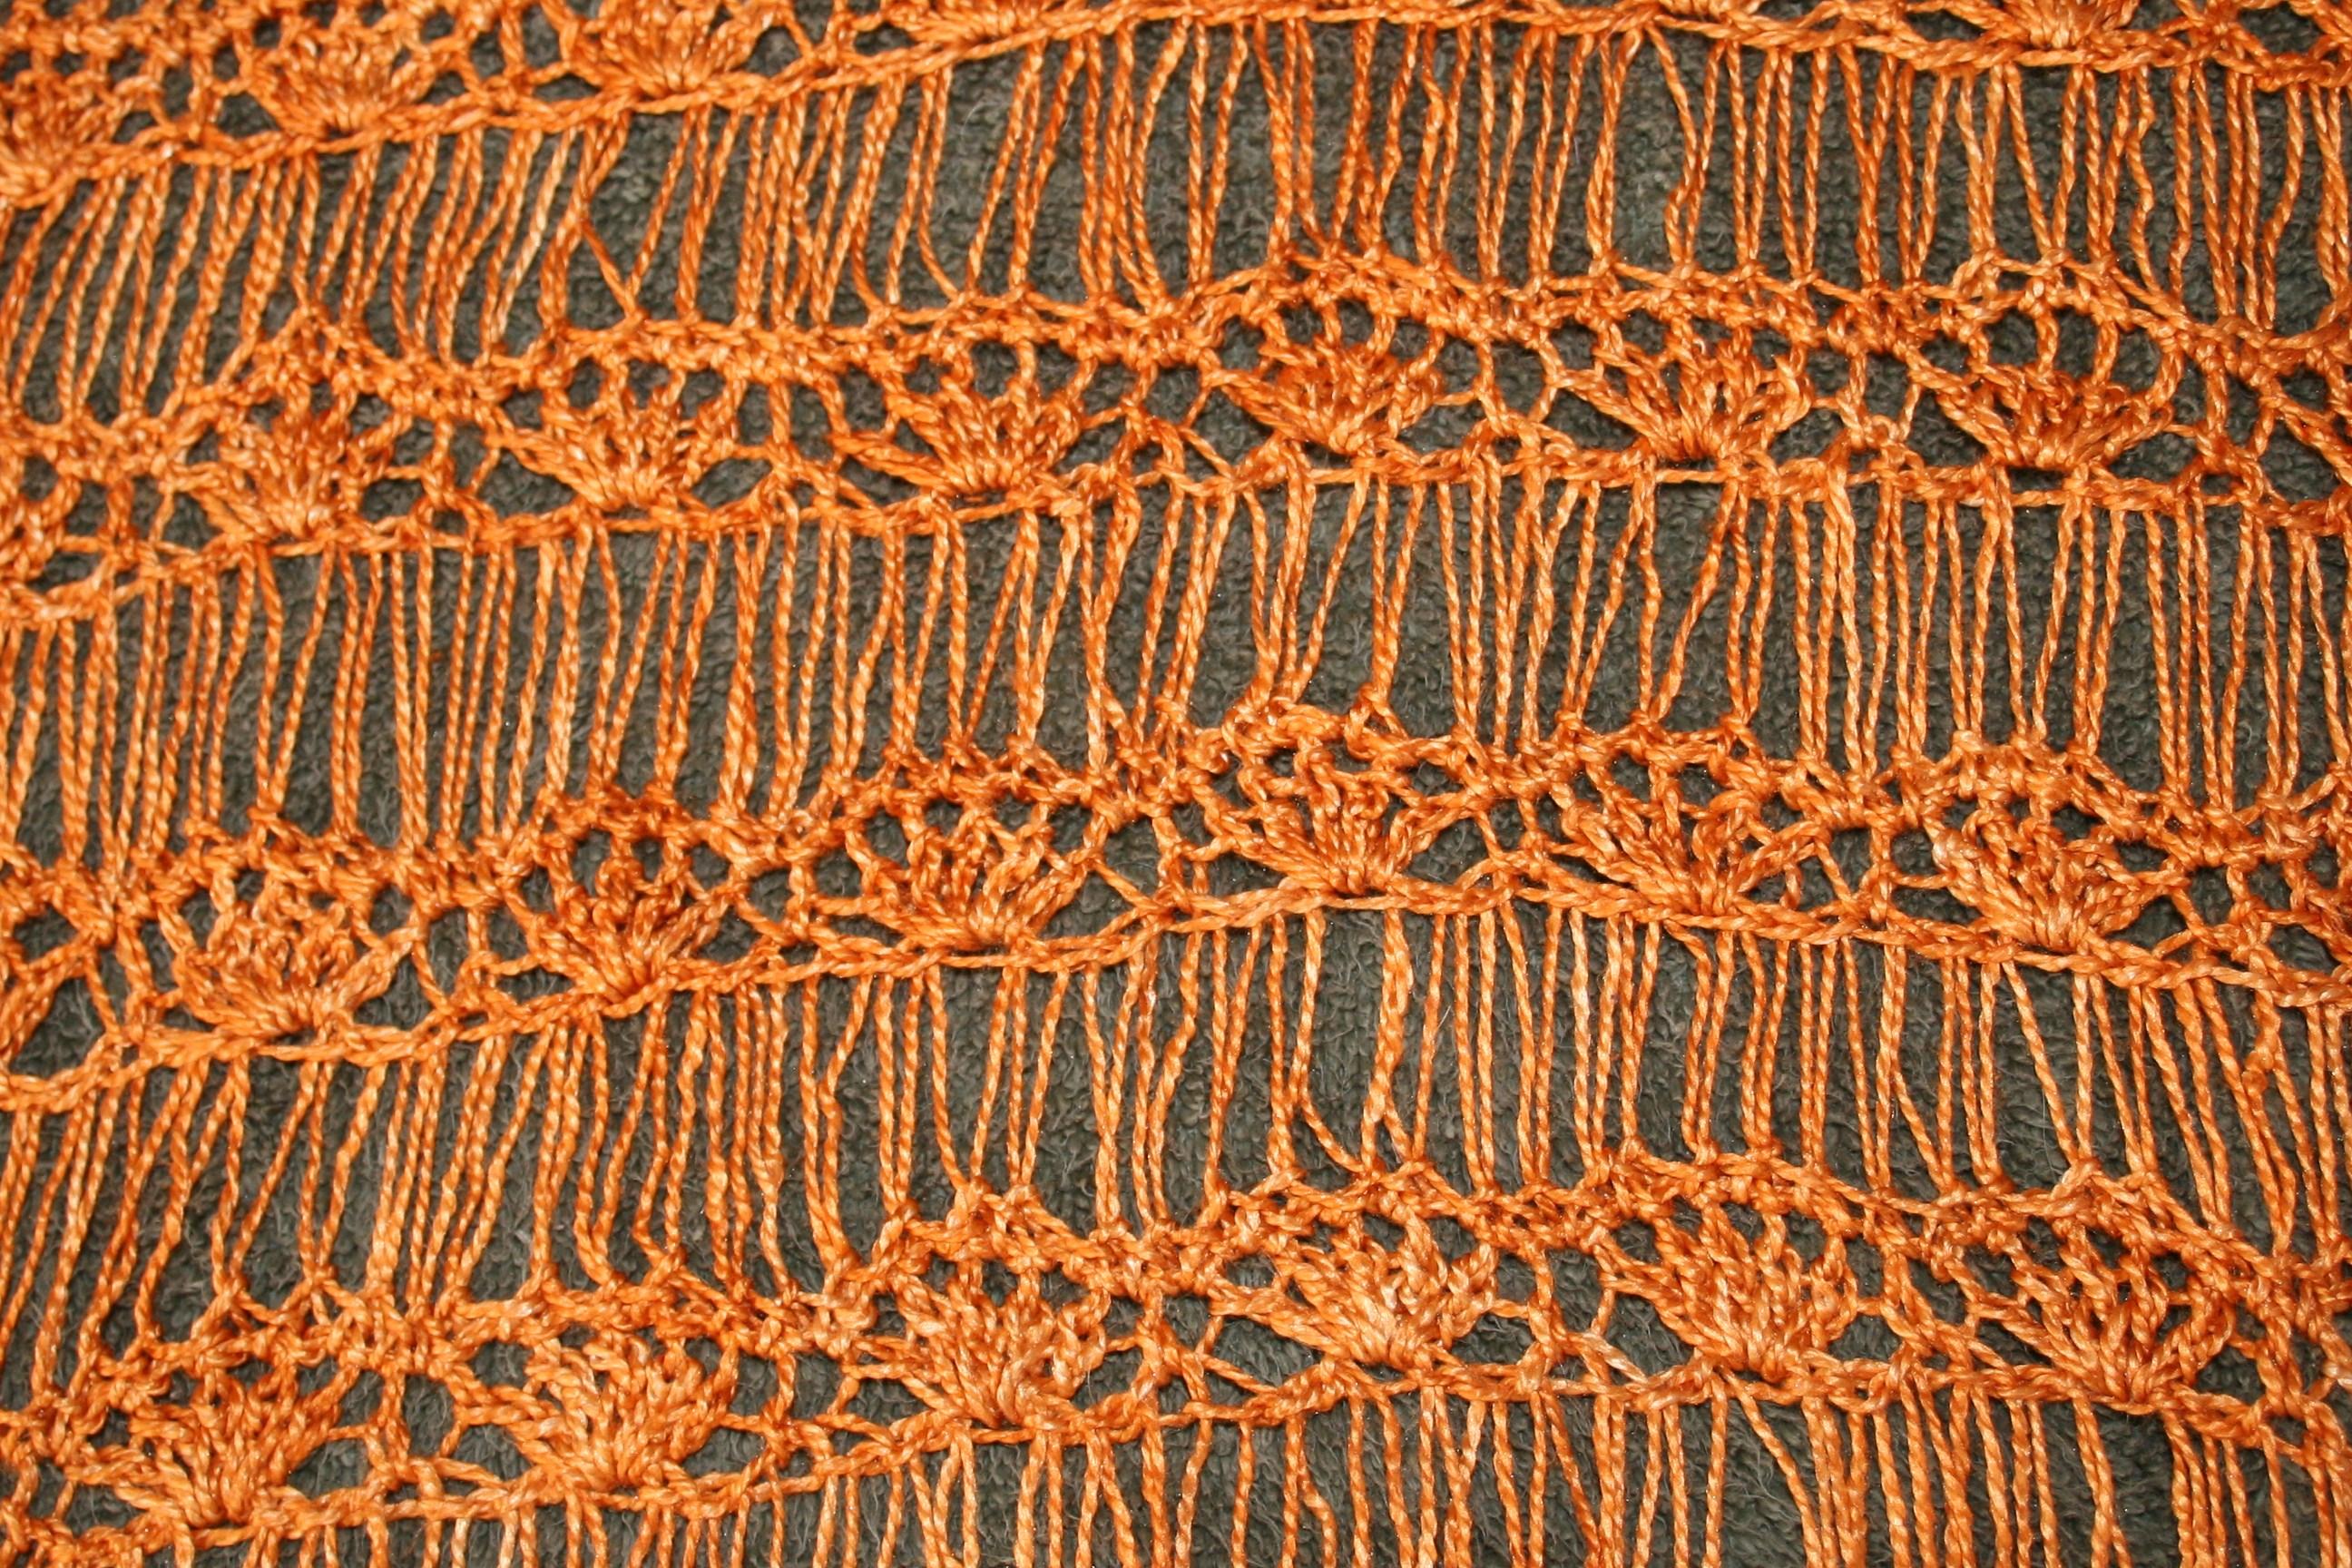
Several years ago, I was attempting to find a way to create a round open loop within a row of fabric. I know you can create chain and skip spaces, but I have a vision that was a little different, almost like a “loopty loop” of a roller coaster. In my attempts to find this approach to fulfill my vision I began playing with some “long loops”. With these long loops I twisted, I stitched over, I stitched through and around, in various ways and found eventually found a way to make them secure in the fabric, and eventually began to see what resembled the effects of Hairpin Lace.
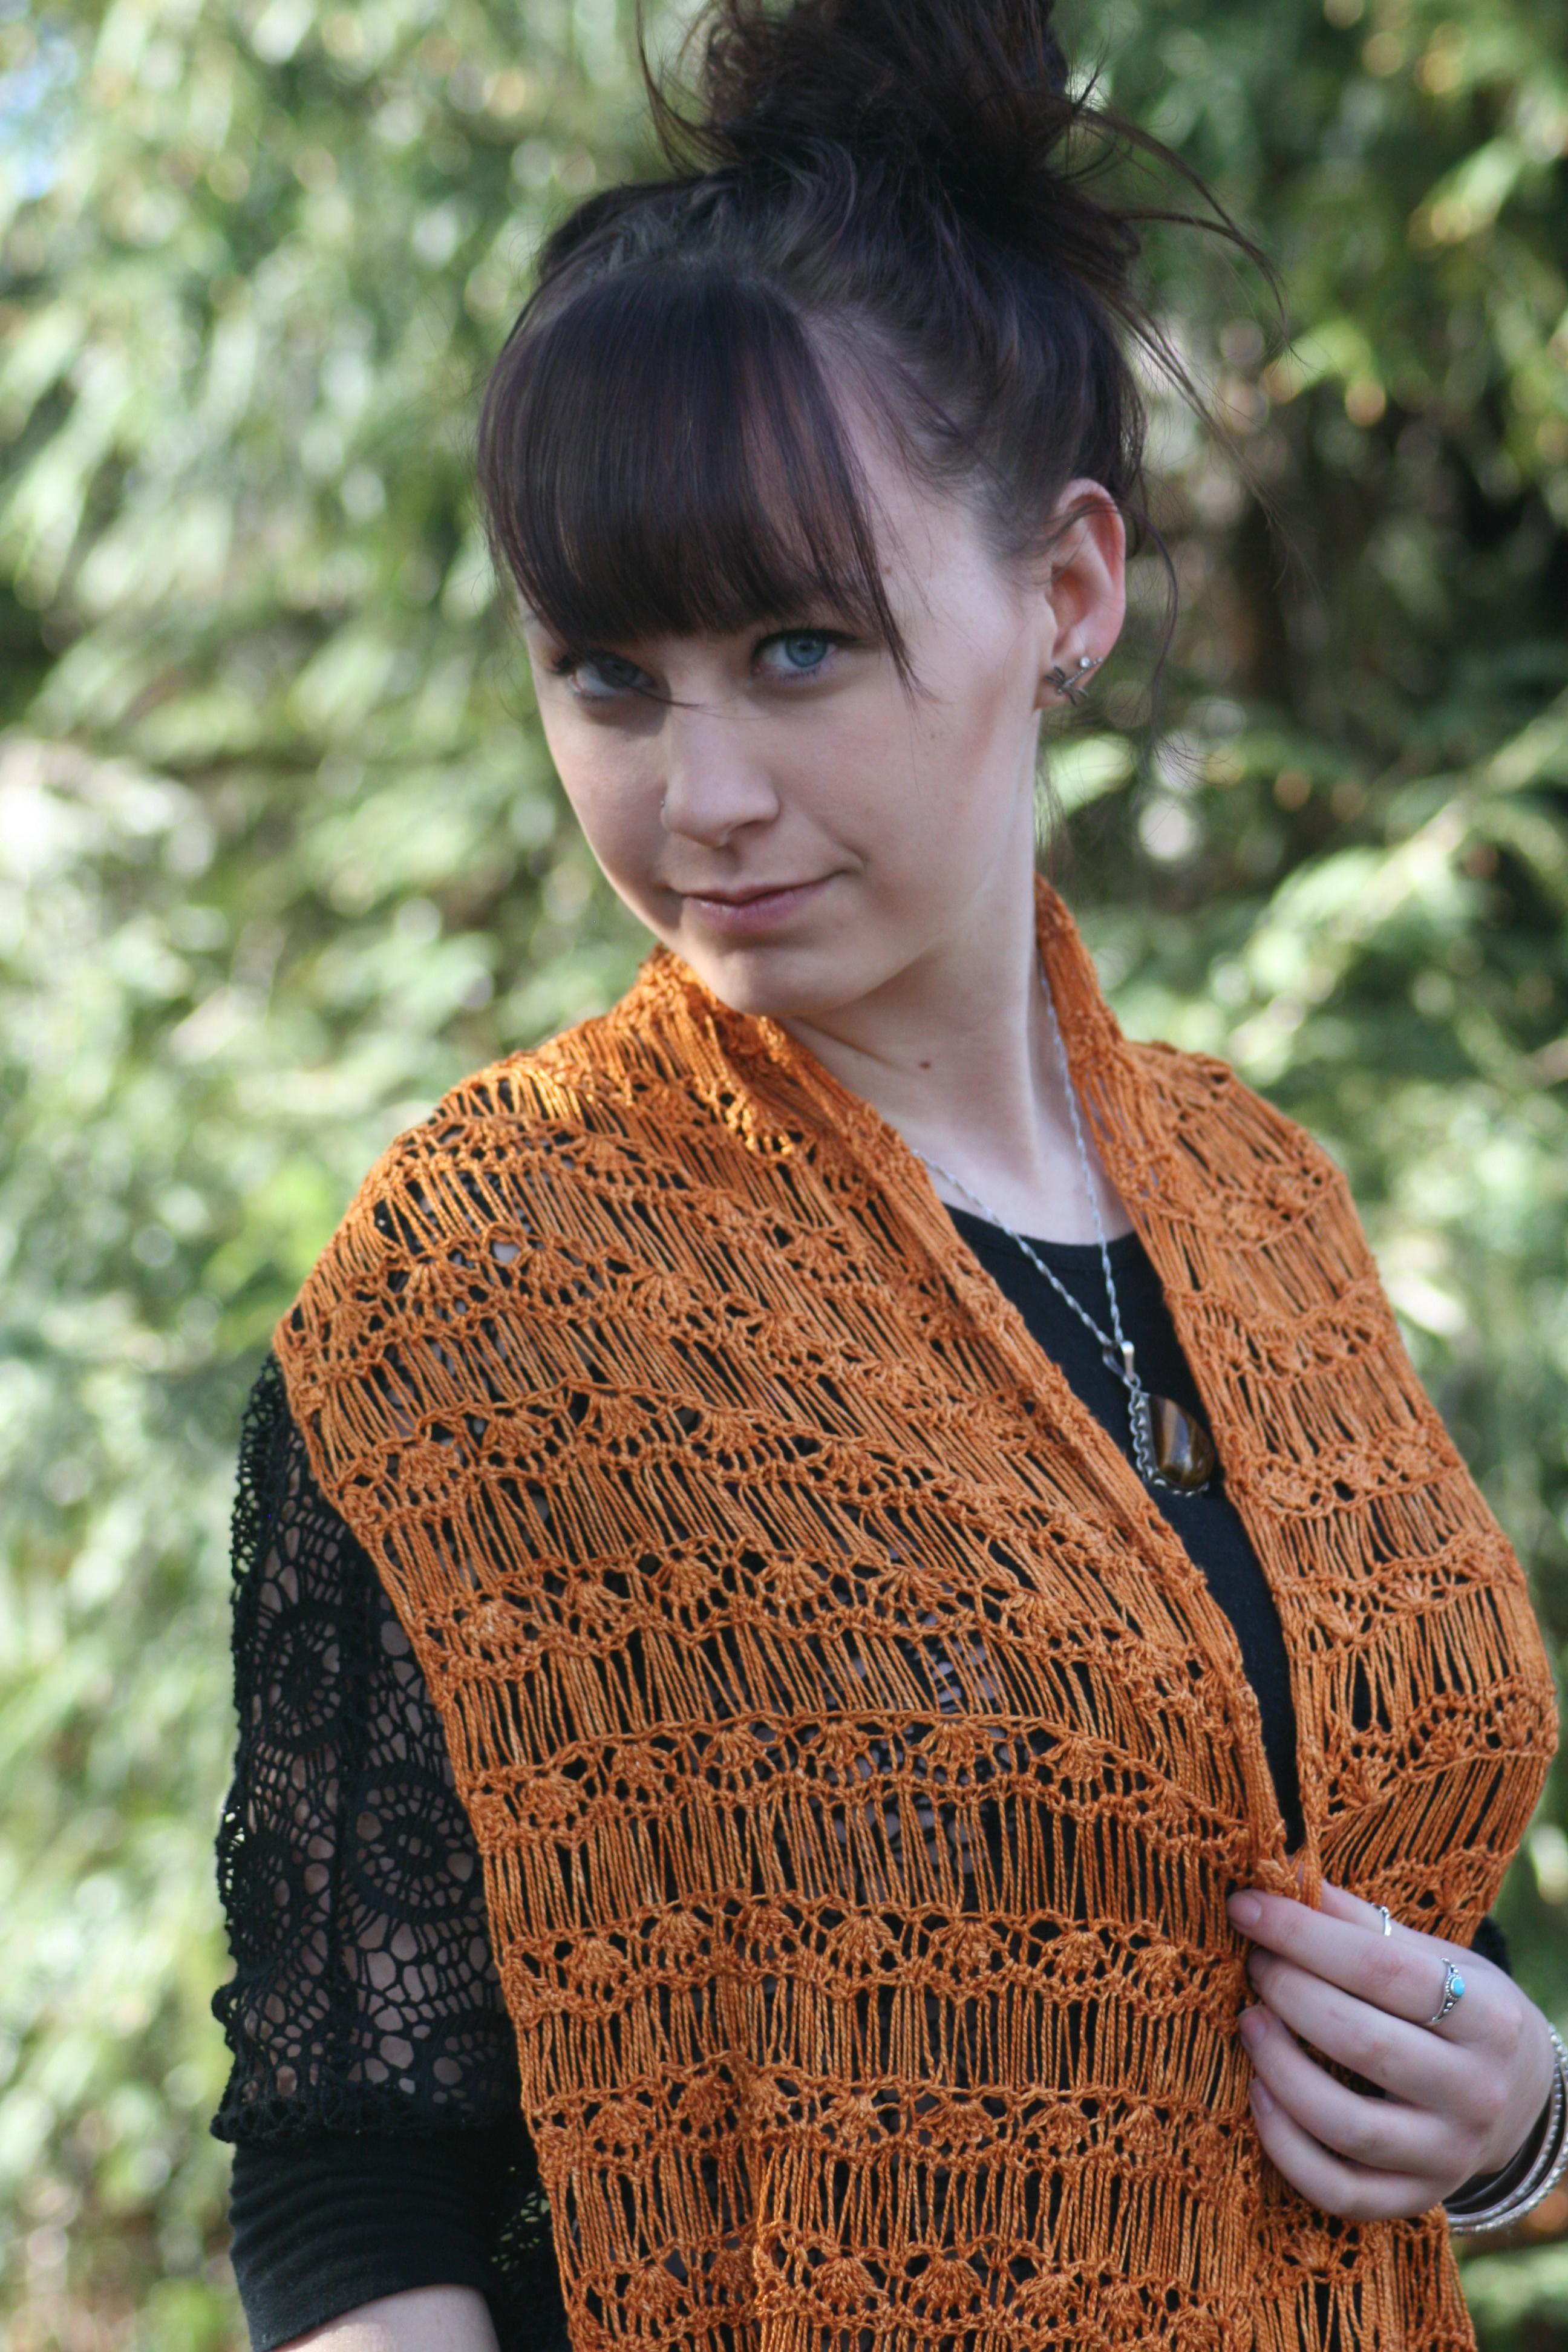
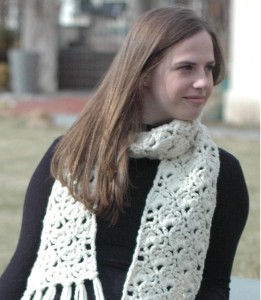
Summer Rays Drop Stitch Wrap
I wrote up the process and created a short scarf for Crochet! Magazine in the Summer 2012 issue to explain what I found, and how to create it. Since then I have played with the stitch in a variety of ways in my personal crochet, even creating a self-published design earlier this year, Summer Rays Drop Stitch Wrap.(Available for $5 at Craftsy & Ravelry)
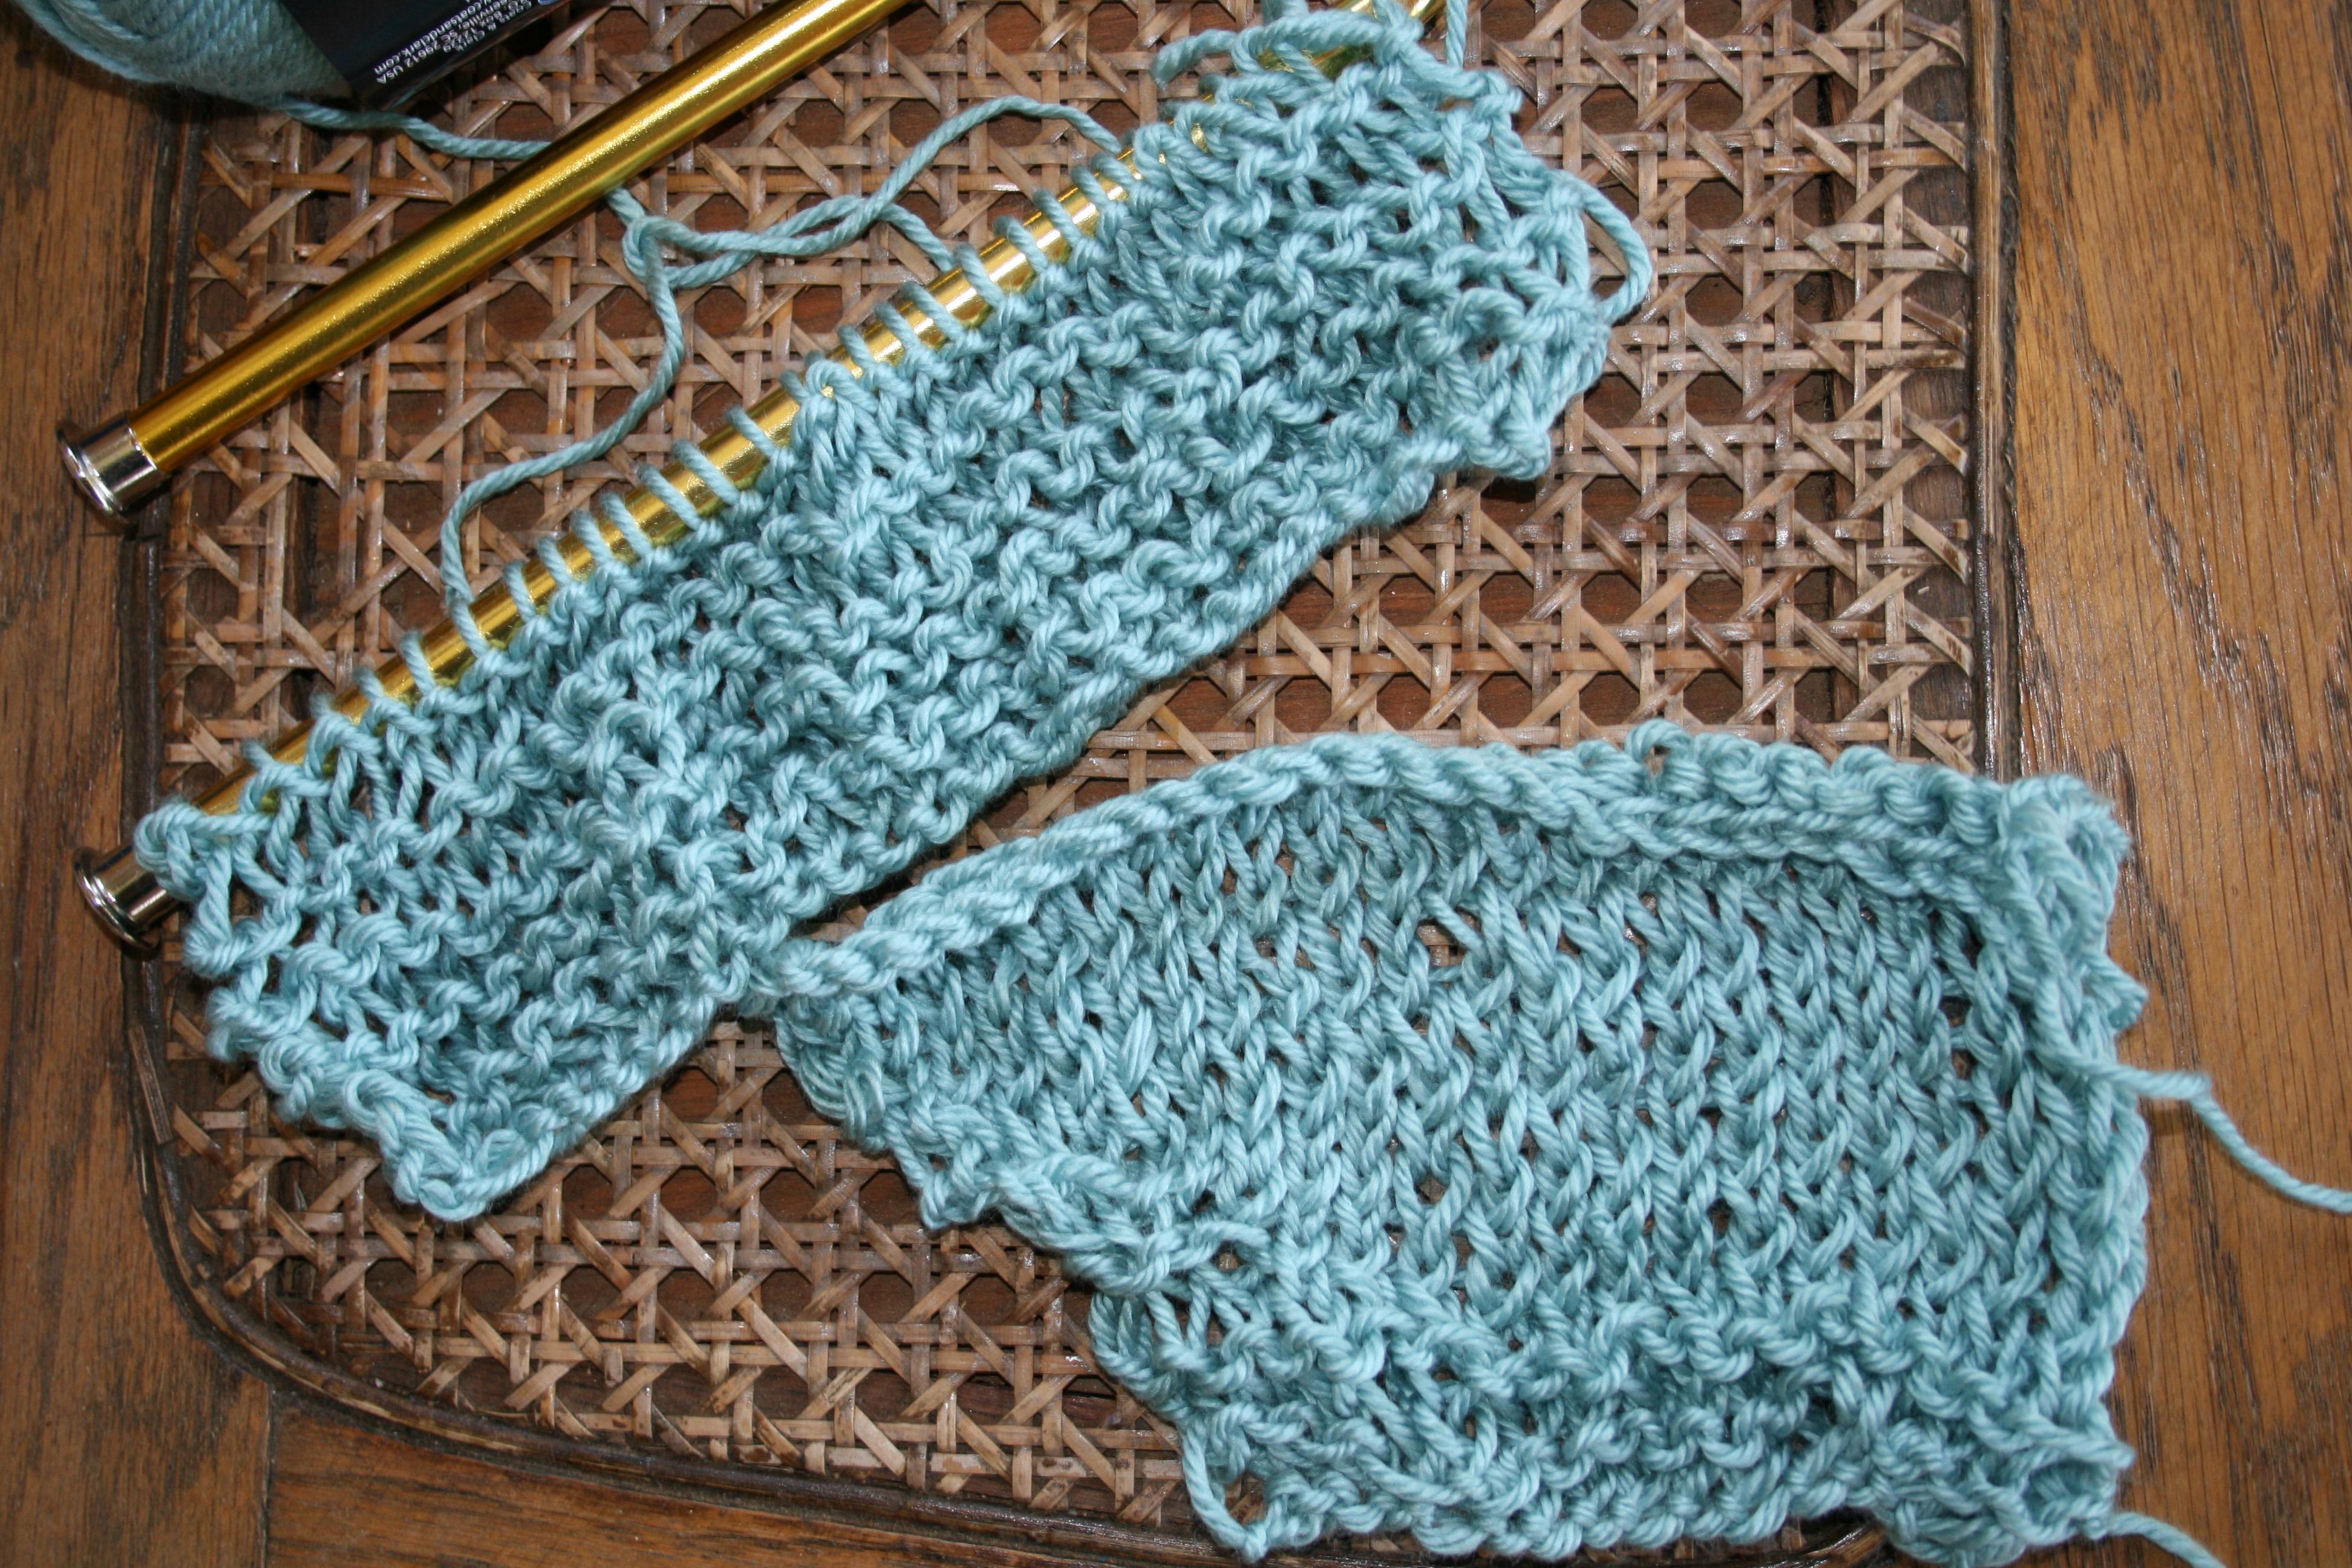
The principal behind the process is not the difficult; essentially you pull through a long loop in the indicated stitch. Then you remove your hook and dependent upon the design, insert the hook in either the same indicated stitch or into the adjacent stitch and pull through a loop, and slip stitch. This slip stitch secures the loop and you then move on to the next stitch. The fun in this fabric is that you can work across the ends of the loops to create a second row, and thus have a row of long open loops, similar to the drop stitch effects in knitting.
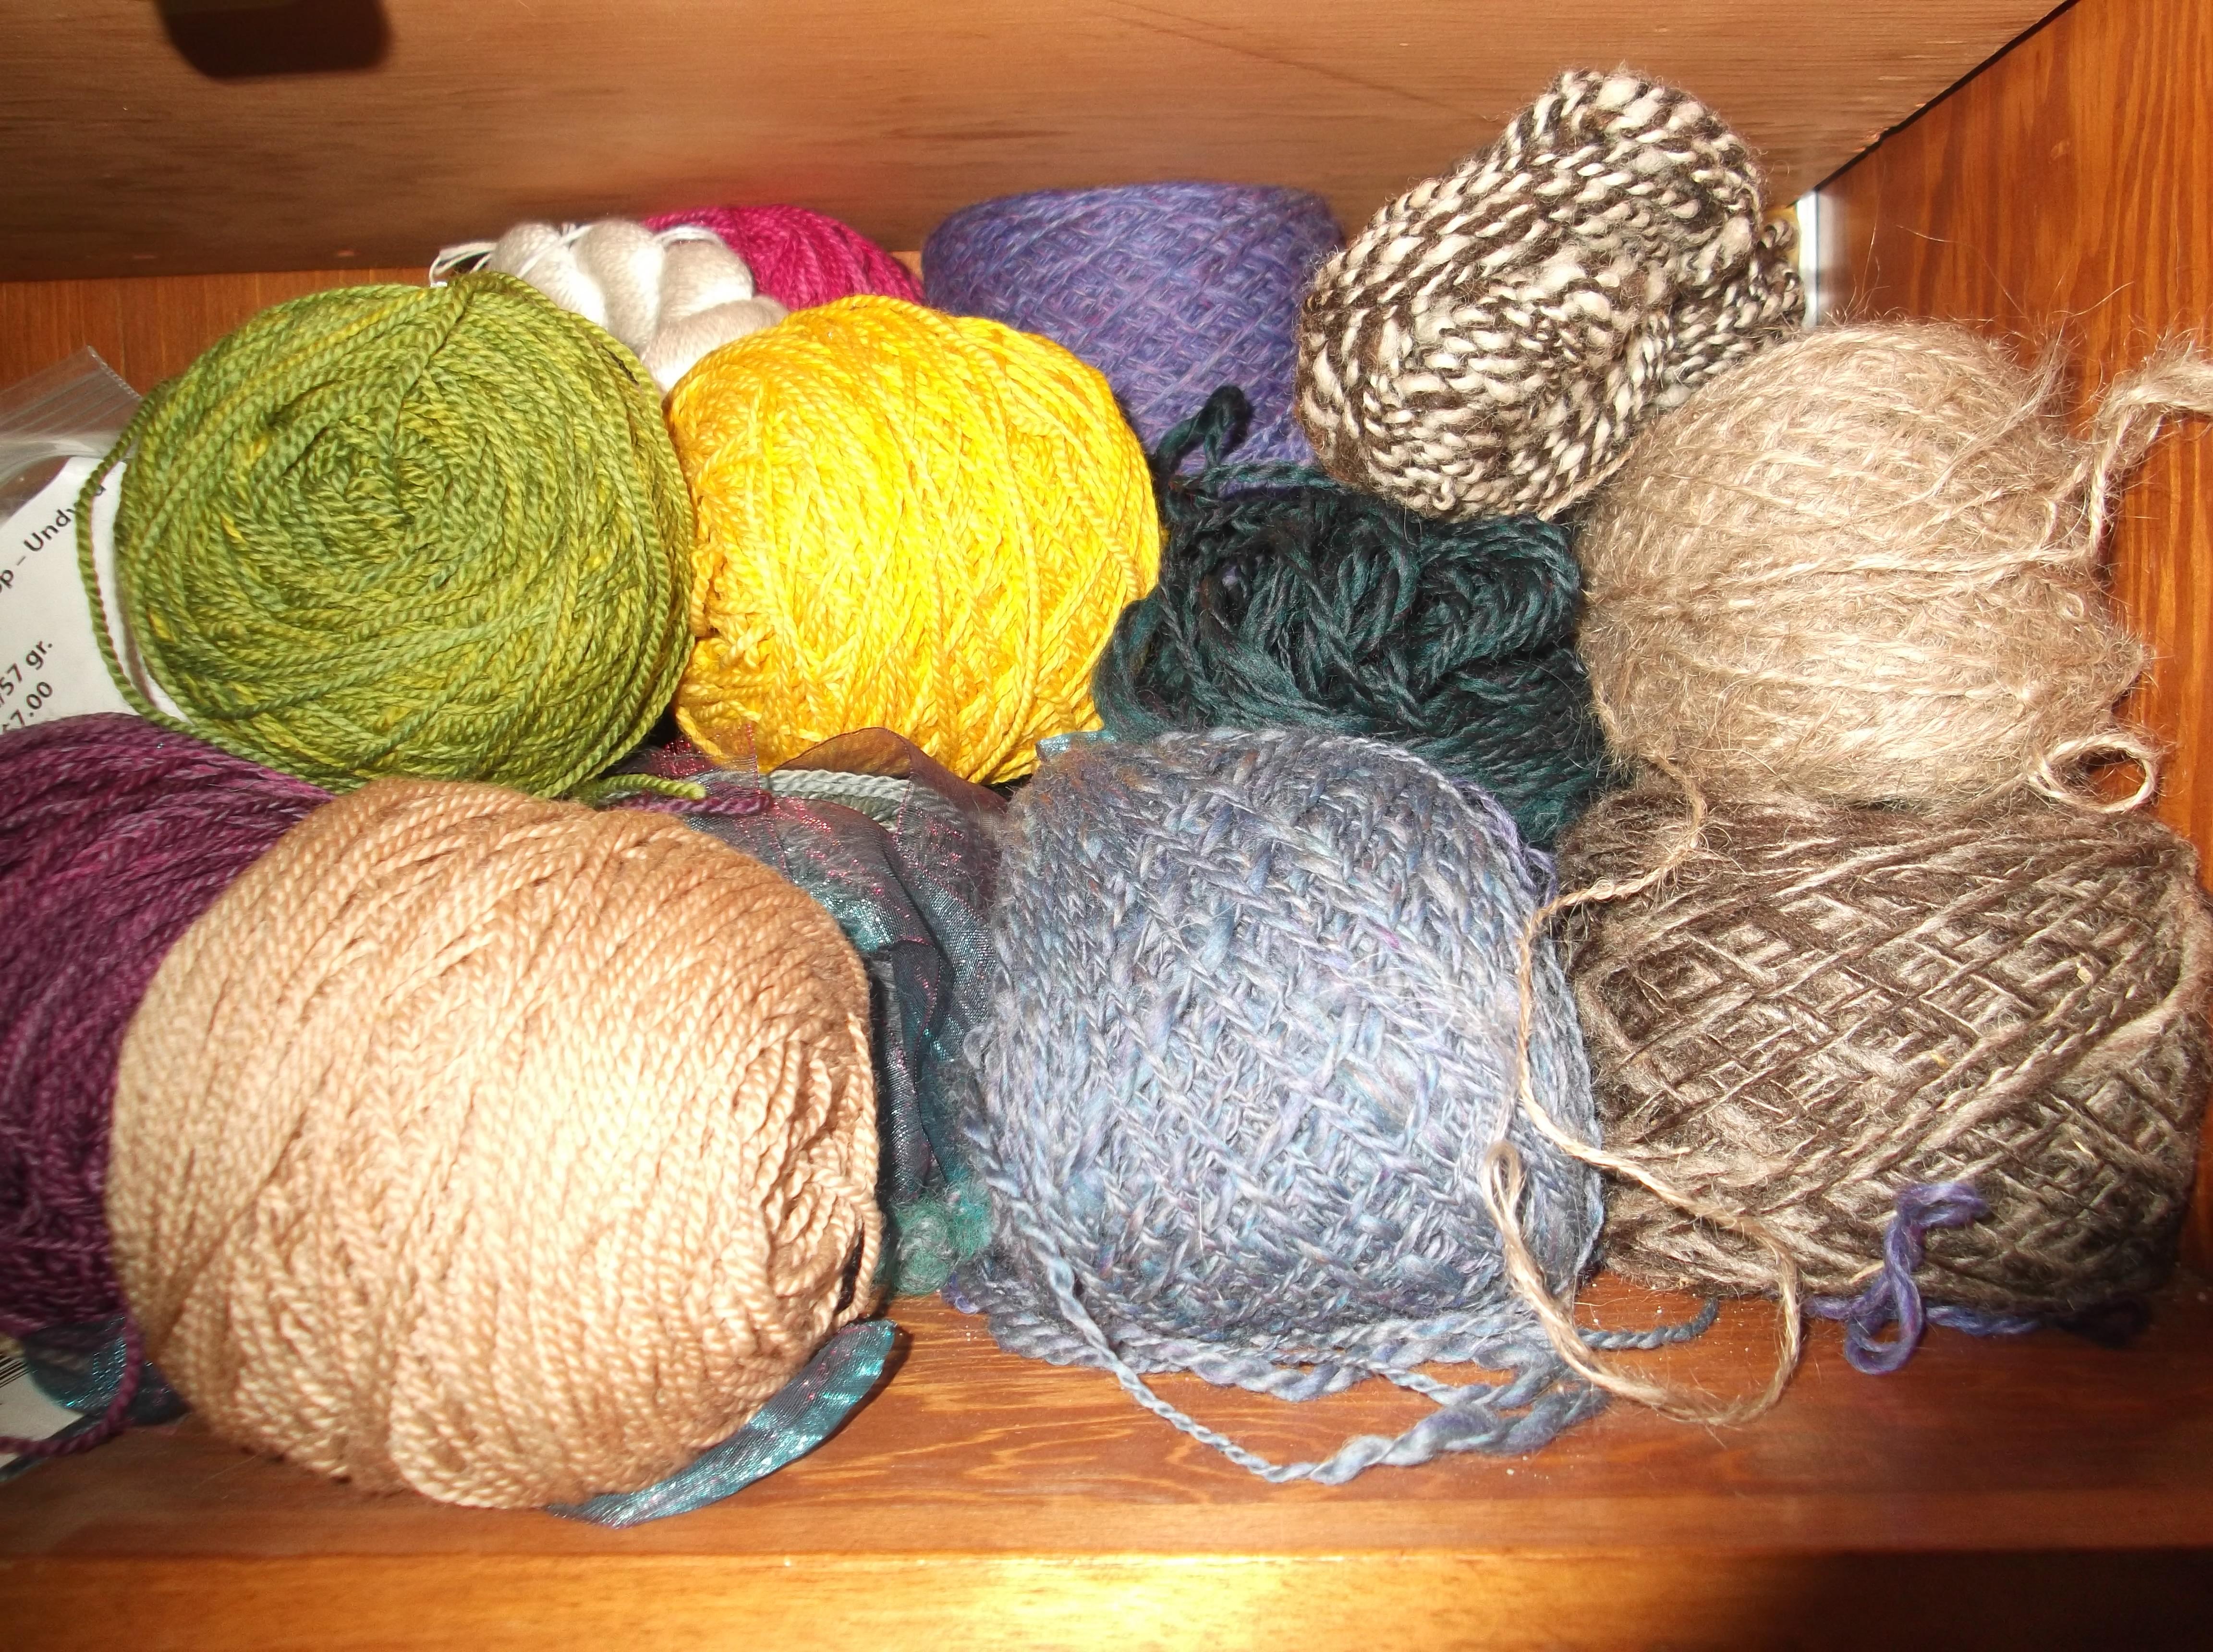
I have used this stitch in a wide arrange of yarns and am happy with the results of most. However the only ones I have not been as happy with are yarns that have a little “springiness” to them. They have a lot of stretch and easily return to their natural state (like some sock yarns). This did not allow for a very long loop, it caused the loop to pull back, creating a more 3D effect in the fabric, which I have not found a good use for yet.
I still have not found a way to create the circle of loopty loops that are in my head, but by playing with various techniques and concepts along the way, I hope to enjoy many more discoveries.
If you want to take another journey of a Drop Stitch, check out Kim Guzman’s new book Learn Drop Stitch Crochet, She works it a little different then I do, she uses a knitting needle to keep the loops more uniform.