Crochet Craftvent- Sugar Plum Fairy

It is hard to believe that the holiday season is fast approaching. I already have students working on crochet gifts, and have friends making holiday plans; I am in awe of this organization. I really use to be on top of the calendar many years ago, but somehow have lost this skill as I have gotten older.

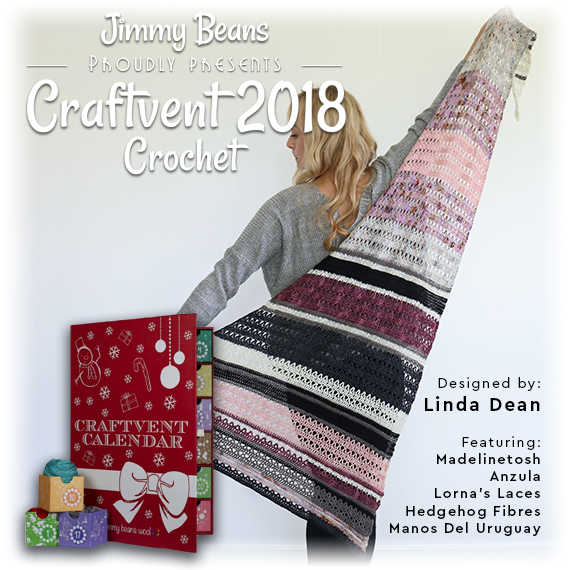
Fortunately this year I have an easy count down, I designed the first Crochet Craftvent for Jimmy Beans Wool, Sugar Plum Fairy. So, if you are like me the first question is …what is Craftvent? Well in a nut shell it is like an advent calendar but with yarn and yarn related treats!

The shawl is broken up to manageable sizes and the yarn is balled up in just the right size amount so that you can open a new square on the countdown to Christmas. Just like when you were a kids and had the little boxes with pieces of chocolate; okay, my sweet tooth usually meant that I would break into several day ahead, 
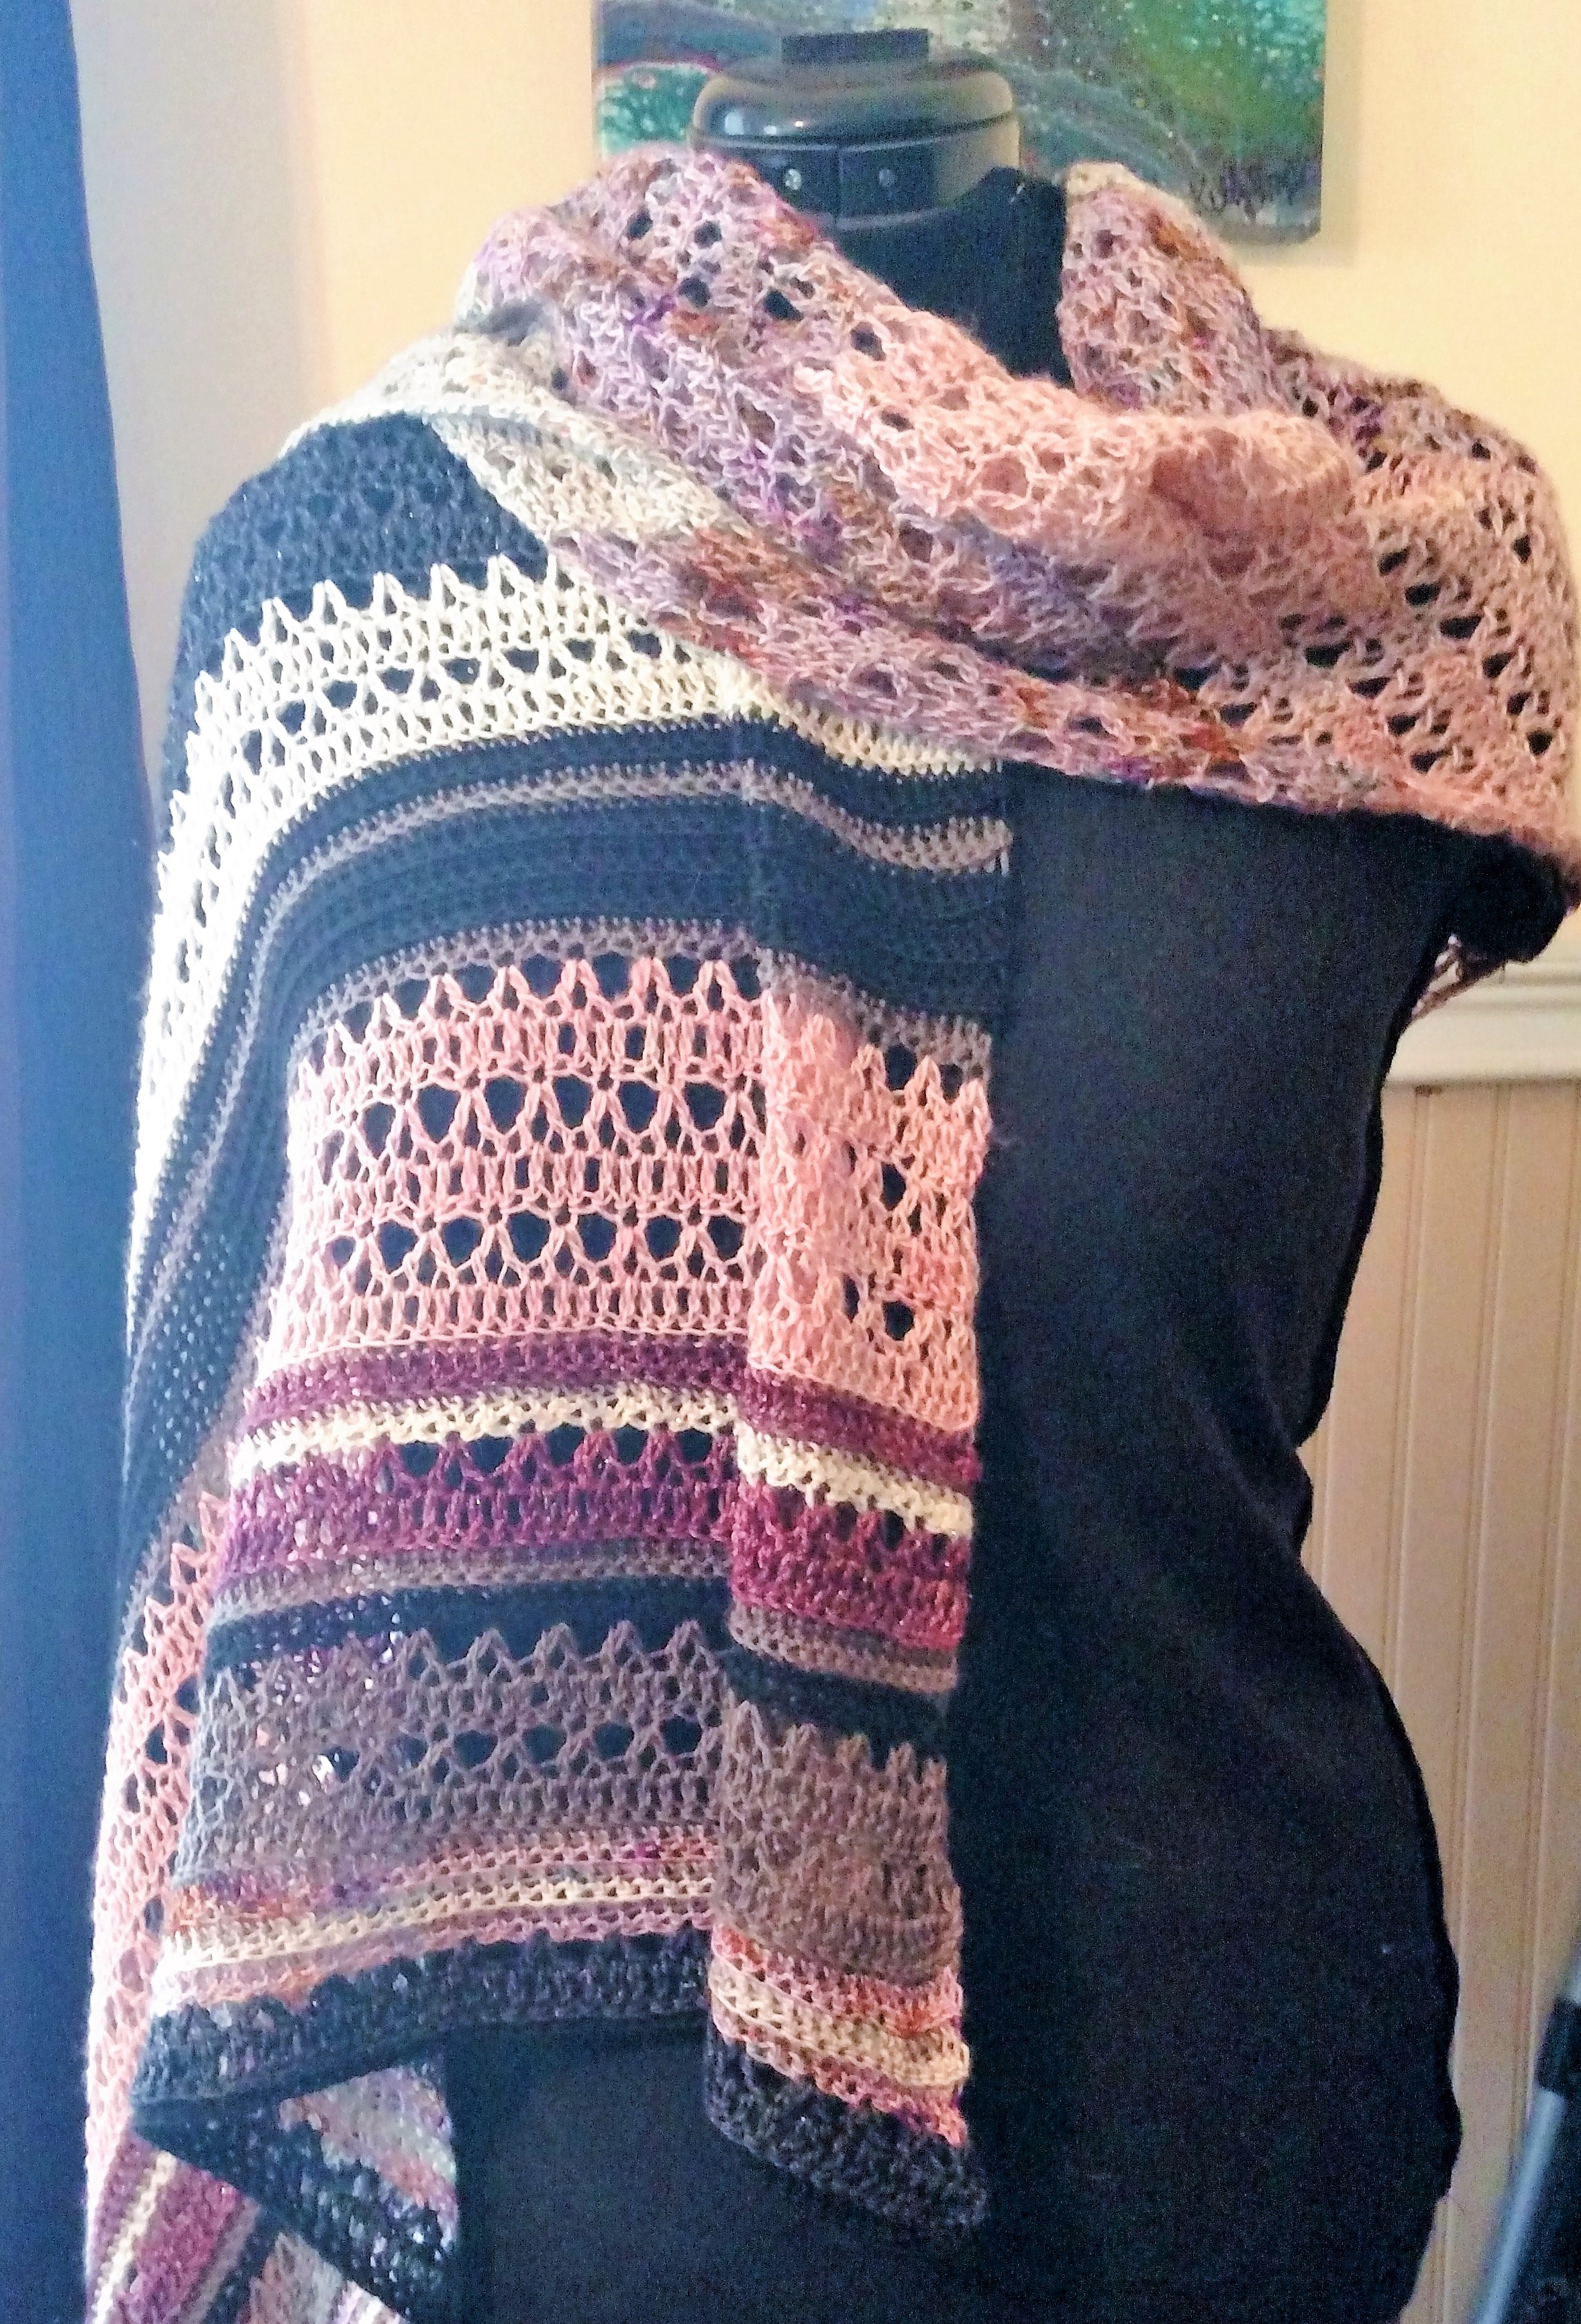
but it was still a treat.

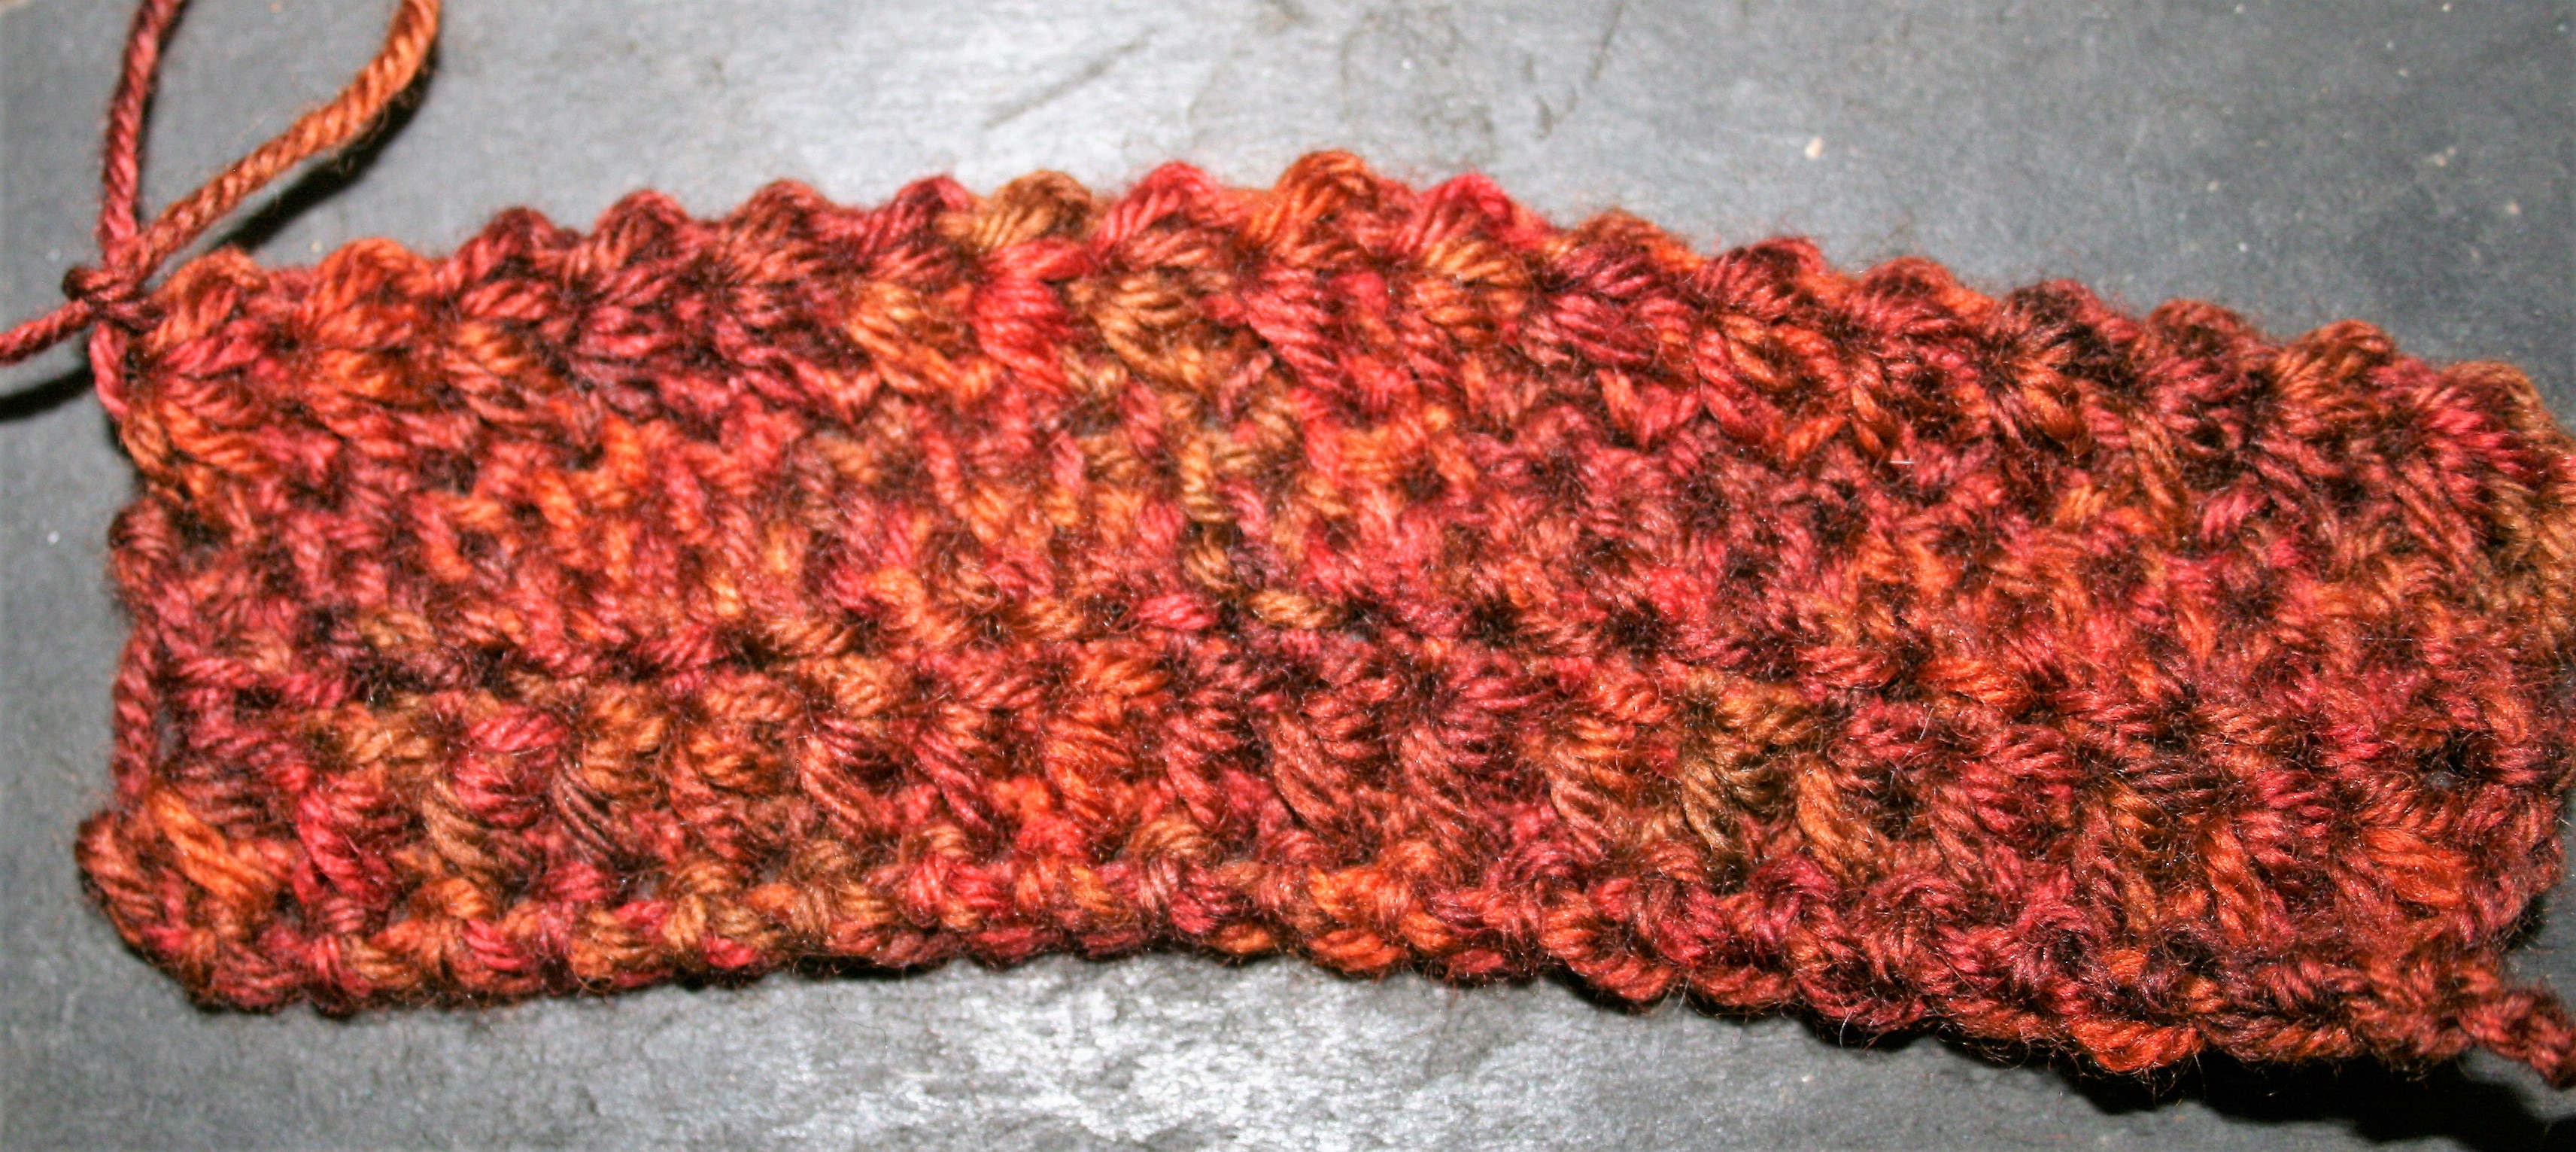
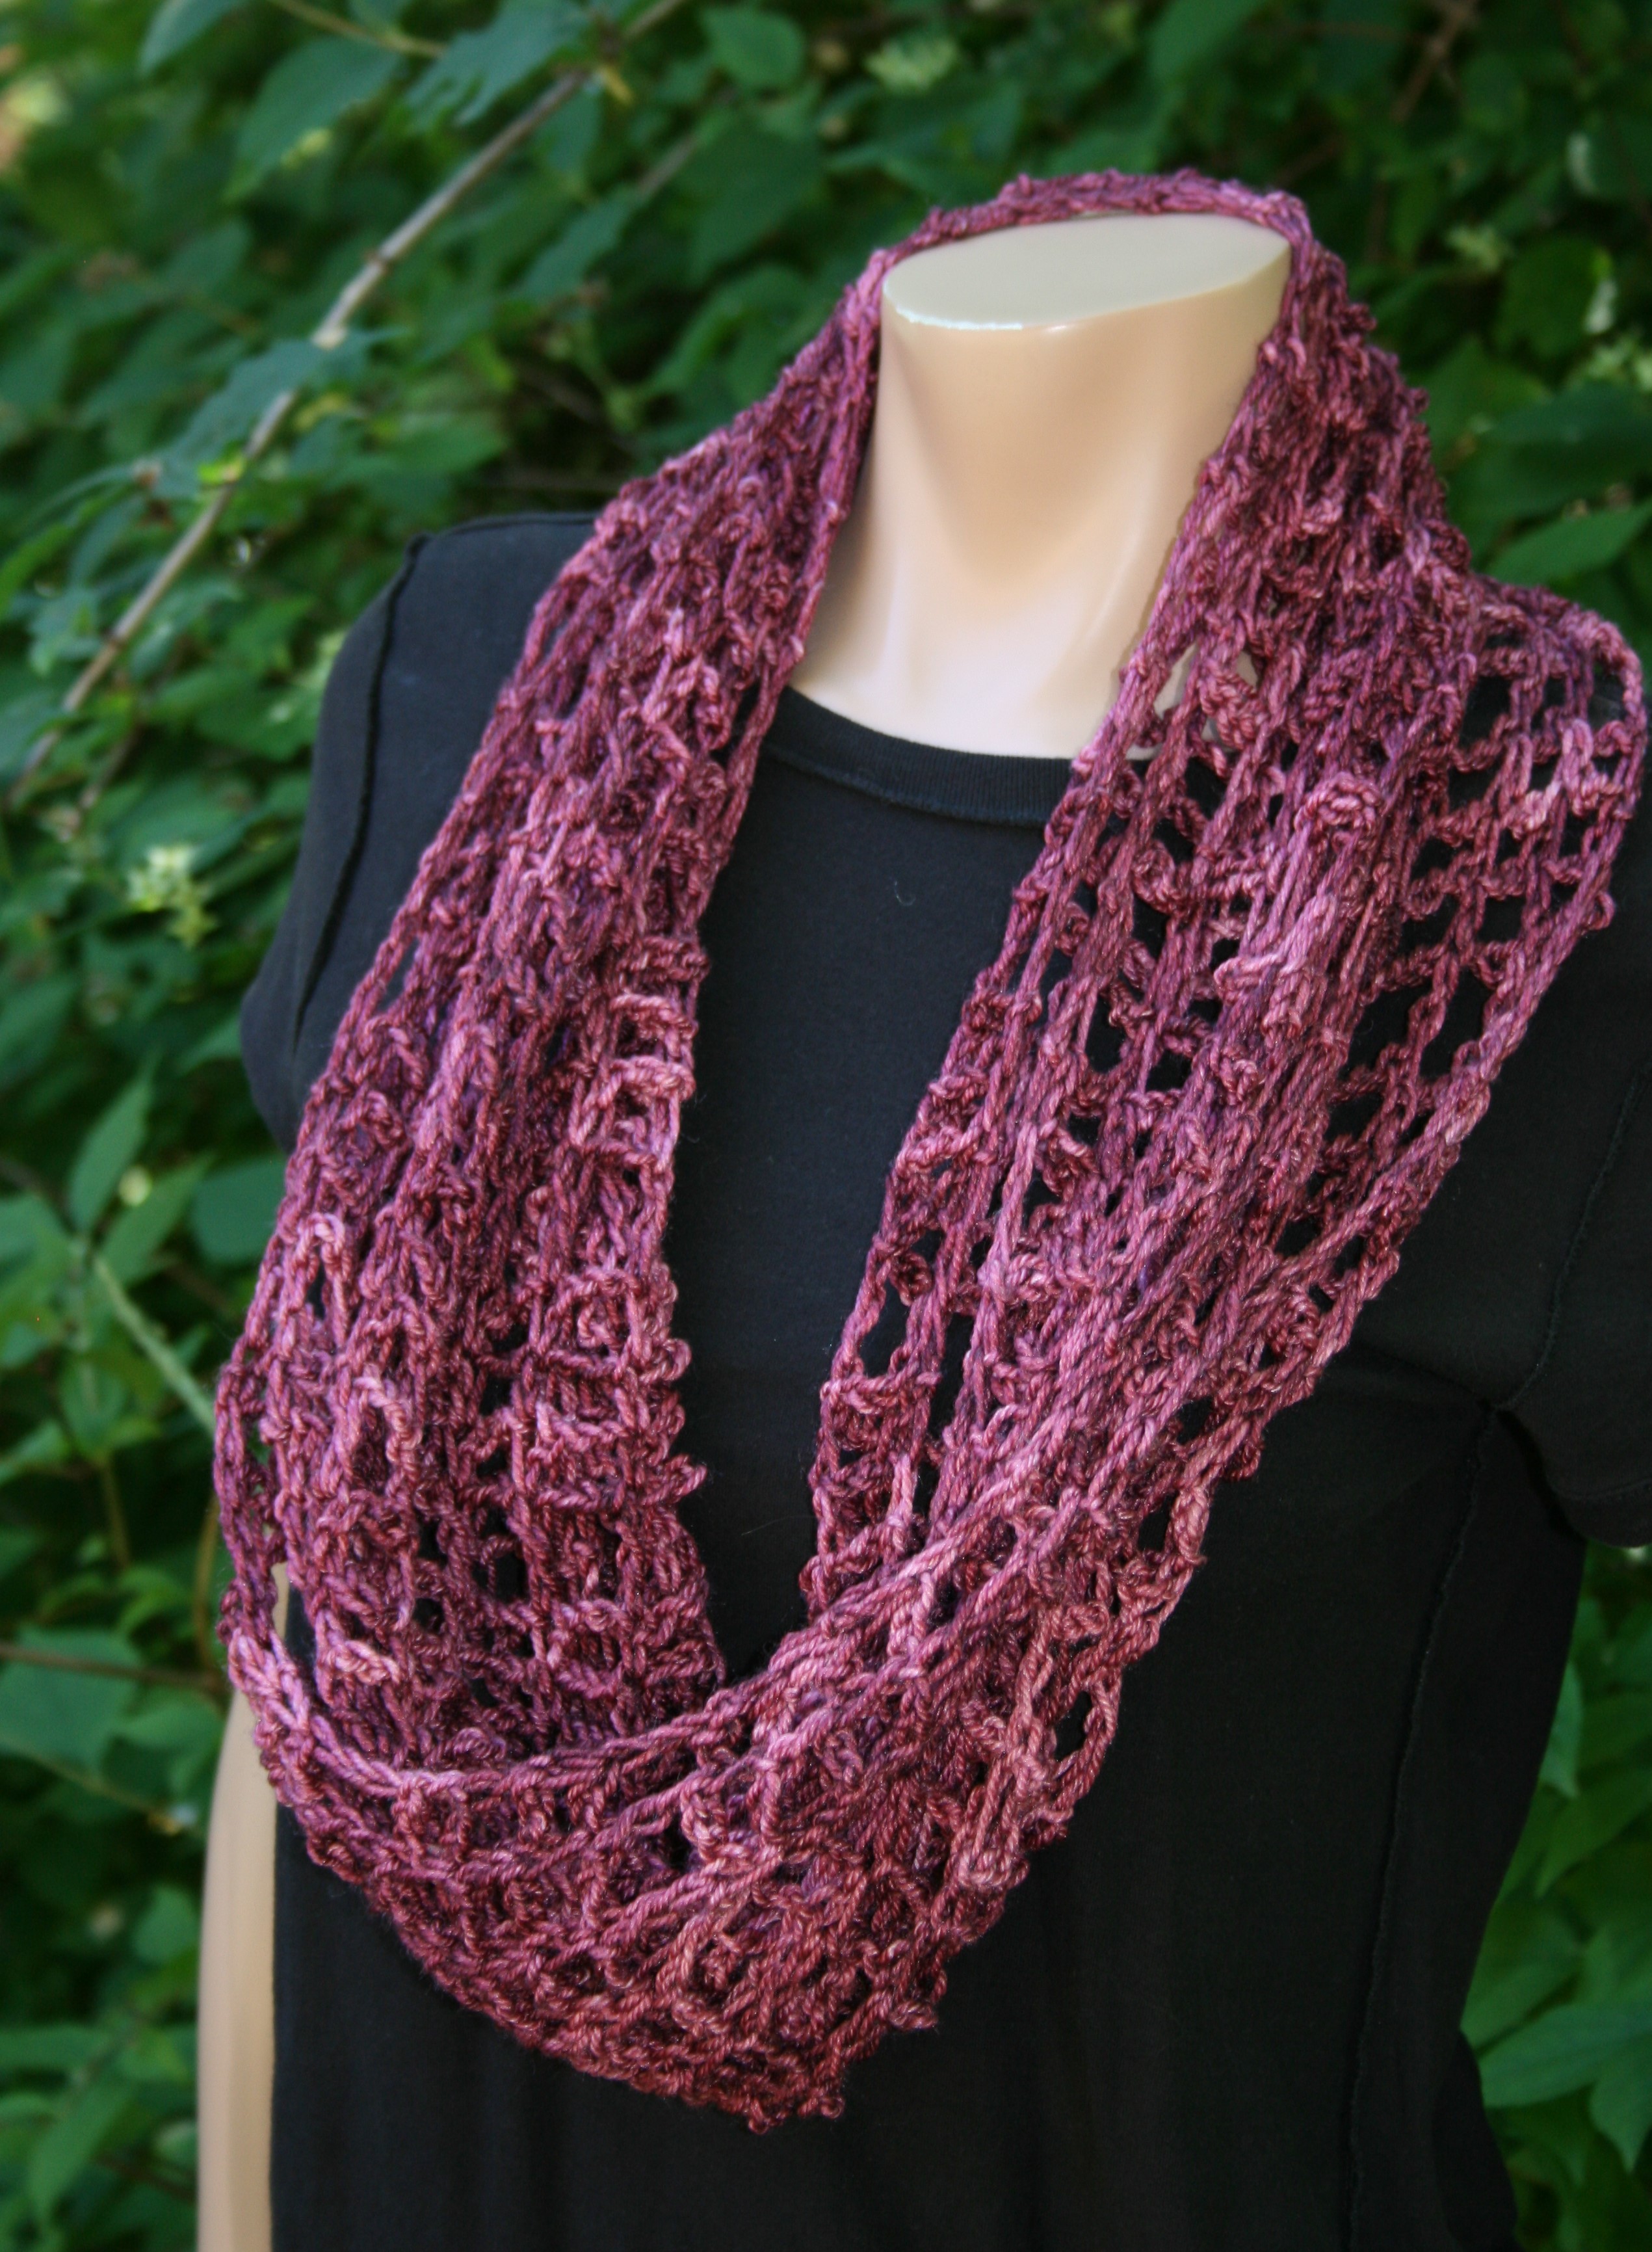
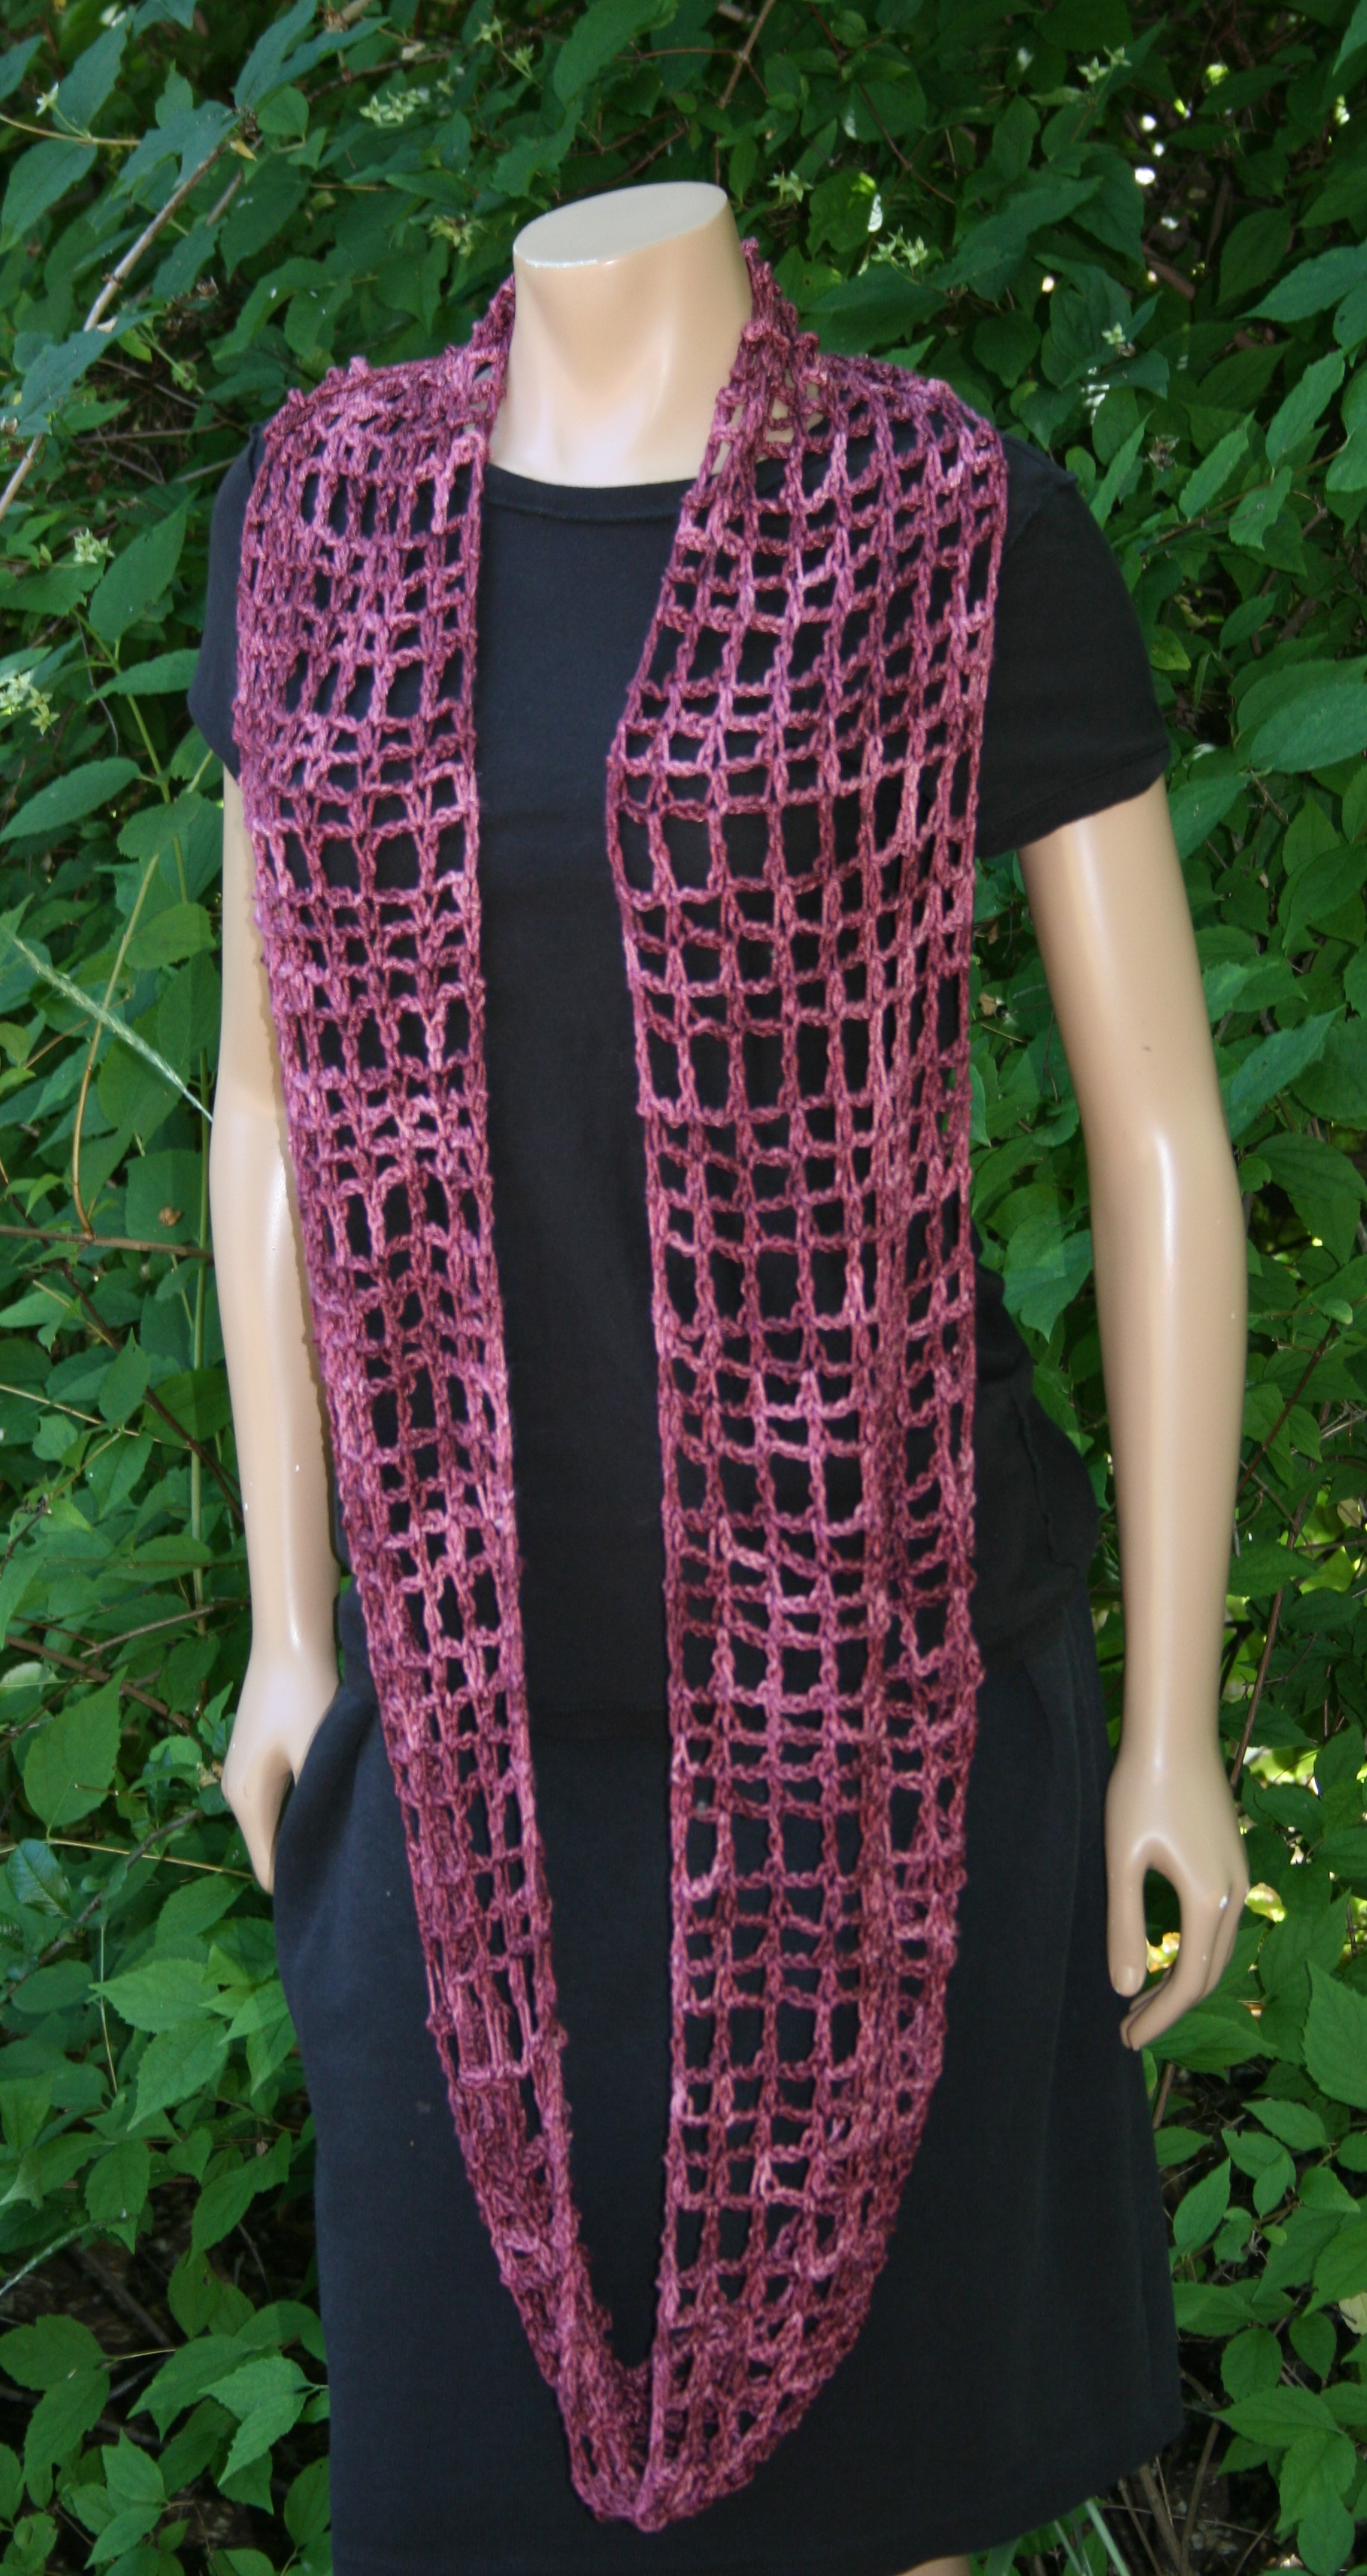
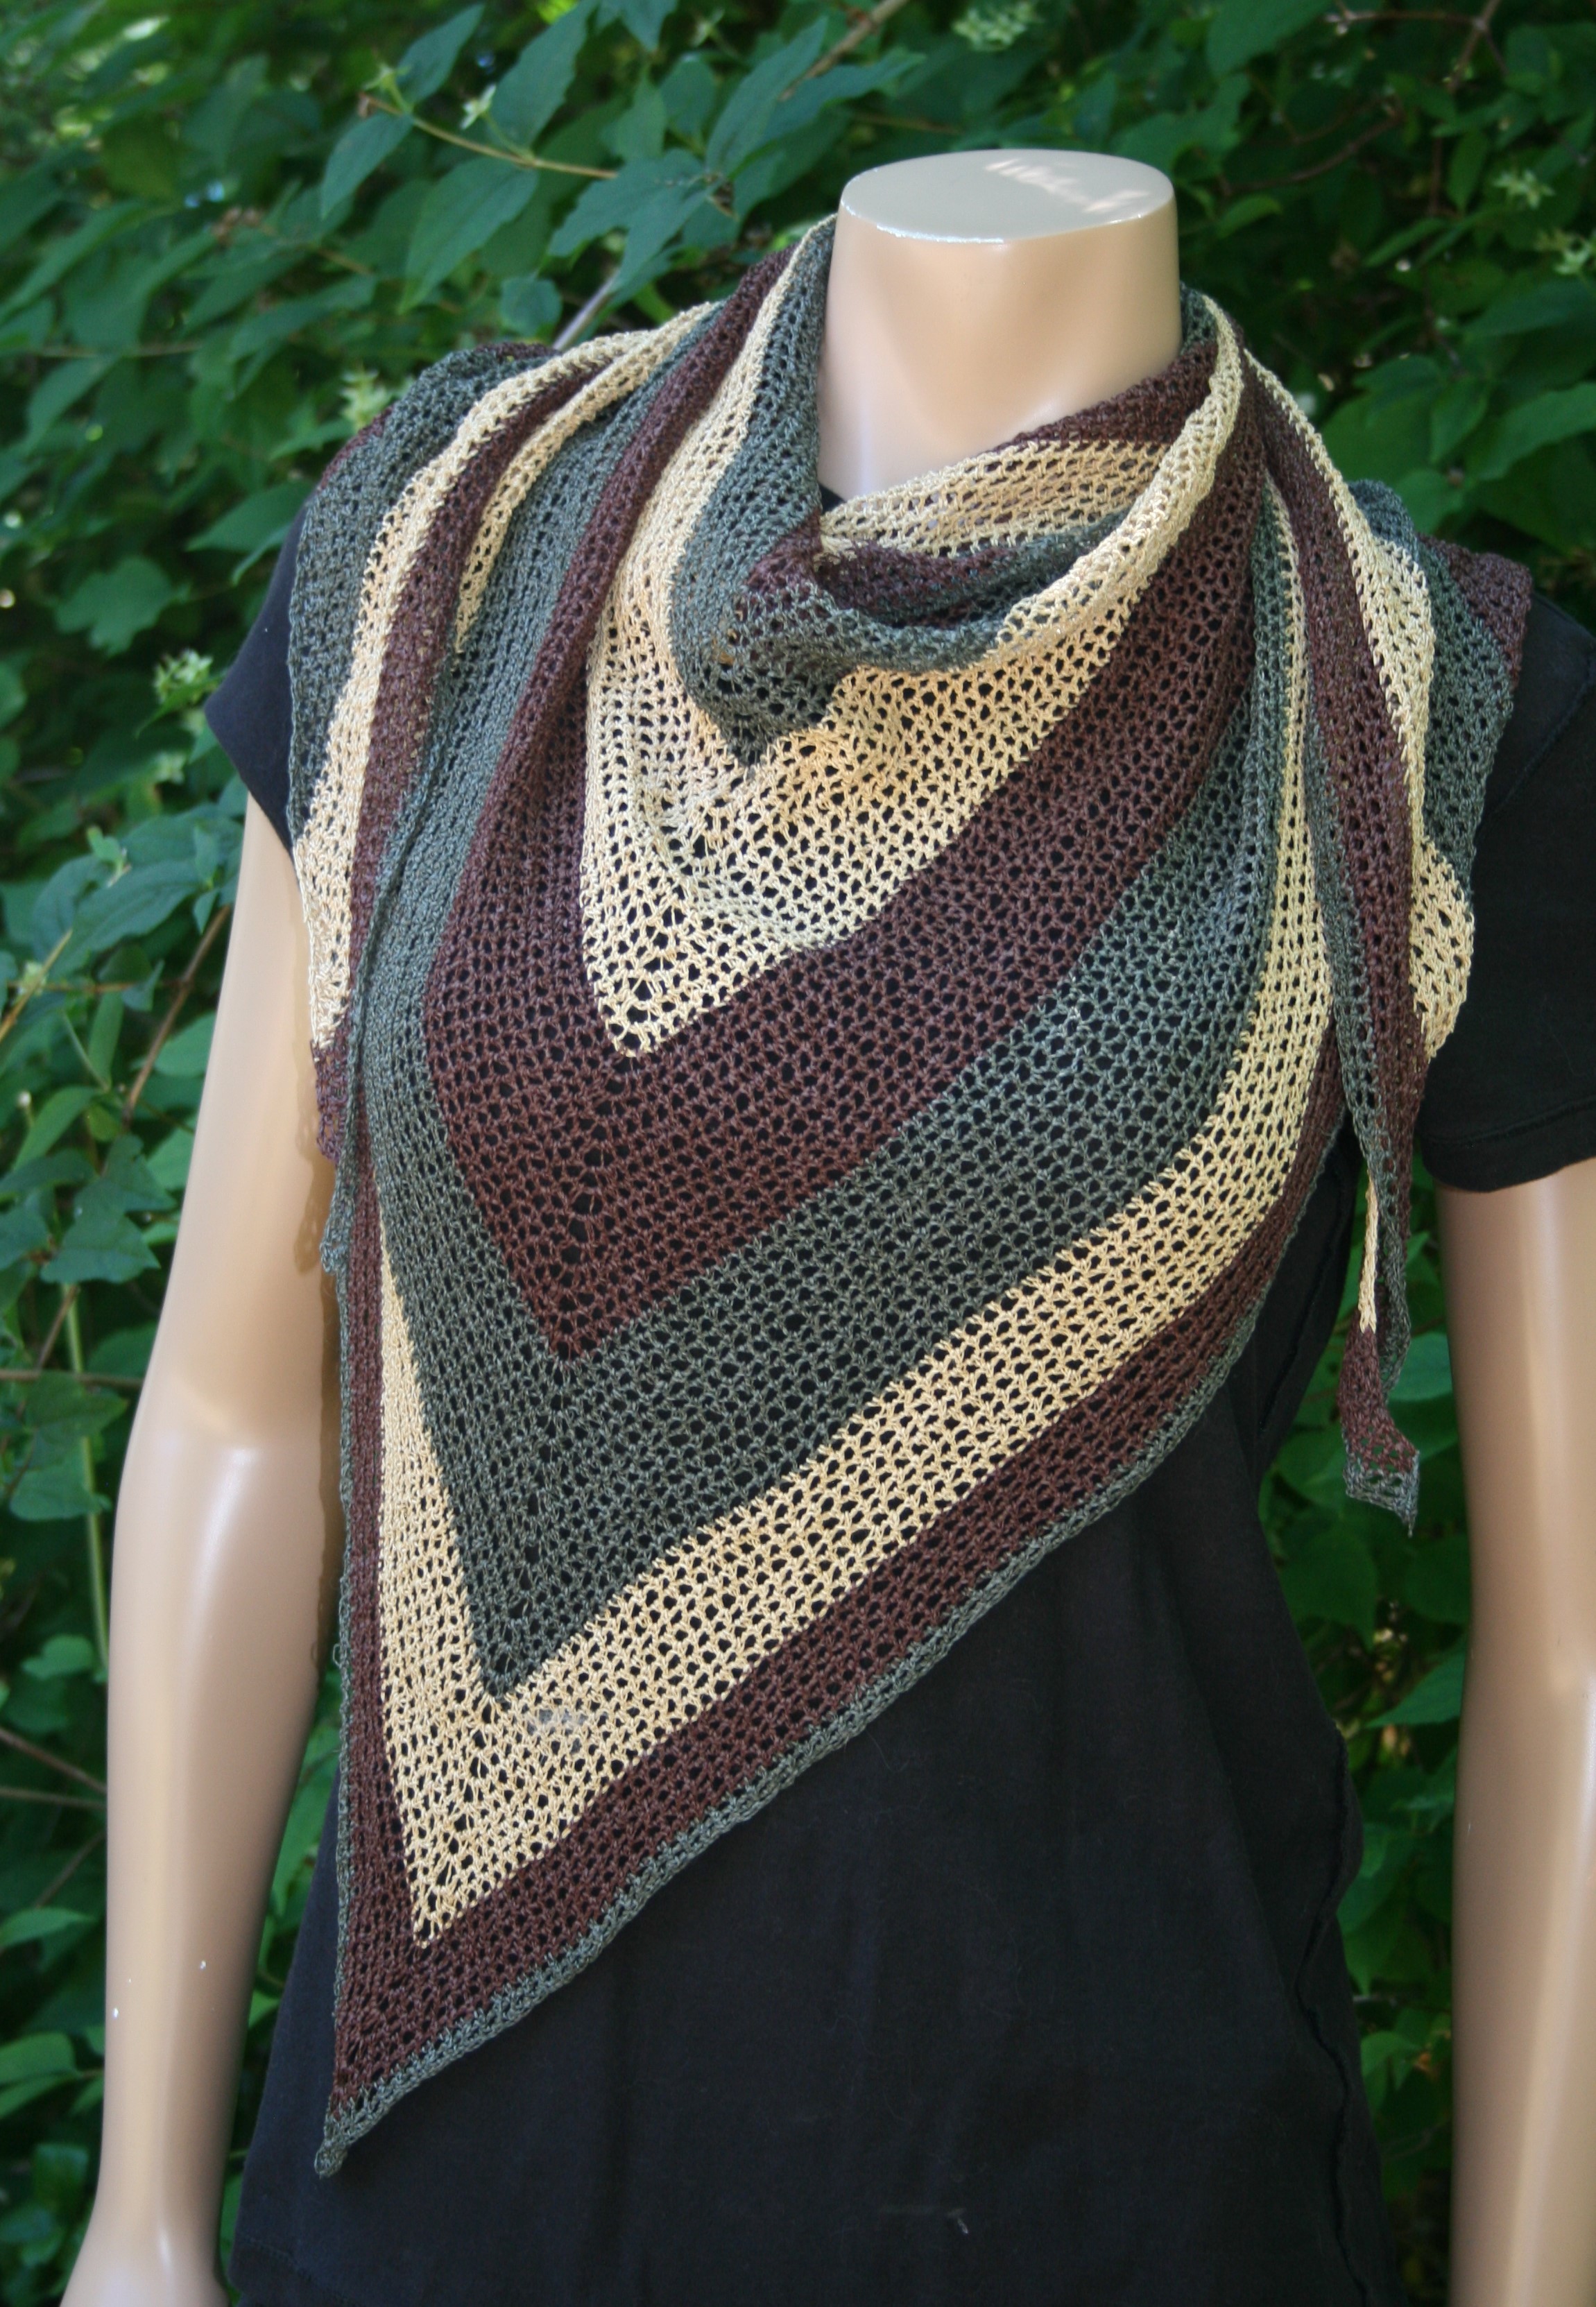
There are 8 different yarns highlighted in this shawl, as a result it becomes a bit of a “yarn taste” treat for the user. You get to play with many different yarn that may not be in your everyday stash of yarns. There are yarns with sparkle, yarns with great stitch definition, yarns with beautiful colors, it is a special gift with every day supply of yarn.

In addition Jimmy Beans Wool has “extra” notion treats placed throughout the calendar. What a great gift for yourself, or your favorite crocheter.

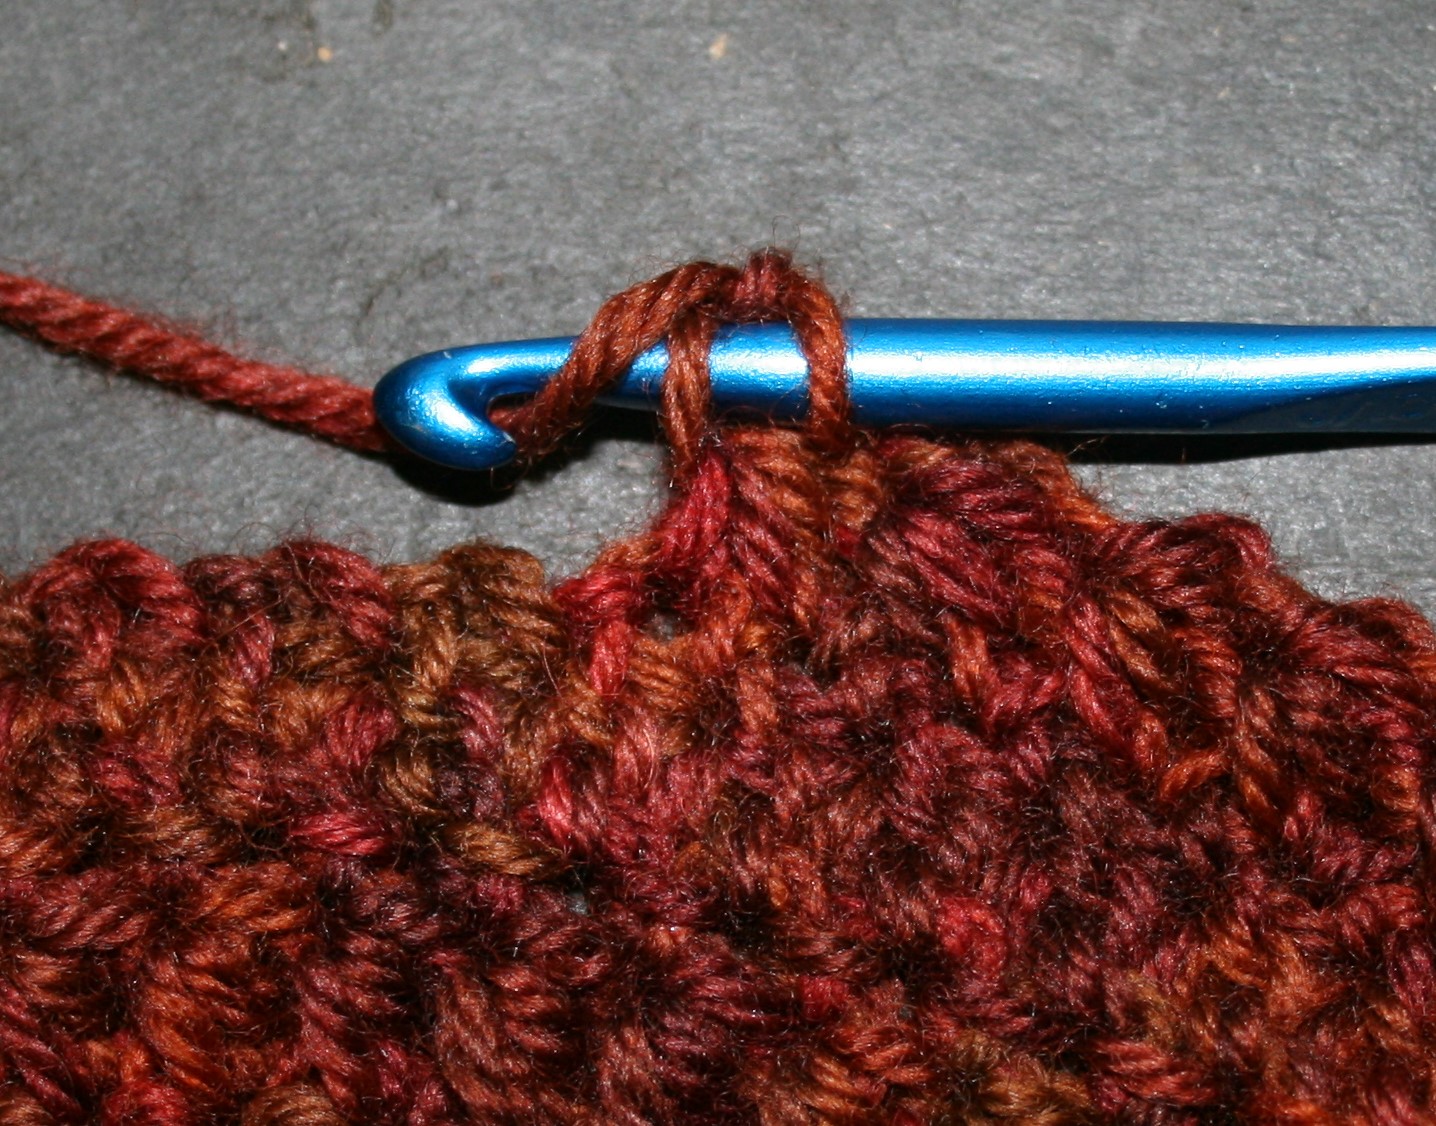
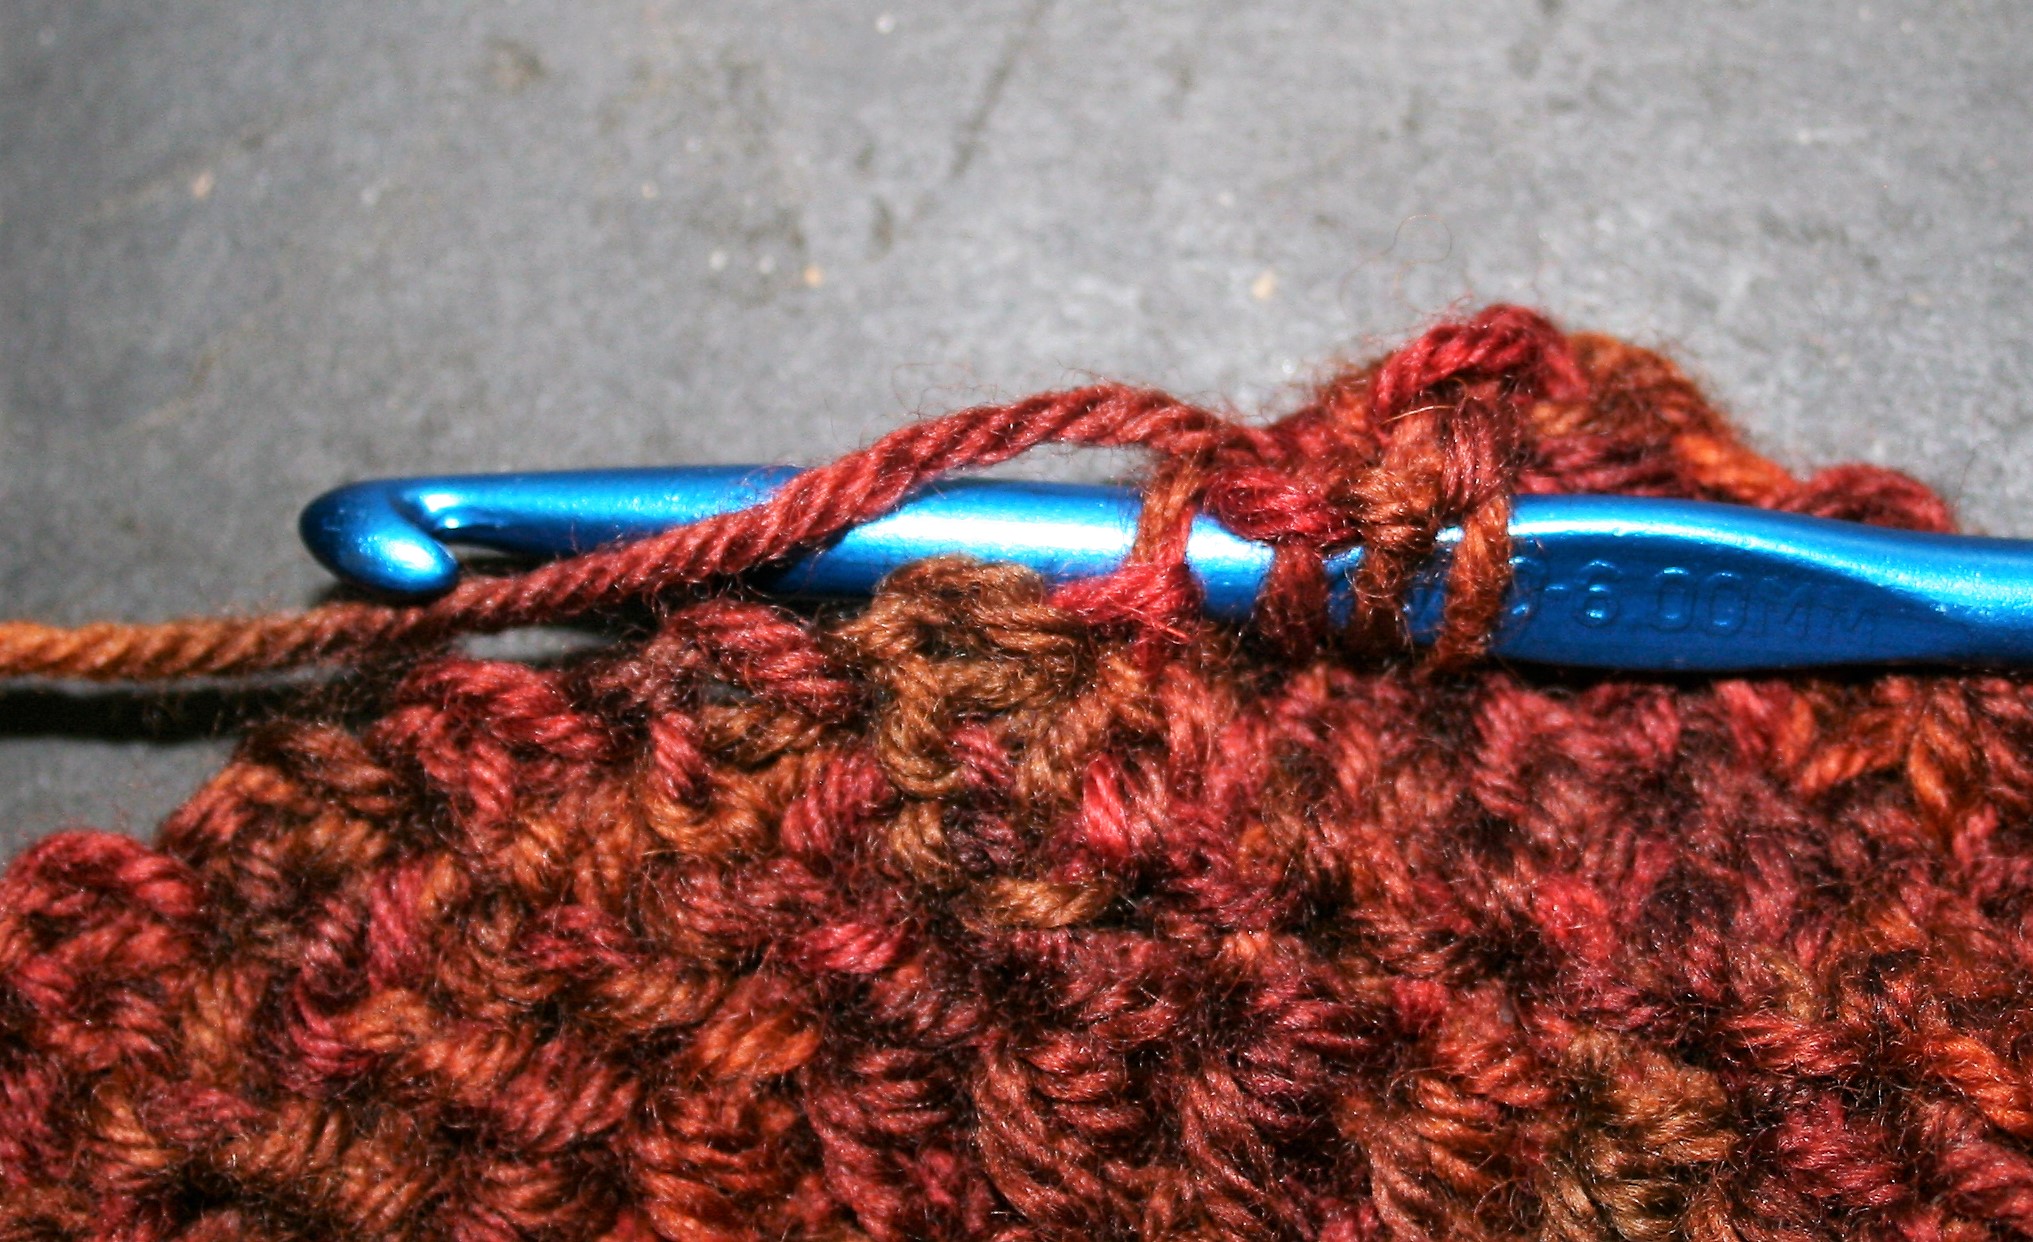
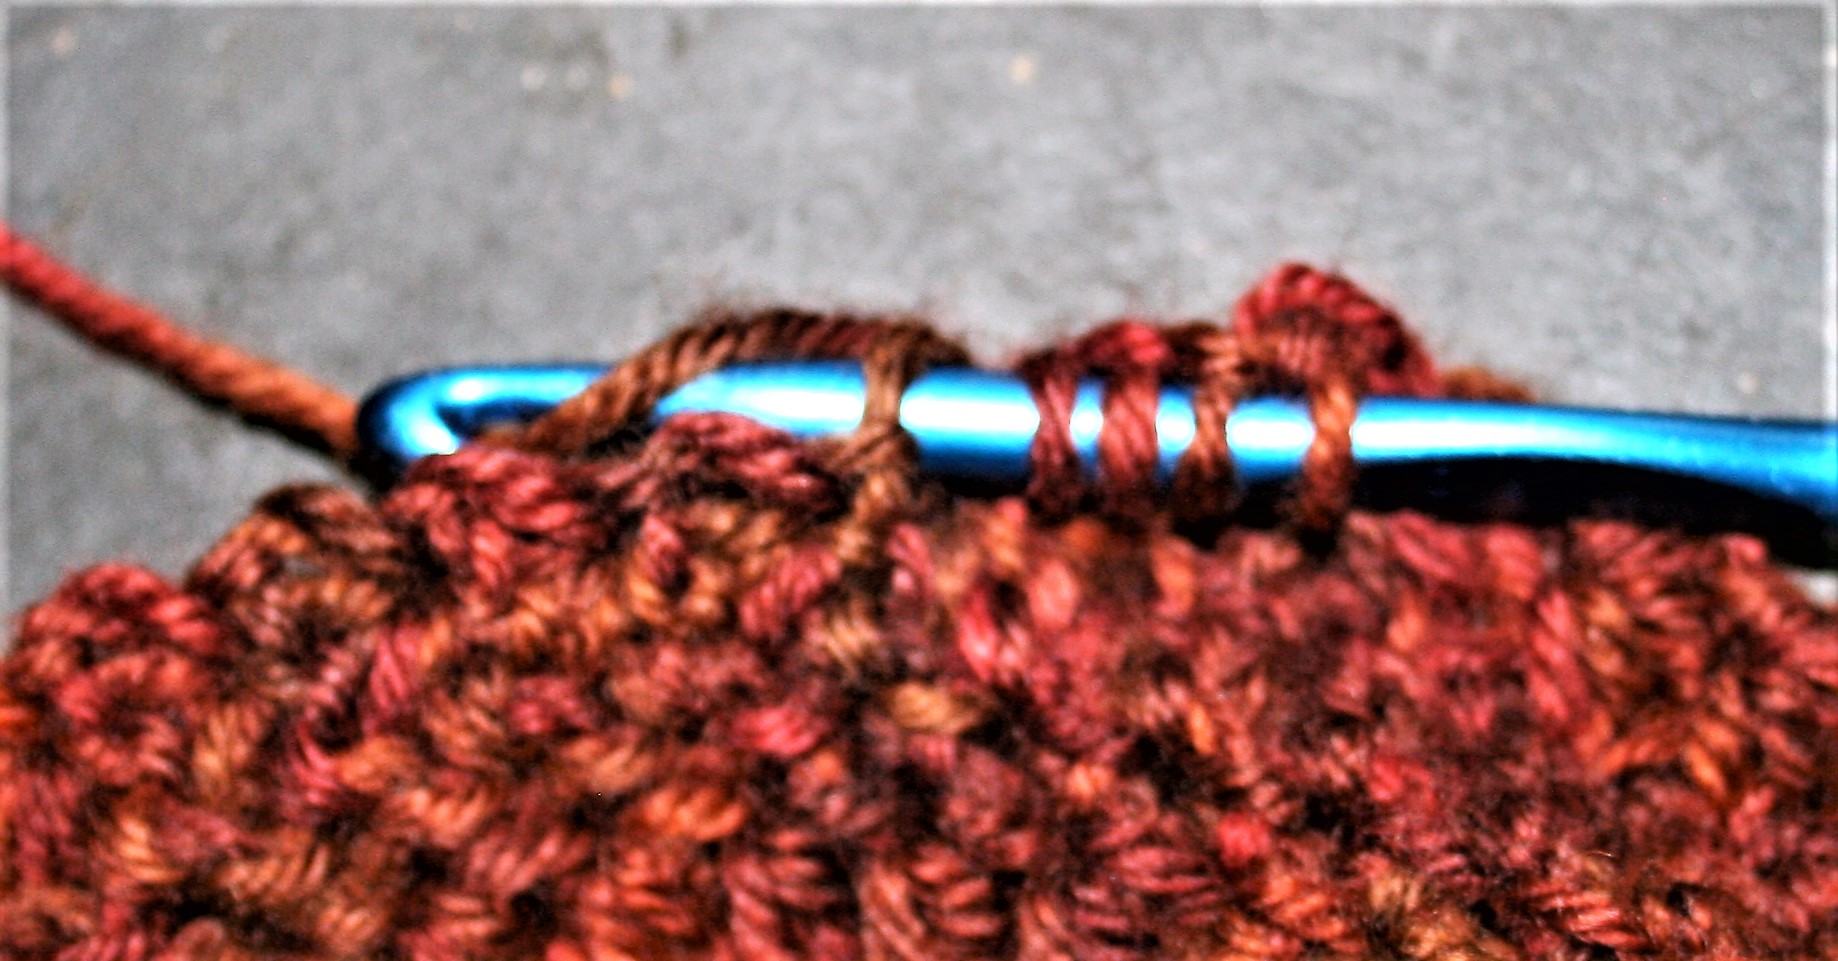
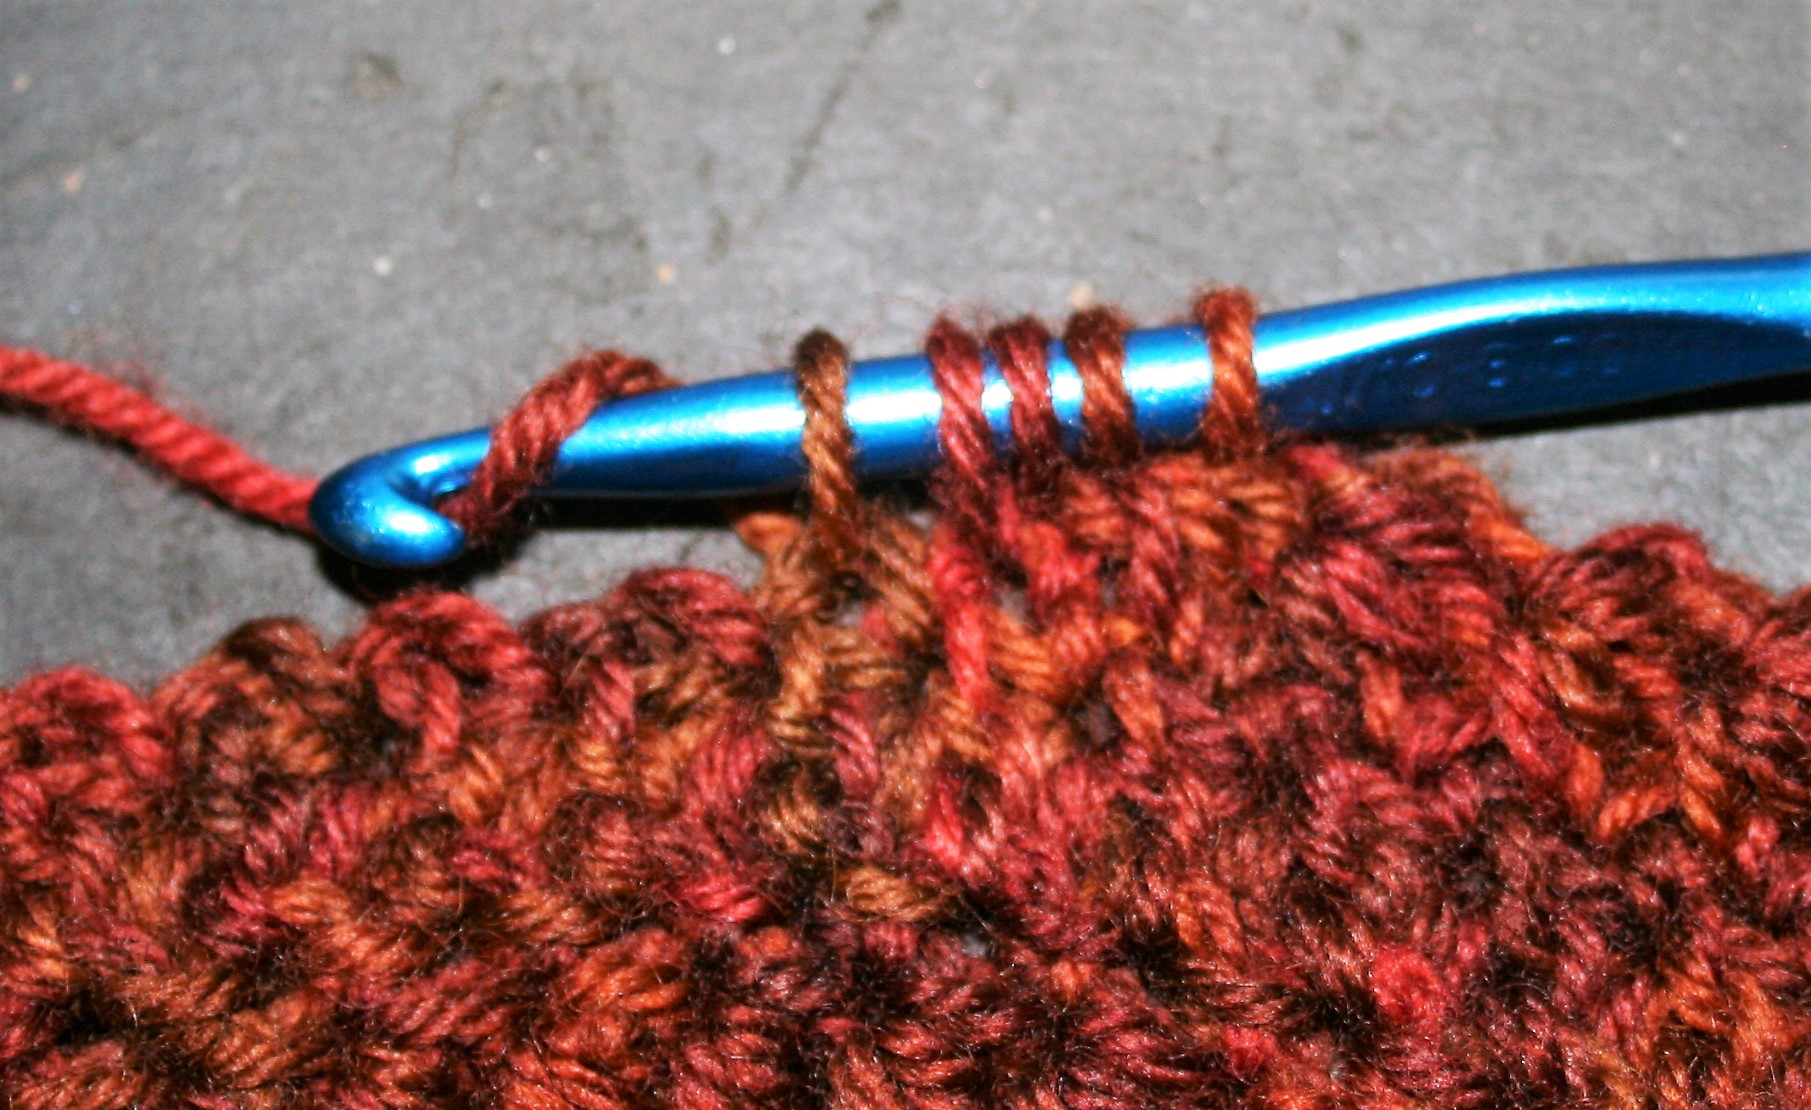
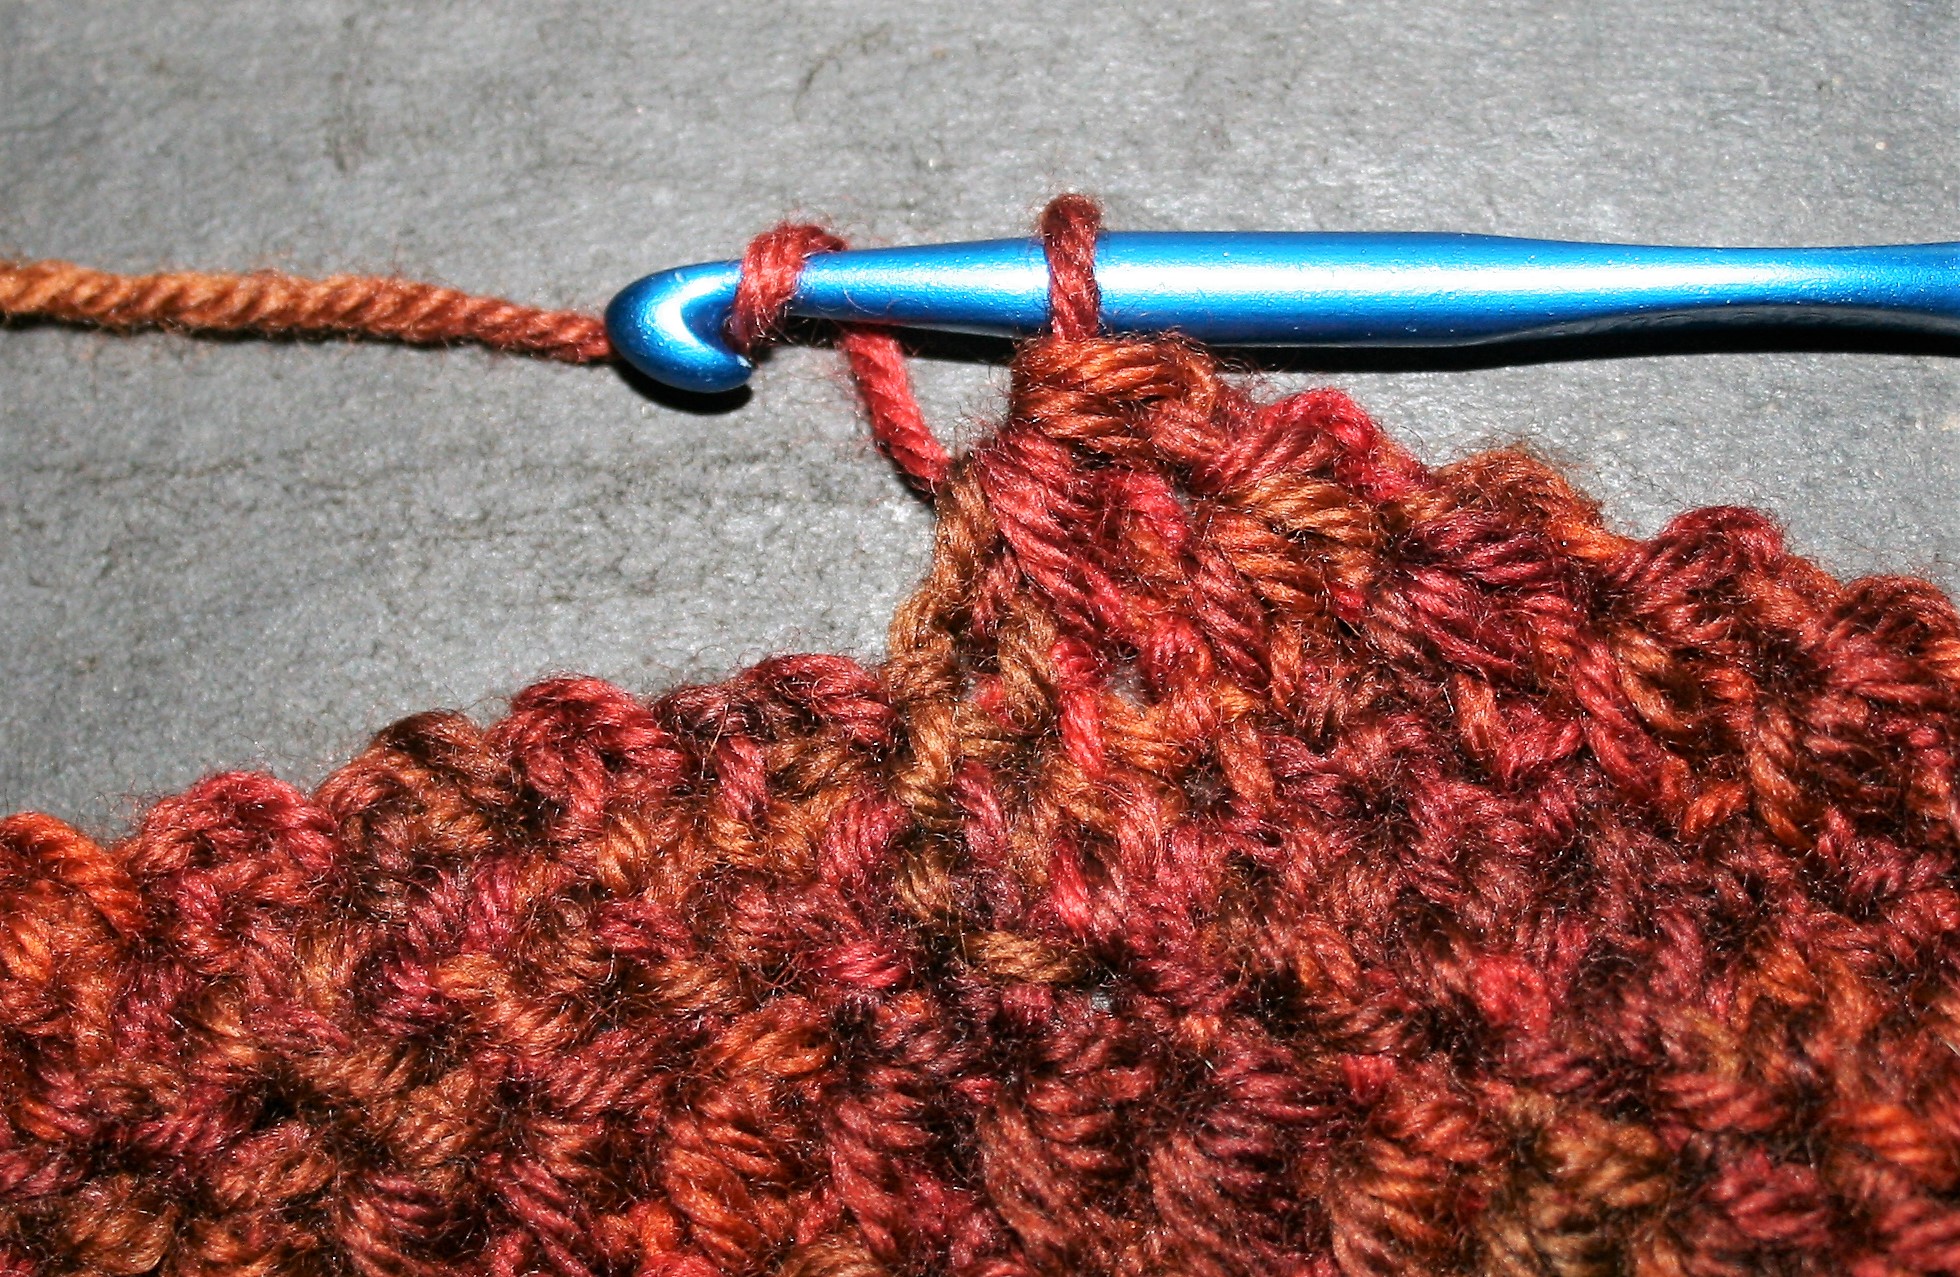
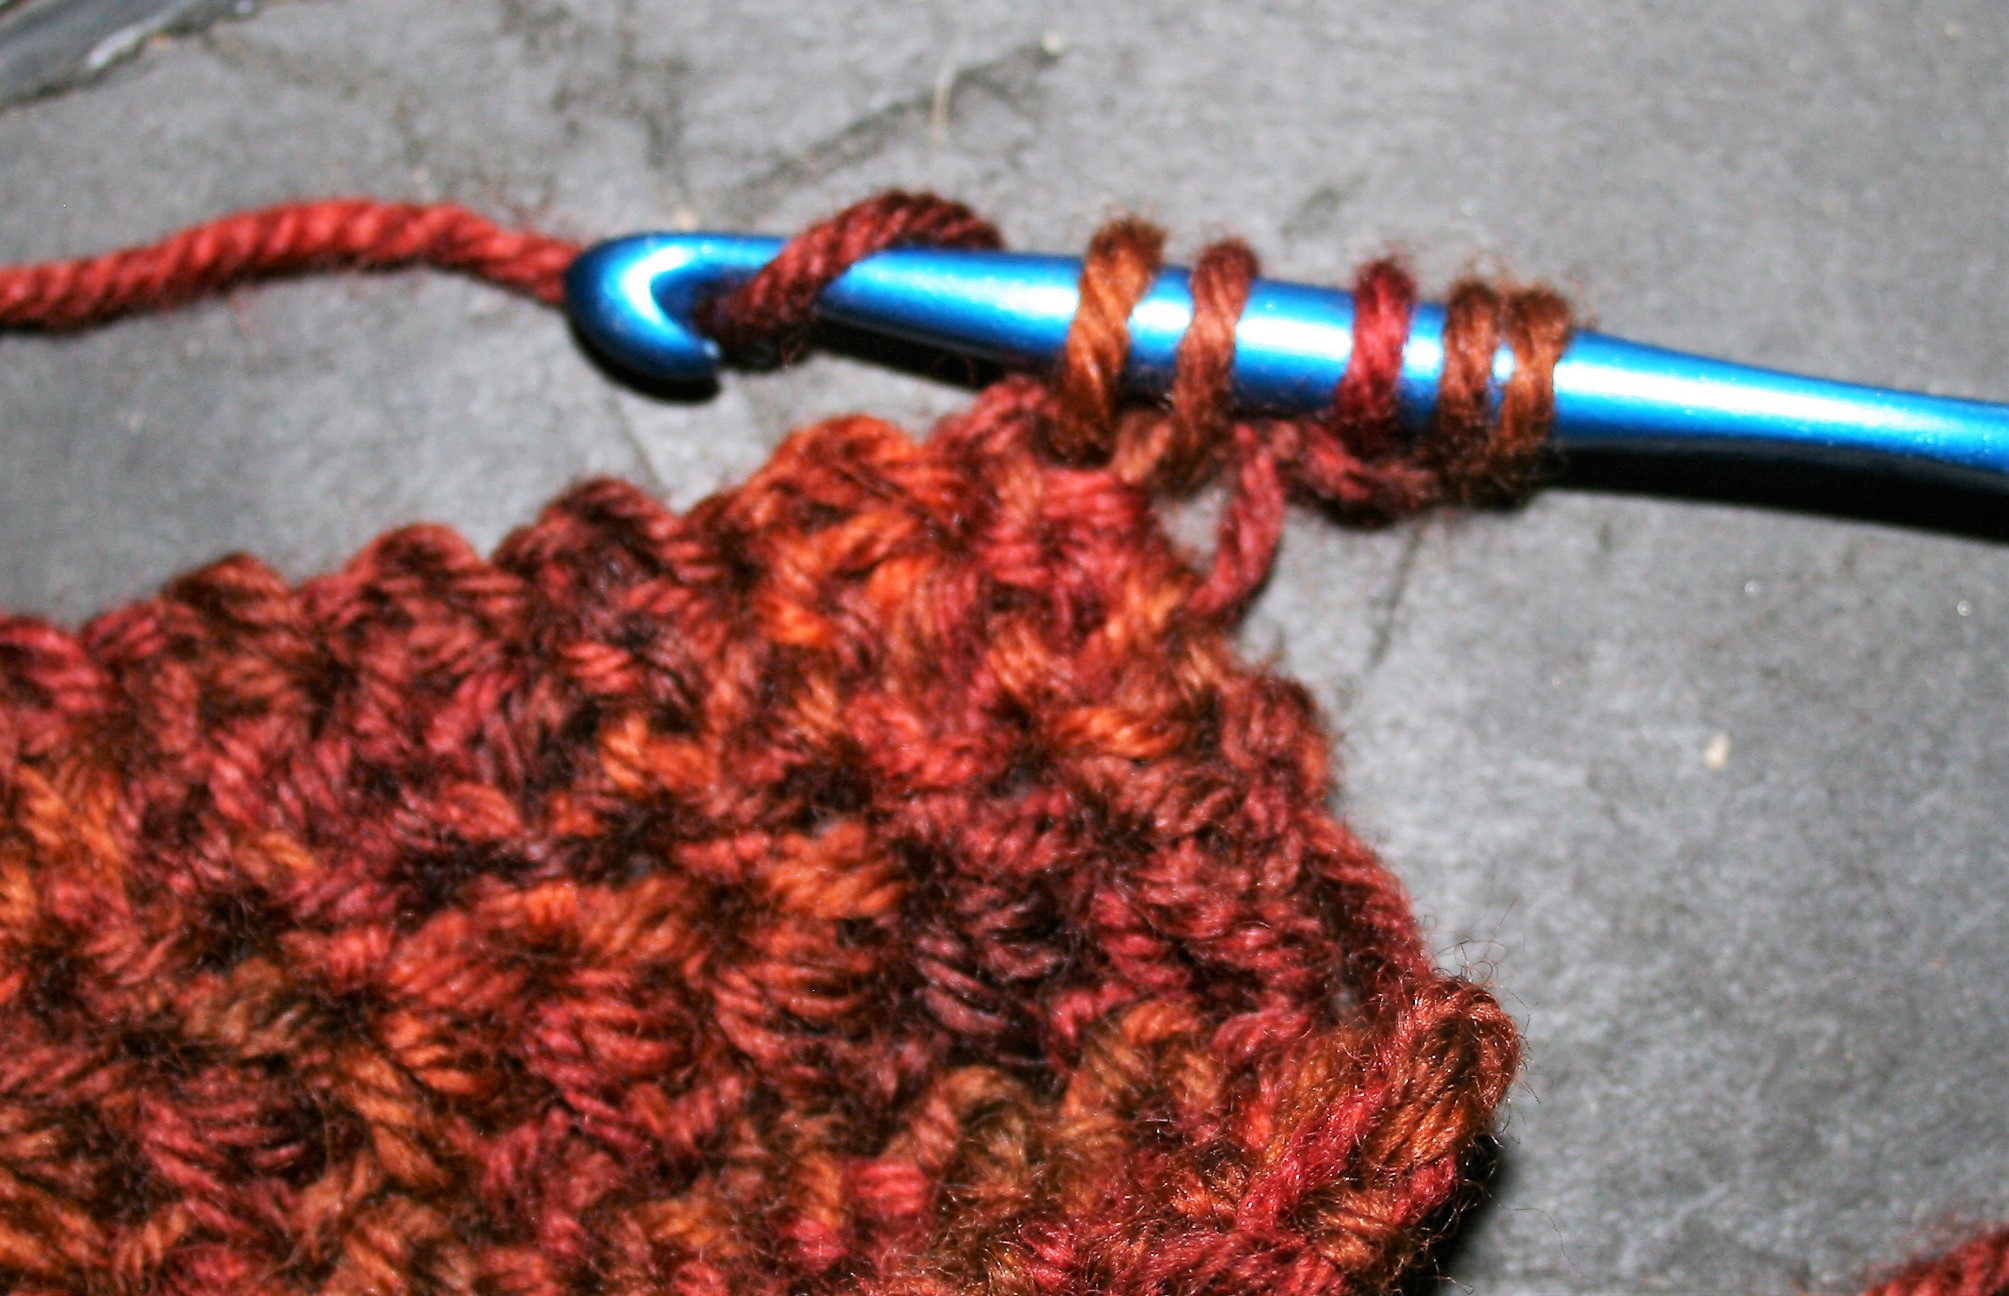
The shawl itself begins at the narrow points and increases along one edge. It is an essentially 2 different sets of patterns, one a bit lacy, one with a bit of texture. Both patterns are simple row repeats, and it is the combination of these with the color changes that creates such a dynamic piece.

Once you wrap this shawl around your shoulders it really comes to life, it really frames the face well with the colors and texture. It is stunning on everyone.

Get yours HERE! Quantities are limited!

Working the Star Stitch

There are various ways to create a stitch in crochet, and one that can turn peoples head a bit is one that is often referred to as the star stitch. I am not completely sure where this stitch gets its name, to me it does not really look like a star unless I count the middle of the night squinting I do at the little light on the smoke detector and wonder if I need glasses. It has the light radiating in a couple of directions, a bit like light through a prism.

Some find this stitch intimidating, as it looks more difficult than it is. Essentially this stitch is worked very similar to a single crochet decrease over multiple stitches, but instead of working it over several stitches you are working it with the parts and components of just one stitch. This makes really the only difficult part of this stitch is knowing where to place your hook.

I find it easiest to work a row of basic crochet stitches, either a row of single or double crochet, then working the star stitch in subsequent rows. This does not mean that you cannot work the start stitch directly into a foundation chain, it is simply my preference to have a little more fabric to hold on to.

The stitch is worked by first inserting the hook into the “eye” or hole of that was created by the last yarn over and pull through of the adjacent stitch, you then yarn over and pull up a loop.

Next insert the hook around the last “leg” of the adjacent stitch. I tend to only pick up the front portion of the “leg” and do not worry about putting the hook all of the way through the fabric. Yarn over and pull up a loop.

For the third insertion point (fourth loop on your hook) you insert your hook into the stitch in the row below, which has already been worked into by the adjacent stitch, once again yarn over and pull up a loop.

The final insertion point is to insert your hook into the next stitch, and pull up a loop.

You will now have 5 loops on you hook, yarn over and pull through all 5 loops. Now chain 1, this will create the “eye” that the next star stitch will begin being worked into.


If you are beginning a new row, there is no adjacent stitch to work into, so you pick up loops in the turning chain in the same manner as you would for the stitch. The turning chain is typically a chain 2 to match the height of the stitch, you then simply insert your hook into each chain and pull up a loop in each chain, insert the hook in the base of the chain and pull up a loop, then insert the hook in the next stitch and pull up a loop.

This stitch can create a dense fabric, so prepare to use a large hook if you want a bit more drape. Also, this stitch has a very different look if it is worked in the round, without turning every row. If you like this look, yet need a flat fabric there are people that cut the yarn at the end of every row and then reattach and work with only the right side of the fabric ever facing forward. This is a really nice look, I am just not a fan of weaving in that many ends.

So give this stitch a try, it does share interesting texture and appearance, something not every stitch can garner.

Stacked Ladders Cowl- Free Pattern

I find that there are times when designs just fly off my hook, while the other times I cannot even bring myself to pick up that hook. Fortunately I have been living in the world of the former and not the latter as of late. As a result I have a new free pattern available for you!

Stacked Ladders Cowl grew out of my playing with a skein of Anzula Croquet yarn. The yarn is light weight and a 50/50 blend of Superwash Merino and Tussah Silk. It honestly is a luxurious yarn to work with, it is so soft and even what I would call billowy or lofty, while still being quite structurally strong.

This Cowl takes only 1 skein, and is a quick project, so it is perfect to check out a “new to you” yarn while creating a gift for yourself or someone special.

It is a light, airy design that is a great transition piece for fall or spring. If you are not a cowl fan, it is simple enough to just work it as a scarf.

This design is worked up with a large hook, but if you do not have anything quite this large, use the largest hook you feel comfortable with, you will be happy with the results.

Stacked Ladders Cowl

Materials:

  • Anzula Croquet light weight 50% superwash merino, 50% tussah silk yarn, (230yrds/210m/114g) sample colorway Madam
  • L/8mm crochet hook

Ch 34

Row 1: Sc in 2nd ch from hook, sk 3 chs, (ch 3, sc in next ch) 8 times, turn.

Rows 2 and 3: Ch 1, sc in same st, (ch 3, sc in next sc) 8 times, turn.

Row 4: Ch 6, dc in next sc, (ch 3, dc in next sc) 7 times, turn.

Row 5: Ch 1, sc in same st, (ch 3, sc in next dc) 7 times, ch 3, sk 3 chs, sc in next ch, turn.

Rows 6 and 7: Rep Rows 2 and 3.

Row 8: Rep Row 4.

Rows 9-100: Rep rows 5-8. Fasten off. Seam Row 1 to Row 100 while weaving in ends.


Camac- My New Favorite Design

Crochet and time have interesting effects for me. I have spoken before about how crochet traps memories and such (you can read that here), but designing can also be a bit of a time travel. I can be commissioned to create a design for a yarn company or magazine and after it is finished I have to wait months to see how everything finally comes out.

After waiting what seems like forever, I am finally able to share the Camac! This is a long cardigan or coat, depending on your leaning, that really lends itself to style and comfort. It is mid-thigh length and worked in as seamless as possible, needing only seam the shoulders and sleeves, the body is worked as one piece.

The simple stitch pattern really allows the yarn to make some dazzling affects as it shines as the hero. This design is created in Manos del Uruguay Gloria, a soft superwash Merino medium weight yarn, which is a dream to work with. It has nice stitch definition and has a great variety of colors (my sample is in colorway Malaquita)

There is a simple turned edge boarding this entire coat that is actually the same stitch pattern as the rest of the fabric but uses a much larger hook to create a contrast in the fabric. The change in the hook size causes a tension between the two fabrics and this causes the edge to curl. I think it adds a simple yet endearing quality to this design.

Honestly I love the mid-thigh length, it offers a wrap yourself up in it kind of feel, that warms my heart has well as keeps me warm. I tend to find that sweaters designed to hit the waist area makes me look a bit shorter while a longer length helps elongate my appearance, so I tend to lean this way a bit in my designing. If for some reason you want to make this design shorter for your liking, simply finish the row rep for the Body section a few rows early.

It is nice to finally see the end product of your work, it is usually always worth the wait (you can check it out here).

Photos courtesy of Fairmount Fibers.

Destination Shawl- Simple and Bold

Often times it is something simple that makes the boldest statement. This has taken me some time to learn, that a design does not need to be super busy or flashy; just take away everything that is unnecessary and it will shine.

Destination Shawl

I probably do not always follow this simple statement, but in the case of Destination Shawl, I think it works.

This triangle shawl is worked center neck outward, in a simple stitch pattern, and with simple very fine yarn. The yarn is Mondofil Japon, a super fine weight 60% Rayon/40% Japanese Paper yarn/thread that is found on a cone. It has an interesting texture a bit like a linen, but gets softer when it gets wet.

The Destination Shawl is light and airy, reminding me of a day at the ocean as it only offers a hint of being there yet still offers a statement. The color bands are a bit deceptive as they are actually staggered in width to provide an artistic balance and to draw the eye outward.

Destination as it is, is perfect for warm weather, but my simply changing the yarn to a light wool or mohair and this becomes a great cold weather wrap.

If you have never made a shawl before, or if you are a seasoned veteran at the skill, this shawl will be one you will enjoy.