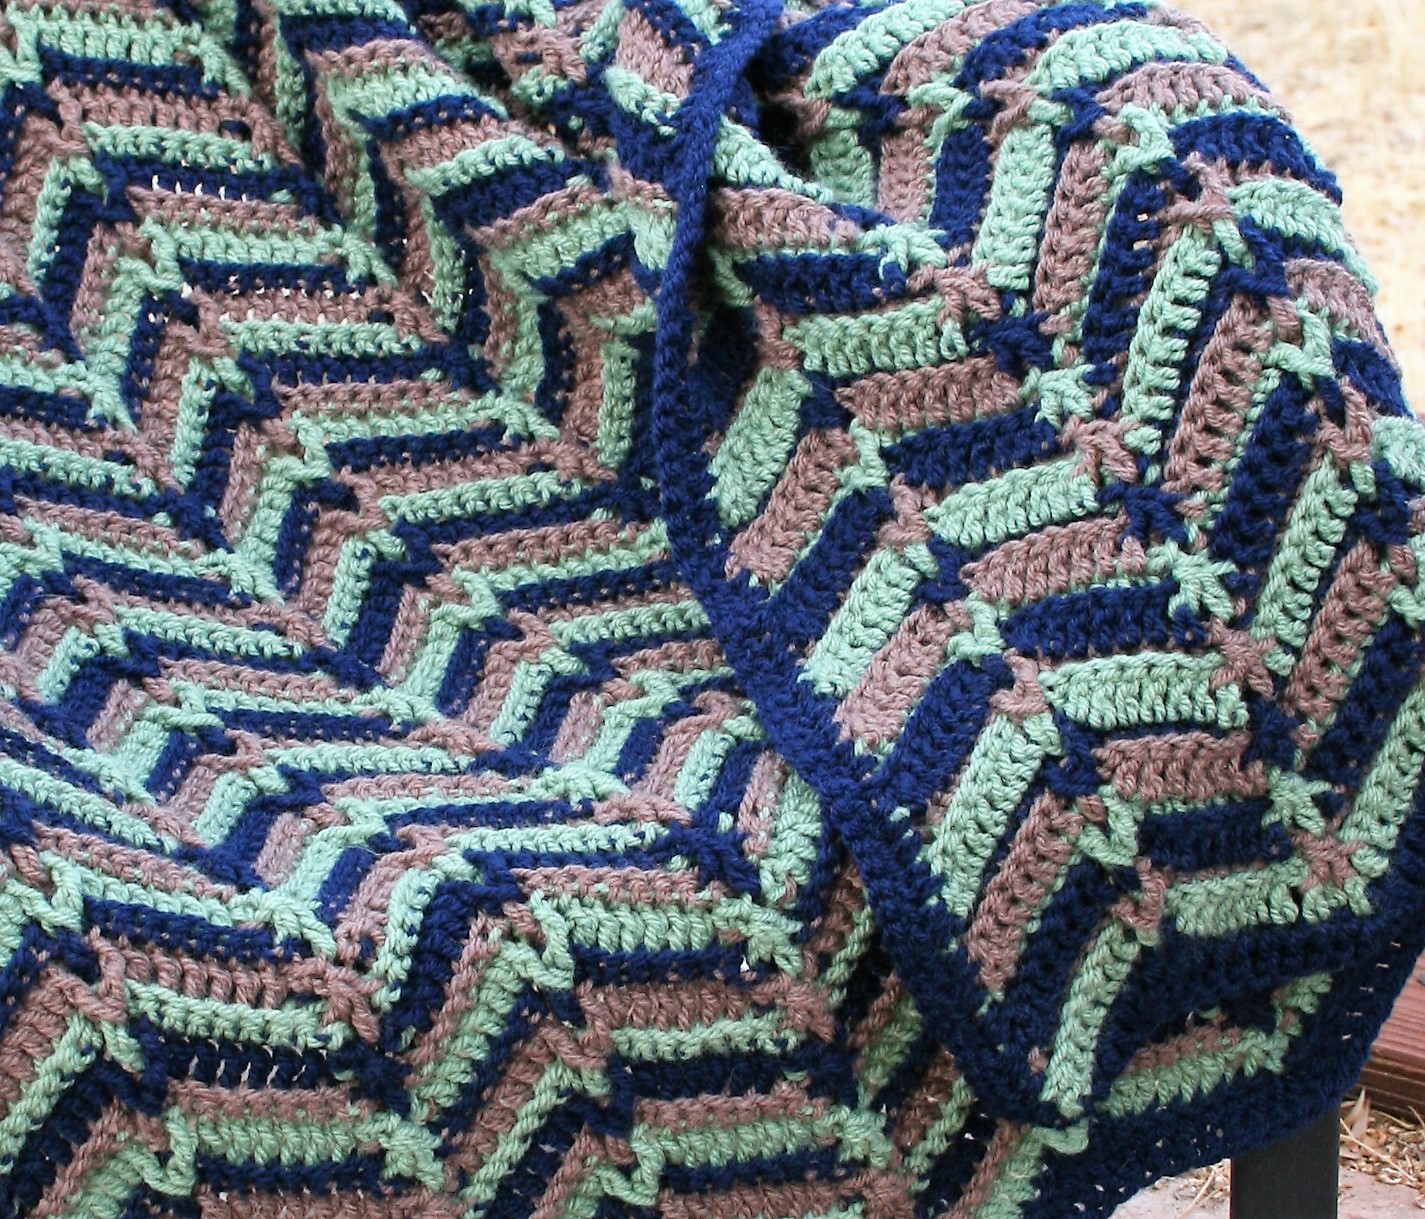
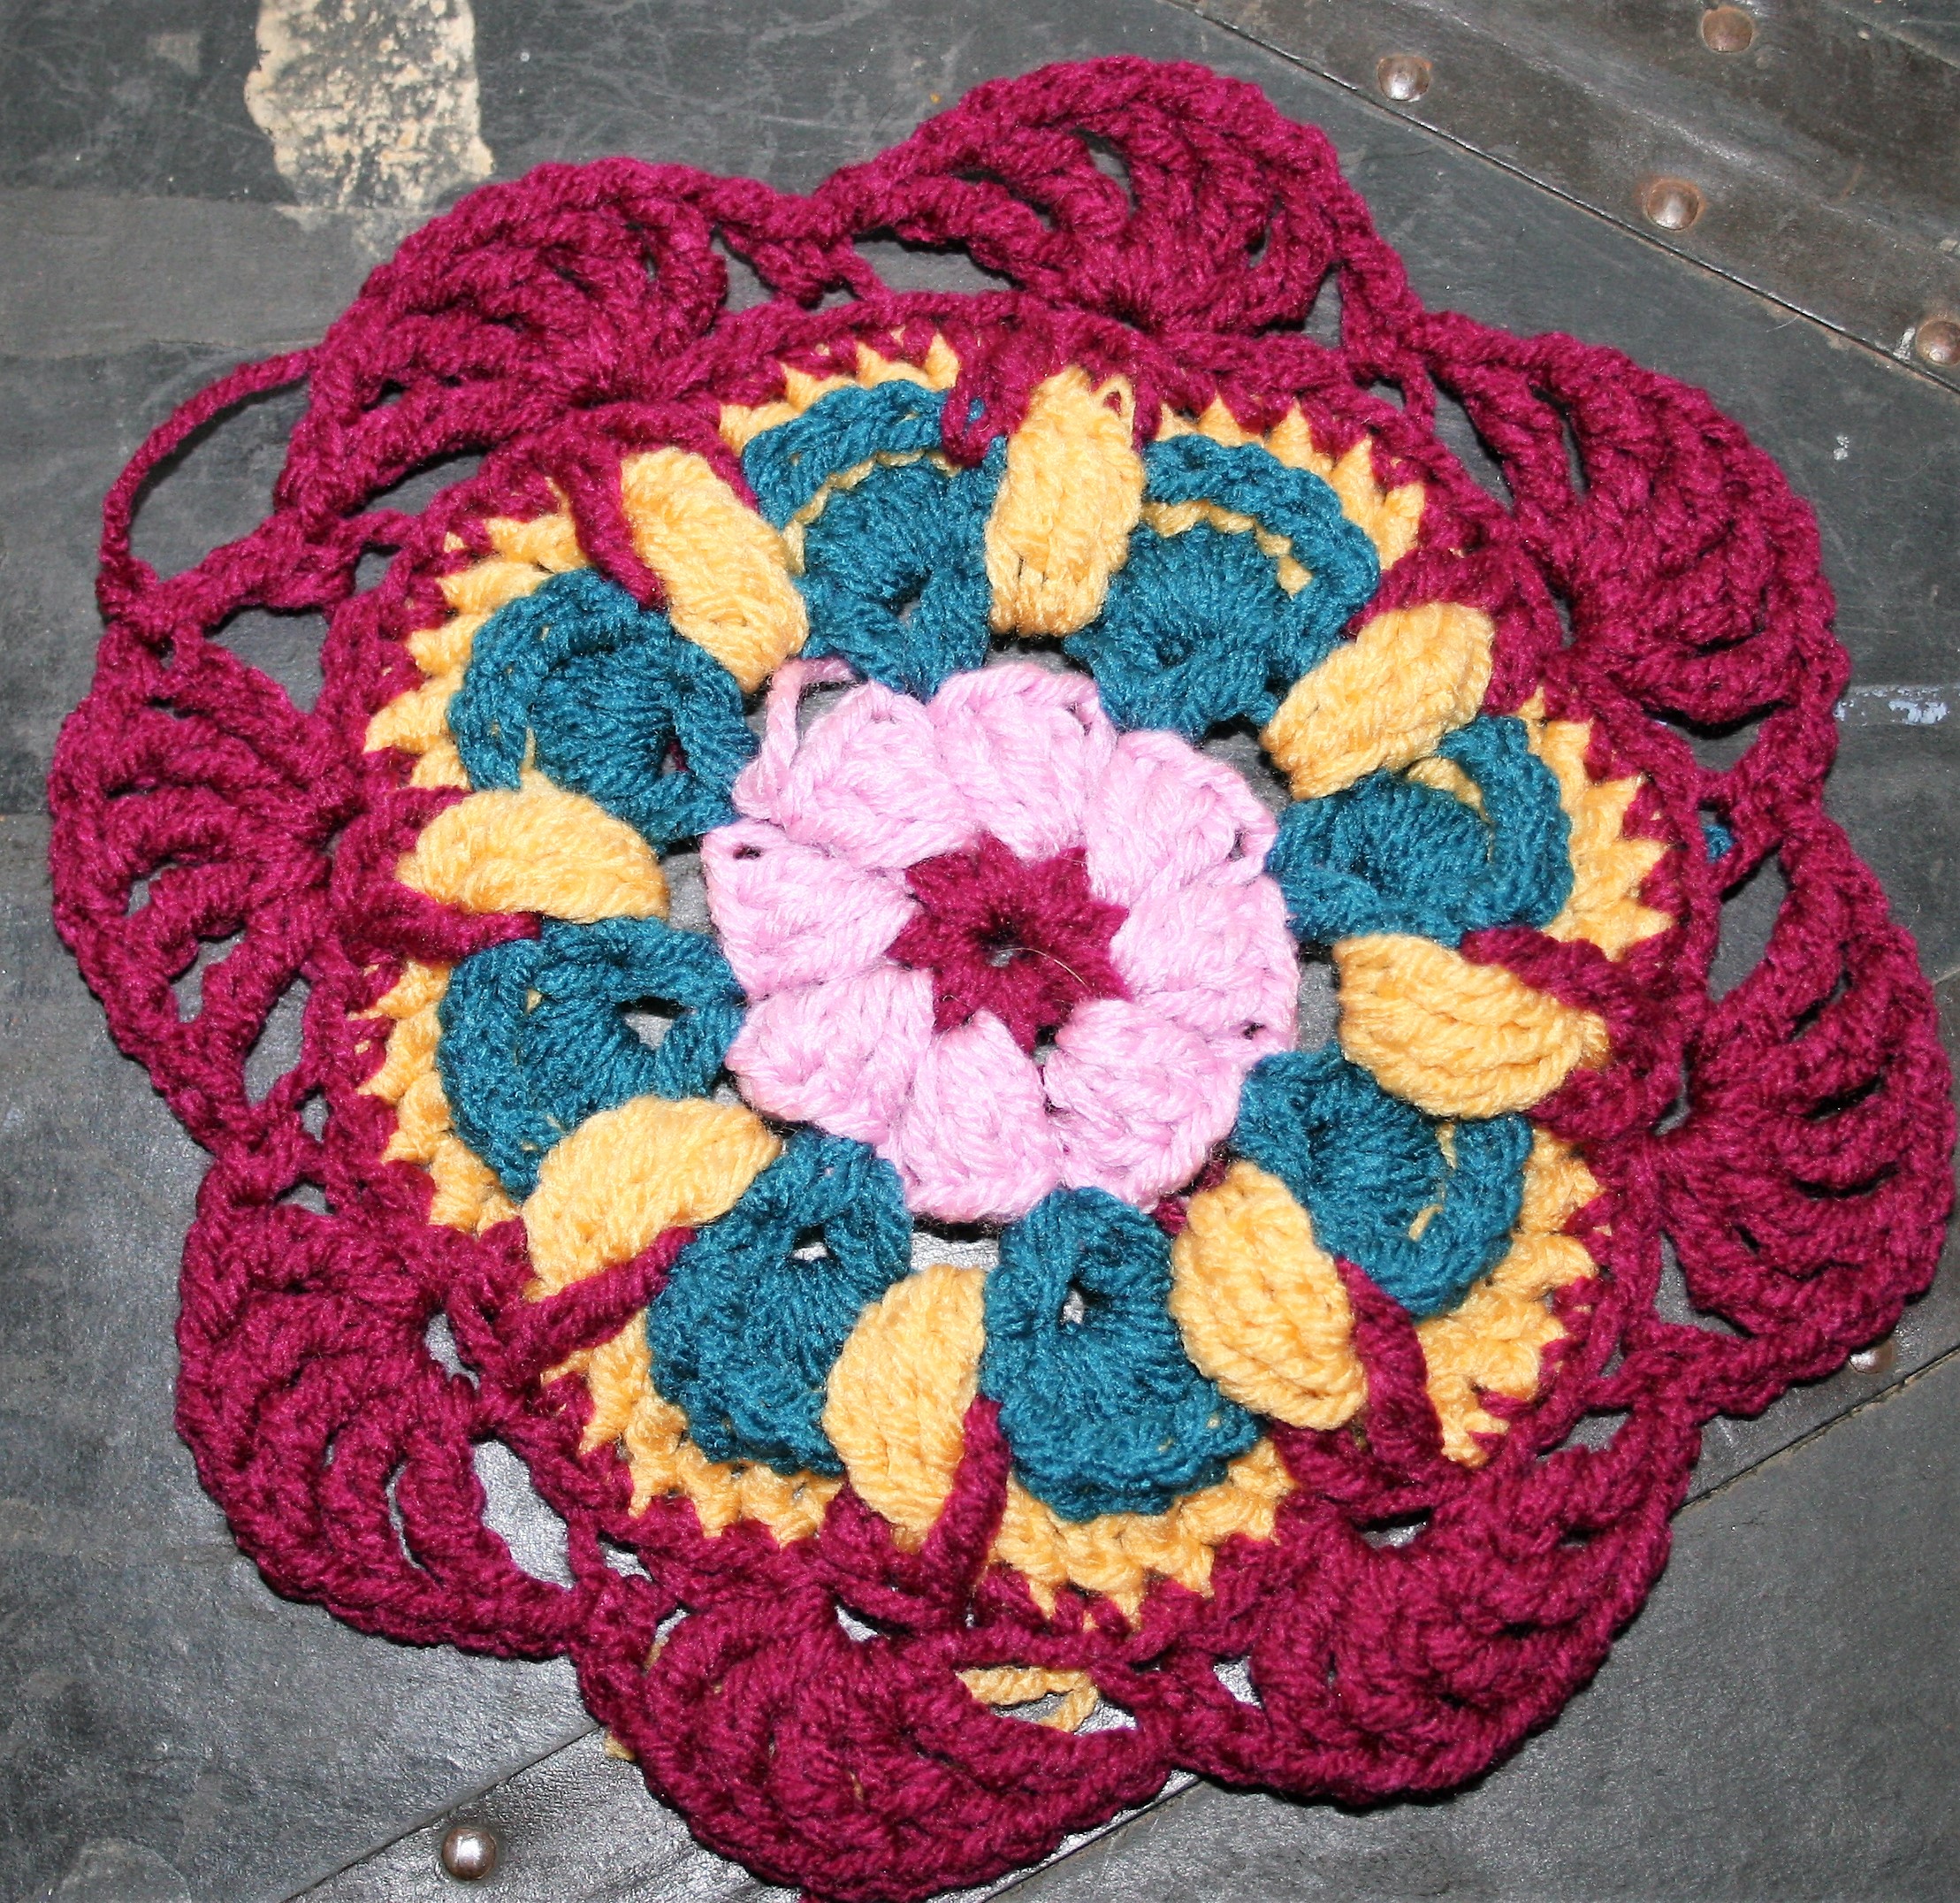
Wow! I am so excited to join you for another year of the Moogly CAL (check out all the squares here). This year my block has a few ends to weave in, and it uses more back post stitches than some may be accustom to. However I am happy with the results and I hope you like it too.
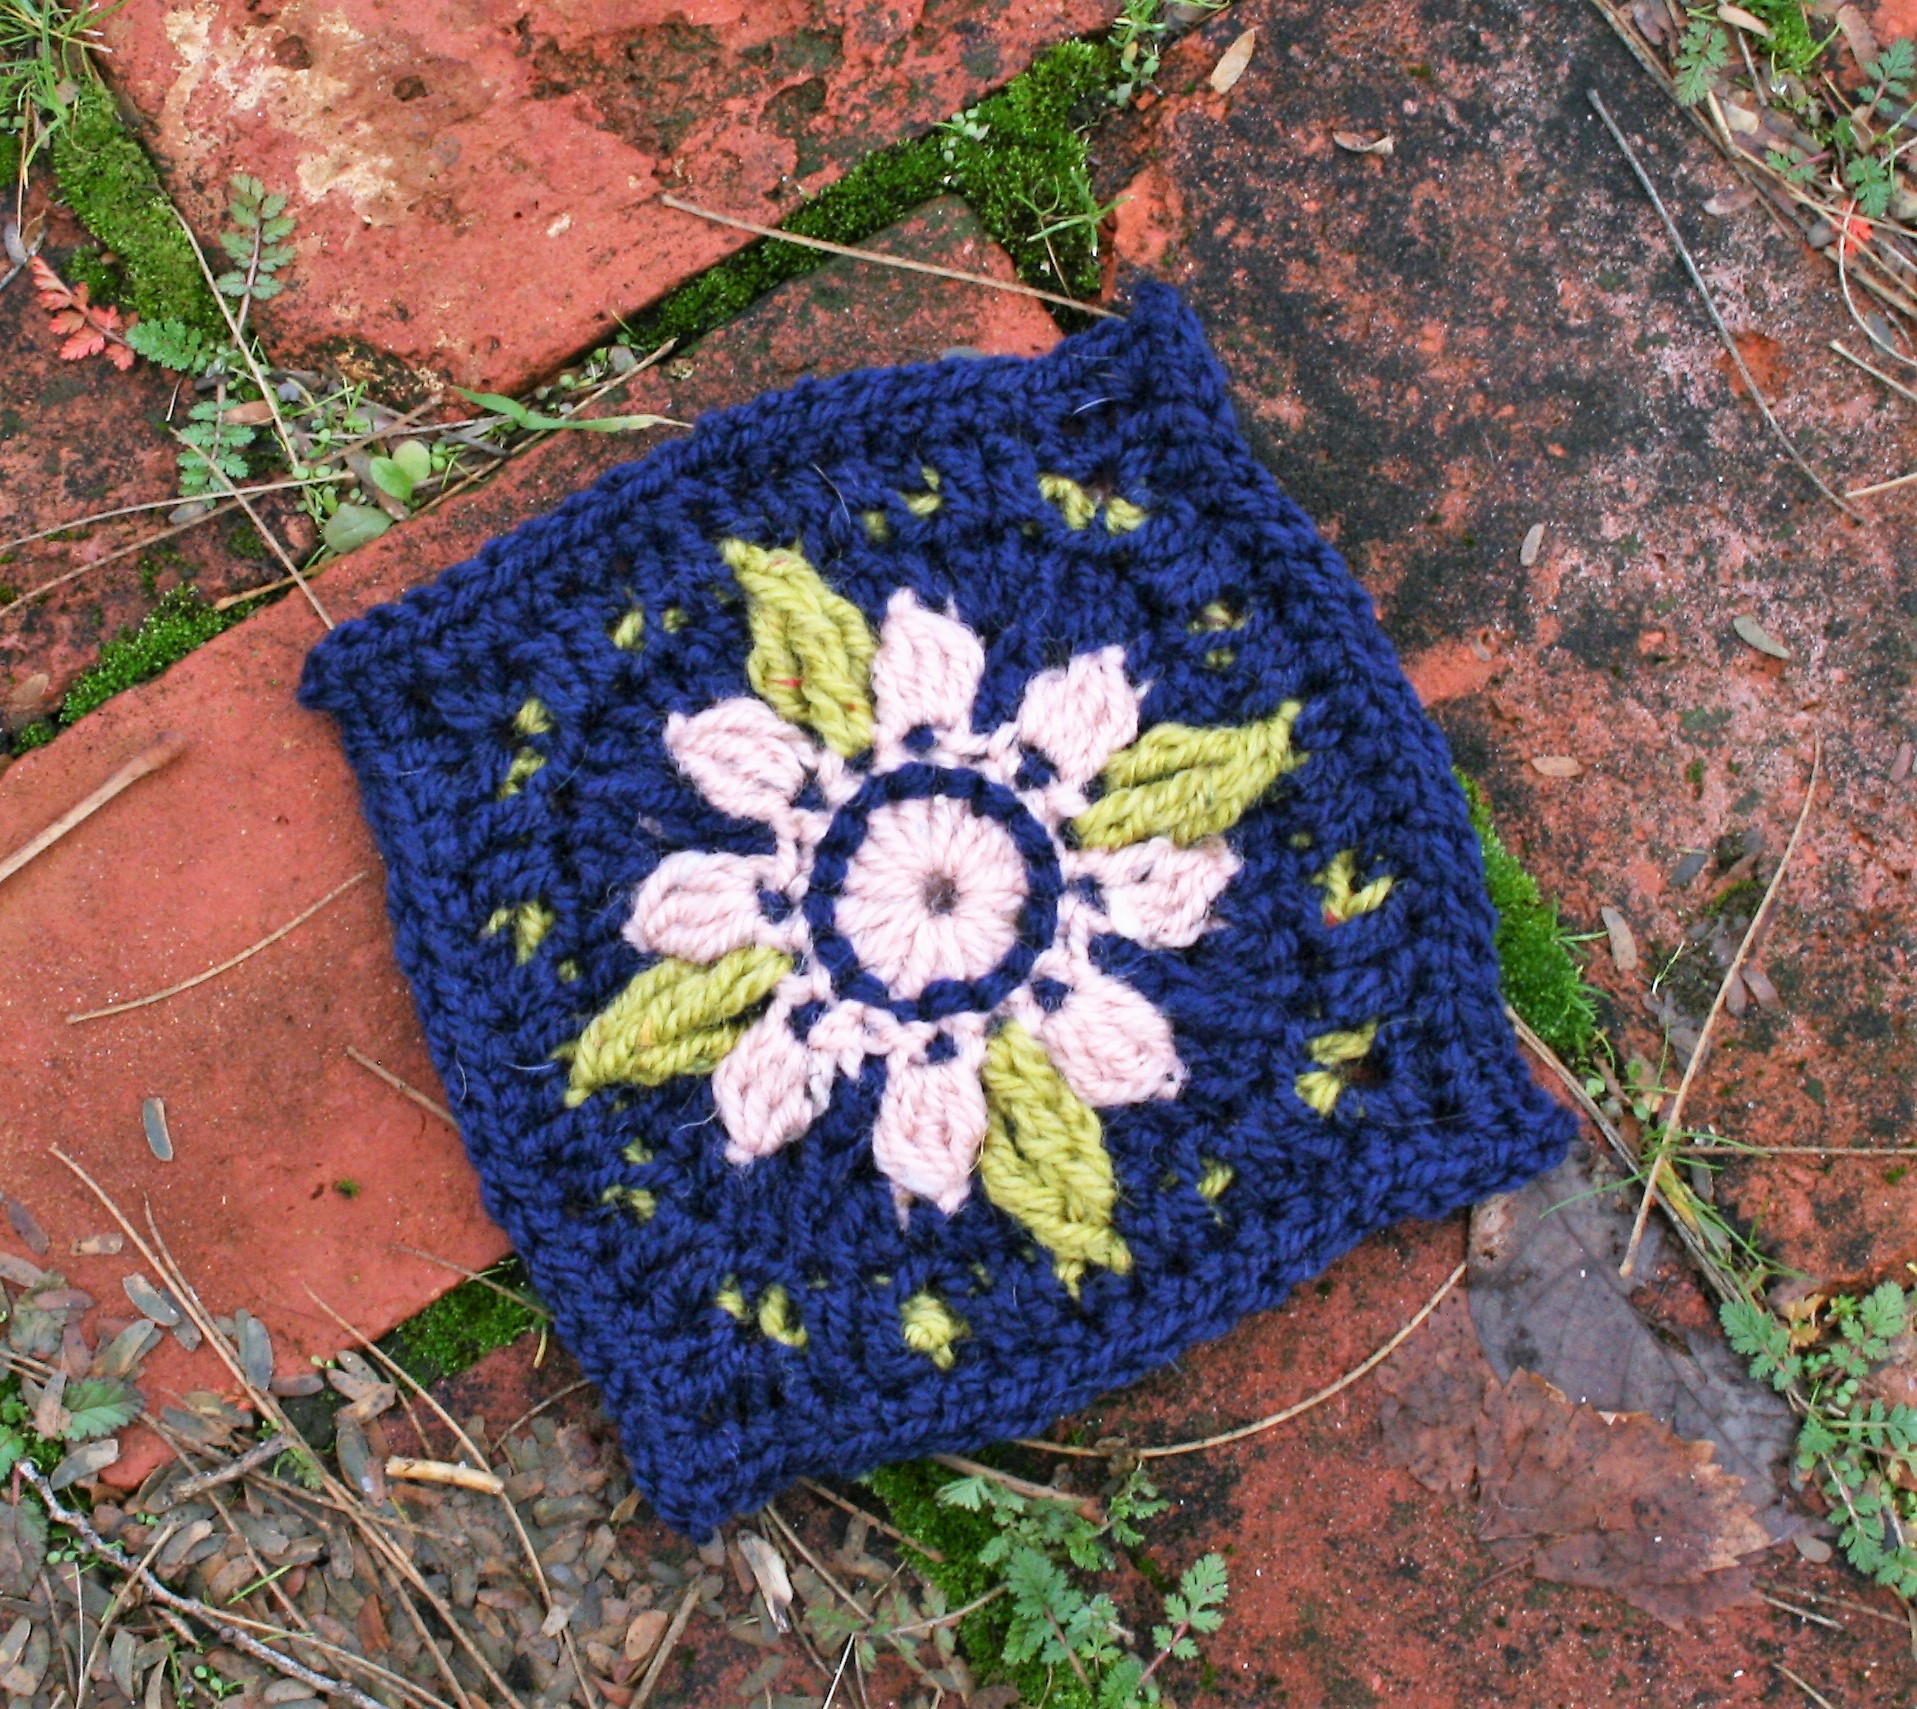
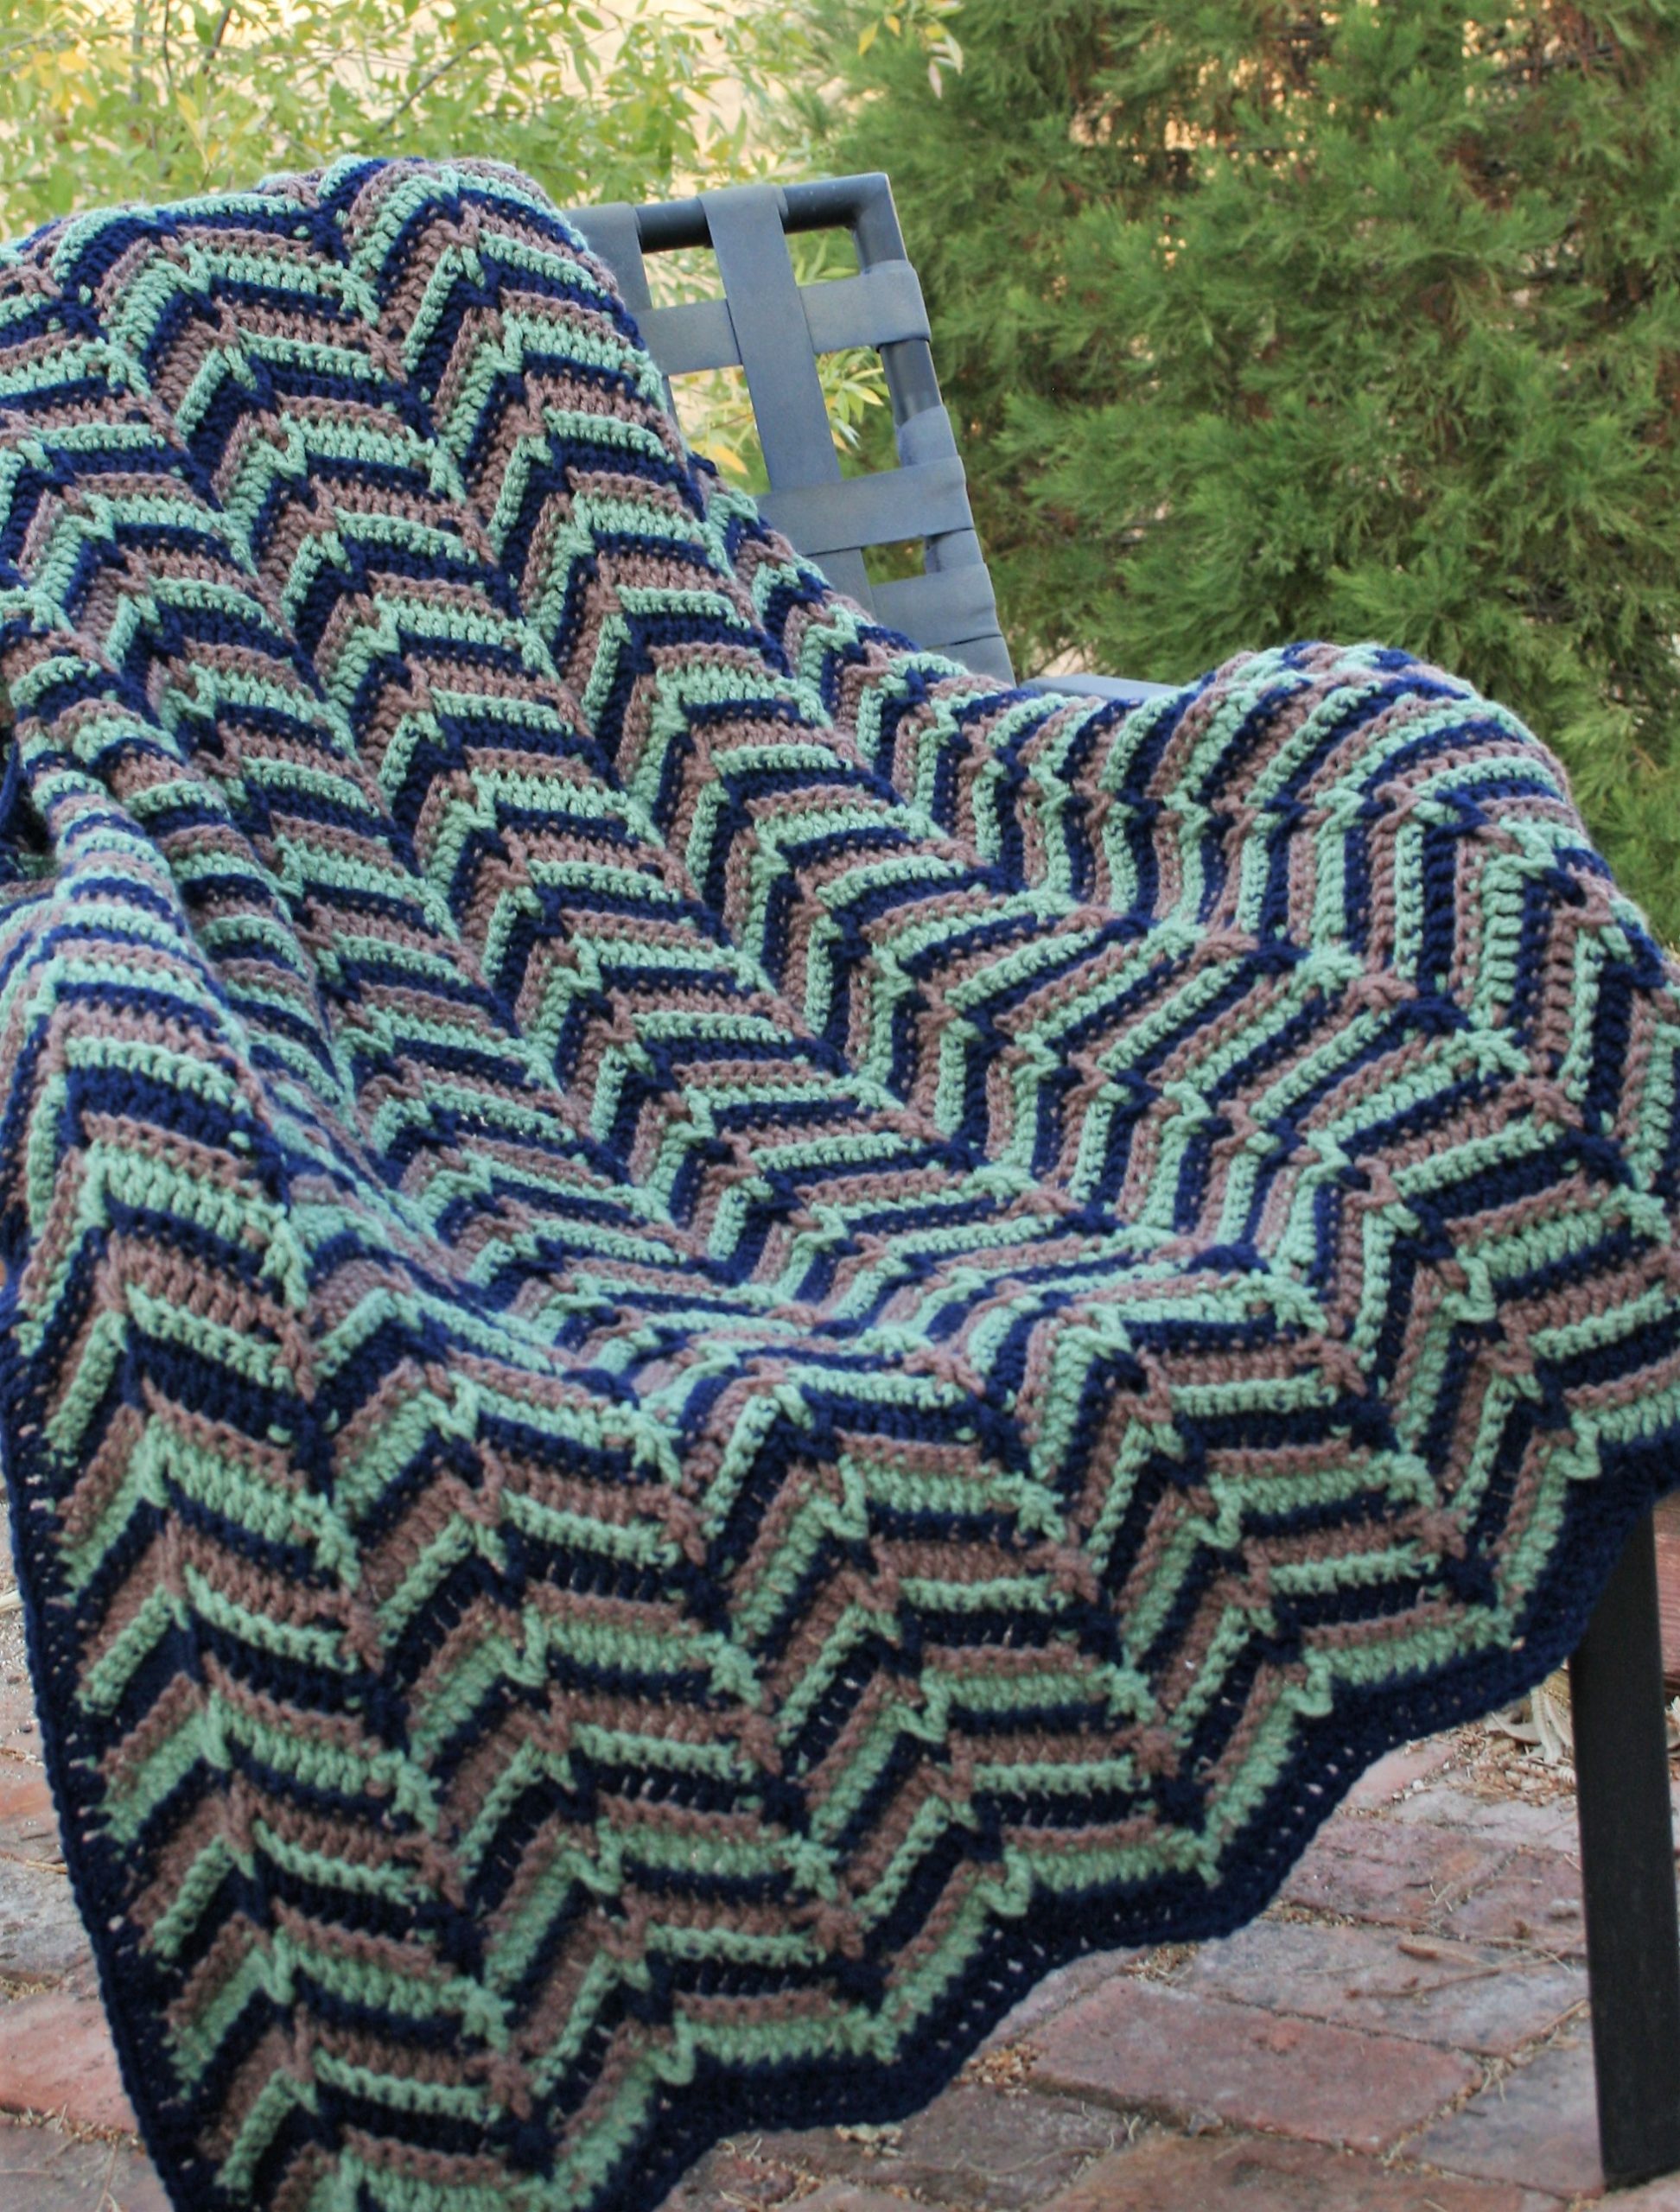
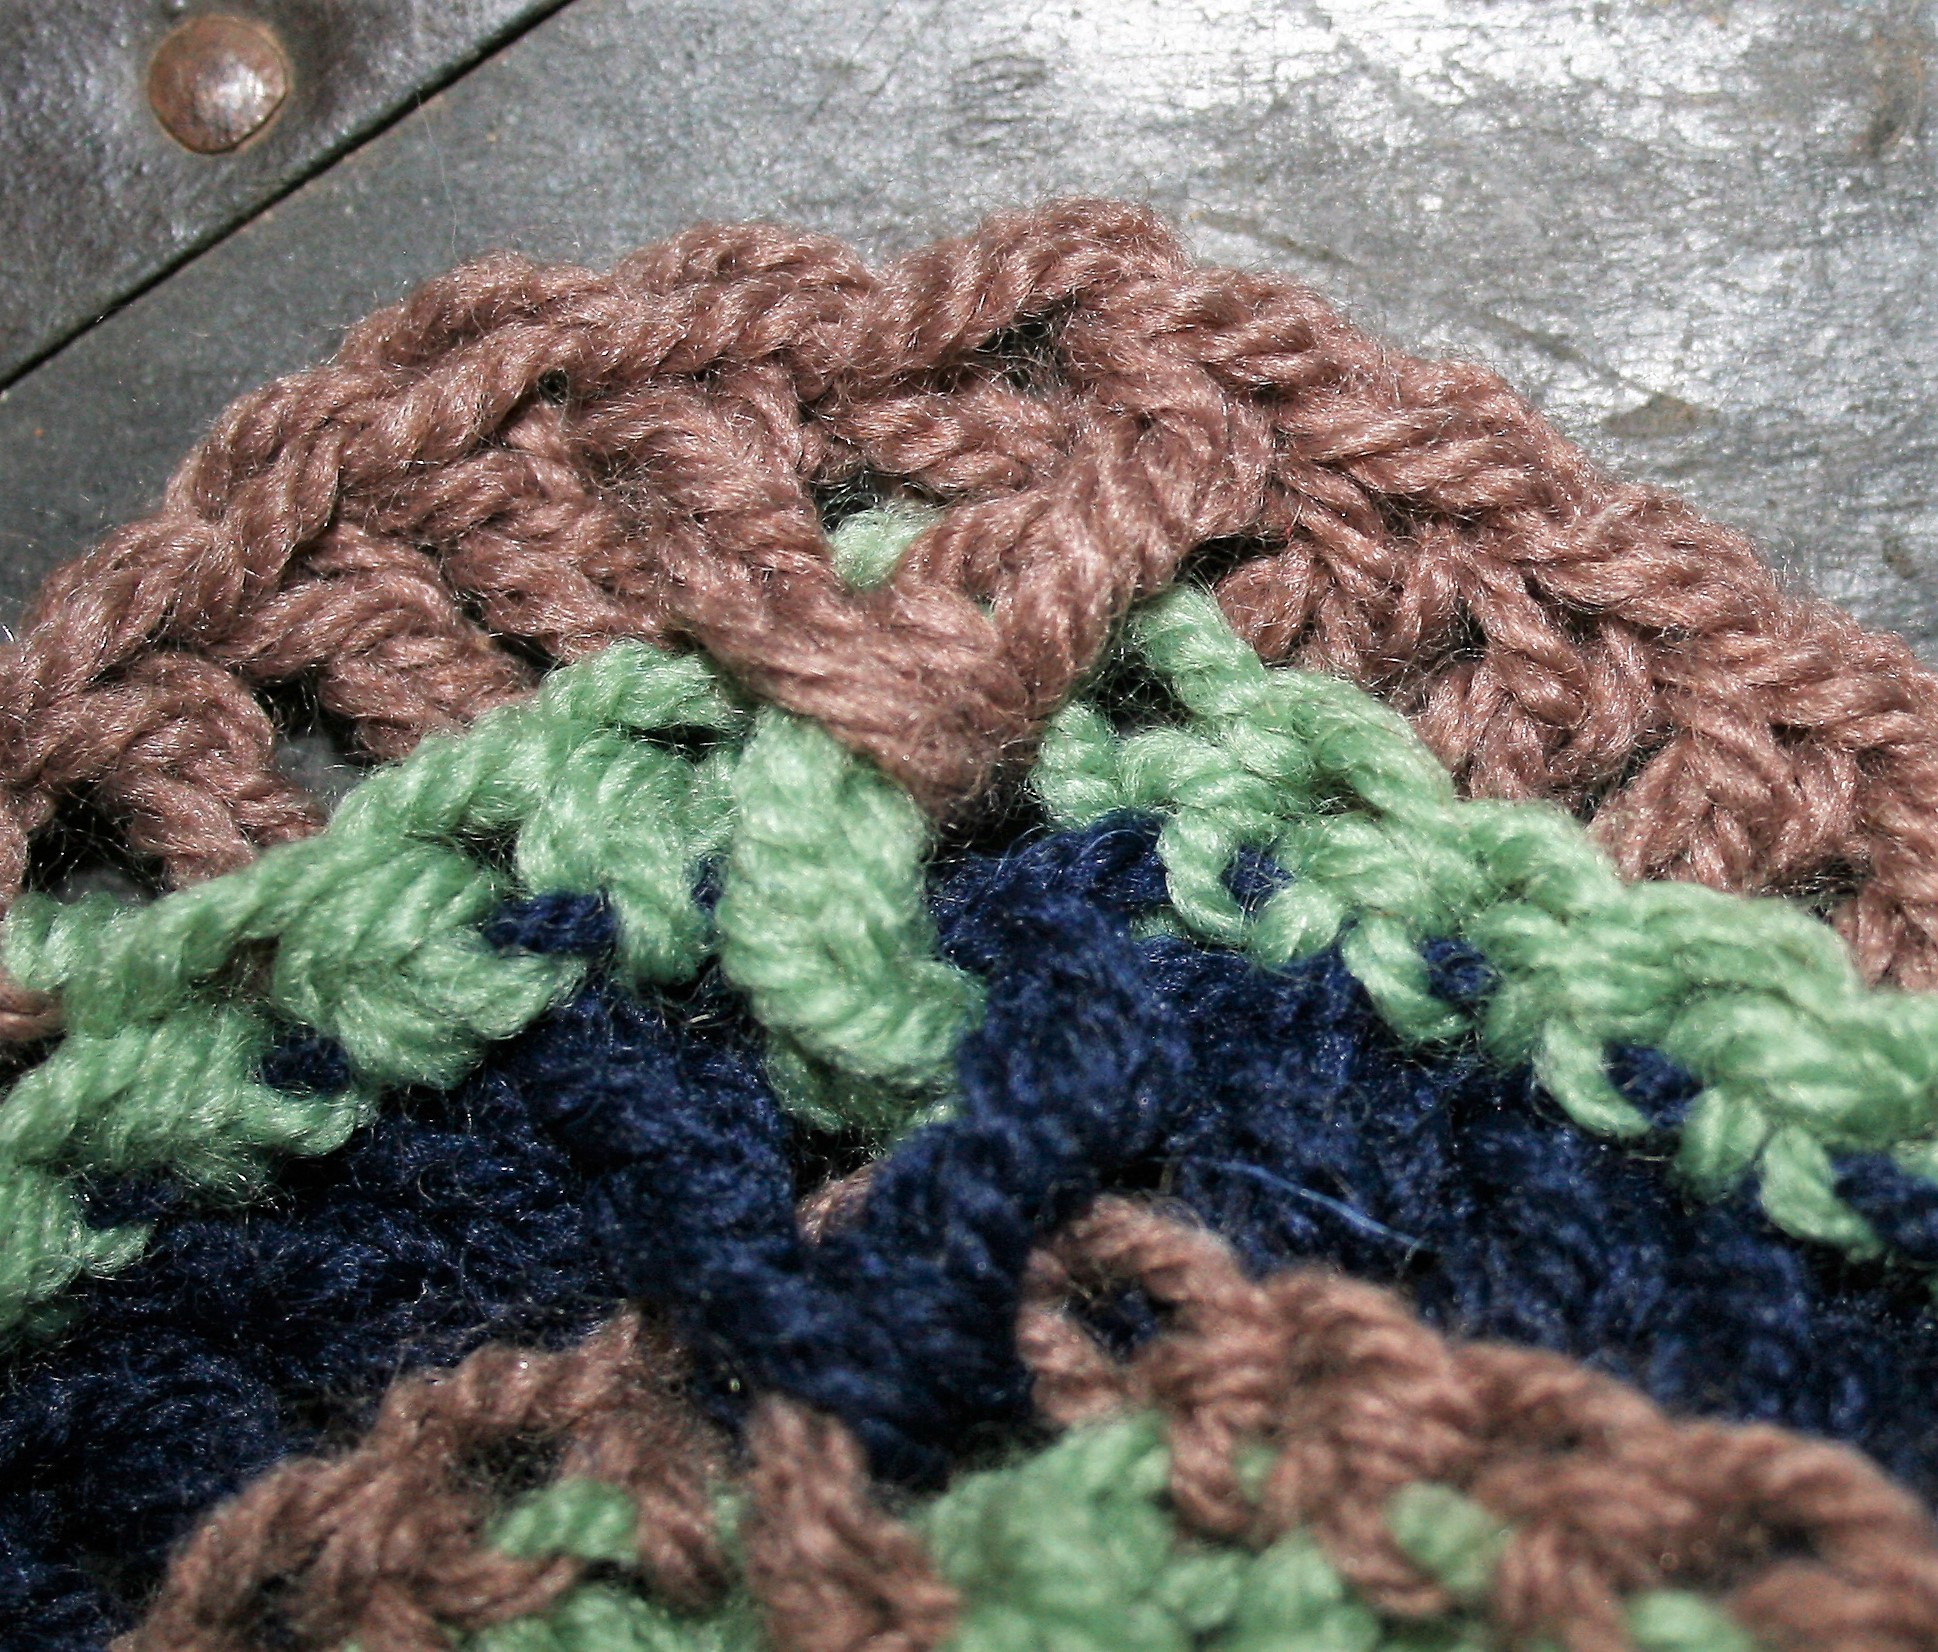
This block features texture work more than actual color work. Meaning if you want to work this block in only one color it will still be just as dramatic. Back Post Stitches are utilized as it really helps to add a great amount of textural and visual interest. The result of the stitch creates an raised affect that can be reminiscent of surface crochet. Tops of the stitches below become highlighted, adding the “chain” look on the surface of the fabric.
Much of the remaining texture comes form working cluster stitches in places below the actual working round. I really love how this breaks up the visual rounds of the fabric and help add a continuous lines of texture. They almost act as “links” helping the eye dance along various “features”.
The block is named for two of my long time students, Jan and Joy. Both have had a trying year, yet crochet has continued to be an outlet. As many of us already realize crochet can be our therapy, just the movement of our hands help our mind. Fortunately it can do even more, by bringing people together. I look forward to seeing them at our weekly jamboree and helping them on their crochet journeys.
If you want to follow my journey in crochet, join my monthly newsletter, or join me in a class at various places around the United States.
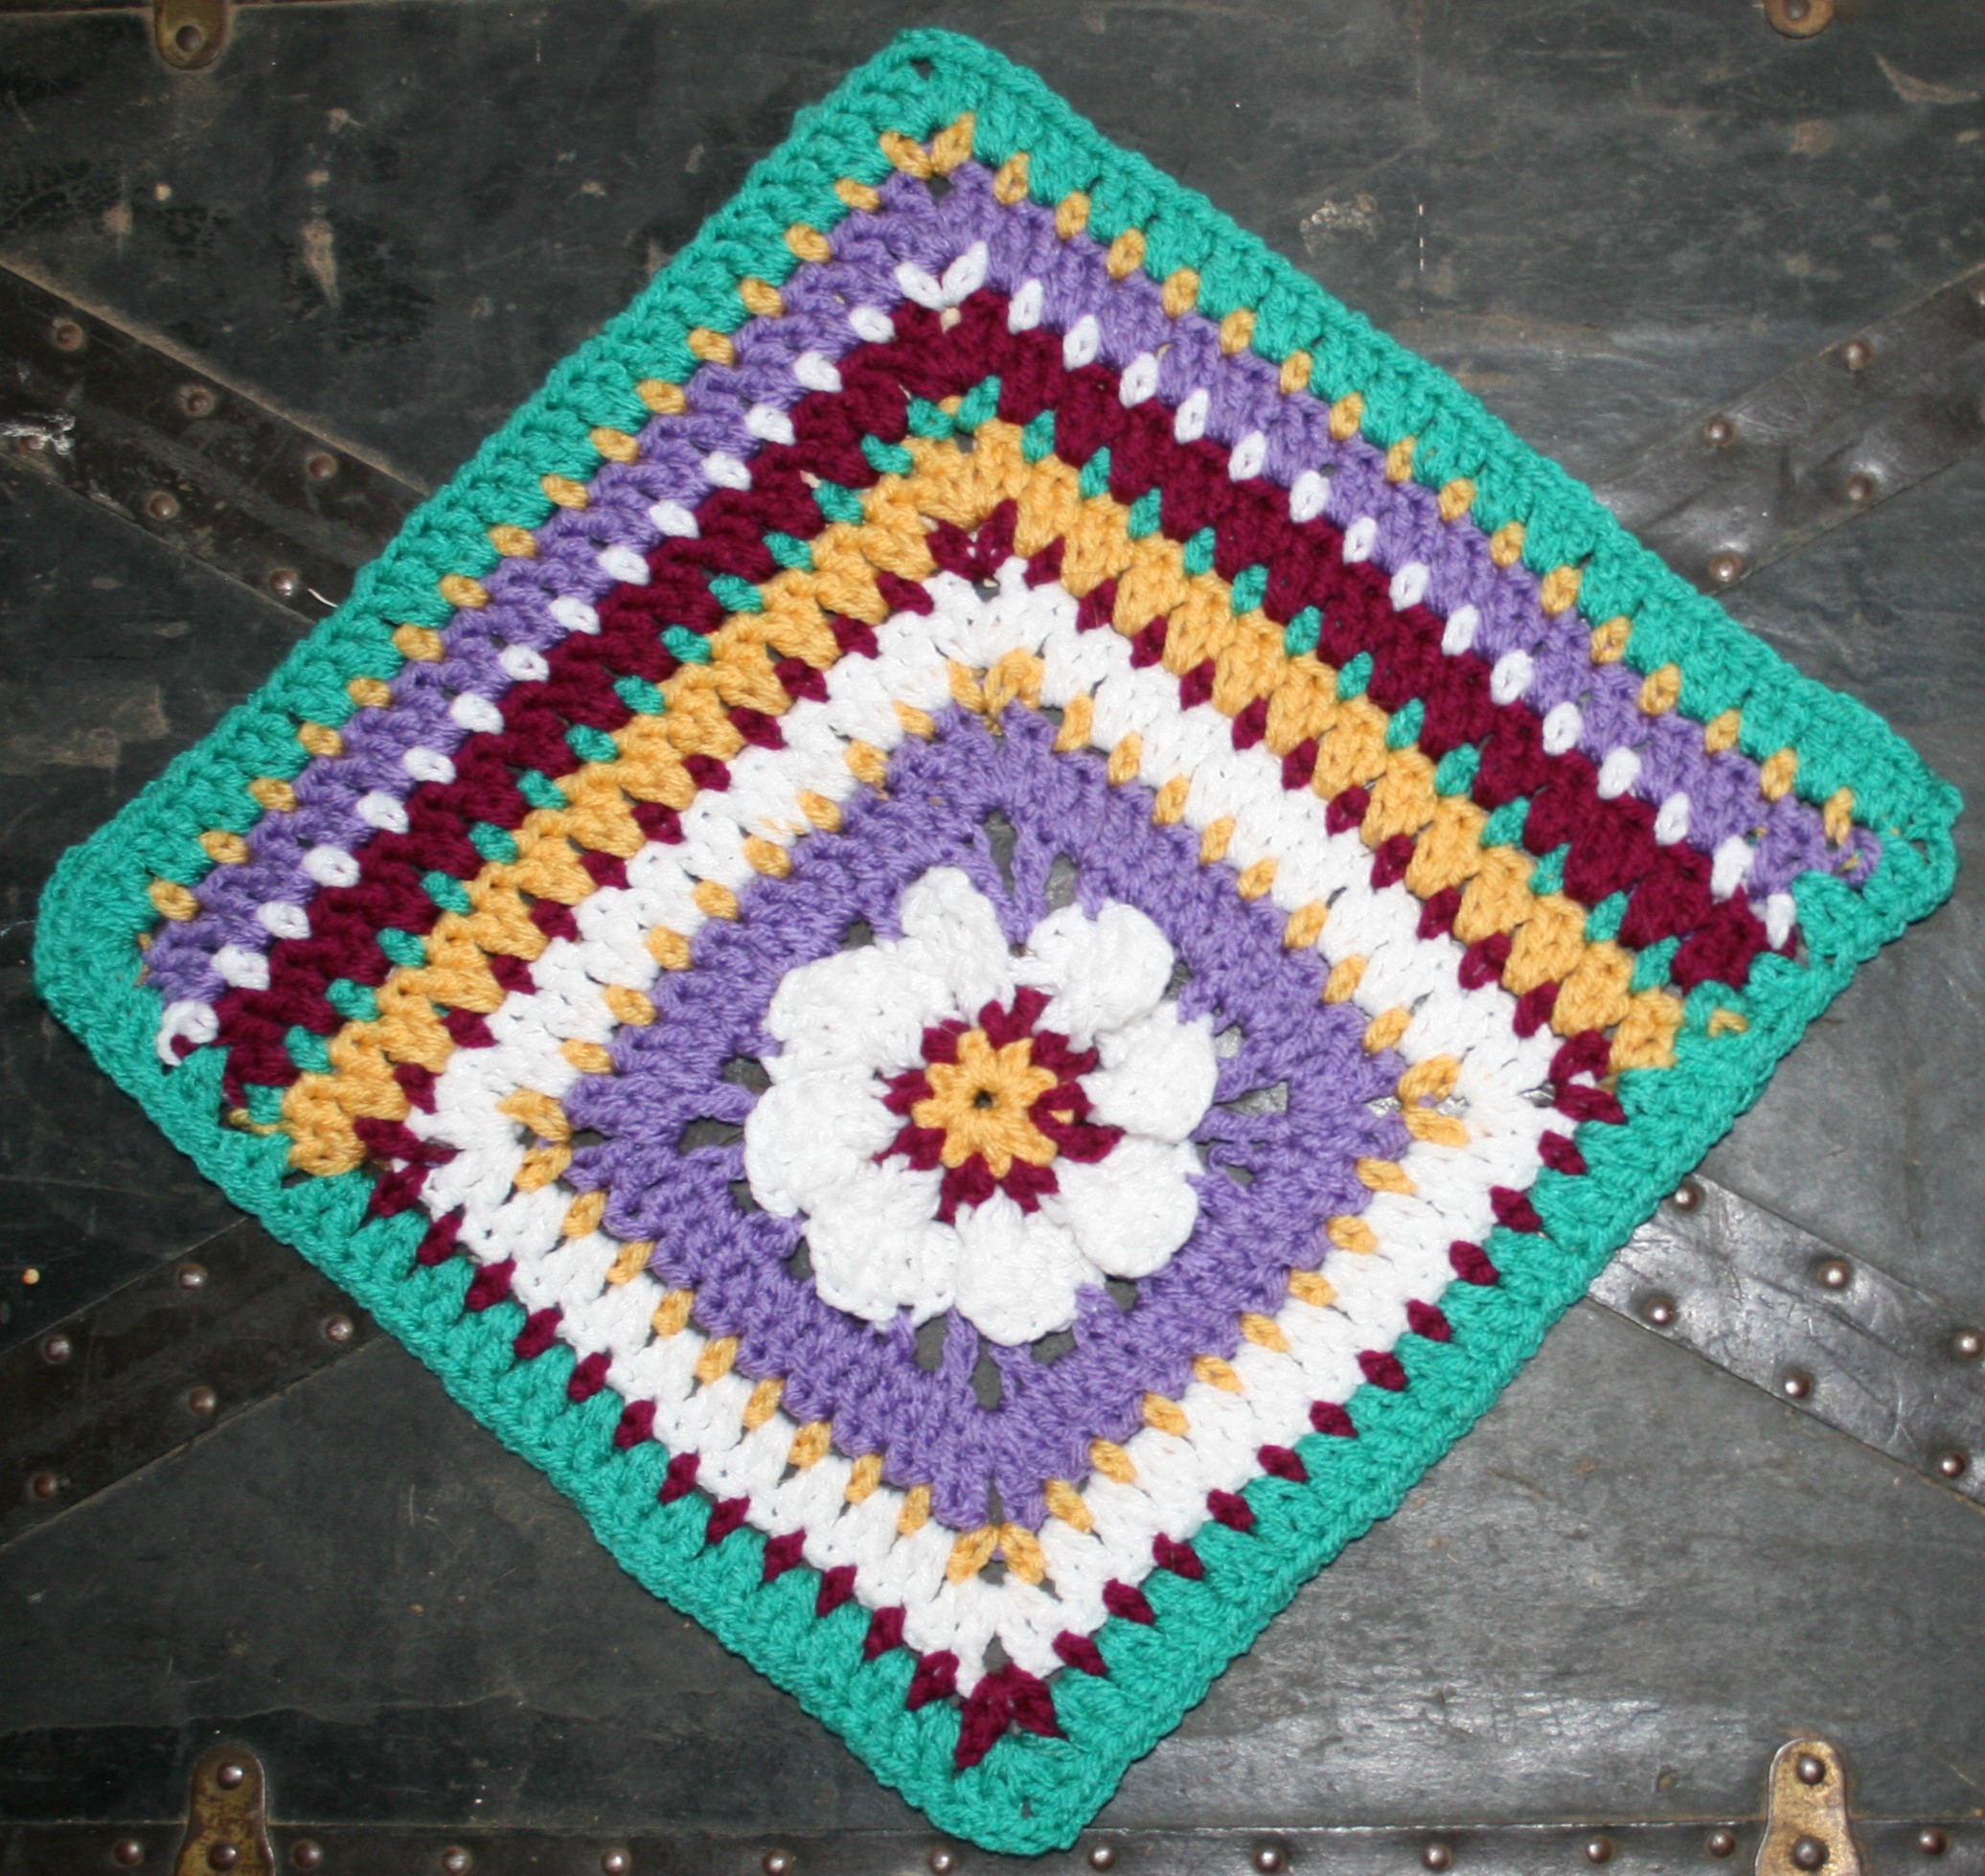
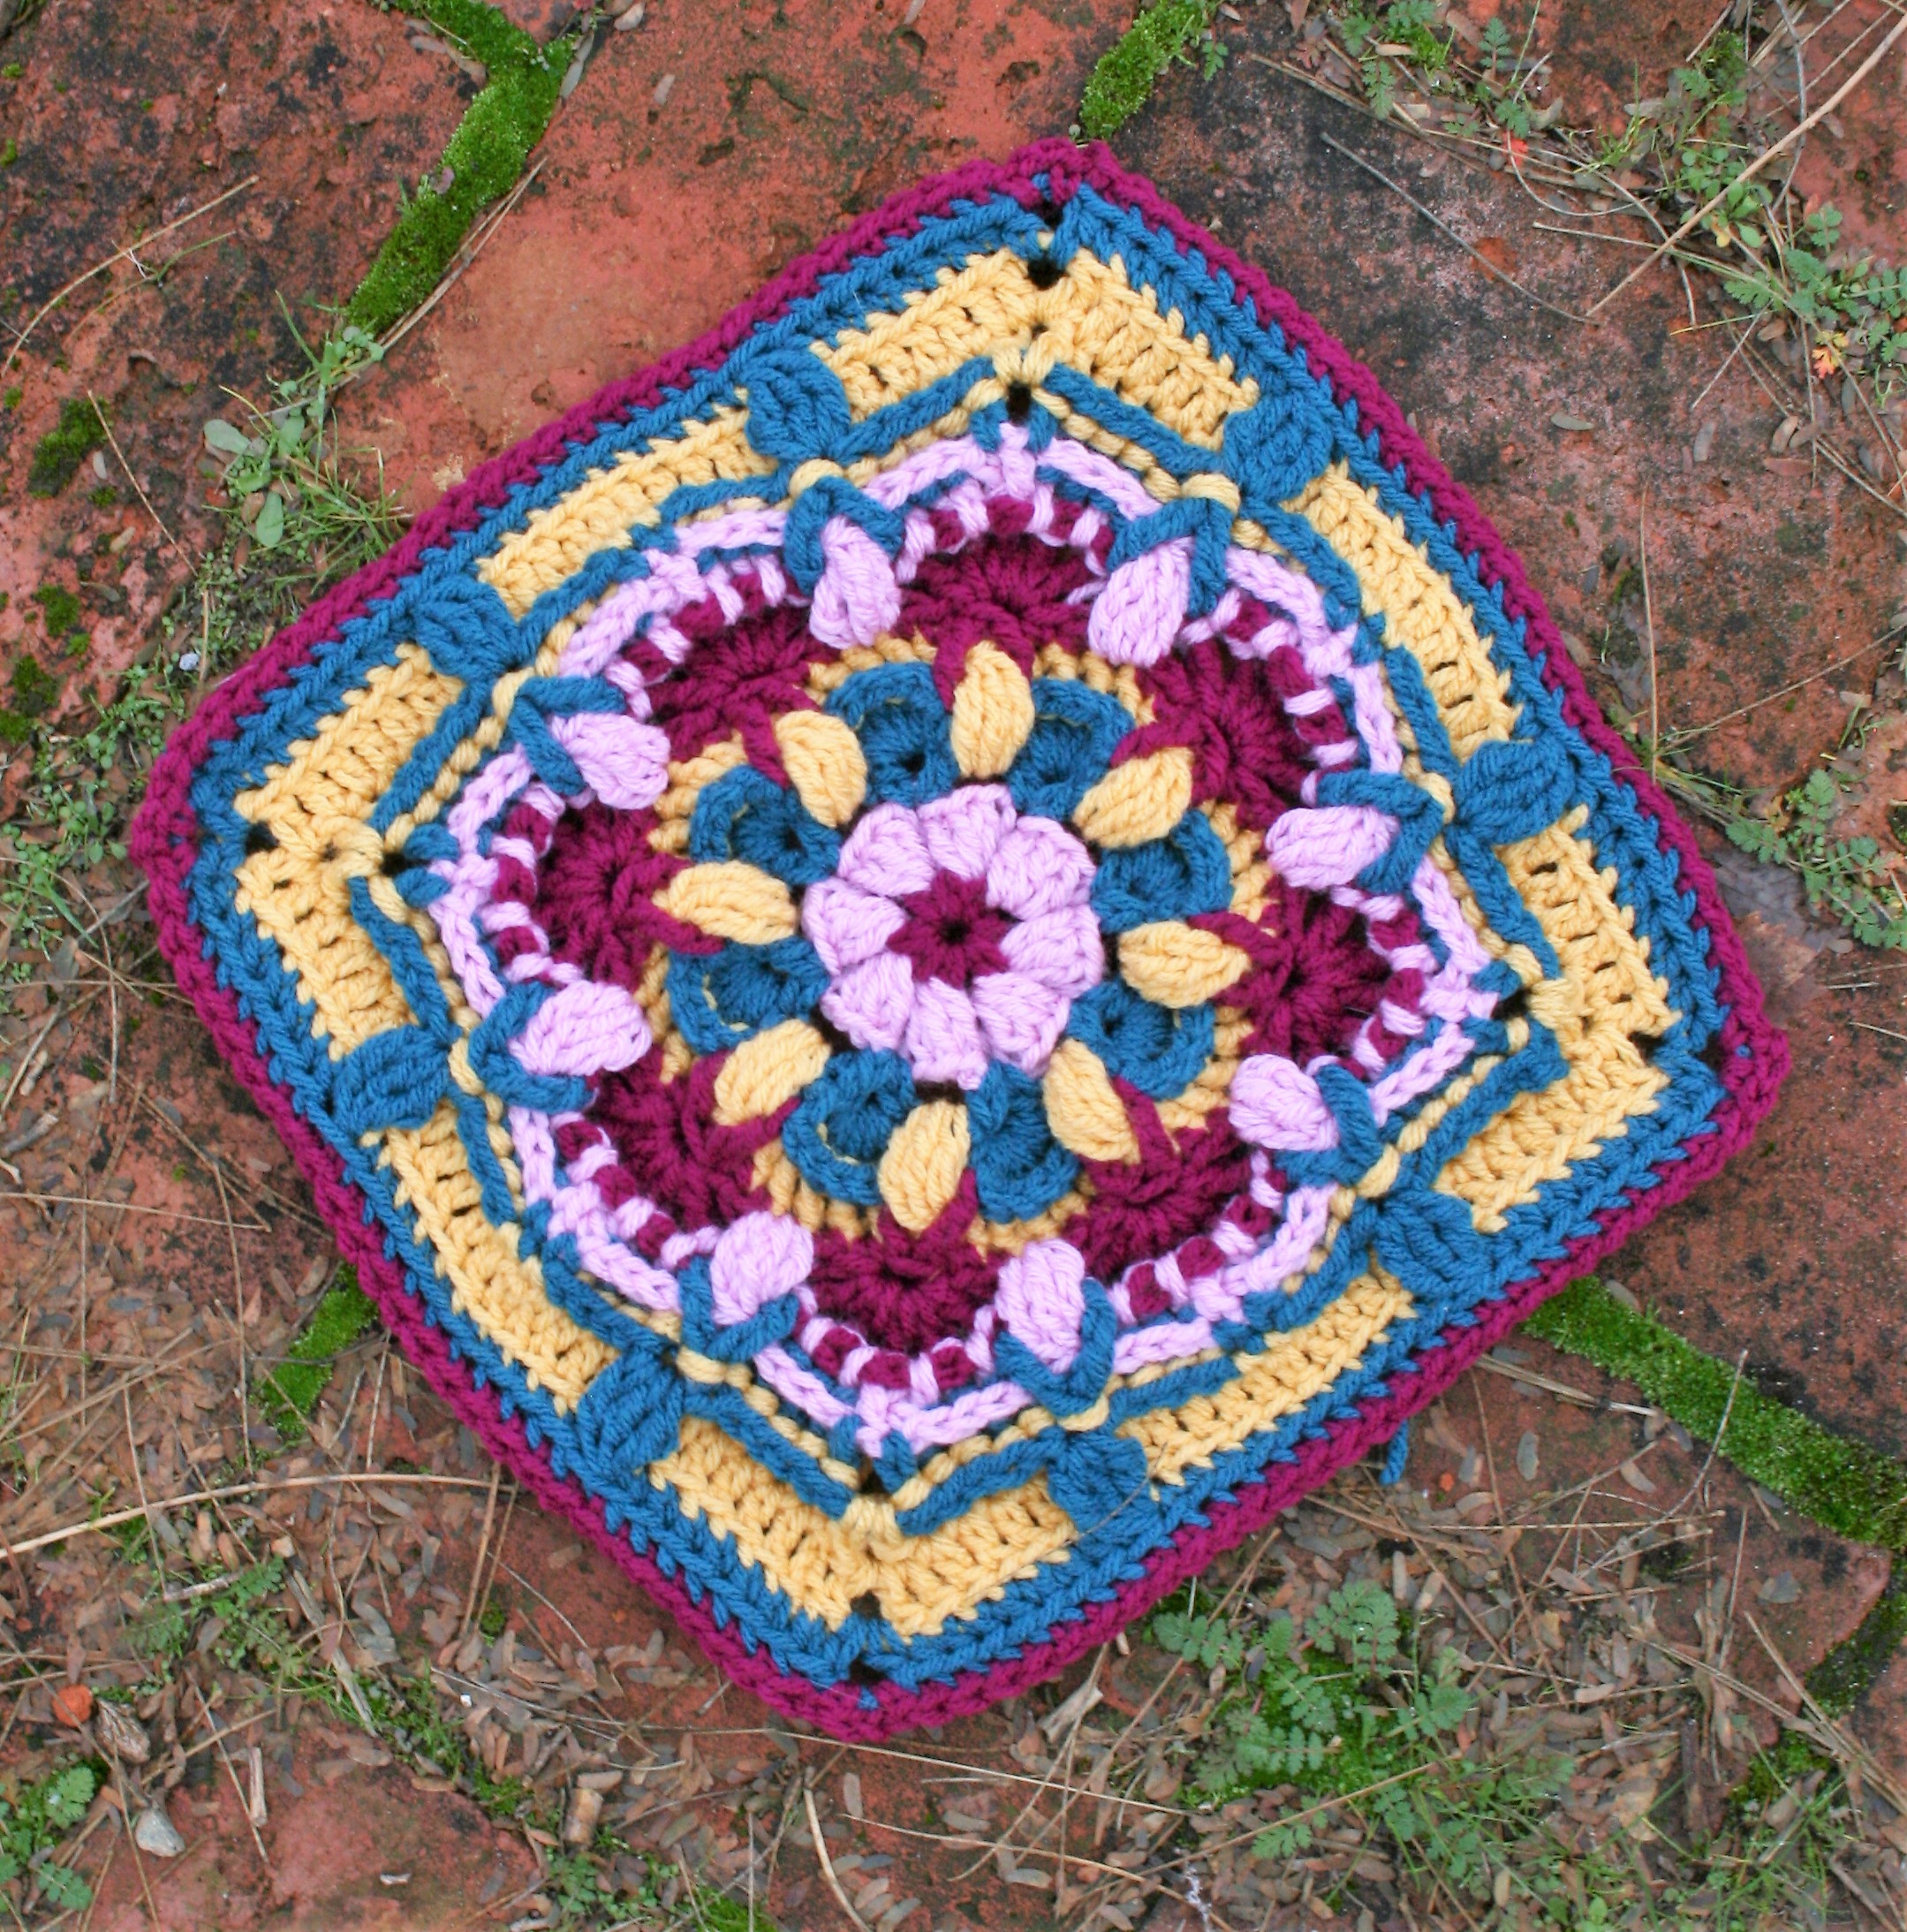
Jan’s Joy-Full Jamboree Block
Materials
- Red Heart With Love medium weight 100% acrylic yarn colors: (A) #1907 Boy
- senberry, (B) #1702 Blush, (C) #1623 Mallard, (D) #1207 Cornsilk
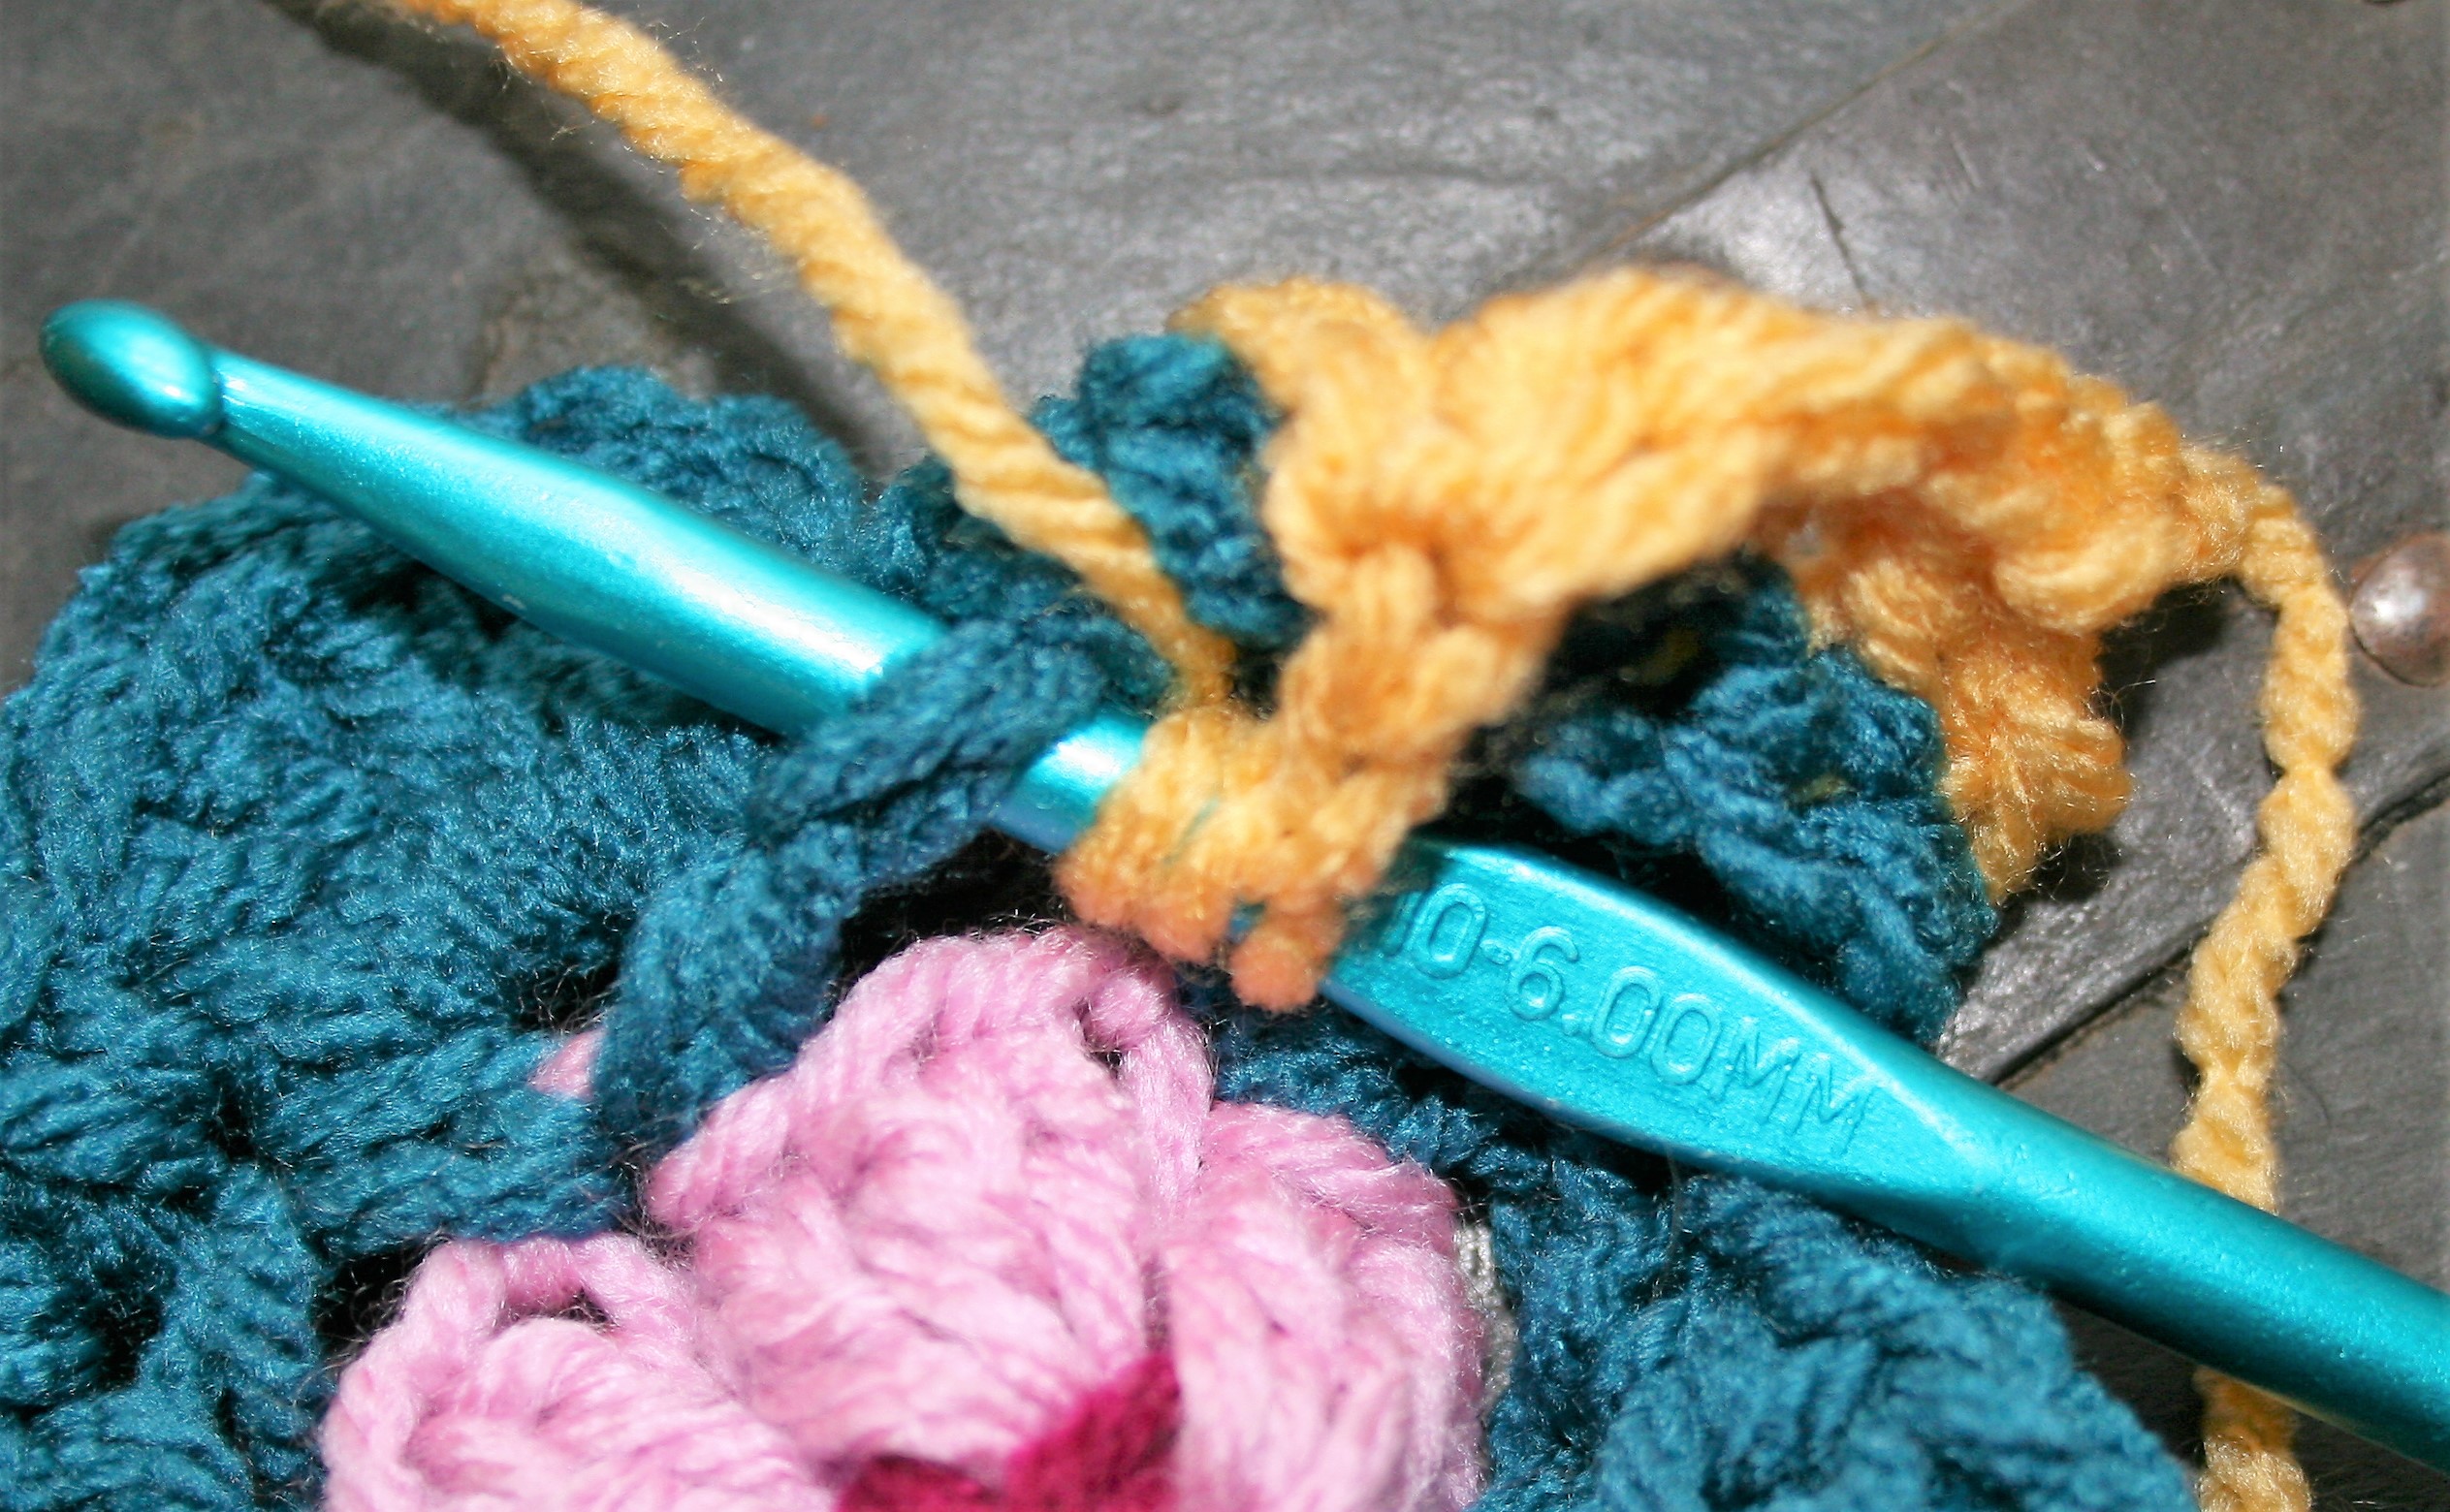
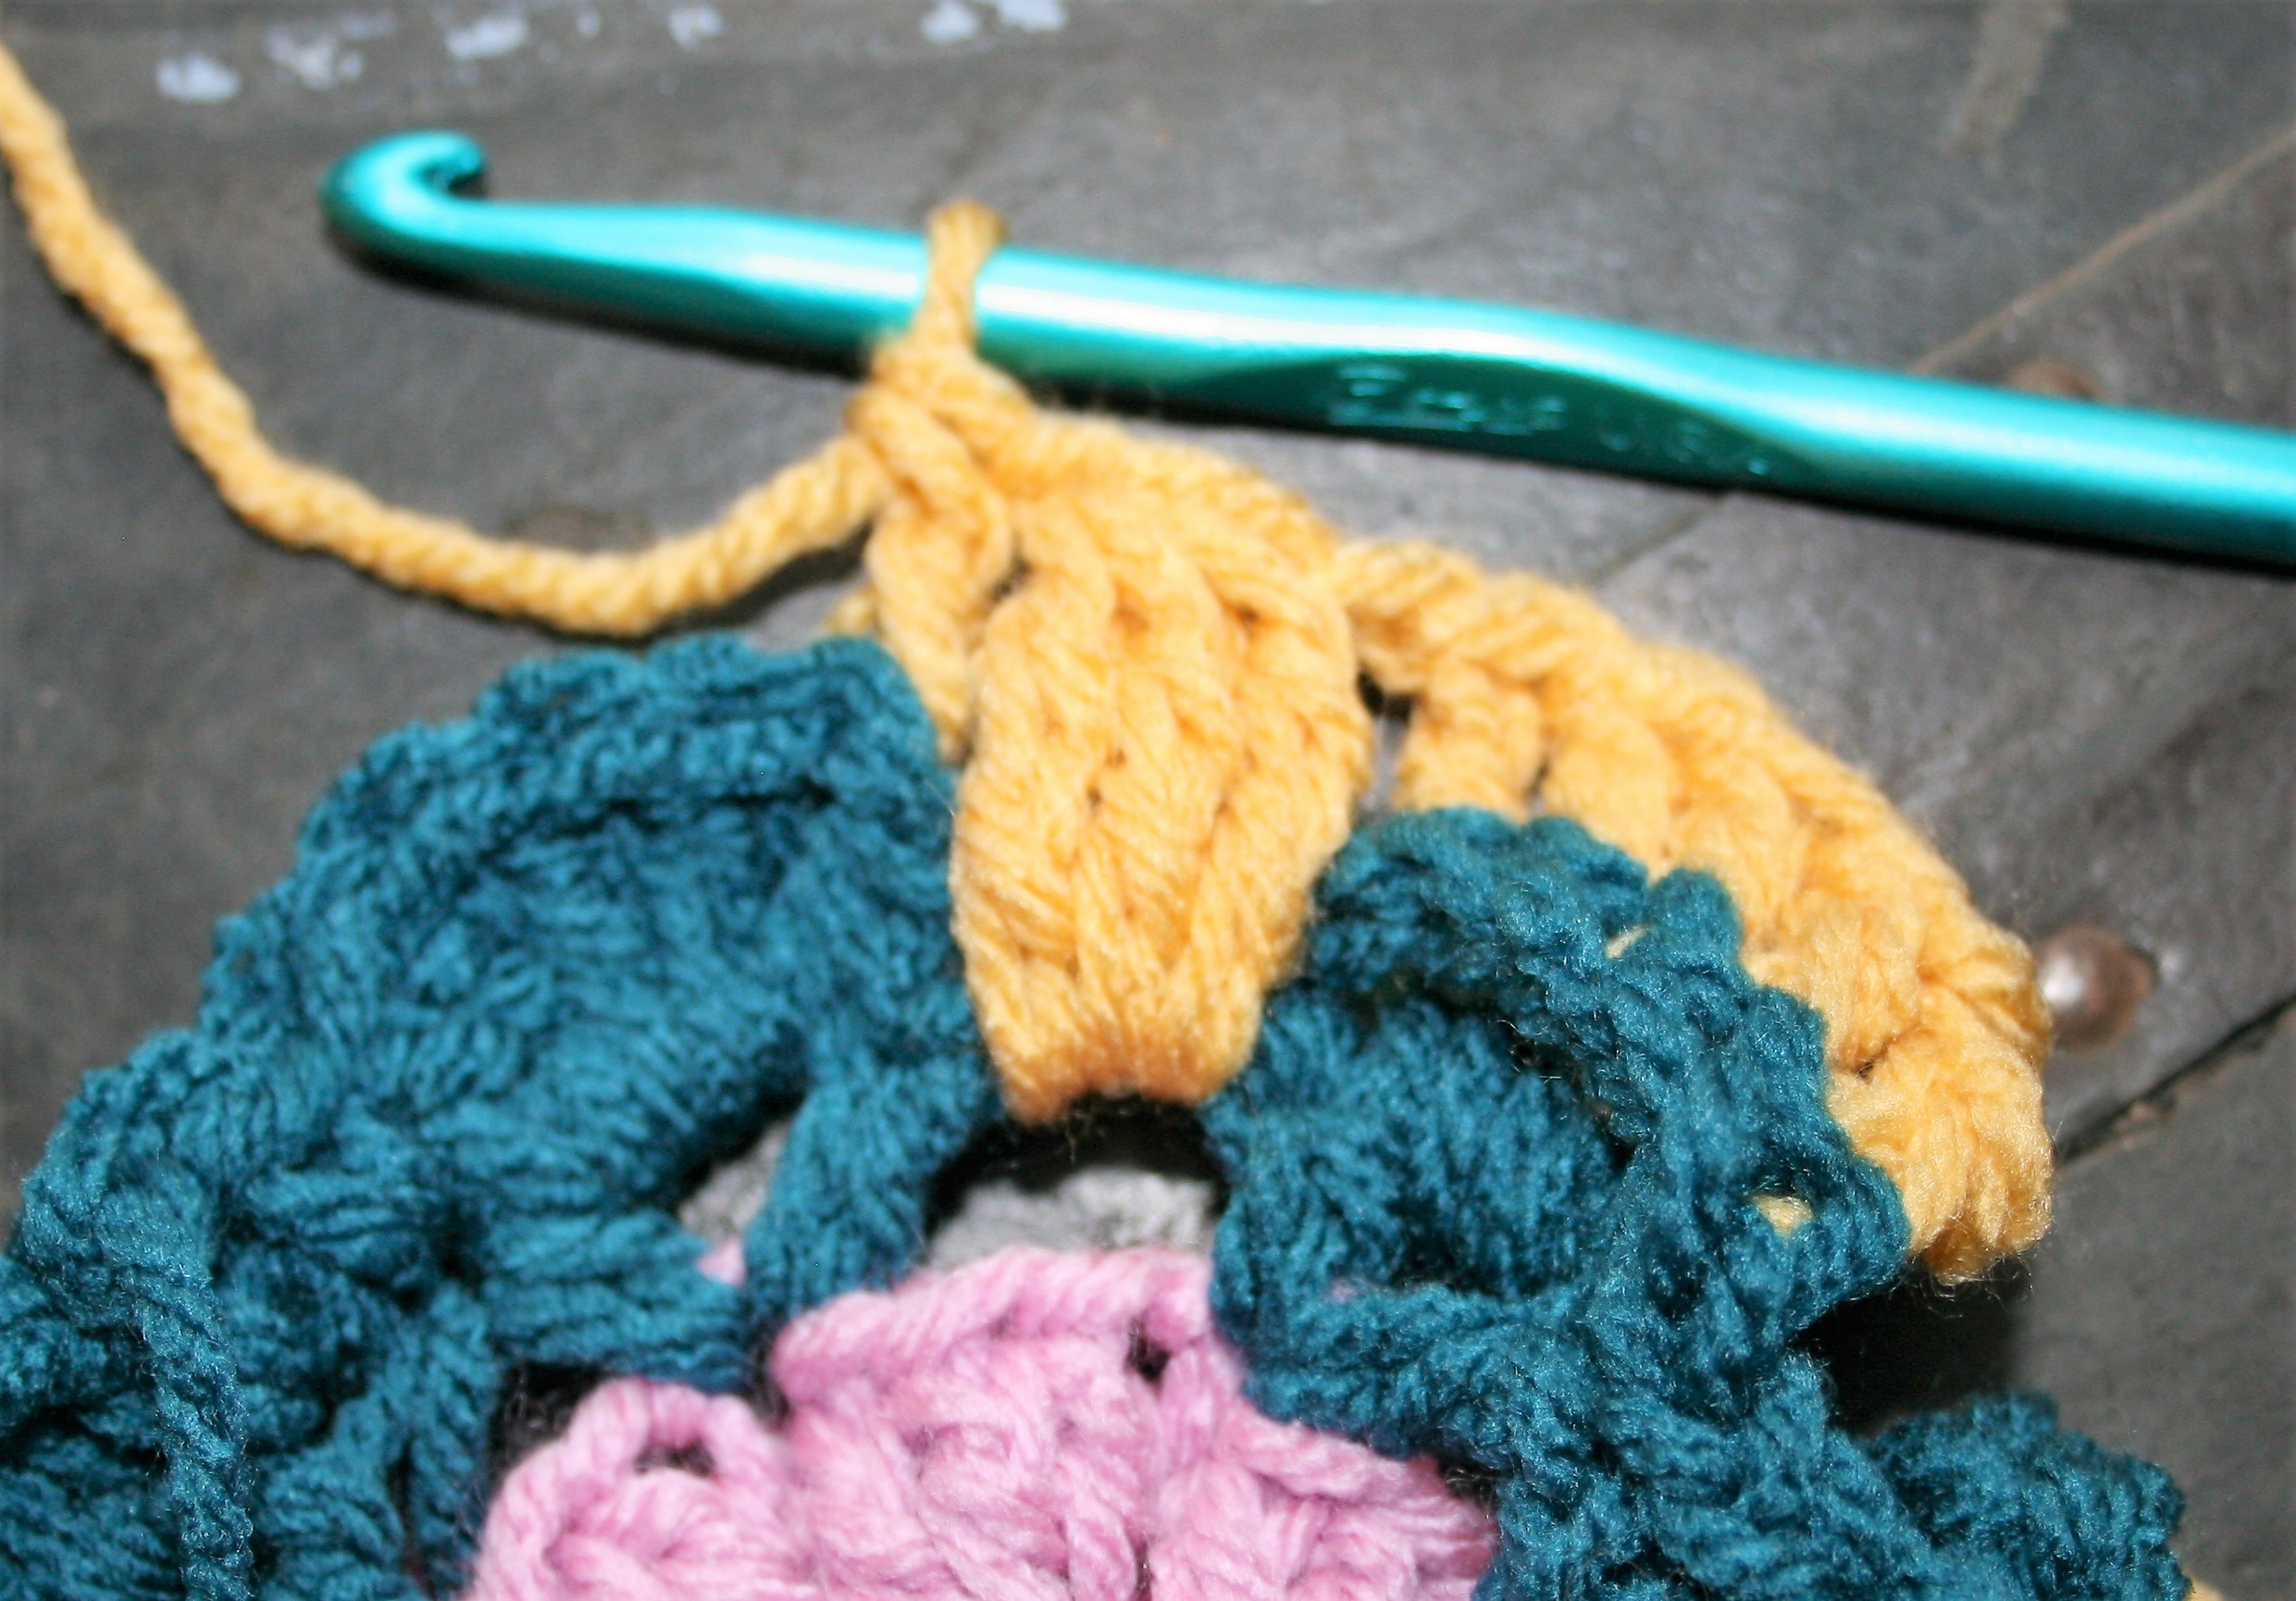
- J/10/6.00mm
Special Stitches
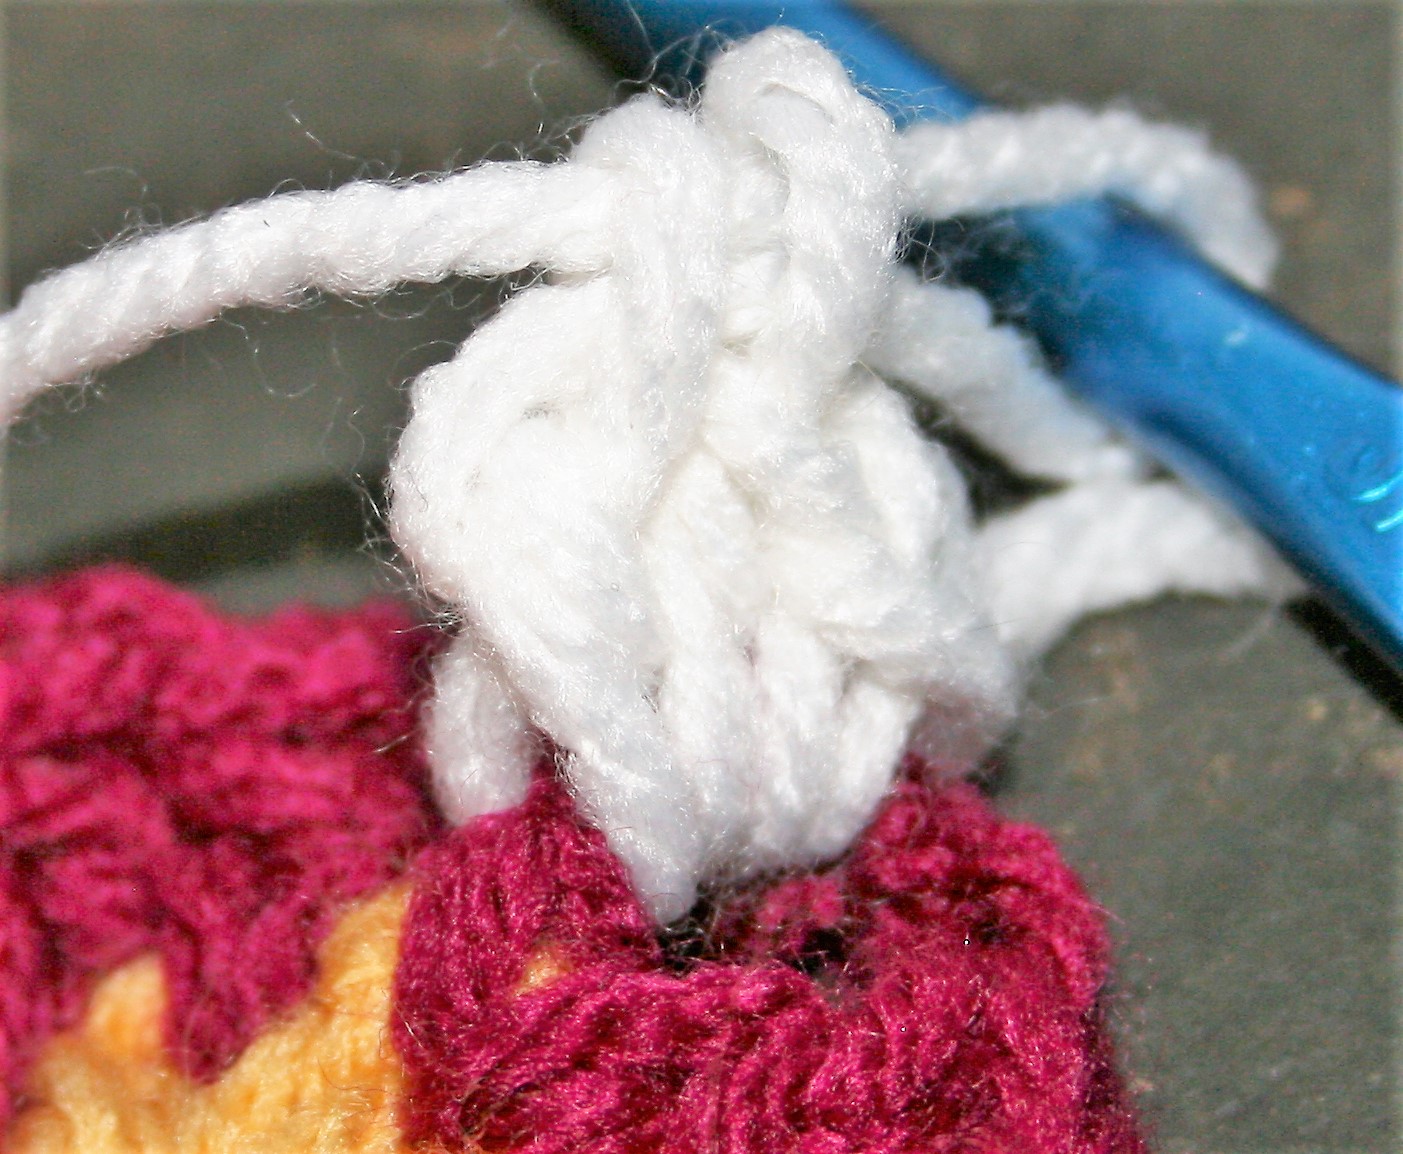
Treble Crochet 3 Cluster (tr3CL): Yo twice, insert hook into indicated st, yo, pull up a loop, (yo, pull through 2 loops) 2 times, yo twice, insert hook into same st, yo, pull up a loop, (yo, pull through 2 loops) 2 times, yo twice, insert hook into same st, yo pull up a loop, (yo, pull through 2 loops) 2 times, yo, pull through all 4 loops.
Treble Crochet 2 Together (tr2tog): Yo twice, insert hook into the first indicated stitch, yo pull up a loop, (yo, pull through 2 loops) 2 times, yo twice, insert hook into the next stitch indicated, yo, pull up a loop, (yo, pull through 2 loops) 2 times, yo, pull through all 3 loops.
Abbreviations
- Blhdc= back loop half double crochet
- Blsc= back loop single crochet
- Bpdc= back post double crochet
- Bphdc= back post half double crochet
- Bpsc= back post single crochet
- Sbpdc= standing back post double crochet
- Sdc= standing double crochet
- Shdc= standing half double crochet
- Ssc= standing single crochet
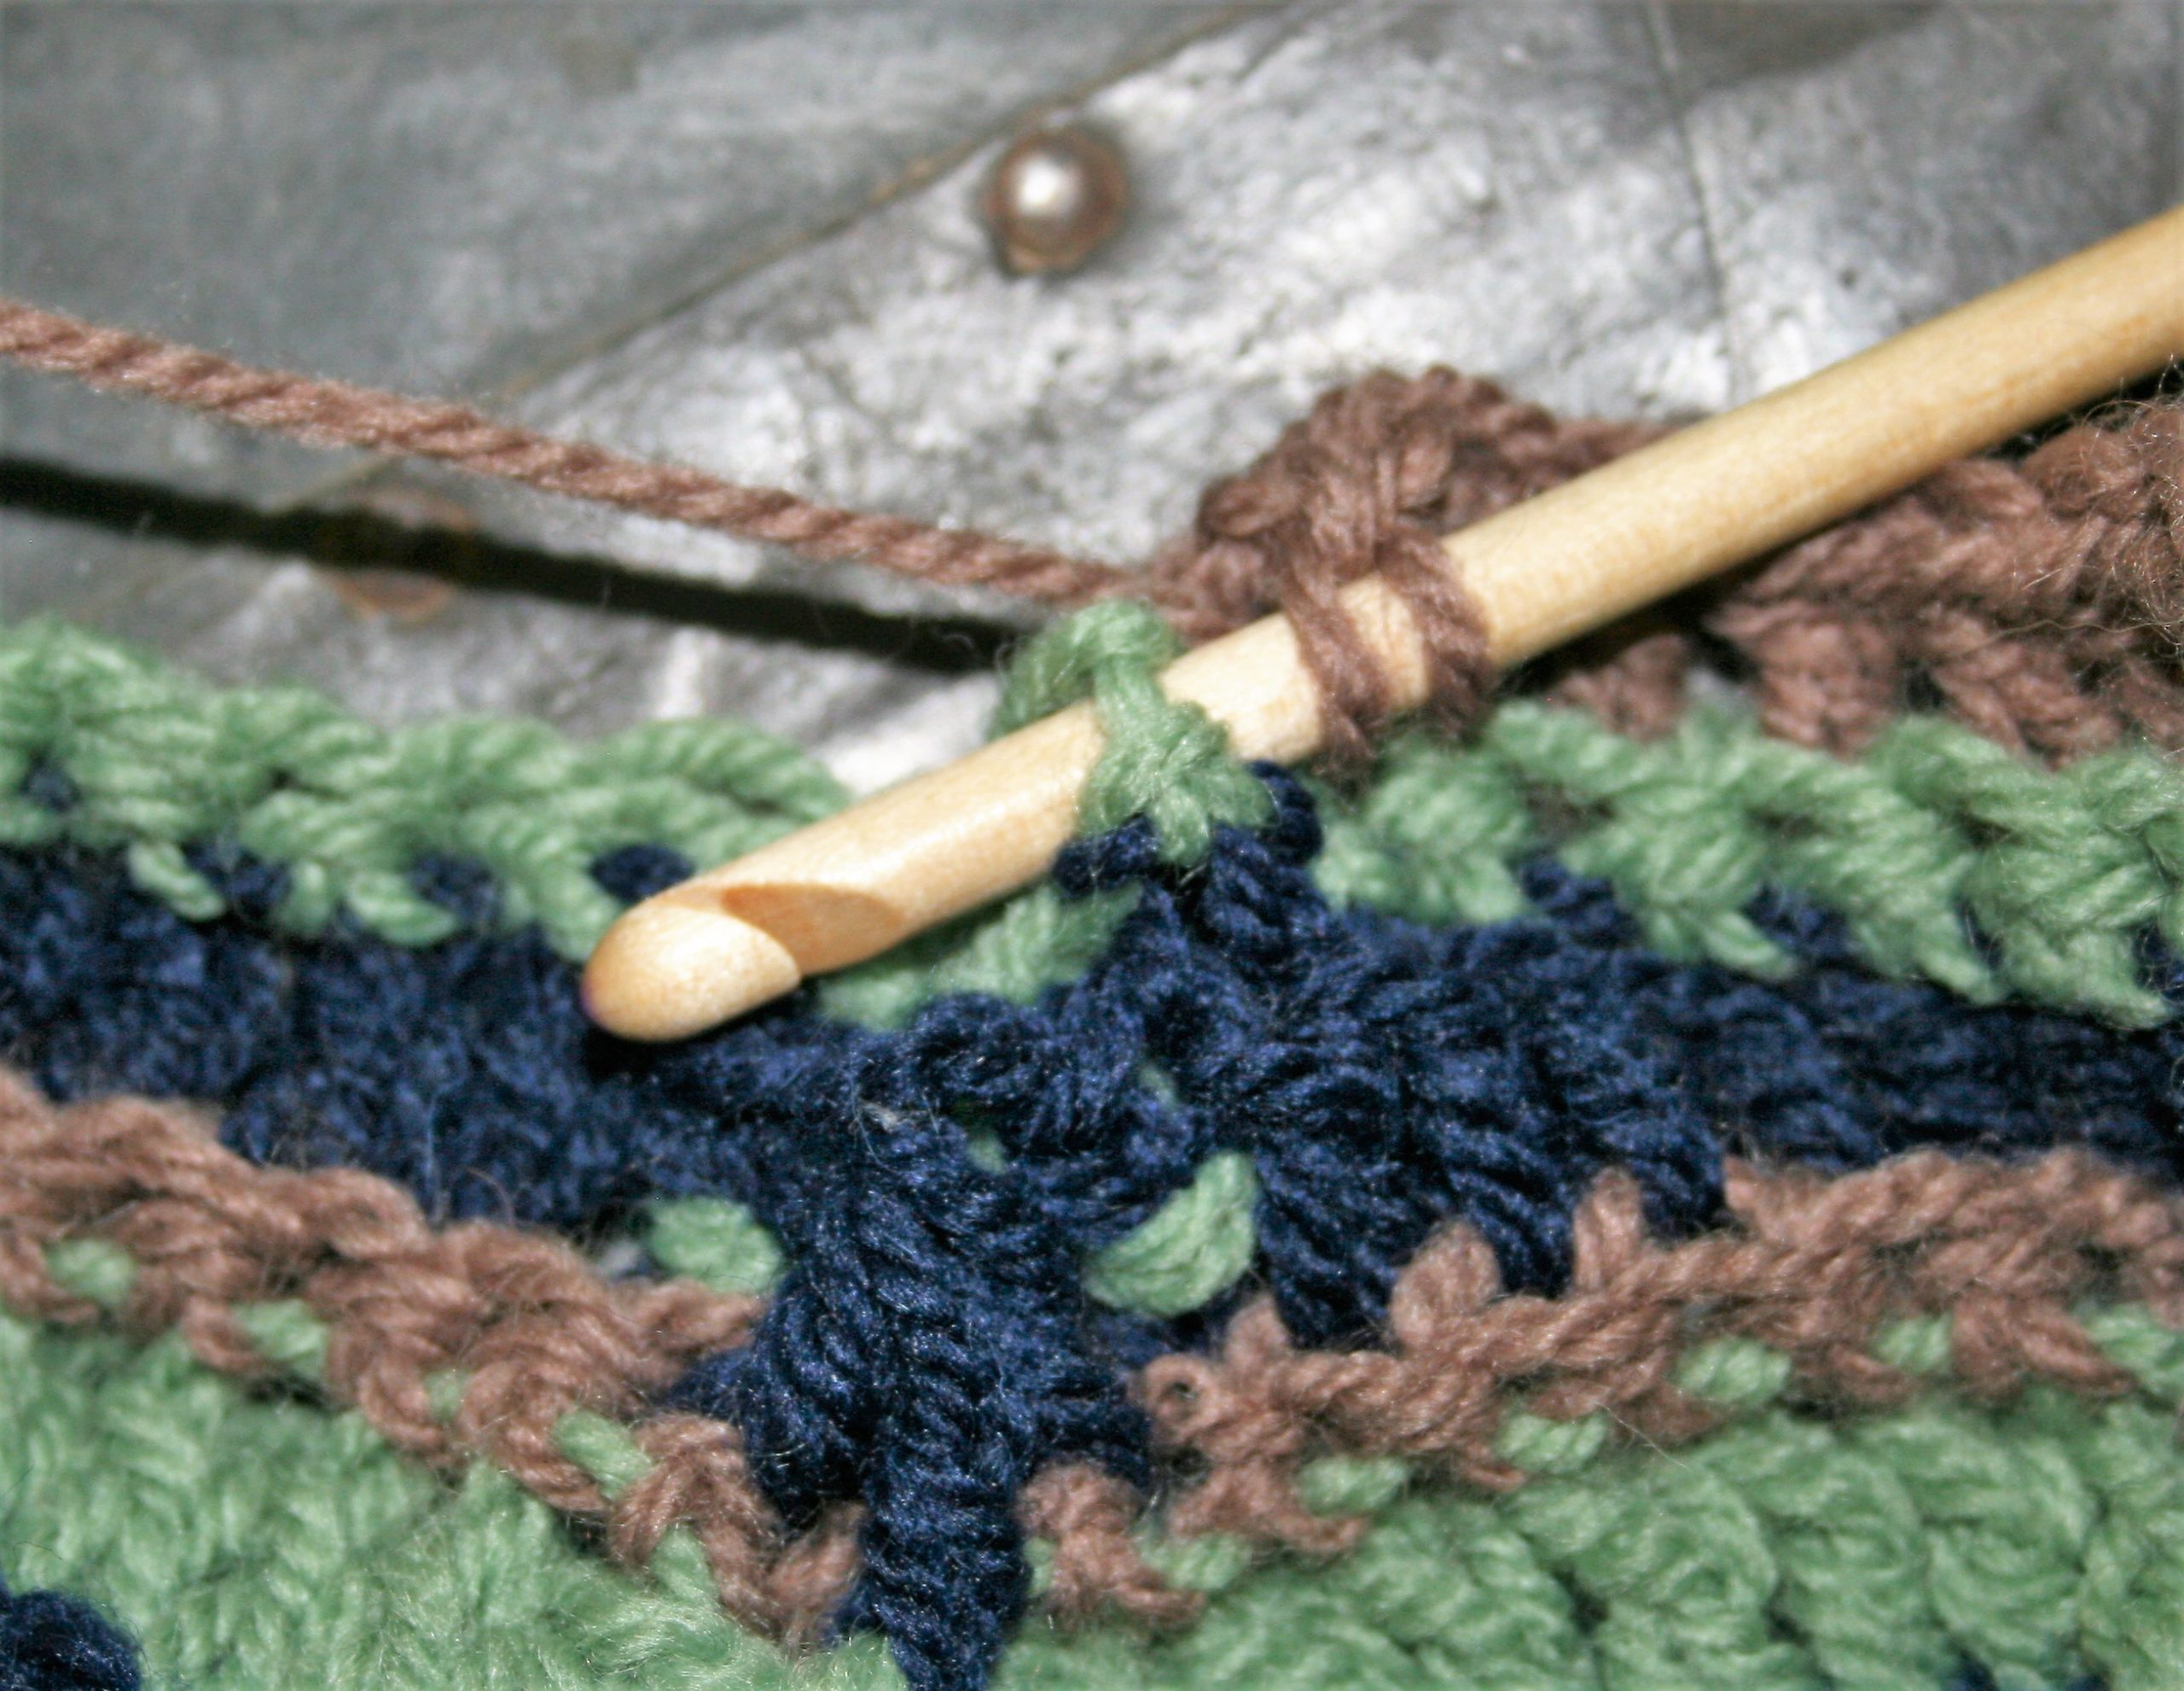
If you do not feel comfortable with standing stitches, they can be substituted by simply slip stitching to the indicated stitch, and creating a chain equivalent to the turning chain for the indicated stitch type. But if you want to learn about them, I offer a photo tutorial here. And Moogly offers a video here.
Pattern for this block of the Moogly CAL
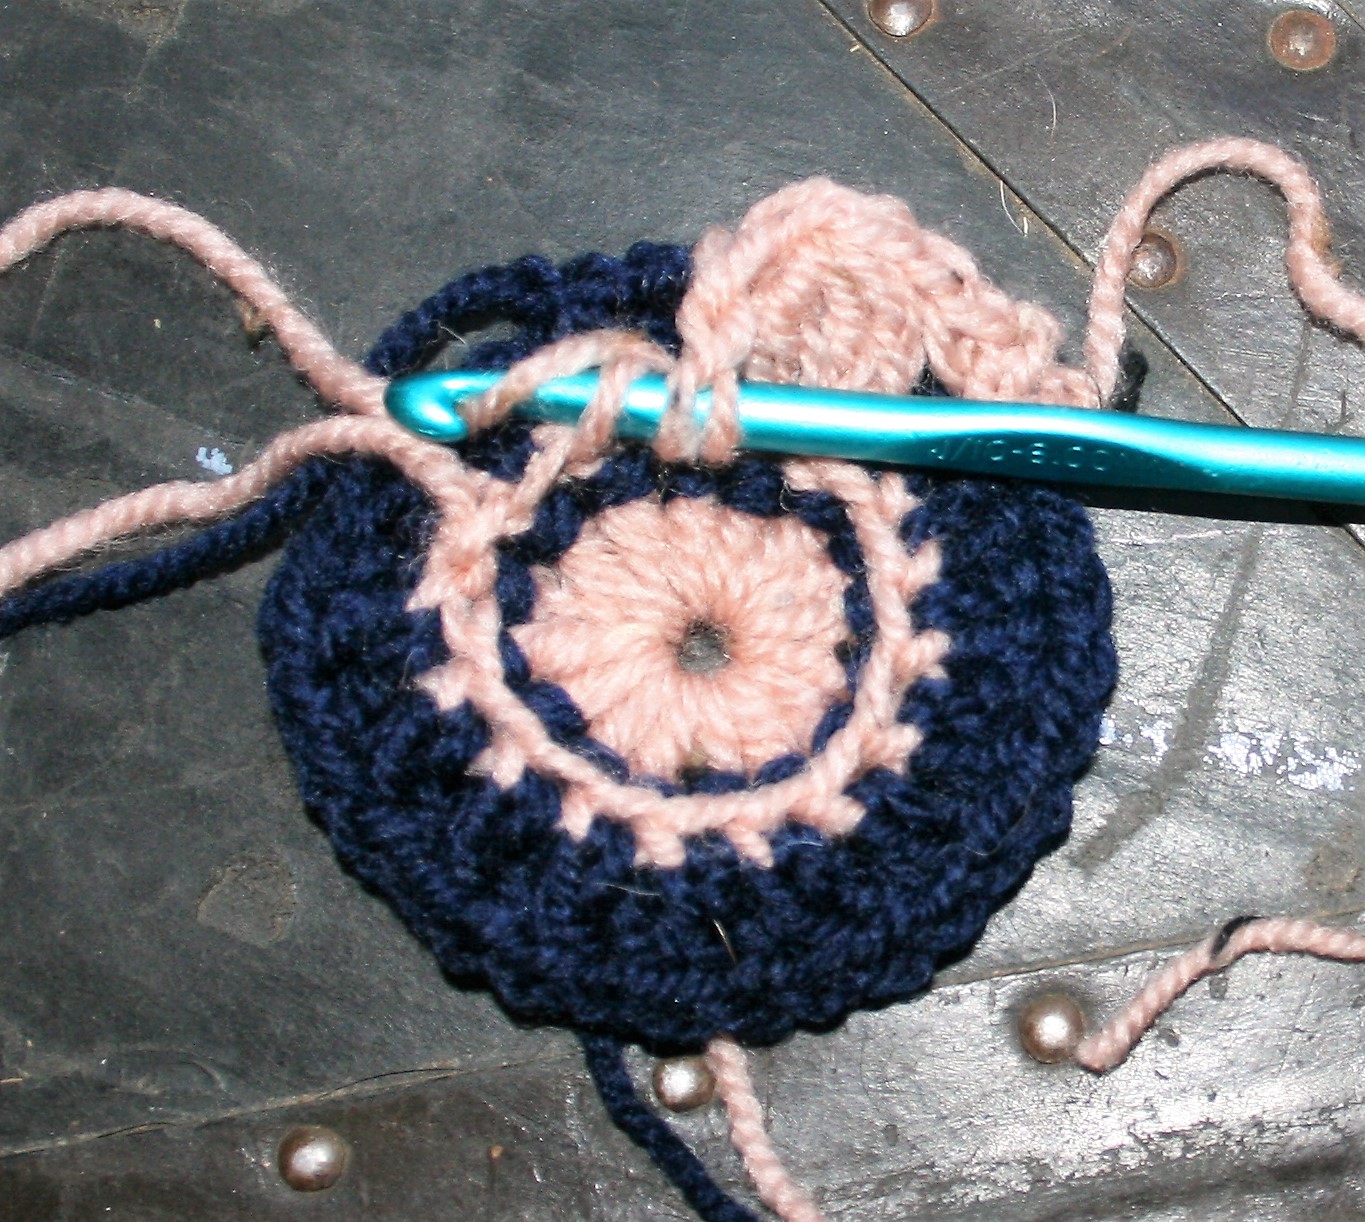
Rnd 1: With A, Ch 5, dc in 5th ch from hook, ch 1 (dc in same st, ch 1) 6 times, sl st to join, fasten off. – 8 dc, 8 ch-1 sps
Rnd 2: With B, join to any dc with a ssc, 3fpdc in same dc, (sc, 3 fpdc in each dc around, sl st to join, fasten off. –8 sc, 24 fpdc
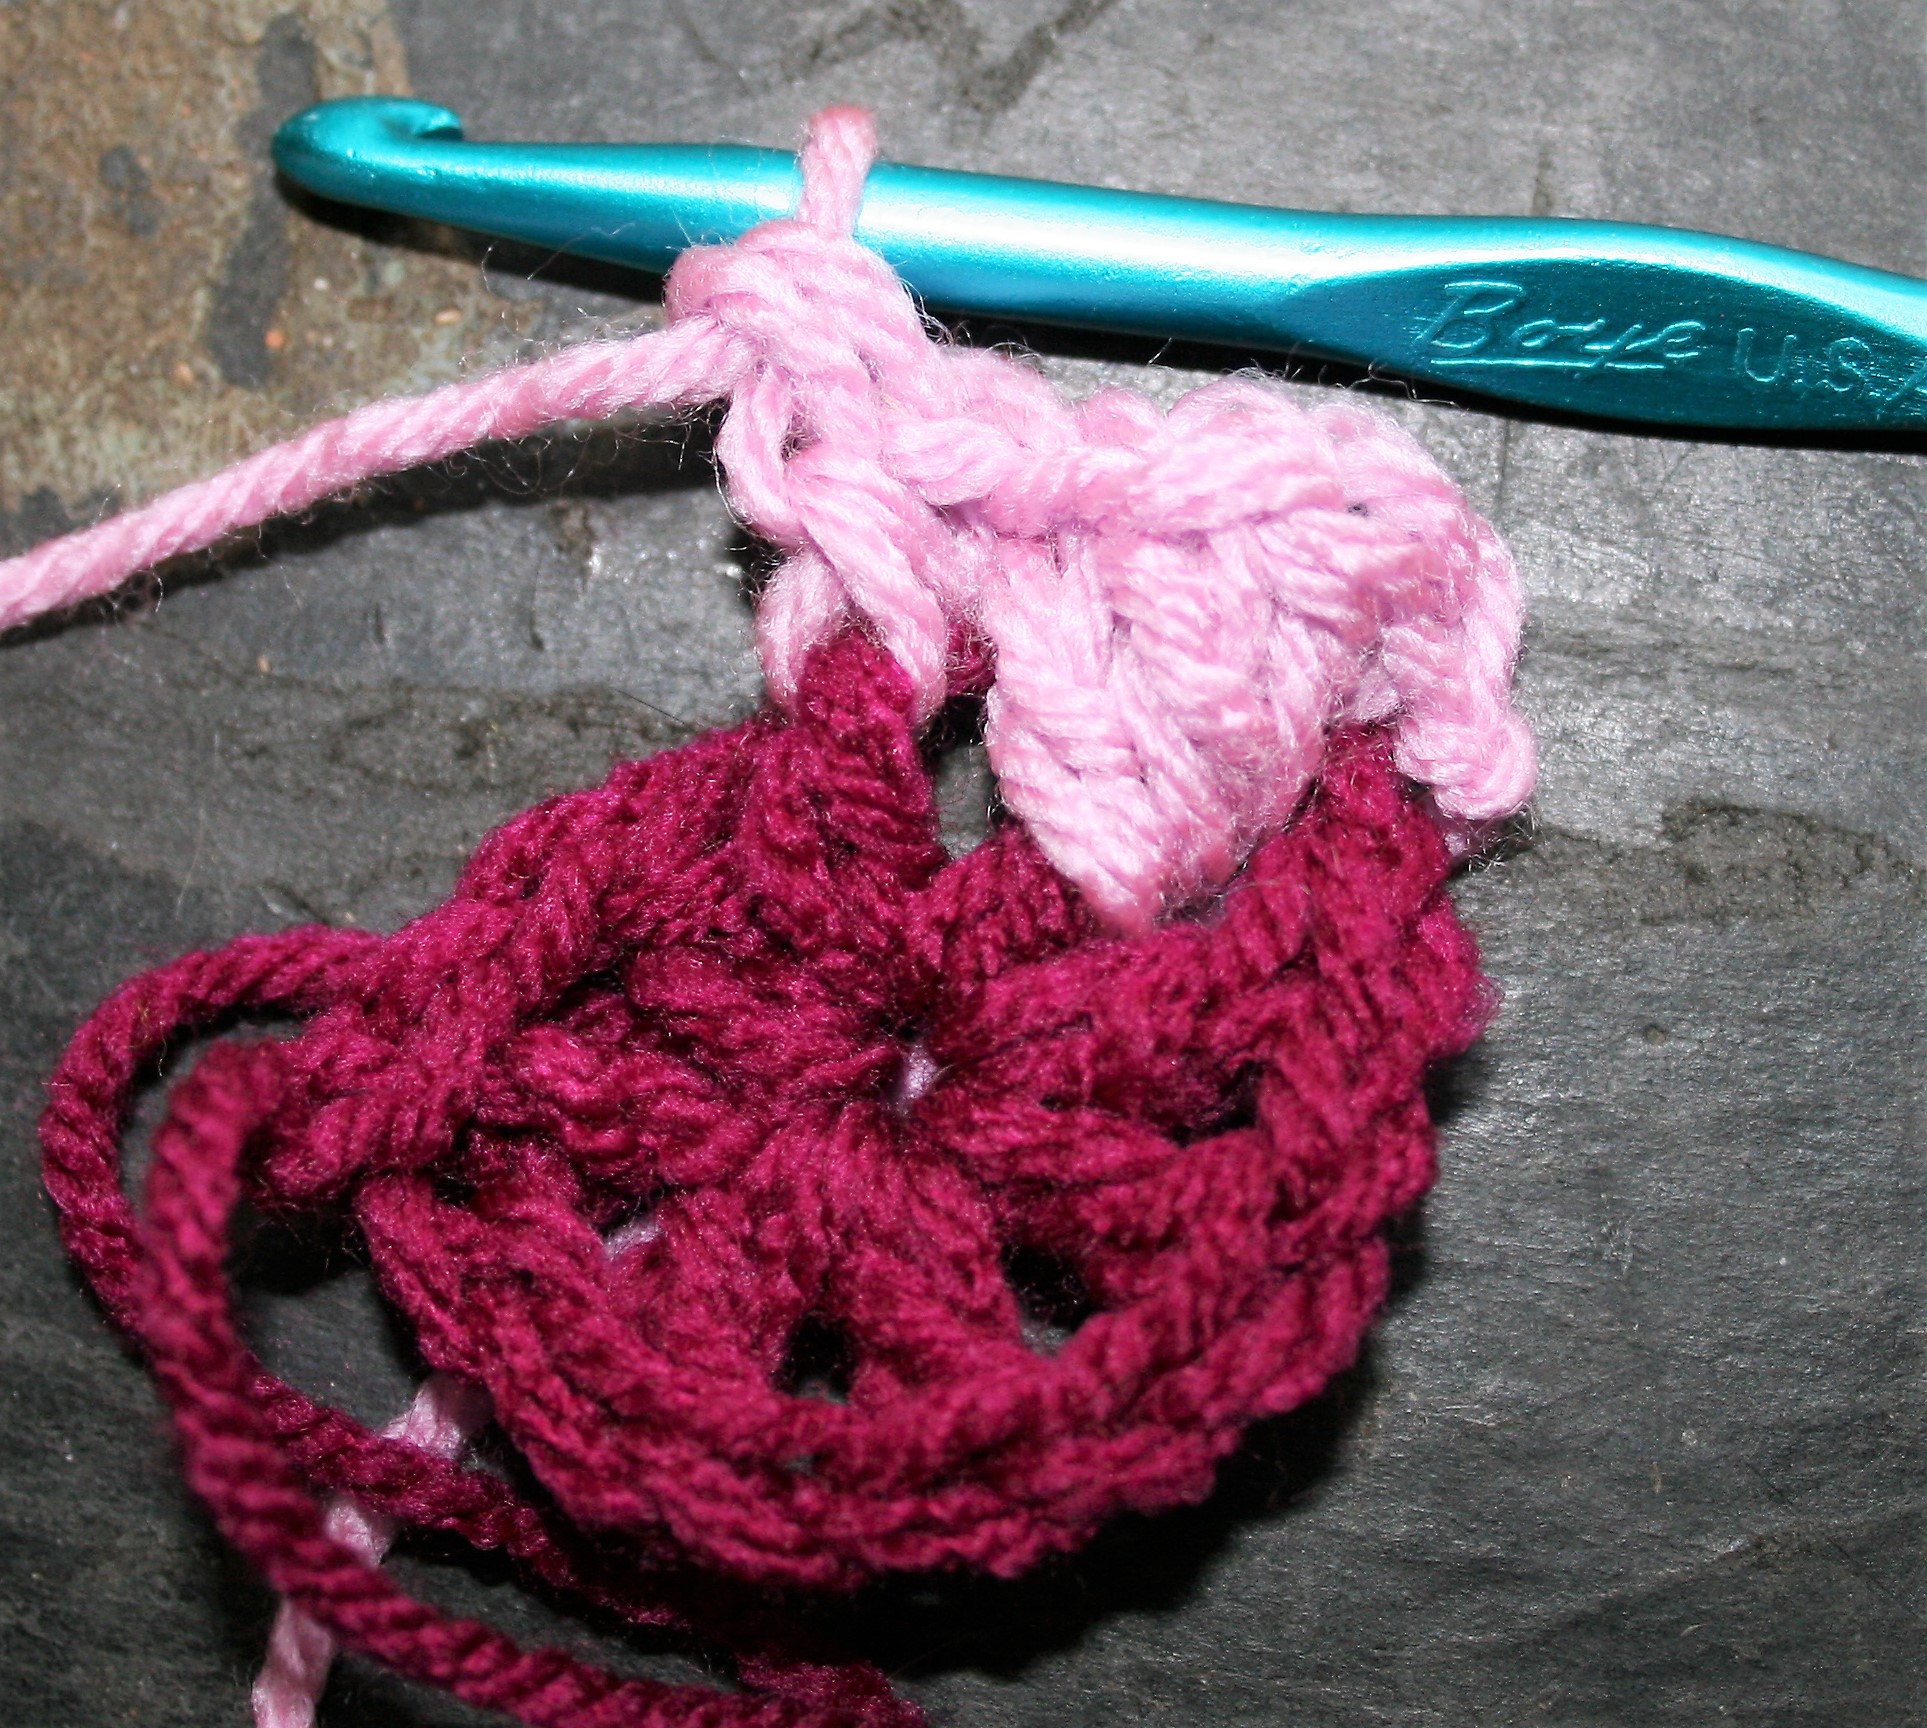
Rnd 3: With C, join to any sc with a shdc, ch 2, hdc in same st, ch 1, [(hdc, ch 2, hdc) in next sc, ch 1] around, sl st to join. – 8 (hdc, ch 2, hdc), 8 ch-1 sps
Rnd 4: Ch 1, sc in same sp, 5 dc in next ch-2 sp, sc in next hdc, ch 1, [sc in next hdc, 5 dc in next ch-2 sp, sc in next hdc, ch 1] rep around, sl st to join, fasten off. – 8 (5 dc shells), 8 ch-1 sps
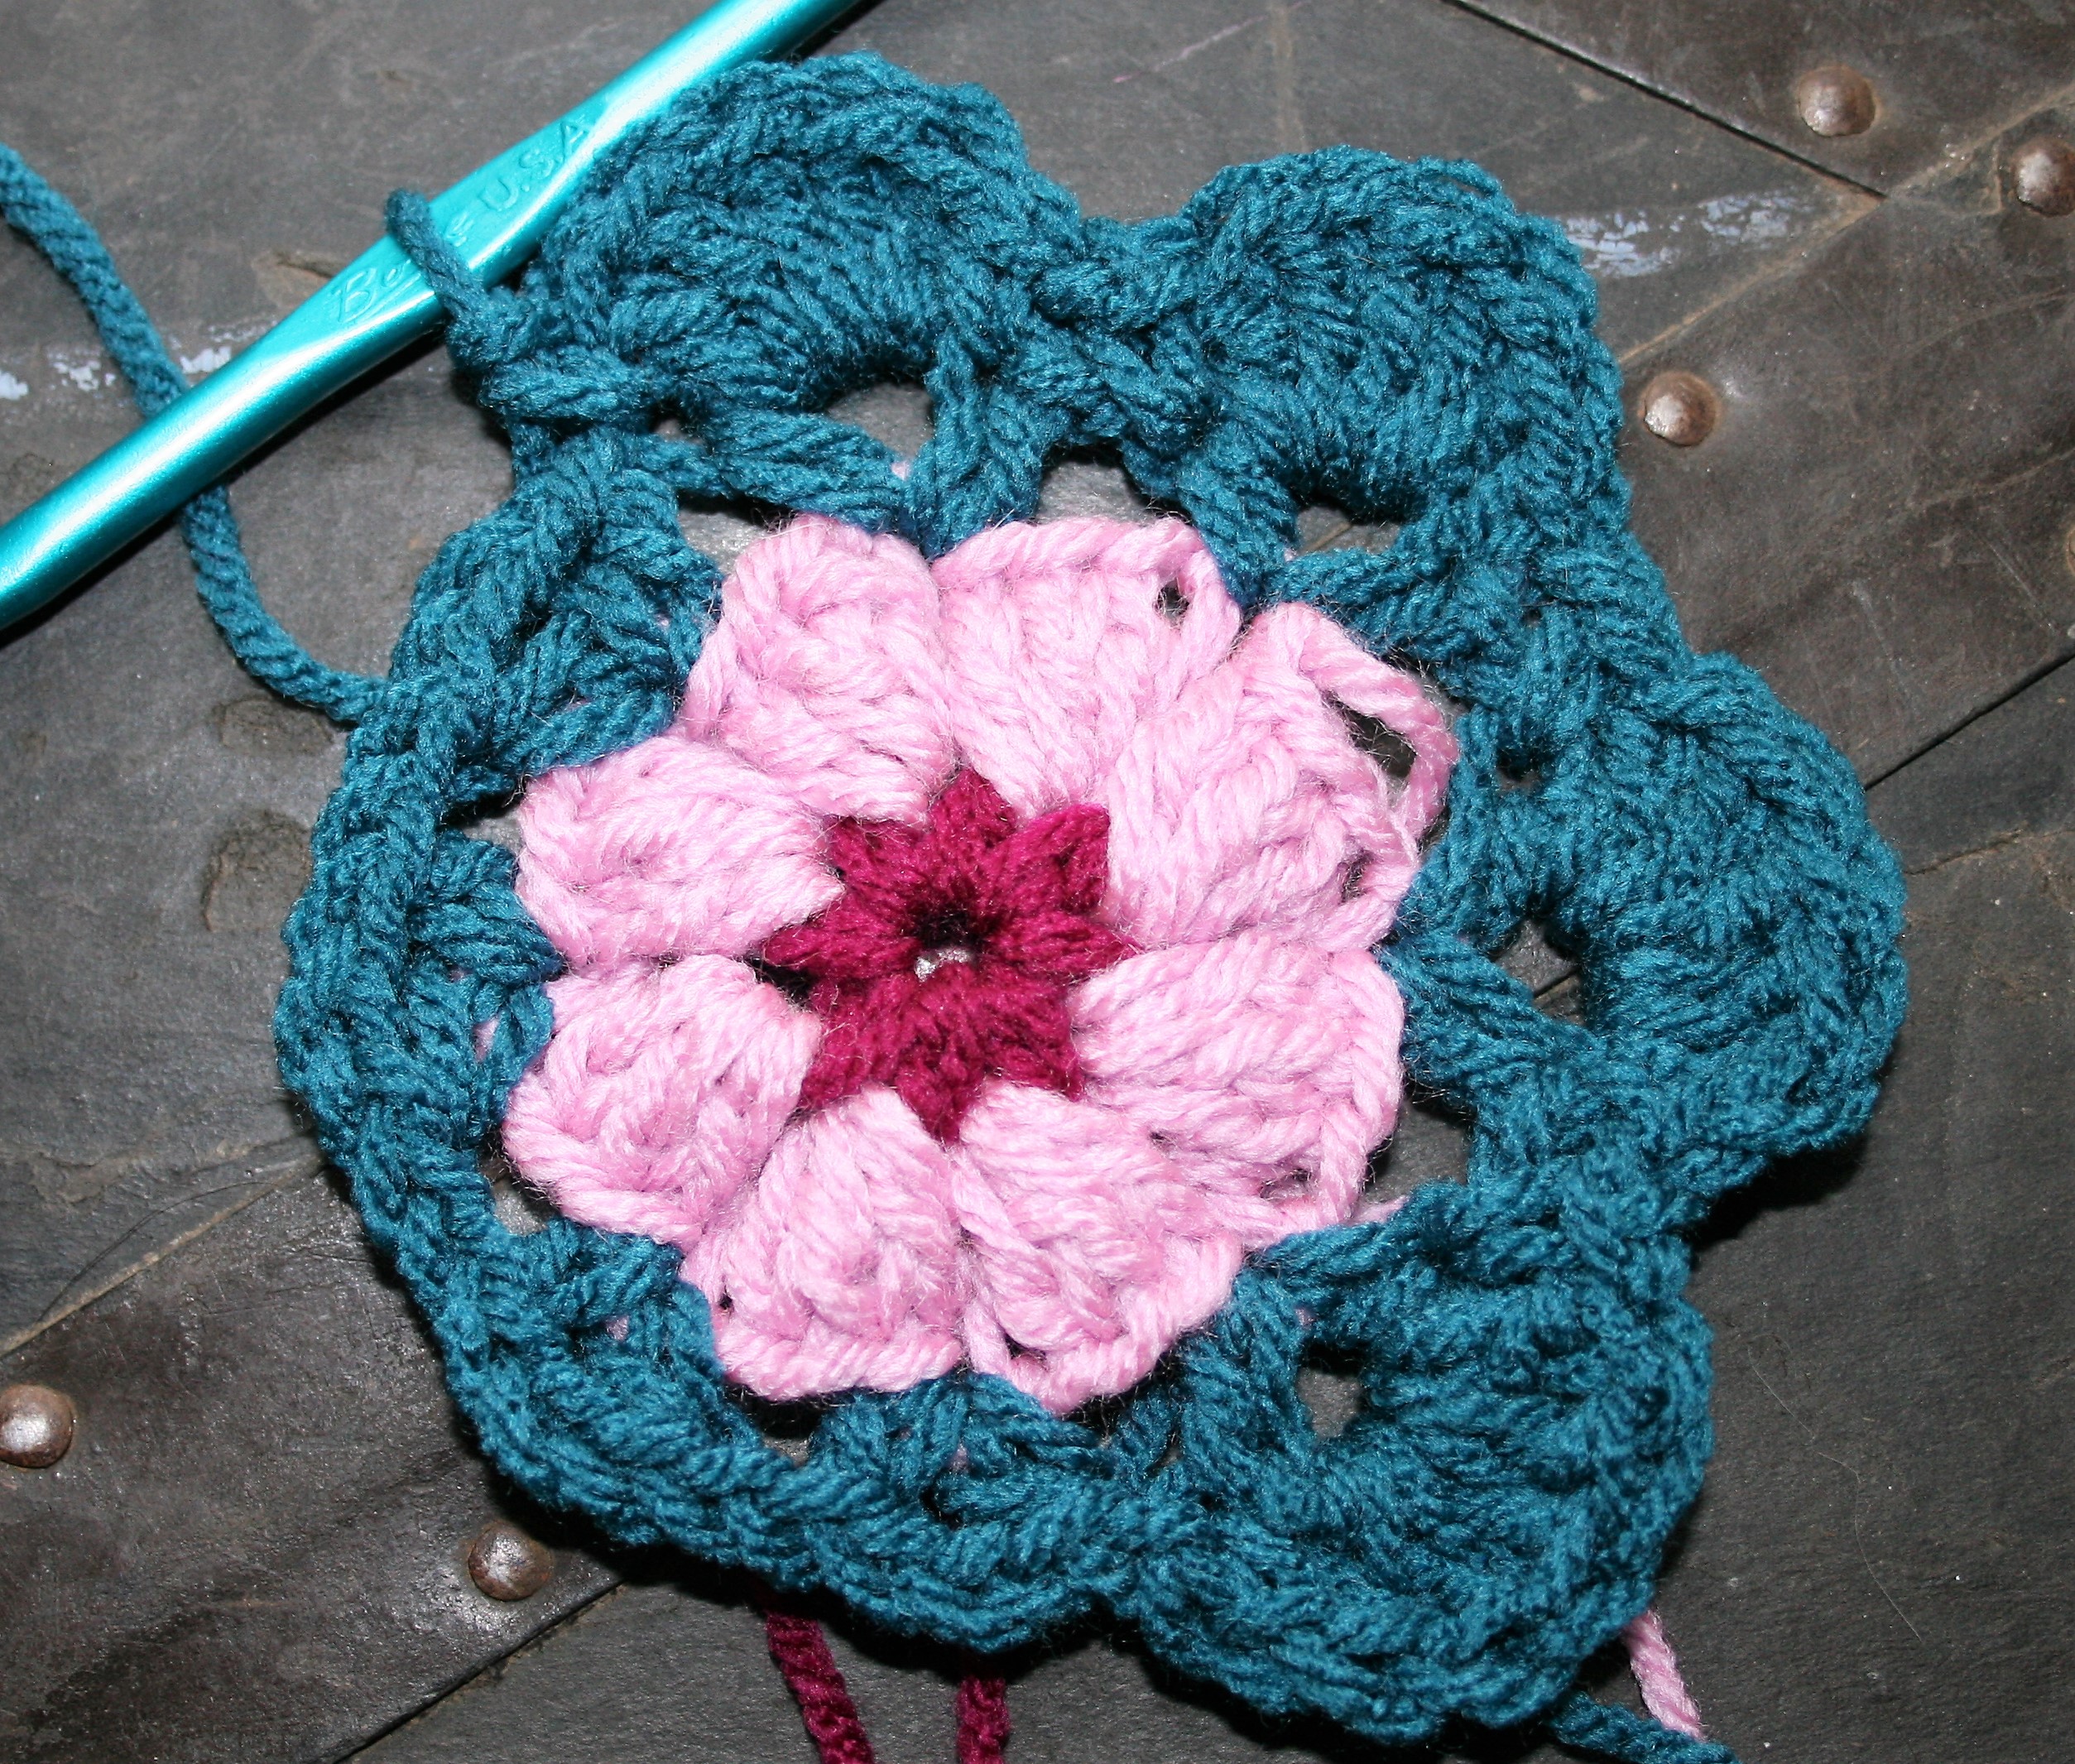
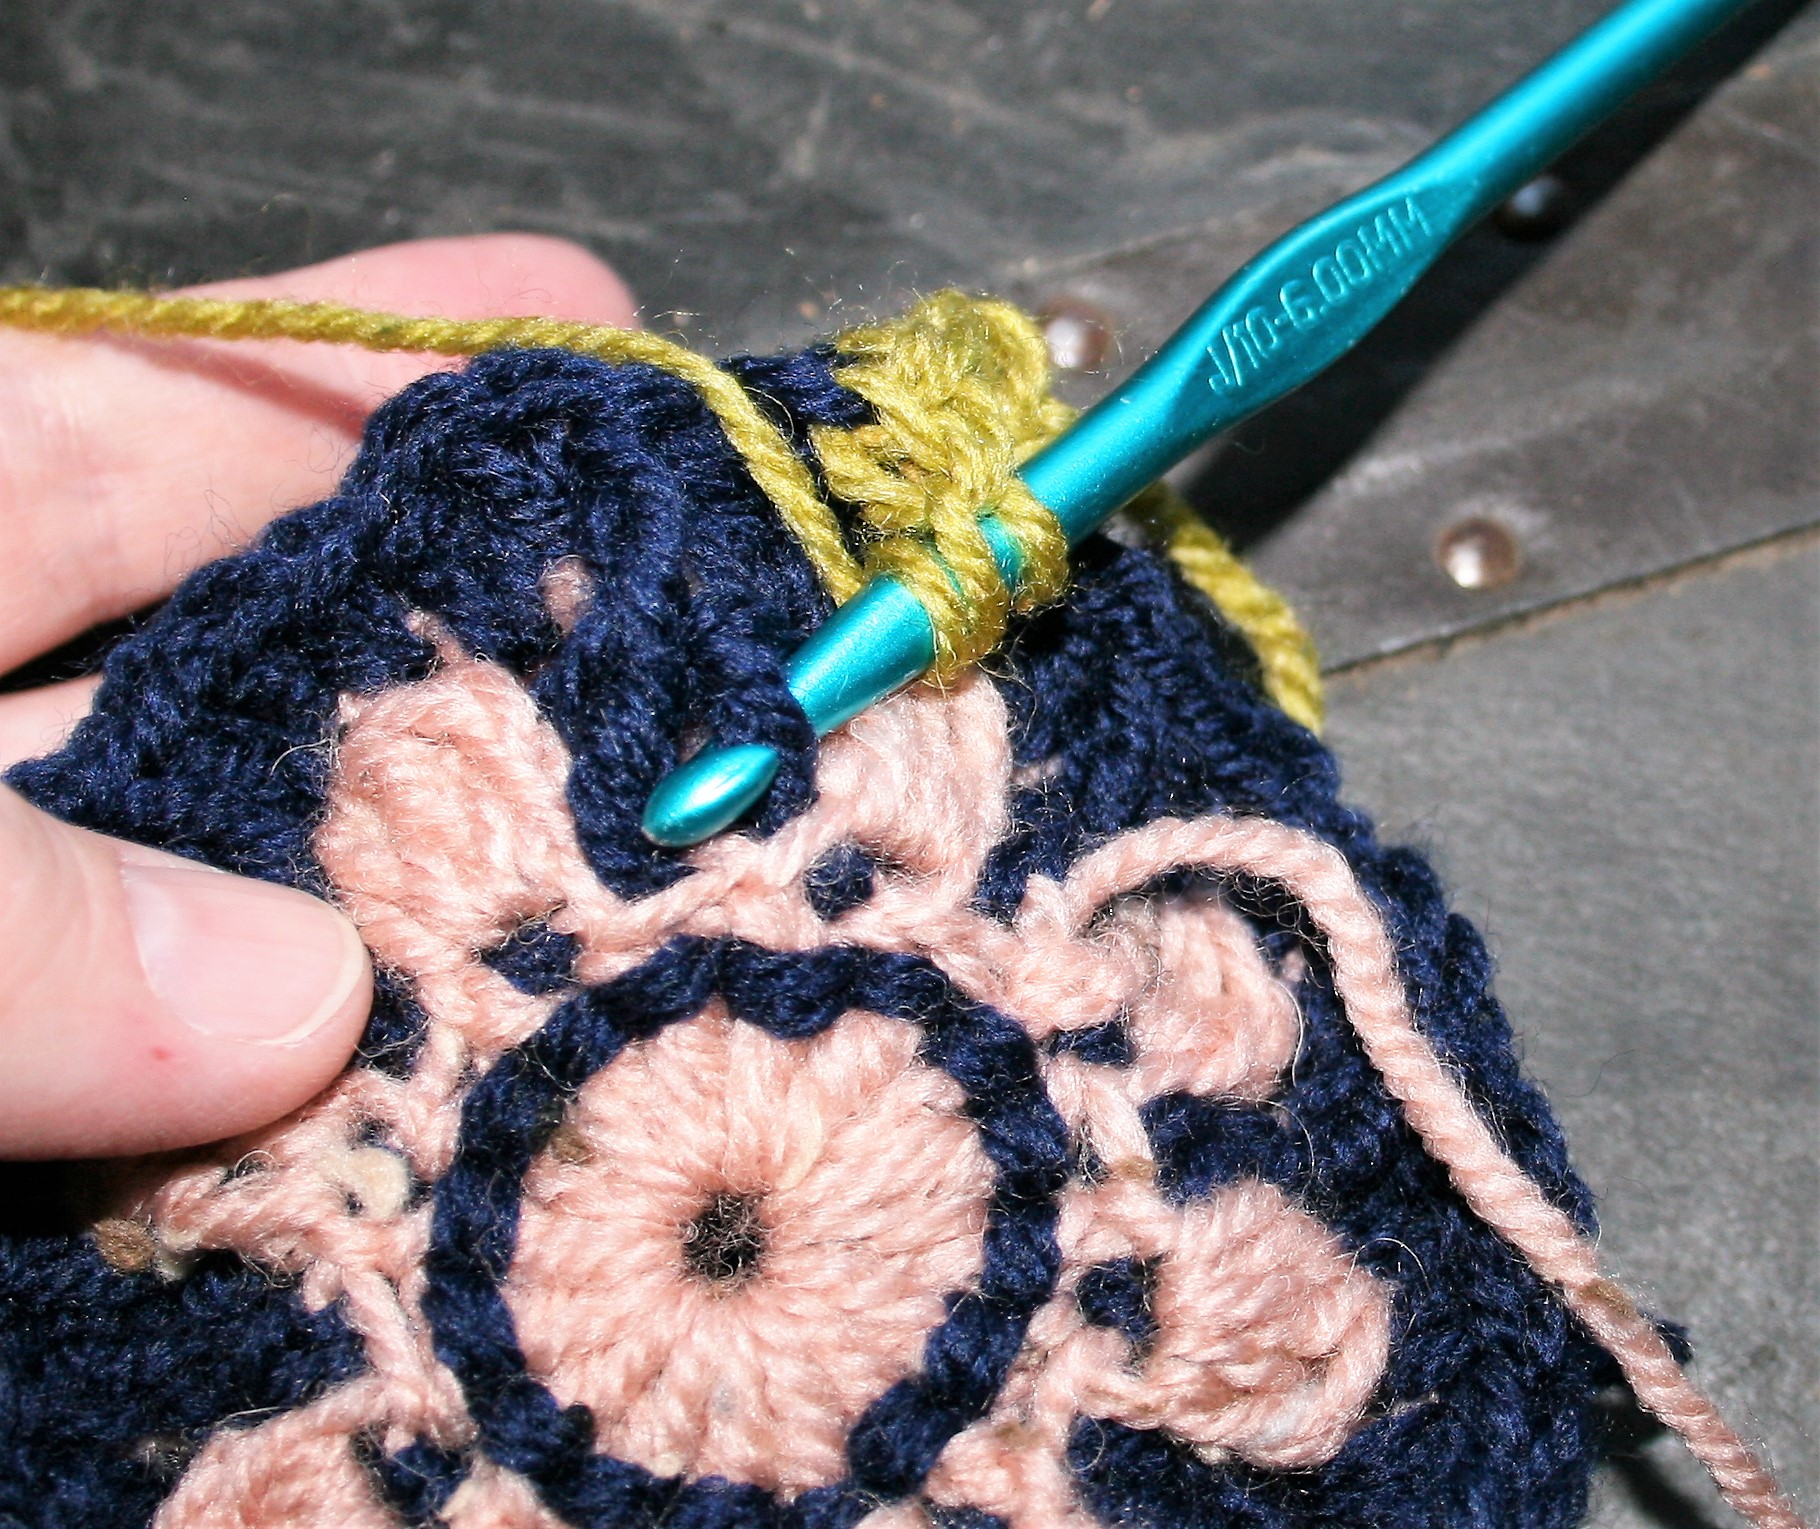
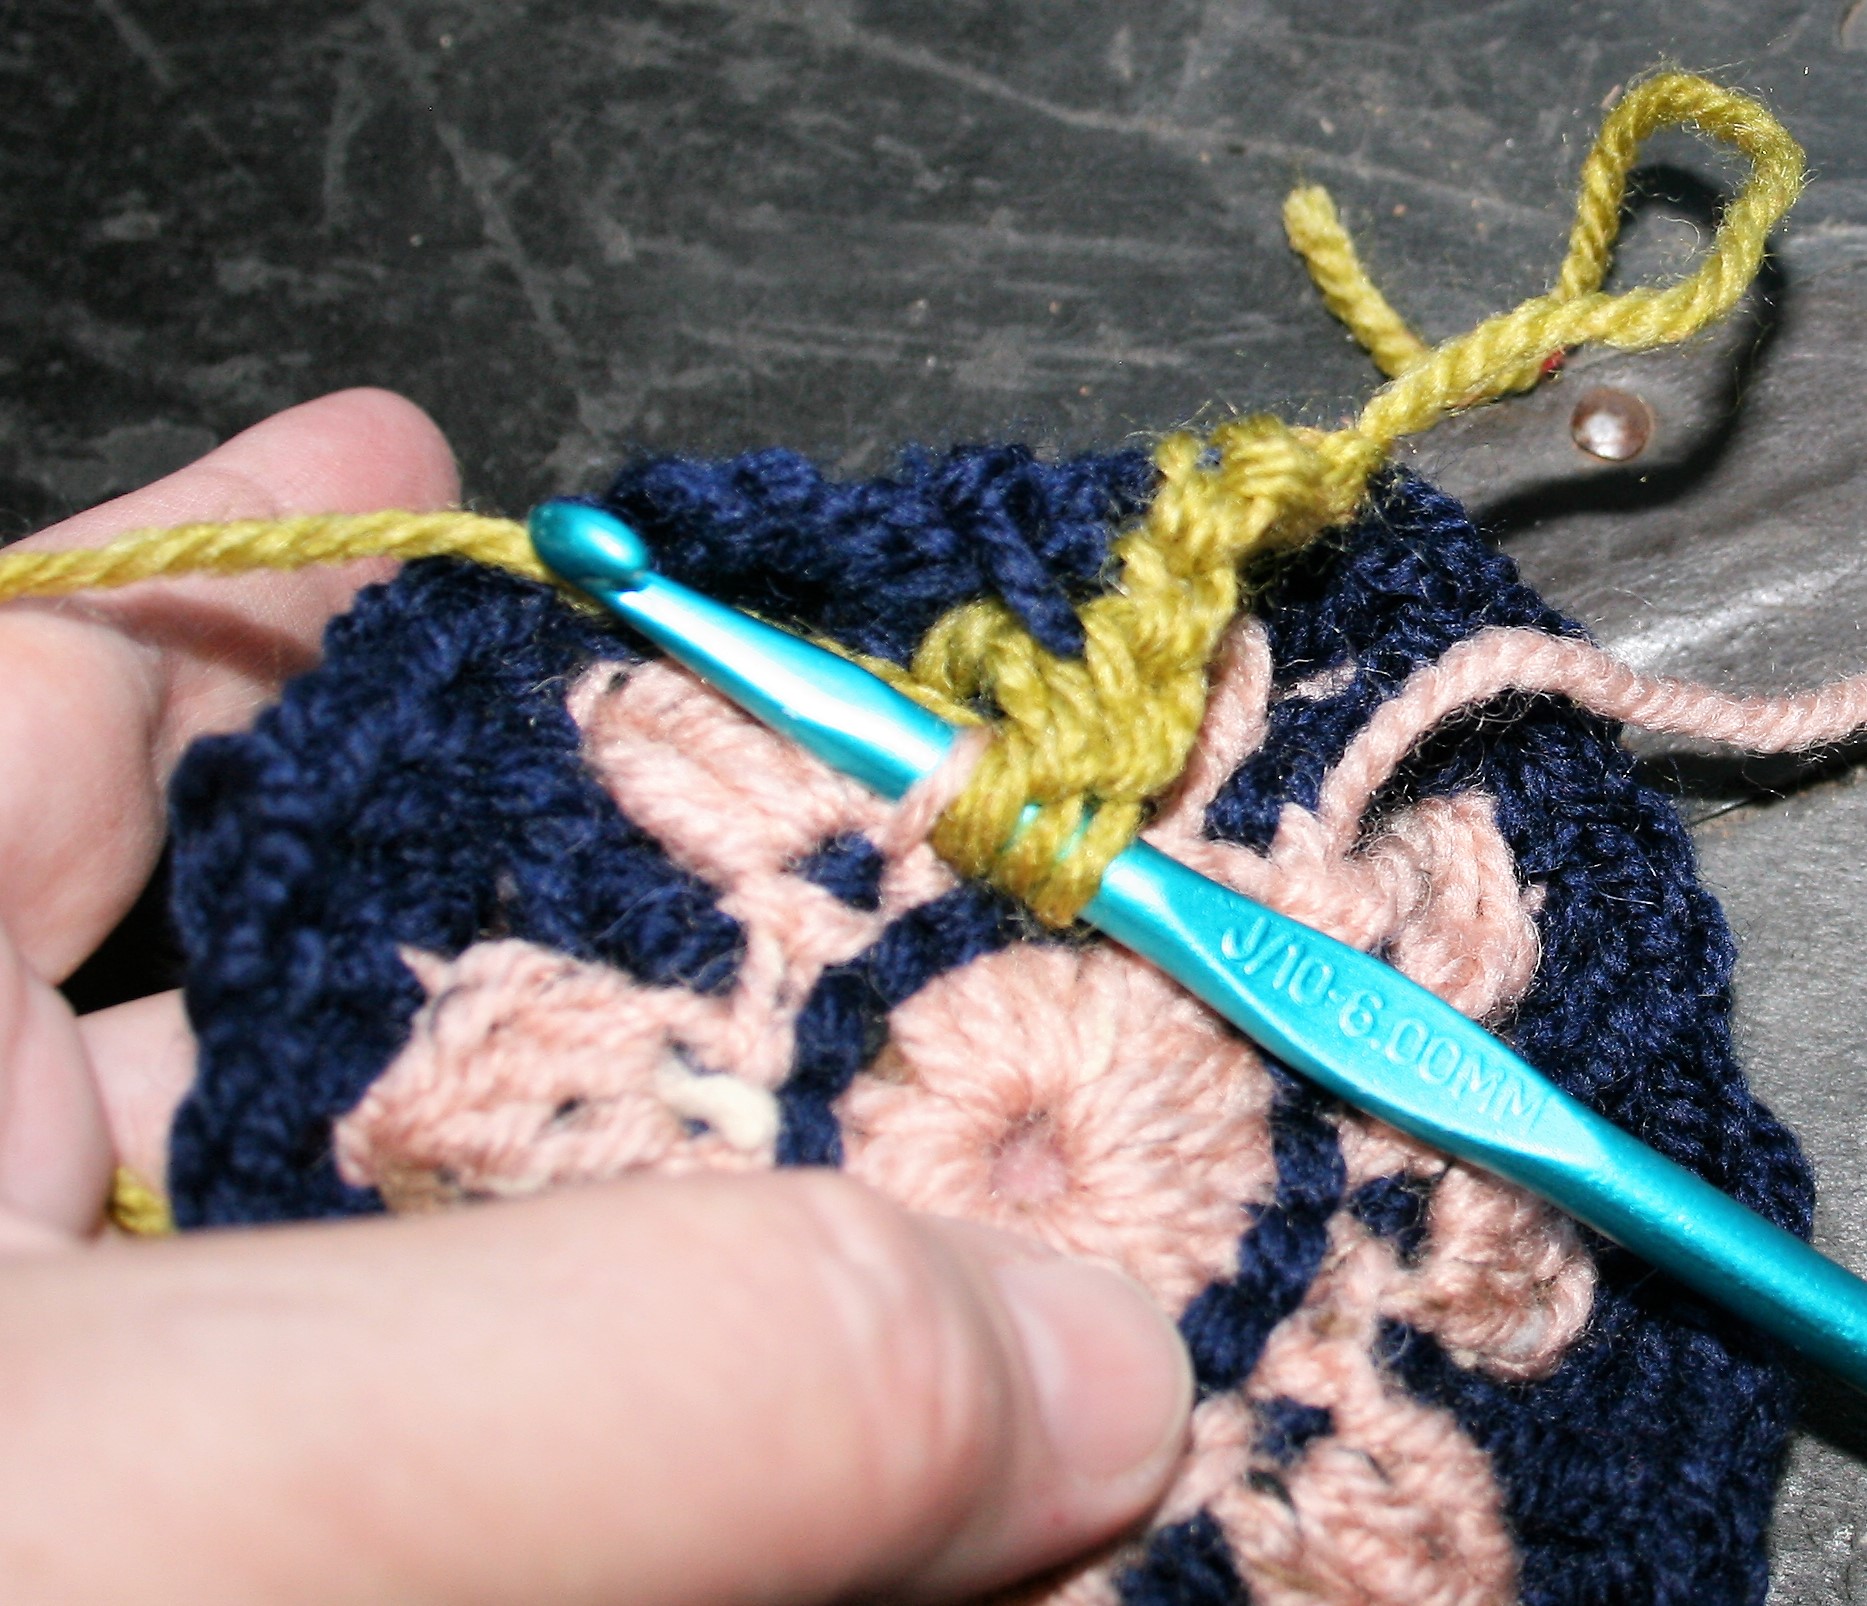
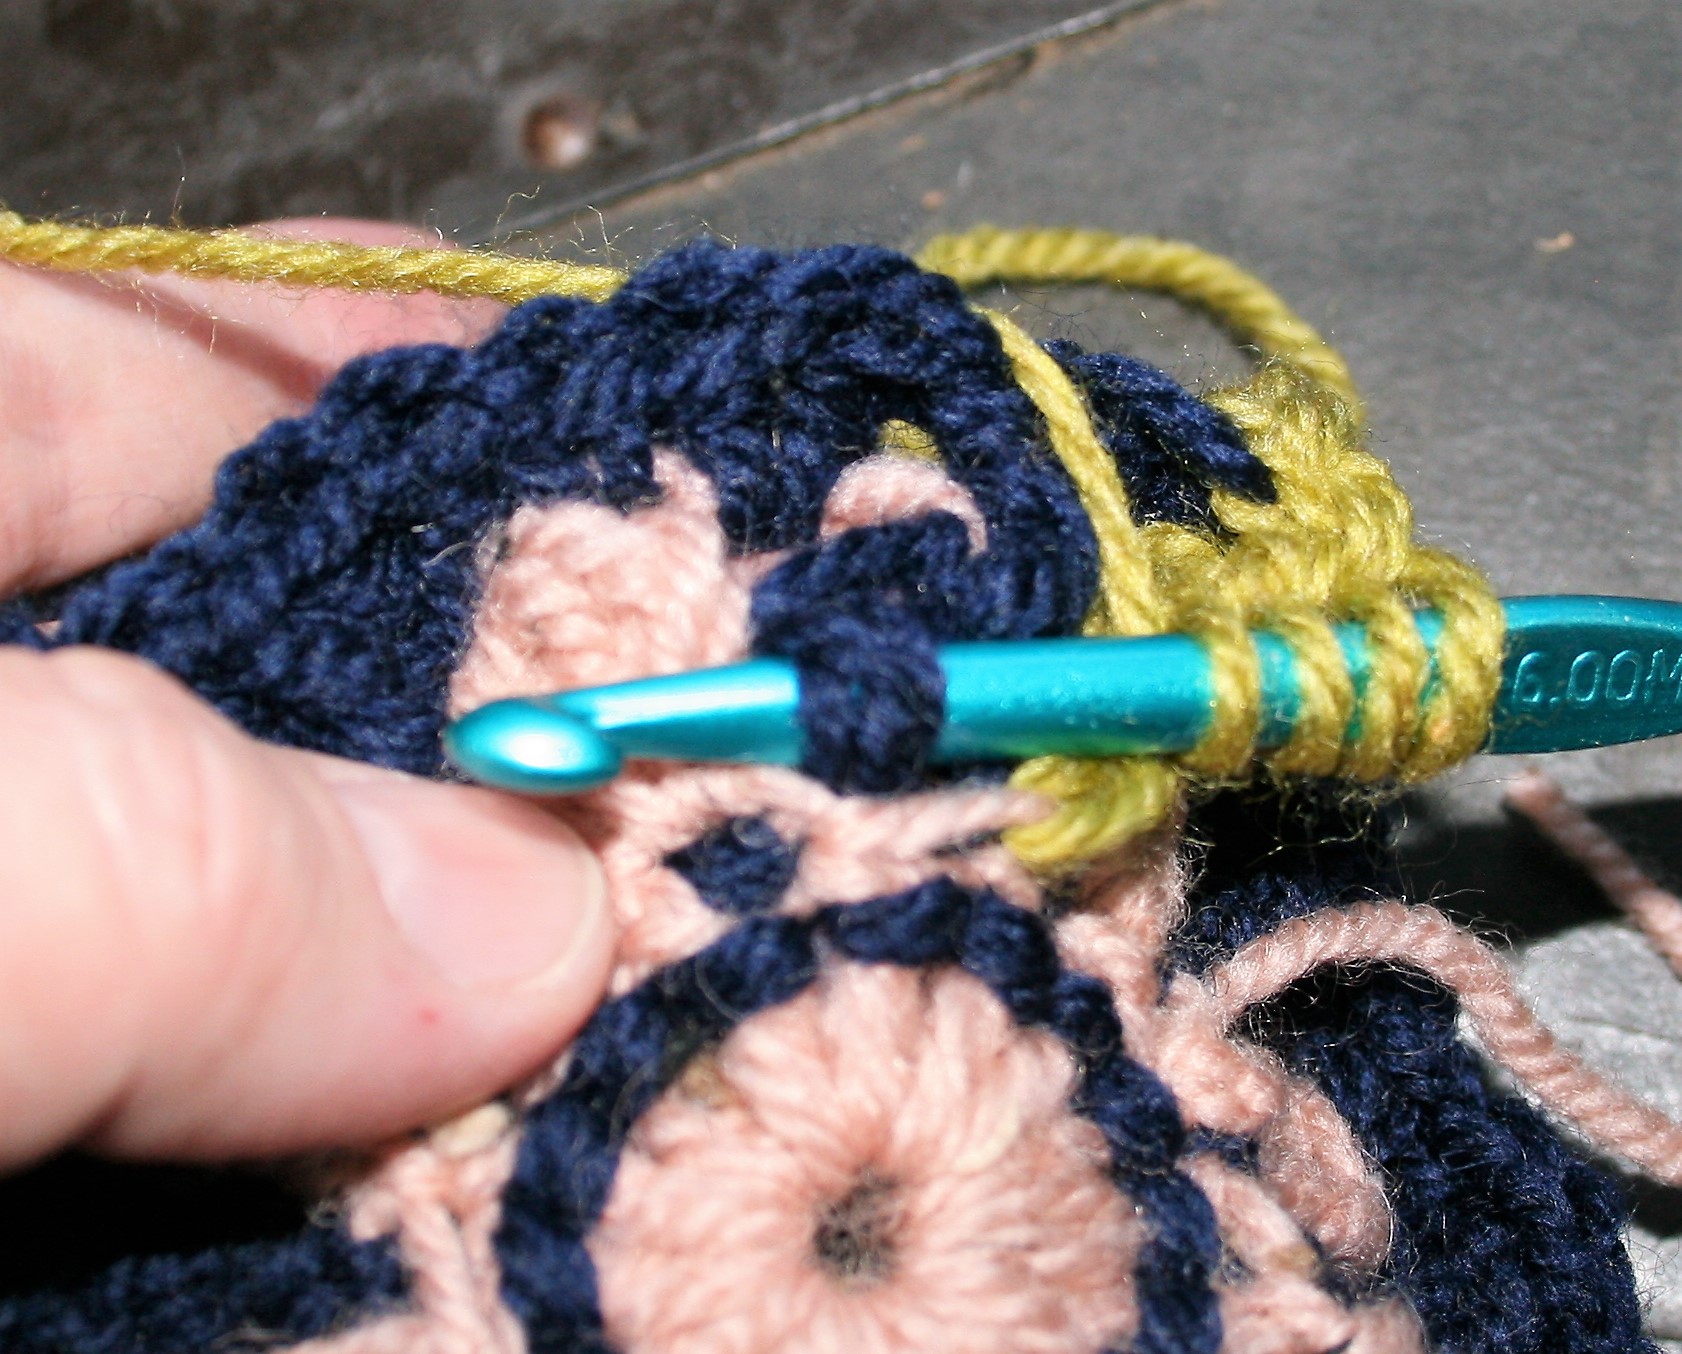
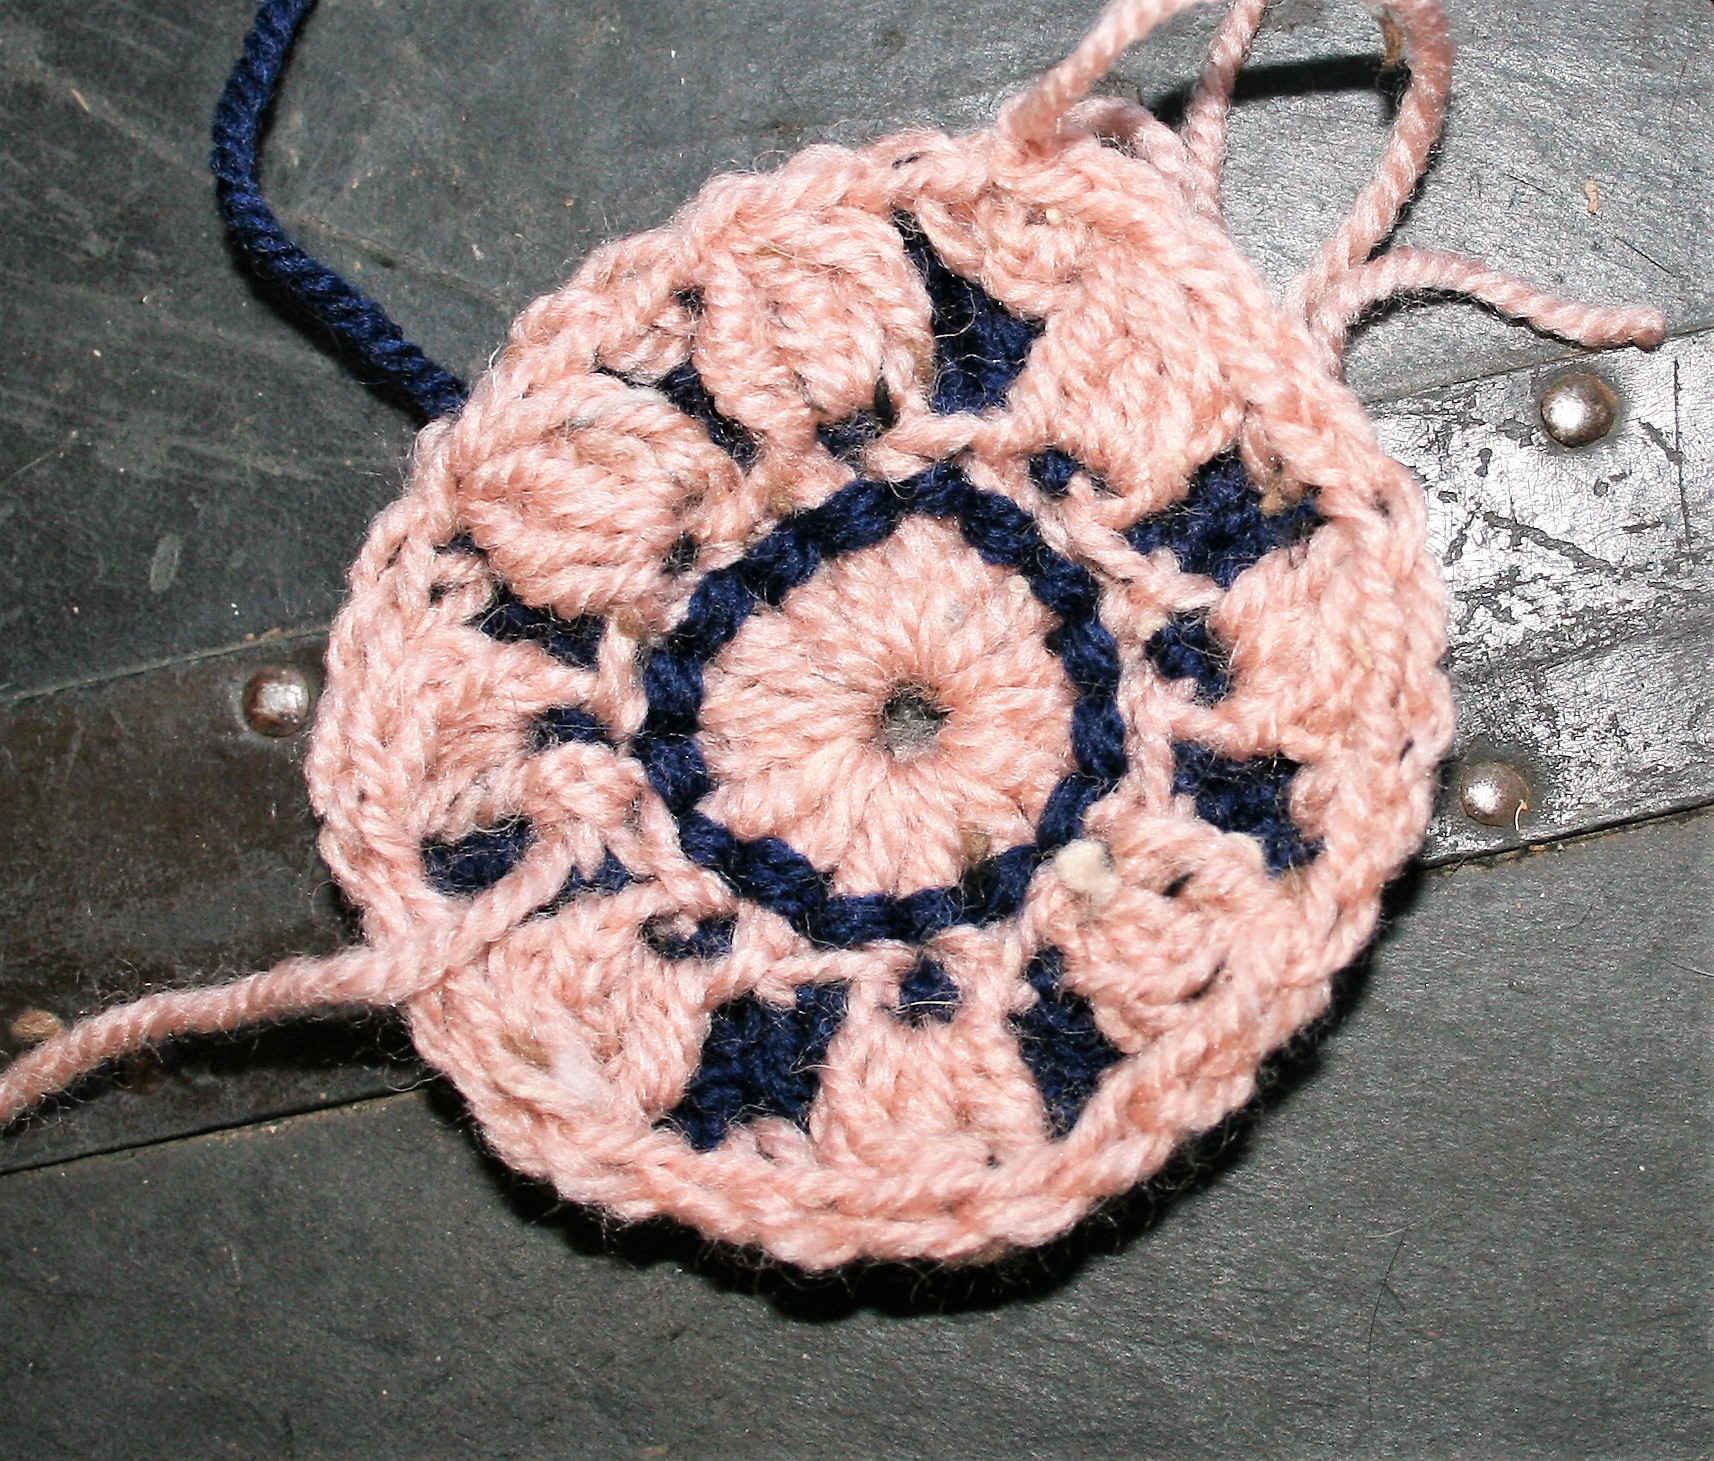
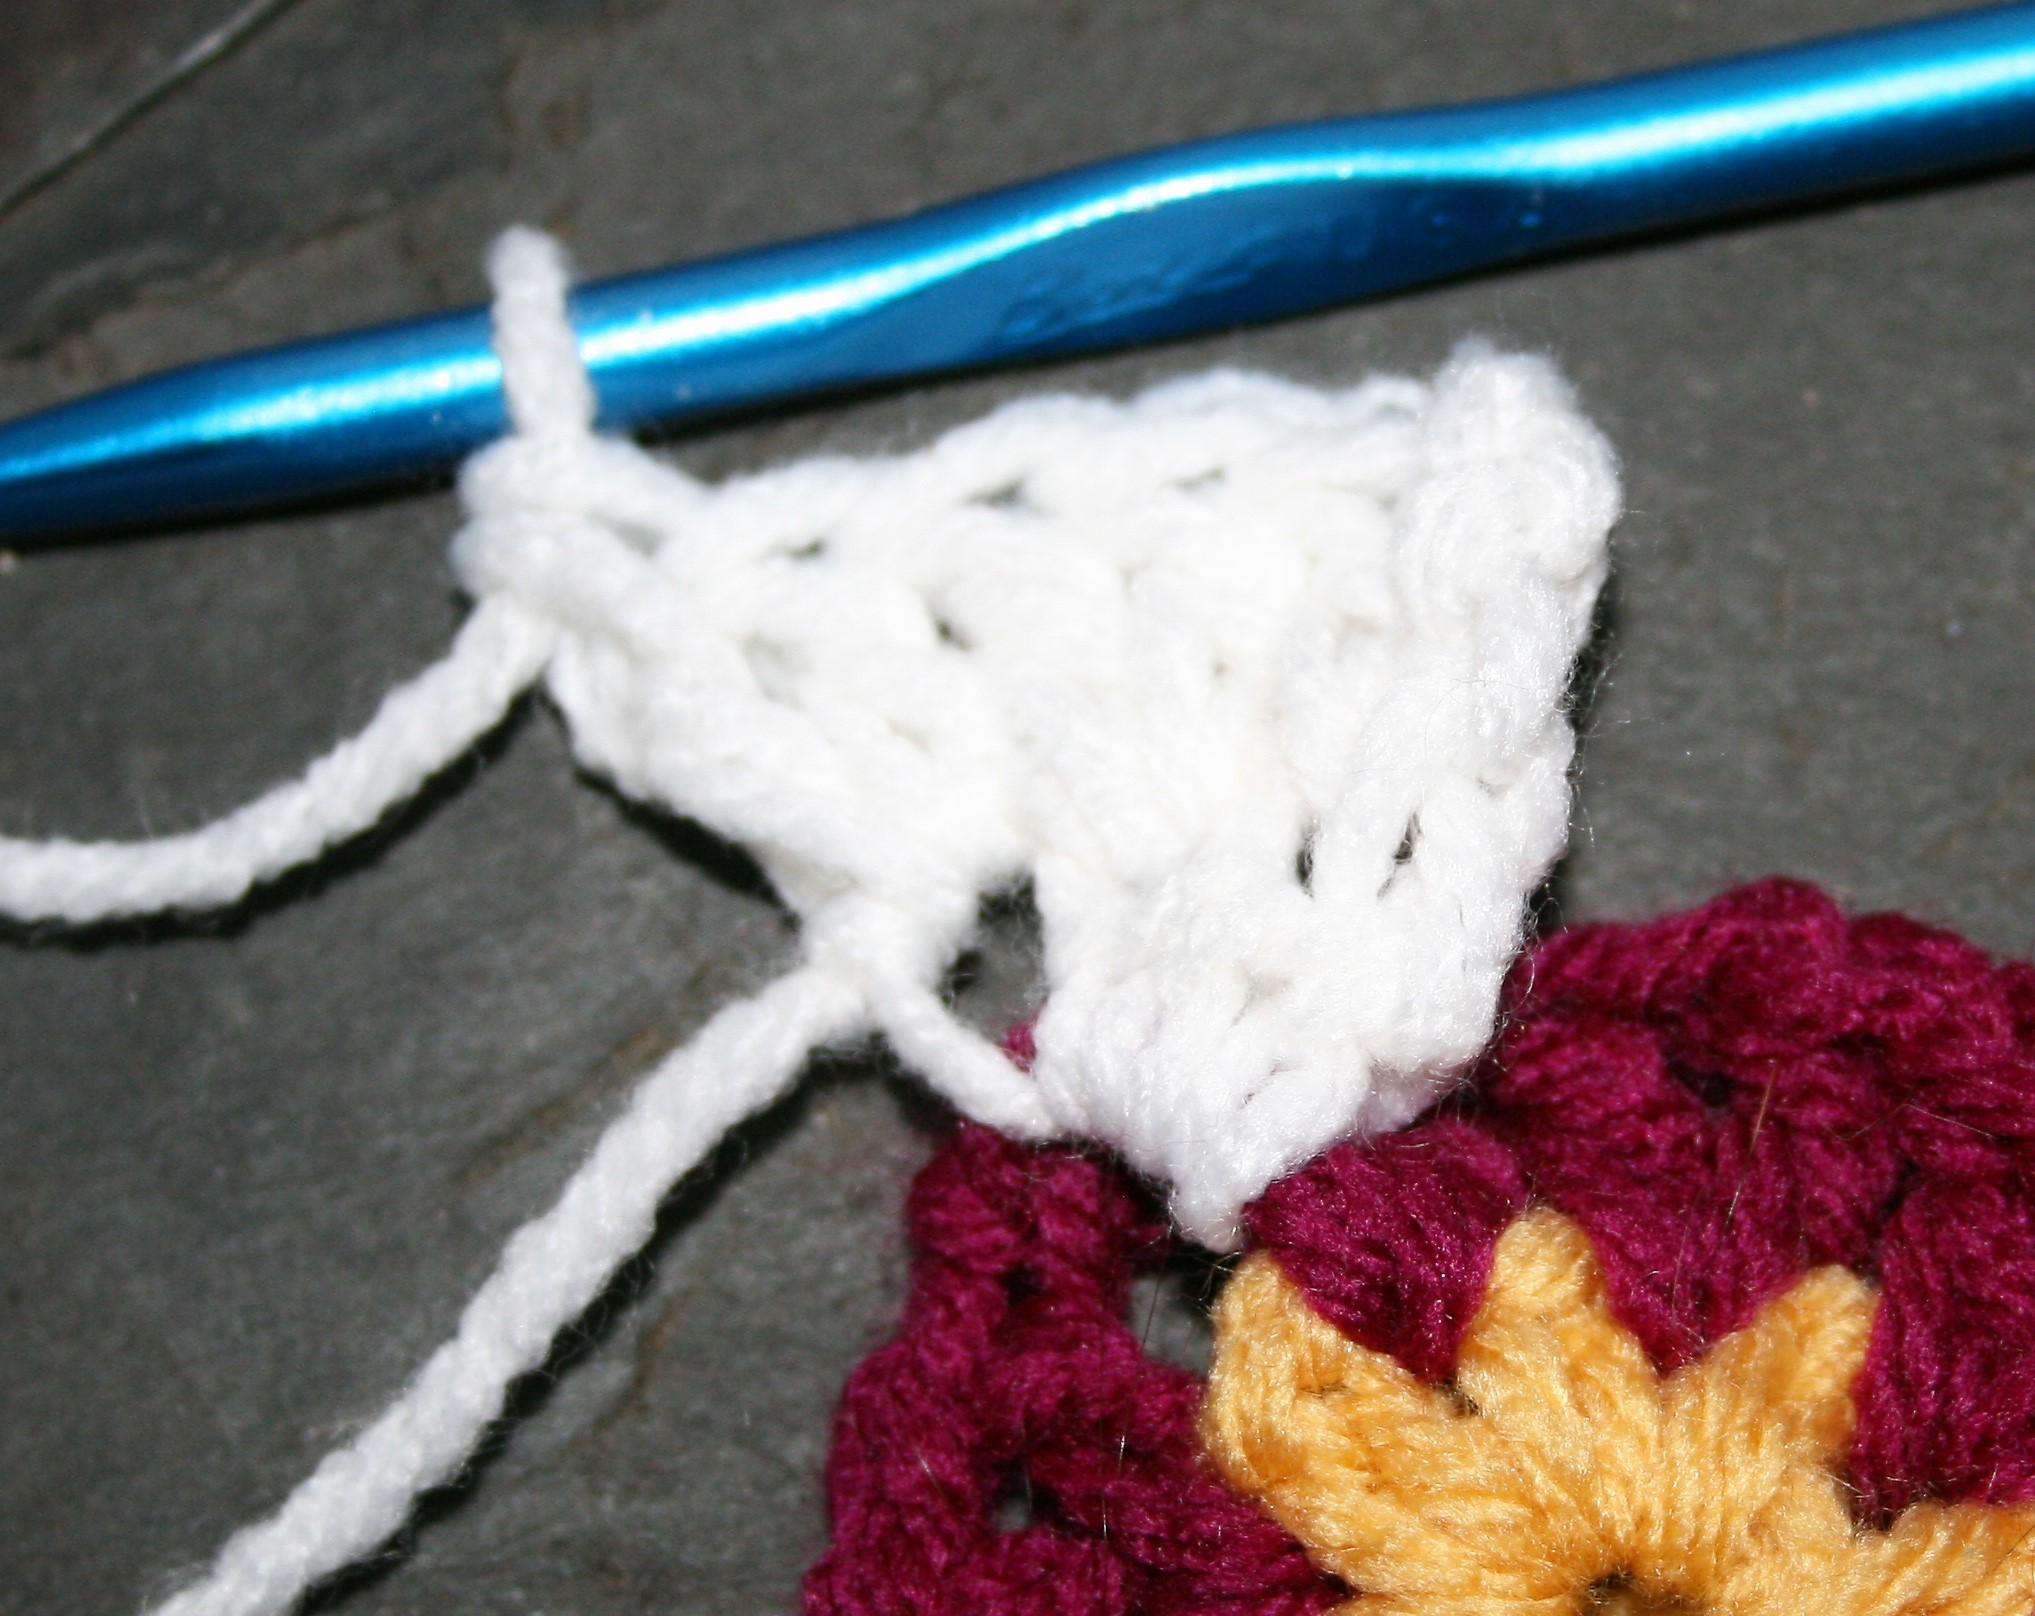
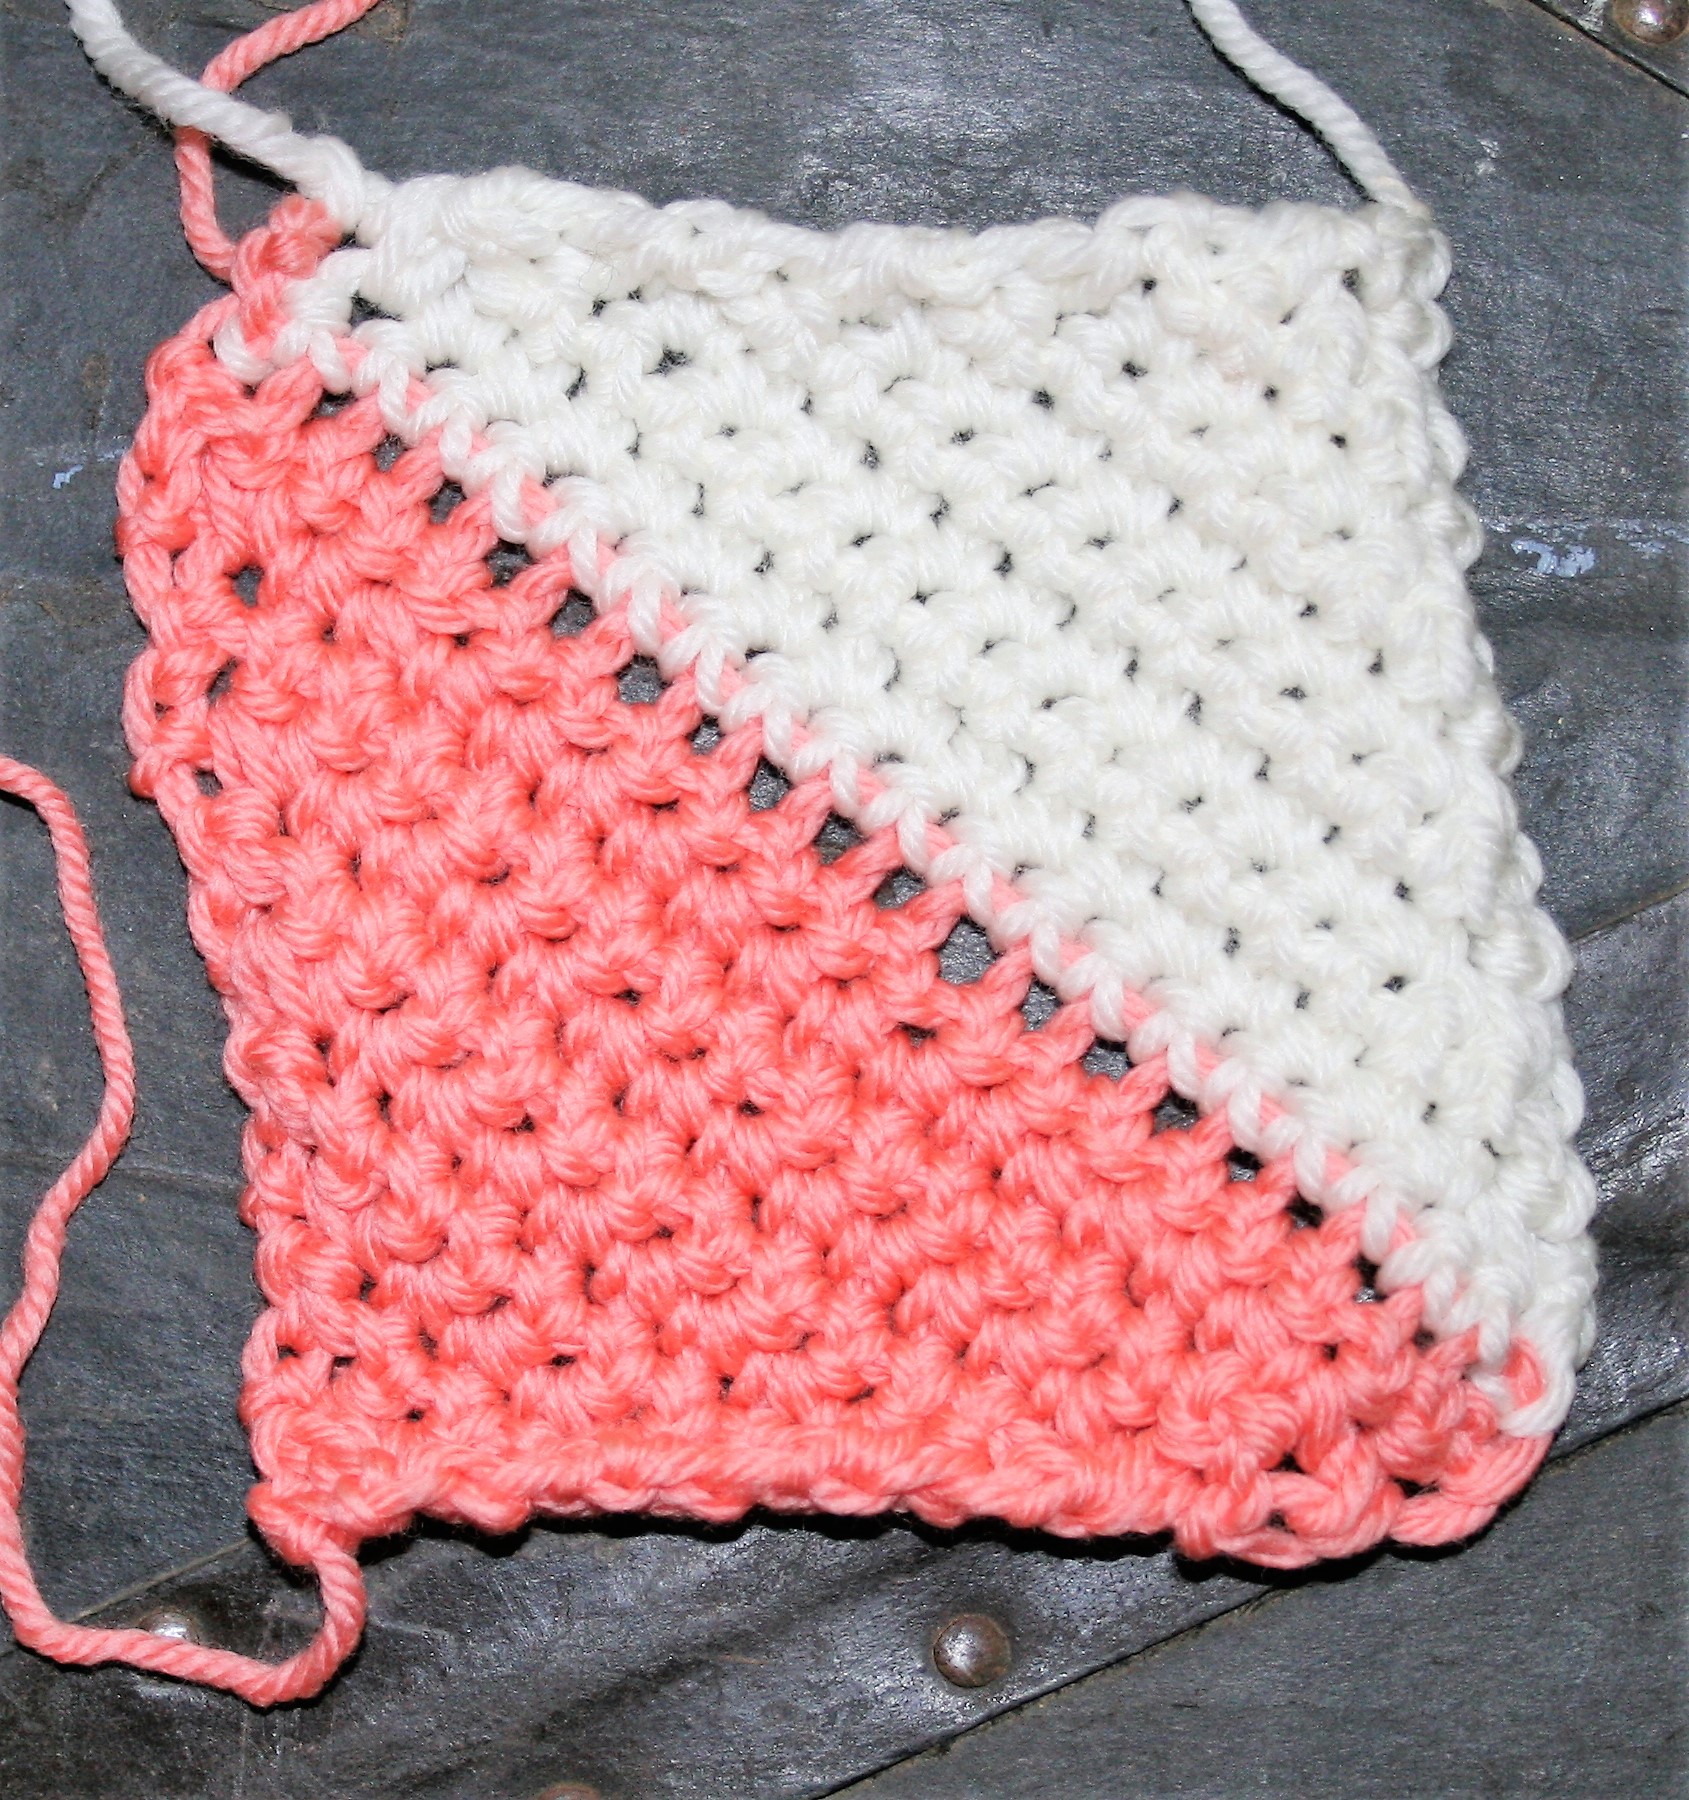
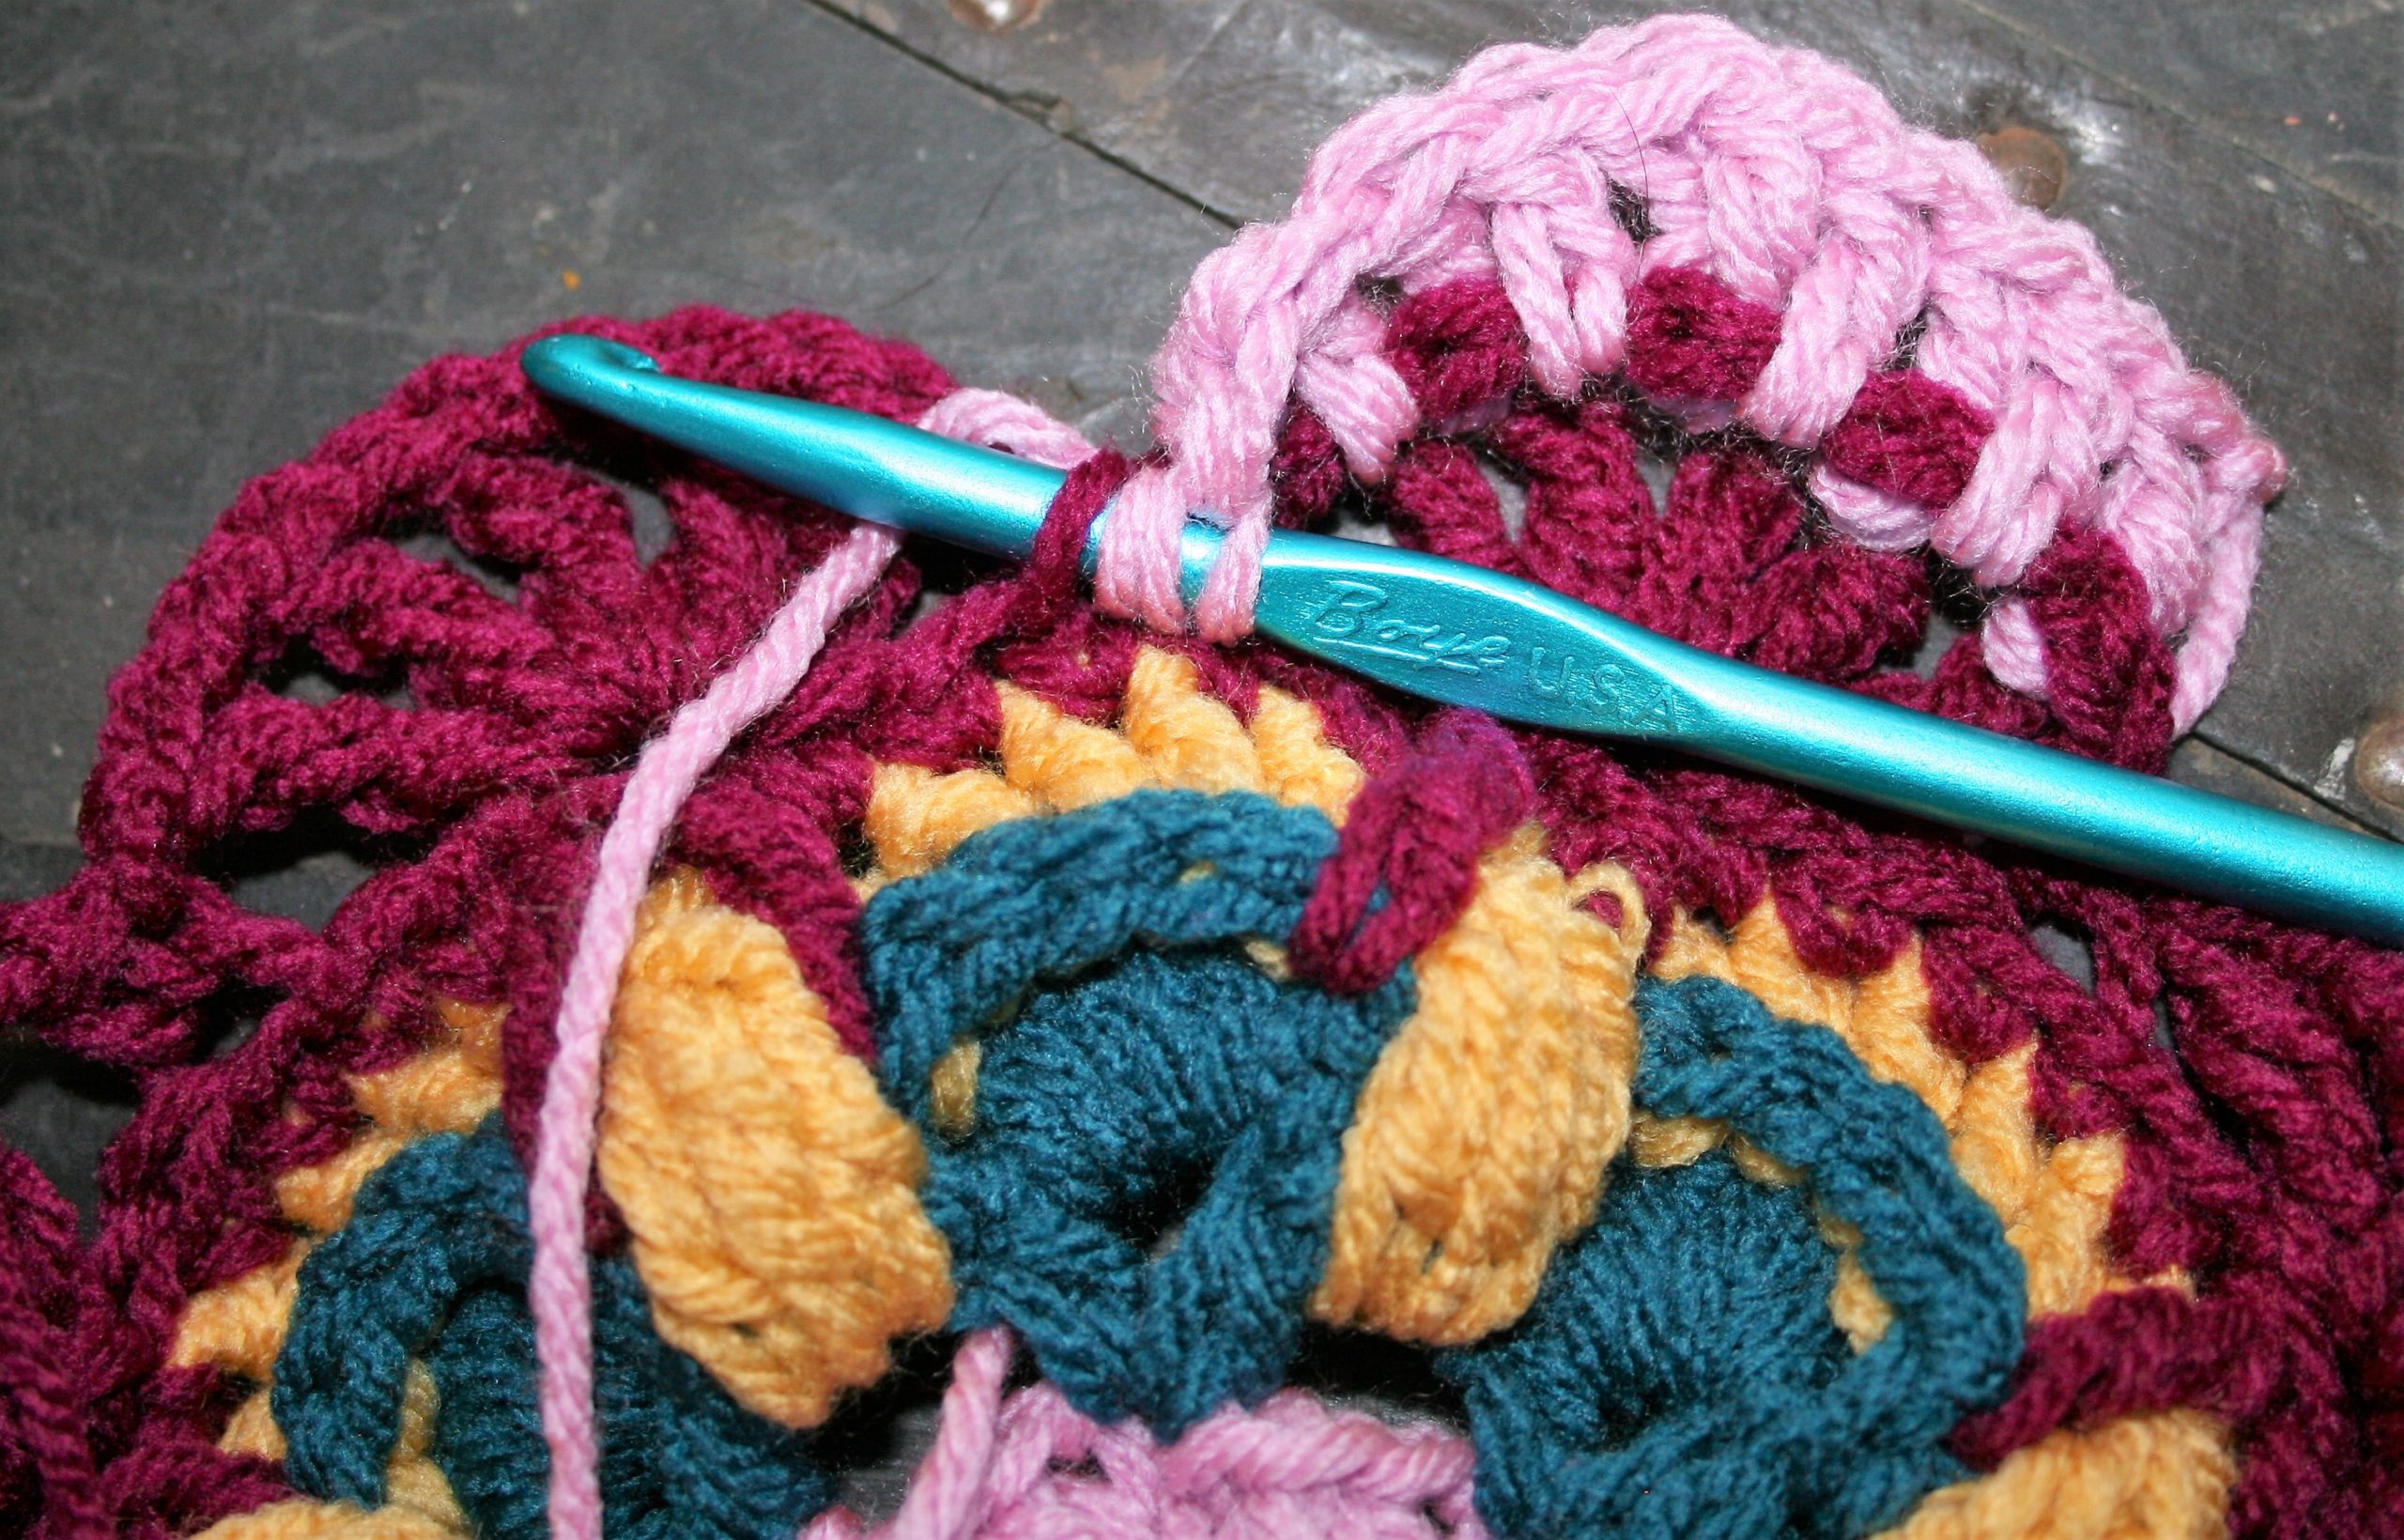
We work our first Clusters in this Moogly CAL
Rnd 5: With D, join with a sbpdc to the first dc of any 5-dc shell, bpdc in the next 4 dc sts, ch 1, tr3CL in the ch-1 sp 3 rows below (in Rnd 3), ch 1, [bpdc in each dc on next shell, ch 1, tr3CL in the ch-1 sp 3 rnds below (in Rnd 3), ch 1,] around, sl st to join, fasten off. – 8 tr3CL, 40 bpdc, 16 ch-1 sps
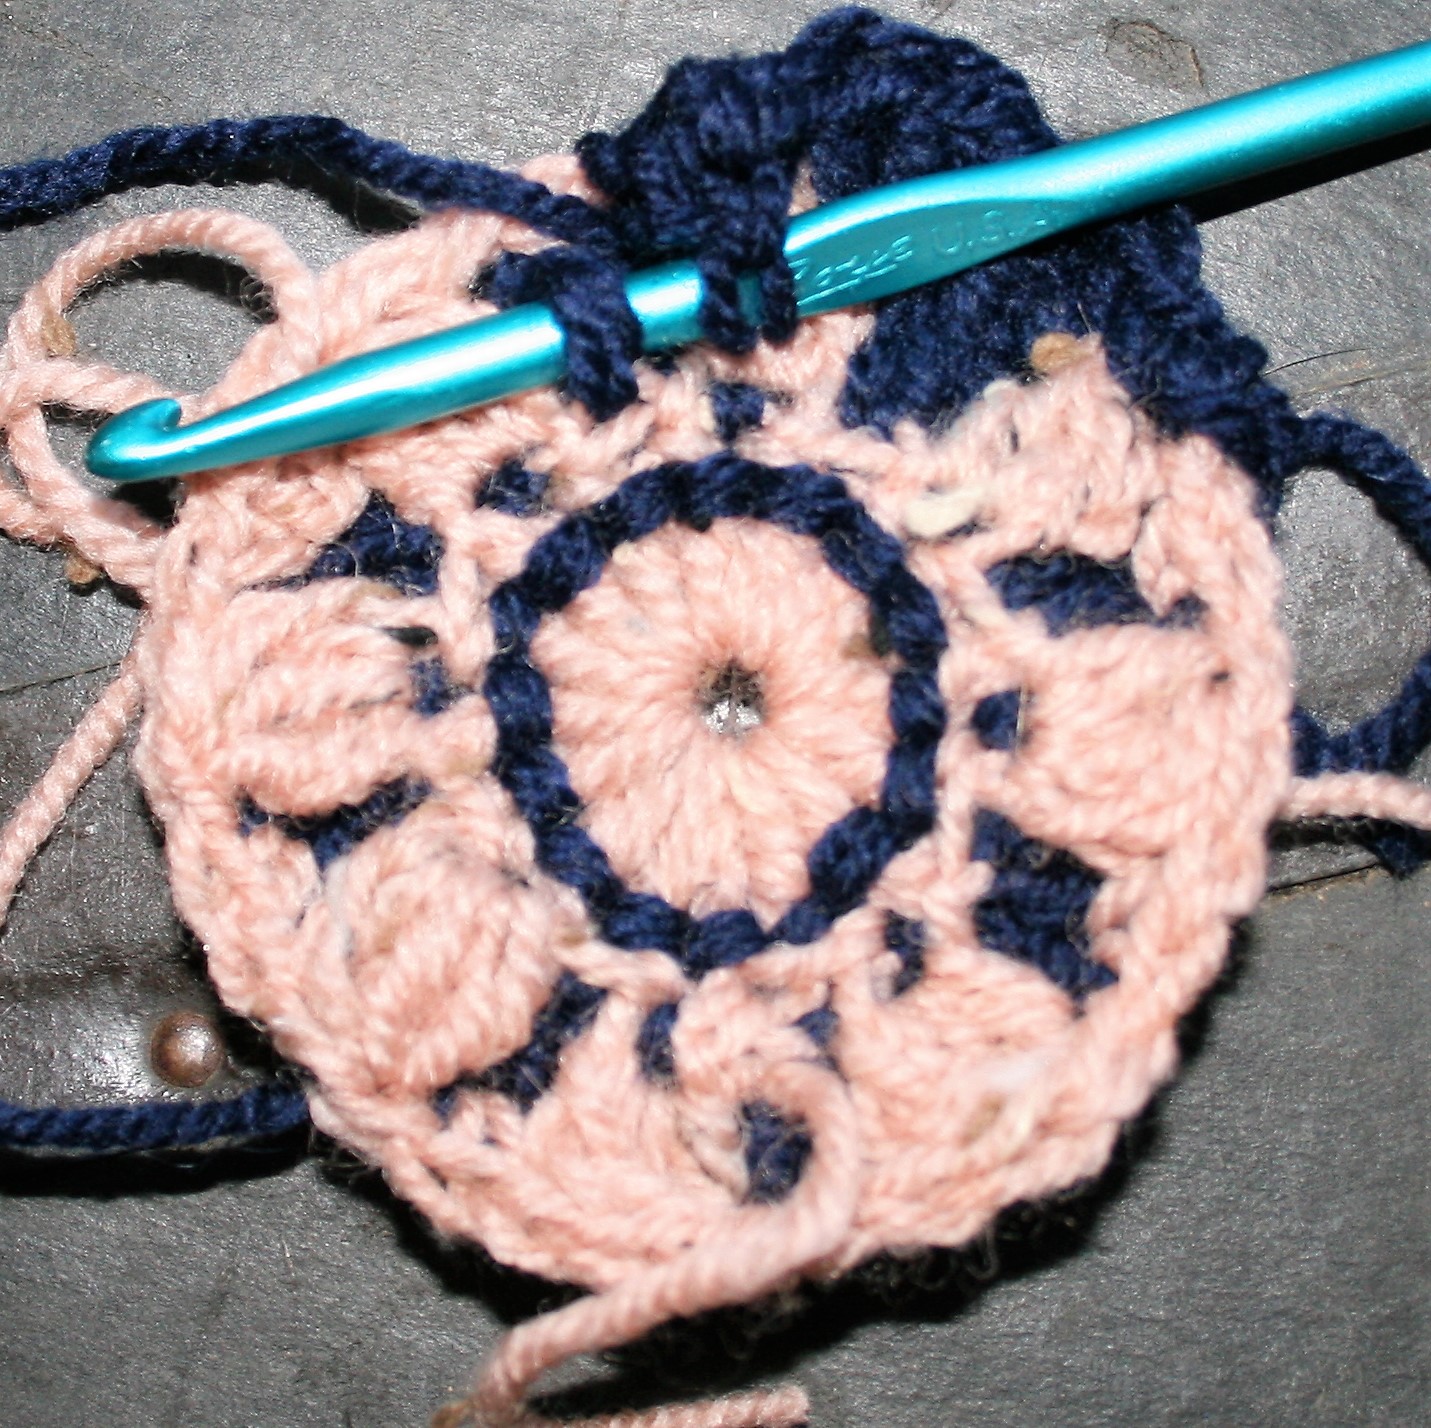
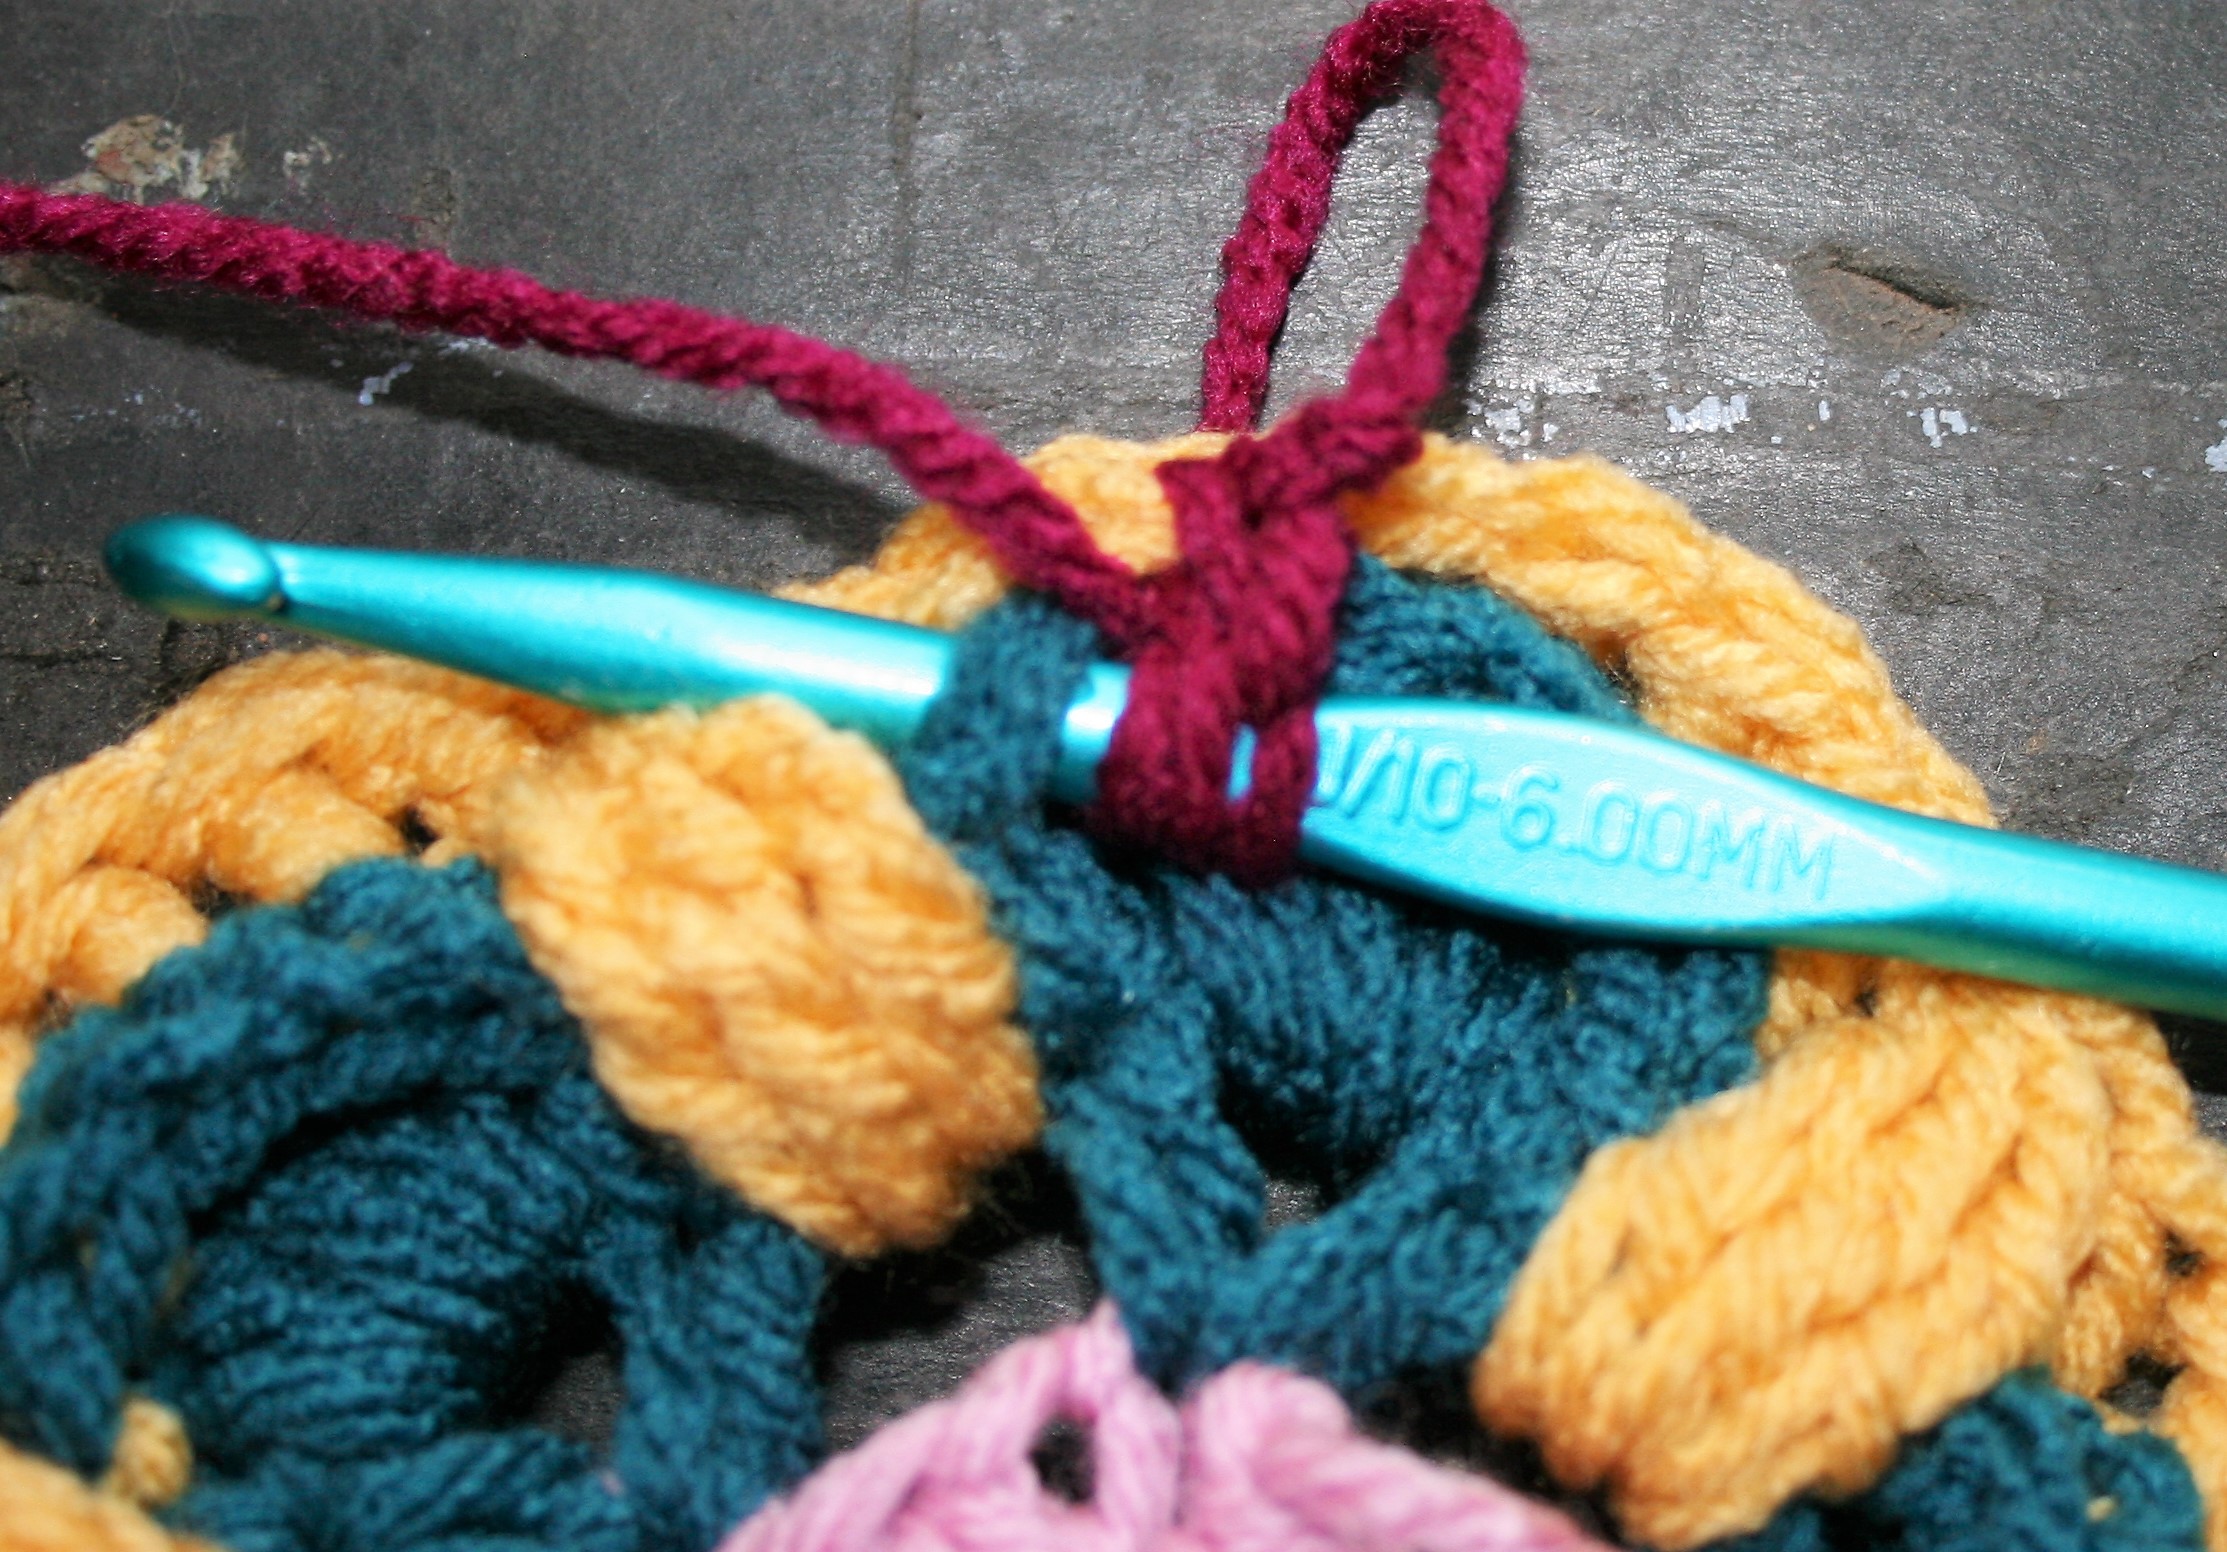
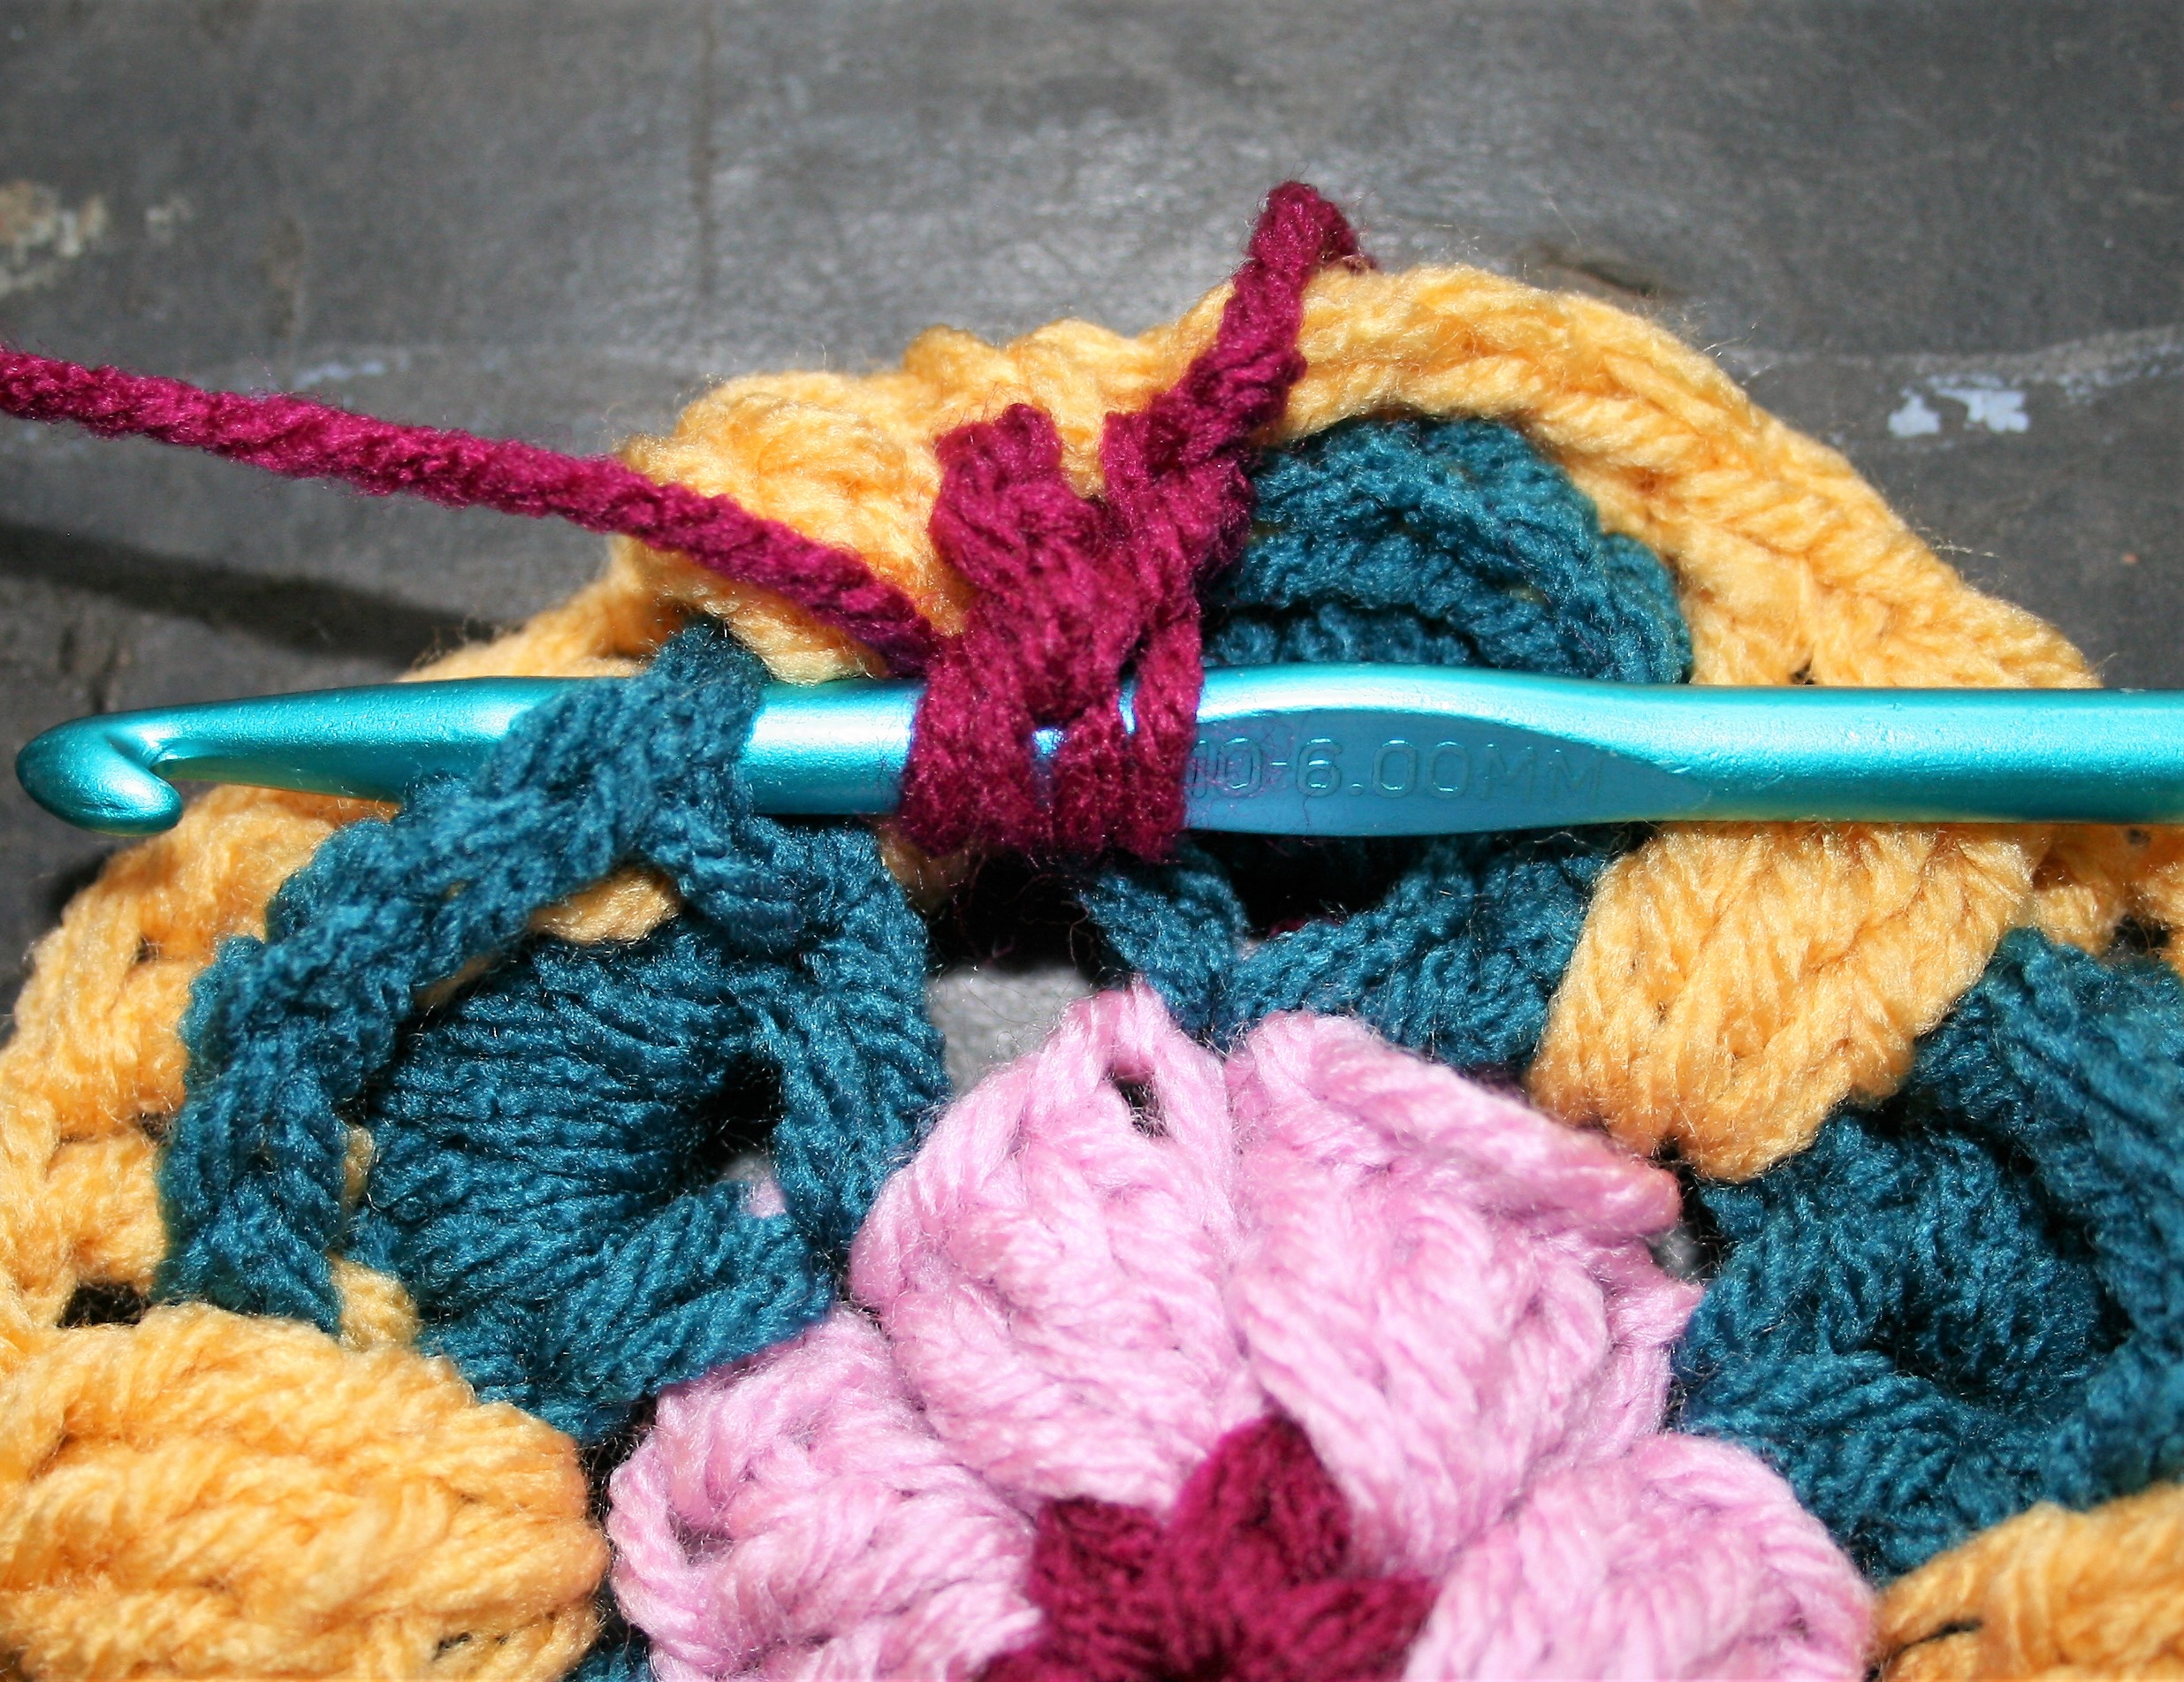
Rnd 6: With A, join with a ssc to a bpdc just before a tr3Cl, [tr2tog in the next sc 2 rows below (Rnd 4) and in the next sc 2 rnds below (on the other side of the tr3CL), sc in each bpdc] around, sl st to join. –8 tr2tod, 40 sc,

Rnd 7: Sl st in tr2tog st, ch 5, (tr, ch 1) 3 times in same st, tr in same st, ch 1, sk 2 sc, blsc in next sc, [ch, 1 (tr, ch 1) 4 times in next tr2tog, tr in same st, sk 2 sc, ch 1, blsc in next sc] around, ch 1, sl st to 4th ch of ch 5 to join, fasten off. –8 (tr, ch 1) fans, 8 sc
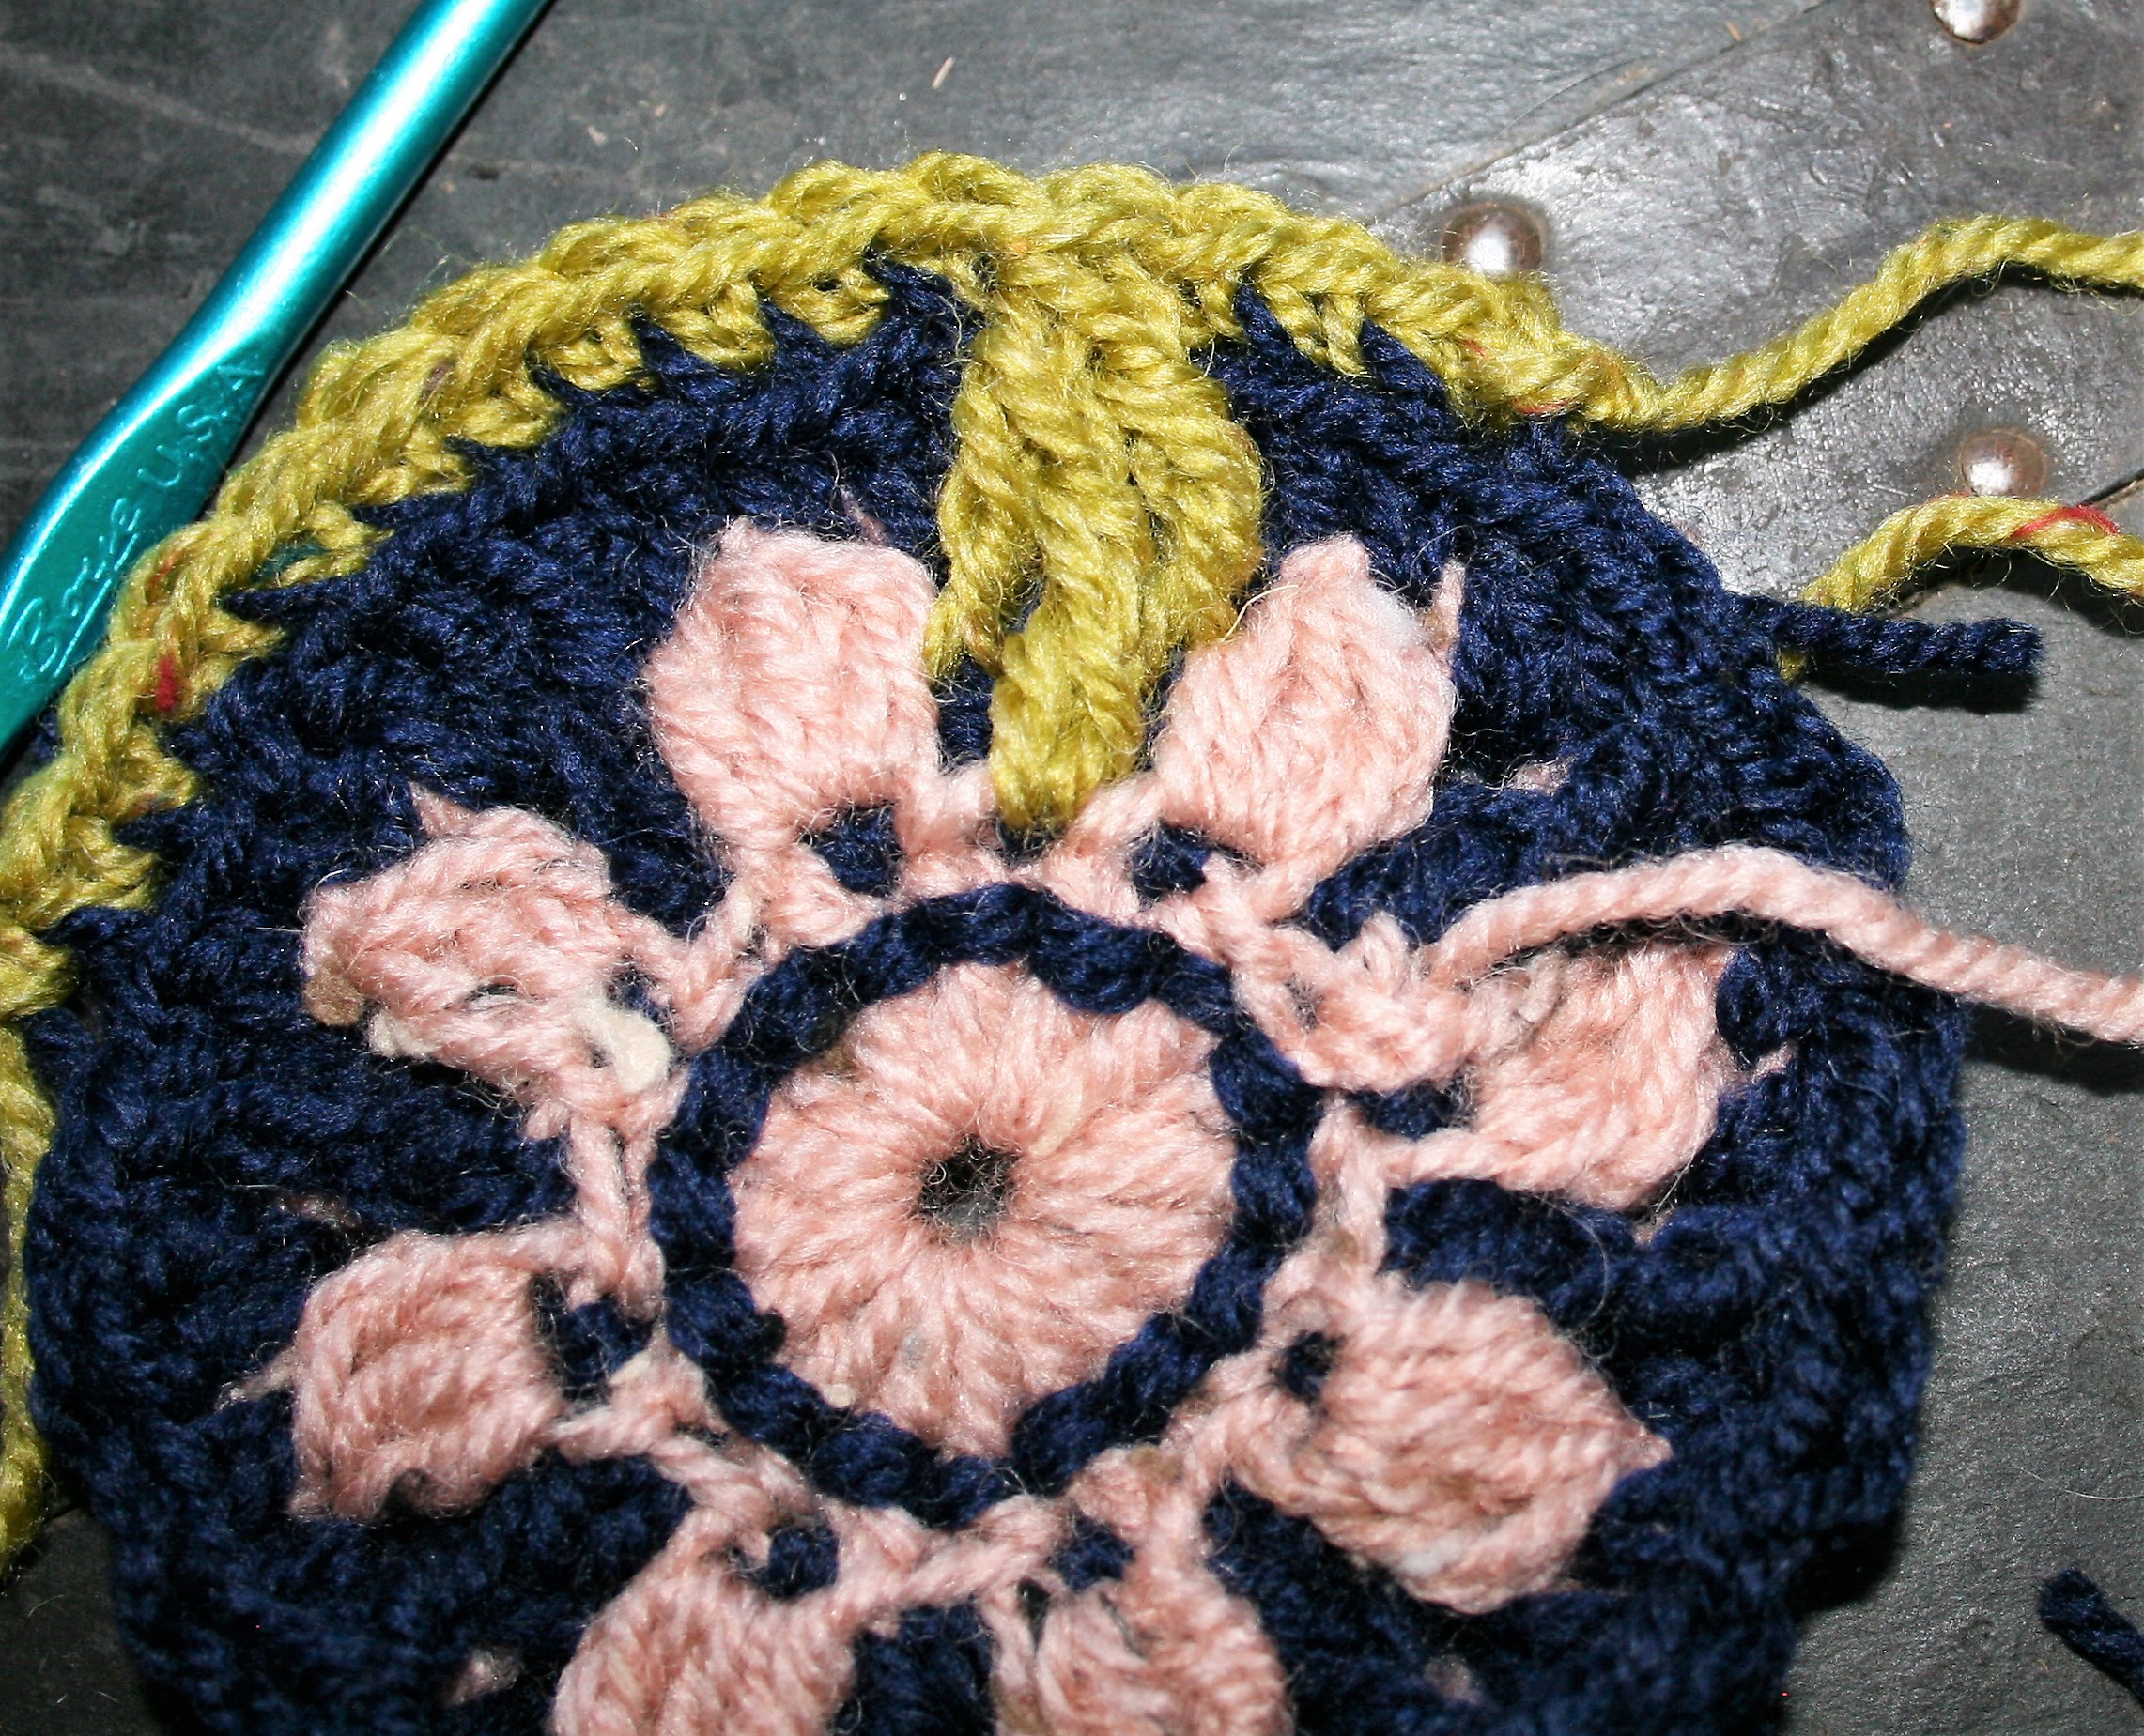
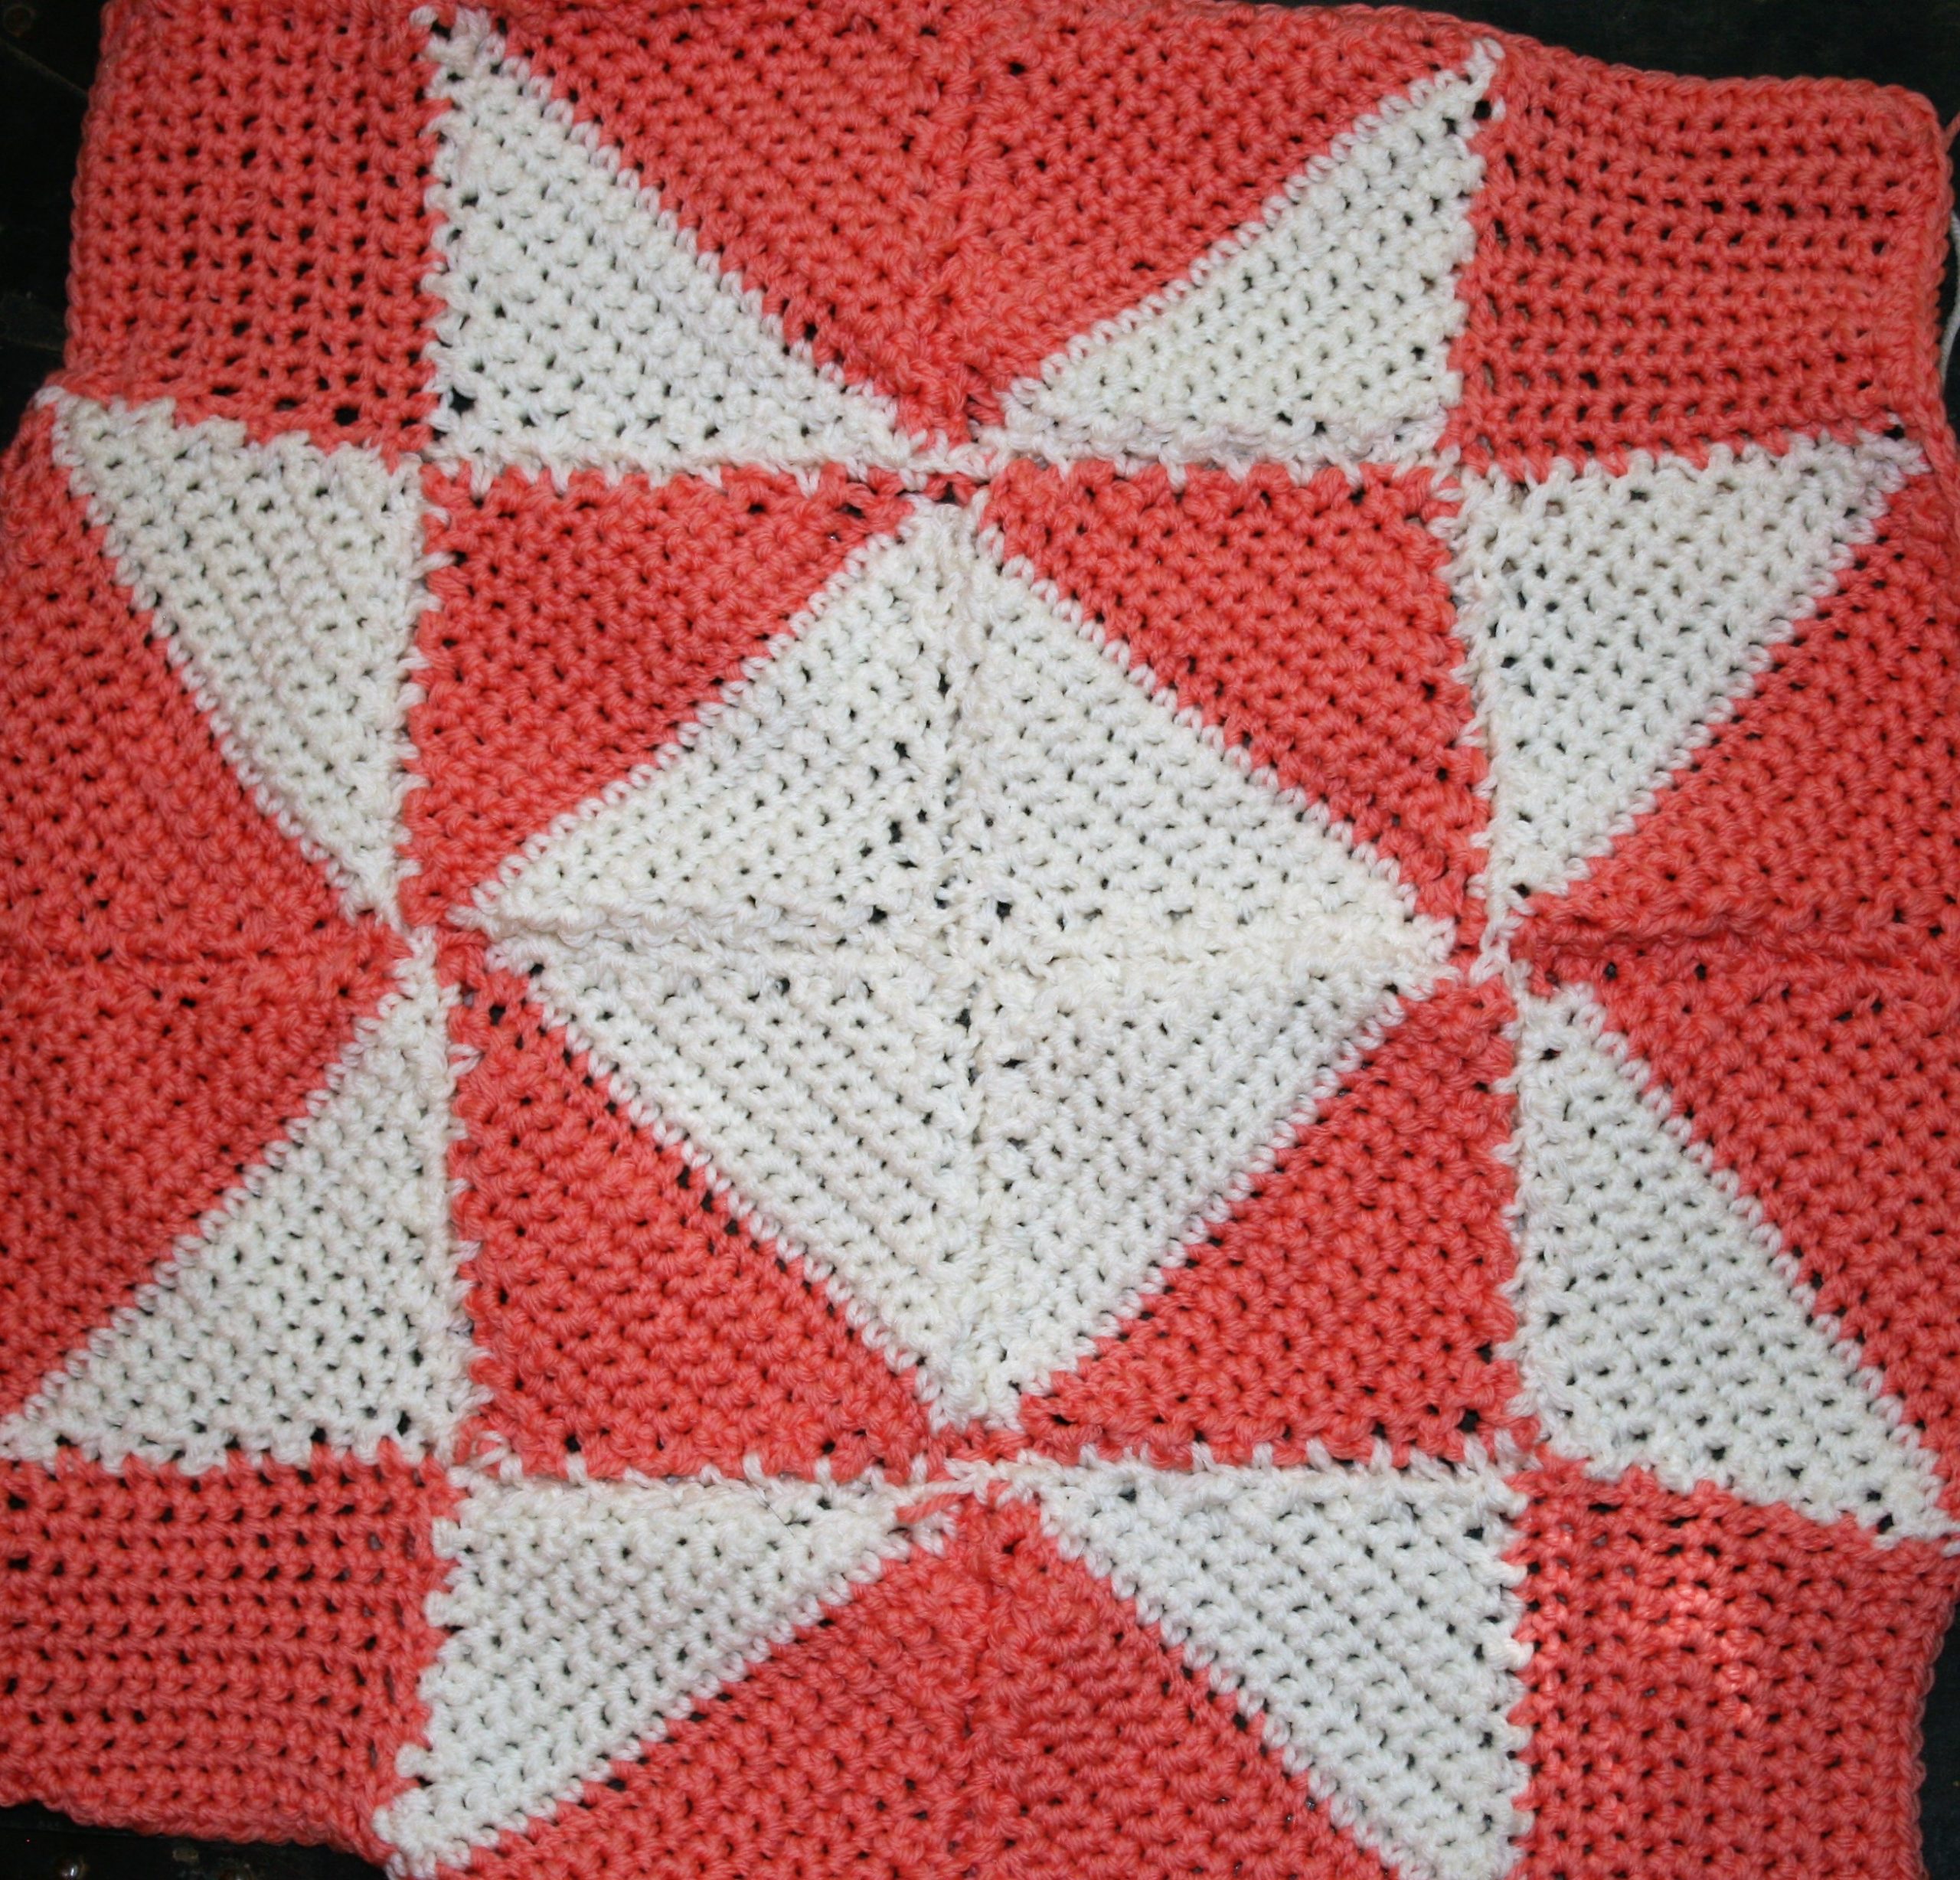
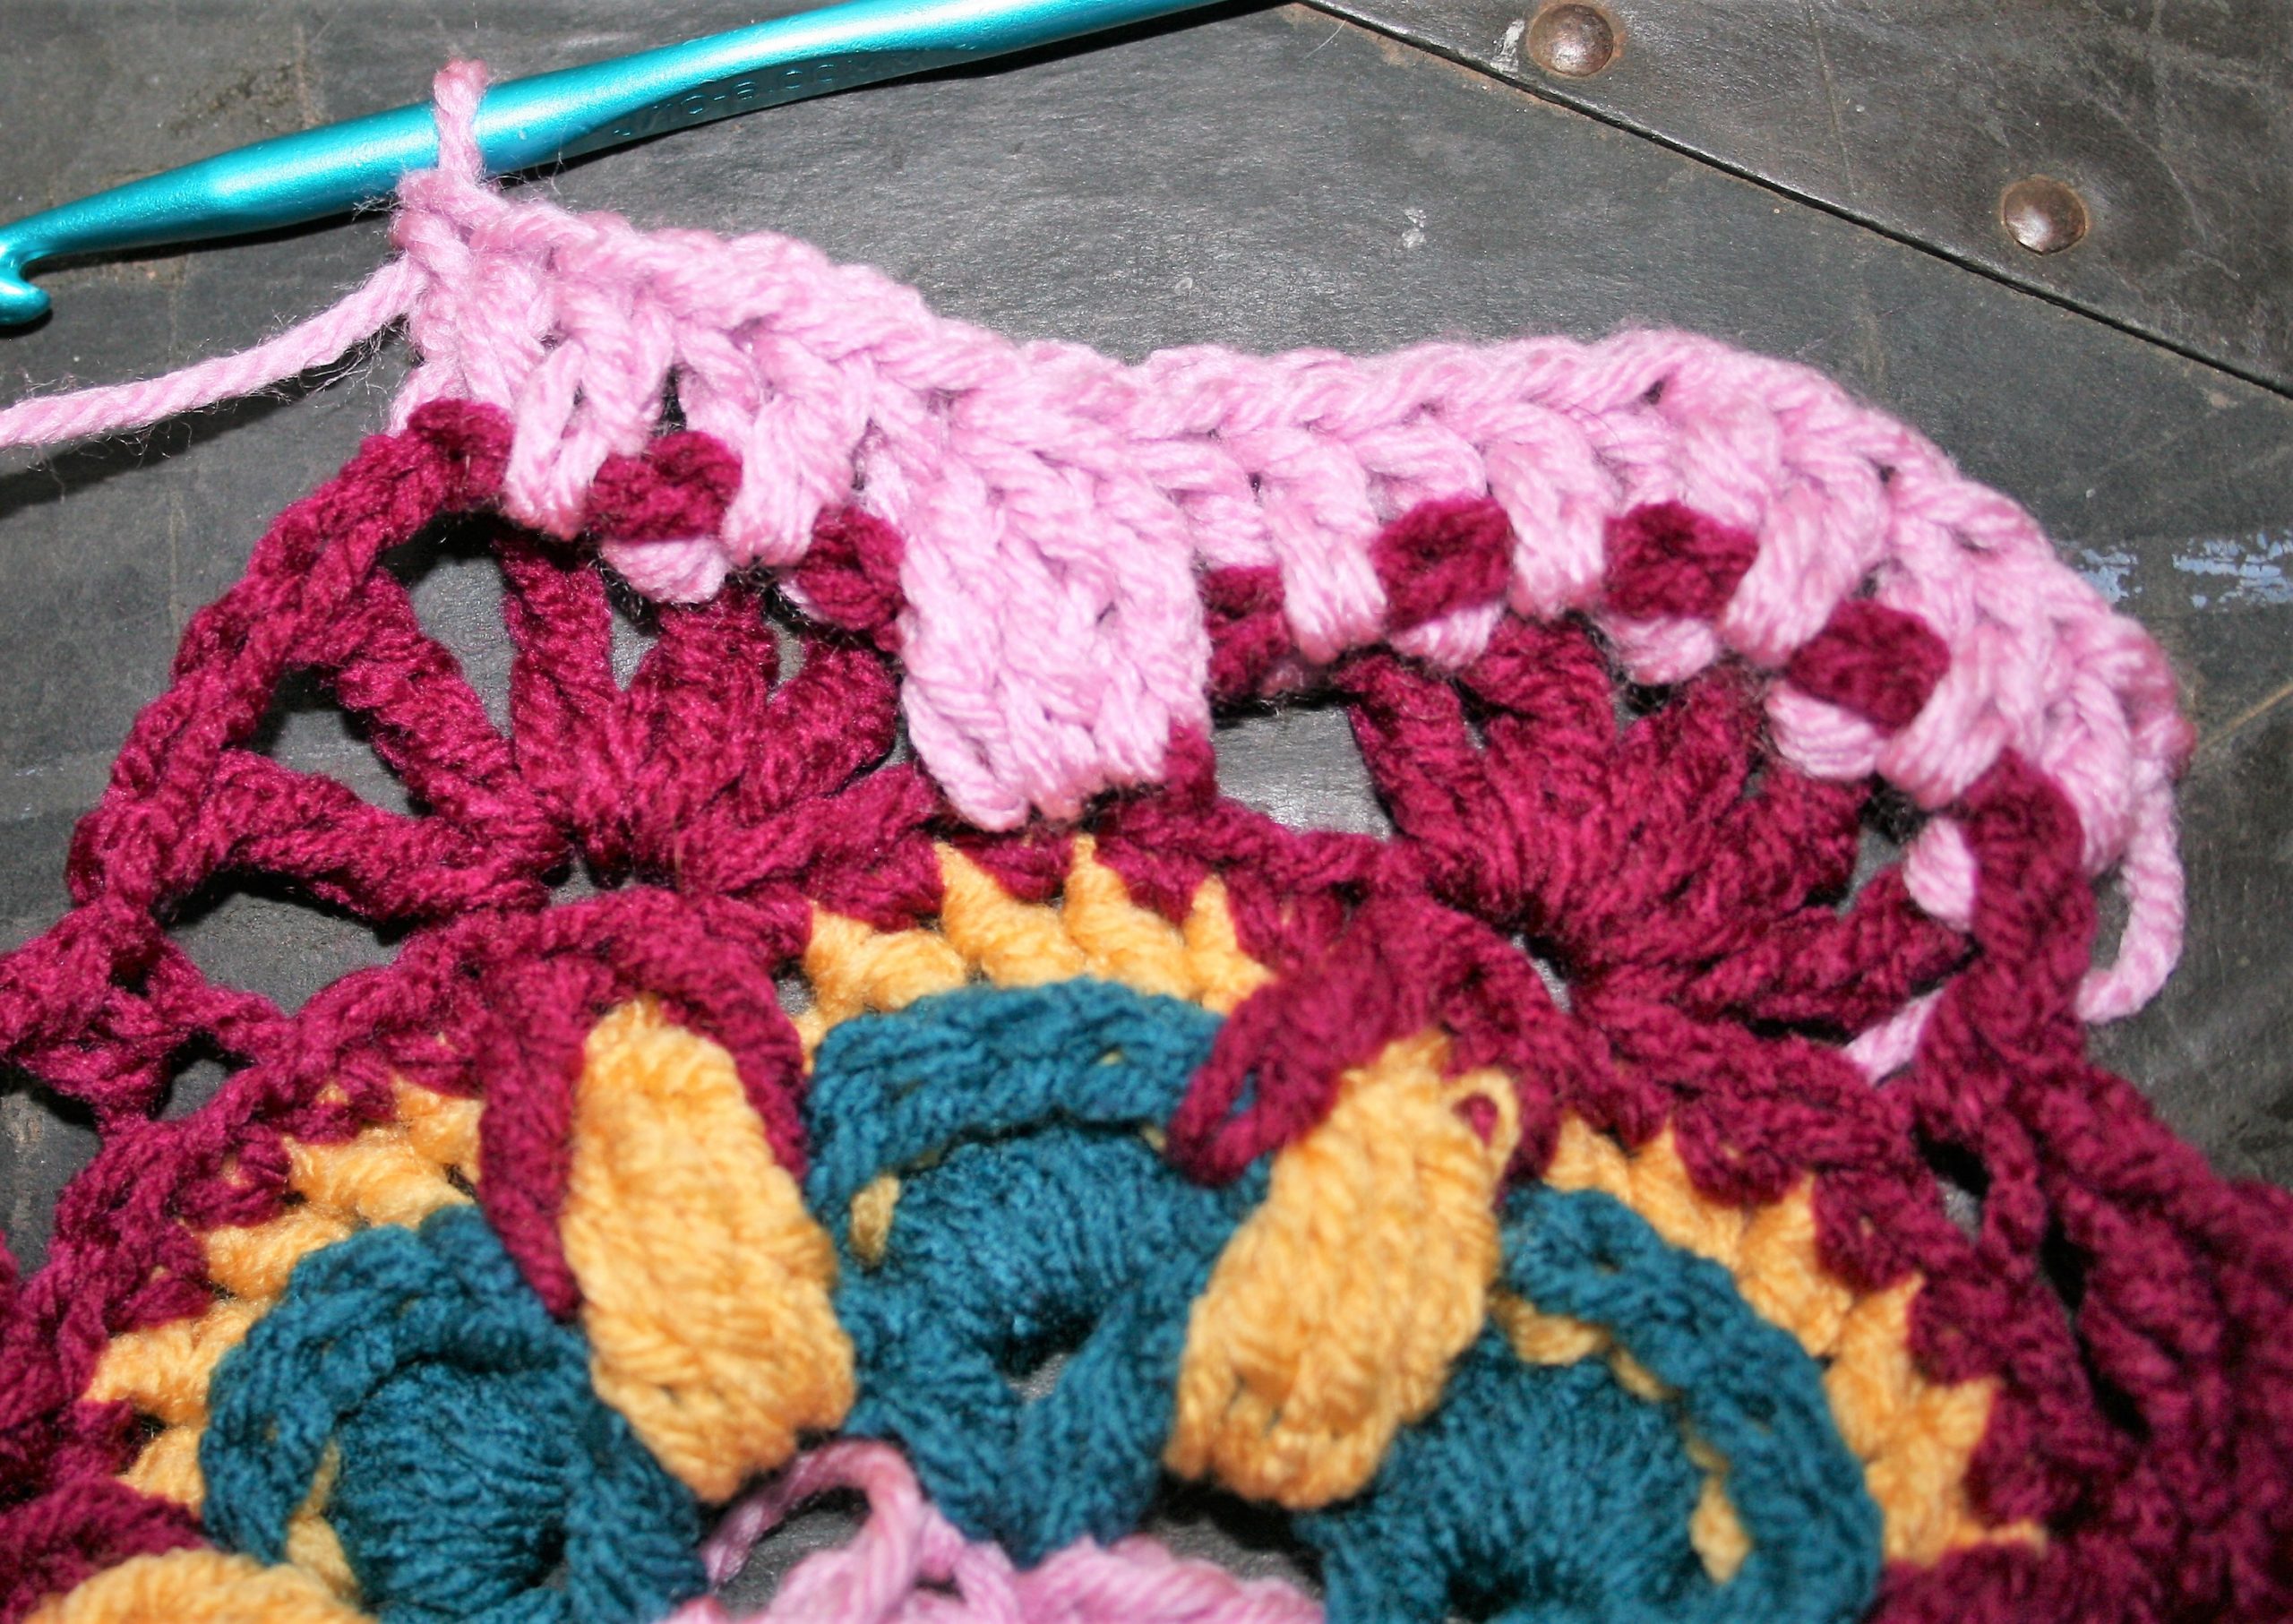
Back Post stitches create an interesting checker of color
Rnd 8: With B, join with a sbpdc to the 1st tr of any fan, dc in ch-1 sp, bpdc in next tr, dc in next ch-1 sp, 2 bpdc in next tr, dc in next ch- 1 sp, bpdc in next tr, dc in next ch-1 sp, bpdc in next tr, tr3Cl in unused front loop of sc 3 rnds below (Rnd 6), [bpdc in next tr, dc in next ch-1 sp, bpdc innext tr, dc in next ch-1 sp, 2 bpdc in next tr, dc in next ch- 1 sp, bpdc in next tr, dc in next ch-1 sp, bpdc in next tr, tr3Cl in unused front loop of sc 3 rnds below (Rnd 6)] around, sl st to join, fasten off. –8 tr3cl, 48 bpdc, 32 dc
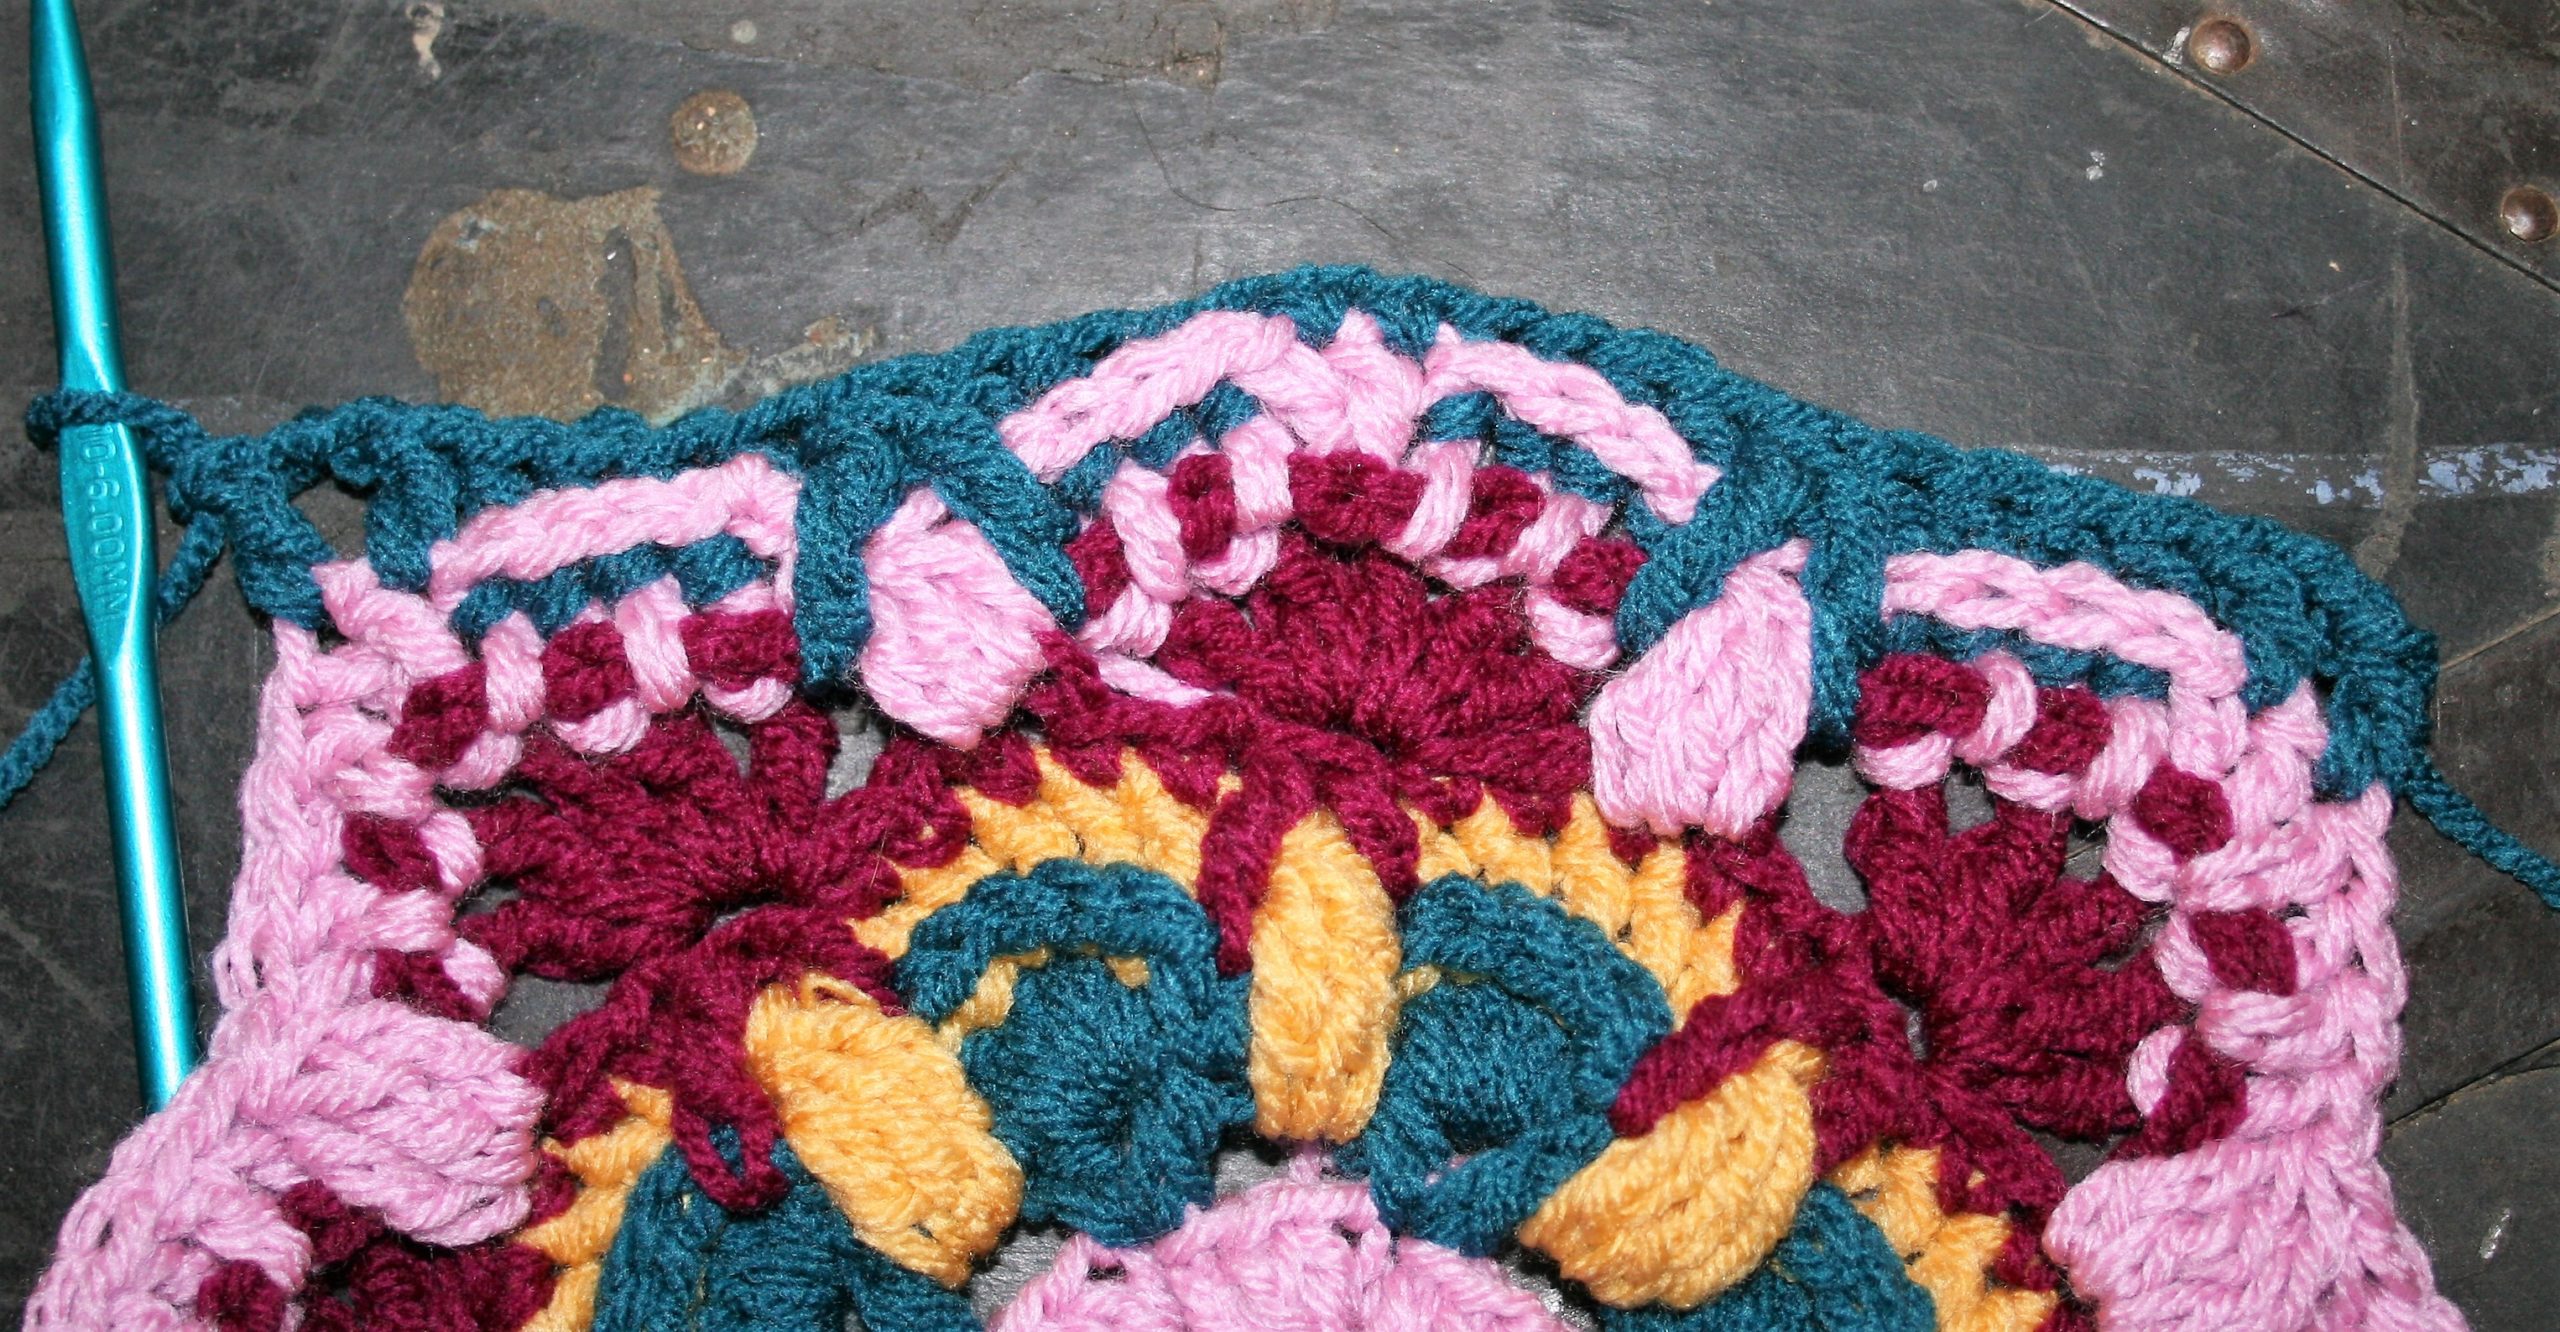
Lets Start Squaring Things Up
Rnd 9: With C, join with a sdc to any of the 1st bpdc of the center of fan (the 2 bpdc worked in the same st), ch 2, dc in next bpsc (corner made), bpdc in next 4 sts, tr2tog in the ch-1 sp 3 rows below (Rnd 7) and in the next ch-1 sp 3 rnds below (on the other side of the tr3CL), bpdc in next 2 sts, bphdc in the next 2 sts, sc in the next 2 sts, bphdc in the next 2 sts, bpdc in the next 2 sts,tr2tog in the ch-1 sp 3 rows below (Rnd 7) and in the next ch-1 sp 3 rnds below (on the other side of the tr3CL), bpdc in next 4 sts, [dc in next bpdc, ch 2, dc in next bpdc (corner made), bpdc in next 4 sts, tr2tog in the ch-1 sp 3 rows below (Rnd 7) and in the next ch-1 sp 3 rnds below (on the other side of the tr3CL), bpdc in next 2 sts, bphdc in the next 2 sts, sc in the next 2 sts, bphdc in the next 2 sts, bpdc in the next 2 sts,tr2tog in the ch-1 sp 3 rows below (Rnd 7) and in the next ch-1 sp 3 rnds below (on the other side of the tr3CL), bpdc in next 4 sts] 3 times, sl st to join, fasten off. –8 tr2tog, 8 sc
Watch the stitch changes, we are flattening out the sides
Rnd 10: With D, join with sdc in any corner ch-2 sp, ch 2, dc in same sp, [bpdc in next 6 sts, bphdc in next 2 sts, bpsc in next 2 sts, sc in next 2 sts, bpsc in next 2 sts, bphdc in next 2 sts, bpdc in next 6 sts, (dc, ch 2, dc) in ch-2 sp of corner] 3 times, bpdc in next 6 sts, bphdc in next 2 sts, bpsc in next 2 sts, sc in next 2 sts, bpsc in next 2 sts, bphdc in next 2 sts, bpdc in next 6 sts, sl st to join.
Rnd 11: Ch 3, (dc, ch 2, dc) in ch-2 corner, dc in each st across to corner, [(dc, ch 2, dc) in ch-2 corner sp, dc in each st across] around, sl st to join, fasten off. –104 dc (26 dc each side)
On the Home Stretch, the Moogly CAL block is almost done…
Rnd 12: With C, join with shdc in any corner ch-2 sp, ch 2, hdc in same st, [blhdc in next 7 sts, tr3Cl in the top of the tr2tog 4 rnds below (Rnd 9) (note: skip the stitch directly behind the cluster, here and throughout), blhdc in next 10 sts, tr3Cl in top of the tr2tog 4 rnds below (Rnd 9), blhdc in next 7 sts, (hdc, ch 2, hdc) in ch-2 corner sp] 3 times, blhdc in next 7 sts, tr3Cl in the top of the tr2tog 4 rnds below (Rnd 9), blhdc in next 10 sts, tr3Cl in top of the tr2tog 4 rnds below (Rnd 9), blhdc in next 7 sts, sl st to join, fasten off. –8 tr3Cl
Rnd 13: With A, join with ssc in any ch-2 corner, ch 2, sc in same sp, blsc in each st across, [(sc, ch 2, sc) in ch-2 corner sp, blsc in each st across] around, sl st to join, fasten off. –116 sc (29 sc each side)
Check out all the blocks for this year’s Moogly CAL! This is going to be fun!