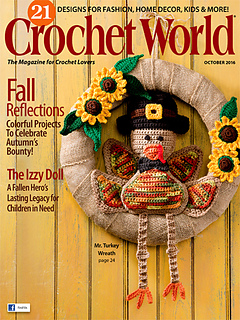
I fell in love with the Astral Flowers Square the moment it came from my hook, and still enjoy It as a throw in the October 2016 issue of Crochet World MagazineAs with much of my design style I happened upon this by playing and a little bit of a challenge, however the story of its beginning is not a happy one.
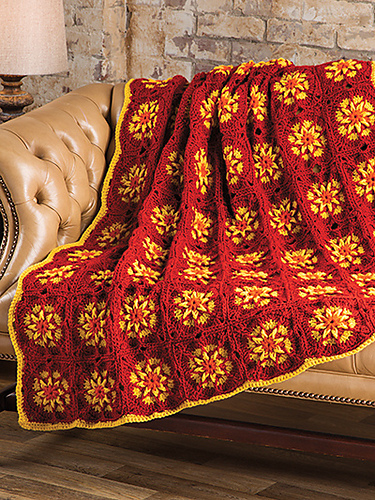
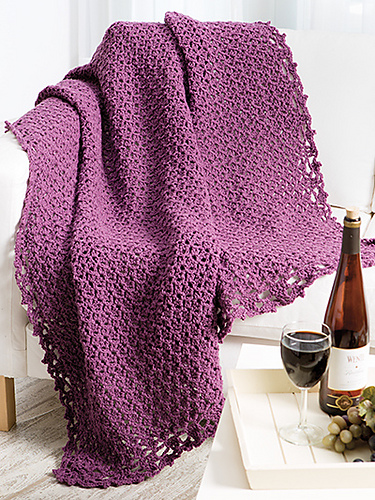
Astral Flowers Throw Photo courtesy of Annie’s
A friend and fellow designer lost her daughter last year, and as a way of letting her know that she was the hearts and minds of vast community a fellow friend organized a formation of a friendship afghan. She asked for six inch squares in various colors that had significance to members of the suffering family. She selected a certain type of yarn, so that everything would work together nicely, and agreed to sew all the squares together. When all was said and done enough squares were created by various crochet designers, and others in the industry, that in the end there were at least 3 afghans created, the Astral Flower Square is among them.
I originally sat down with the three colors and just began putting them together without thinking of the stitches themselves, but the difficult time my friend was going through. I created a total of 6 squares, no sense in having partially used skeins when more squares could be created. In this methodical challenge of working squares I worked one with post stitches, this grew into this square.
 I will admit that I was a bit taken aback by the way the color can be so deceptive and making the square appear to have more going on than it really does. At one moment I can see a star in another I can see a flower, there seems to be depth and volume in the work, yet it really is just a couple of rounds. The only magic that happens is that the post stitches create an illusion of the color being worked in other ways.
The other thing that I find striking with this square is that the sides are not actually straight. The corners are slightly higher then than the center of each side, creating a little “key hole” type effect. I really like how this shape works at bringing a little something extra to the throw overall, and seaming the squares in the back loops only of the stitches creates a simple framed edge. The one drawback to the square, used in the fashion that I have, is that it really does need to be hand sewn together, no join as you go…but maybe if I play with a different edging…no, I think I like it the way it is.