Intermeshing Crochet- Weaving of 2 Fabrics

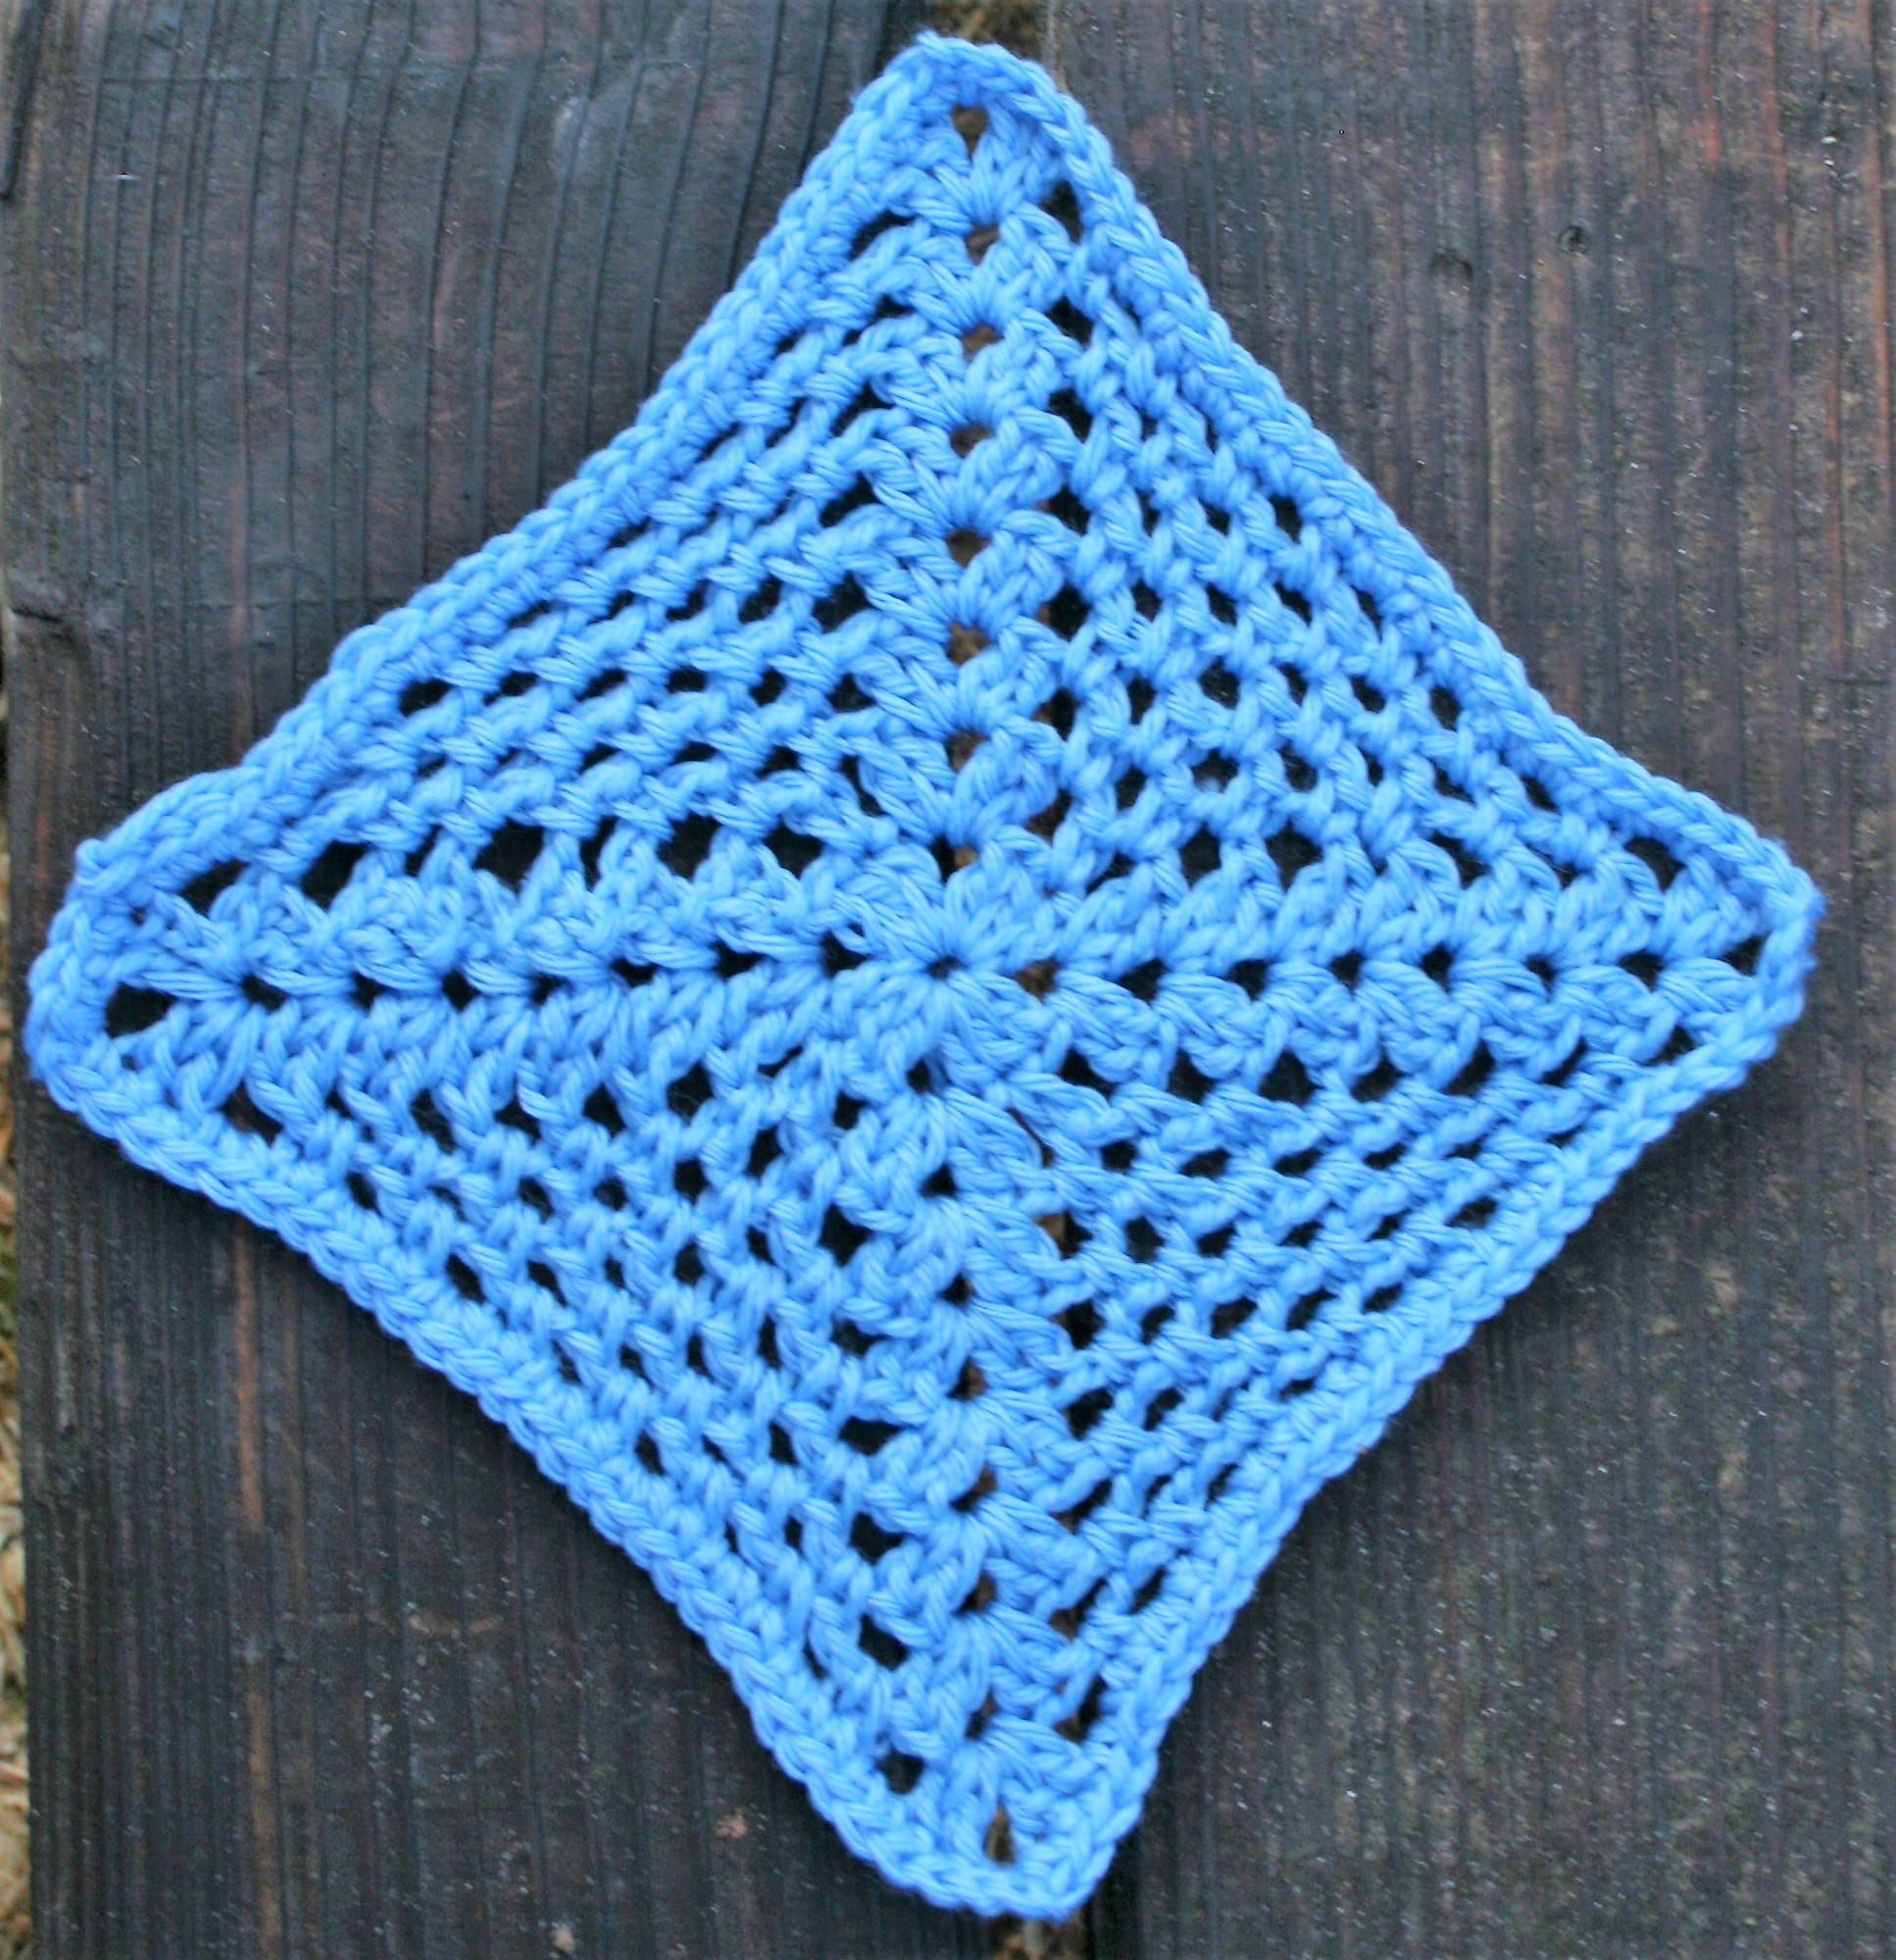
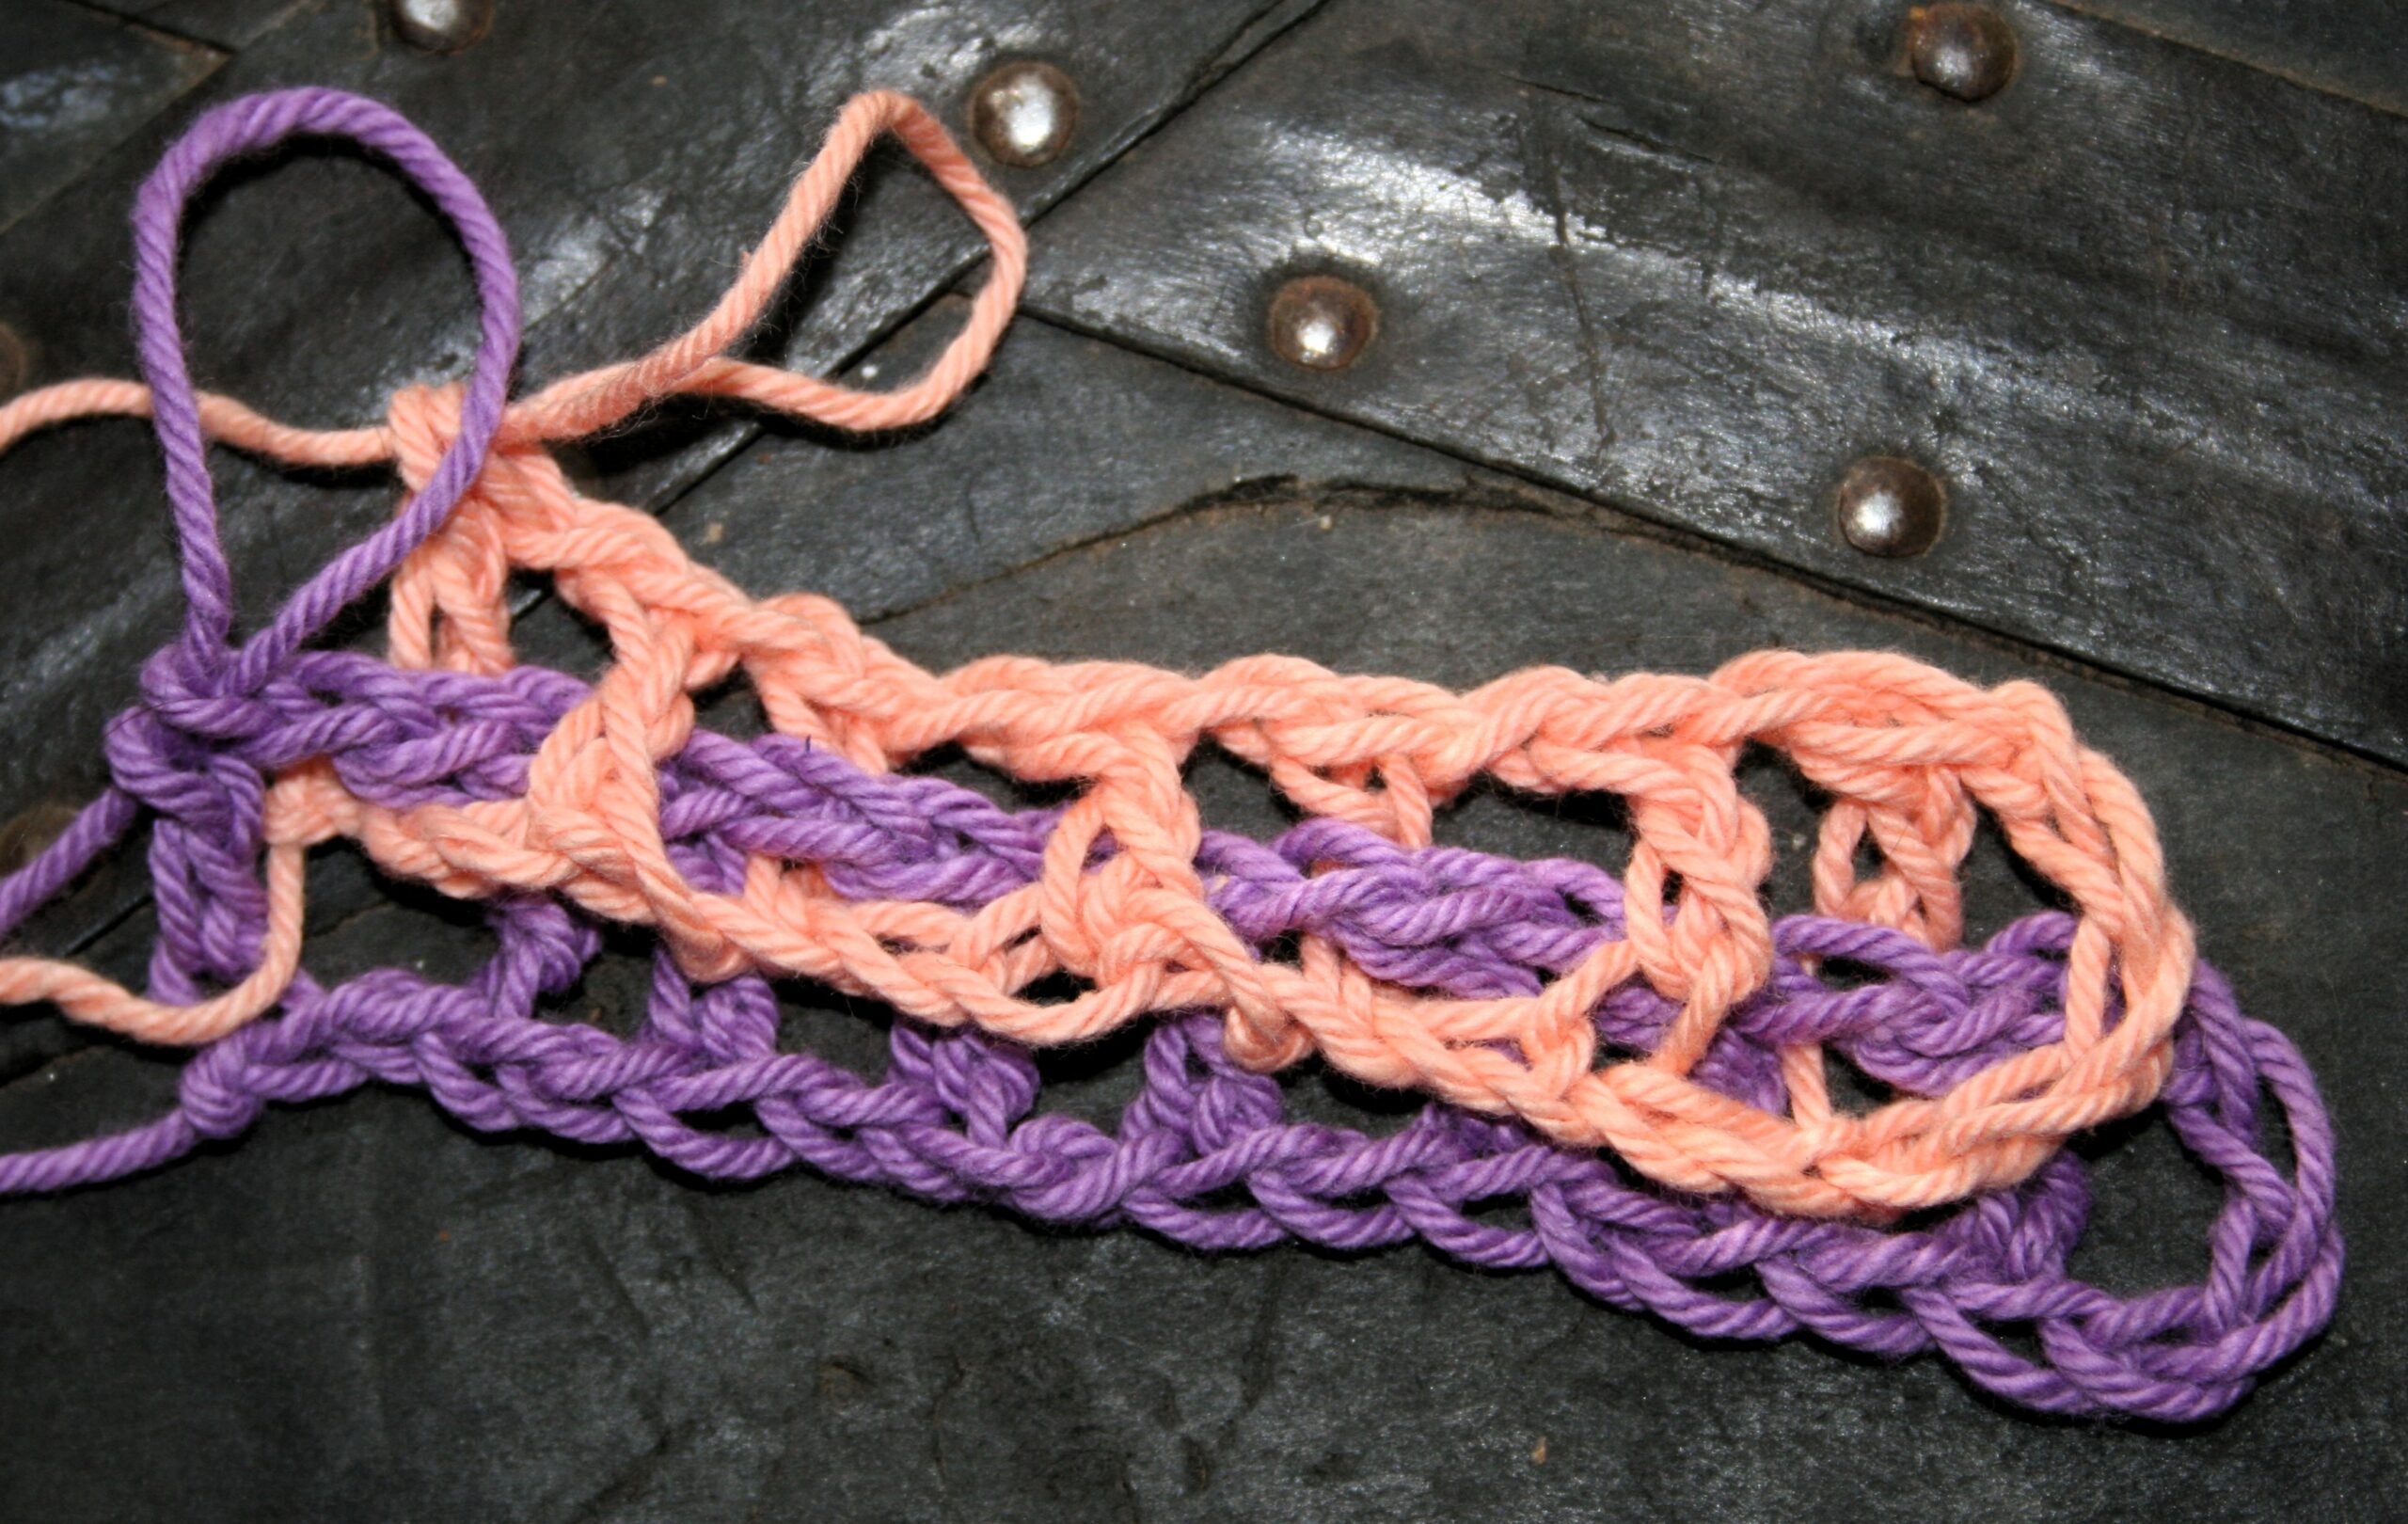
Intermeshing crochet is essentially the creating of two crochet mesh fabrics. The fabrics are woven together at the time of creation; creating new visual effects.

There are a couple of different ways to begin the fabric. Started differently the weaving of the meshes being worked the same. Weaving is created by working double crochet stitches either in front or behind the mesh square of the other fabric.

The two mesh fabrics will actually be different sizes. One mesh will have an additional one column of “open mesh” windows in comparison to the other. This is to allow for an offset to the “front/back” of these stitches. This process ensures that the double crochet stitches will be centered in the “open mesh” of the opposite fabric.

Reading the patterns are harder than the stitches

The greater challenge to this technique is actually in the pattern reading. There are currently 3 popular methods to explaining patterns in Intermeshing. One is the standard written pattern that is found in other crochet fabrics, and the other two are charts.

One chart has two graphs, one for even rows, and one for odd rows of the pattern. This type of charting allows you to visually identify what the work should look like at each step. The second chart offers a quick short hand of how many stitches are worked and of what type (either front of back).

Make Intermeshing Crochet

Start by creating a first row of open mesh fabric. An even numbered chain iis created in the main color, double crochet in the 6th chain from the hook, [ch 1, sk 1 ch, dc in the next ch] across. Remove hook from fabric and set aside.

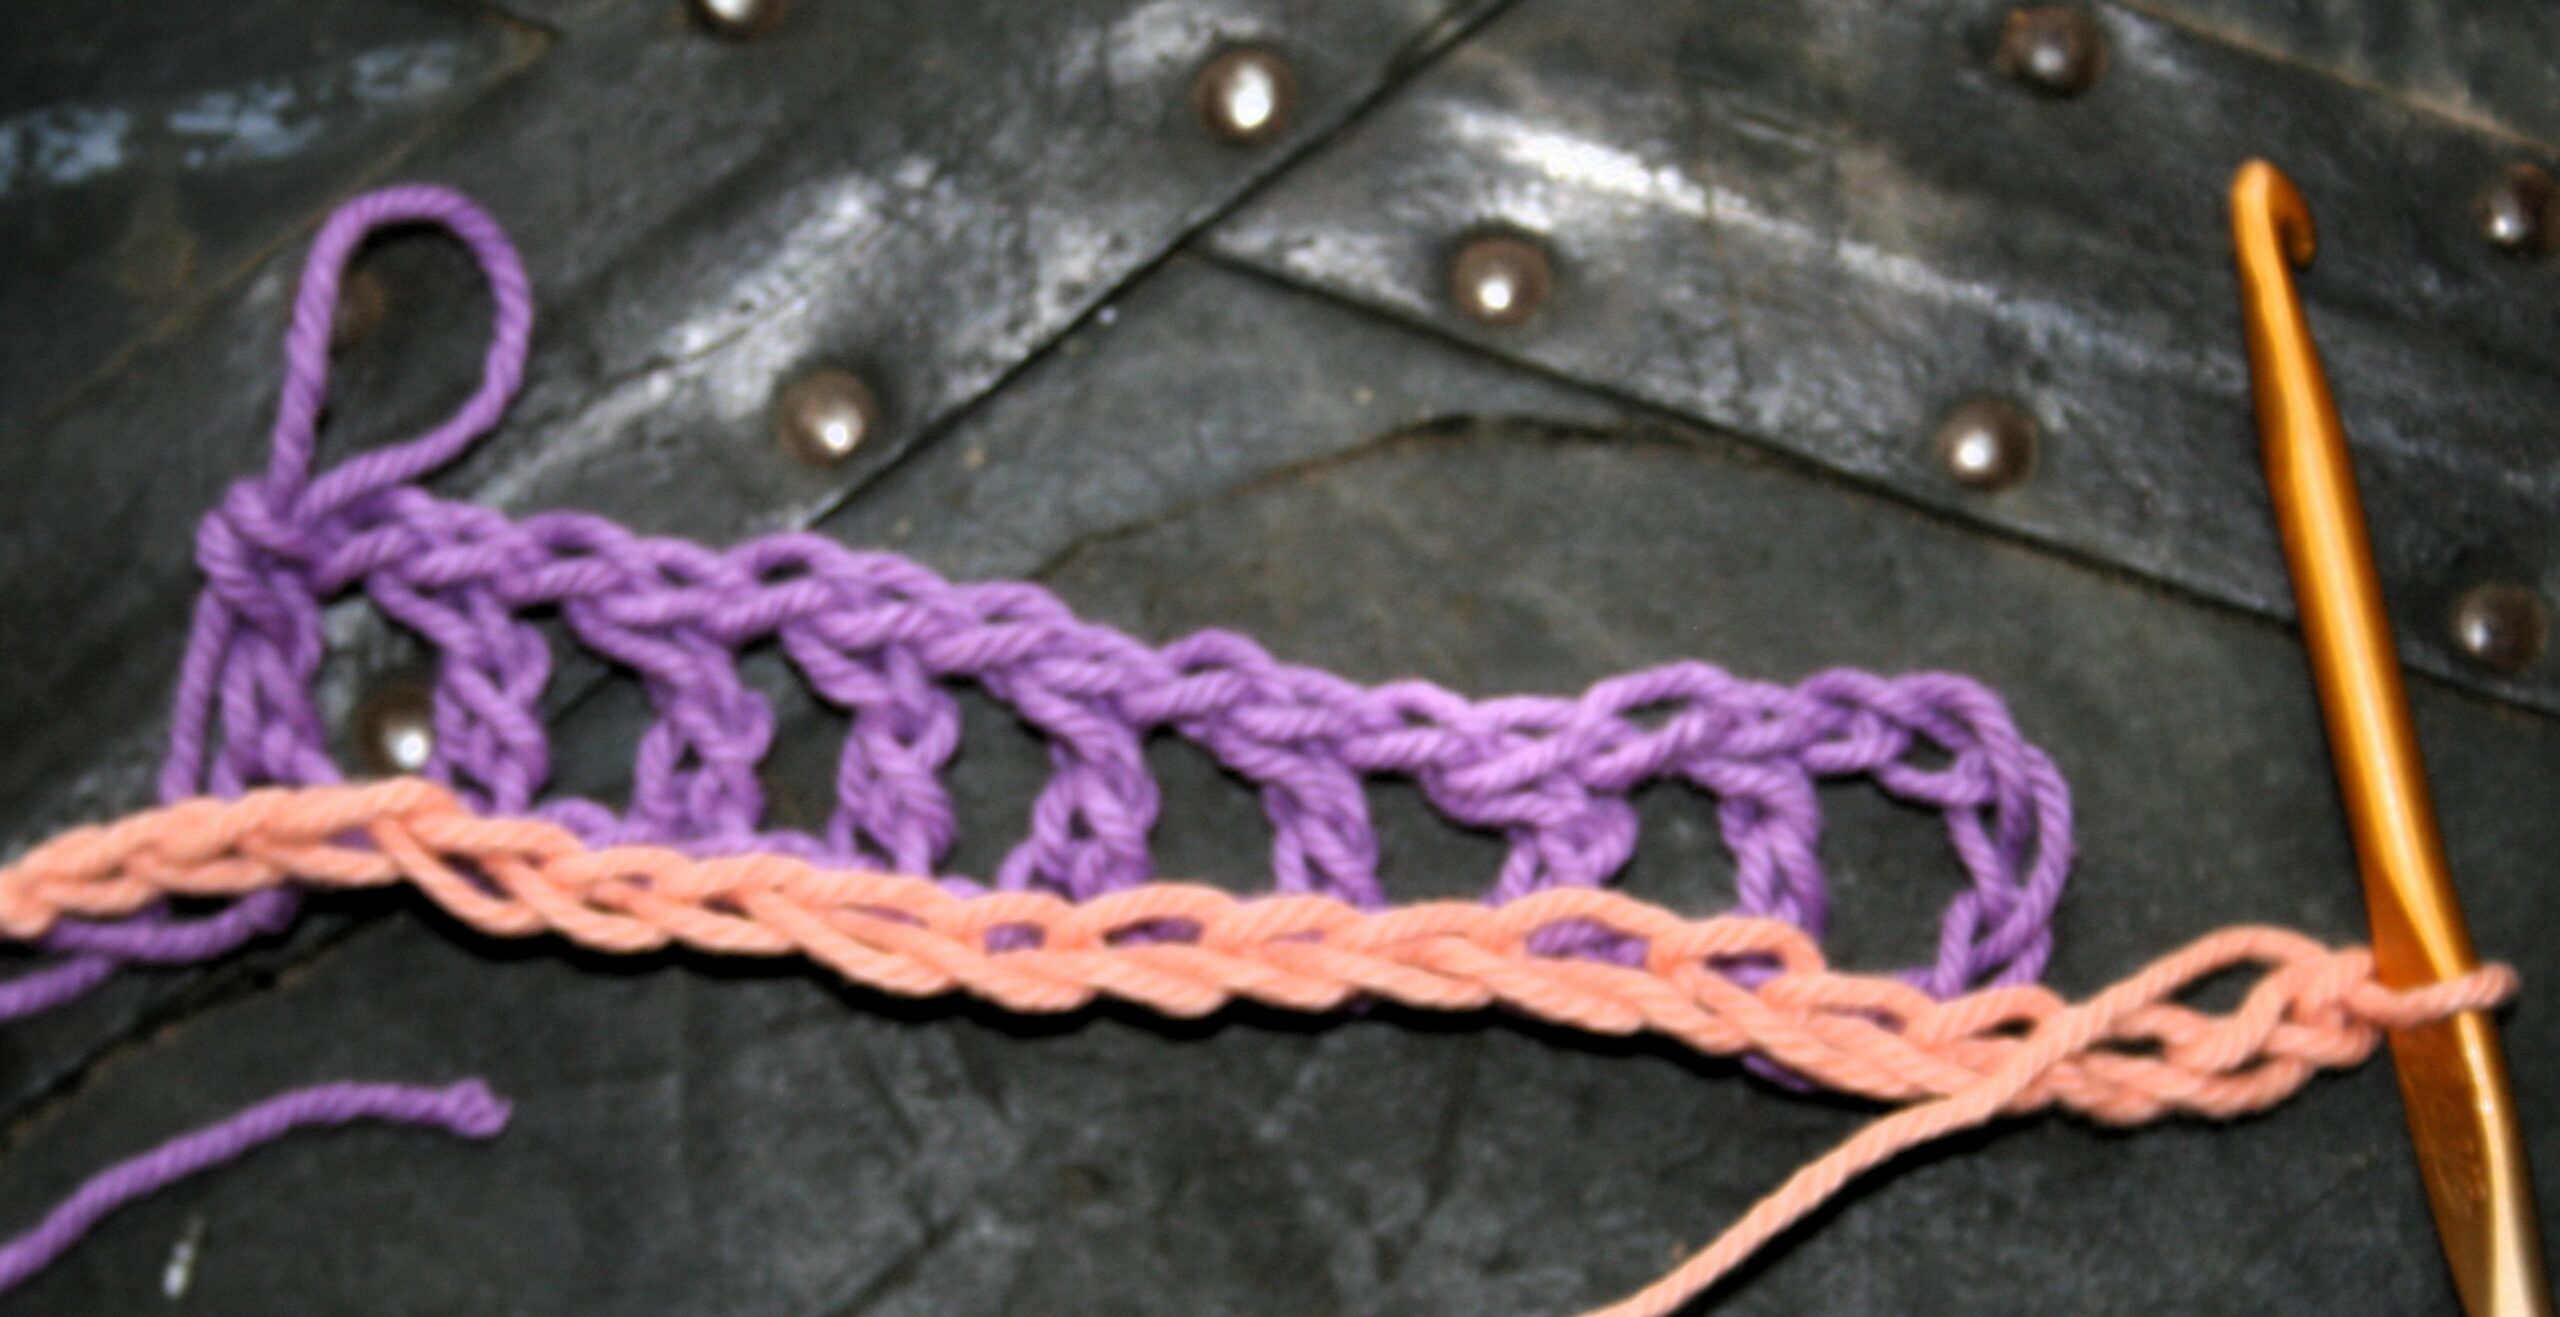
Begin the second mesh fabric one of two ways. Create a chain that is 2 chains shorter than the main color chain. At this point you have a choice to make; weave the chain through or lay it atop the open mesh of the main color mesh Row 1. Neither is right or wrong, but will give you a slightly different visual end effect of the fabric. Weaving through will give you a pattern of alternating color, while laying atop will give you a line of straight color.

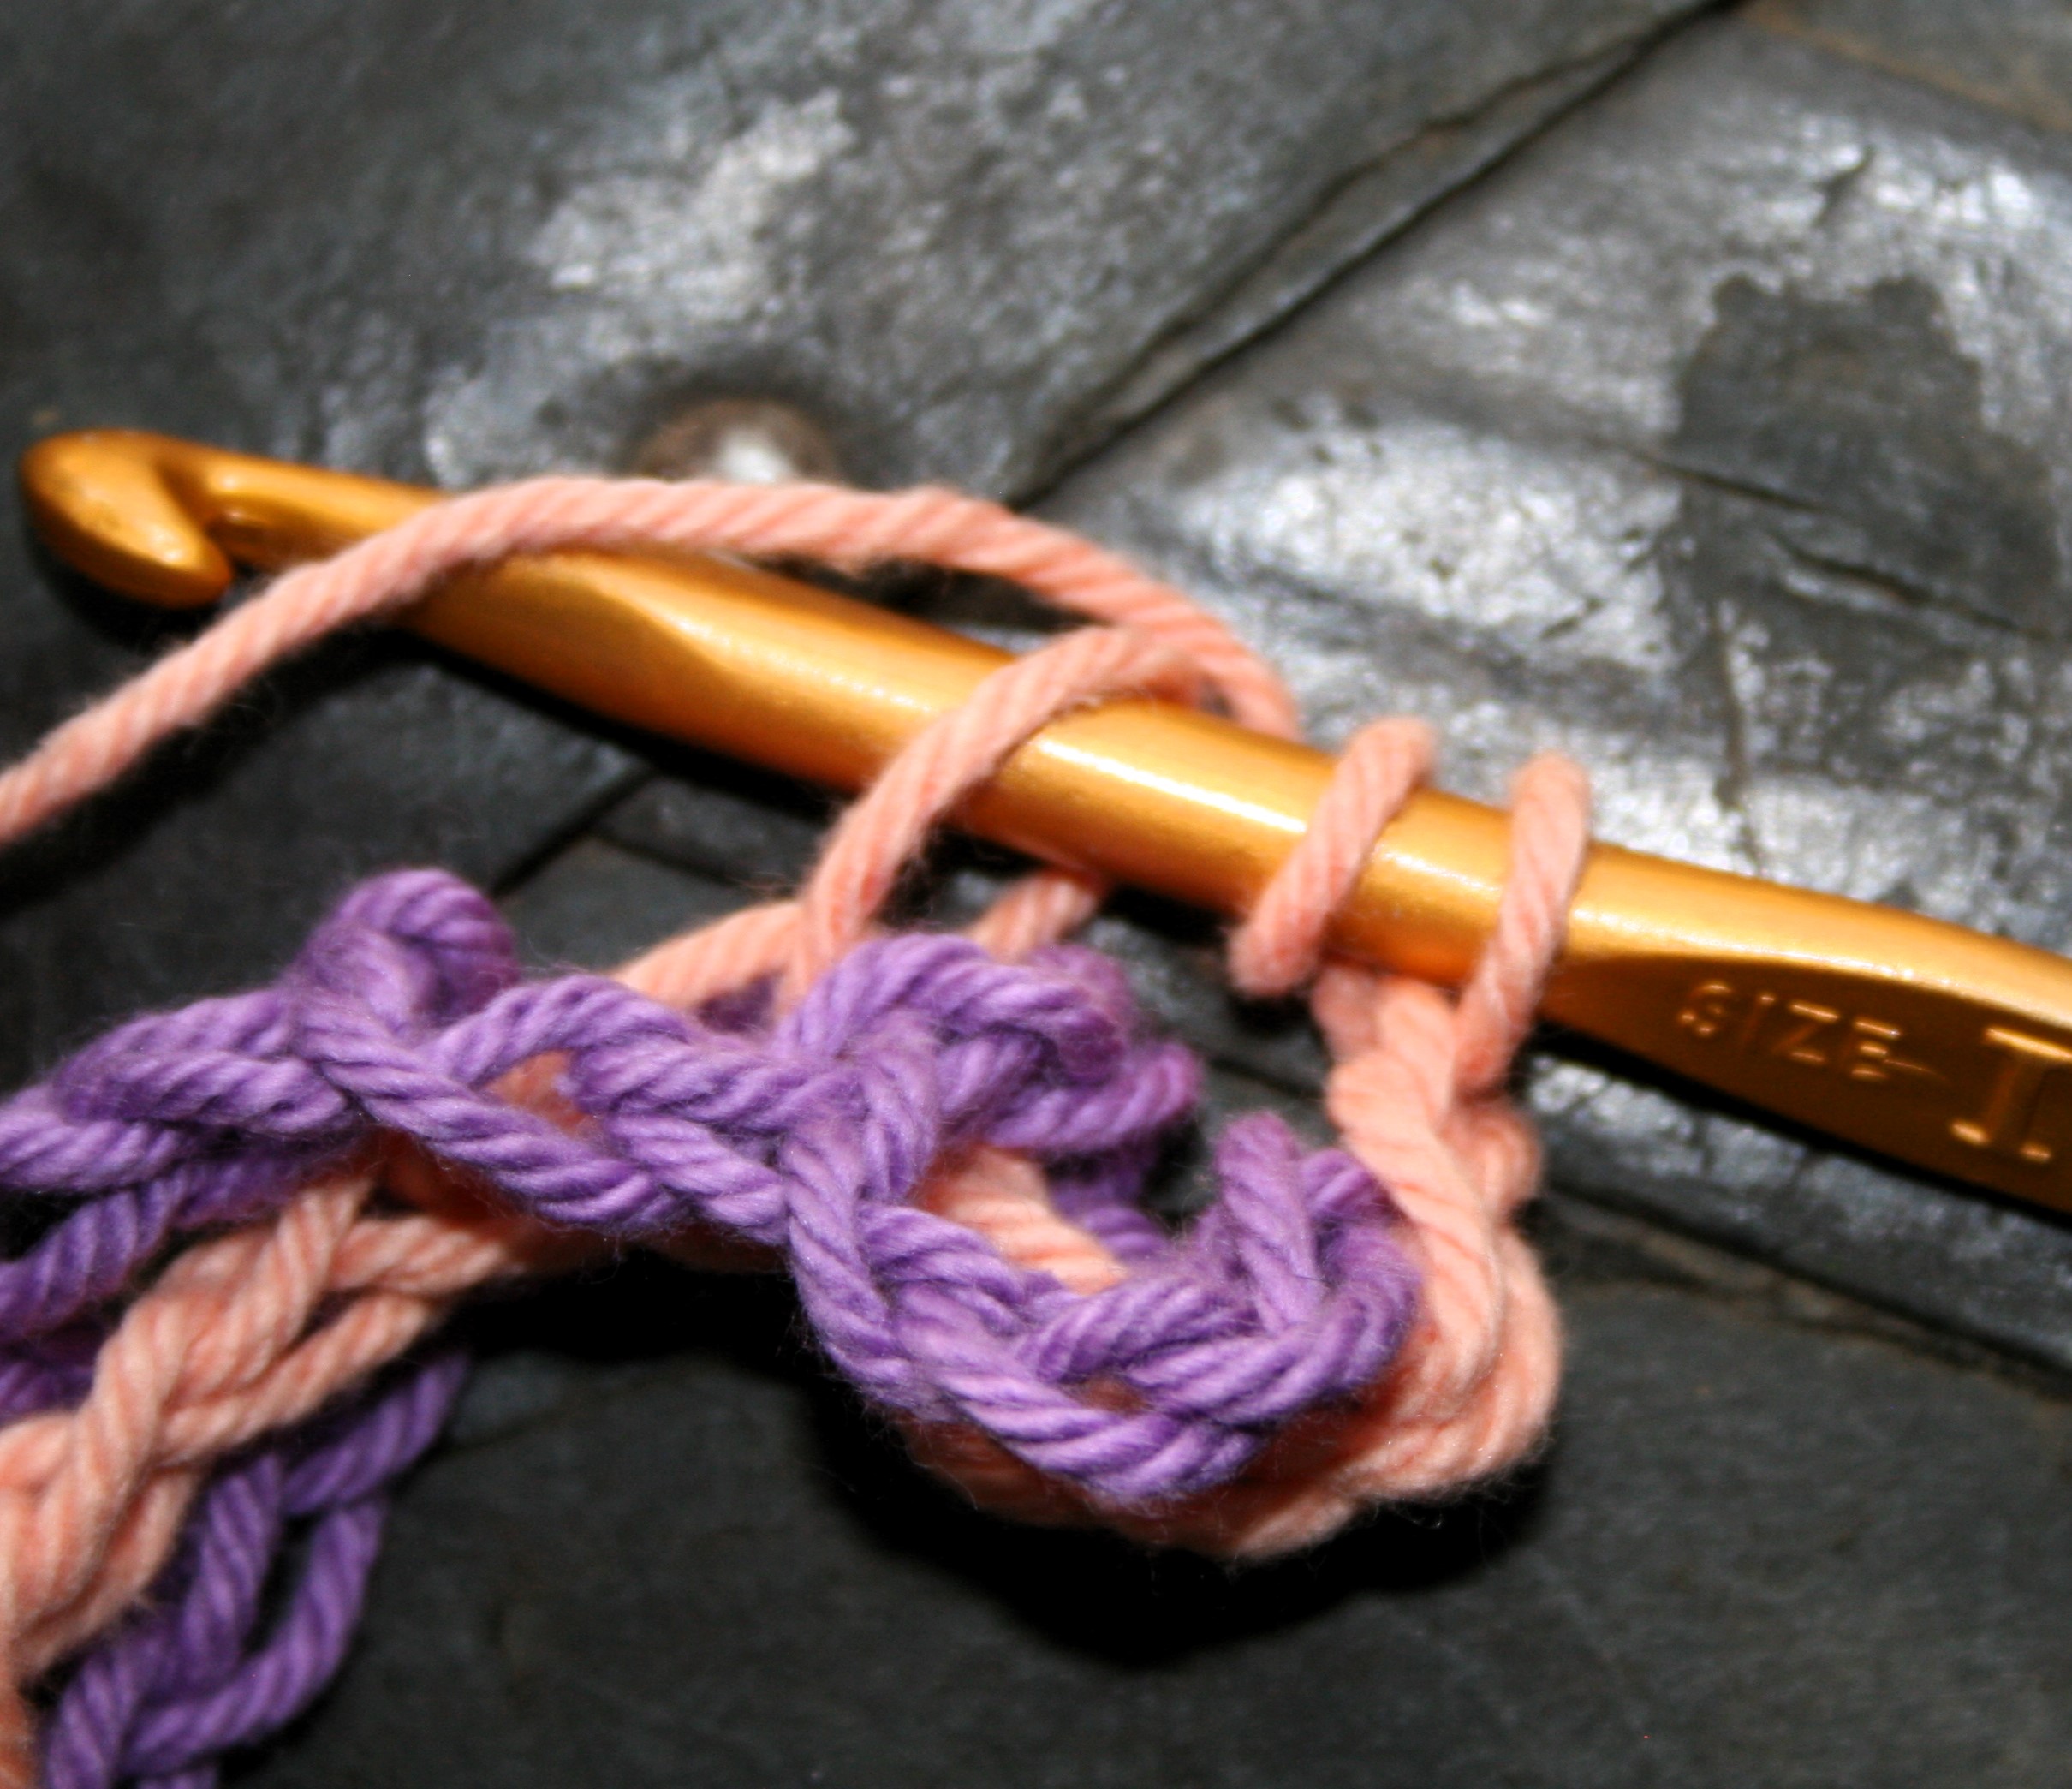
A double crochet stitch will again be worked in the 6th chain from the hook, but depending on the pattern this double crochet will either be worked in front of or behind the main color fabric and lining up with the second “open mesh” window of the piece.

Continue in pattern of either front or back across. At this point the fabric will be turned. Pay careful attention to what your pattern states here, as you are now going to remove your hook from the contrasting color yarn and work the next row of main color. The pattern will denote which side of the fabric the contrasting color fabric loop and yarn should be on (either the front of back of the fabric). This ensures that it is in the correct placement when that color row is started.

The Main color is only ever worked into the Main color, while the Contrasting color is only ever worked into the Contrasting color. Double crochet stitches will only ever be worked into double crochet stitches. Being mindful of these two truths will help you decipher where you are in the design.

Charity Block- Mesh

Over the last several weeks I have been doing a lot of work creating new design blocks for charity. These blocks can be used as you see fit to benefit others.

Materials

  • Cascade Yarn Pacific medium weight yarn, 60% acrylic/40% superwash merino wool (100g/3.5oz/213 yrd/195 m)
  • Hook size I/9/5.5mm, unless otherwise specified

Block measures 7″ x7″

Mesh block for Charity

Mesh block for charity

Rnd 1: Ch 4, sl st to first ch to form ring, ch 5 (counts as dc + ch 2), [3 dc in ring, ch 2] 3 times, 2 dc in ring, sl st to 3rd ch of beg ch-5 to join. –12 dc, 4 ch-2 sps

Rnd 2: Sl st in ch-2 sp, ch 3 (counts as dc), (dc, ch 2, 2 dc) in same sp, ch 2, sk 1 st, sc in next st, ch 2 [(2 dc, ch 2, 2 dc) in ch-2 sp, ch 2, sk 1 st, sc in next st, ch 2] 3 times, sl st in top of beg ch-3 to join. –16 dc, 12 ch-2 sps, 4 sc

Rnd 3: Sl st to first ch-2 sp, ch 3, (dc, ch 2, 2 dc) in same sp, ch 2, [sc in next ch-2 sp, ch 2] 2 times, {(2 dc, ch 2, 2 dc) in corner ch-2 sp, ch 2, [sc in next ch-2 sp, ch 2] 2 times} 3 times, sl st in top of beg ch-3 to join. –16 dc, 8 sc, 16 ch-2 sps

Rnd 4: Sl st to first ch-2 sp, ch 3, (dc, ch 2, 2 dc) in same sp, ch 2, [sc in next ch-2 sp, ch 2] 3 times, {(2 dc, ch 2, 2 dc) in corner ch-2 sp, ch 2, [sc in next ch-2 sp, ch 2] 3 times} 3 times, sl st in top of beg ch-3 to join. –16 dc, 12 sc, 20 ch-2 sps

Rnd 5: Sl st to first ch-2 sp, ch 3, (dc, ch 2, 2 dc) in same sp, ch 2, [sc in next ch-2 sp, ch 2] 4 times, {(2 dc, ch 2, 2 dc) in corner ch-2 sp, ch 2, [sc in next ch-2 sp, ch 2] 4 times} 3 times, sl st in top of beg ch-3 to join. –16 dc, 16 sc, 24 ch-2 sps

Rnd 6: Sl st to first ch-2 sp, ch 3, (dc, ch 2, 2 dc) in same sp, ch 2, [sc in next ch-2 sp, ch 2] 5 times, {(2 dc, ch 2, 2 dc) in corner ch-2 sp, ch 2, [sc in next ch-2 sp, ch 2] 5 times} 3 times, sl st in top of beg ch-3 to join. –16 dc, 20 sc, 28 ch-2 sps

Rnd 7: Sl st to first ch-2 sp, ch 3, (dc, ch 2, 2 dc) in same sp, ch 2, [sc in next ch-2 sp, ch 2] 6 times, {(2 dc, ch 2, 2 dc) in corner ch-2 sp, ch 2, [sc in next ch-2 sp, ch 2] 6 times} 3 times, sl st in top of beg ch-3 to join. –16 dc, 24 sc, 32 ch-2 sps

Rnd 8: Sl st to first ch-2 sp, ch 3, (dc, ch 2, 2 dc) in same sp, ch 2, [sc in next ch-2 sp, ch 2] 7 times, {(2 dc, ch 2, 2 dc) in corner ch-2 sp, ch 2, [sc in next ch-2 sp, ch 2] 7 times} 3 times, sl st in top of beg ch-3 to join. –16 dc, 28 sc, 36 ch-2 sps

Rnd 9: Ch 1, sc in same st, sc in next st, [(sc, ch 2, sc) in corner ch-2 sp, sc in each st and ch across to next corner ch-2 sp] 3 times, (sc, ch 2, sc) in last corner ch-2 sp, sc in each st and ch to end, sl st in first sc to join. –124 sc

Fasten off, weave in ends, block.

Blossom Spins and Flowers on the Beach Thoughts

ScannedImageThis is a busy time of year. All the work that filled my days at the end of summer is now making its way onto the newsstands to be enjoyed!

Untitled

Photo courtesy of Annie’s

The special issue of Crochet! Magazine, Quick & Easy Crochet Accessories features two of my new designs (one if actually featured on the issue cover!), and I thought that I would share some of what went into creating them.

image

Blossom Spins Wrap Photo courtesy of Annie’s

The first one, the Blossom Spins Wrap, grew out of some playing I was doing with the picot stitch. The picot is usually noticed in edges and is created from a set of chains that are slip stitched back to the same base stitch. This creates a little nub, or dot, along the stitch pattern. I was attempting to see what other secrets this little decorative stitch might hold. In doing so I made the chains a little longer and now created a loop that could become the foundation for other stitches! In the case of the wrap these picots hold a shell stitch that allows for a subtle wave, making these square motifs appear more like diamonds.

The other real charm of this design, the color work, is all done by the yarn. Both of these designs I am discussing are created with Deborah Norville Serenity Garden Yarn, it is a light weight yarn that is silky and soft. It comes in a wide array of color ways and creates lovely striping, and in the result of the motifs, creates a beautiful speckling of color highlights.

image-2

Flowers on the Beach Photo courtesy of Annie’s

The other design, the Flowers on the Beach Bag, came into being from the flowers. The flowers are a design that I have played with, creating the petals large and wide in just a single row, and then basically outlining the edge of the flower by working a round of single crochet directly on top. I have found that I really enjoy these flowers, and they, like the motifs in the wrap, offer a great way for the color of the yarn to create a fun dimension. The mesh bag that the flowers are worked onto is quite simple and easily collapses, not taking up much room when being stored, but then can readily carry all the necessities for a day at the farmer’s market or a picnic at the beach.

In retrospect these designs really sing due to the color of the yarn, the structure of the designs themselves hold a good positive and negative space, but the color is what catches your eye and draws you in more. I might have to play with some more color changes and see how that can affect the outcomes of designs that I feel are missing something….you’ll never know when the right combination will come together.