I enjoyed this project, Grace in the Garden Sun Hat (found in the new special issue of Crochet! Magazine Crochet in a Snap, currently available on newsstands); I had fun putting it together. It has a classic sun hat feel, but a not so classic crochet approach.

photo courtesy of Annie’s
I usually always have a crochet hook close at hand, heck usually I have one holding up my hair, but that does not mean I always have yarn flowing through my fingers; this is a project that highlights that.
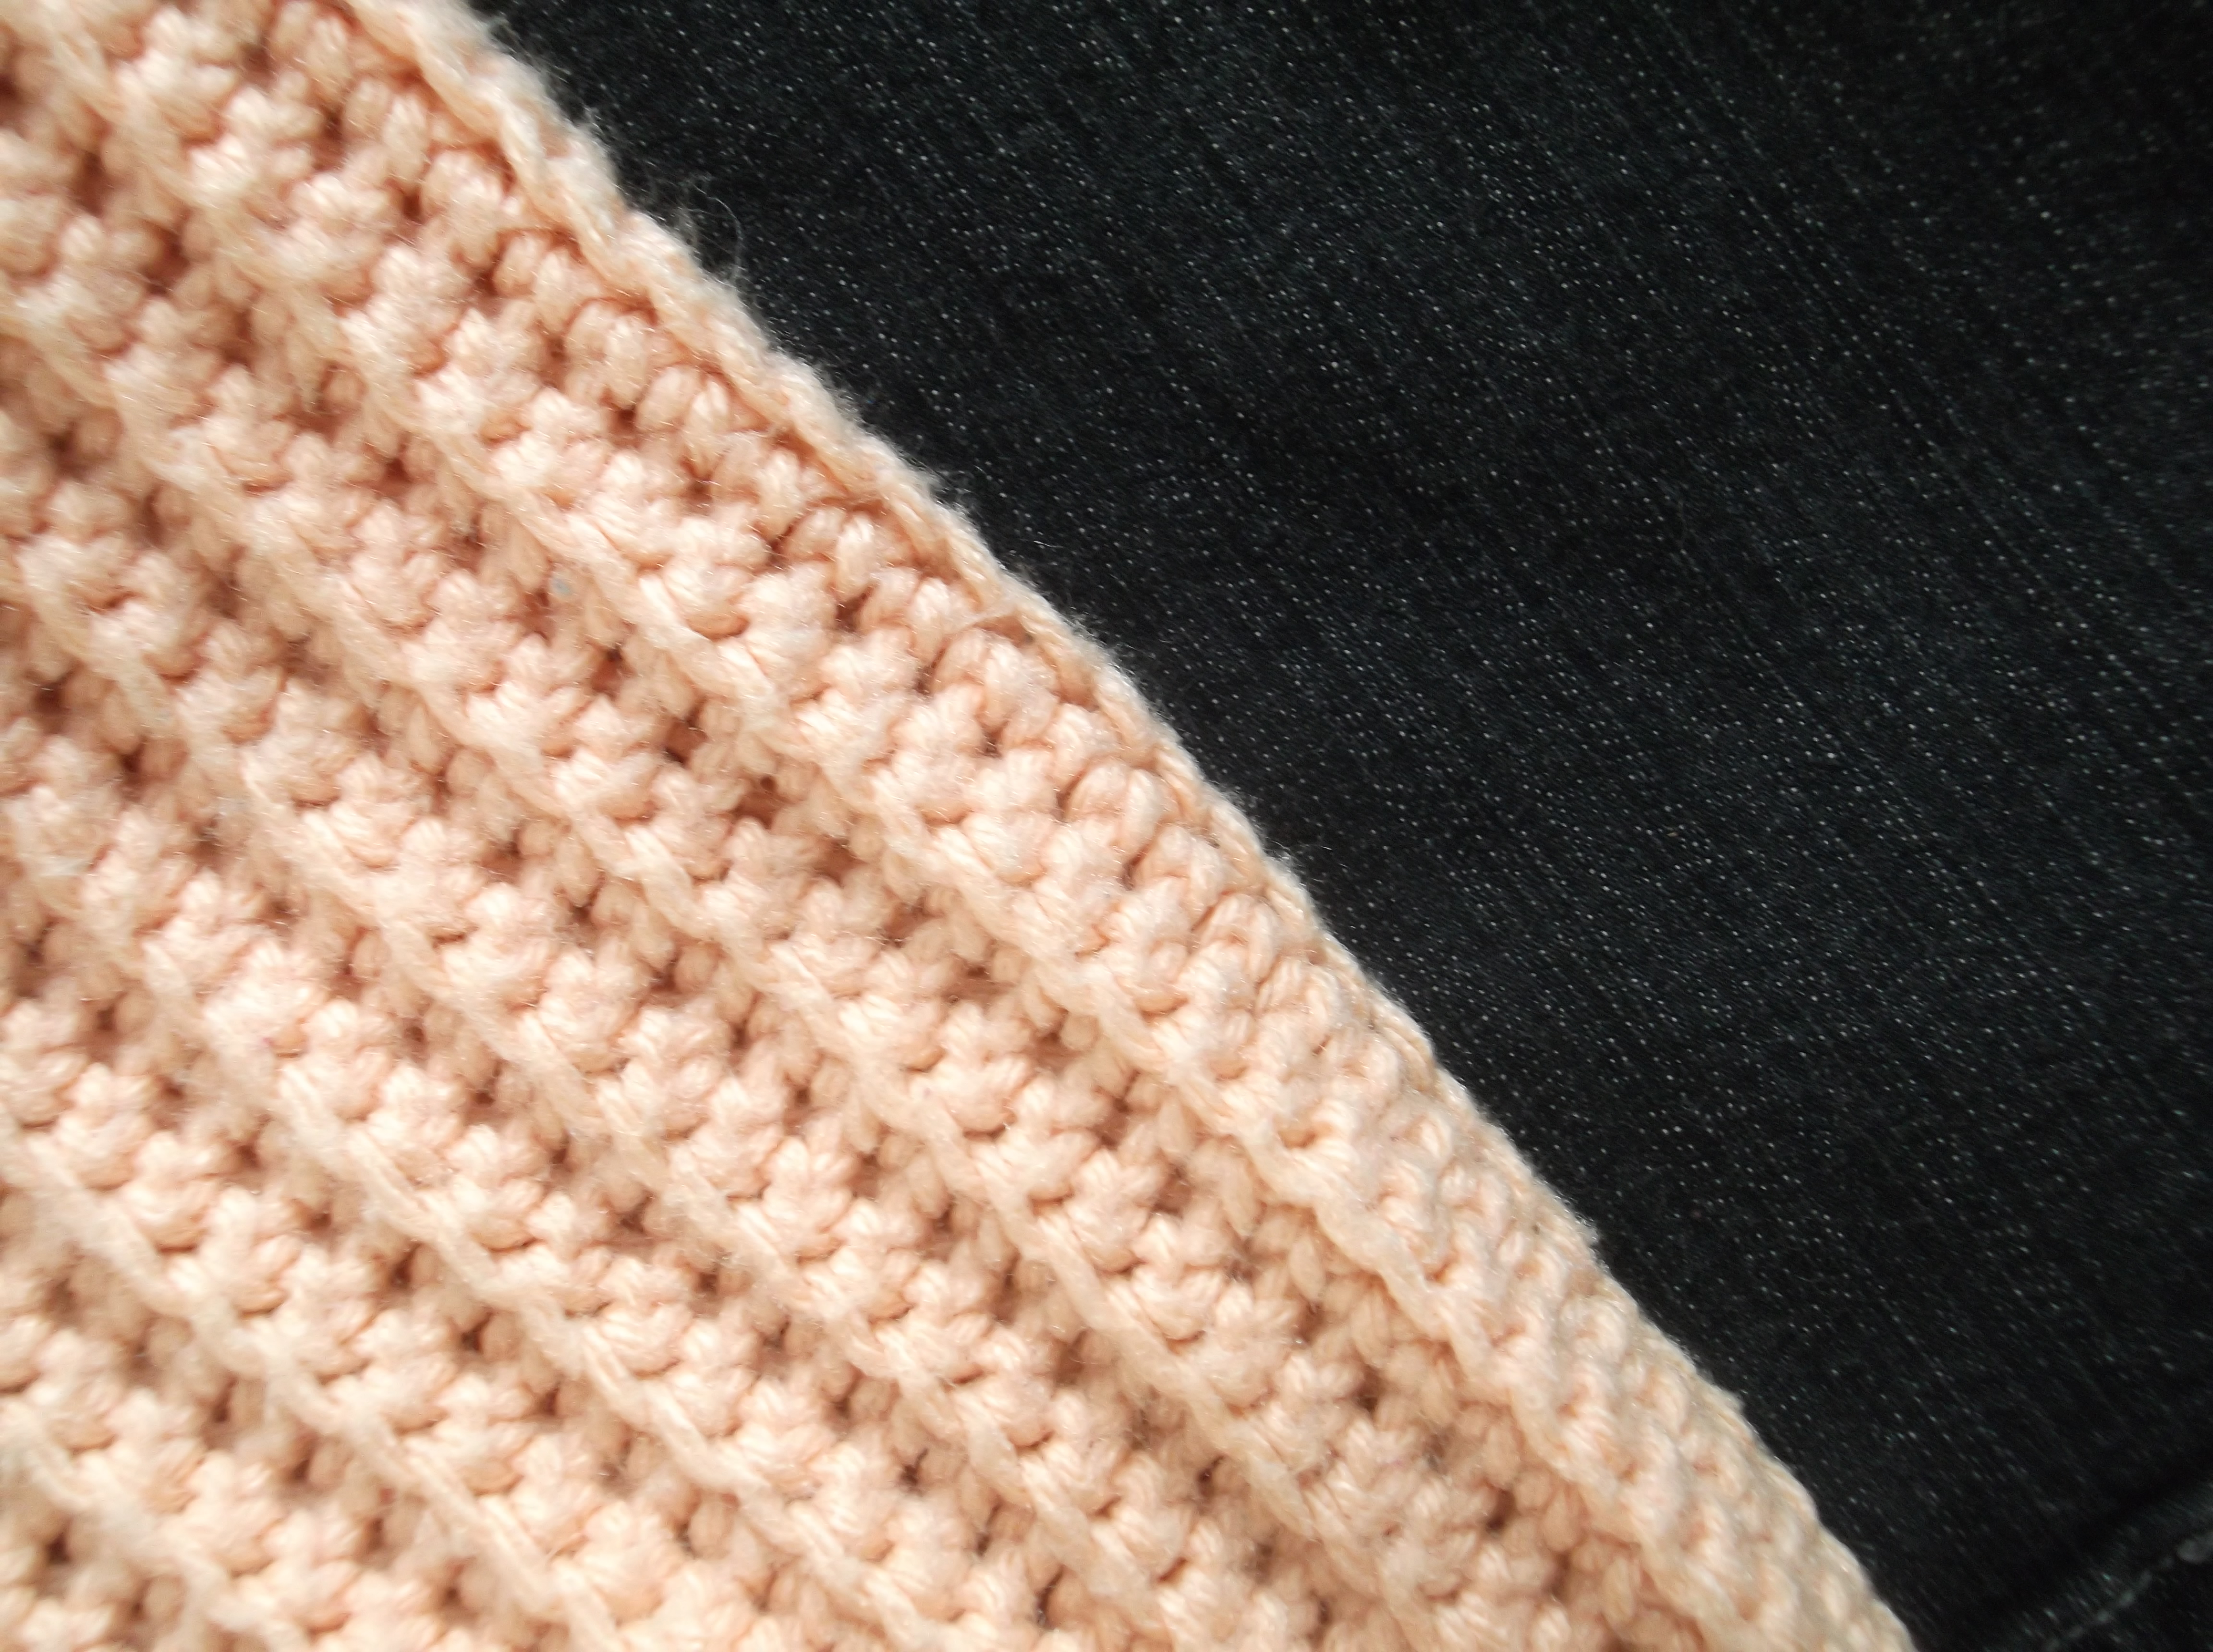
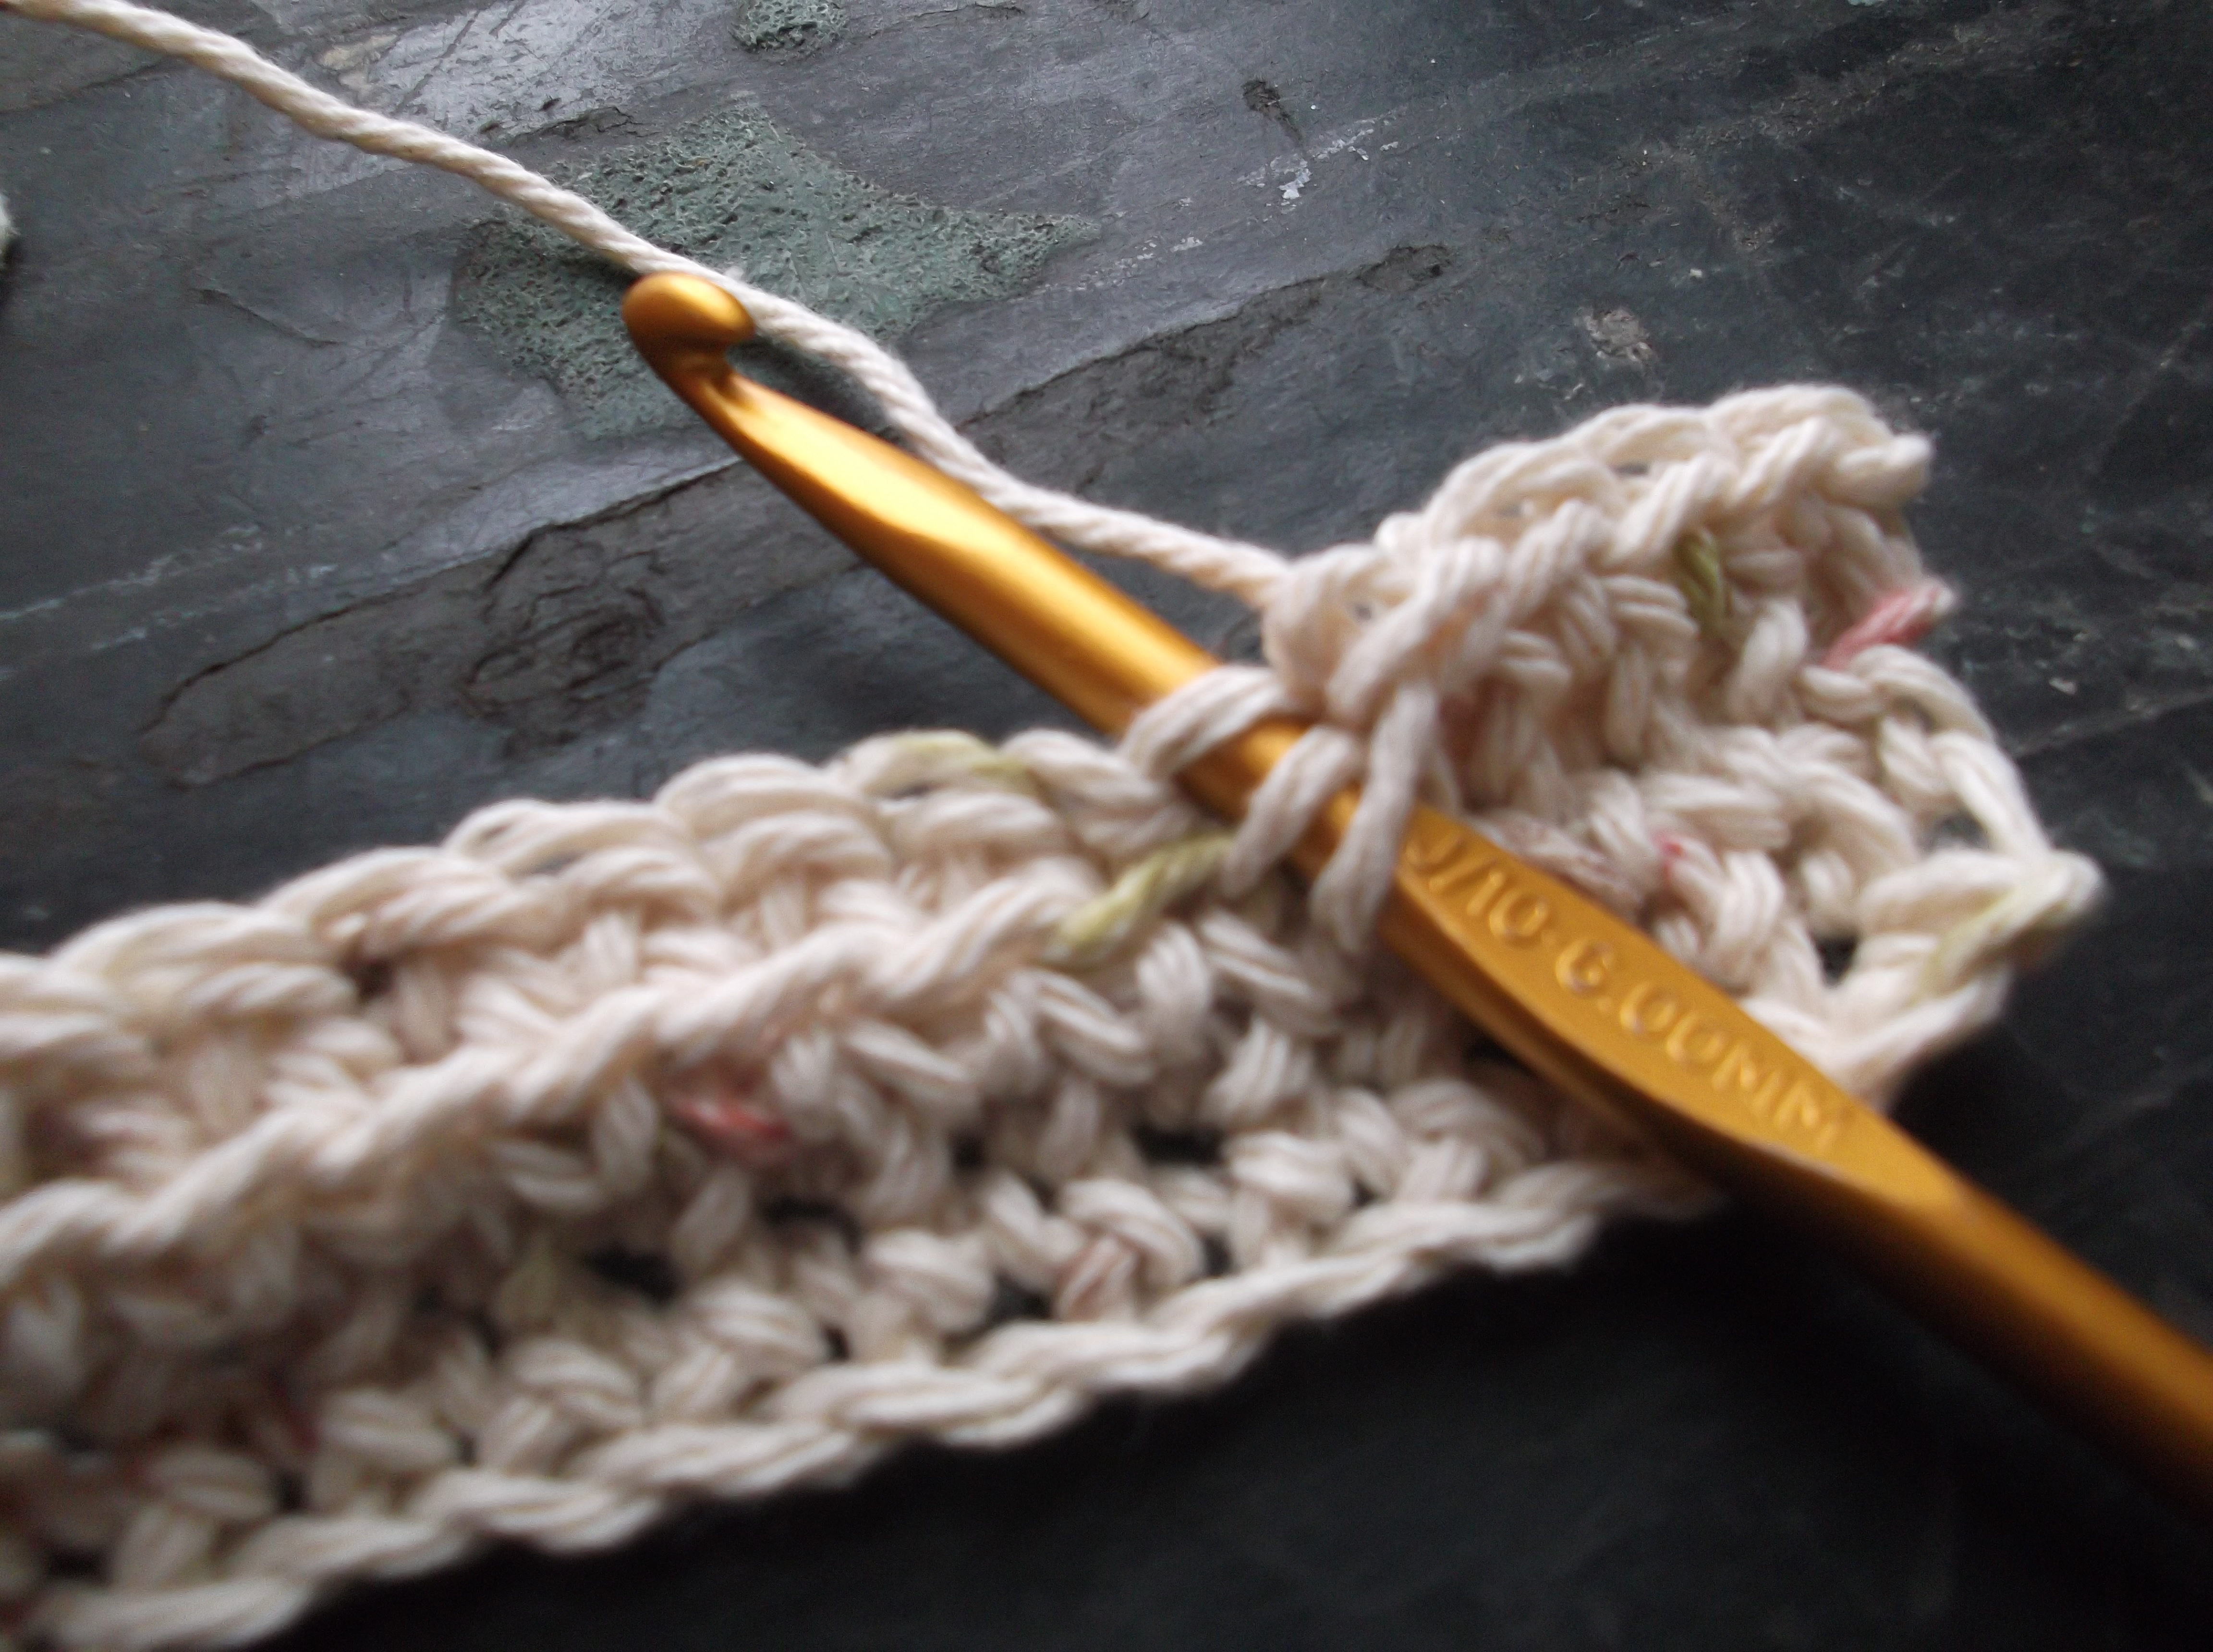
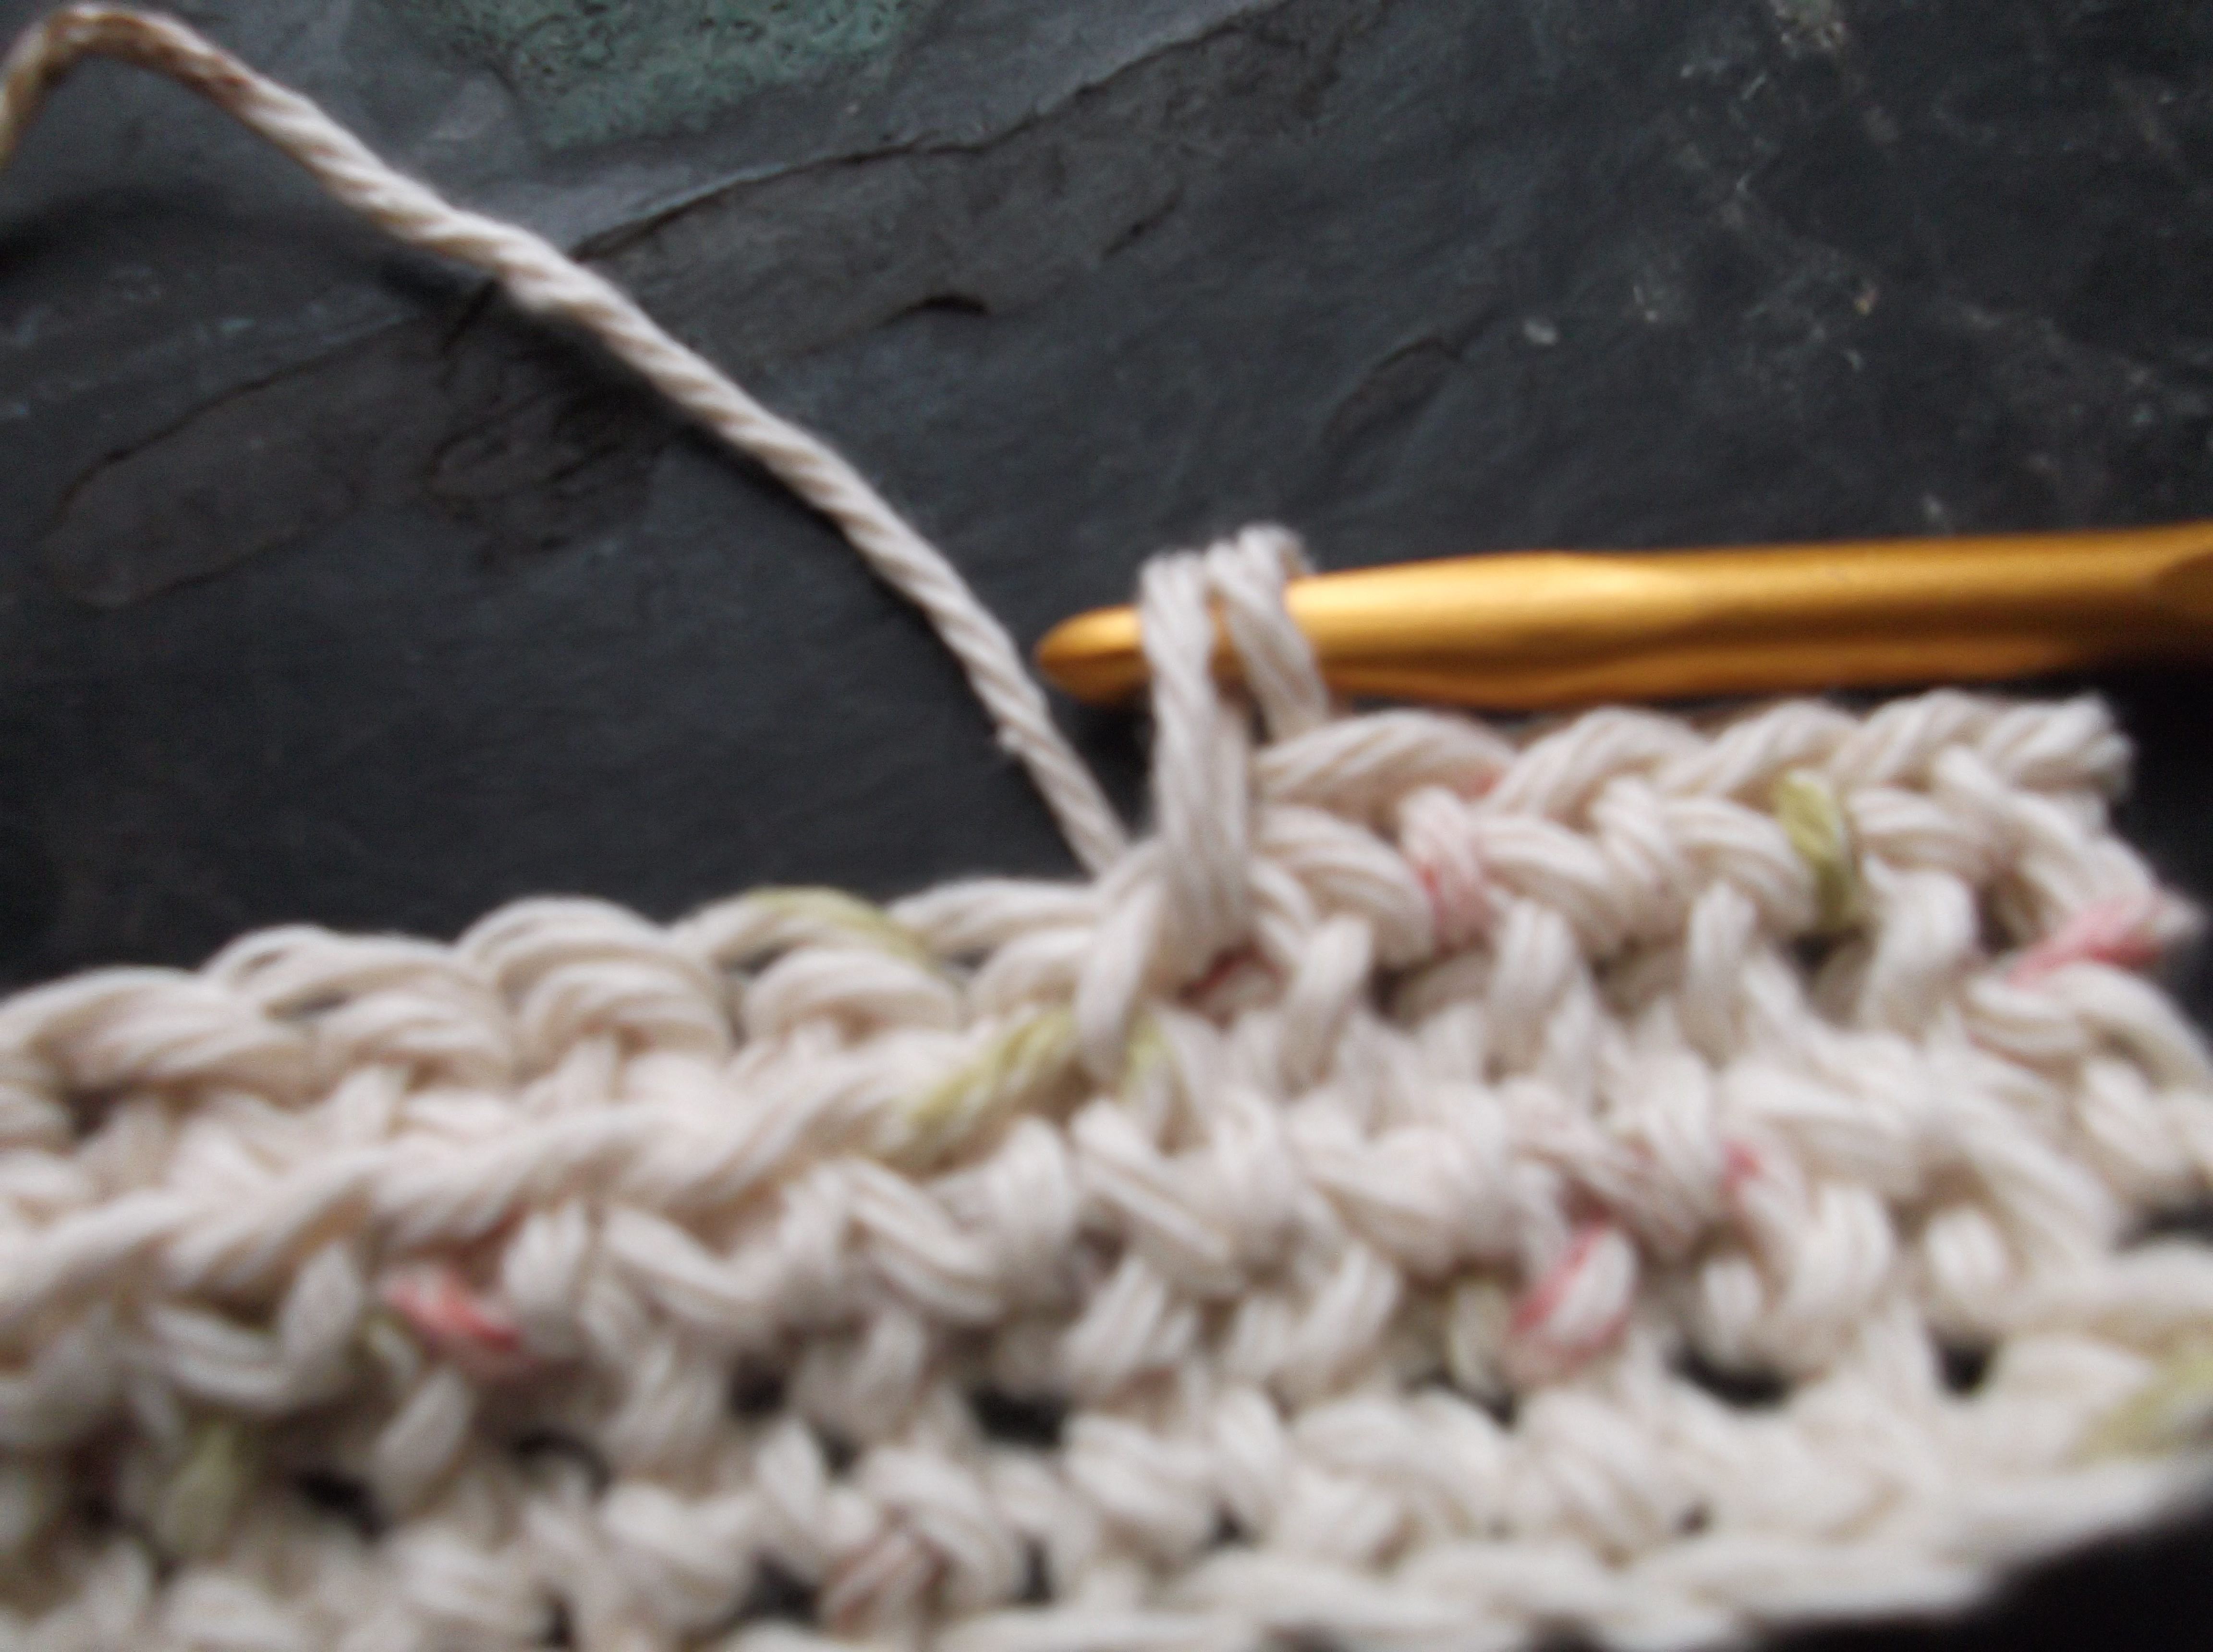
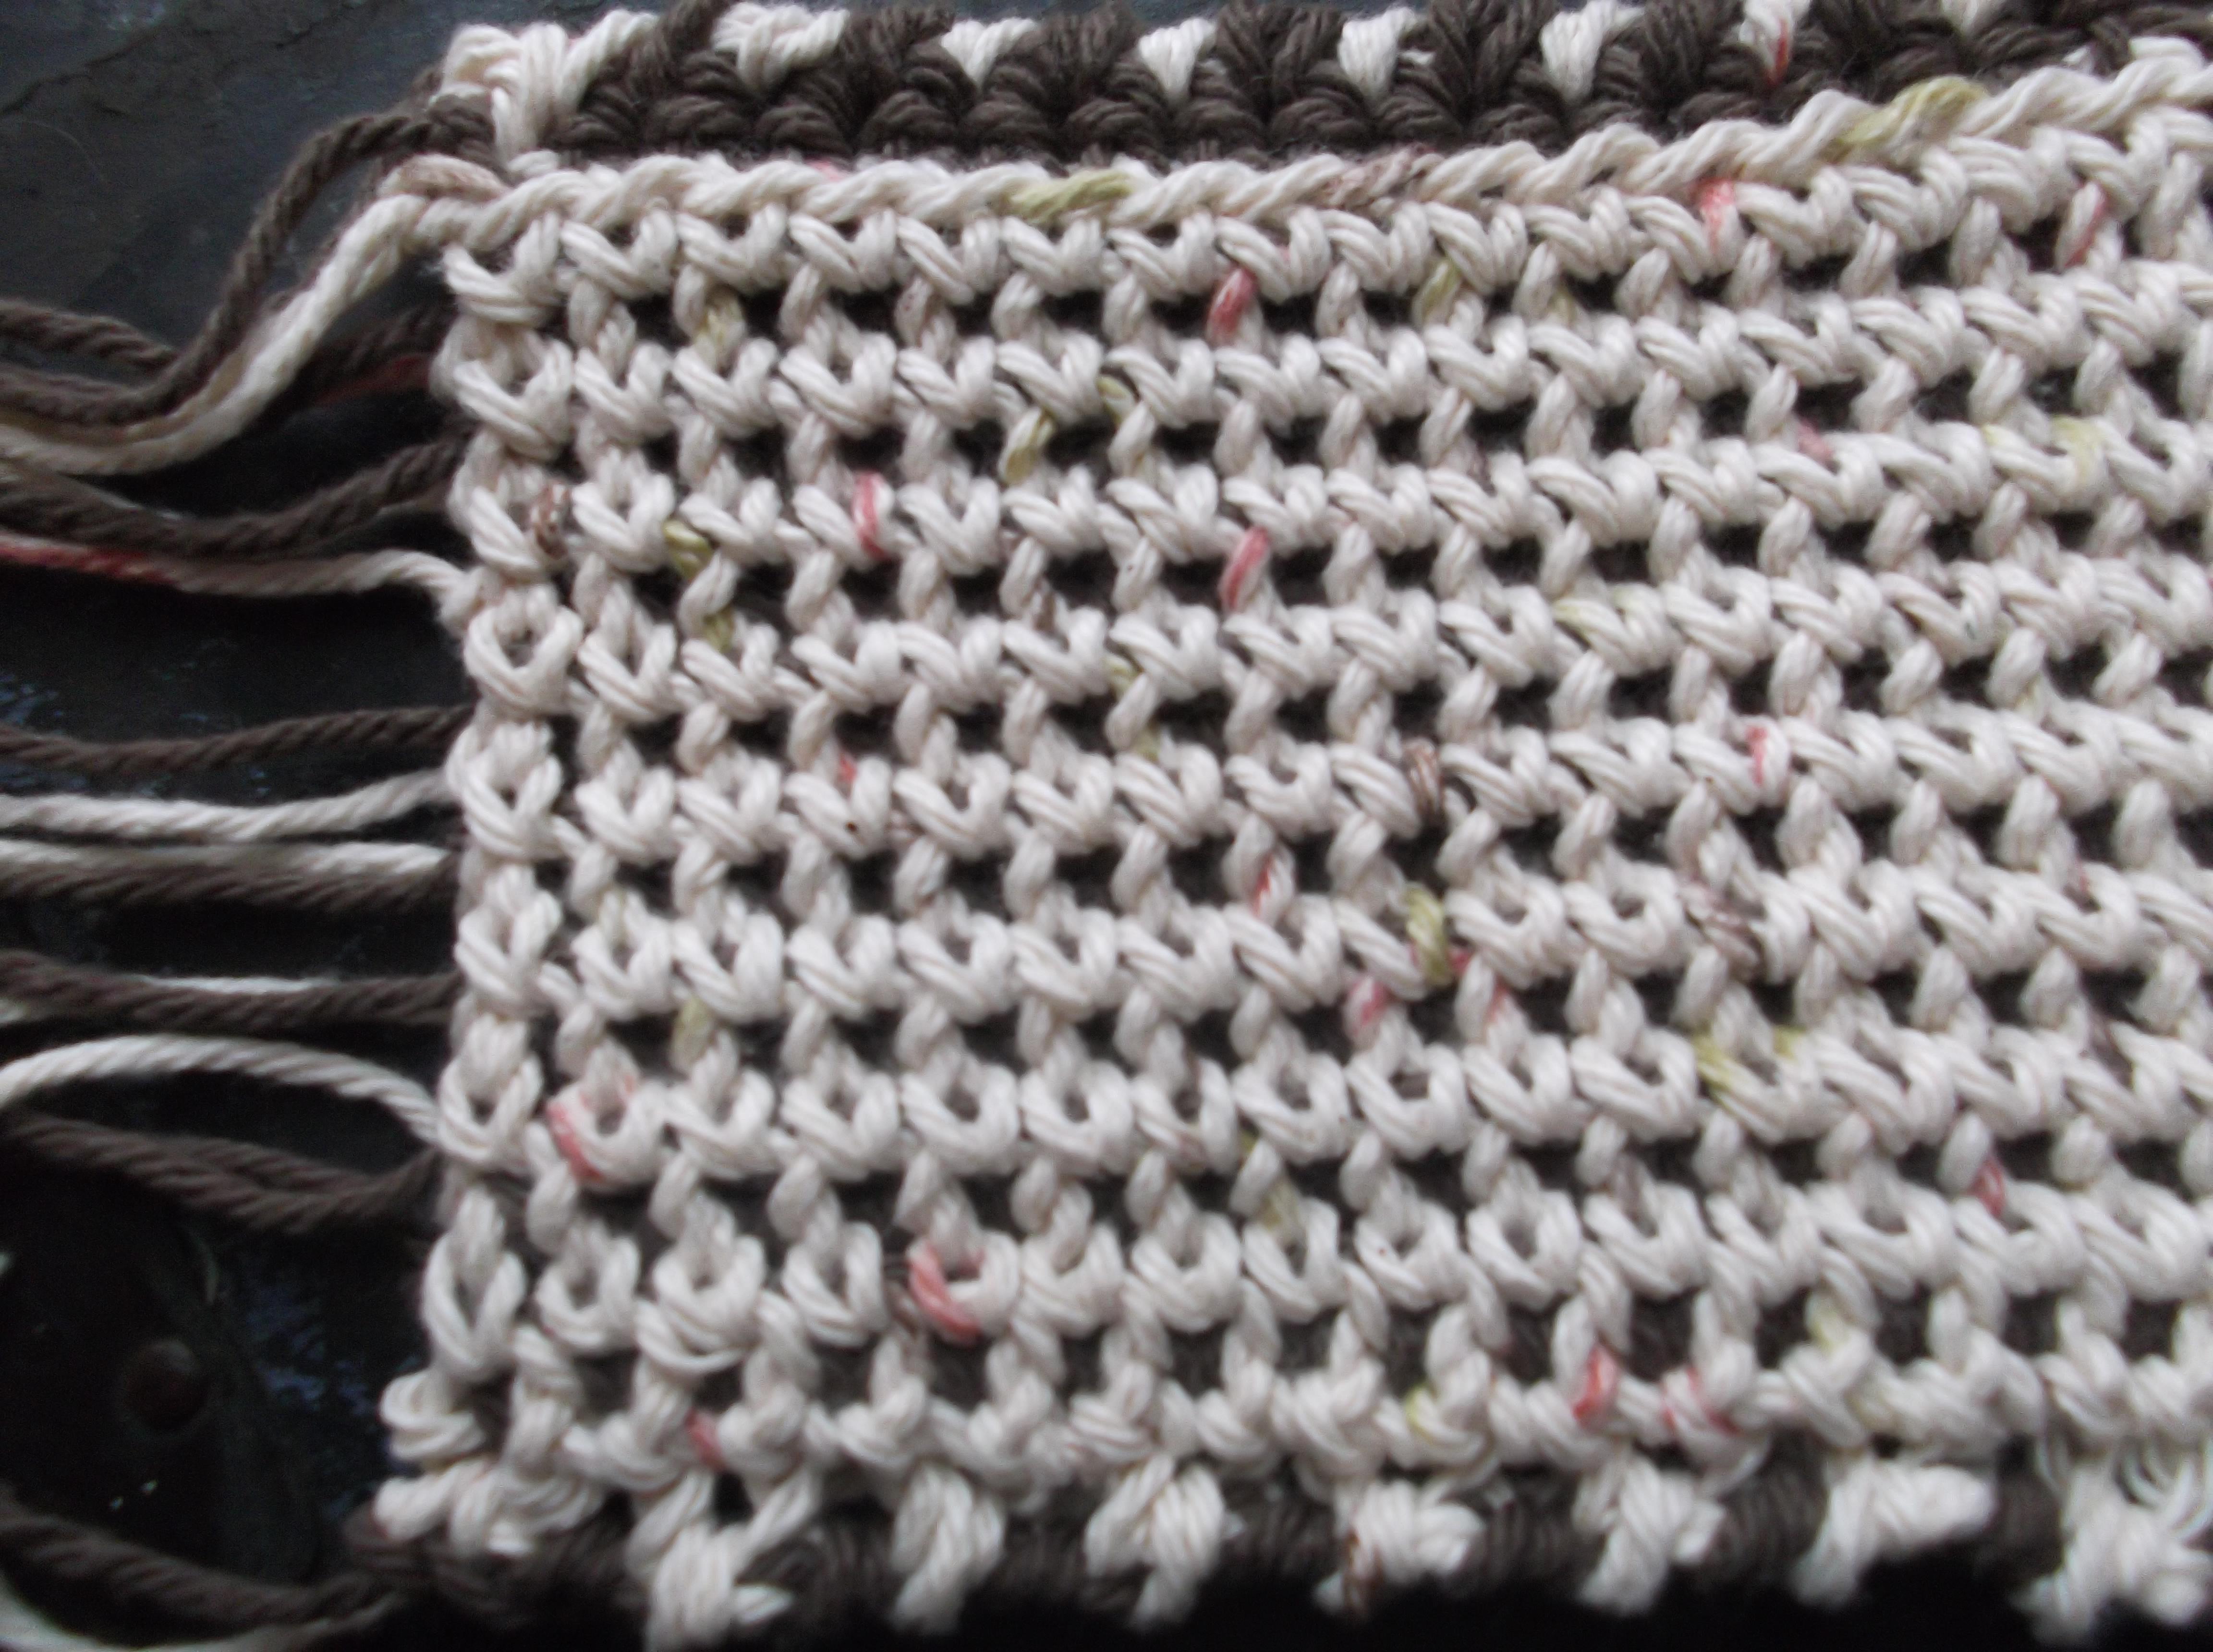
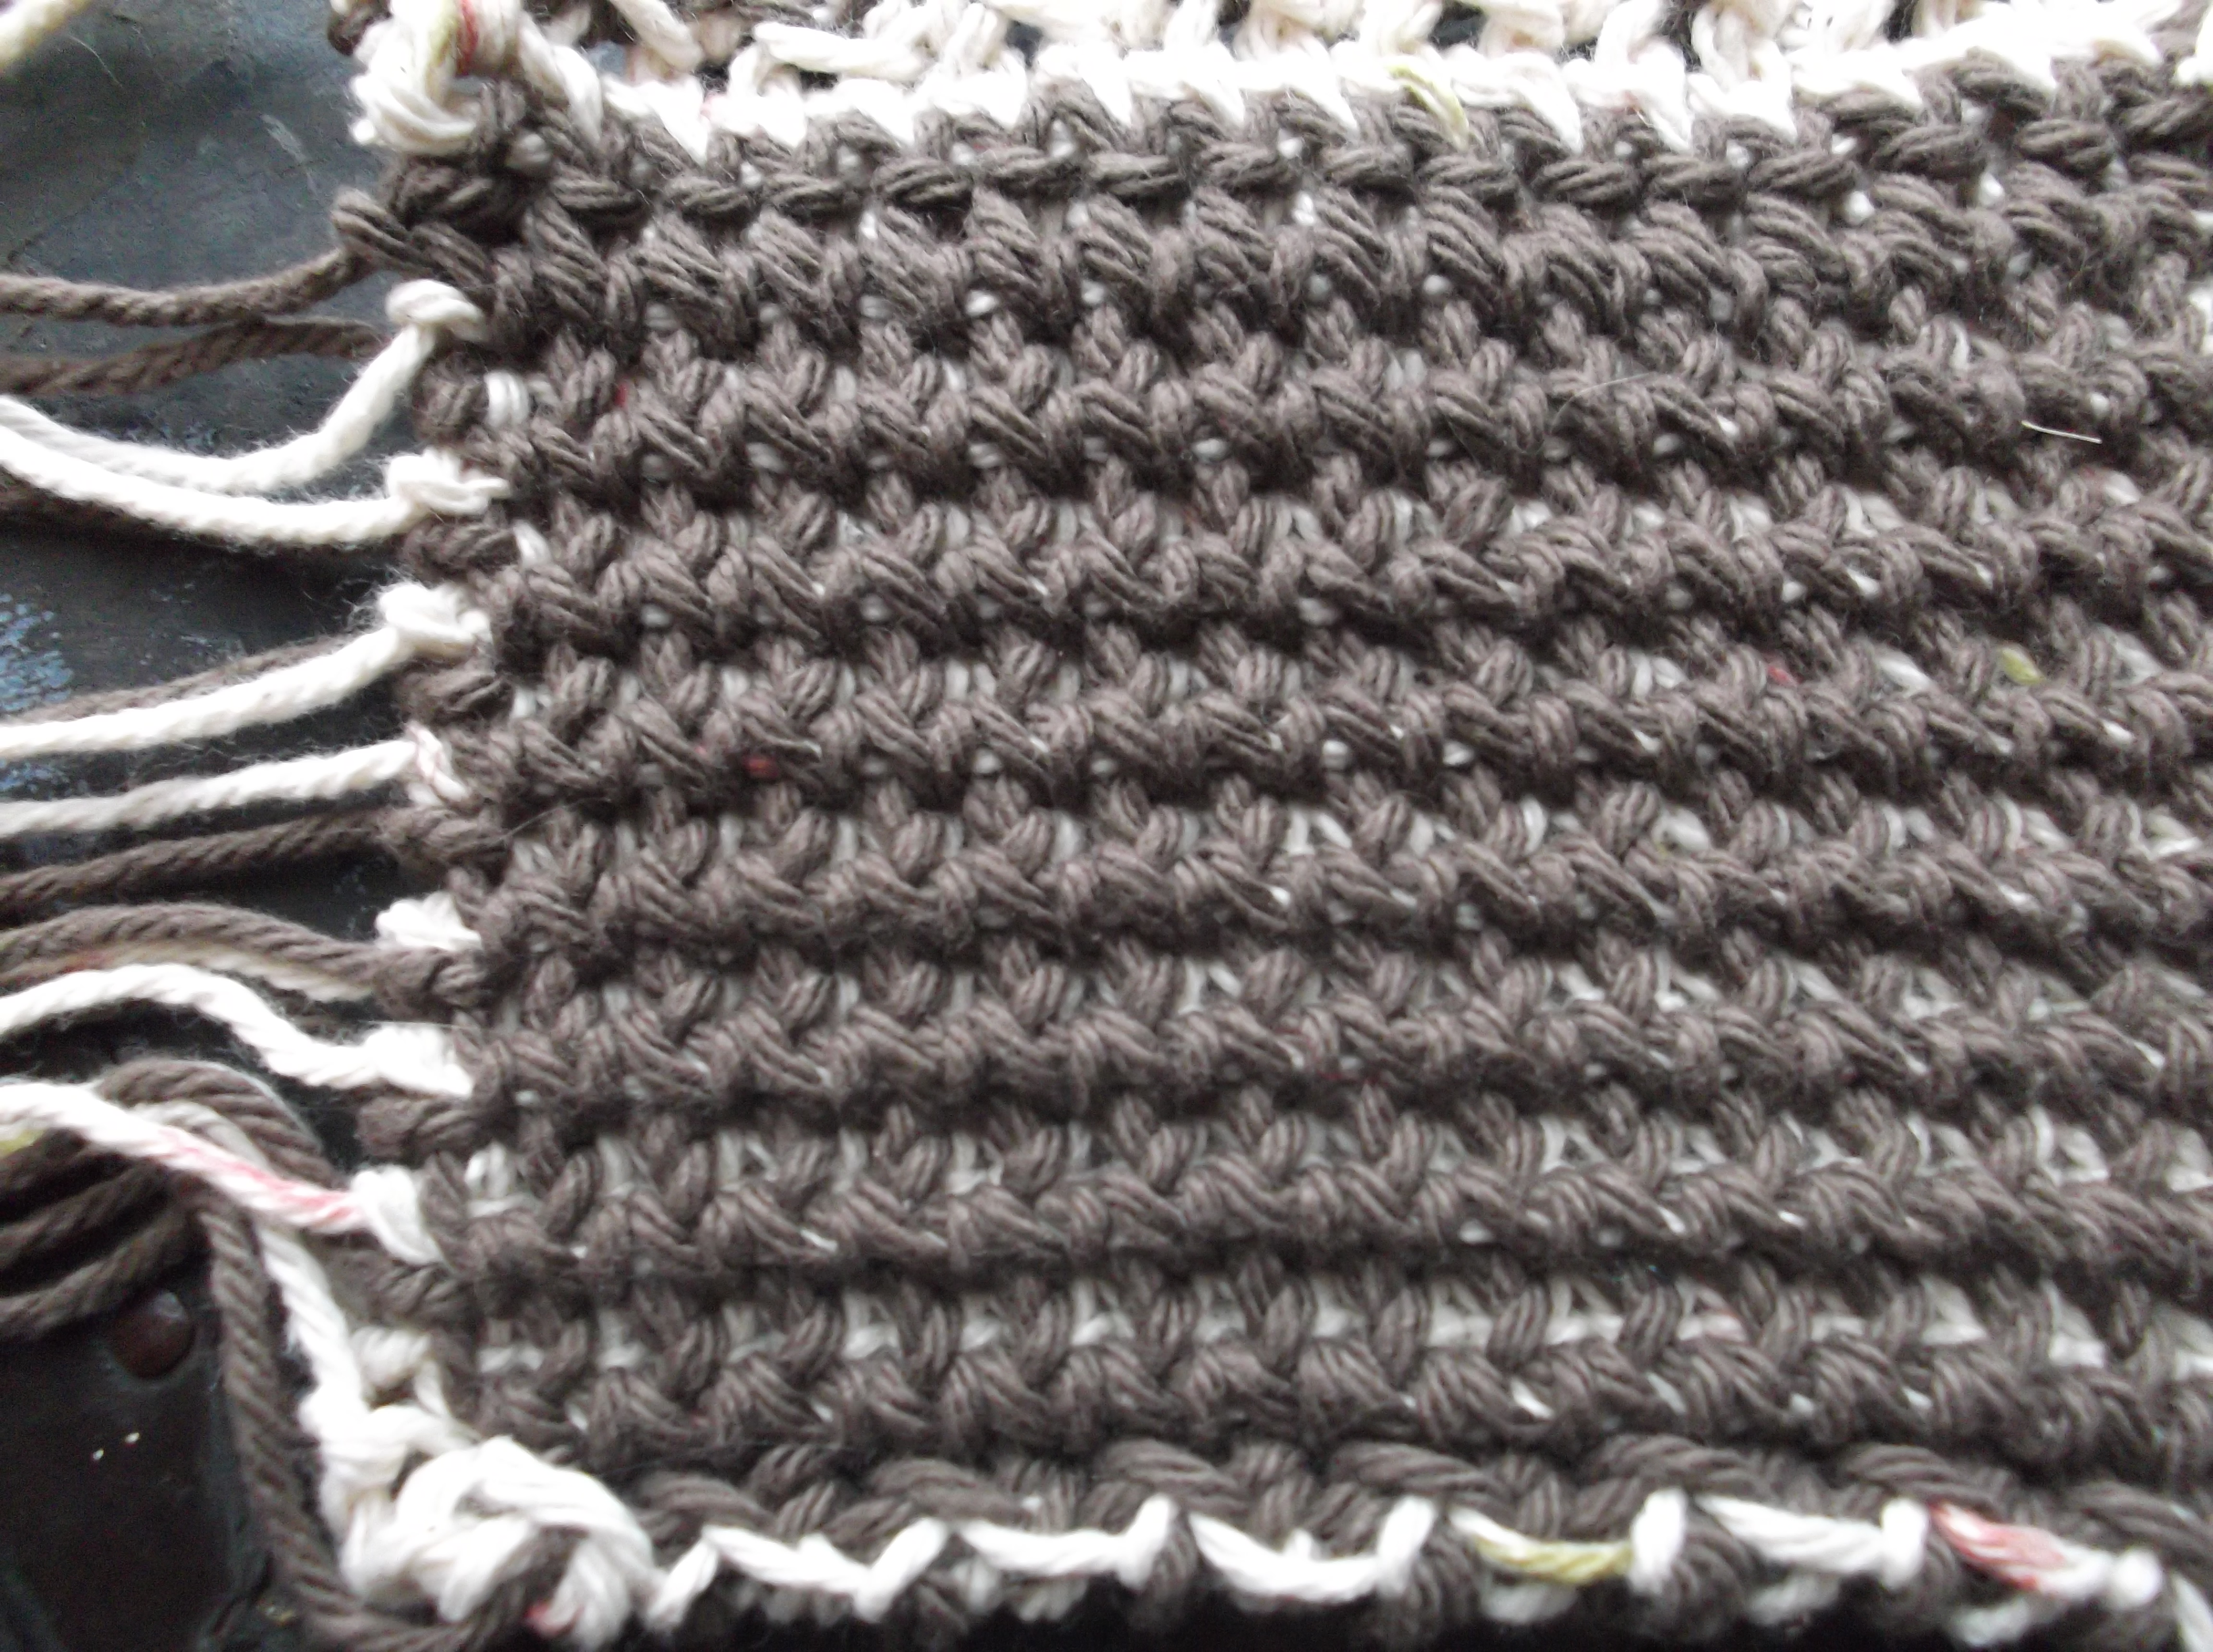
Originally I was looking to create this hat out of jute, I liked the natural woody color and stiff feels, but after some discussion with the editor it was decided to use household twine (as the jute has an abrasive quality, it was probably a good choice). As chaining and joining can be a bit more obvious with this material, it is worked as a continuous spiral, so it has a very clean look. I was really please with how it came out.
The scarf woven through it is just a simple silk scarf that I found at my local Kmart. As it was near the end of the summer season when I was working this up, I found it on a discount rack, and for only a couple of dollars it really dresses up the hat.
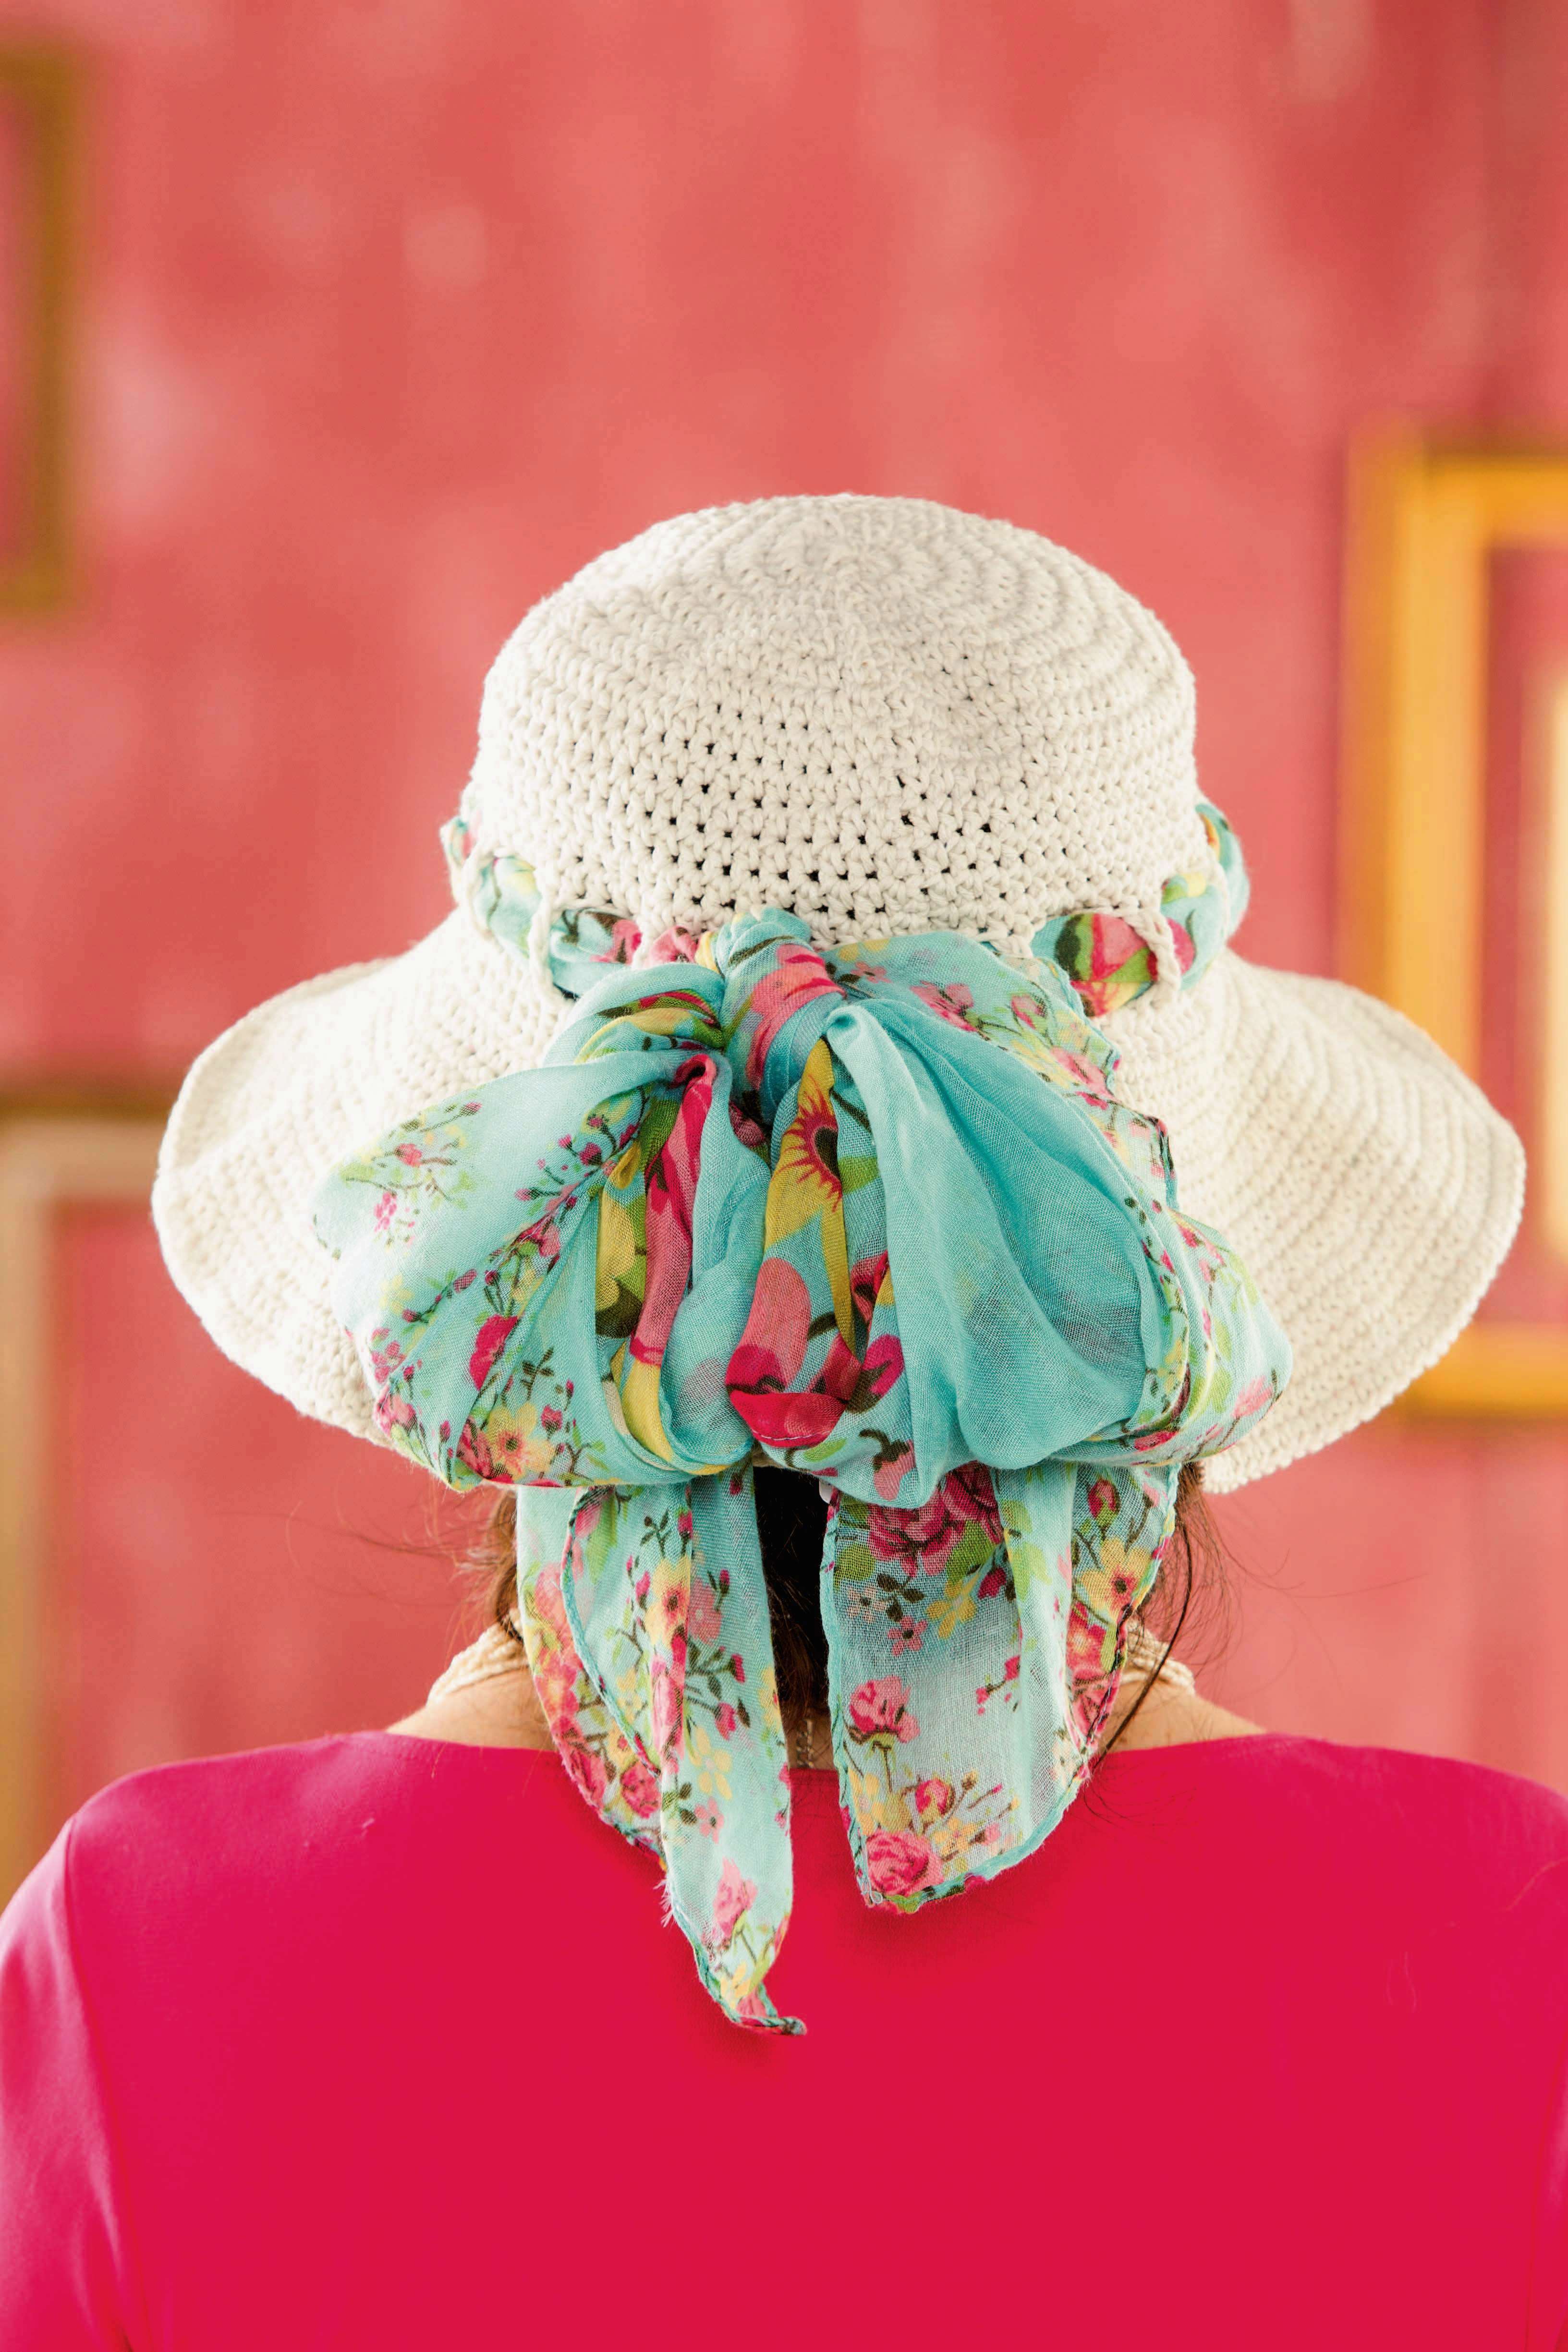
photo courtesy of Annie’s
However the twine does lend itself to be a little flimsier in the brim, it likes to bend and fold more than the stiffer material of jute, but this can easily be corrected with some spray starch or other stiffening techniques. But sometimes the floppy looker can be charming as well.
This hat reminds me of ladies lounging poolside, wearing large sunglasses and reading magazines, like some old Hollywood movie, maybe I will have to give that a try with this hat…but I’ll let the weather warm up just a little first.

photo courtesy of Annie’s….check out newsstands for the latest special issue!