 Many people who believe that they can’t read a pattern, really just have a different learning style. This last pattern reading technique I want to discuss is probably the most difficult for most people to grasp, reading stitches. I don’t mean that is too difficult for people to understand, but it is not the most effective way for most people to read a pattern, but there are some that this is a needed style. It reminds me of playing music by ear; you know the melody and are finding the write notes. This is a tactical way of learning, by using your hands and touch, whereas traditionally written patterns are good for oral learners (reading it our loud and it makes perfect sense), and charts are great for visual learners. This doesn’t mean that you only have one learning style, most of use learn effectively from a combination, it is just that tactical instruction is a little less apparent and some people believe they can’t understand a pattern when really they haven’t given themselves permission to realize that they may understand the craft of crochet in a different way than others.
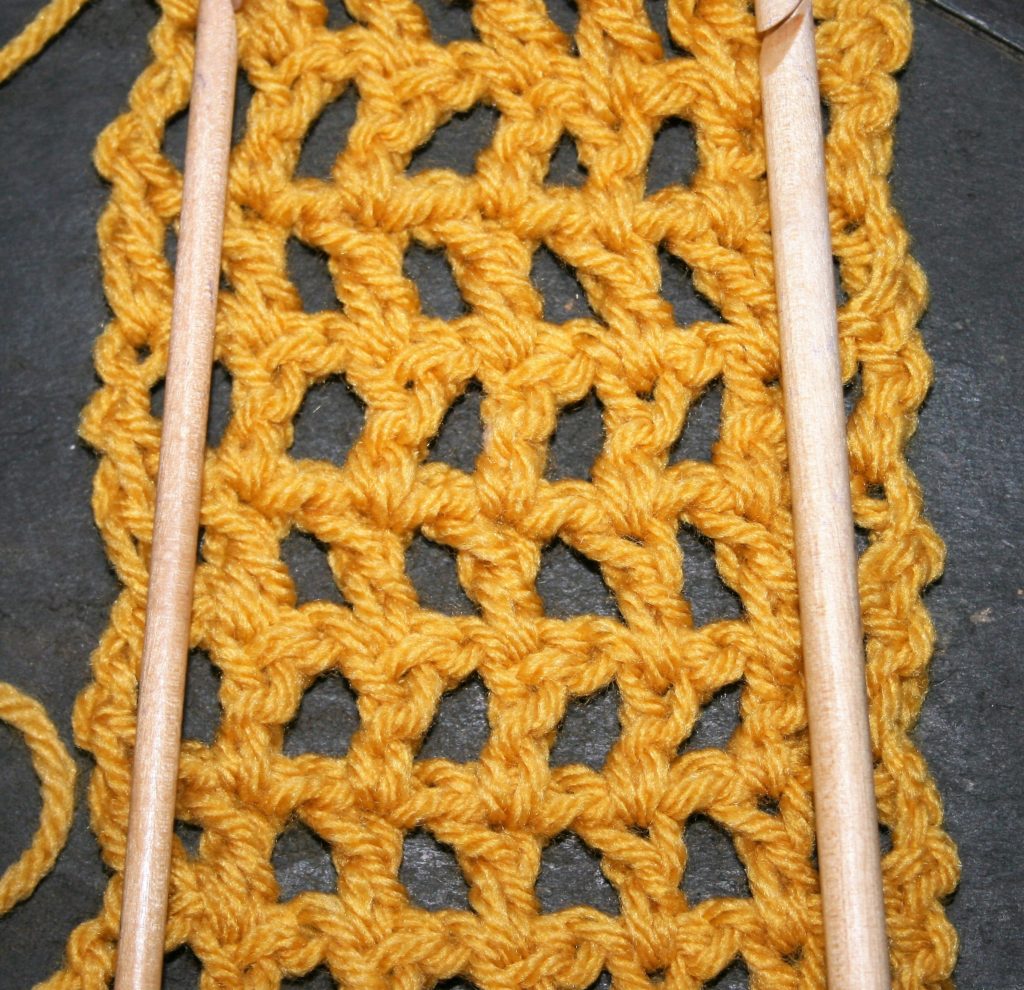
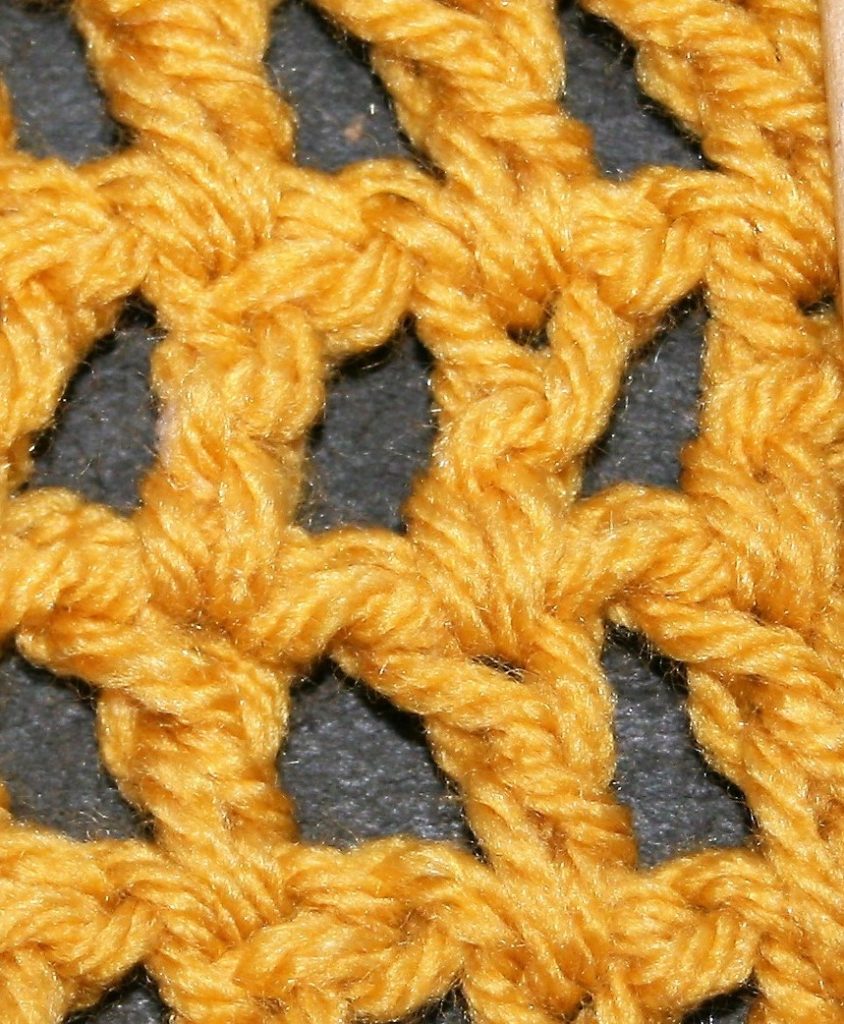
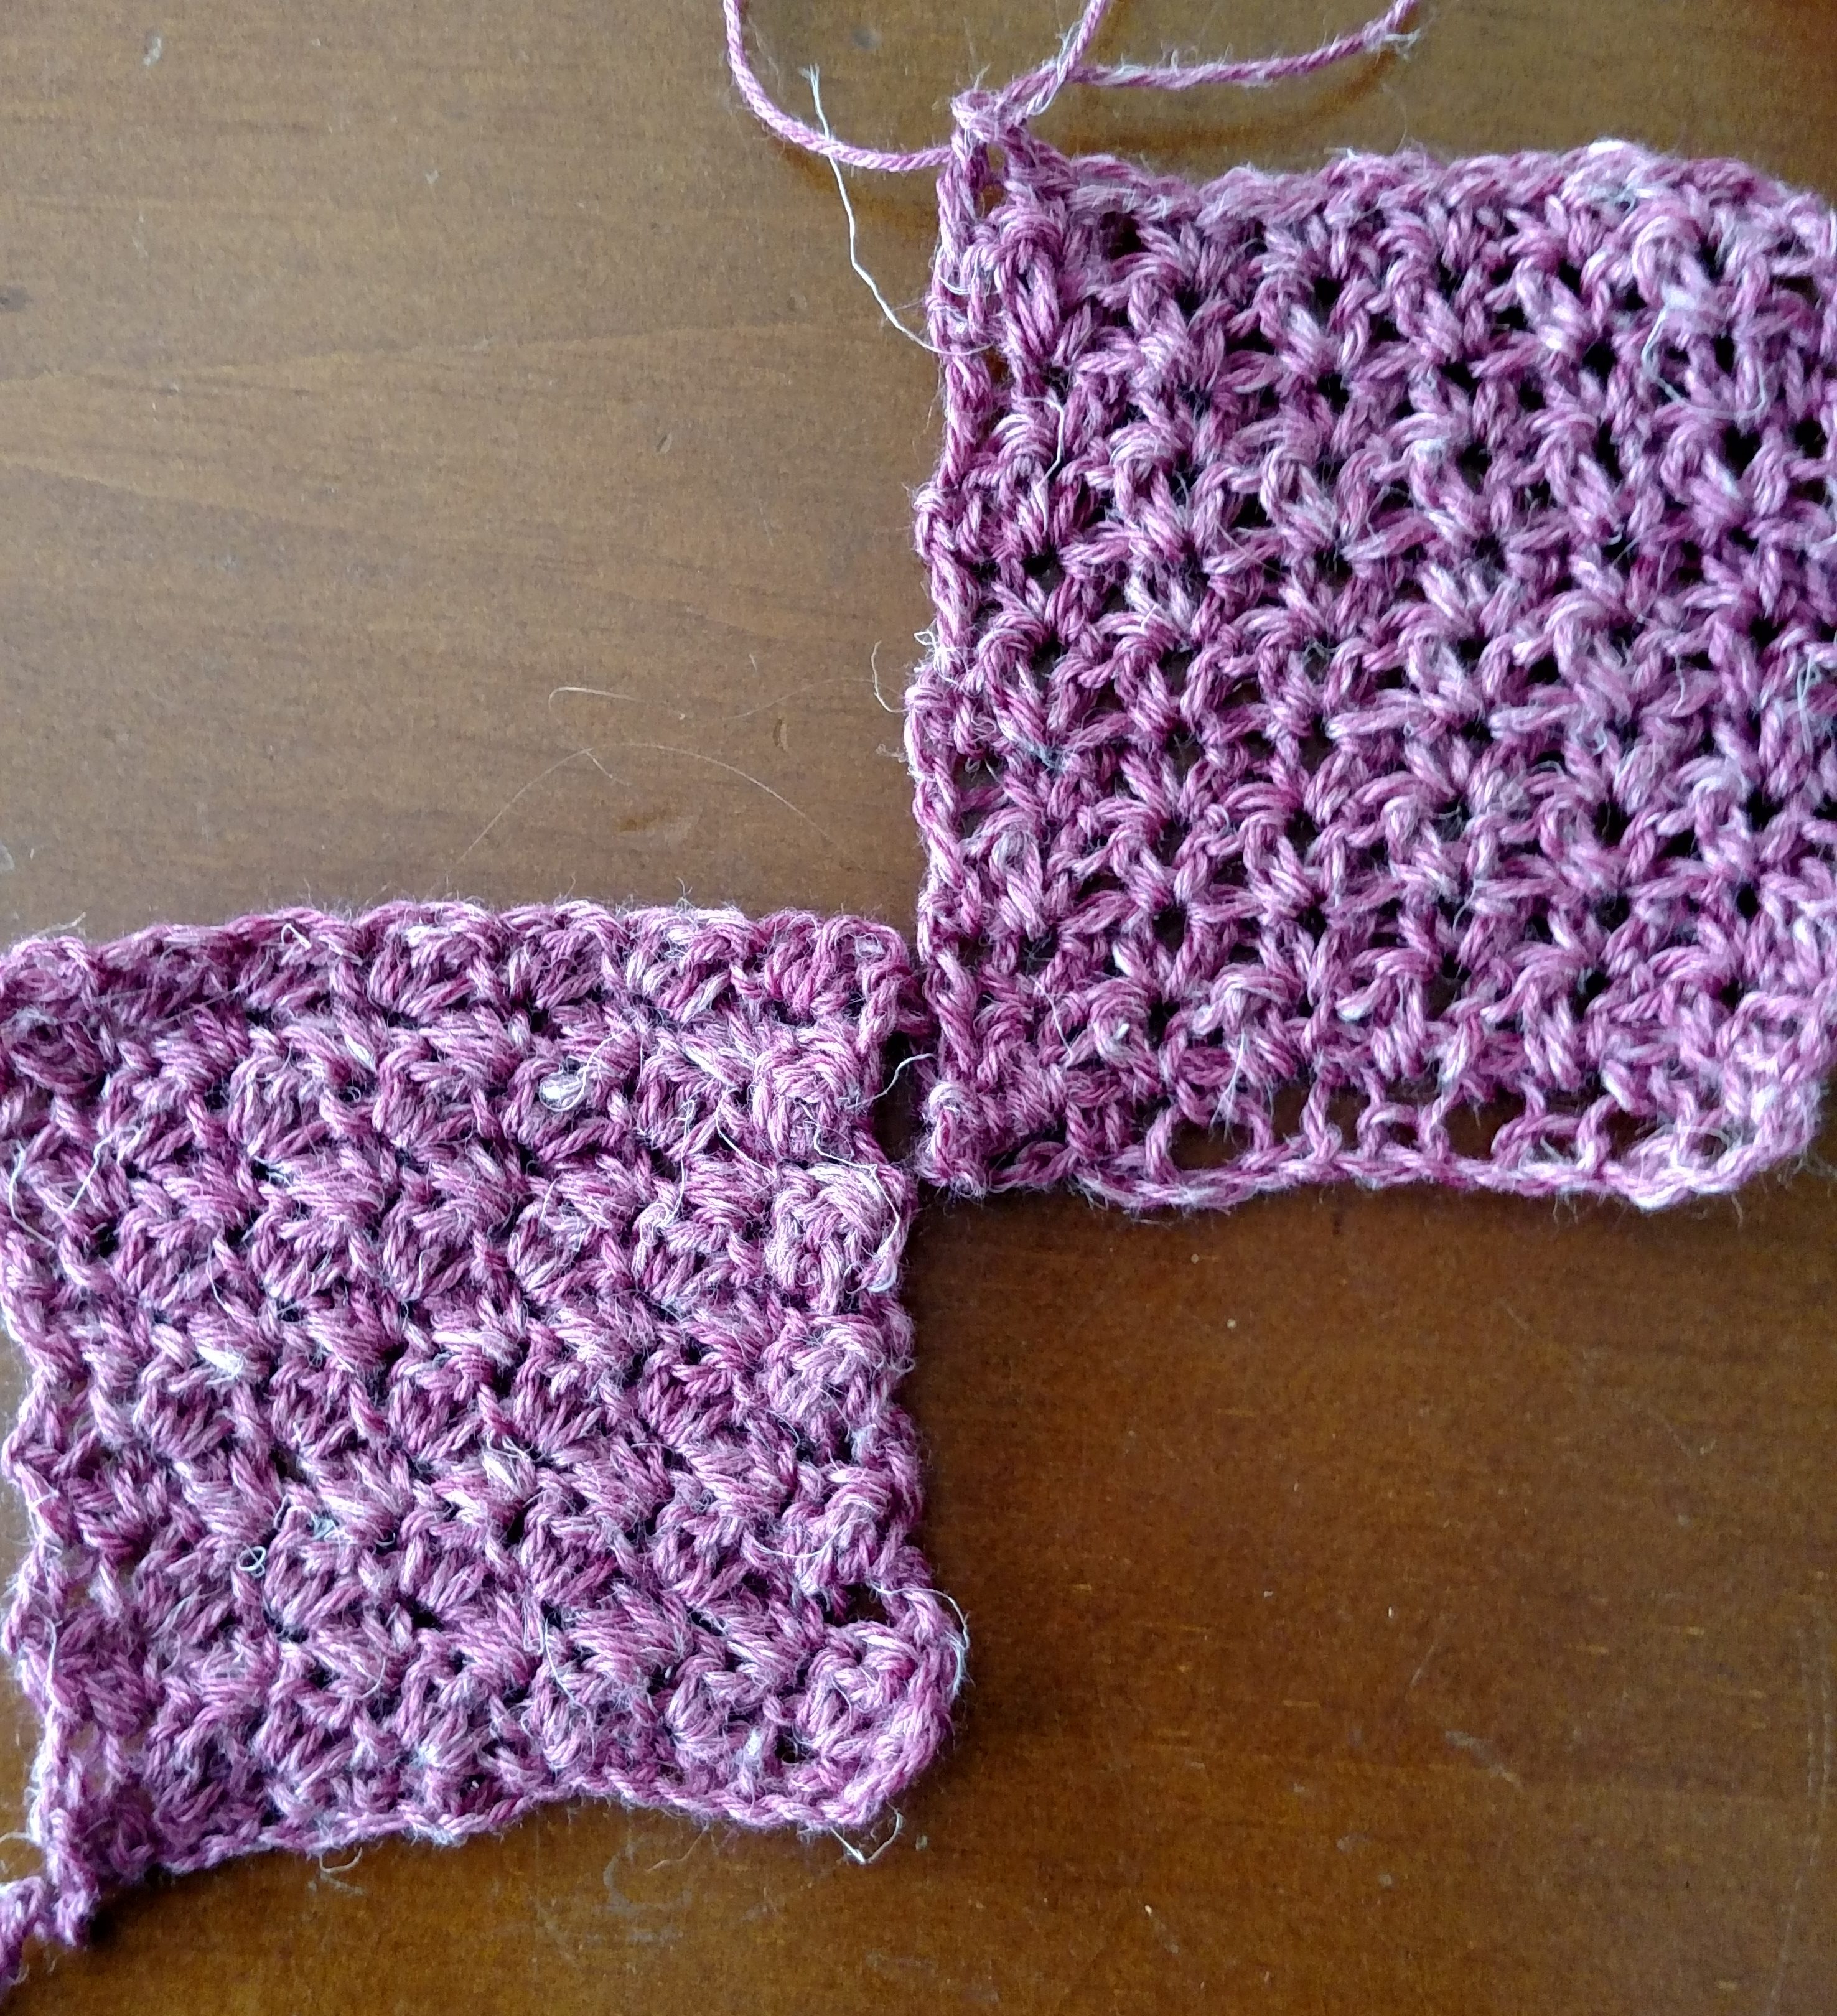
To begin with you won’t really find these patterns in any book, at least not formally. But close up photos lend to assisting in this style. Often this style is worked by directly copying an already completed project.
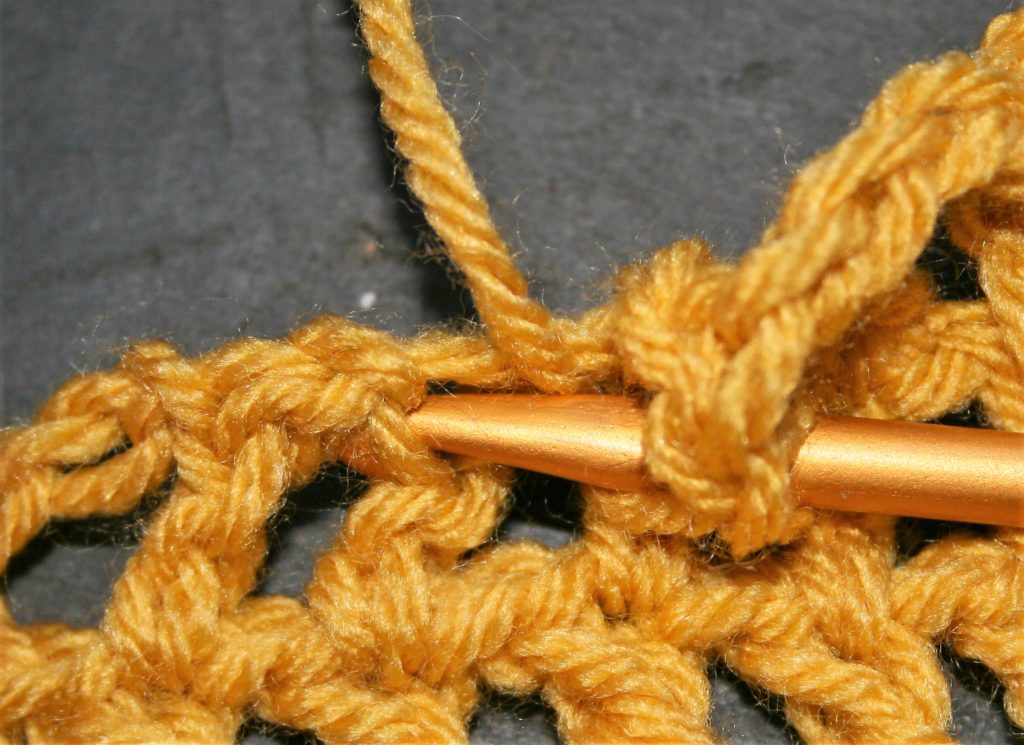
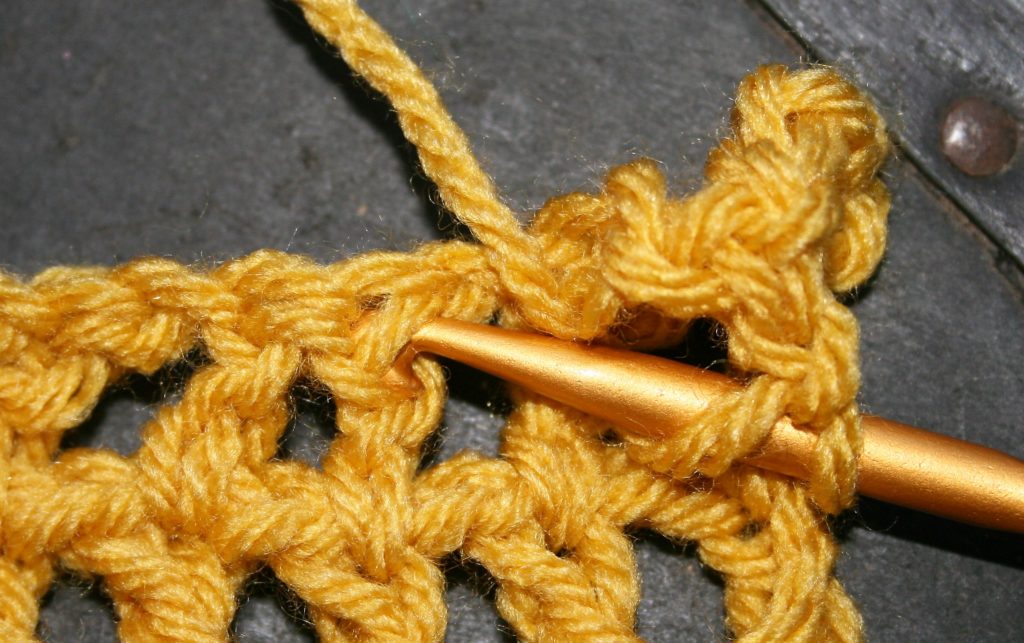
To read stitches, you have to recognize what your stitches really look like. If you’re like me, you probably never really look at how your stitches. I plug right along and only notice the special stitches like shells or bobbles, but never really pay a lot of attention to a double or single crochet stitch appearance. But there have been times when I have been presented with some old handmade item and asked if I knew the pattern. (Sometimes the item is not crocheted, so I attempt to decipher the creation manner, such as tatting or bobbin lace most often). To recreate this masterpieces, or for those that learn better from this example, you must know what the stitch looks like a know how to recreate it. So let’s take a look at some common stitches.
First you need to identify the top of the work, this can be a little challenging dependent upon the type of work, and you may need to pull out a hook and yarn to see if you can duplicate what you can to determine direction (but once you recognize various stitches you can easily discern the direction, it may take you a little practice).
Chains are usually obvious, but the slip stitch can be a little difficult to locate and recognize without some practice, (as it doesn’t photograph well for me, I recommend you play with some slip stitches and see how they look for yourself.

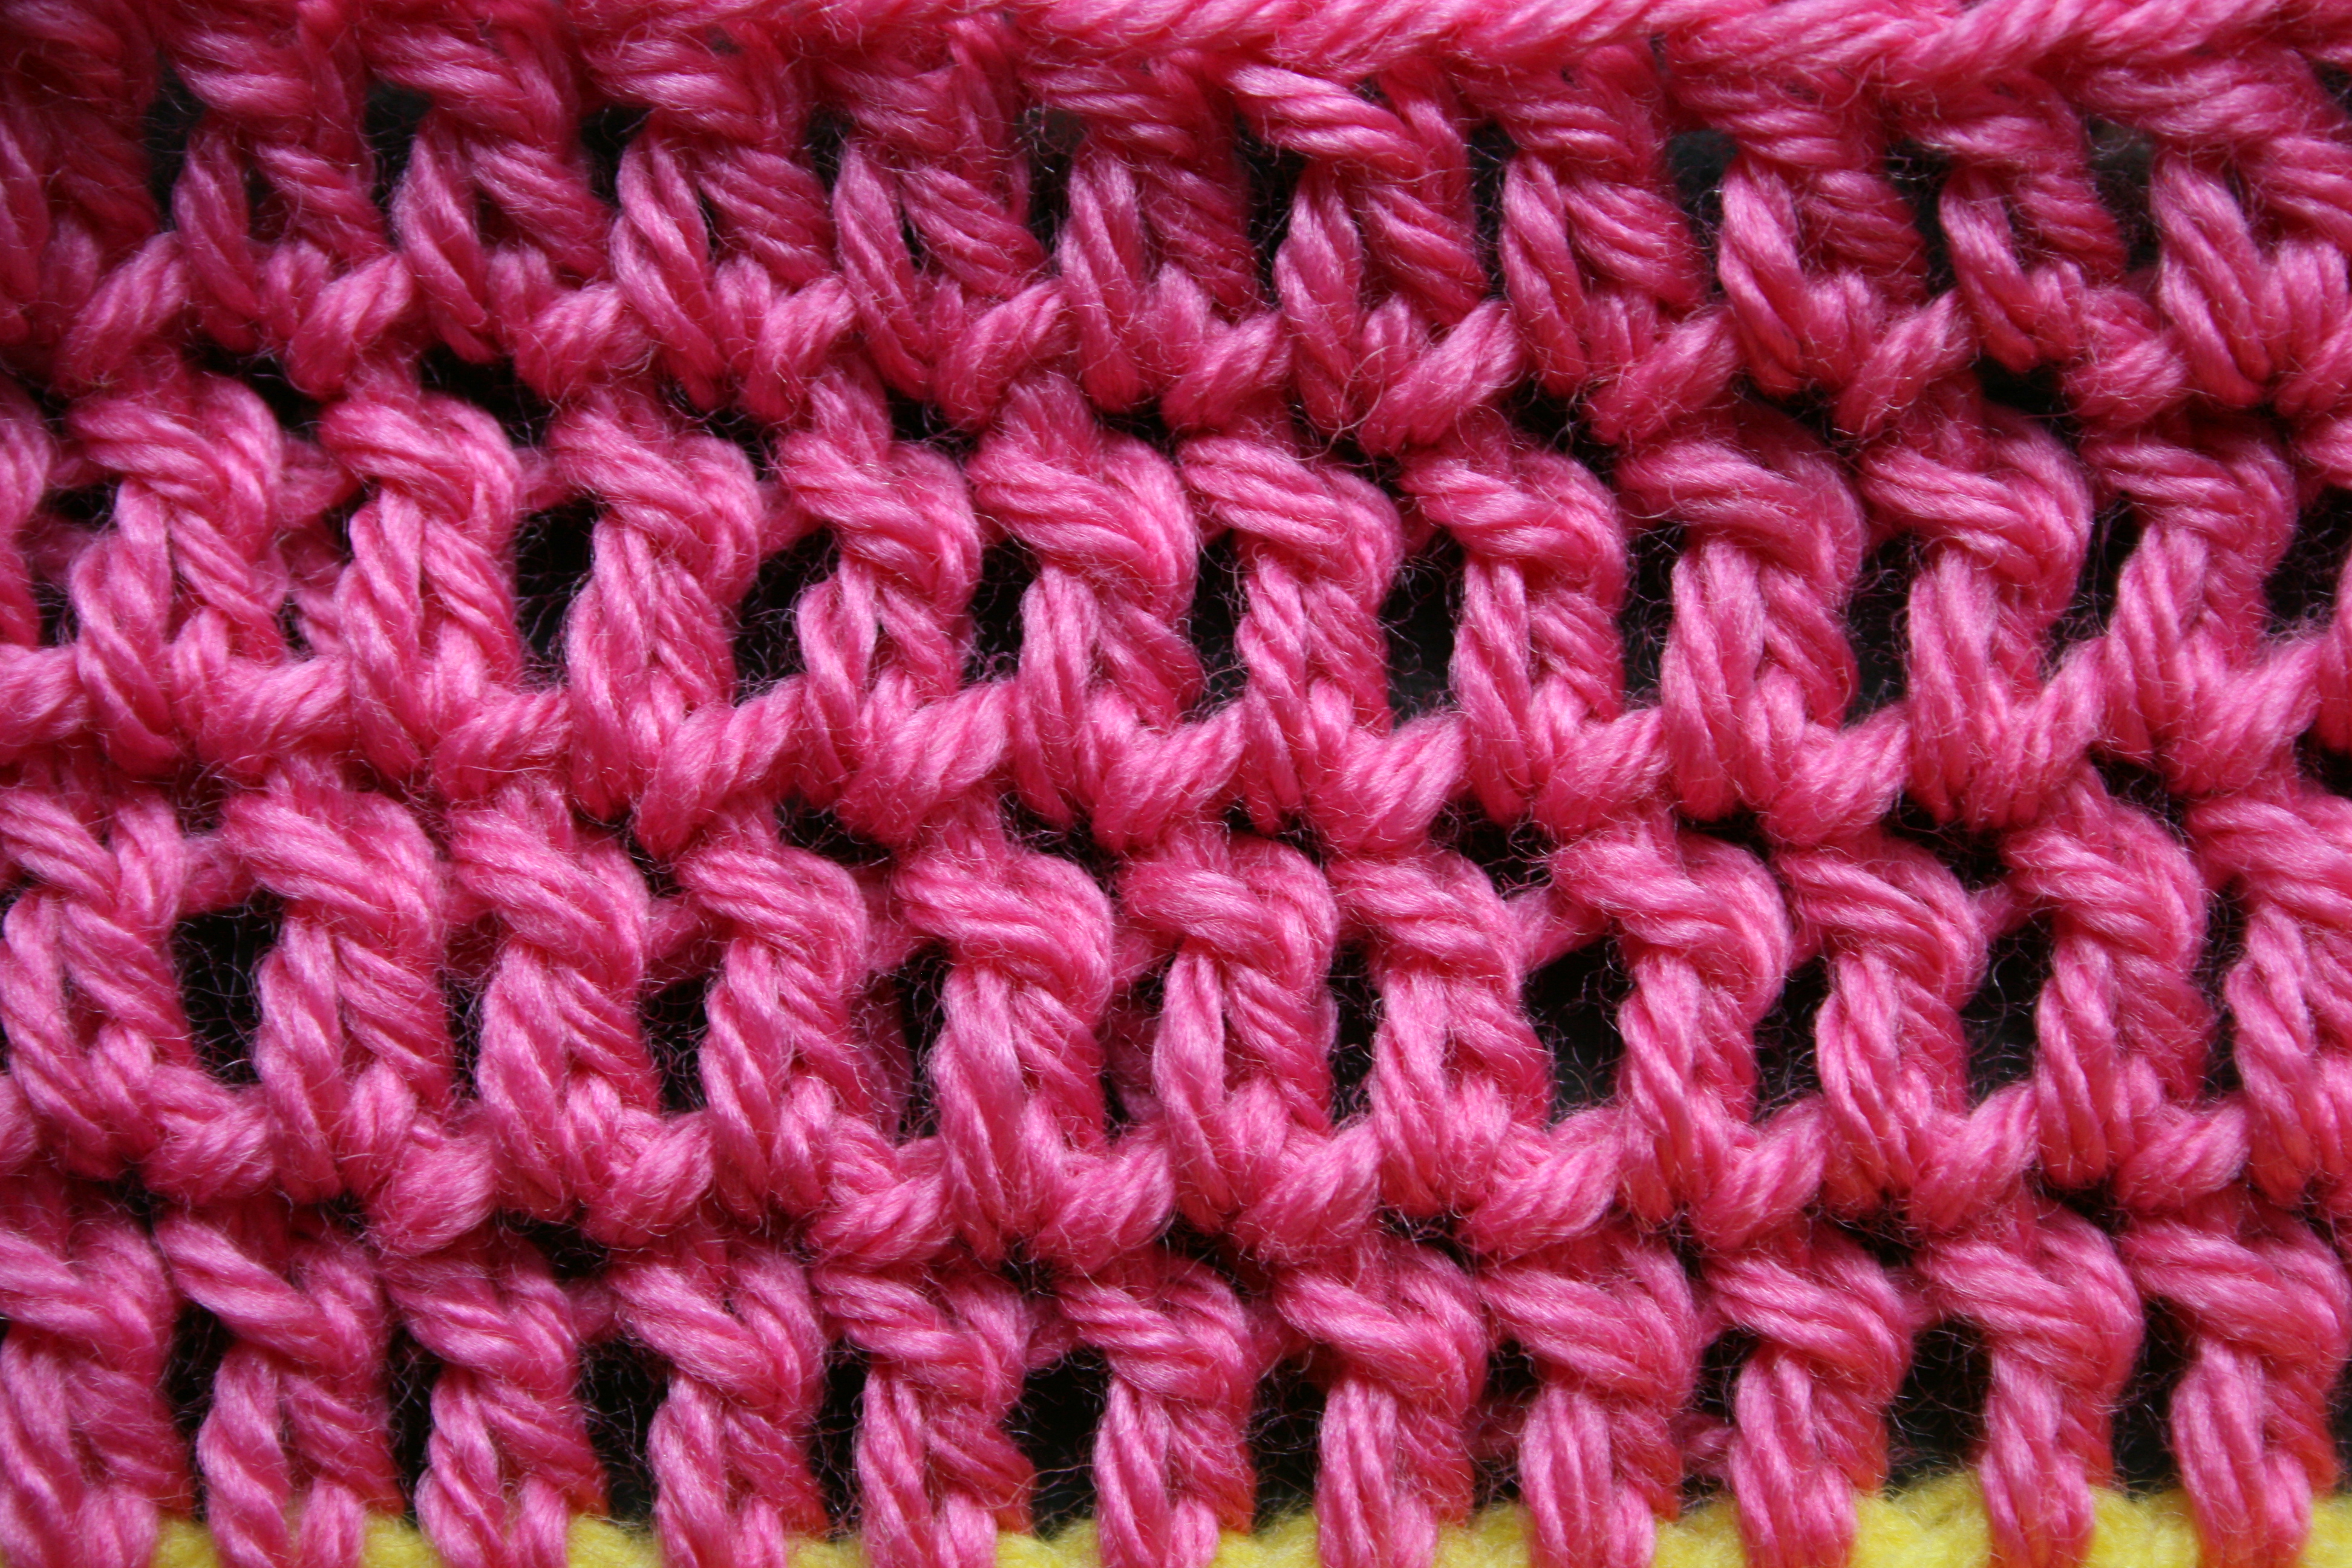
Right Side Single Crochet
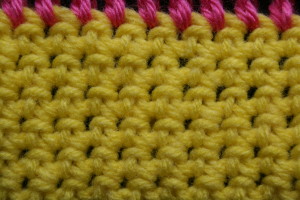
Wrong Side Single Crochet
The Right Side(RS) of a single crochet (sc) row looks like a row of little “v”, while the Wrong Side(WS) look like upside down “v” wearing a flat hat, or maybe even a belt with two little legs.
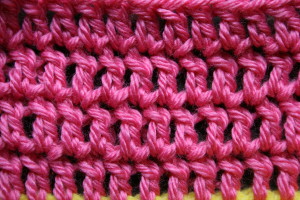
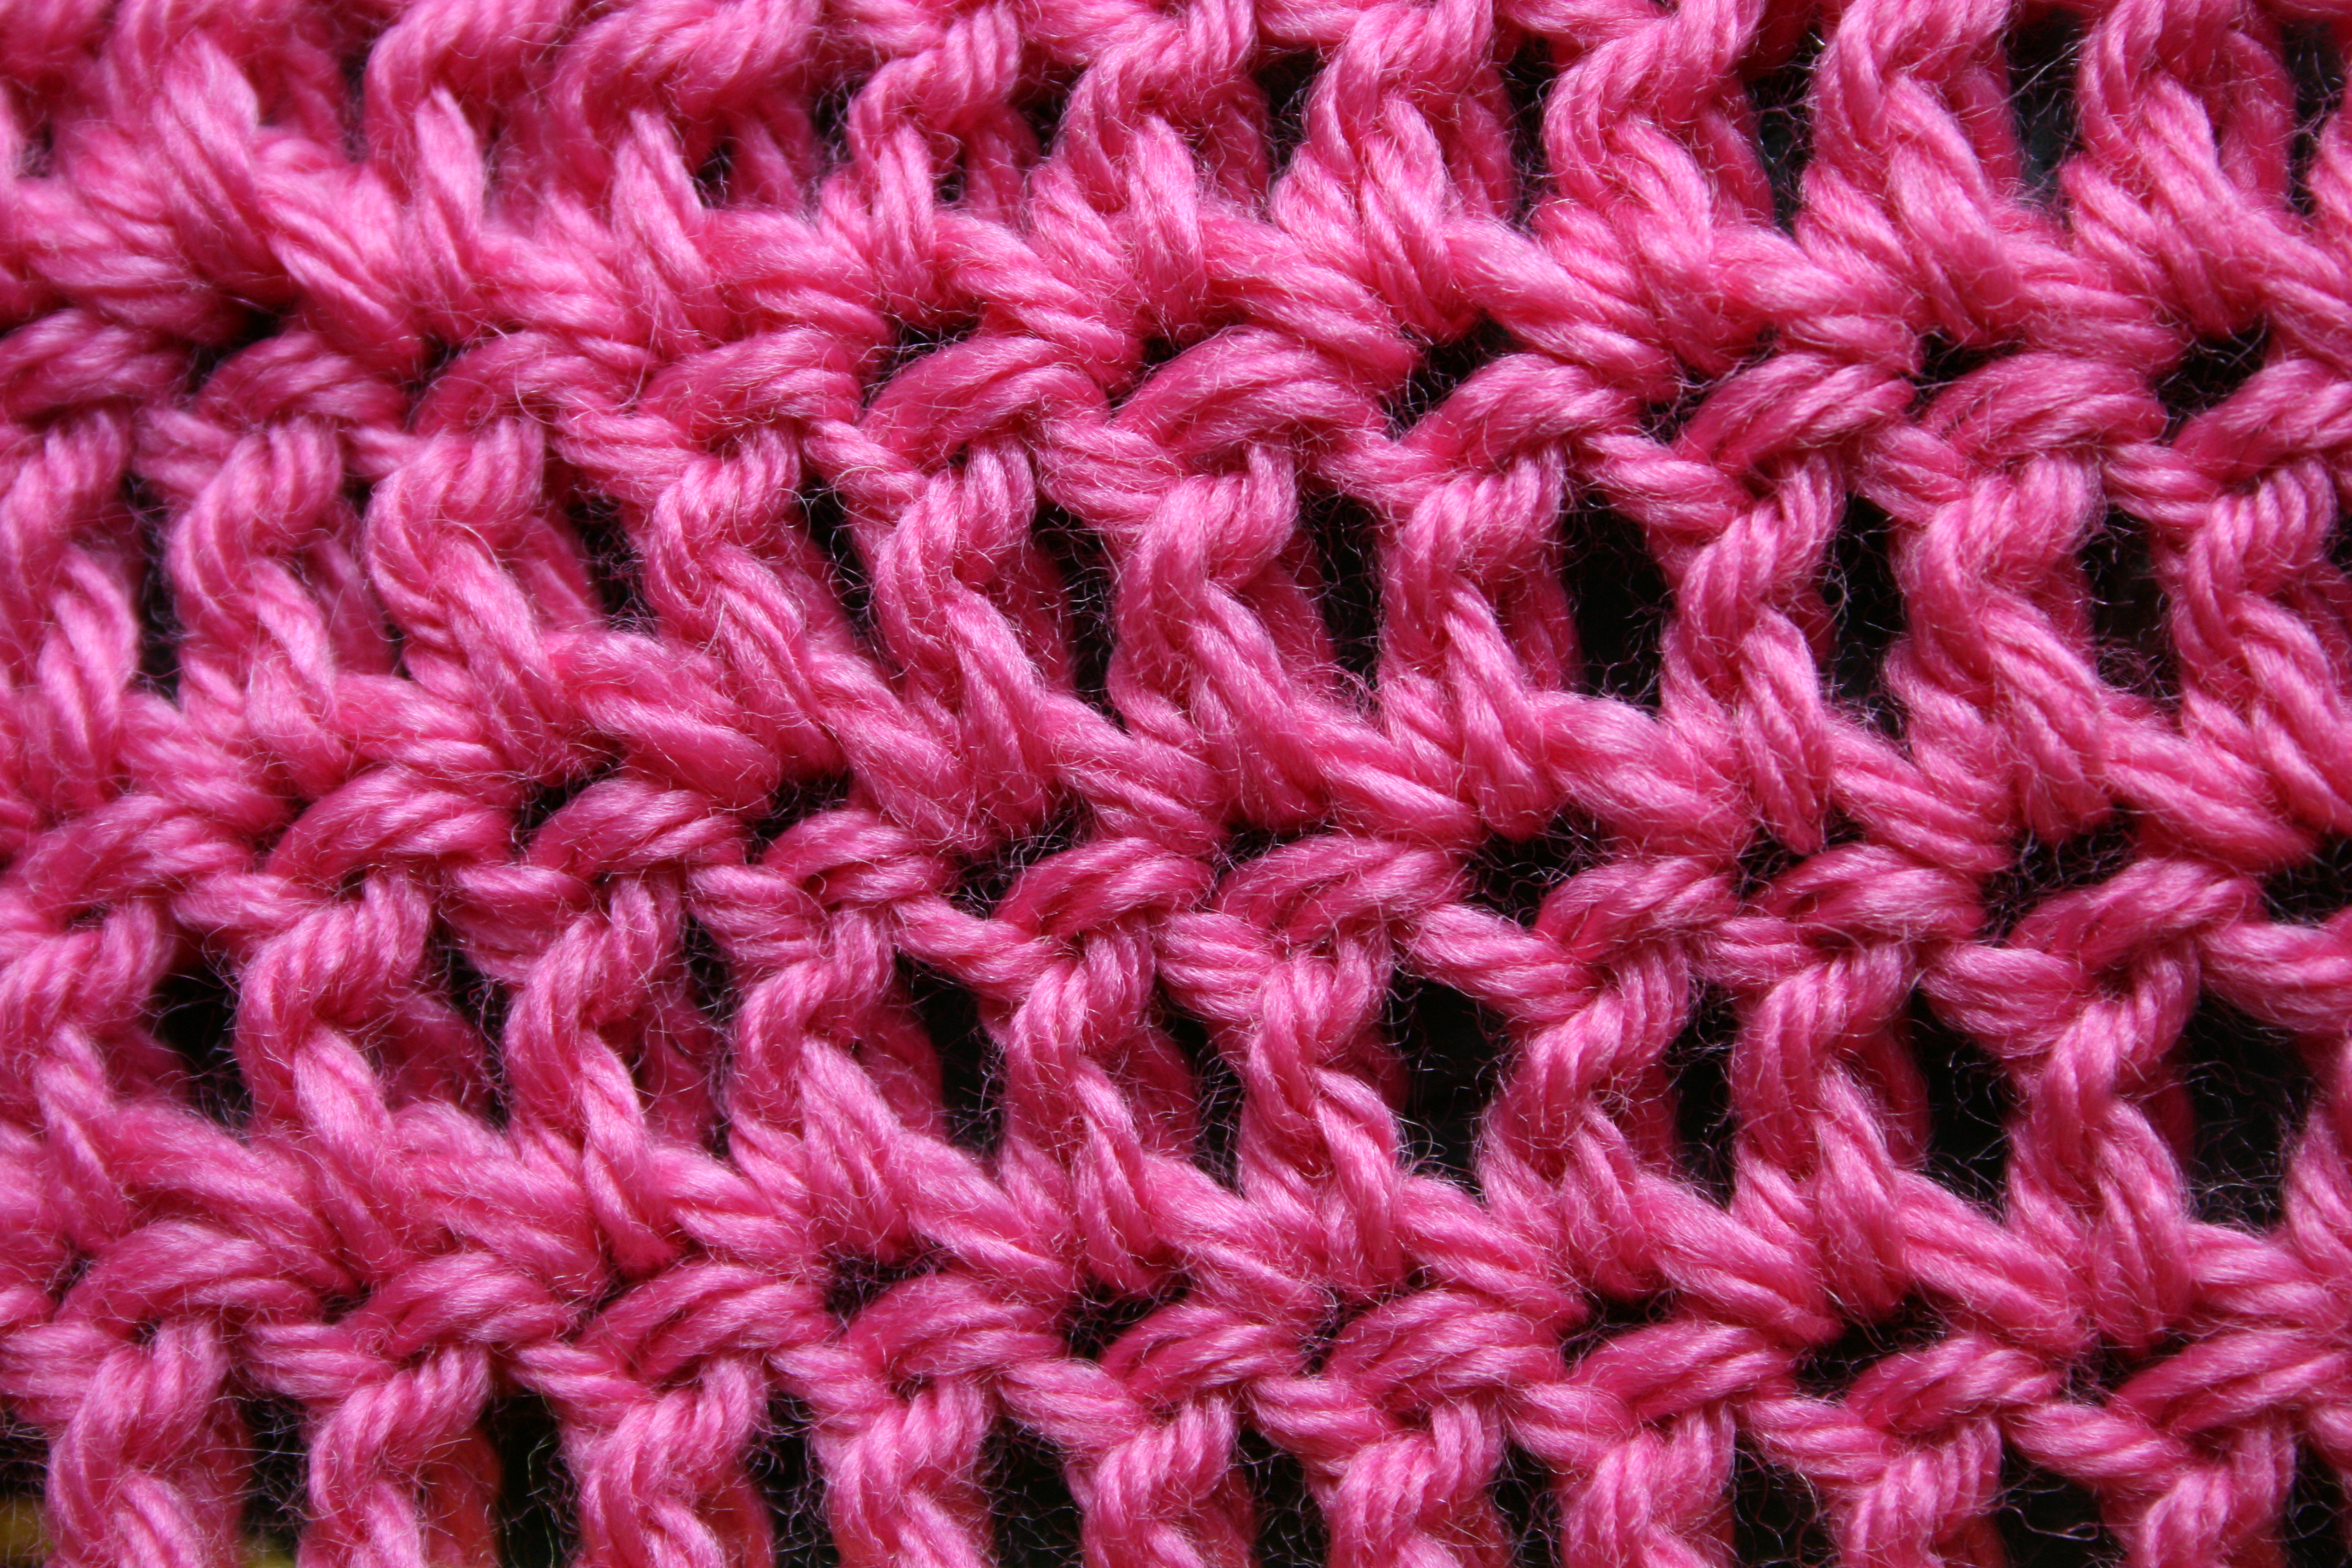
Right Side Double Crochet
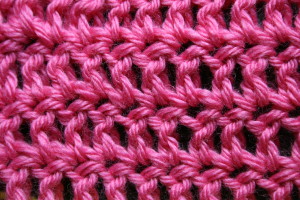
Wrong Side Double Crochet
For the RS of a double crochet (dc), if you are right handed (left will be opposite)you will see two diagonal bars, one beginning in the upper left of the stitch and continuing to the right where it reaches the second diagonal bar that continues in the same direction appearing to wrap around to the back of the post. While the WS has one horizontal bar at the top and one diagonal bar from the upper right, just under the horizontal bar, down to the left ending at the middle of post and appearing to go between the base of the stitch (I love the description Vashti Braha uses for this part of the stitch as “feet” since they appear to be like ballet slippers at point).
This style of pattern reading is one that lends itself well to expanding your creative side, as it gives you a better understanding of stitch construction. Even if this is not the easiest method for you to follow or understand I recommend that you work up some sample and really look at you stitches, it is amazing how improving your techniques at this basic level can really improve the overall appearance of your work, not to mention help you greatly when you are approached with the question; “I love the doily my great-great grandmother made, can you show me how to make one like it?”