I am excited about my new upcoming adventures. I have a few new teaching events that I want to make you aware of.
Crochet Retreat with Chocolate
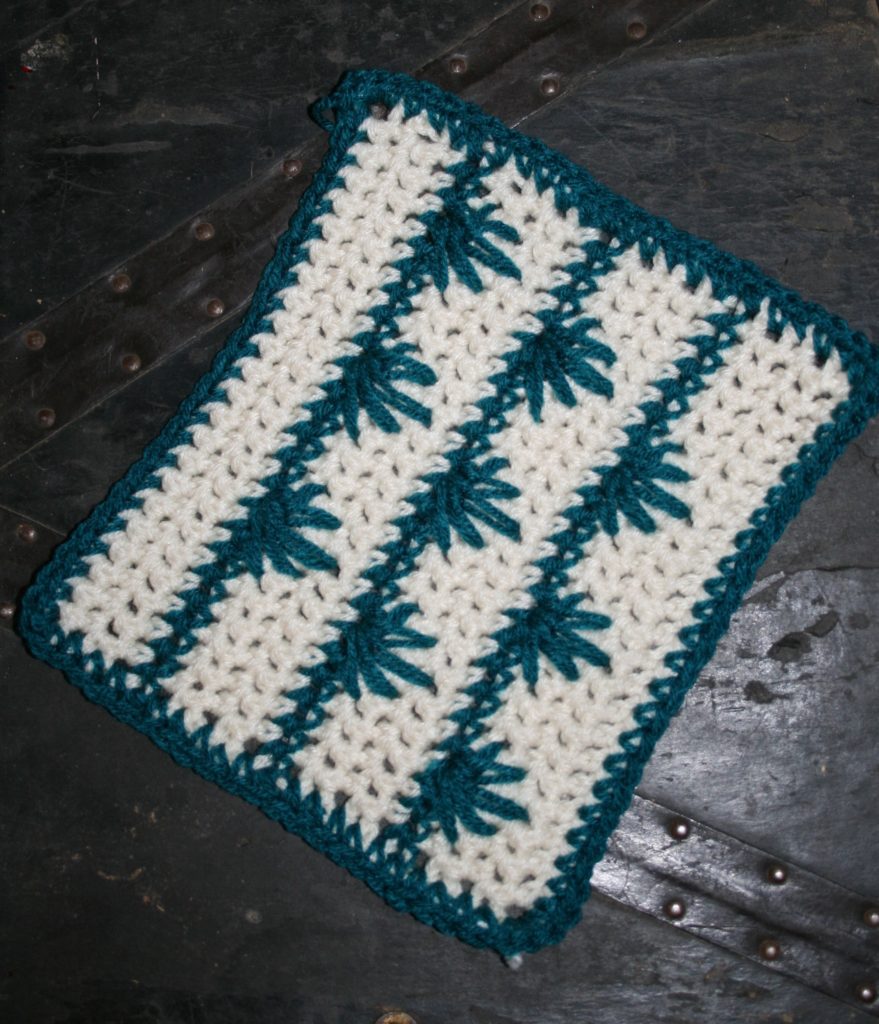
January 2020 I am hosting a day long crochet retreat, Crochet with Linda and Chocolate. This one day is designed for anyone at any crochet level that enjoys playing with yarn, good company, and chocolate.
Those attending get to play with yarns from Zombie Yarns, work up a caplet exclusively designed for the event, and get to partake in a chocolate demo from the chocolatier of Annabelle’s Chocolate, Annabelle herself. I always want this event to be more than just crochet, it is an opportunity to learn something new in a location that you may not have ventured to before.
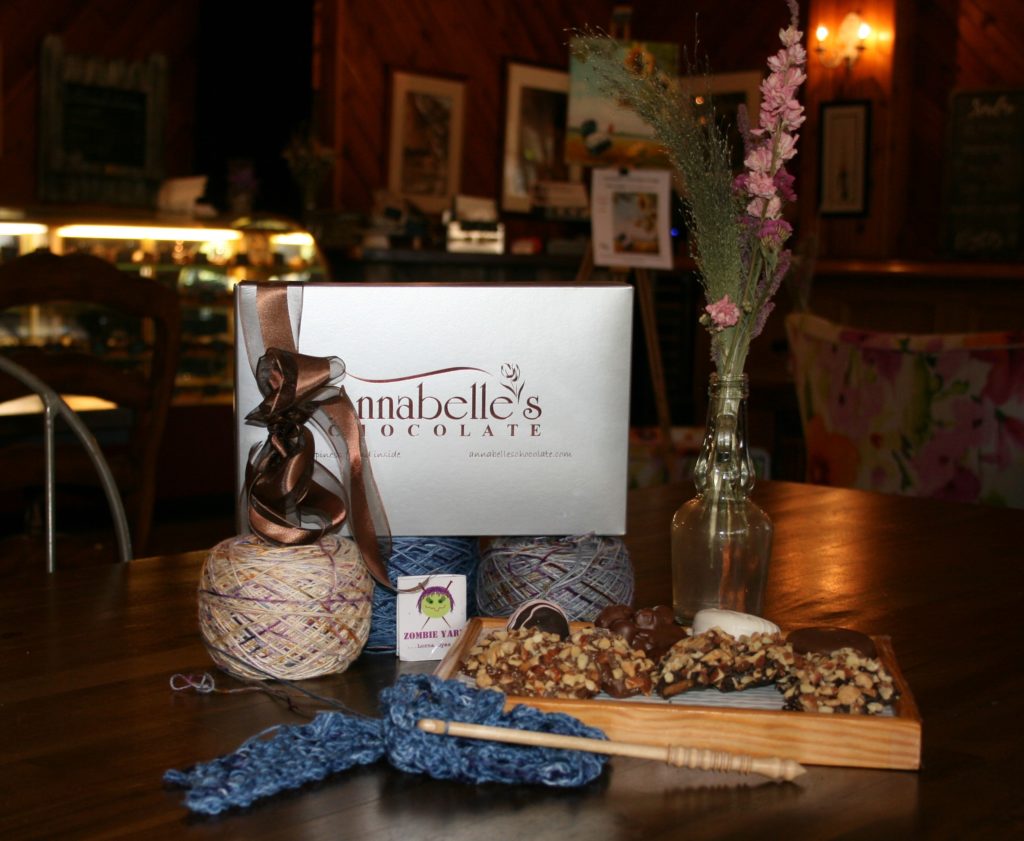
This is the second time I have put on such an event, and space is limited due to the venue size. All supplies and a gourmet boxed lunch are included. If you want more information or to join me, check it out here.
Teaching at DFW Fiber Fest
Then I get prepared to teach at DFW Fiber Fest in Irving, Texas the beginning of April. I will be part of the team teaching Crochet Masters Day on behalf of the Crochet Guild of America. This all day event is designed to help take your crochet to the next level, and aid you in becoming a crochet master.
There are actually do different Master Certification programs through the Crochet Guild of America, one that essentially is a blind test, and another that is designed to teach you in depth knowledge of certain crochet techniques. Masters Day just touches on the surface of these two programs to start you on your way to really understanding your crochet. Here is where you can find more information about how to join me in Texas.
Teaching at Yarn Fest
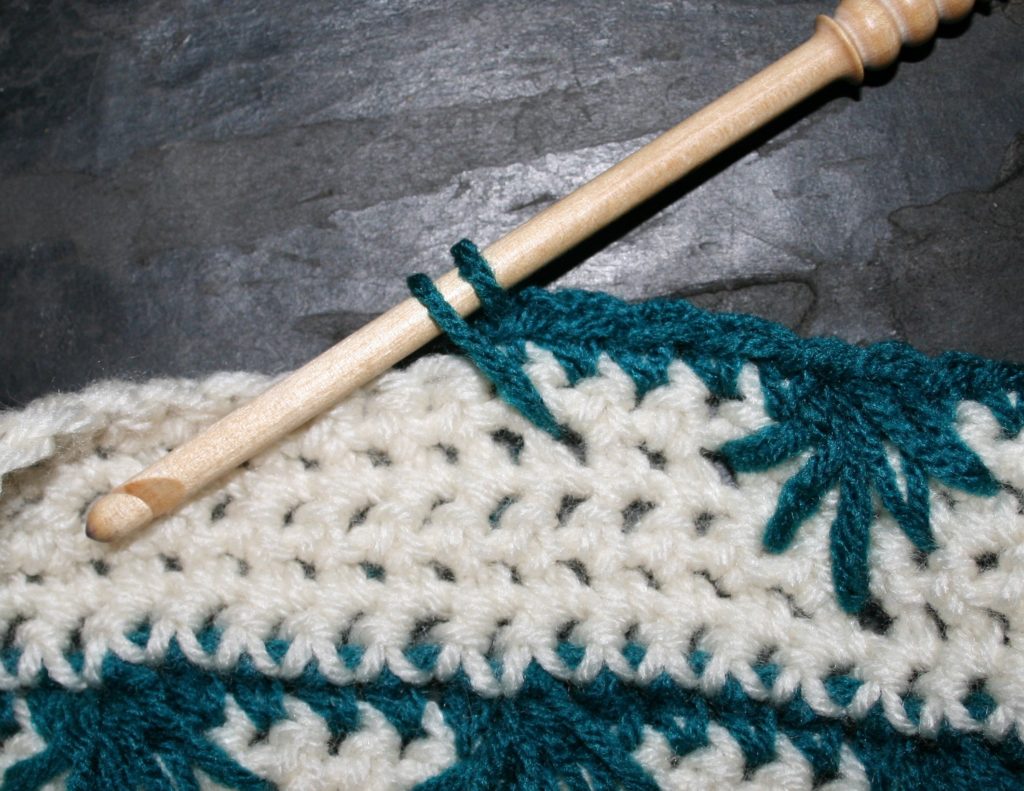
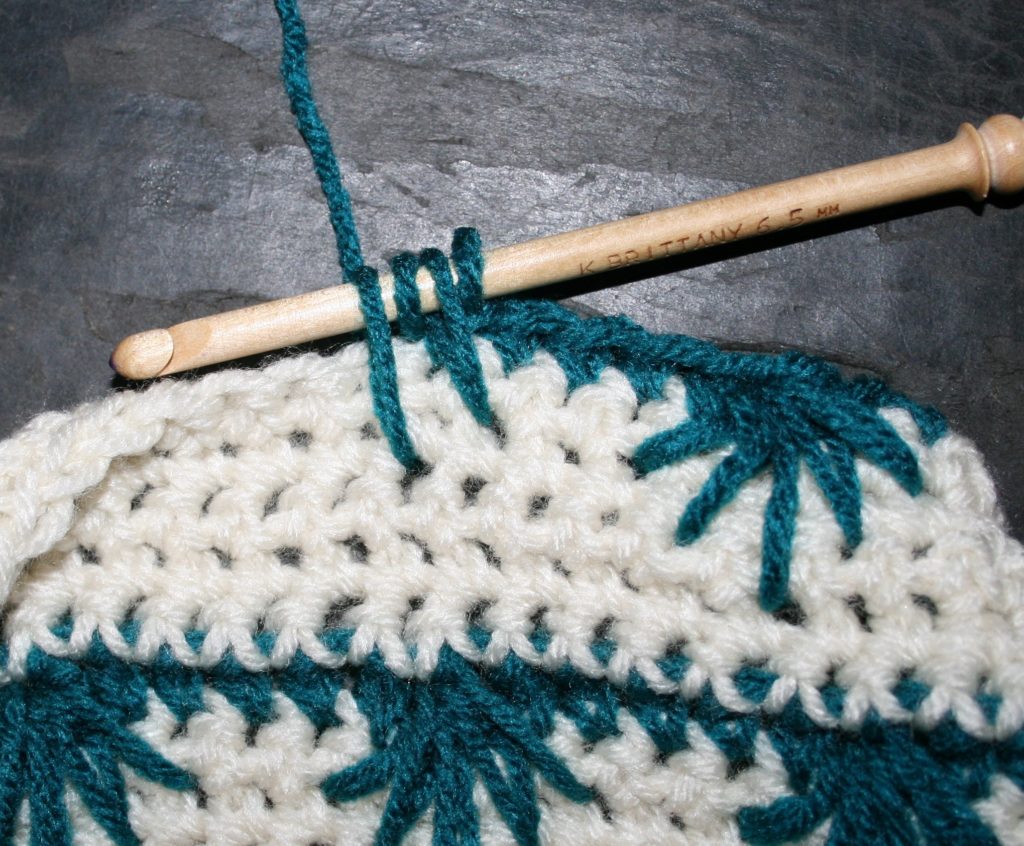
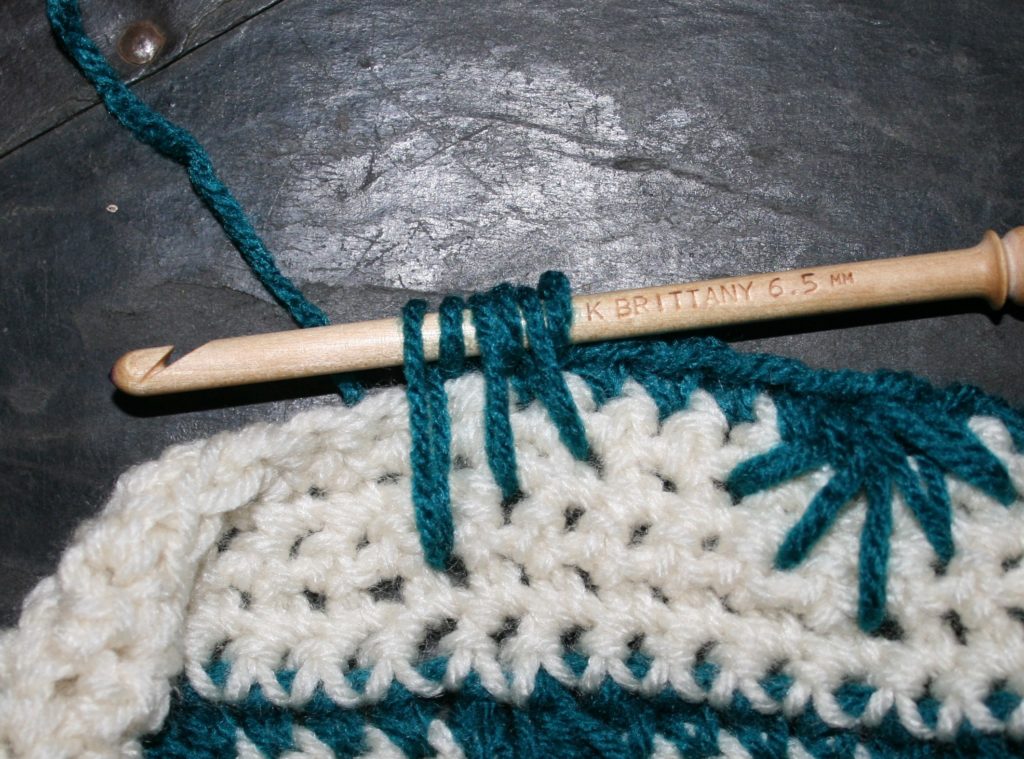
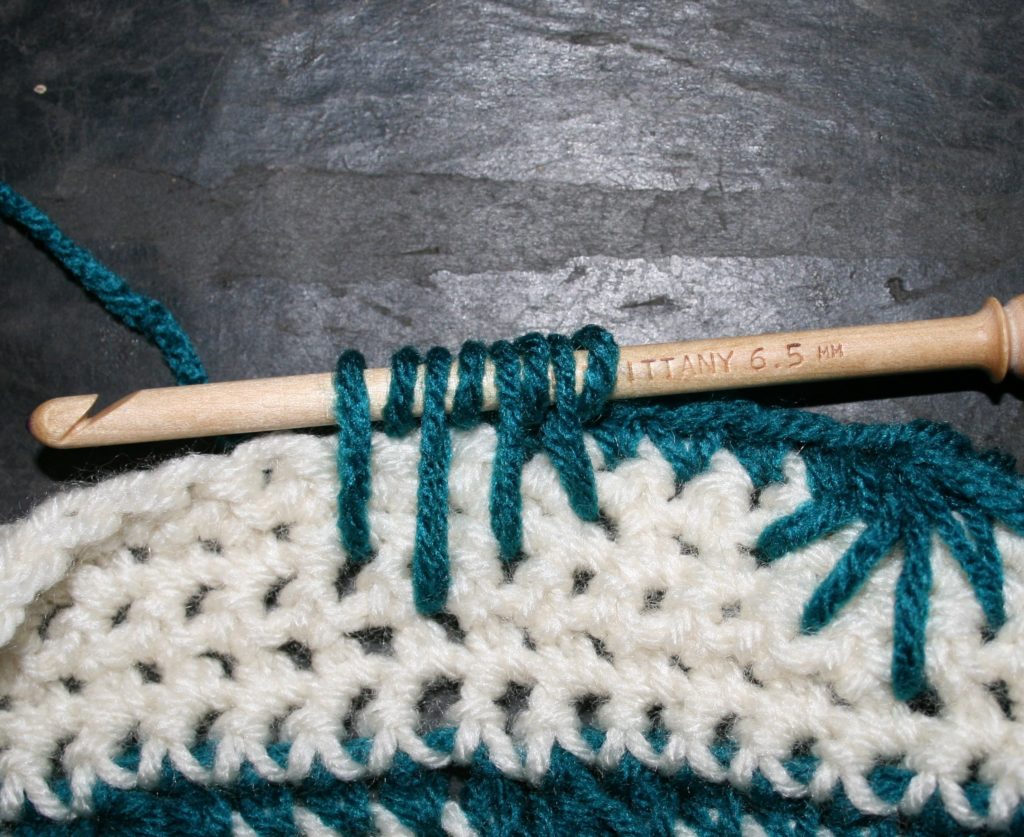
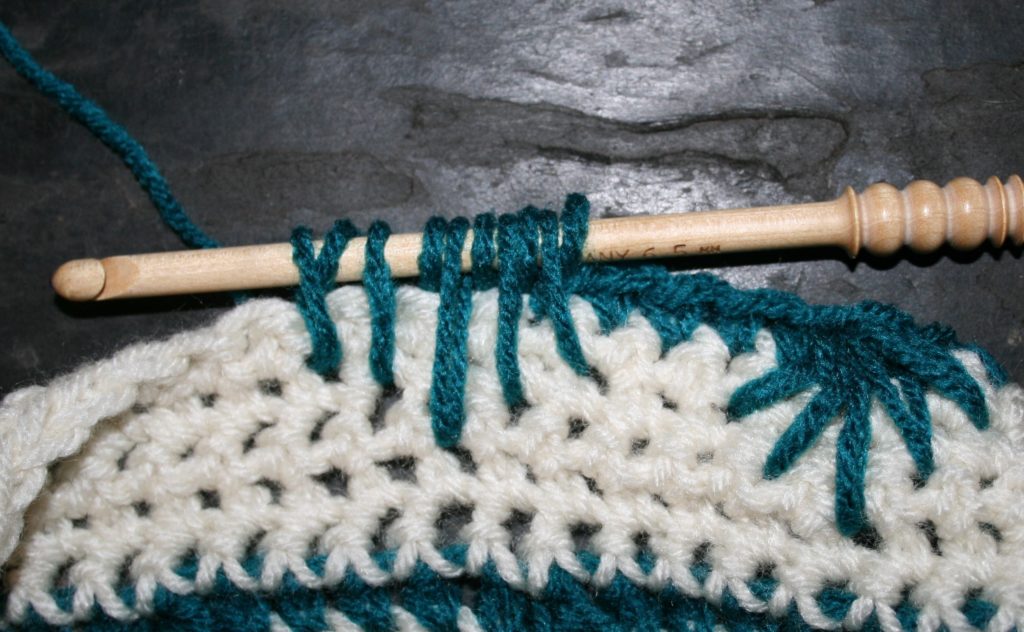
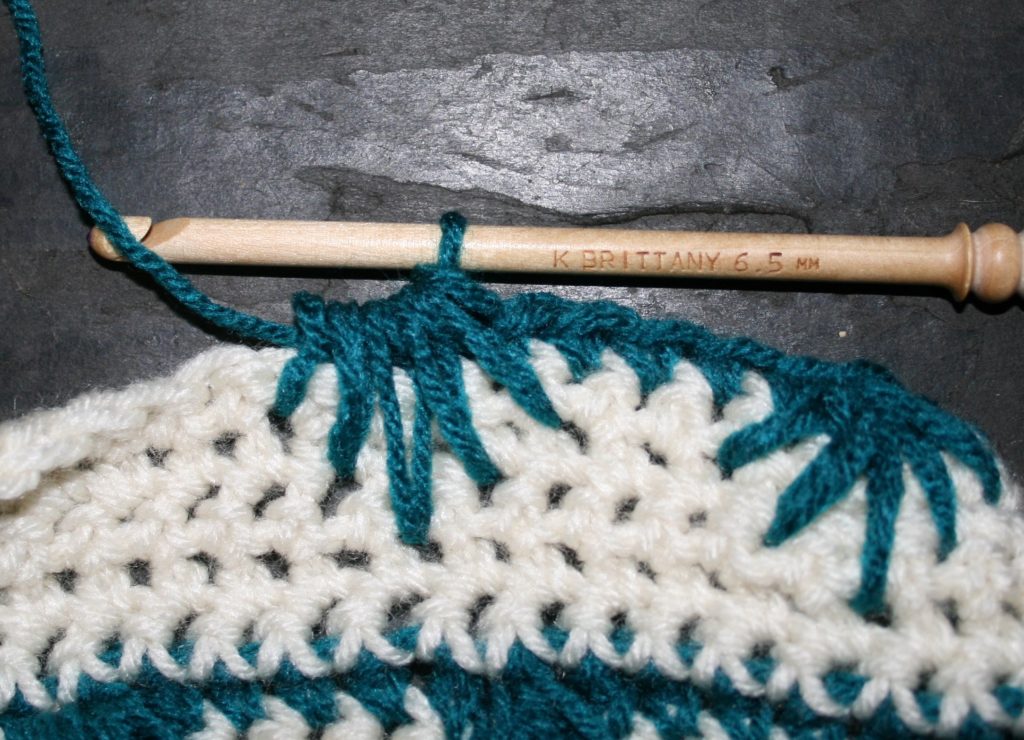
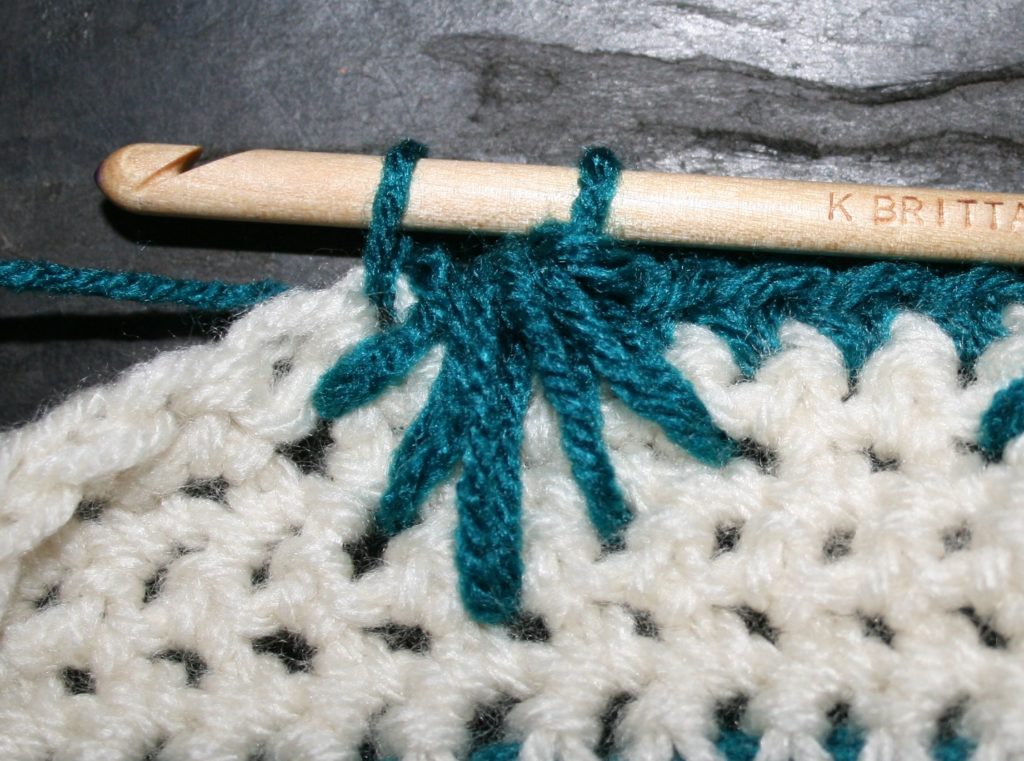
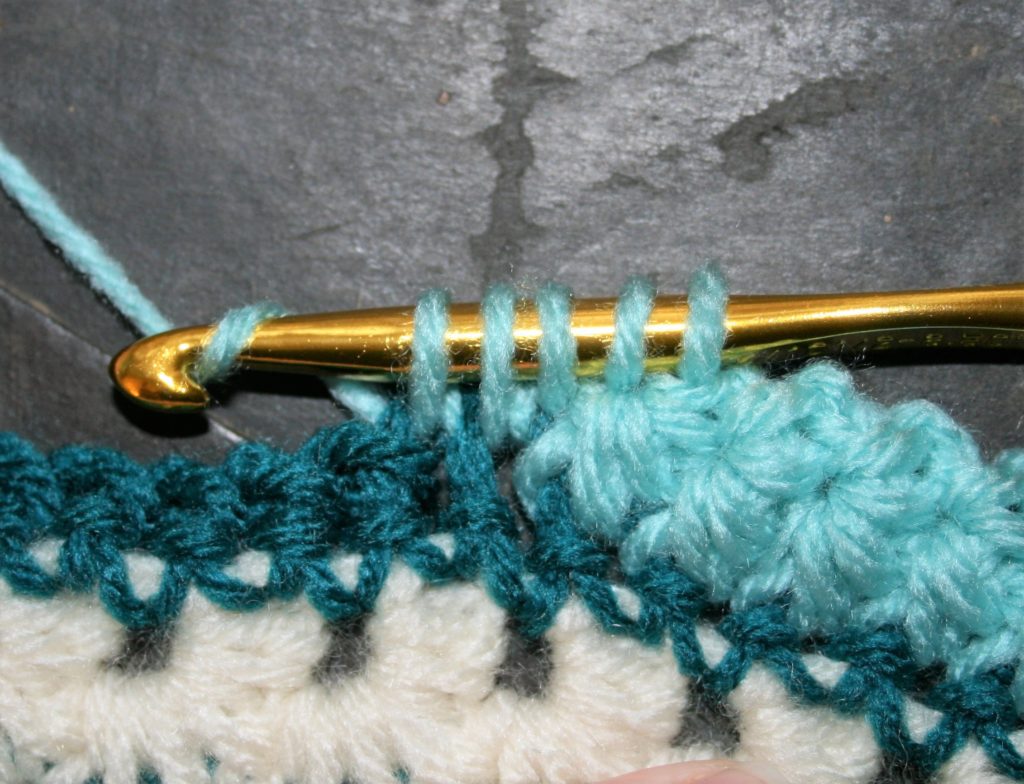
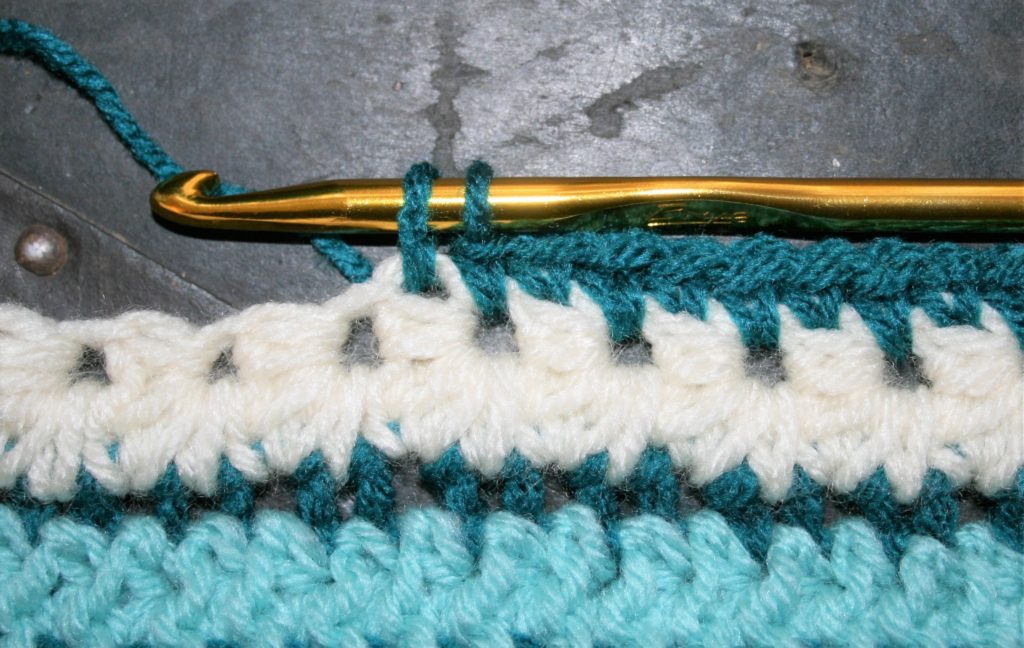
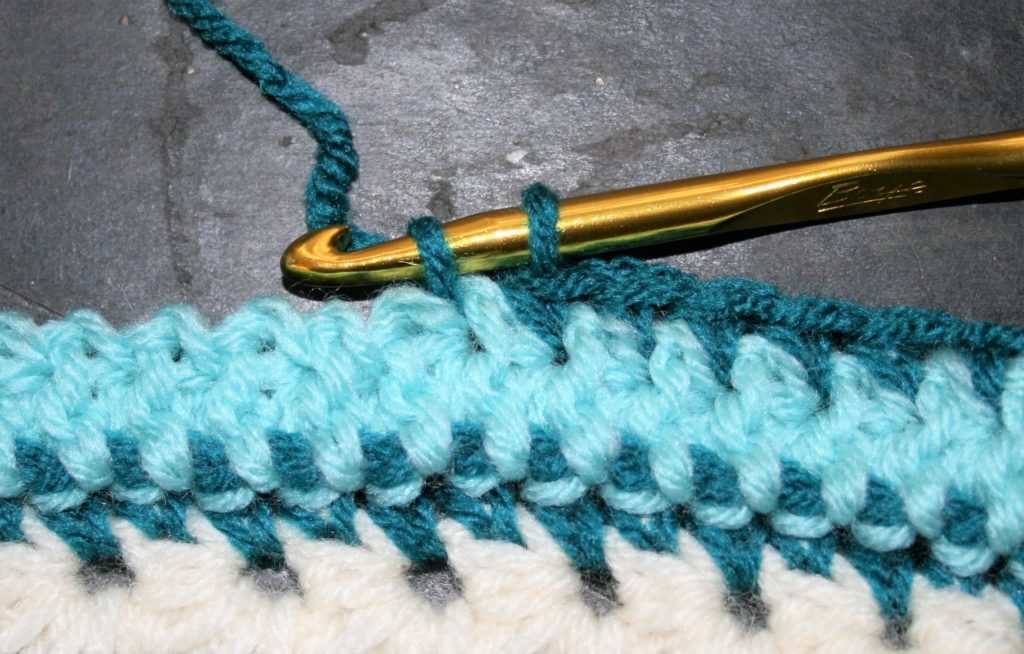
By the end of April I will be in Loveland, Colorado teaching another one day at the Interweave Yarn Fest. I am teaching a class on Openwork Crochet, a class about lacework. This is a new class for me that actually is a merging of two of my most popular classes, with some added bonuses. I will be sharing all my insight about Broomstick Lace, Hairpin Lace and Mock Hairpin Lace in a single class.
You will learn how to use these techniques to create fascinating open work, how to then shape fabric with it. Every time I teach these skills I am always reenergized to create more with them and am inspired with new ideas. I know that it will do the same for you. As a teaser, I should mention that you will never look at fringe the same way again. Check out how to join me here.
Teaching Local
As always, if you are in the foothills of the Sierra Nevada Mountains you can find me teaching weekly at Lofty Lou’s Yarn Store in Placerville, CA. All skill levels are welcome in all classes, as I teach you essentially a private lesson in a group setting, on any project you want to learn or work on. There are University classes, that offer a price break for the purchase of multiple classes, but I always welcome drop-in students to any of my classes. Make sure and look for the classes by Linda D. offered on Tuesdays. Find more information here.
As 2019 draws to a close, and 2020 begins to dawn I hope you will find a way to join me in person.