Crochet Unspoken Words, the free pattern. Often I find that crochet can speak emotions when I cannot, and it really does speak from the heart. At times when I am overwhelmed emotionally I can easily find my fingers and hands nimbly moving a hook with yarn to work through my feeling and sharing them with others.
I know that I am not alone in this feeling. Many use crochet for charity and gift giving, however I recently found myself crocheting due to natural disaster.
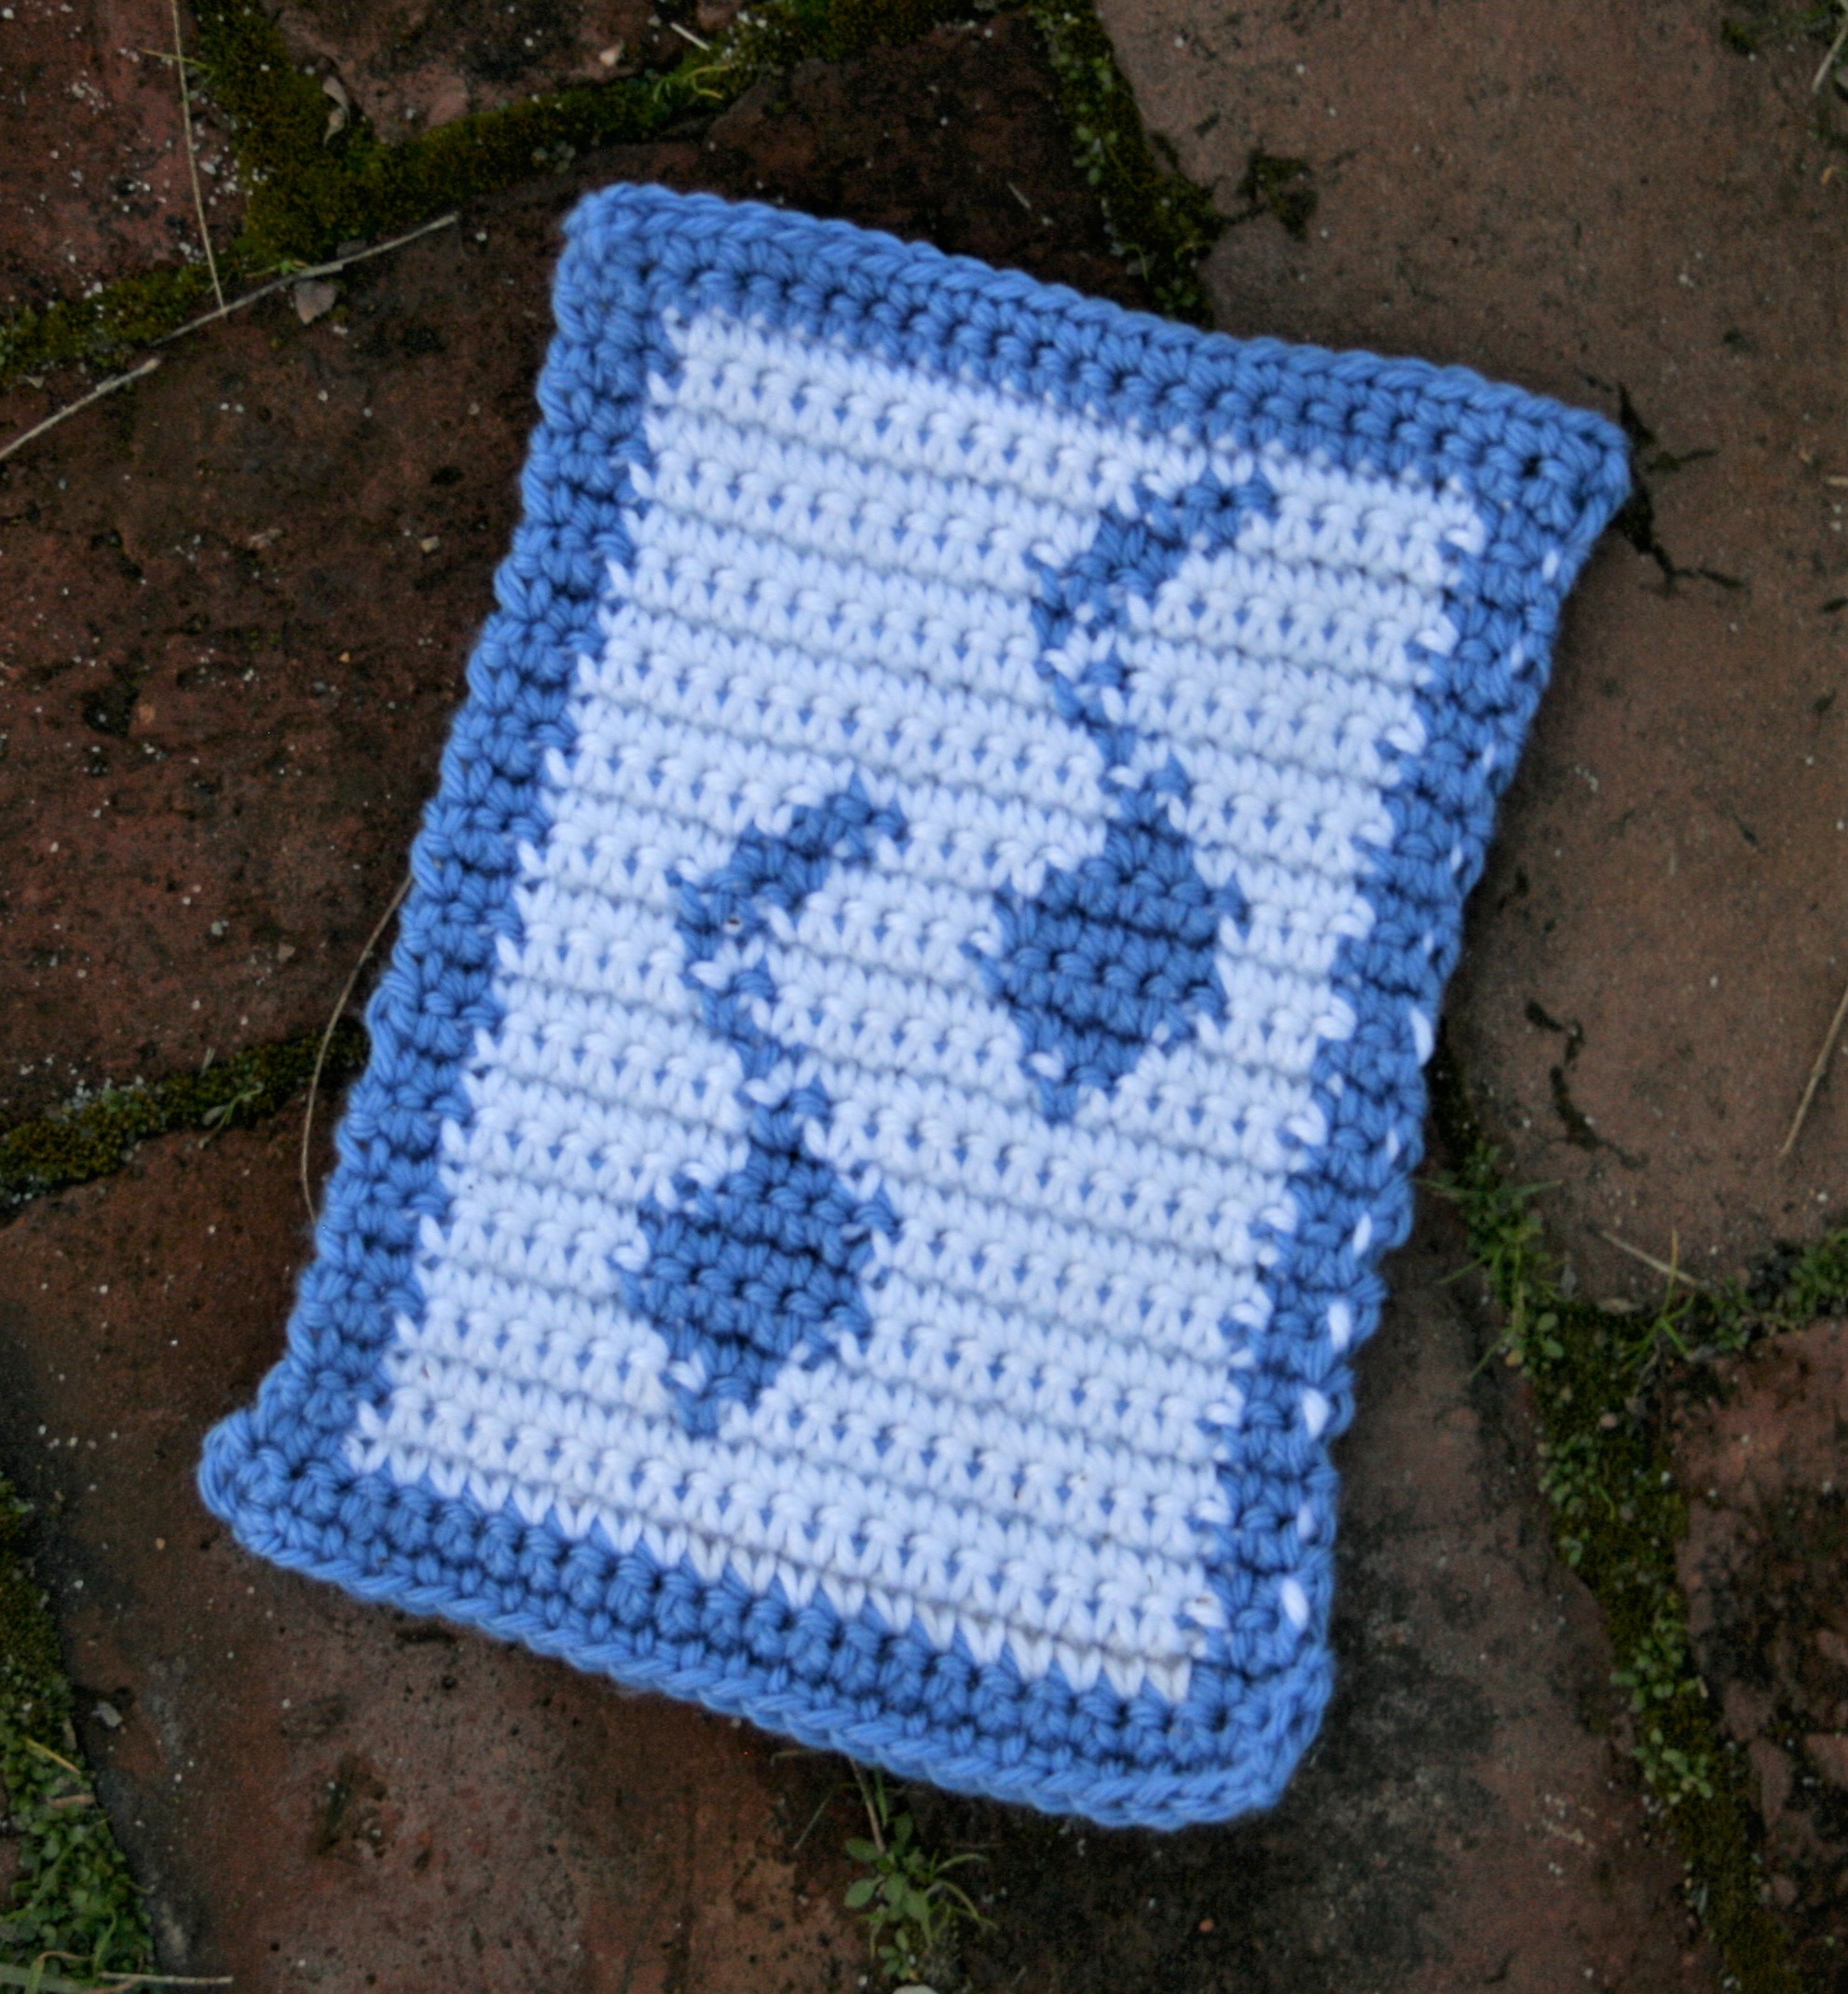
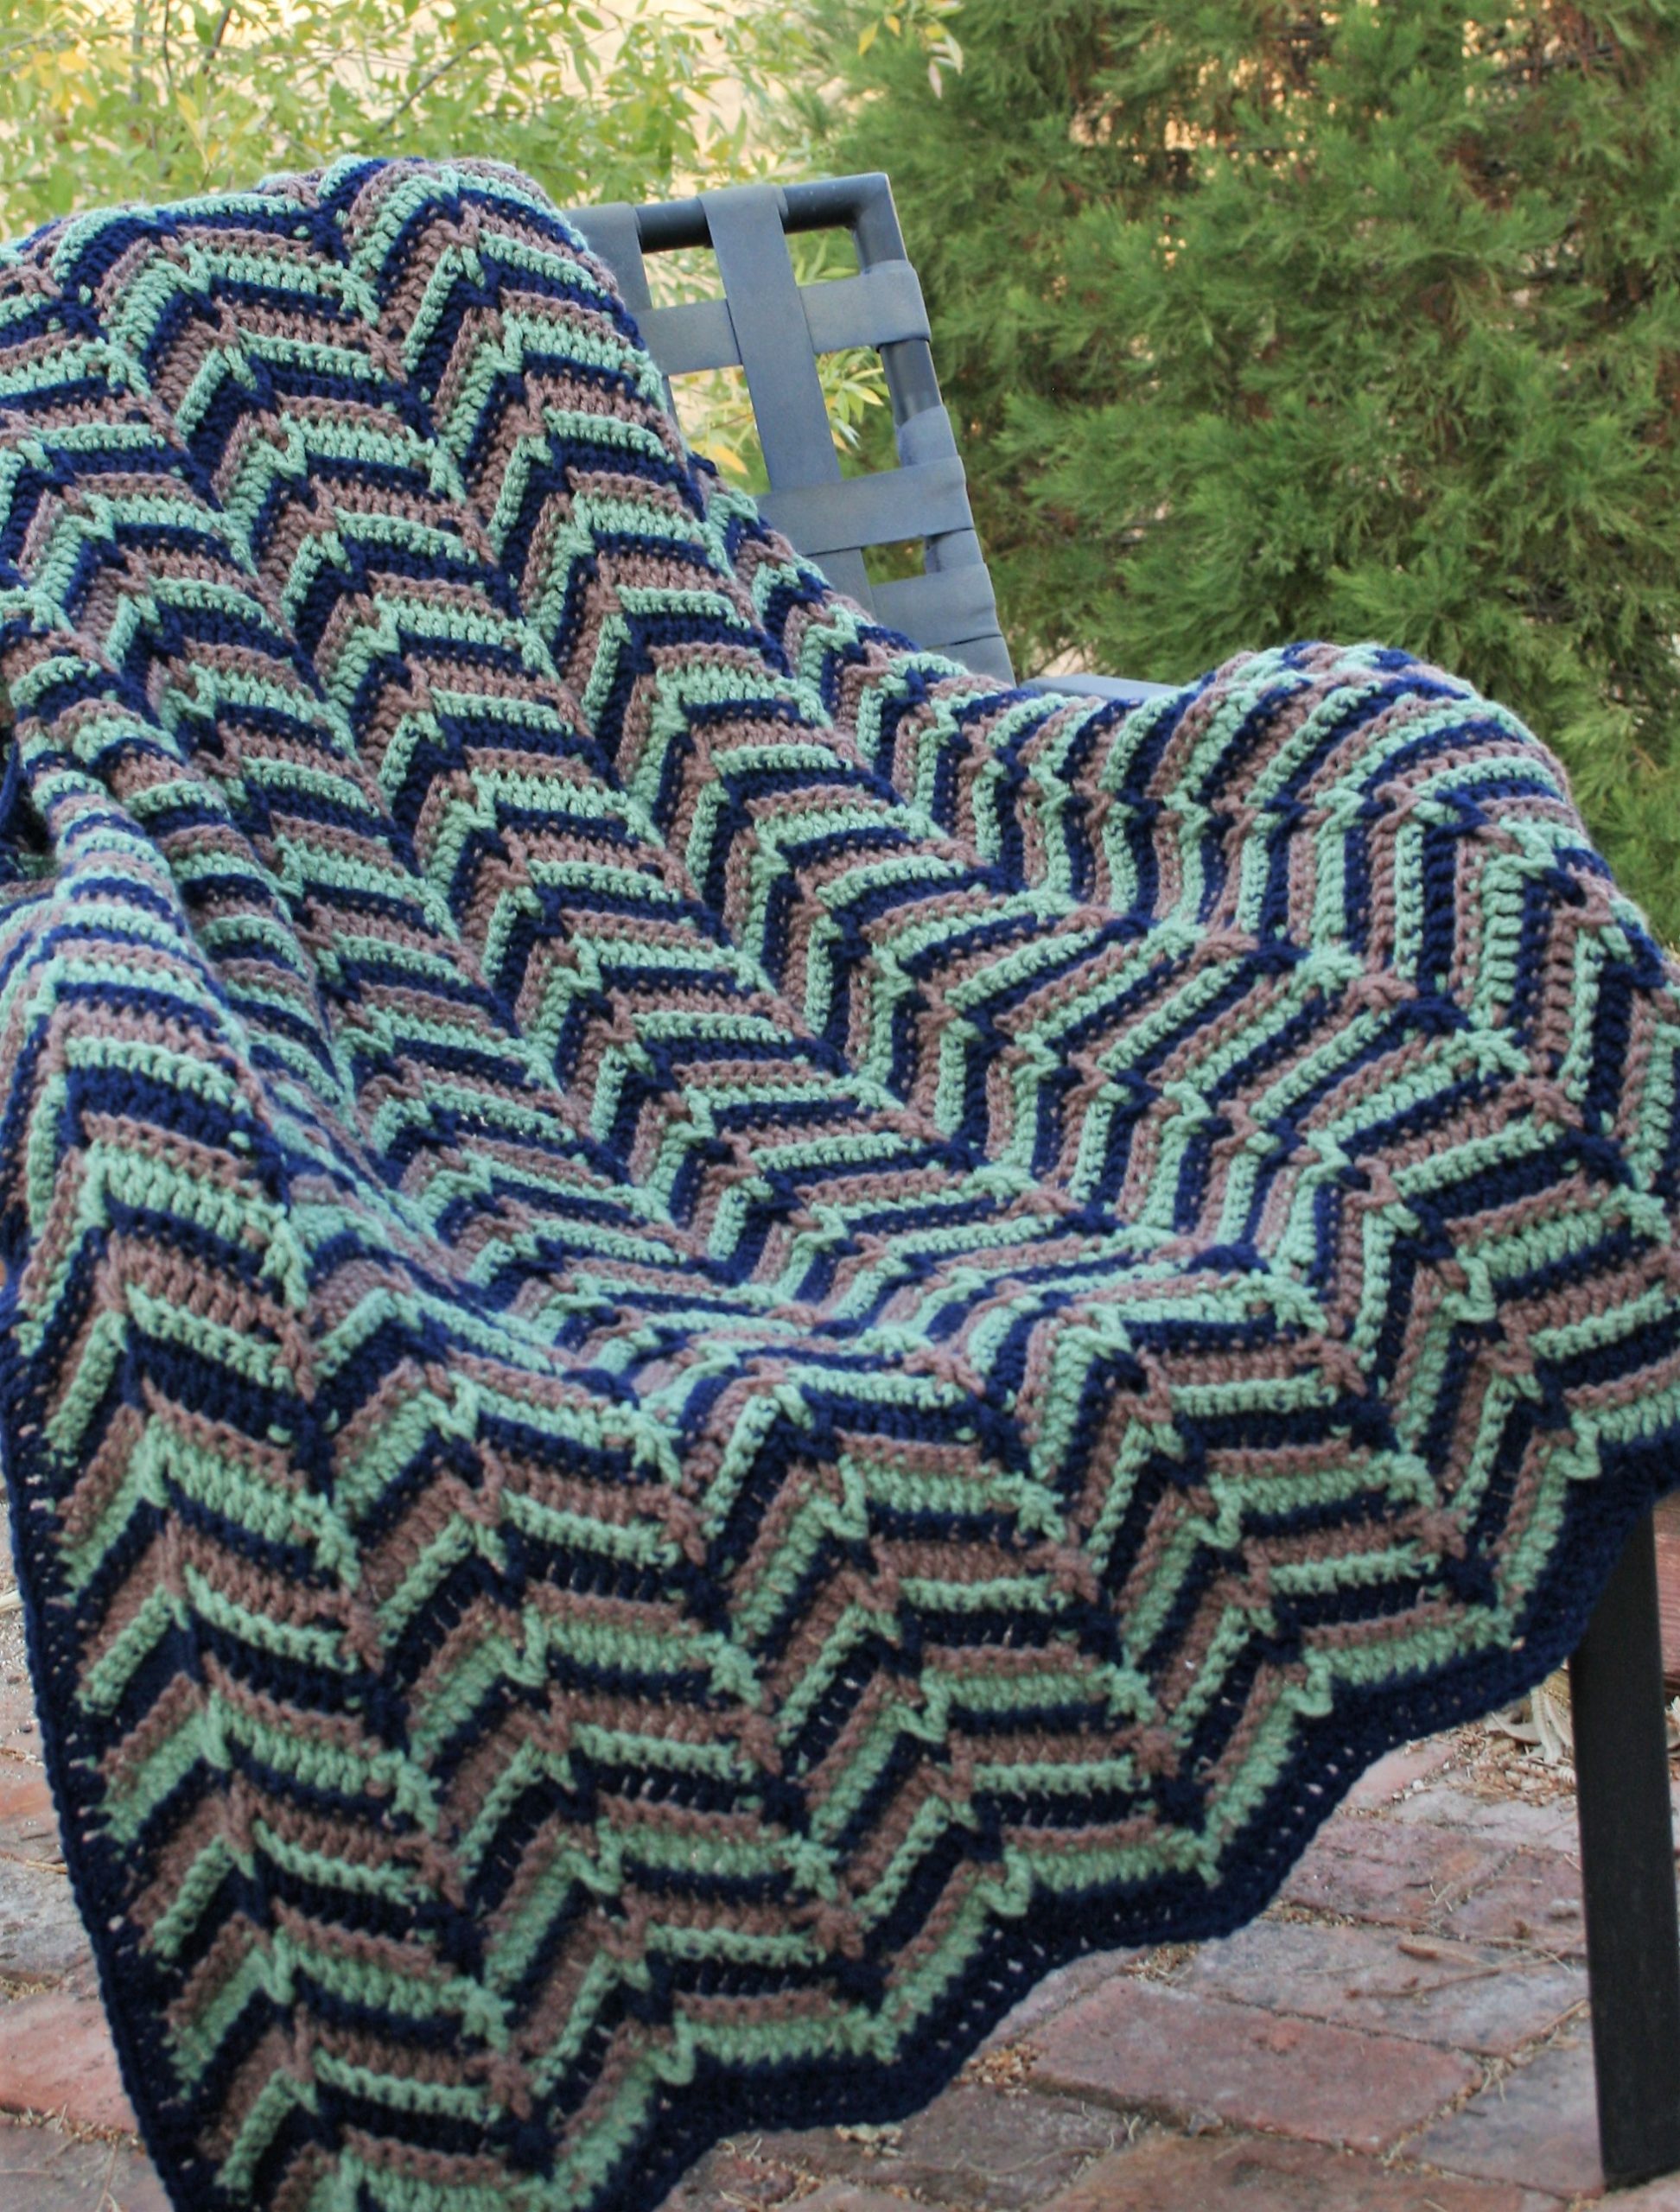
When I learned my friend lost her home during the Northern California Caldor fire this last August I felt at a loss. My heart was heavy for the undertaking she was facing, so I created an afghan to wrap an eternal hug.
Just some pattern insight
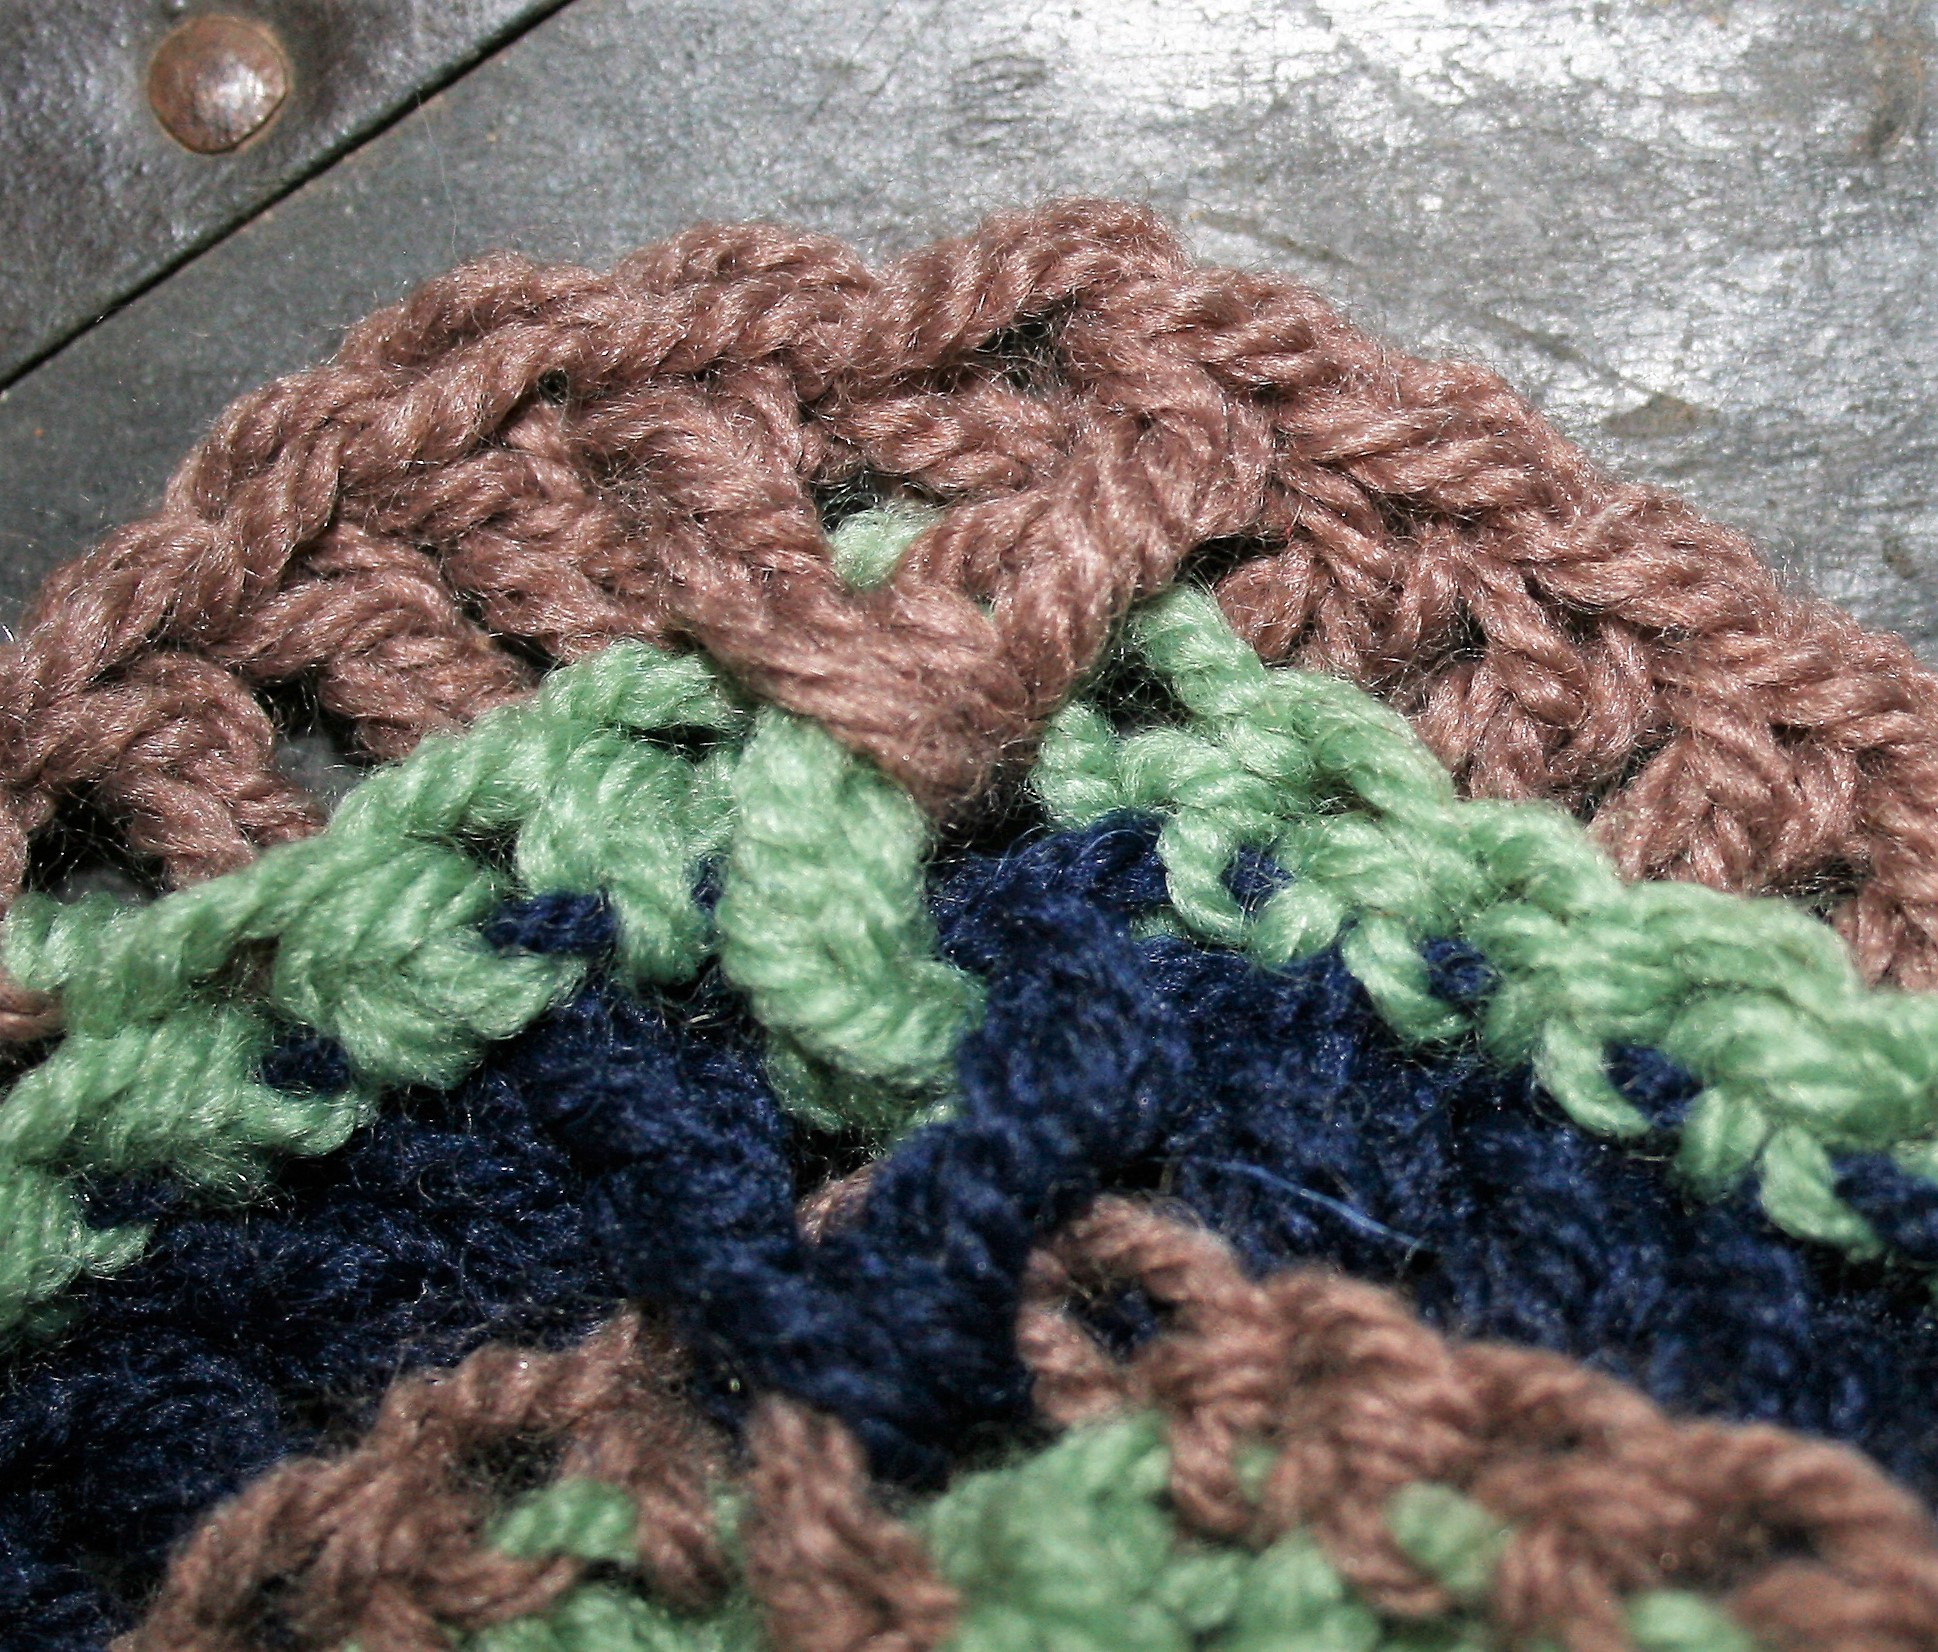
I know that many find themselves in similar situations, so I thought I would share the pattern. It is a 2 row repeat just changing the straight edge stitches from single to double crochet, while having the same stitches used at the “valleys” and “peaks” of this ripple pattern. The colors are alternated between three colors, there is no need to cut the yarn, just carry it up the side (learn how here).
Unspoken Words Throw
Finished size: approximately 55”x55”
Materials
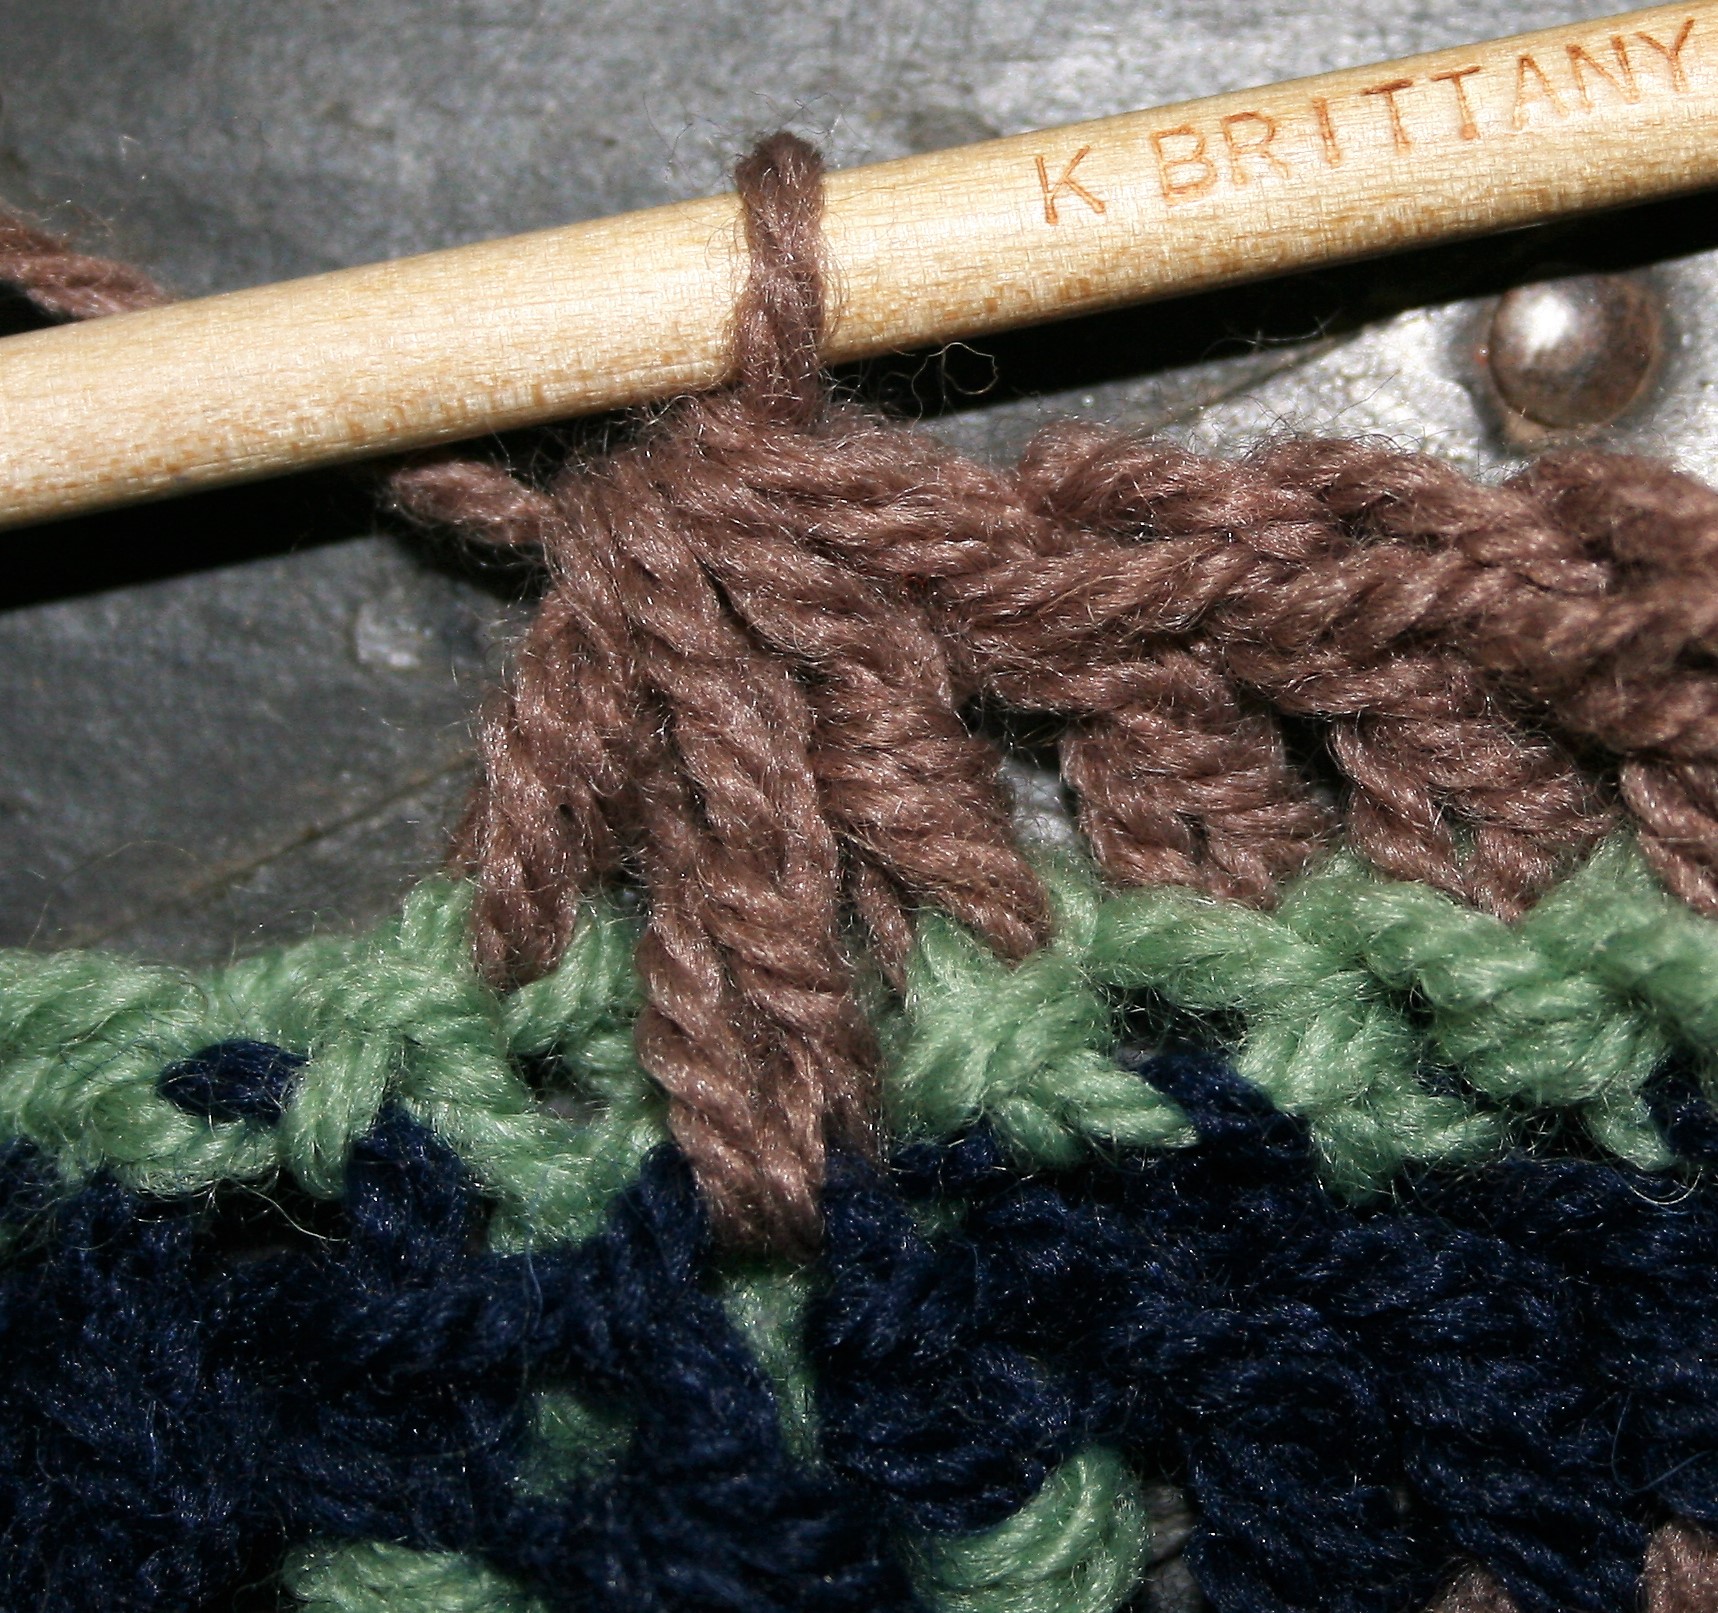
- K/10 1/2 /6.5mm crochet hook
- Medium Weight yarn in 3 colors, 600 yrds of each color. (Sample created in Plymouth Encore 75% acrylic, 25% wool (100g/3.5oz/200yd) yarn, 3 skeins each of color #848, 1204, 1232)
Special Stitches
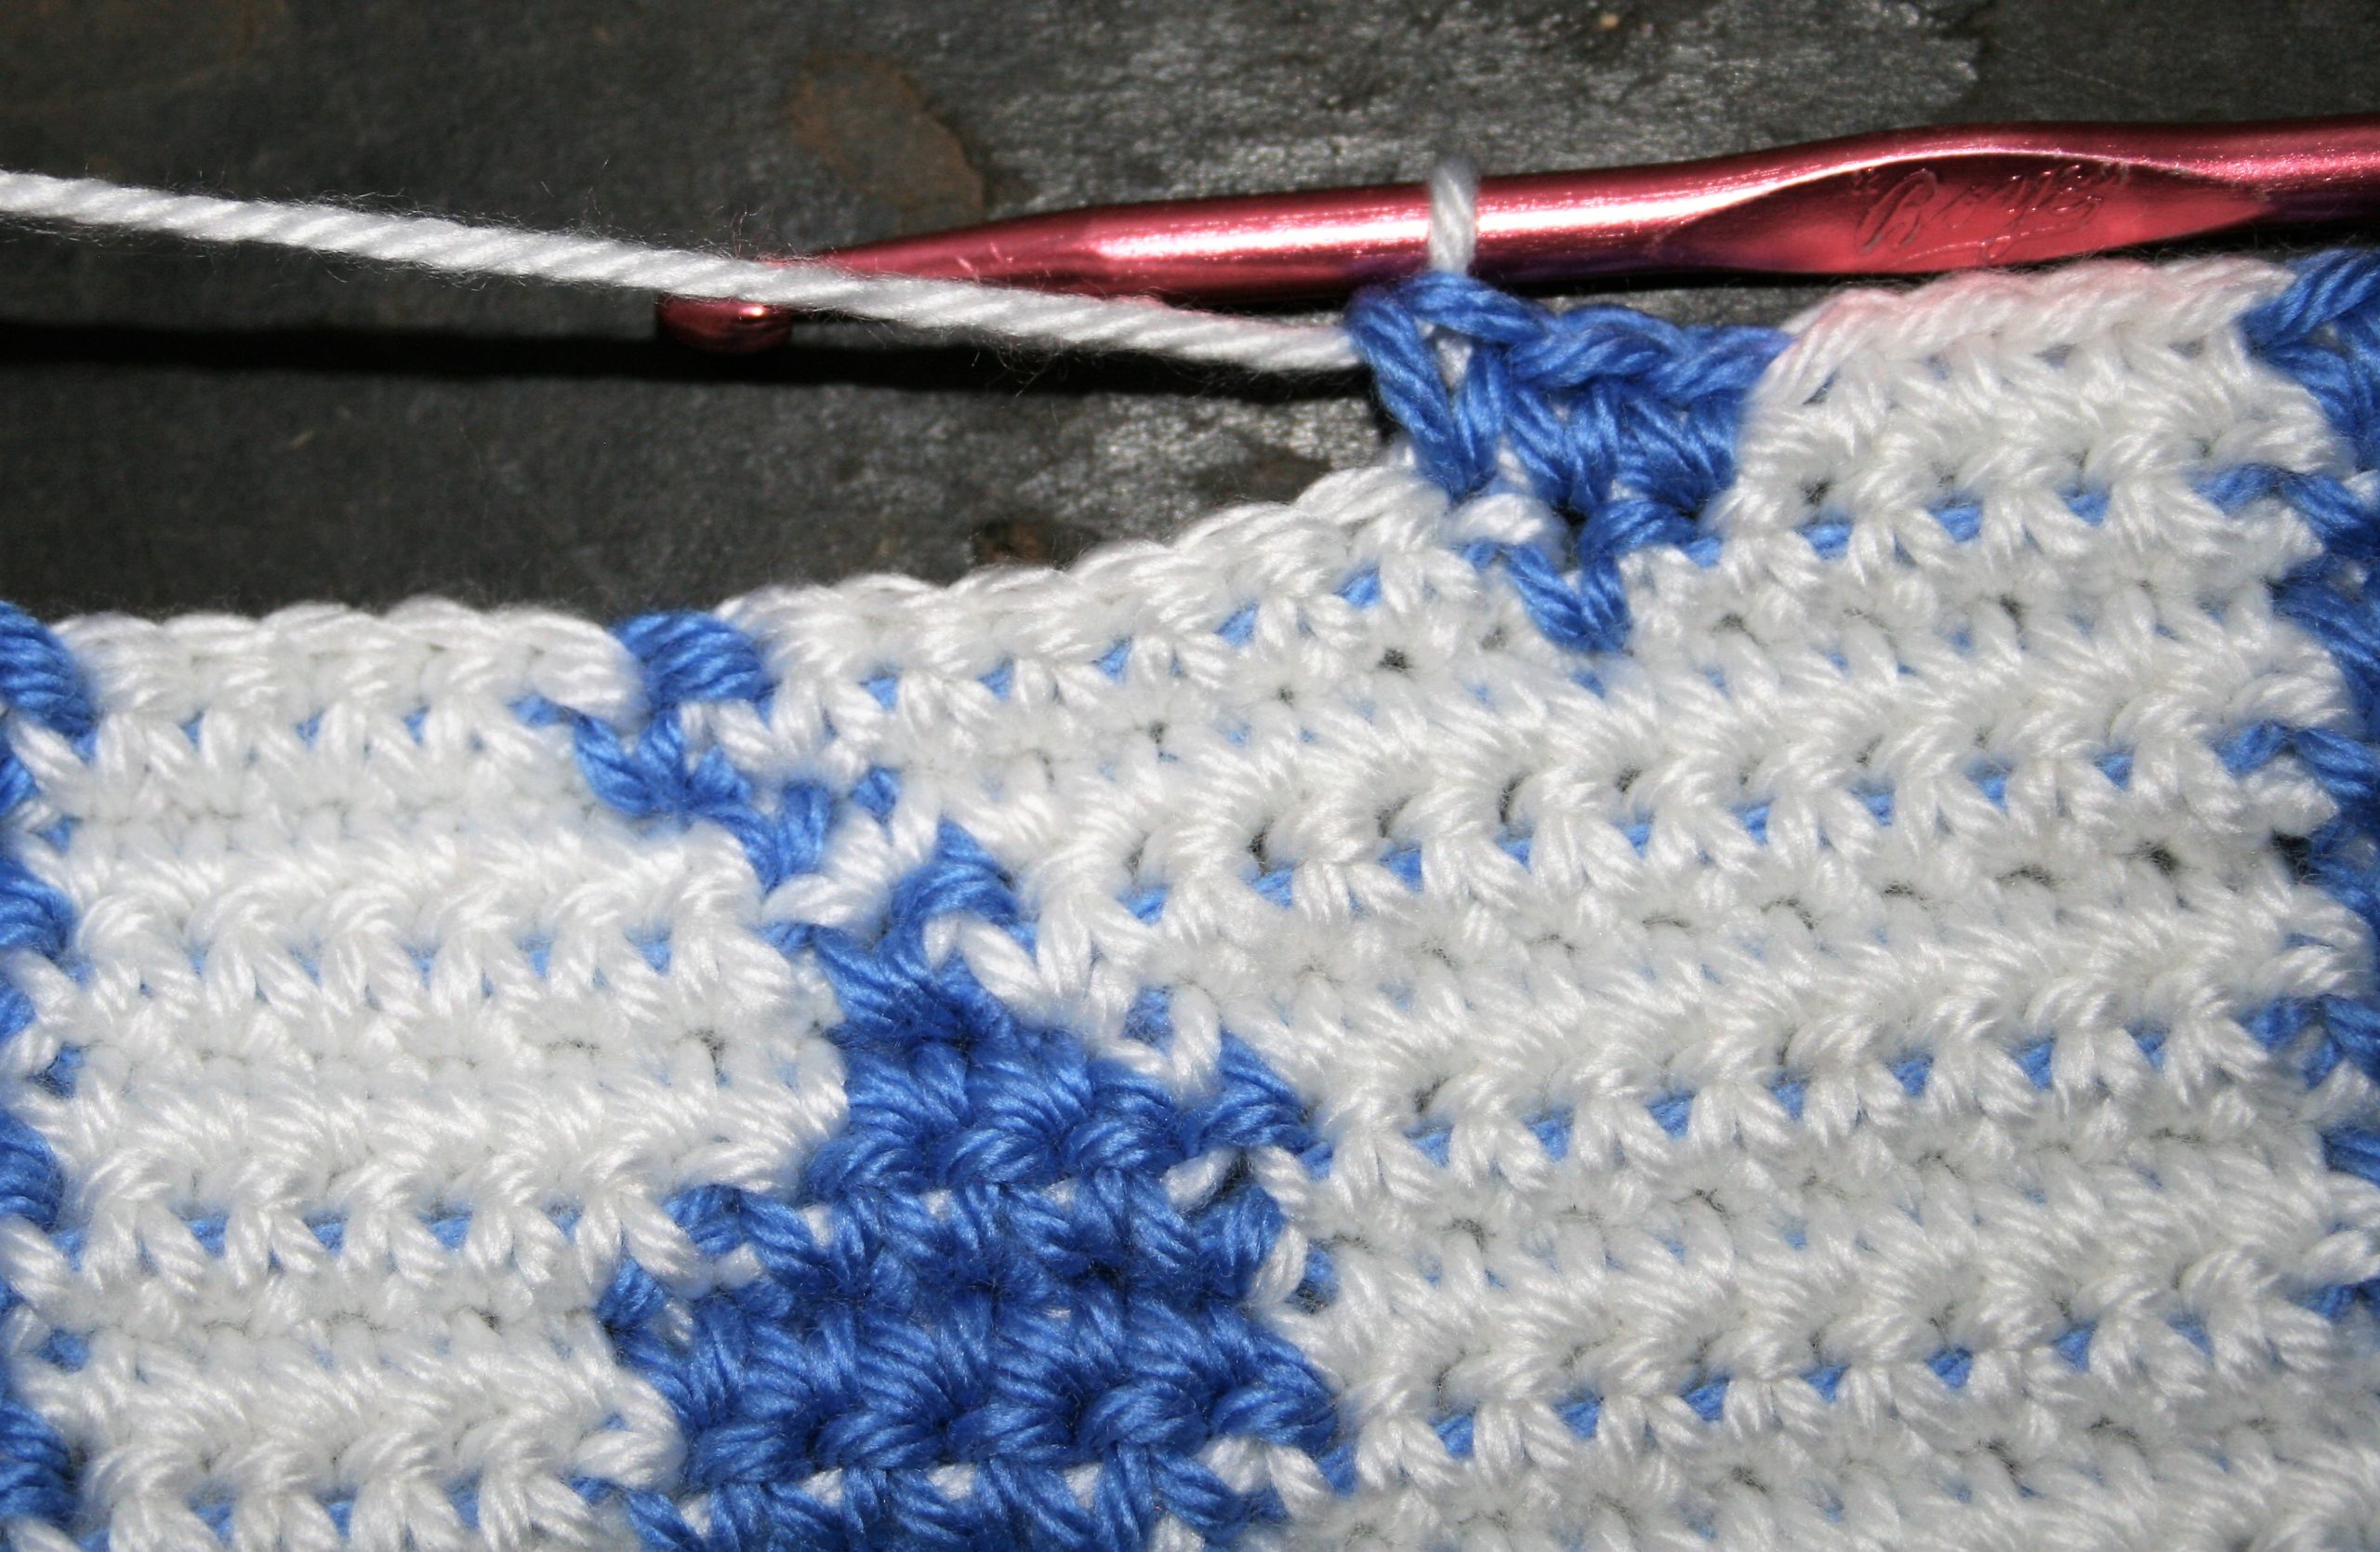
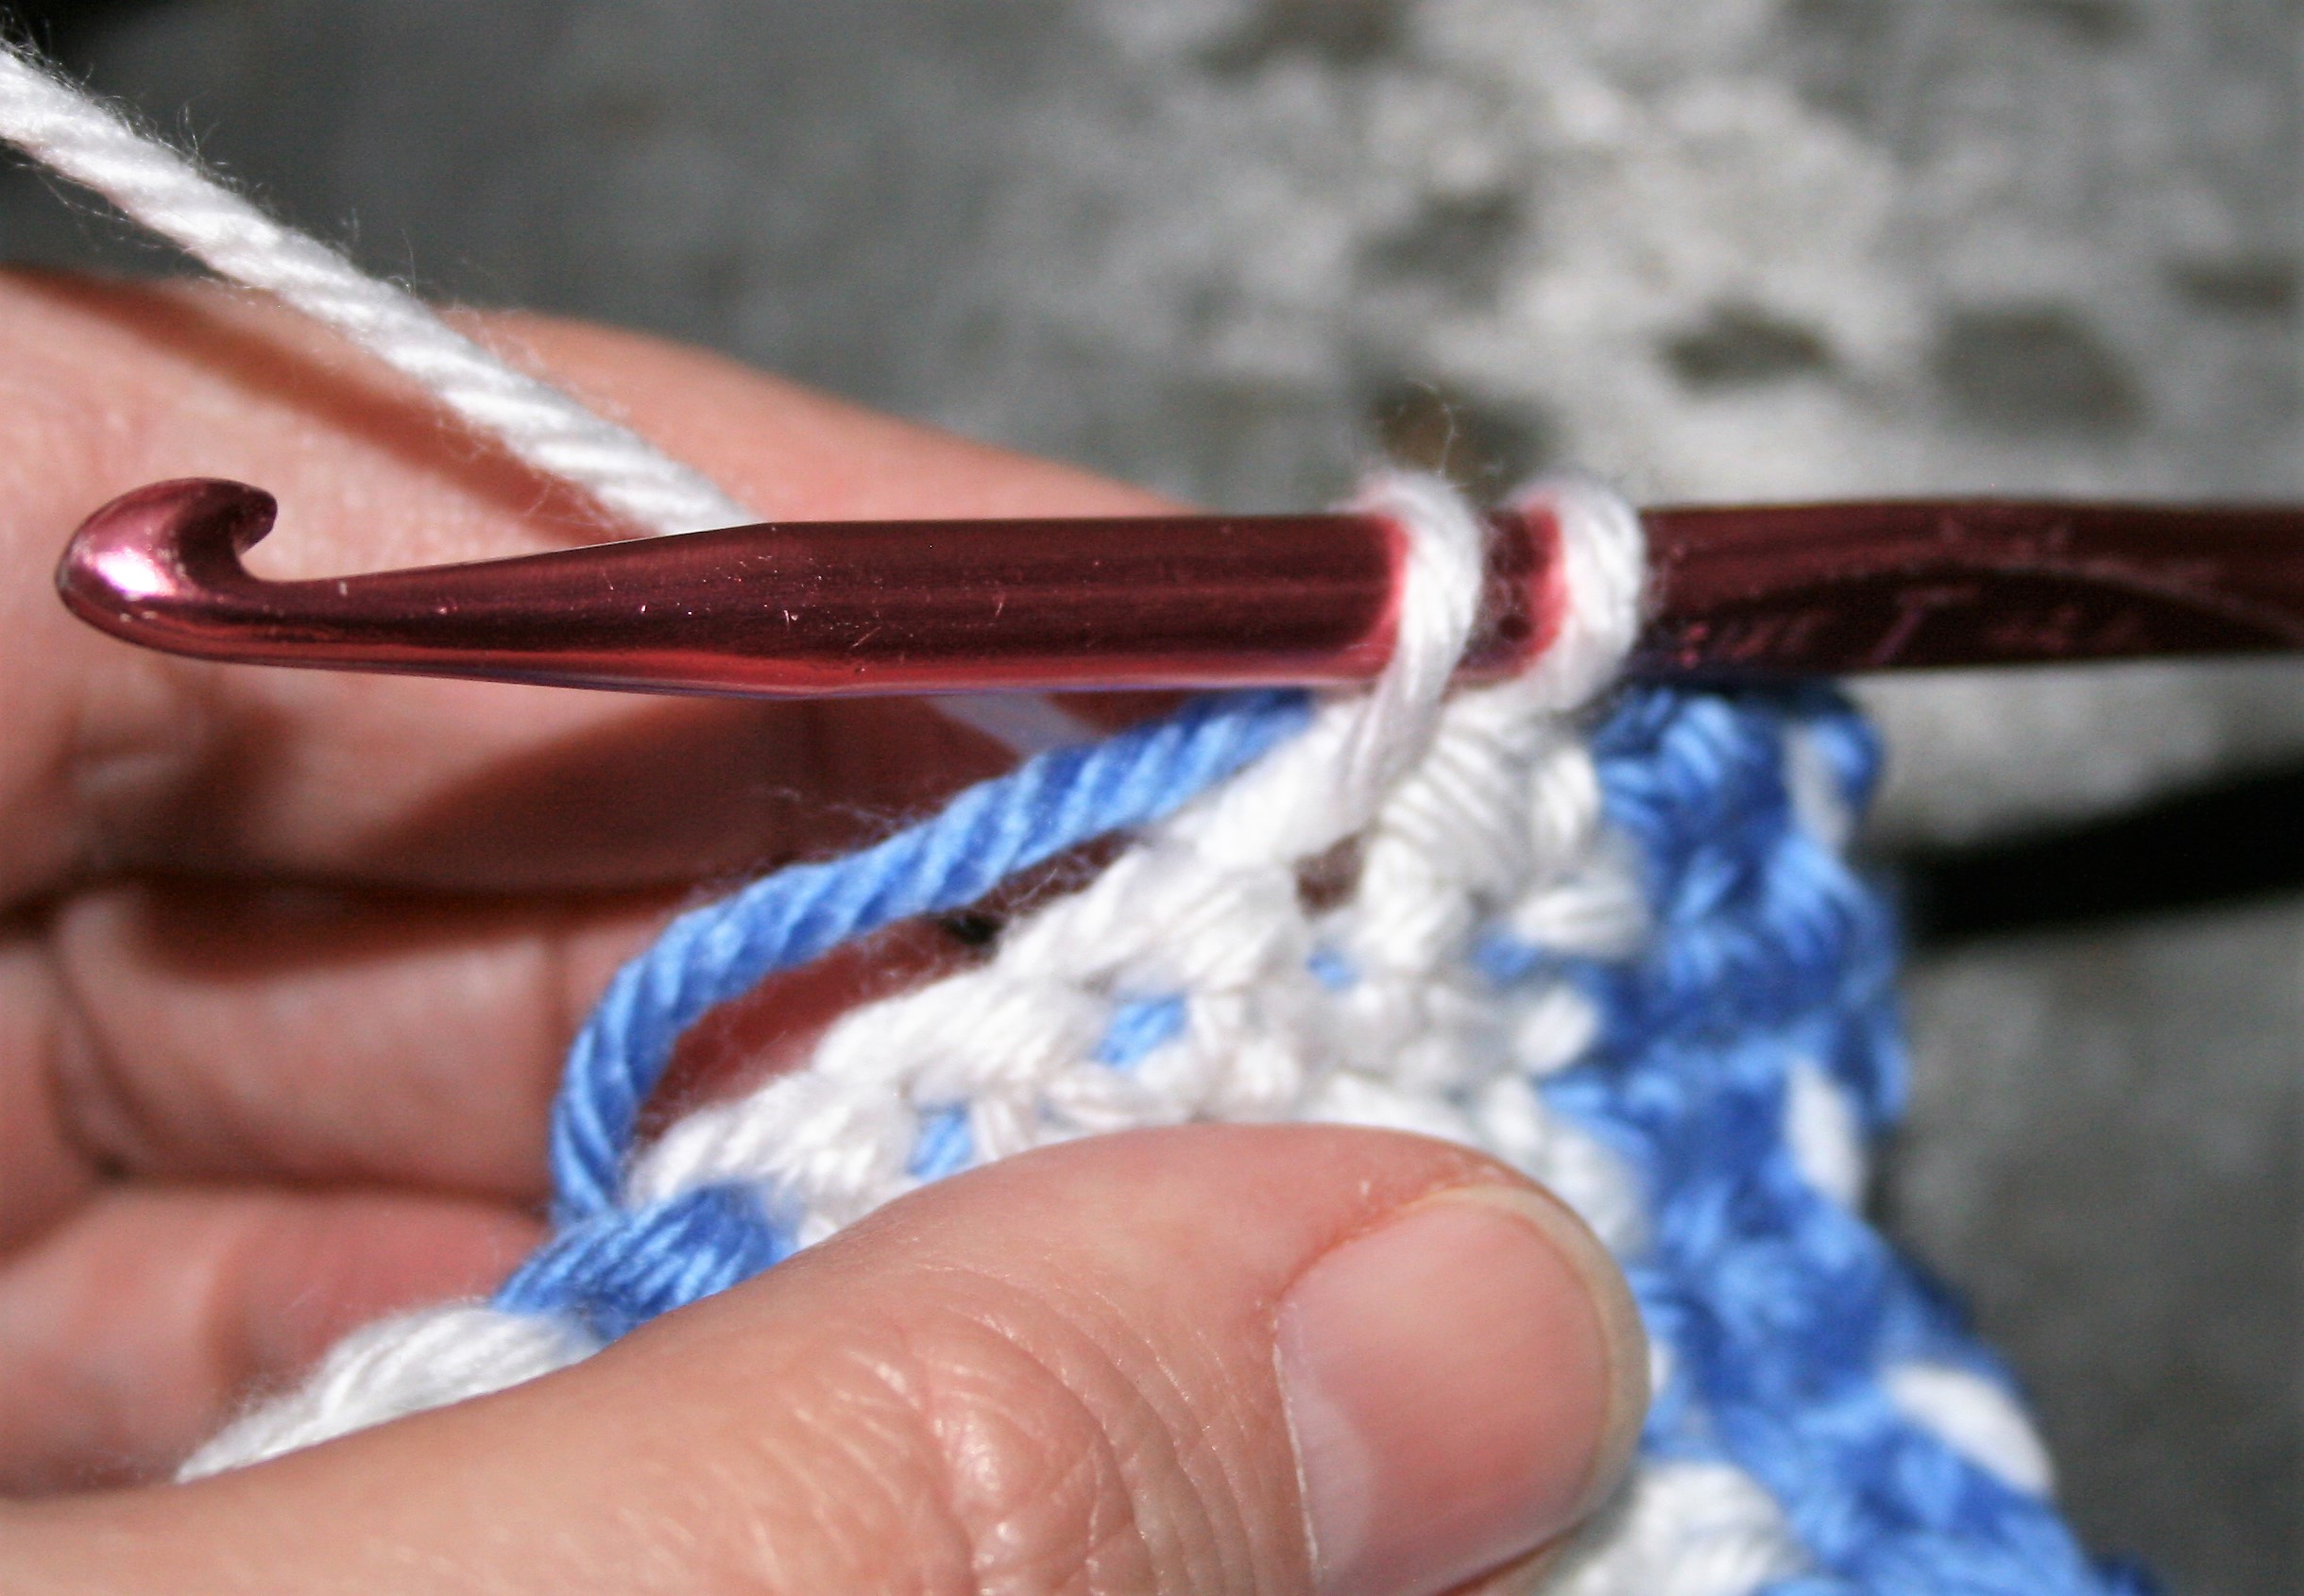
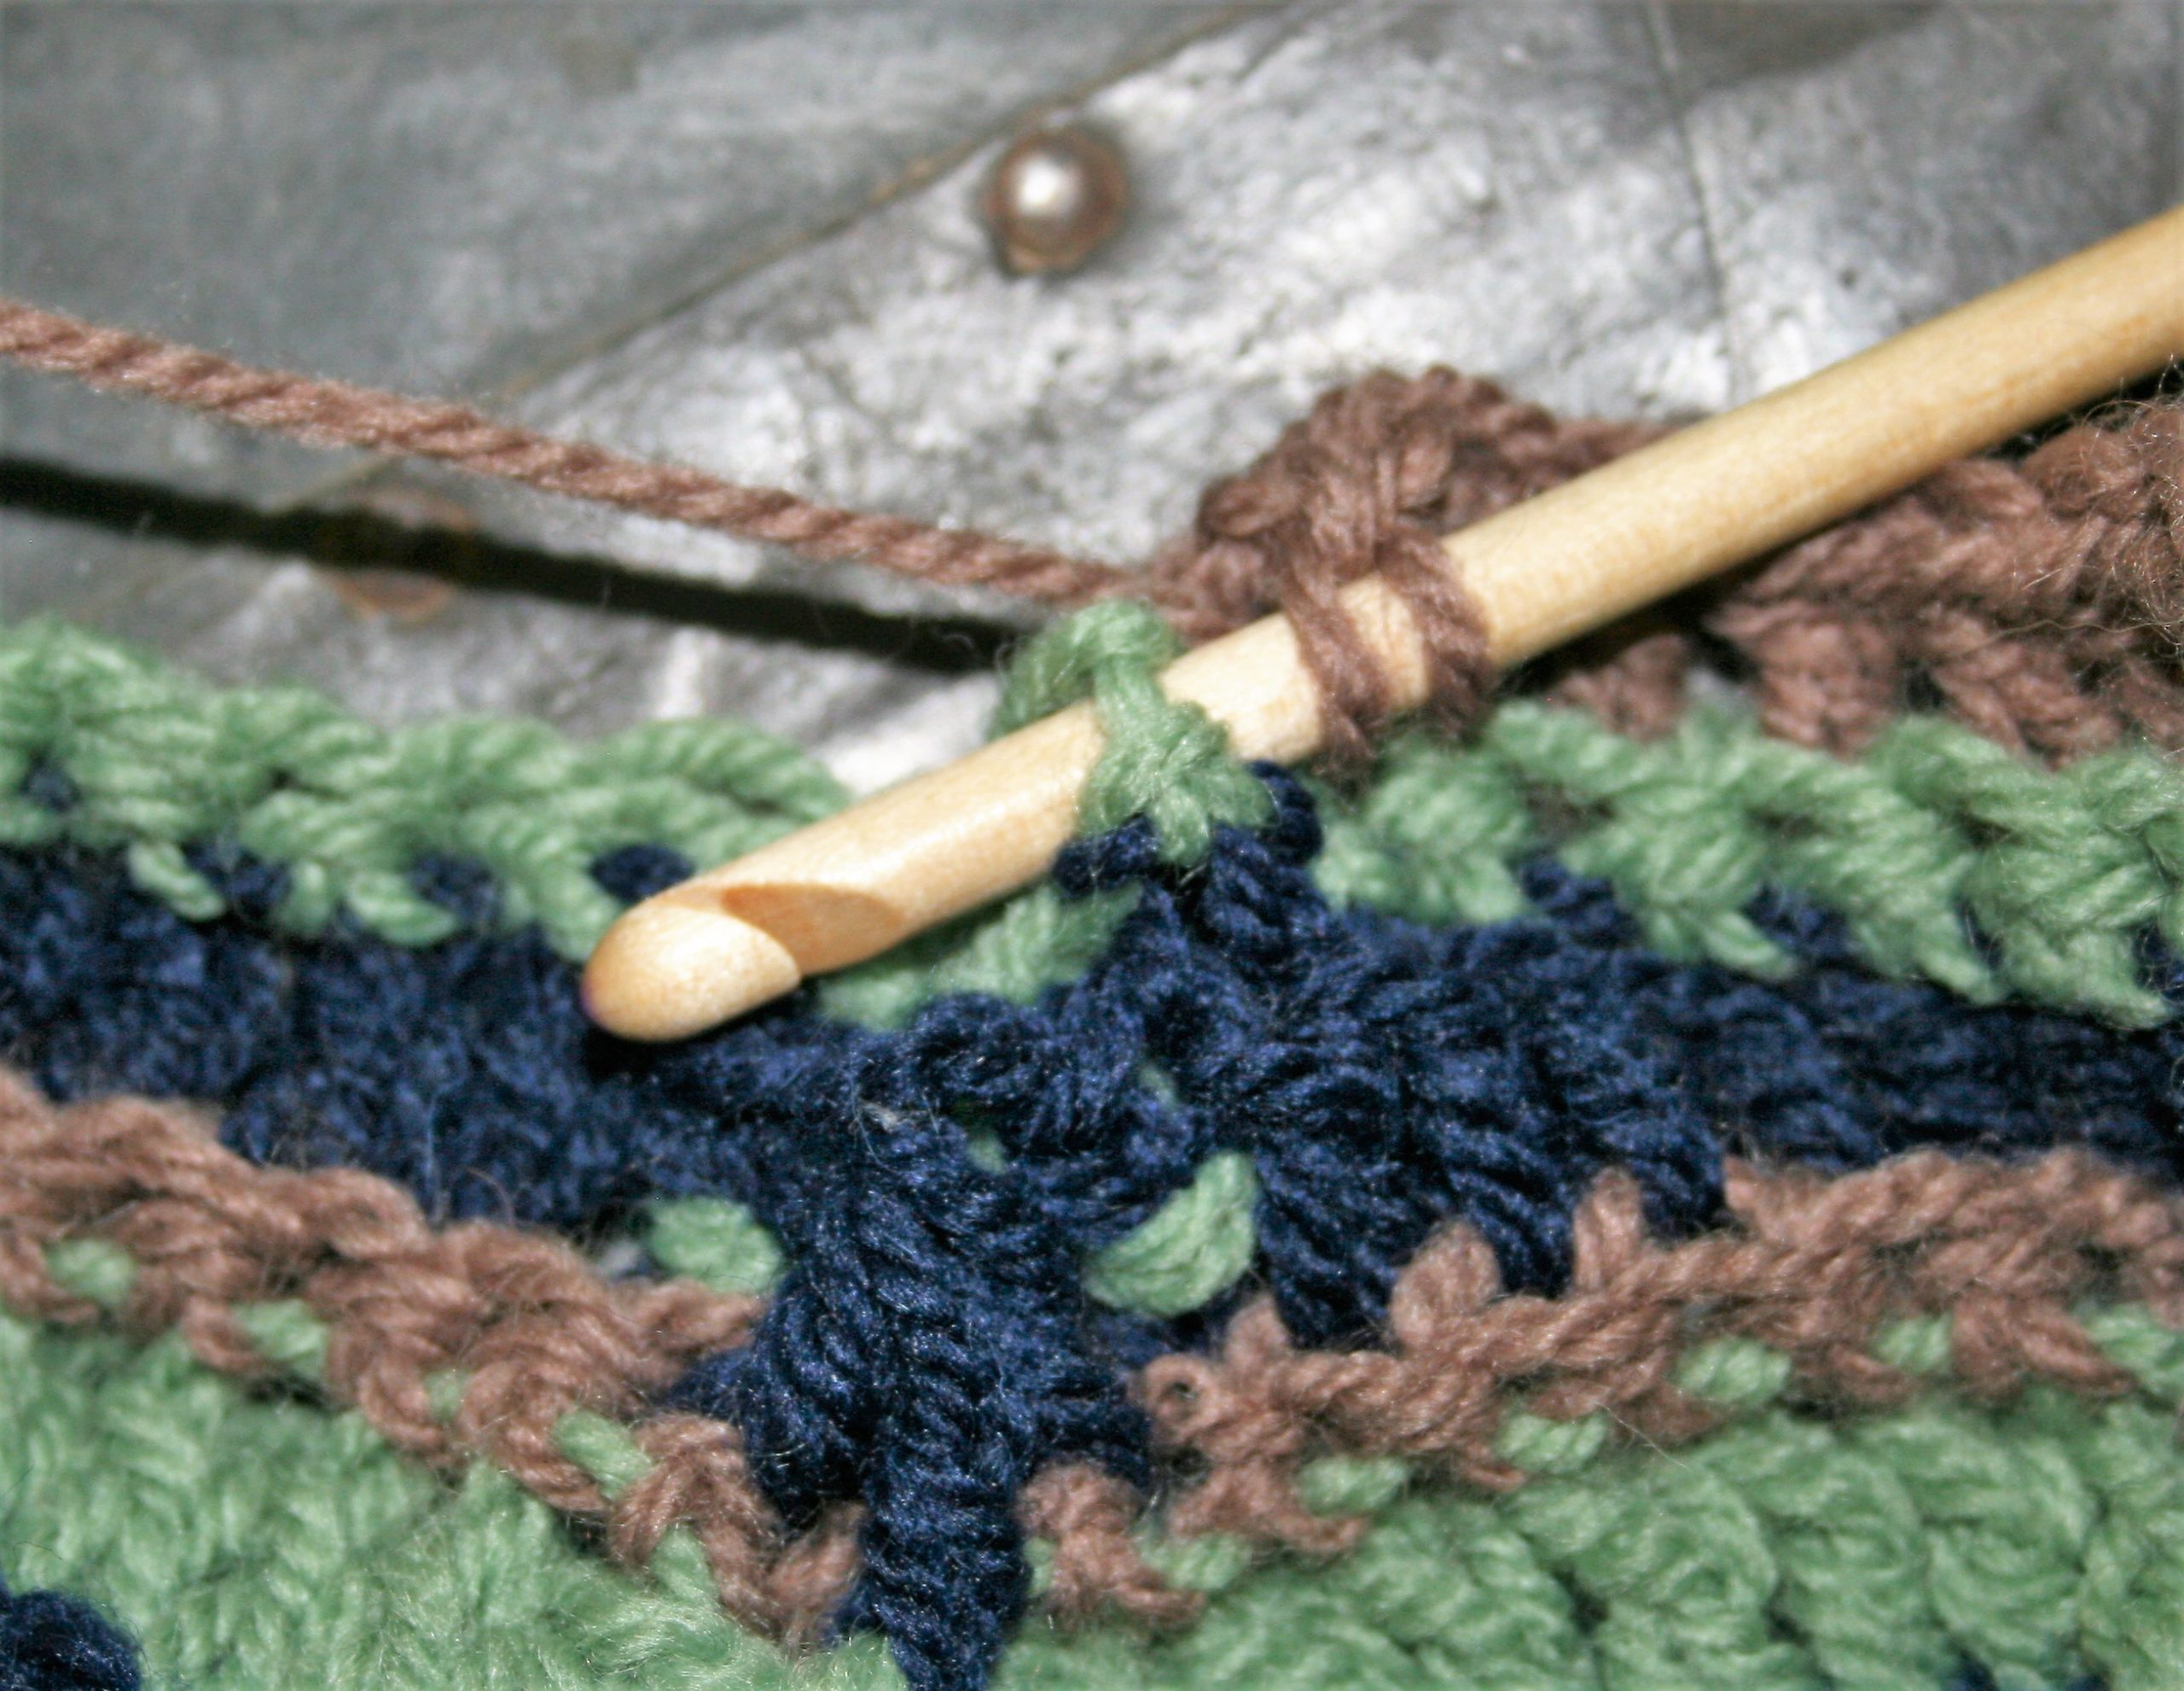
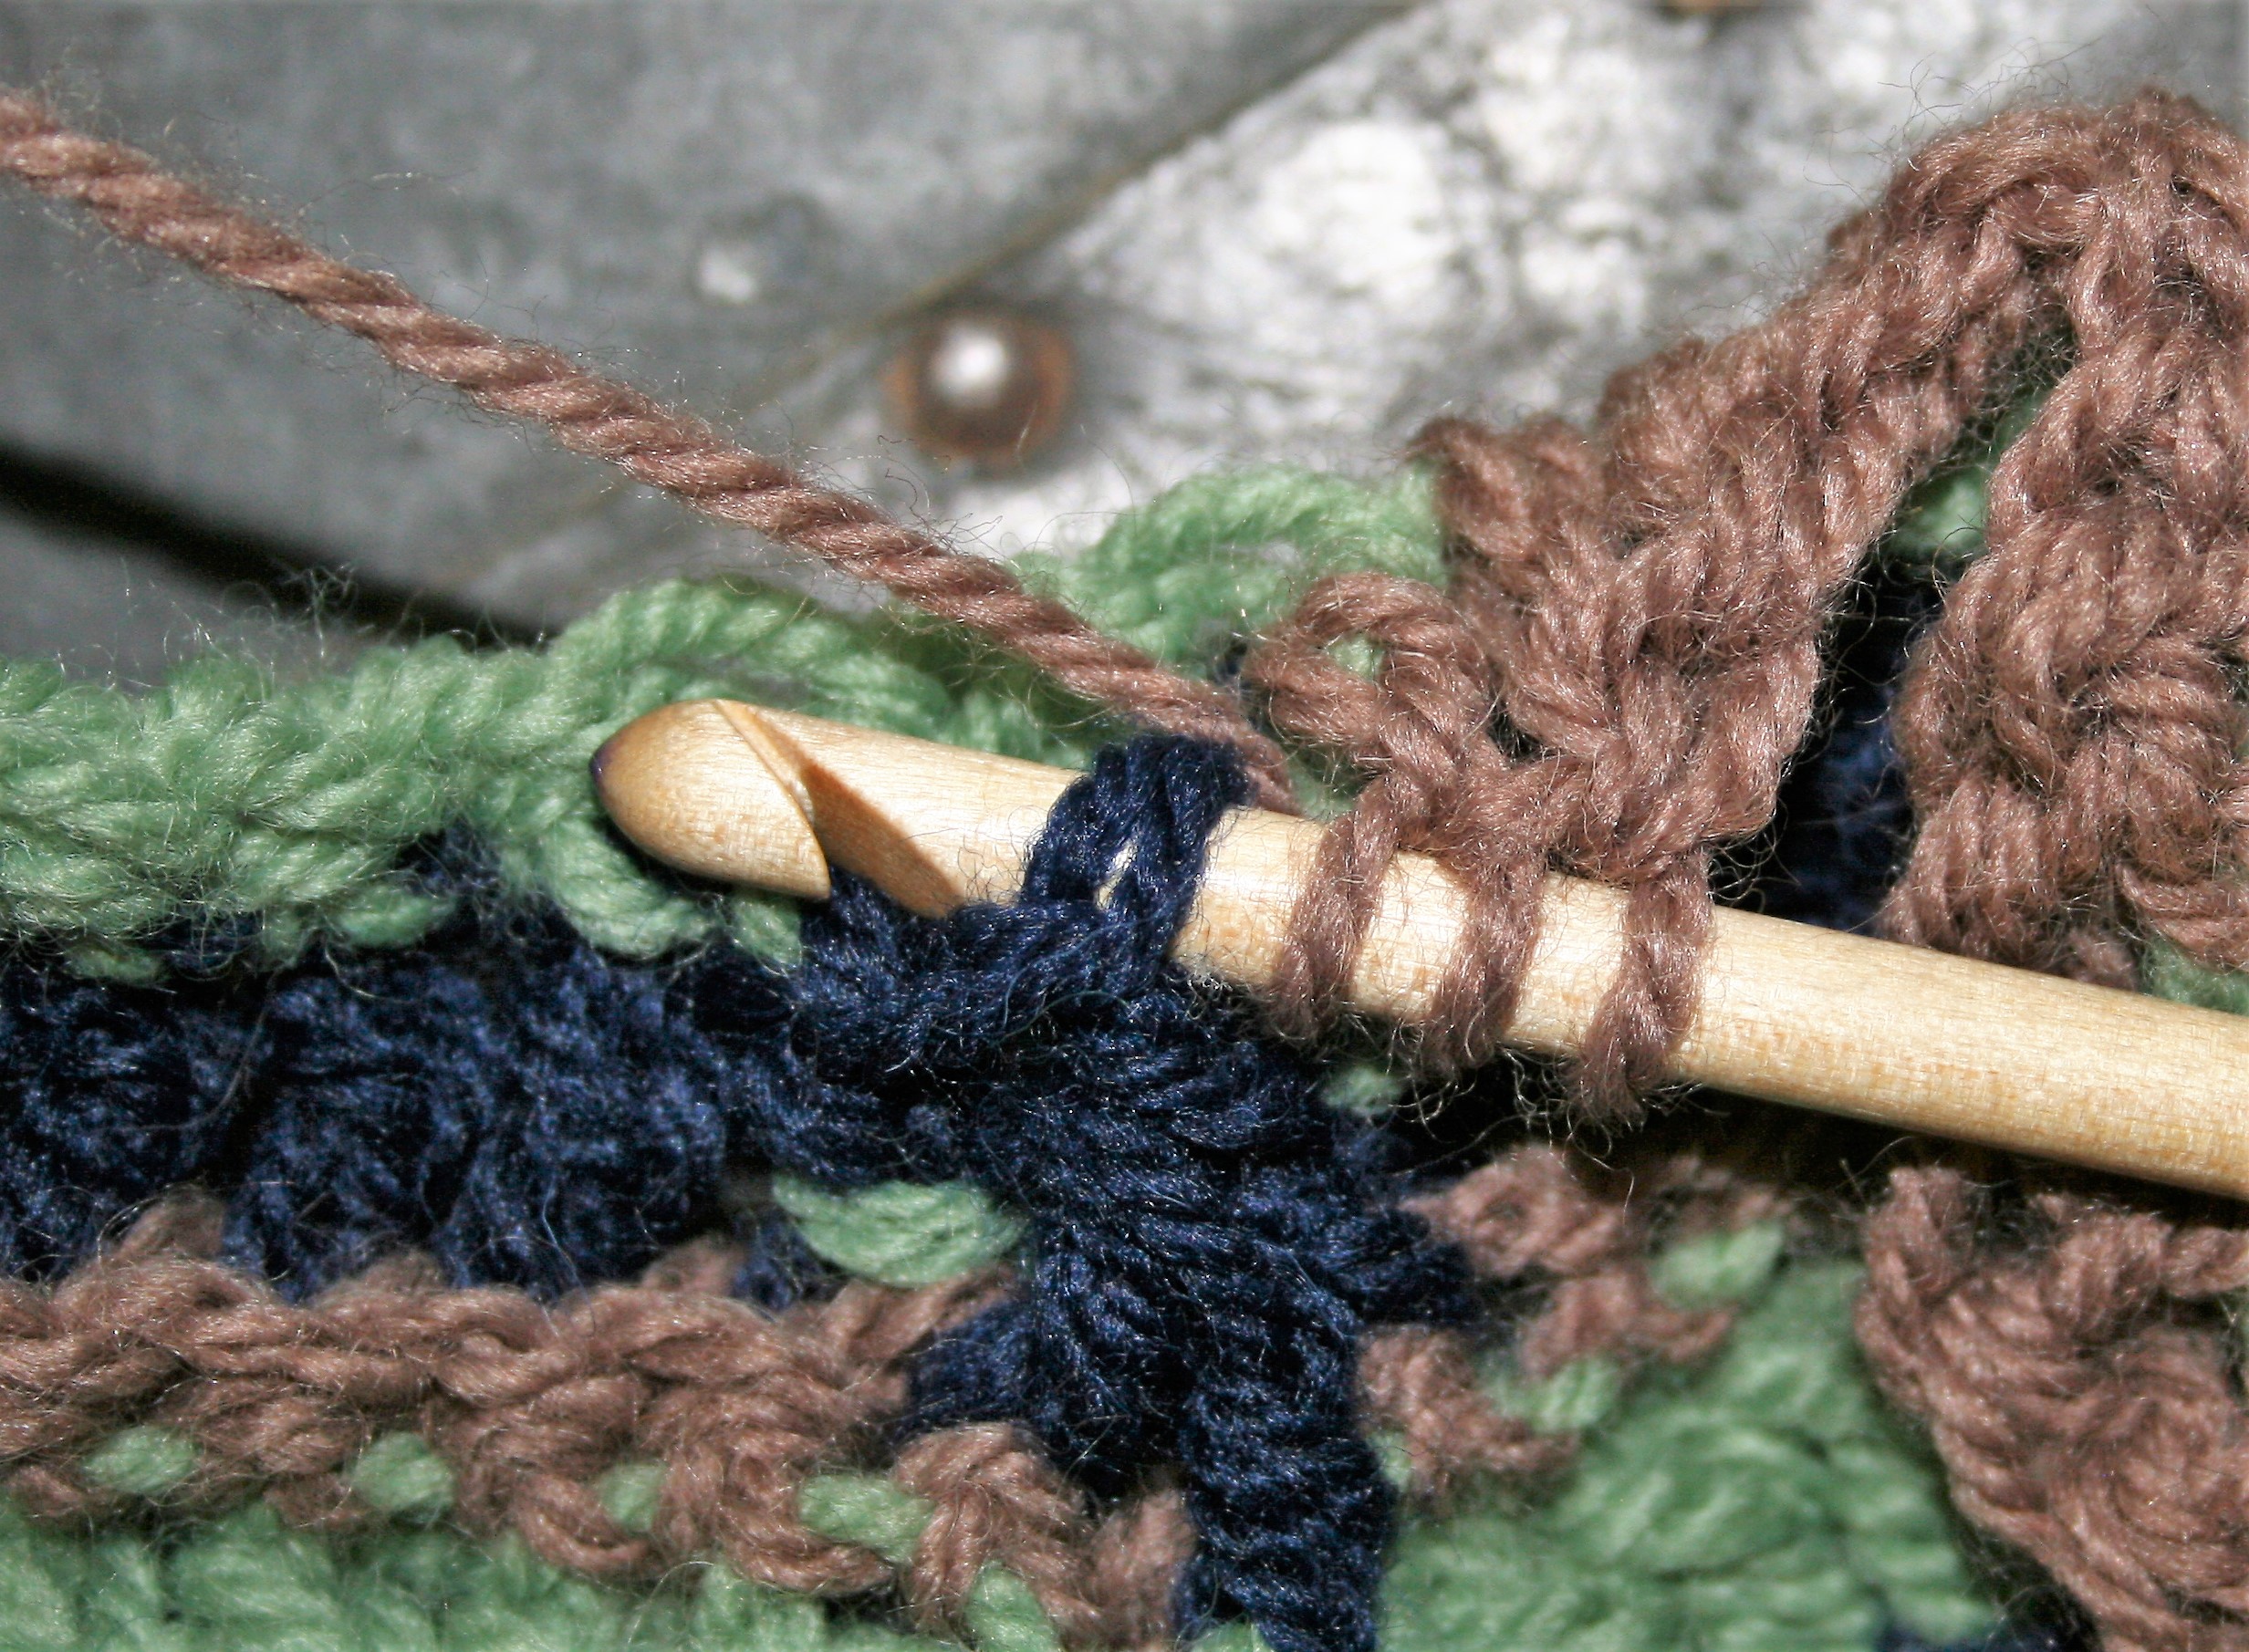
Back Loop 3 double crochet together over center (blodc3togcenter)– yo, insert hook into back loop of next st, yo, pull up a loop, yo pull through 2 loops, yo insert hook into top of decrease worked 2 rows below, yo pull up a loop, yo pull through 2, yo, insert hook into back loop of next st, yo, pull up a loop, yo, pull up 2 loop, yo, pull through all 4 loops on hook.
Abbreviations
- ch(s)=chain(s)
- sc= single crochet
- blodc= back loop double crochet
- blosc= back loop single crochet
- blsc2tog= back loop 2 single crochet together
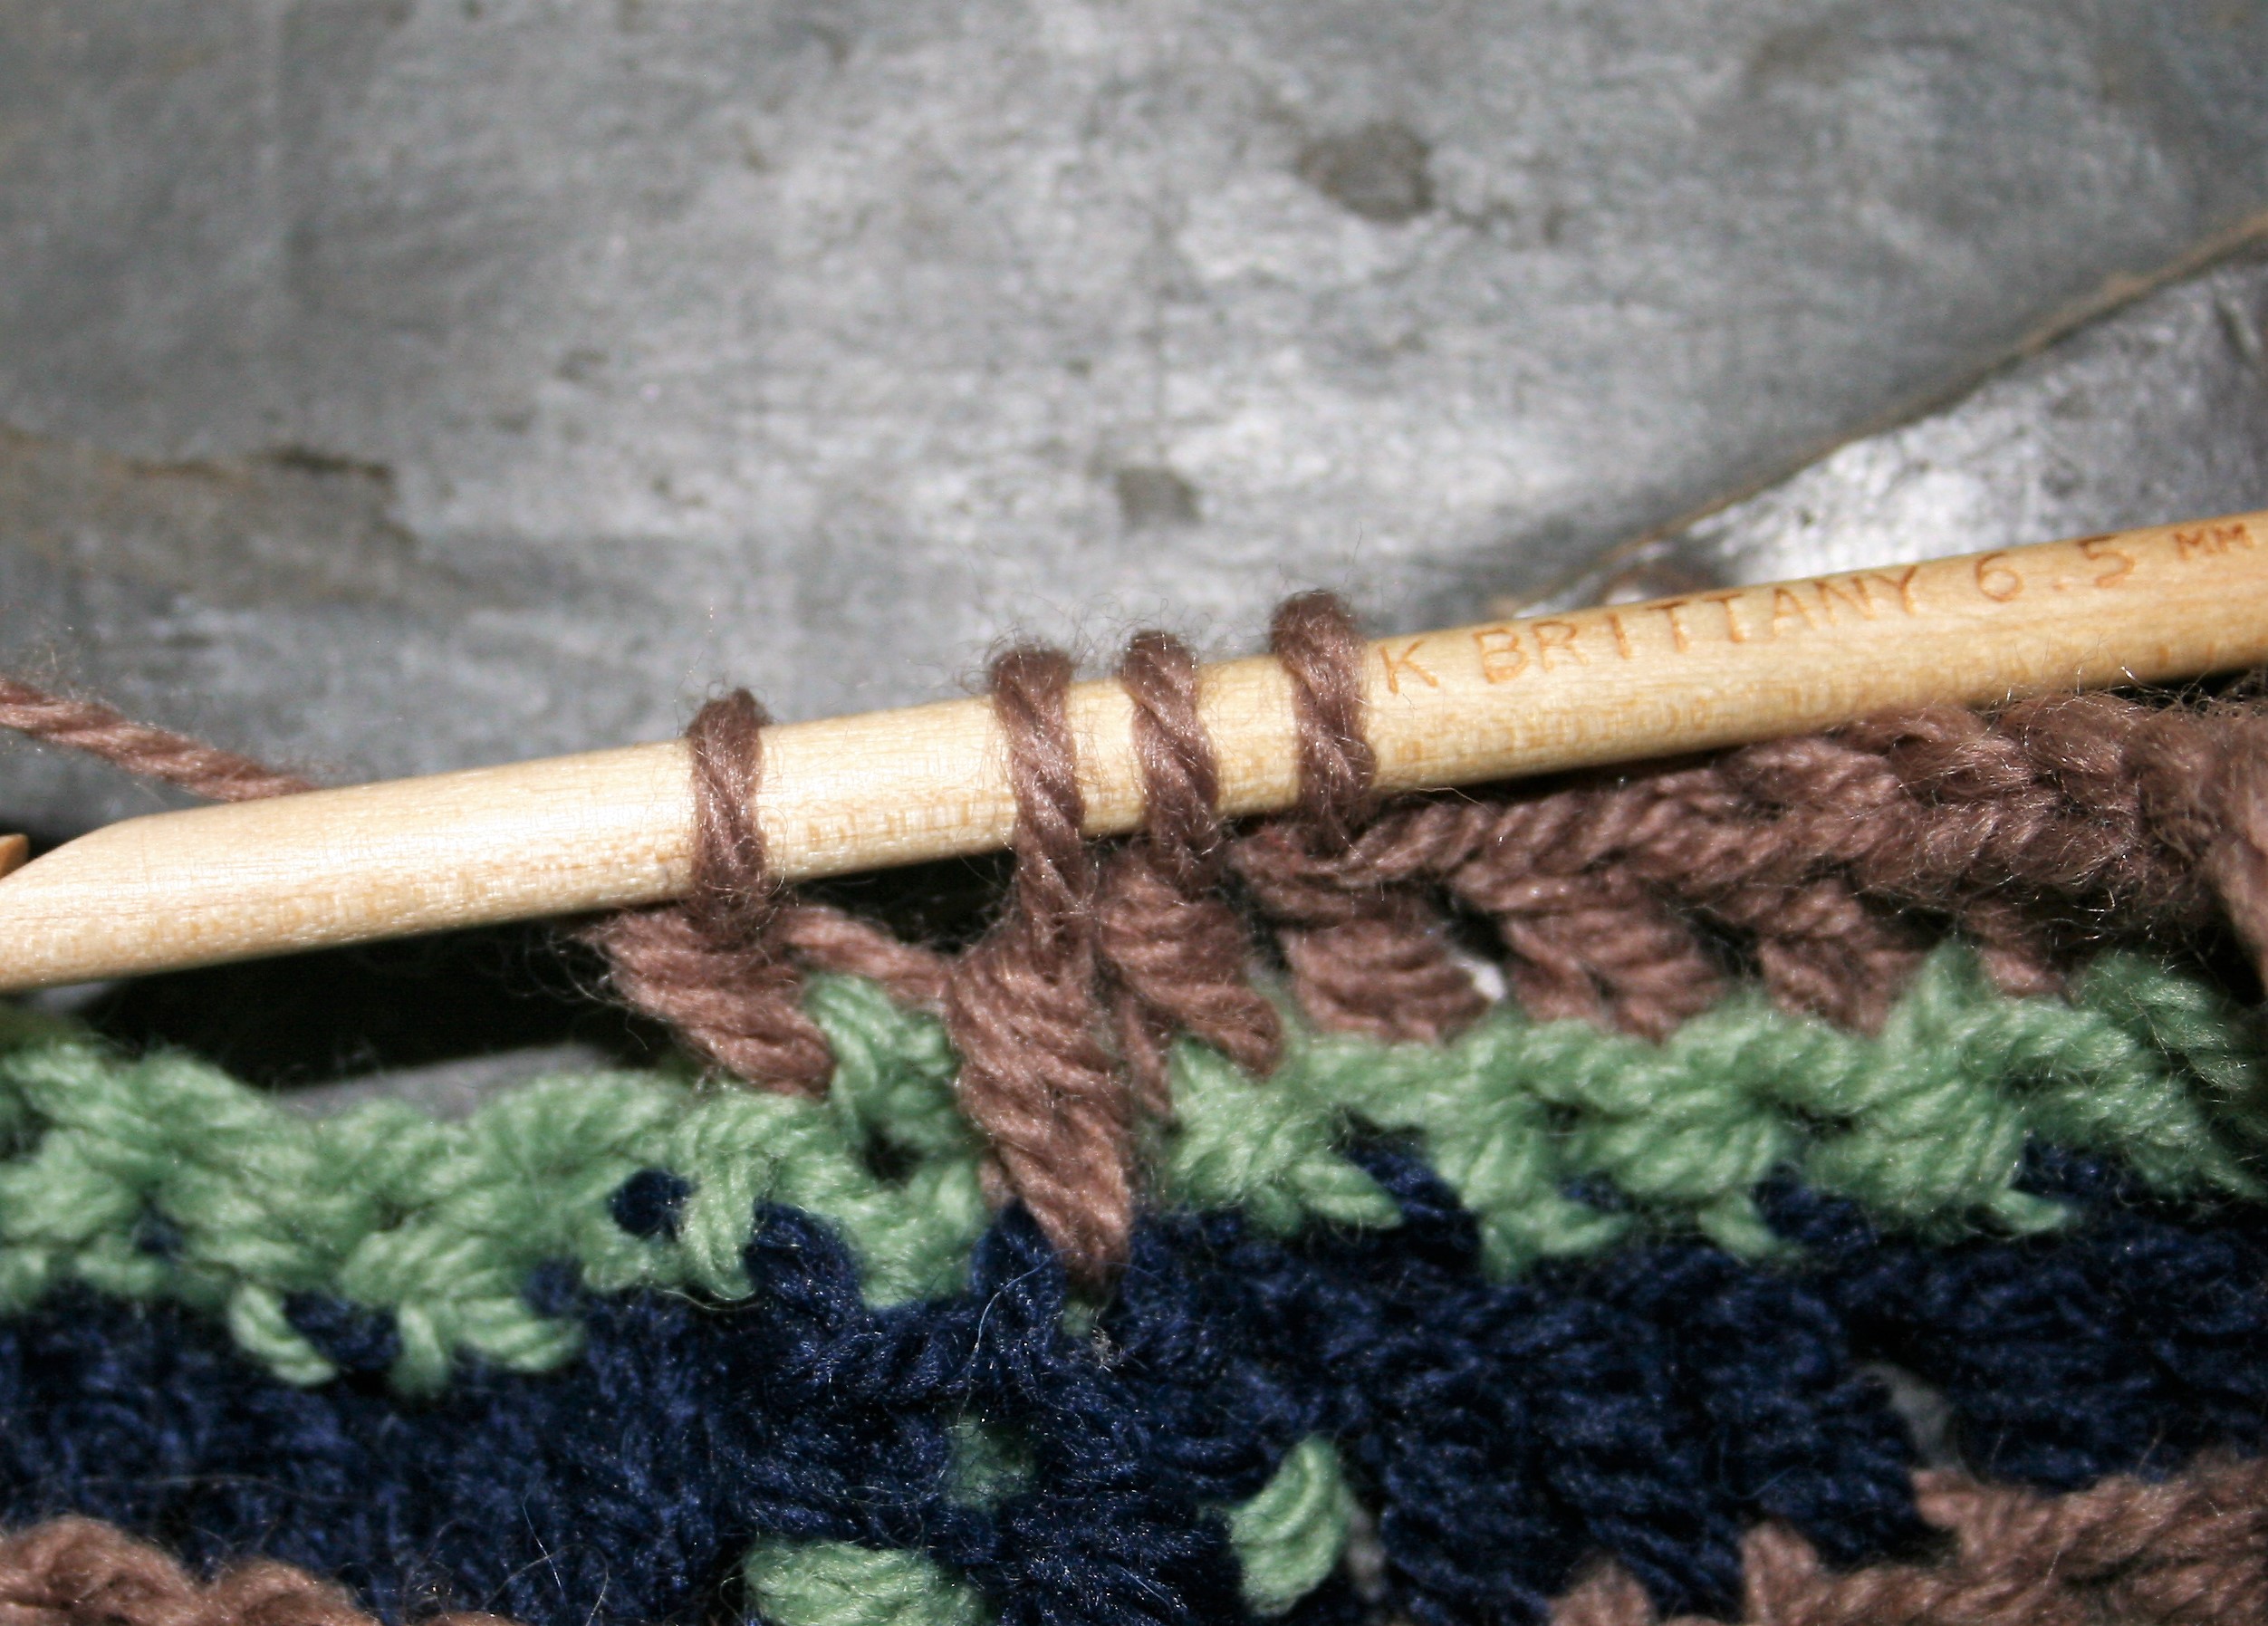
- bpdc= back post double crochet
- fpdc= front post double crochet
- sk= skip
- st(s)= stitch(es)
- rep=repeat
Crochet Unspoken Words -the Free Pattern
Row 1: Ch 160, sc in 2nd ch from hook, sc in next 6 chs, 3 dc in next ch, sc in next 7 chs, [sk 3 chs, sc in 7 sts, 3 dc in next ch, sc in next 7 sts] rep 8 times, change color, turn.
The Repeat Begins
Row 2: Ch 2, working back loops, blodc in next st, blodc in next 6 sts, (fpdc, bpdc, fpdc) around next st, blodc in next 7 sts, [blodc3togcenter, blodc in next 7 sts, (fpdc, bpdc, fpdc) around next st, blodc in next 7 sts] rep 8 times, dc2tog, change color, turn.
Row 3: Ch 1, blsc2tog, blosc next 6 sts, (fpdc, bpdc, fpdc) around next st, blsc in next 7 sts, [blodc3togcenter, blosc in next 7, (fpdc, bpdc, fpdc) around next st, blsc in next 7 sts] rep 8 times, sc2tog, change color, turn.
Repeat Rows 2 and 3, changing colors every row, alternating between three colors, until desired length.
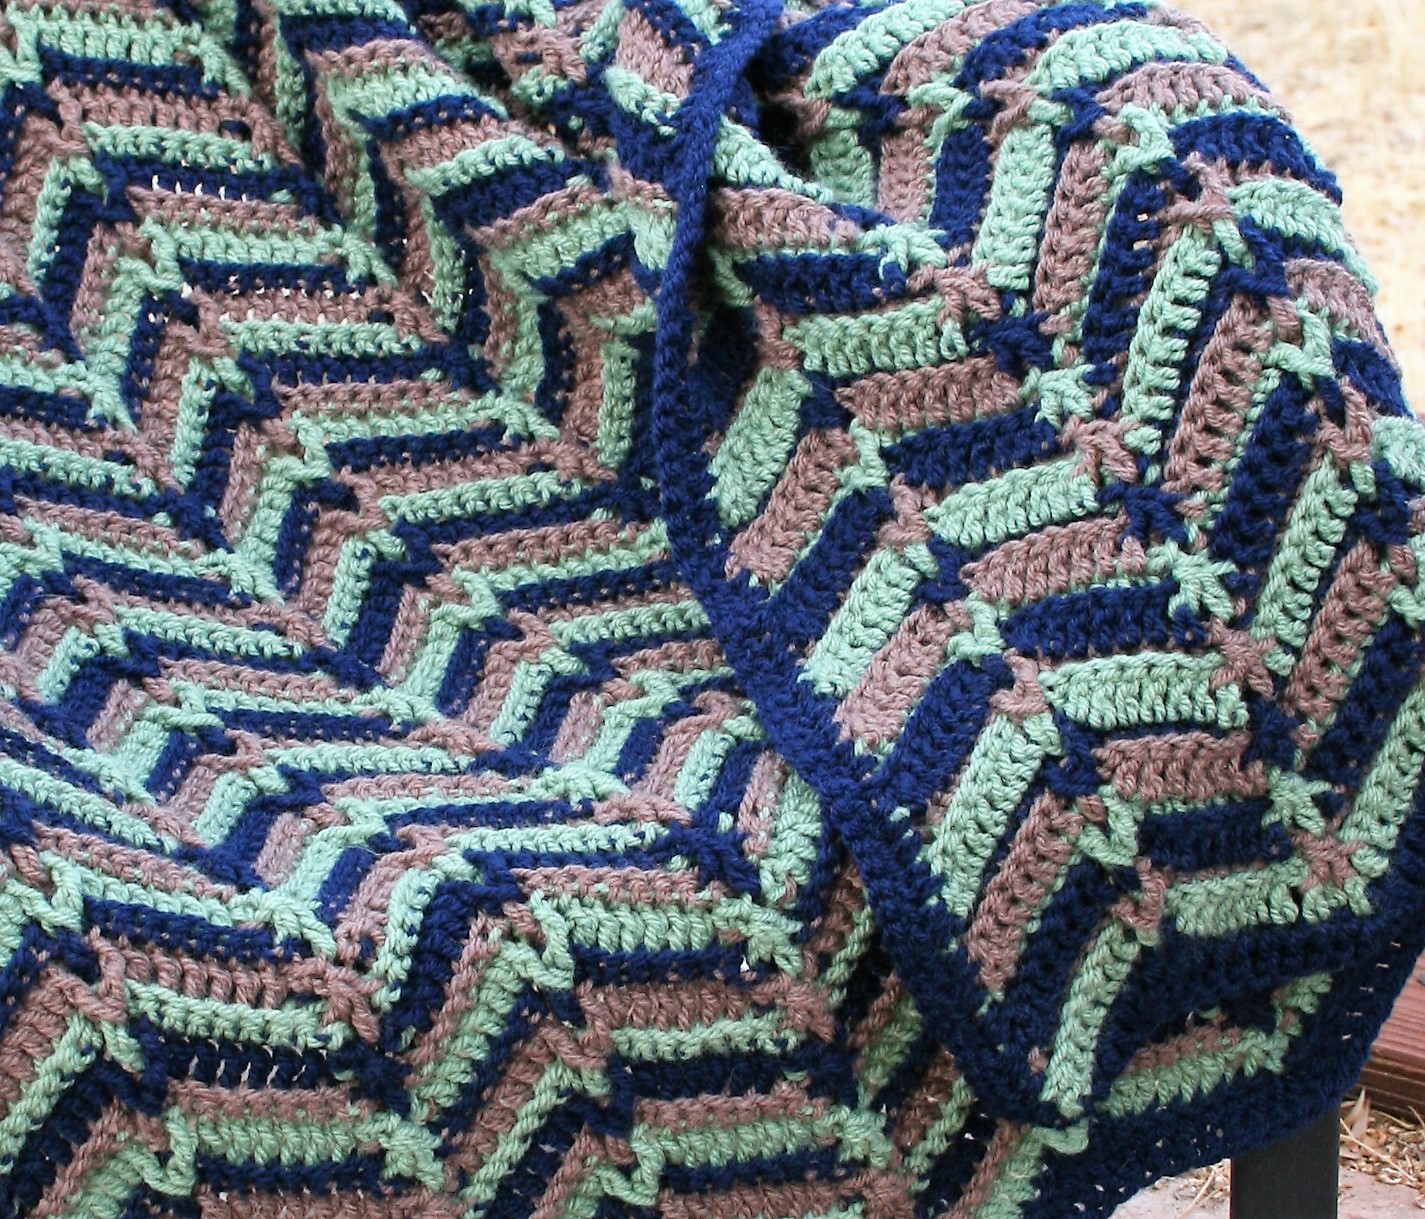
Edging for Crochet Unspoken Words free pattern
Worked sc evenly around entire afghan. Fasten off, weave in ends.