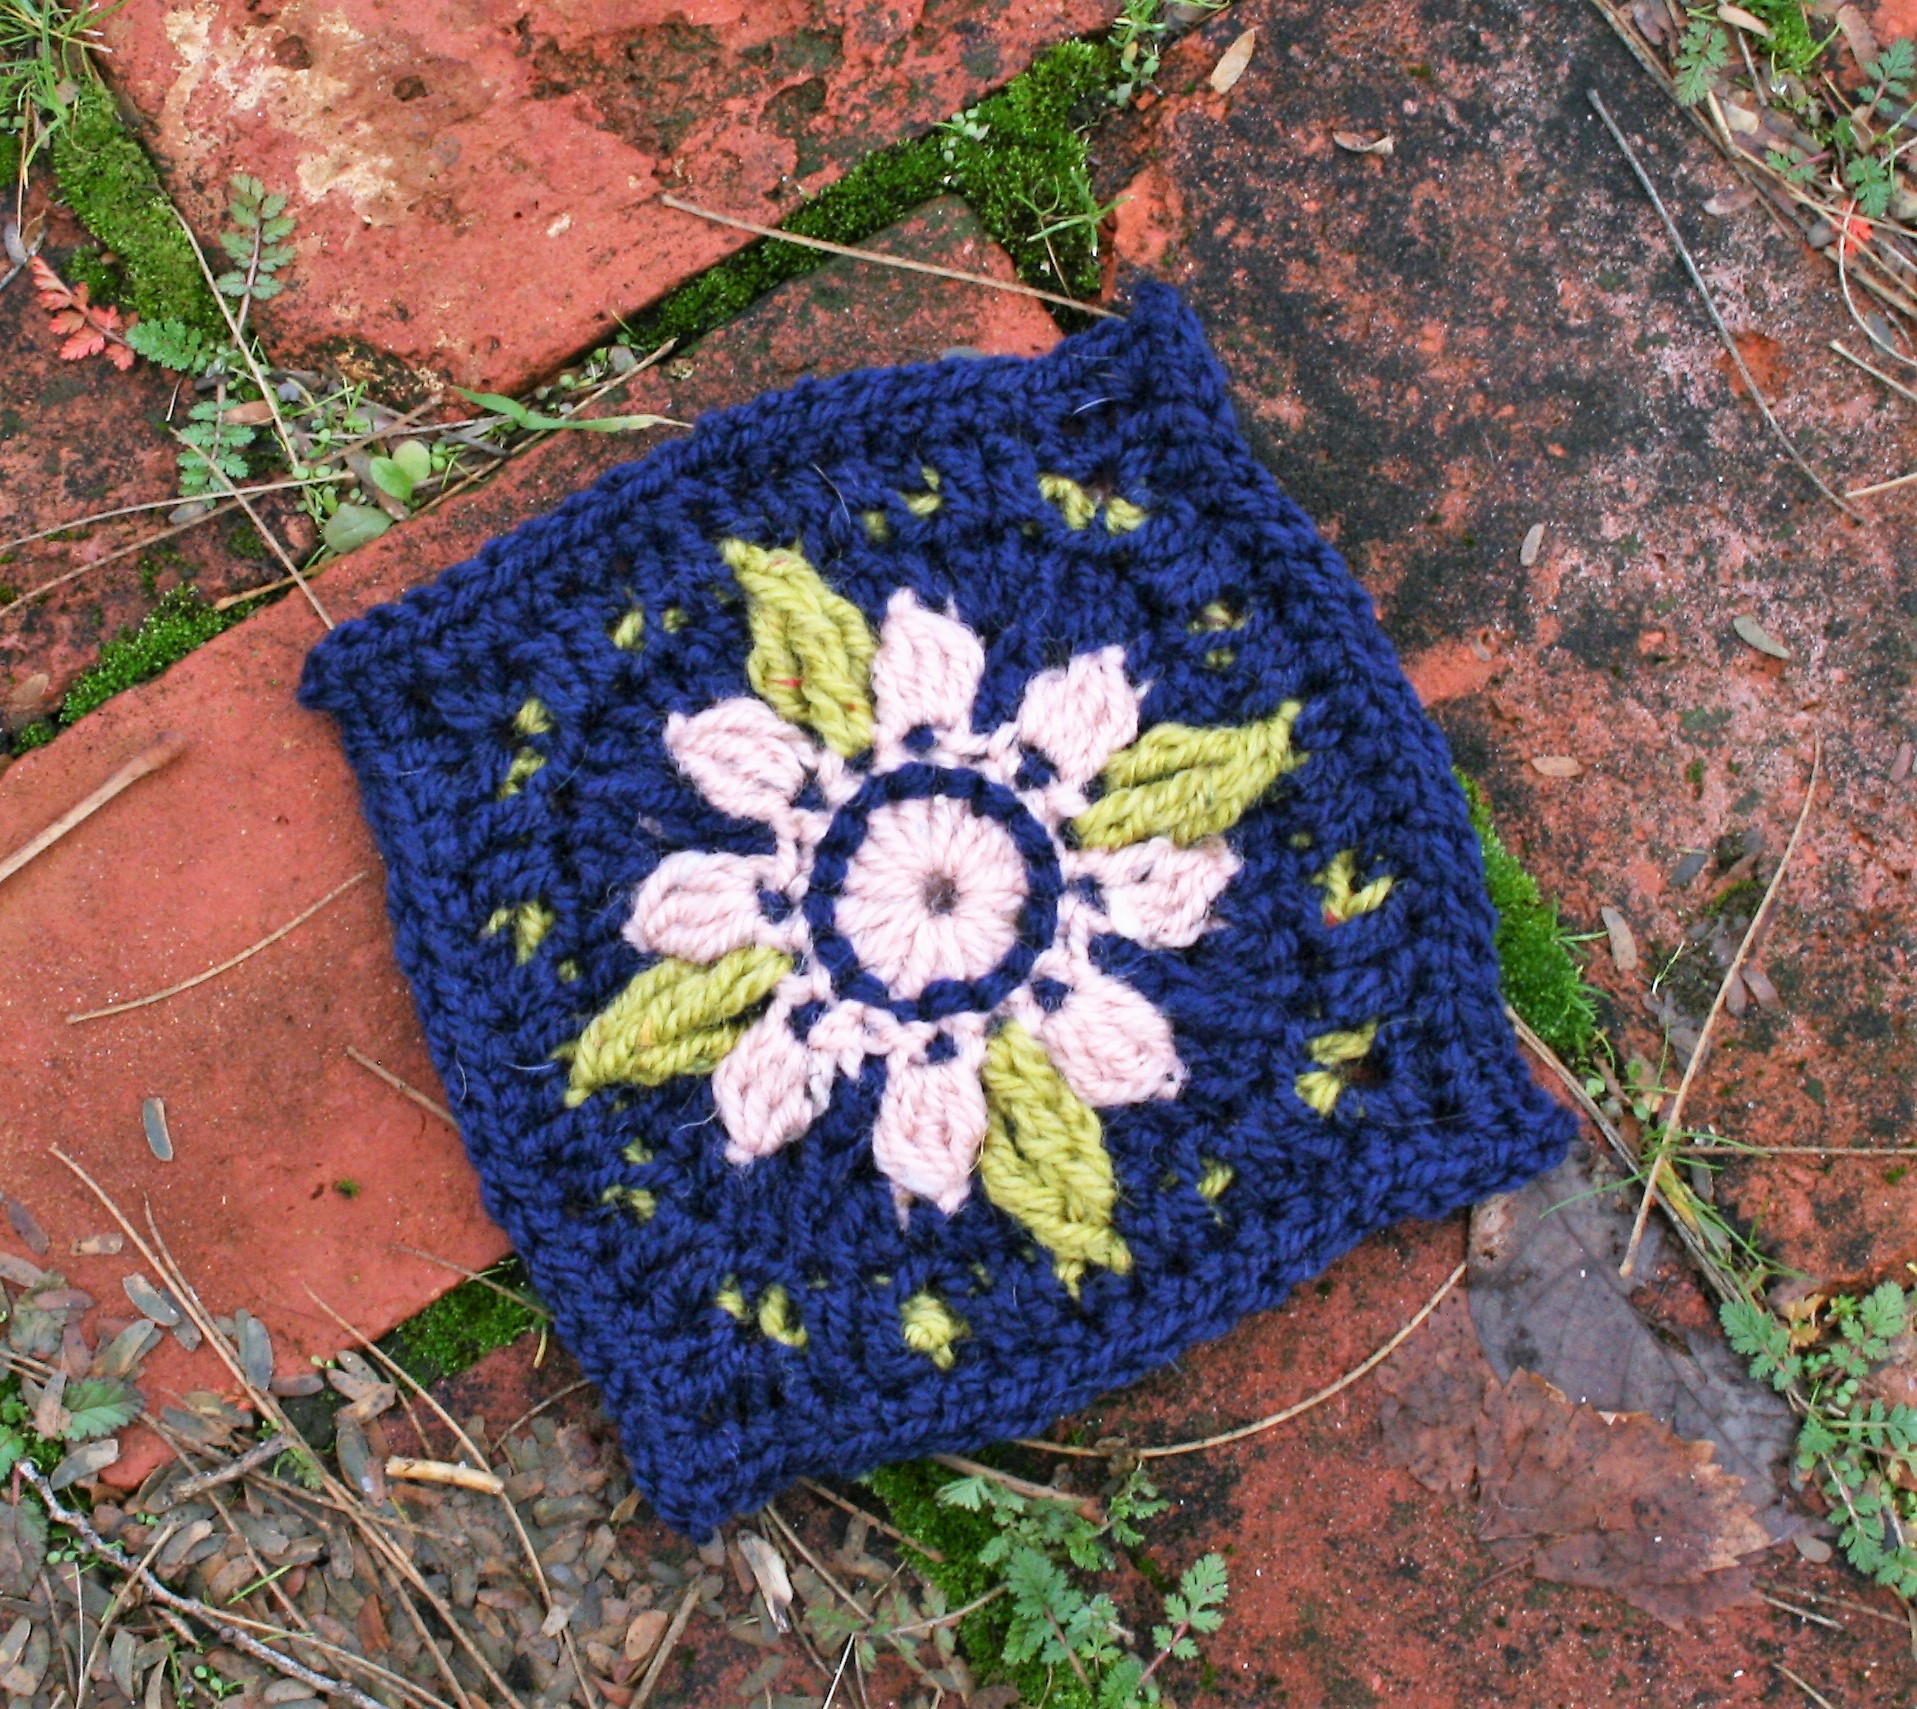
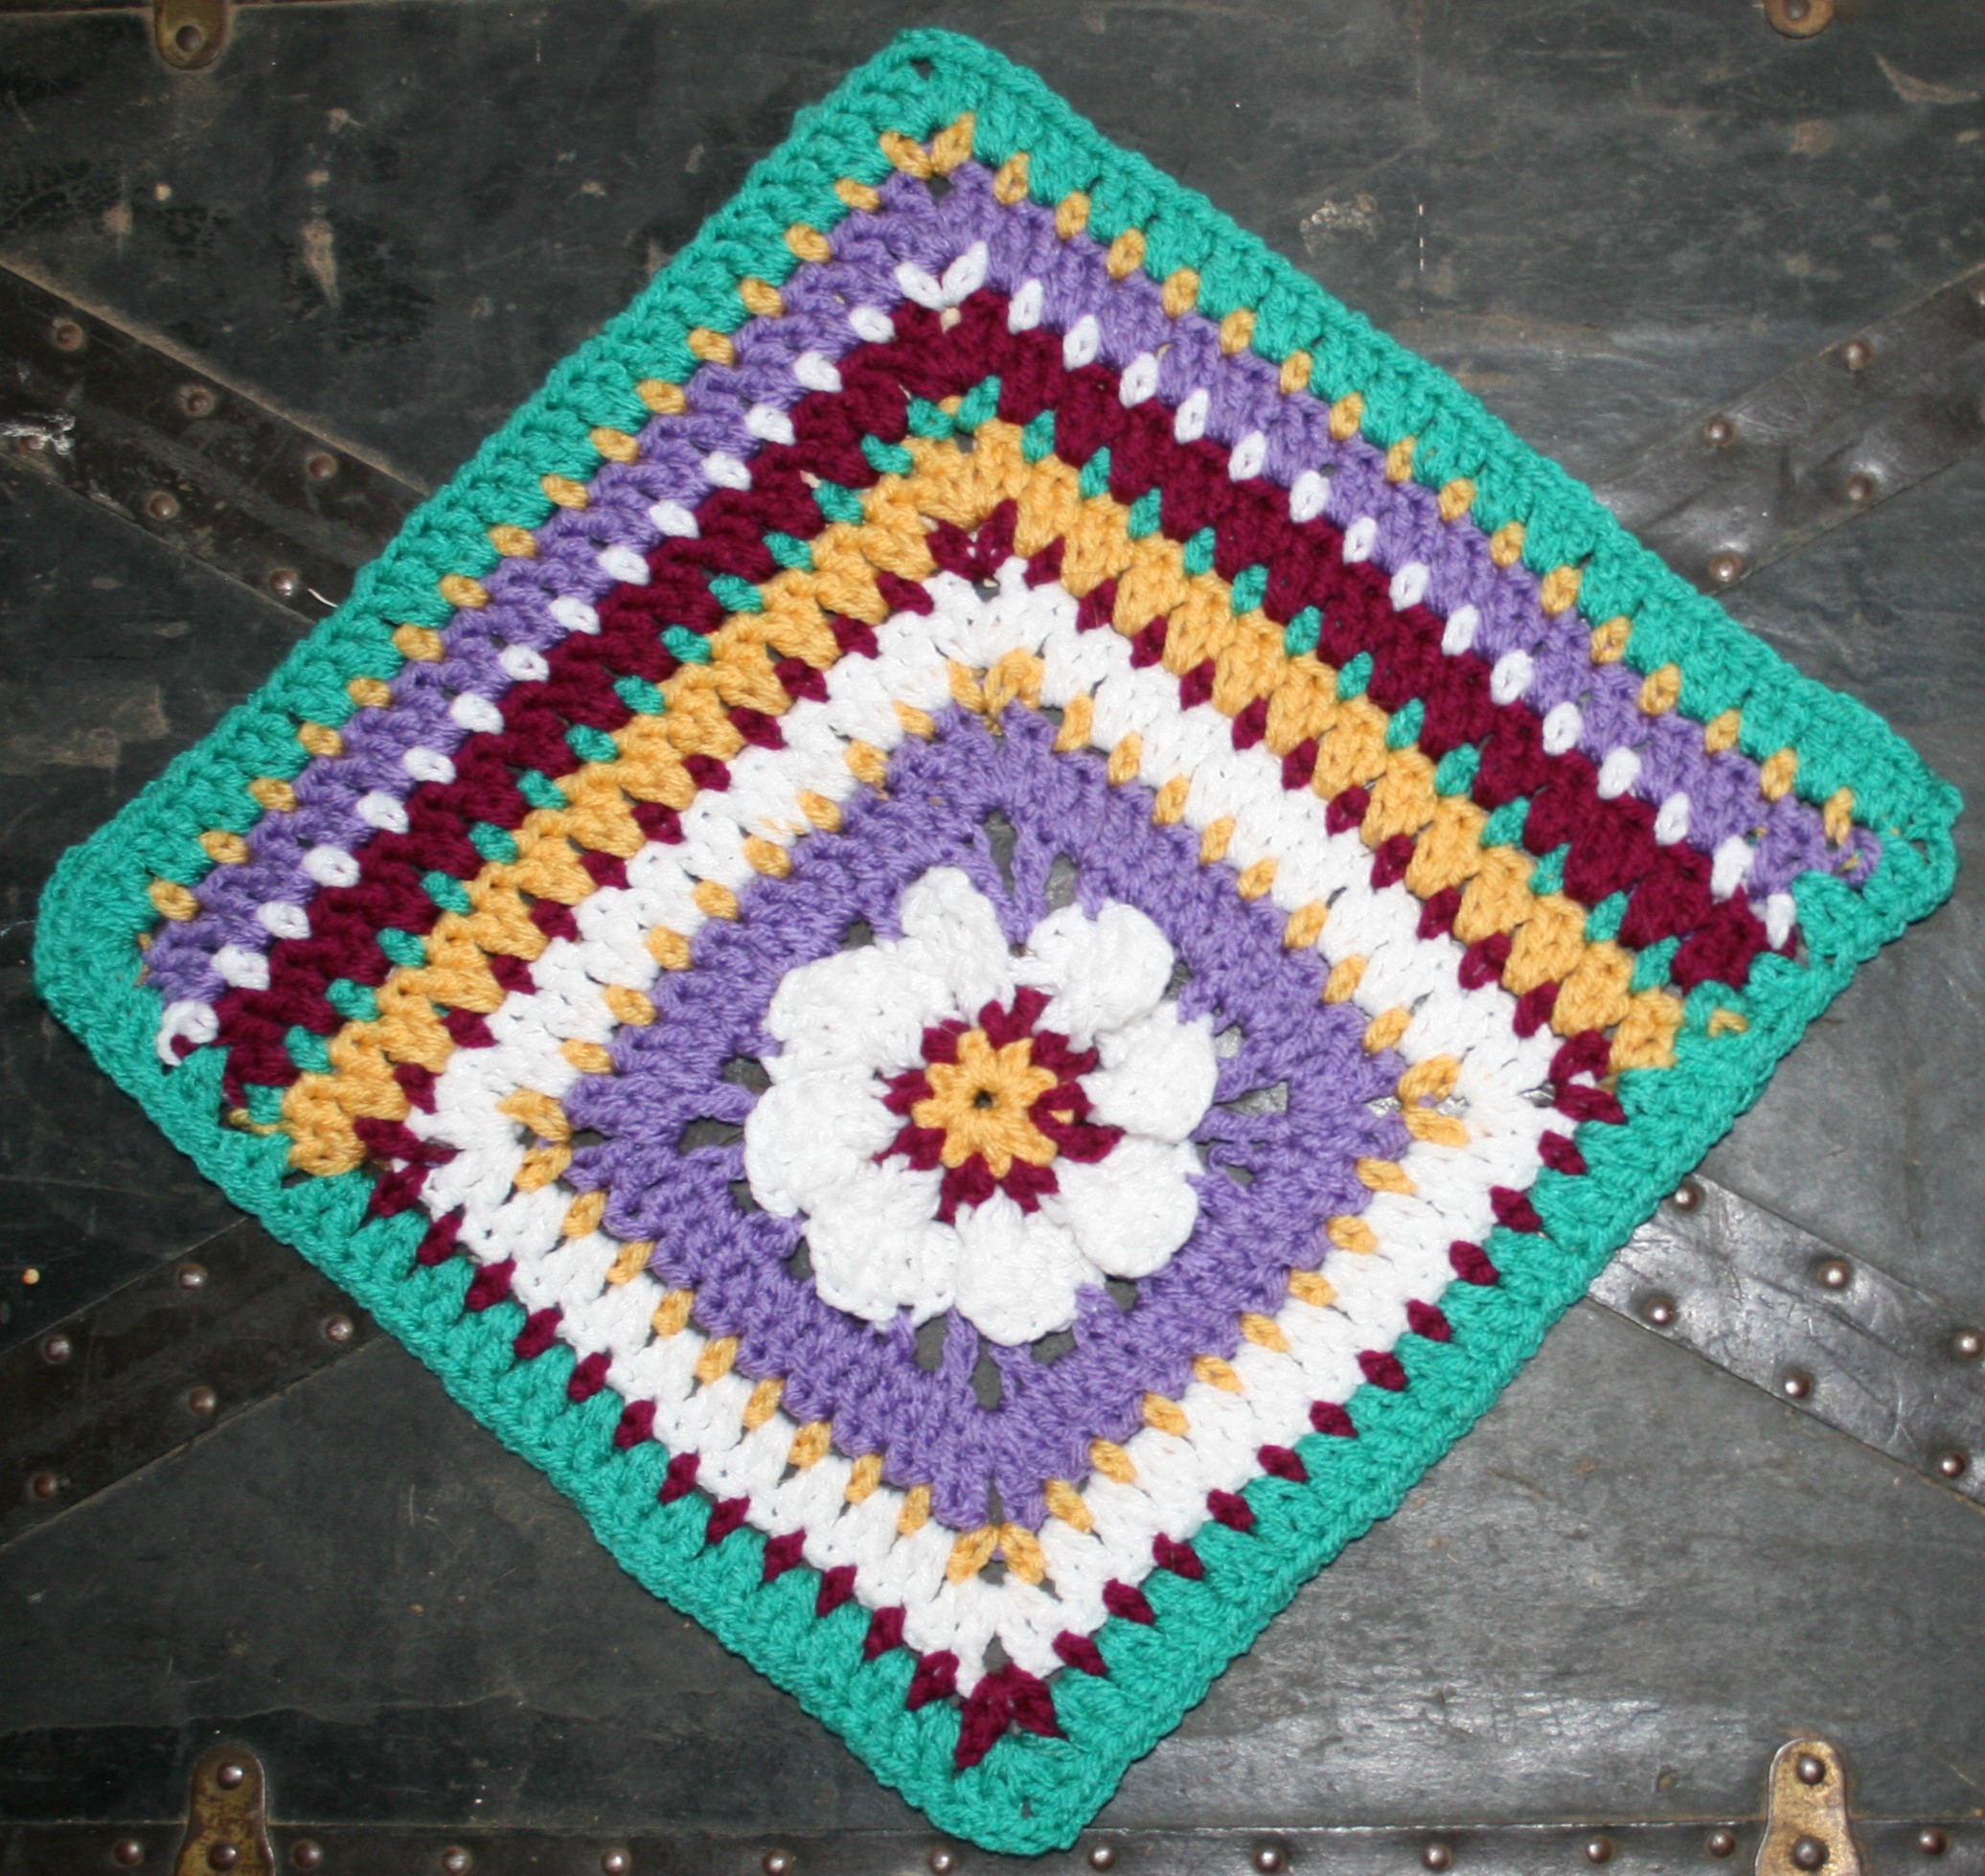
I love starting the New Year with the Moogly CAL! (Check out all the blocks for the year here). If you are new to the CAL check out Moogly’s version of this block, and her notes here.
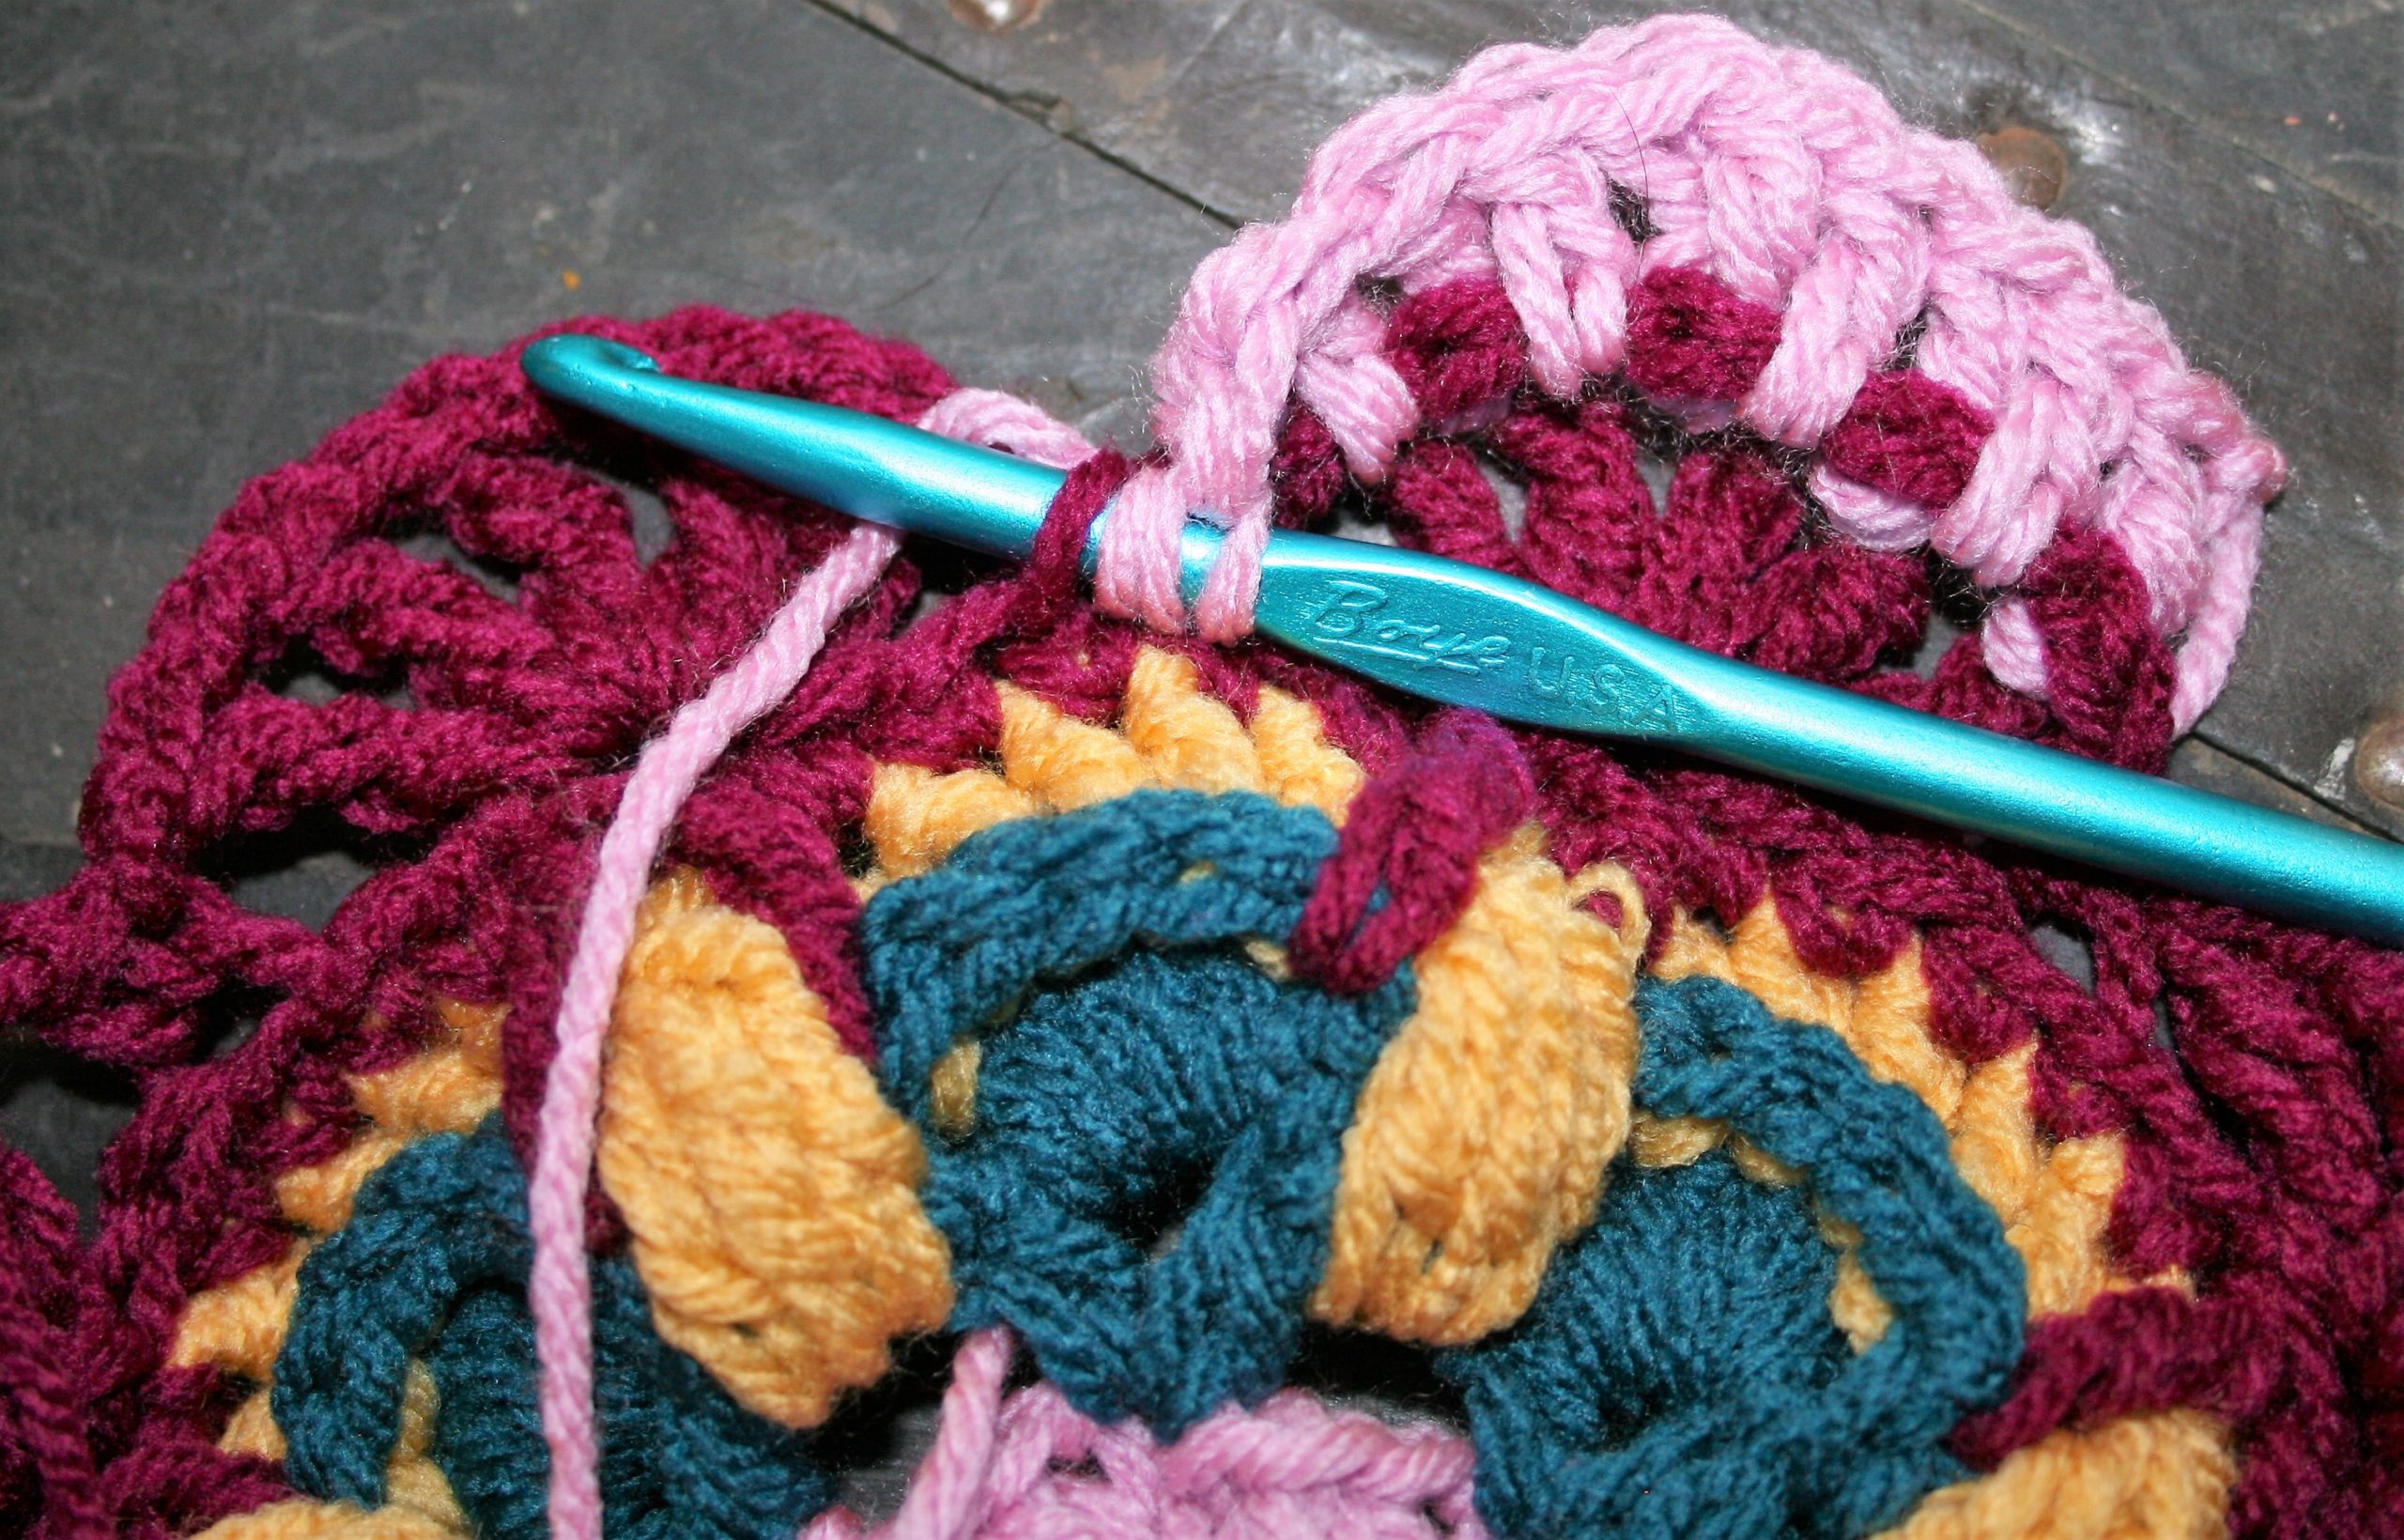
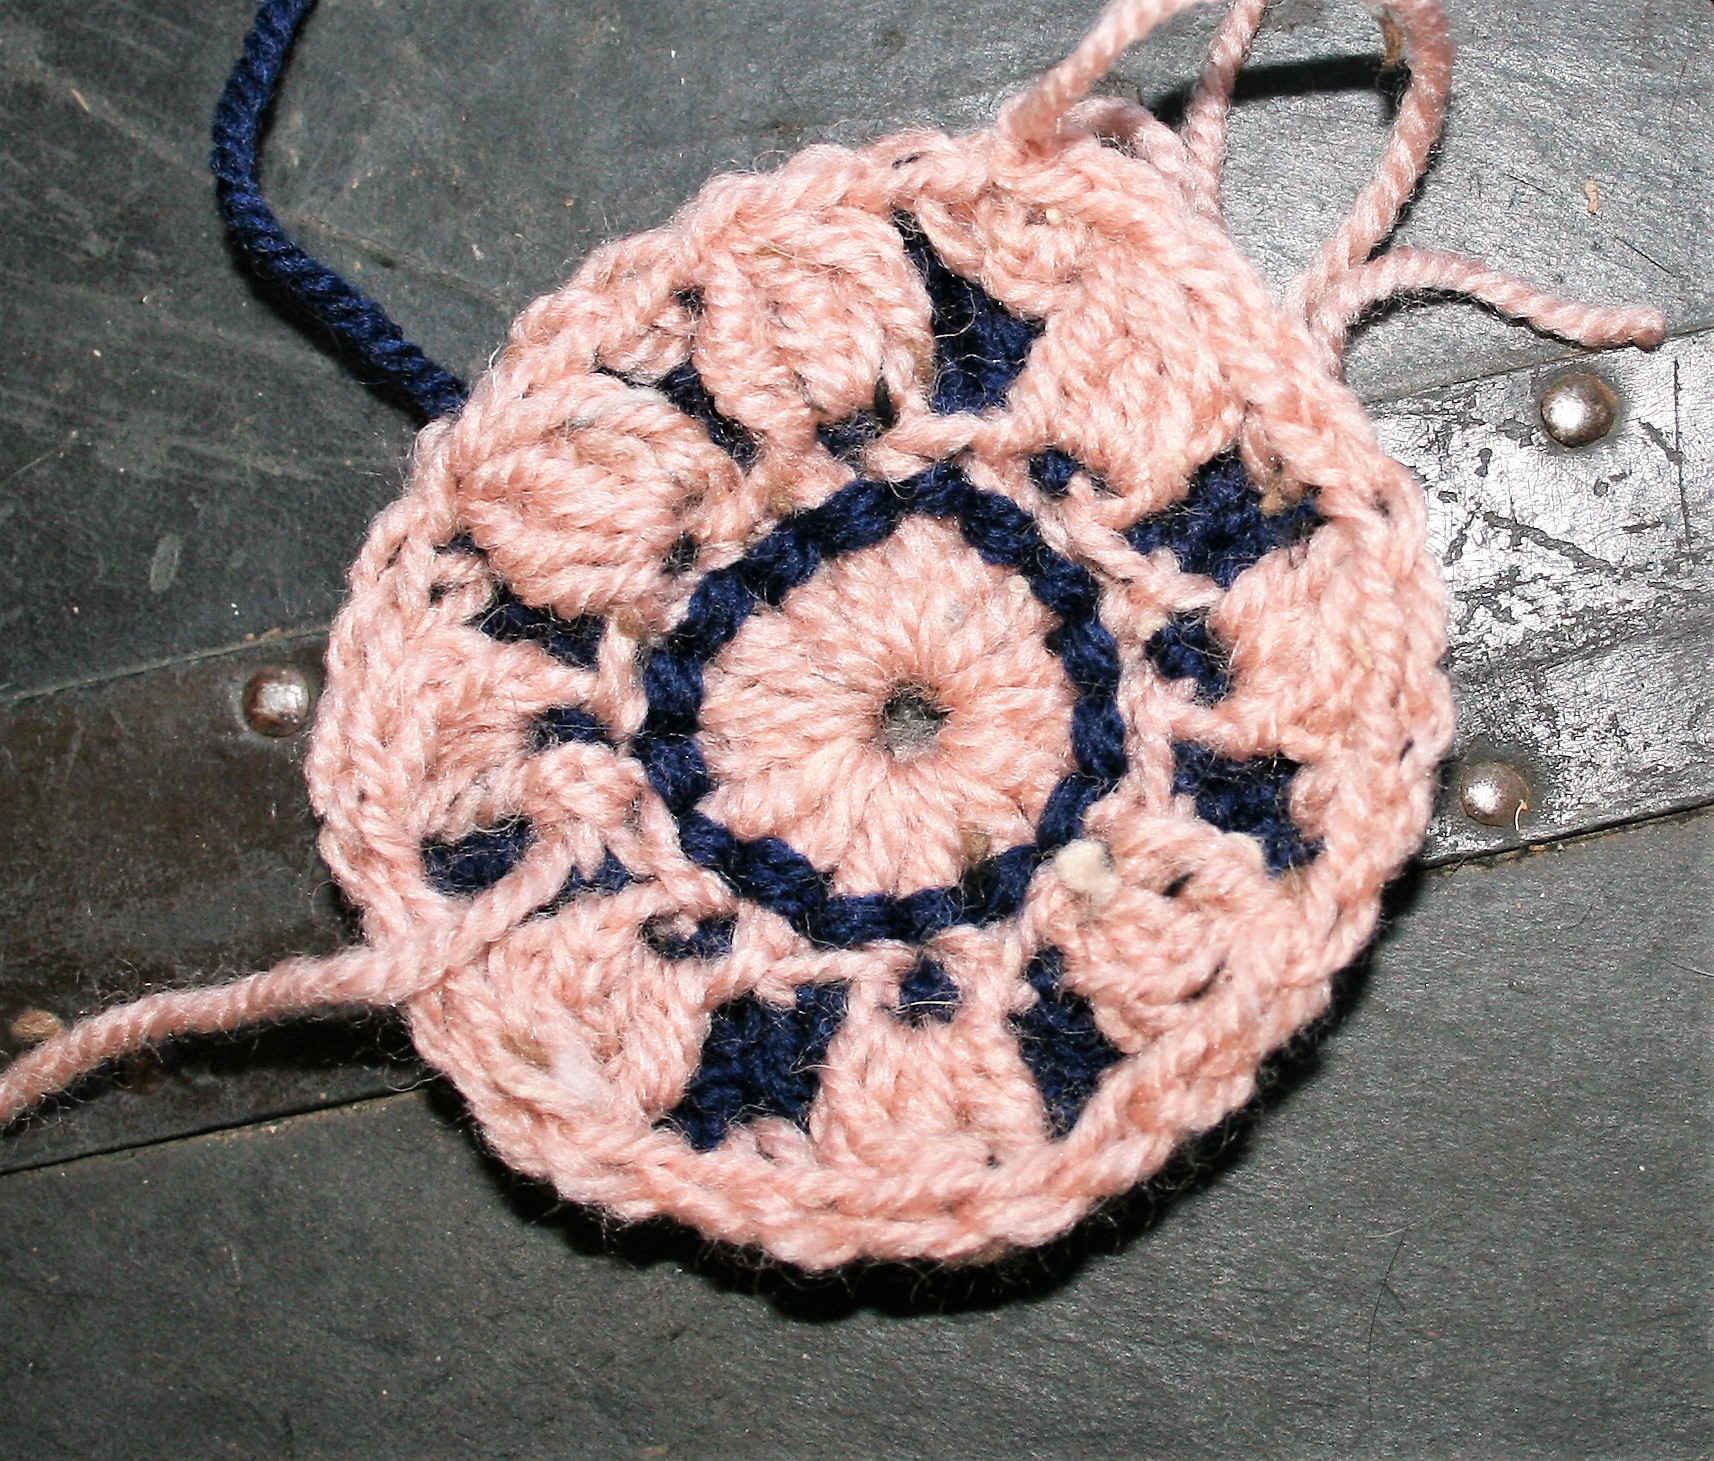
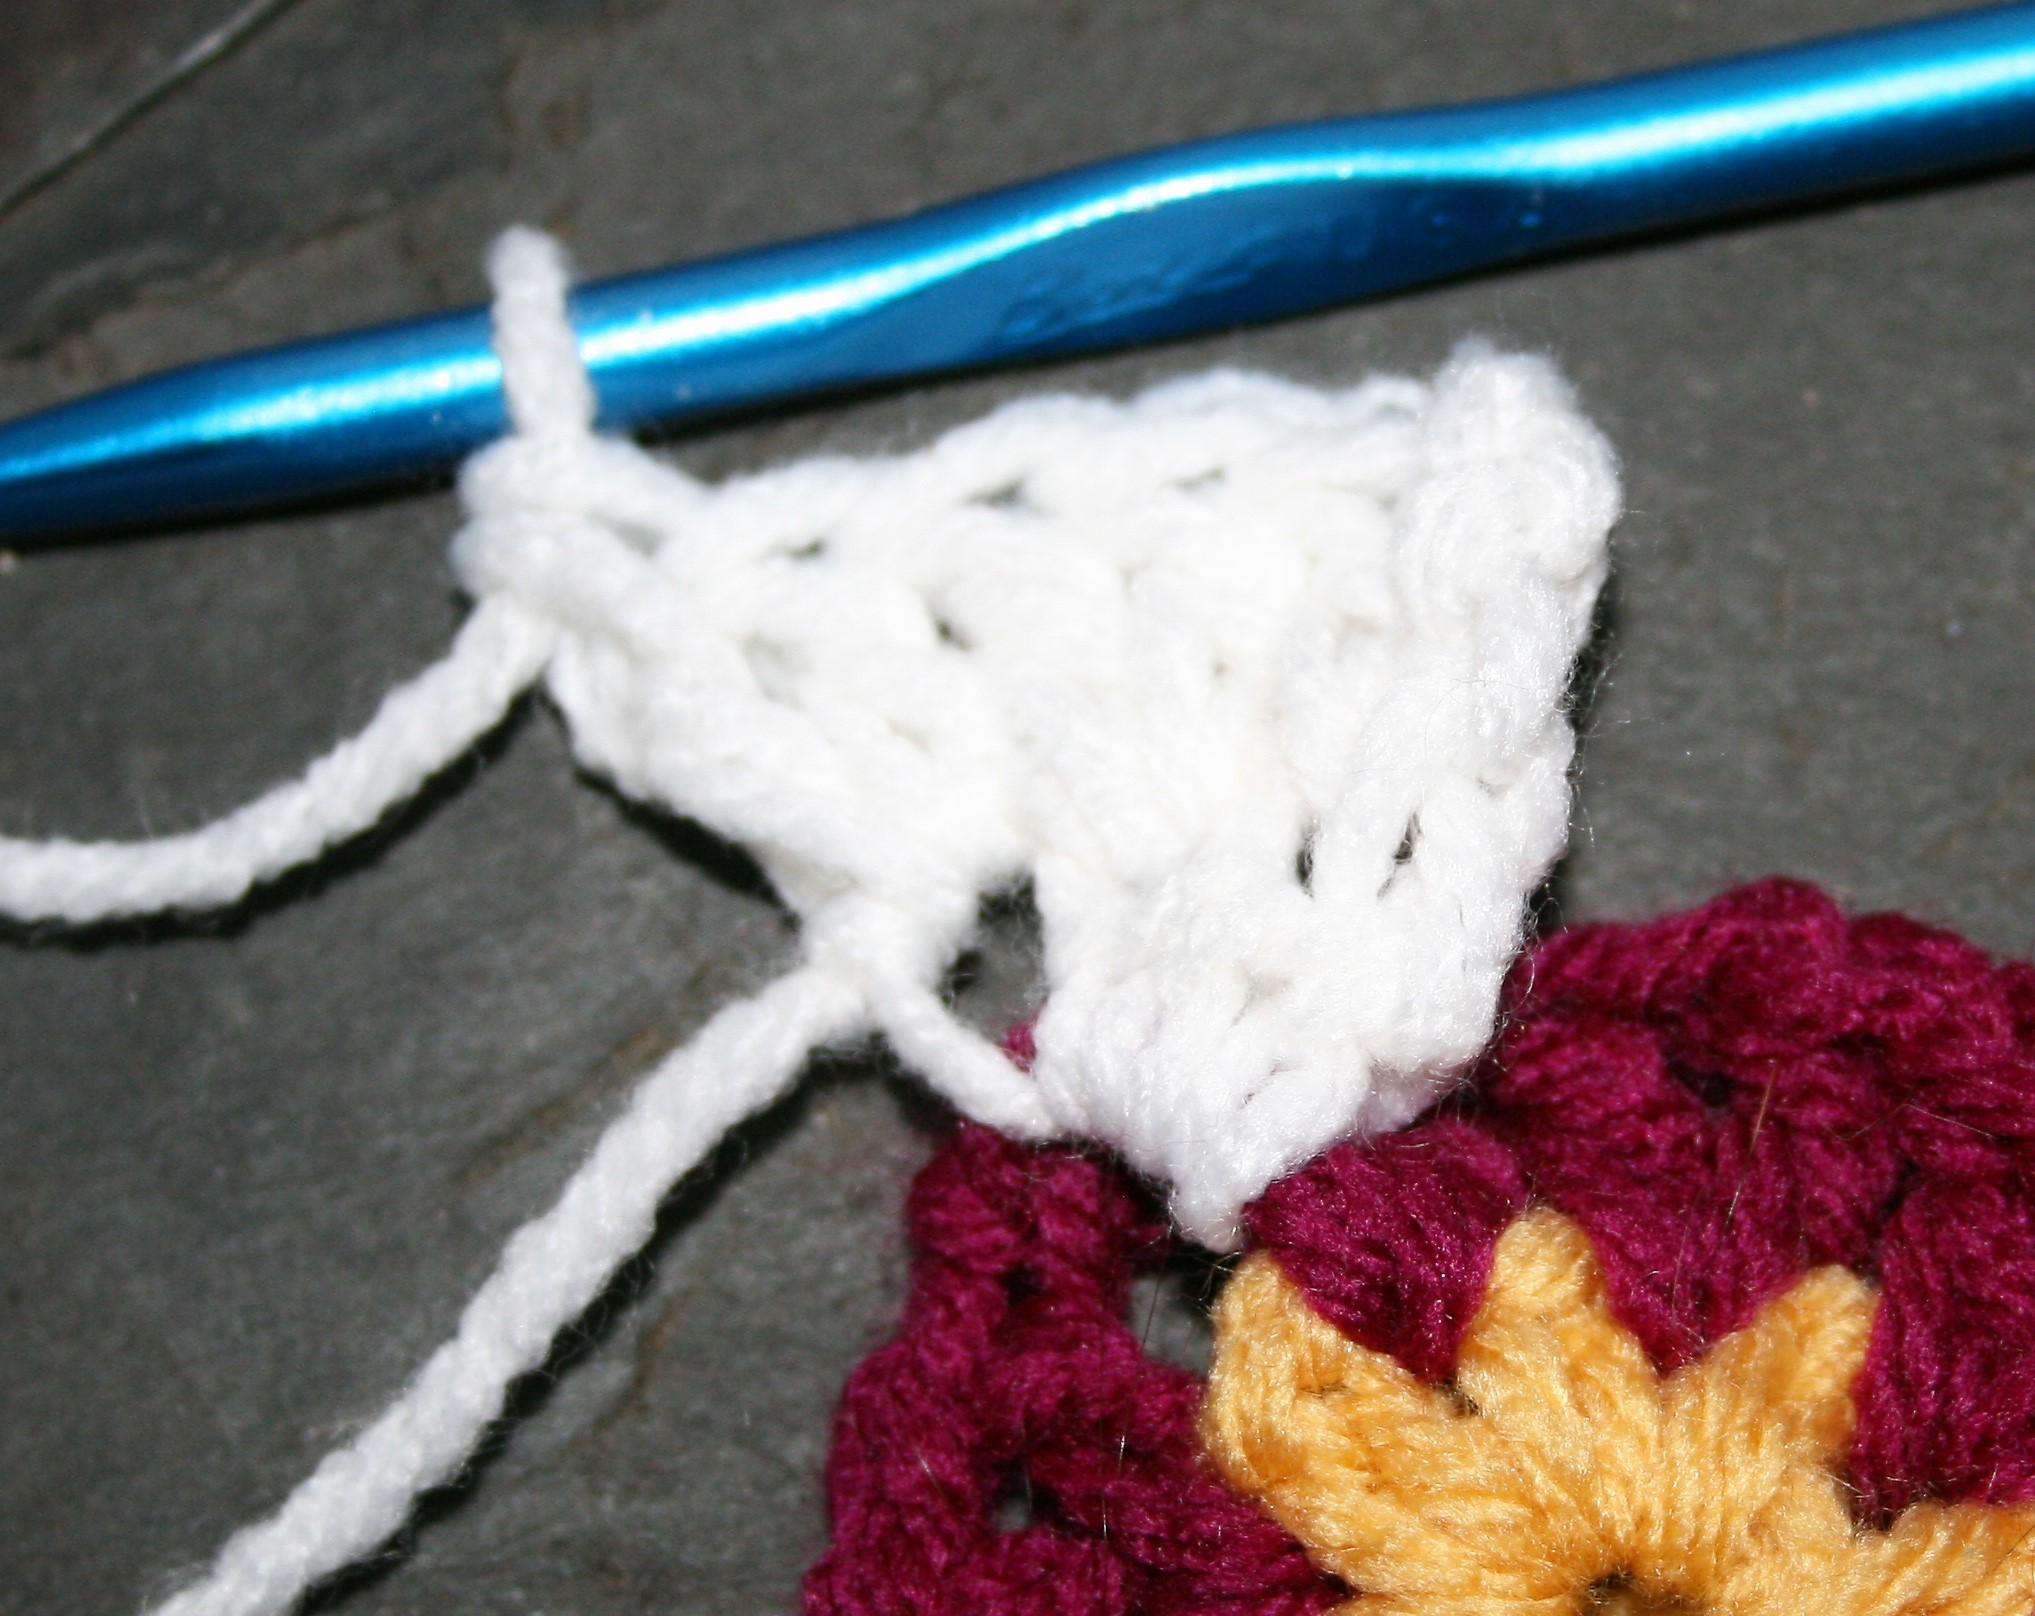
Diamonds Reflected Block will seem a bit wonky until it is blocked, so do not get discouraged early on. The other thing that will help with the “wonkiness” is to ensure that you are pulling the long loops up to the height of the working row. If these loops are too short they squish the fabric down and cause puckering.
I was inspired to work the Diamonds Reflected during my family’s trip to the Grand Canyon just after Christmas. It was my first time to visit, and it is an inspiring place. I was even swatching up some ideas for this block with flying in a helicopter over the North Rim. And yes, I was looking out the window too. Fortunately I don’t have the seat with the glass floor…my husband had that…I don’t know how well my “I don’t have a fear of heights” statement would succeed in that seat.


If you want to follow along in my journeys join my monthly newsletter here, or join one of my classes.
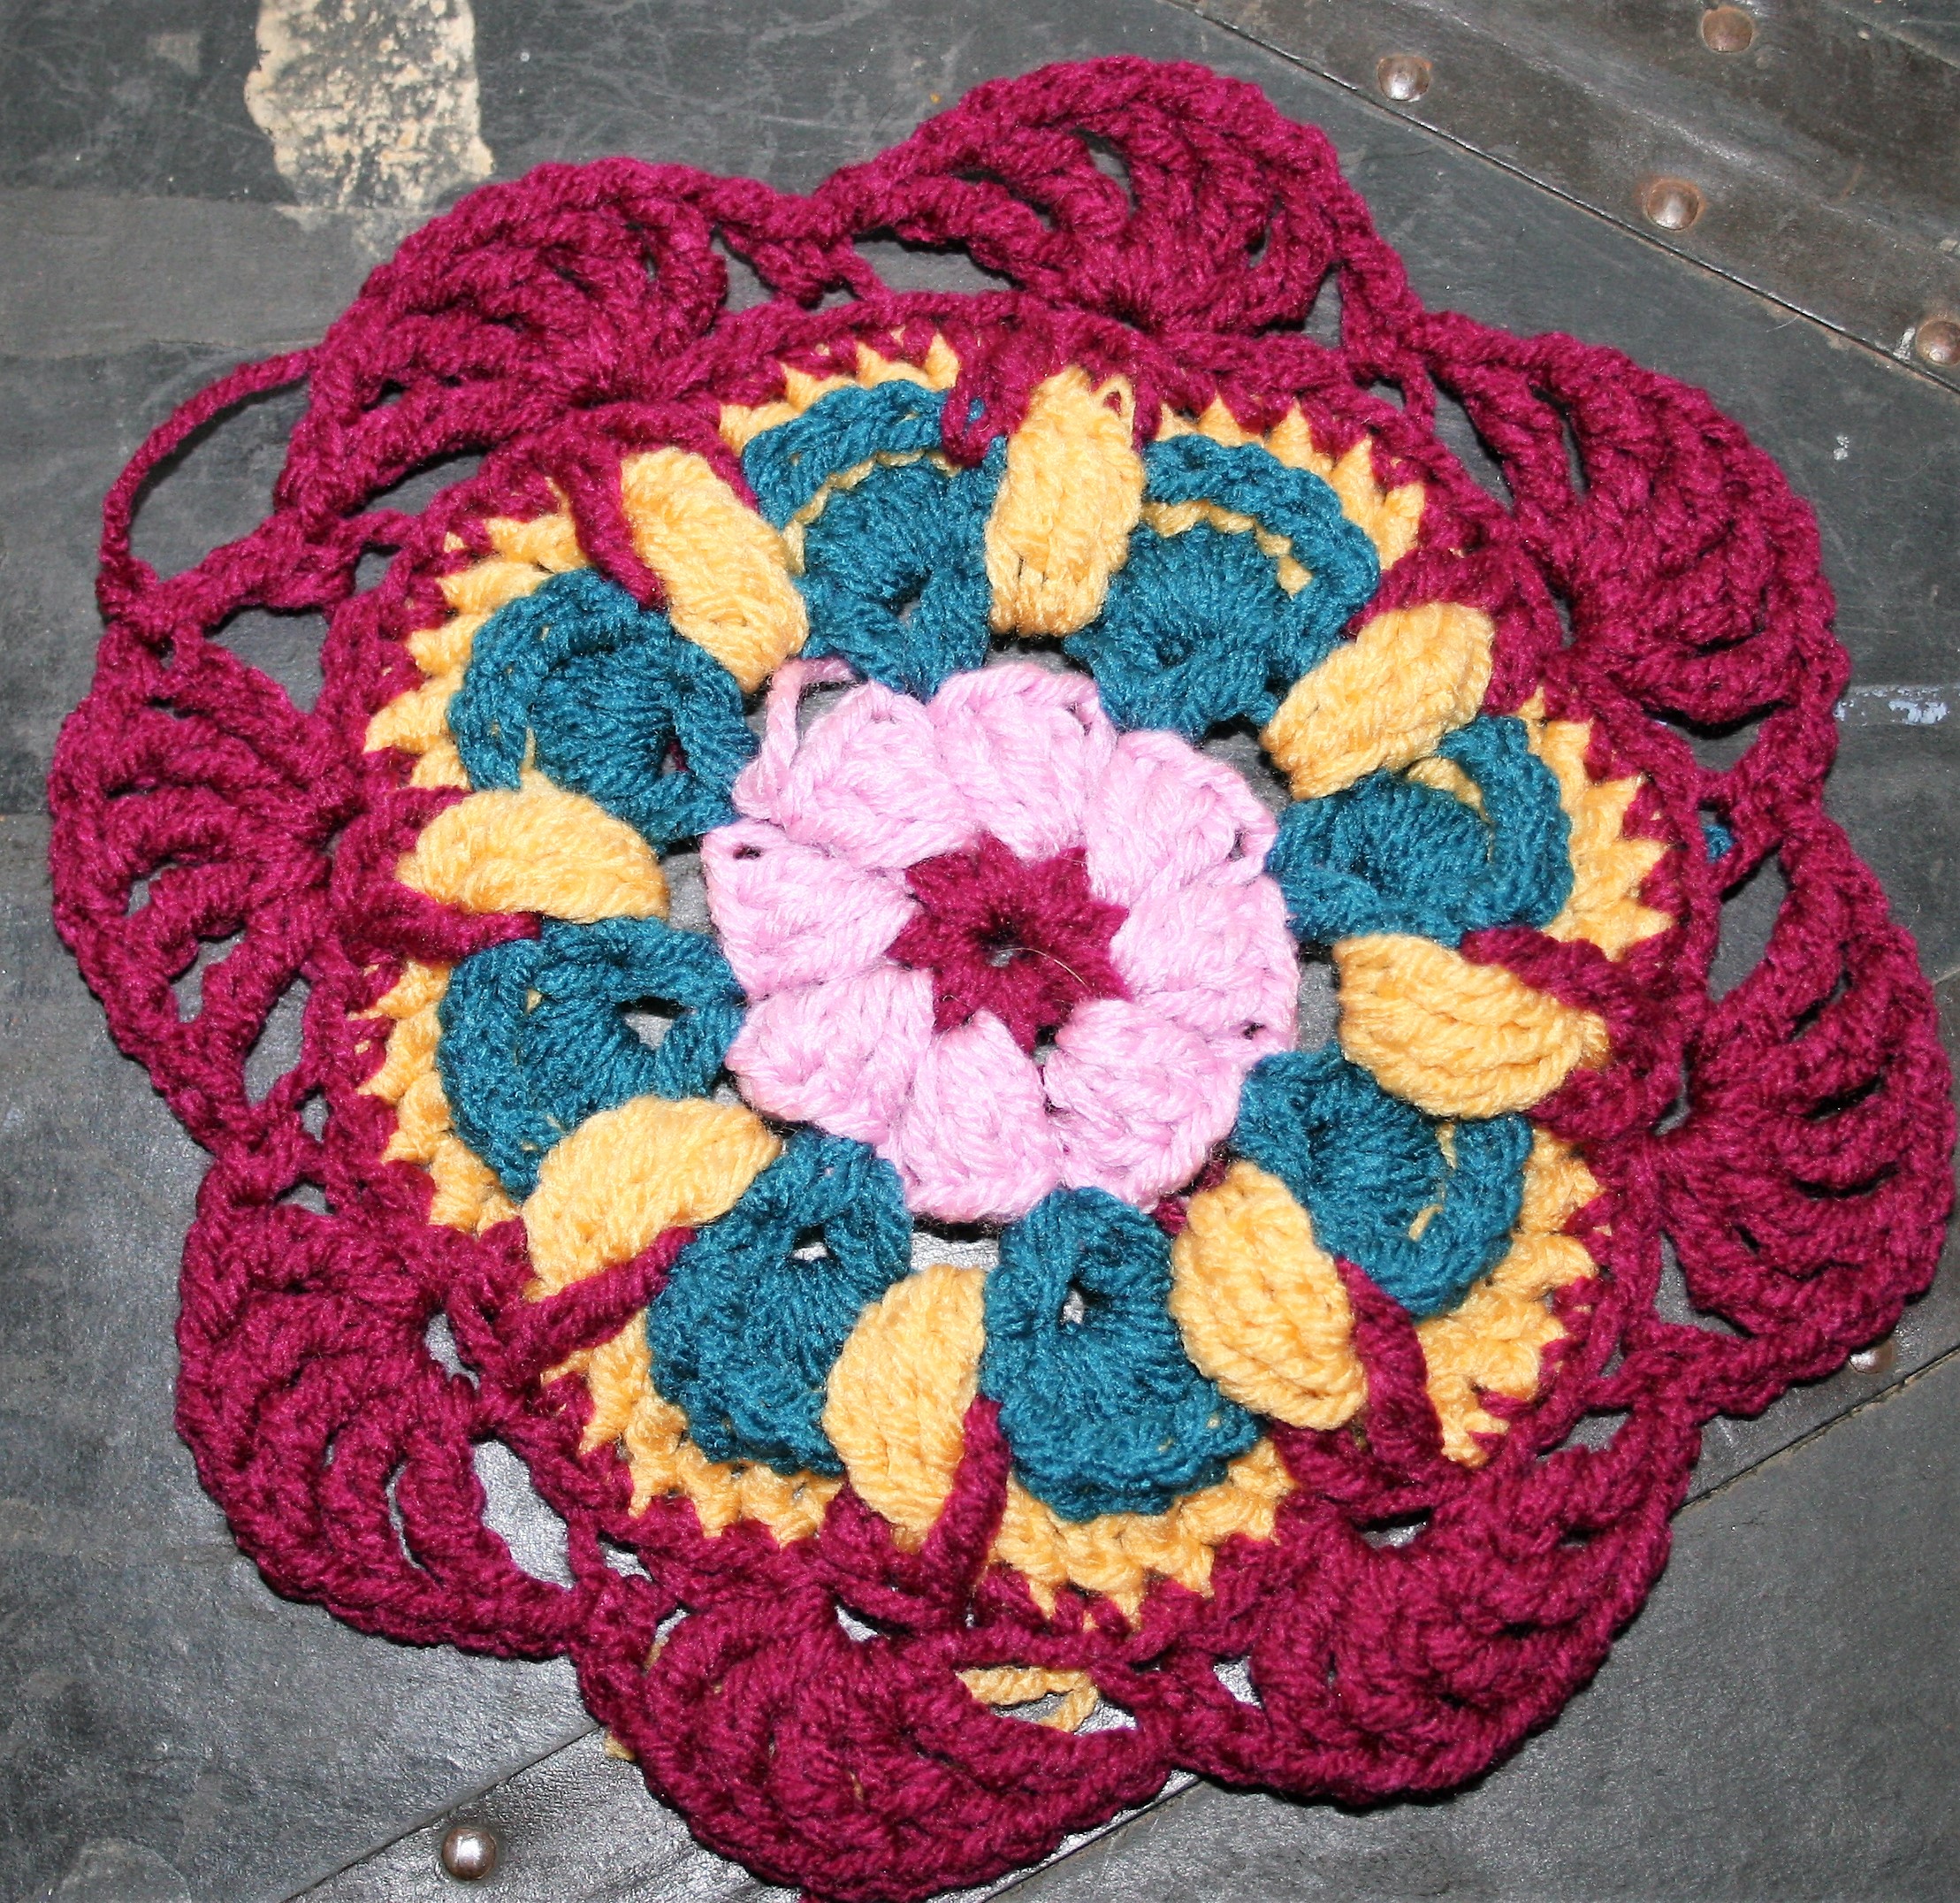
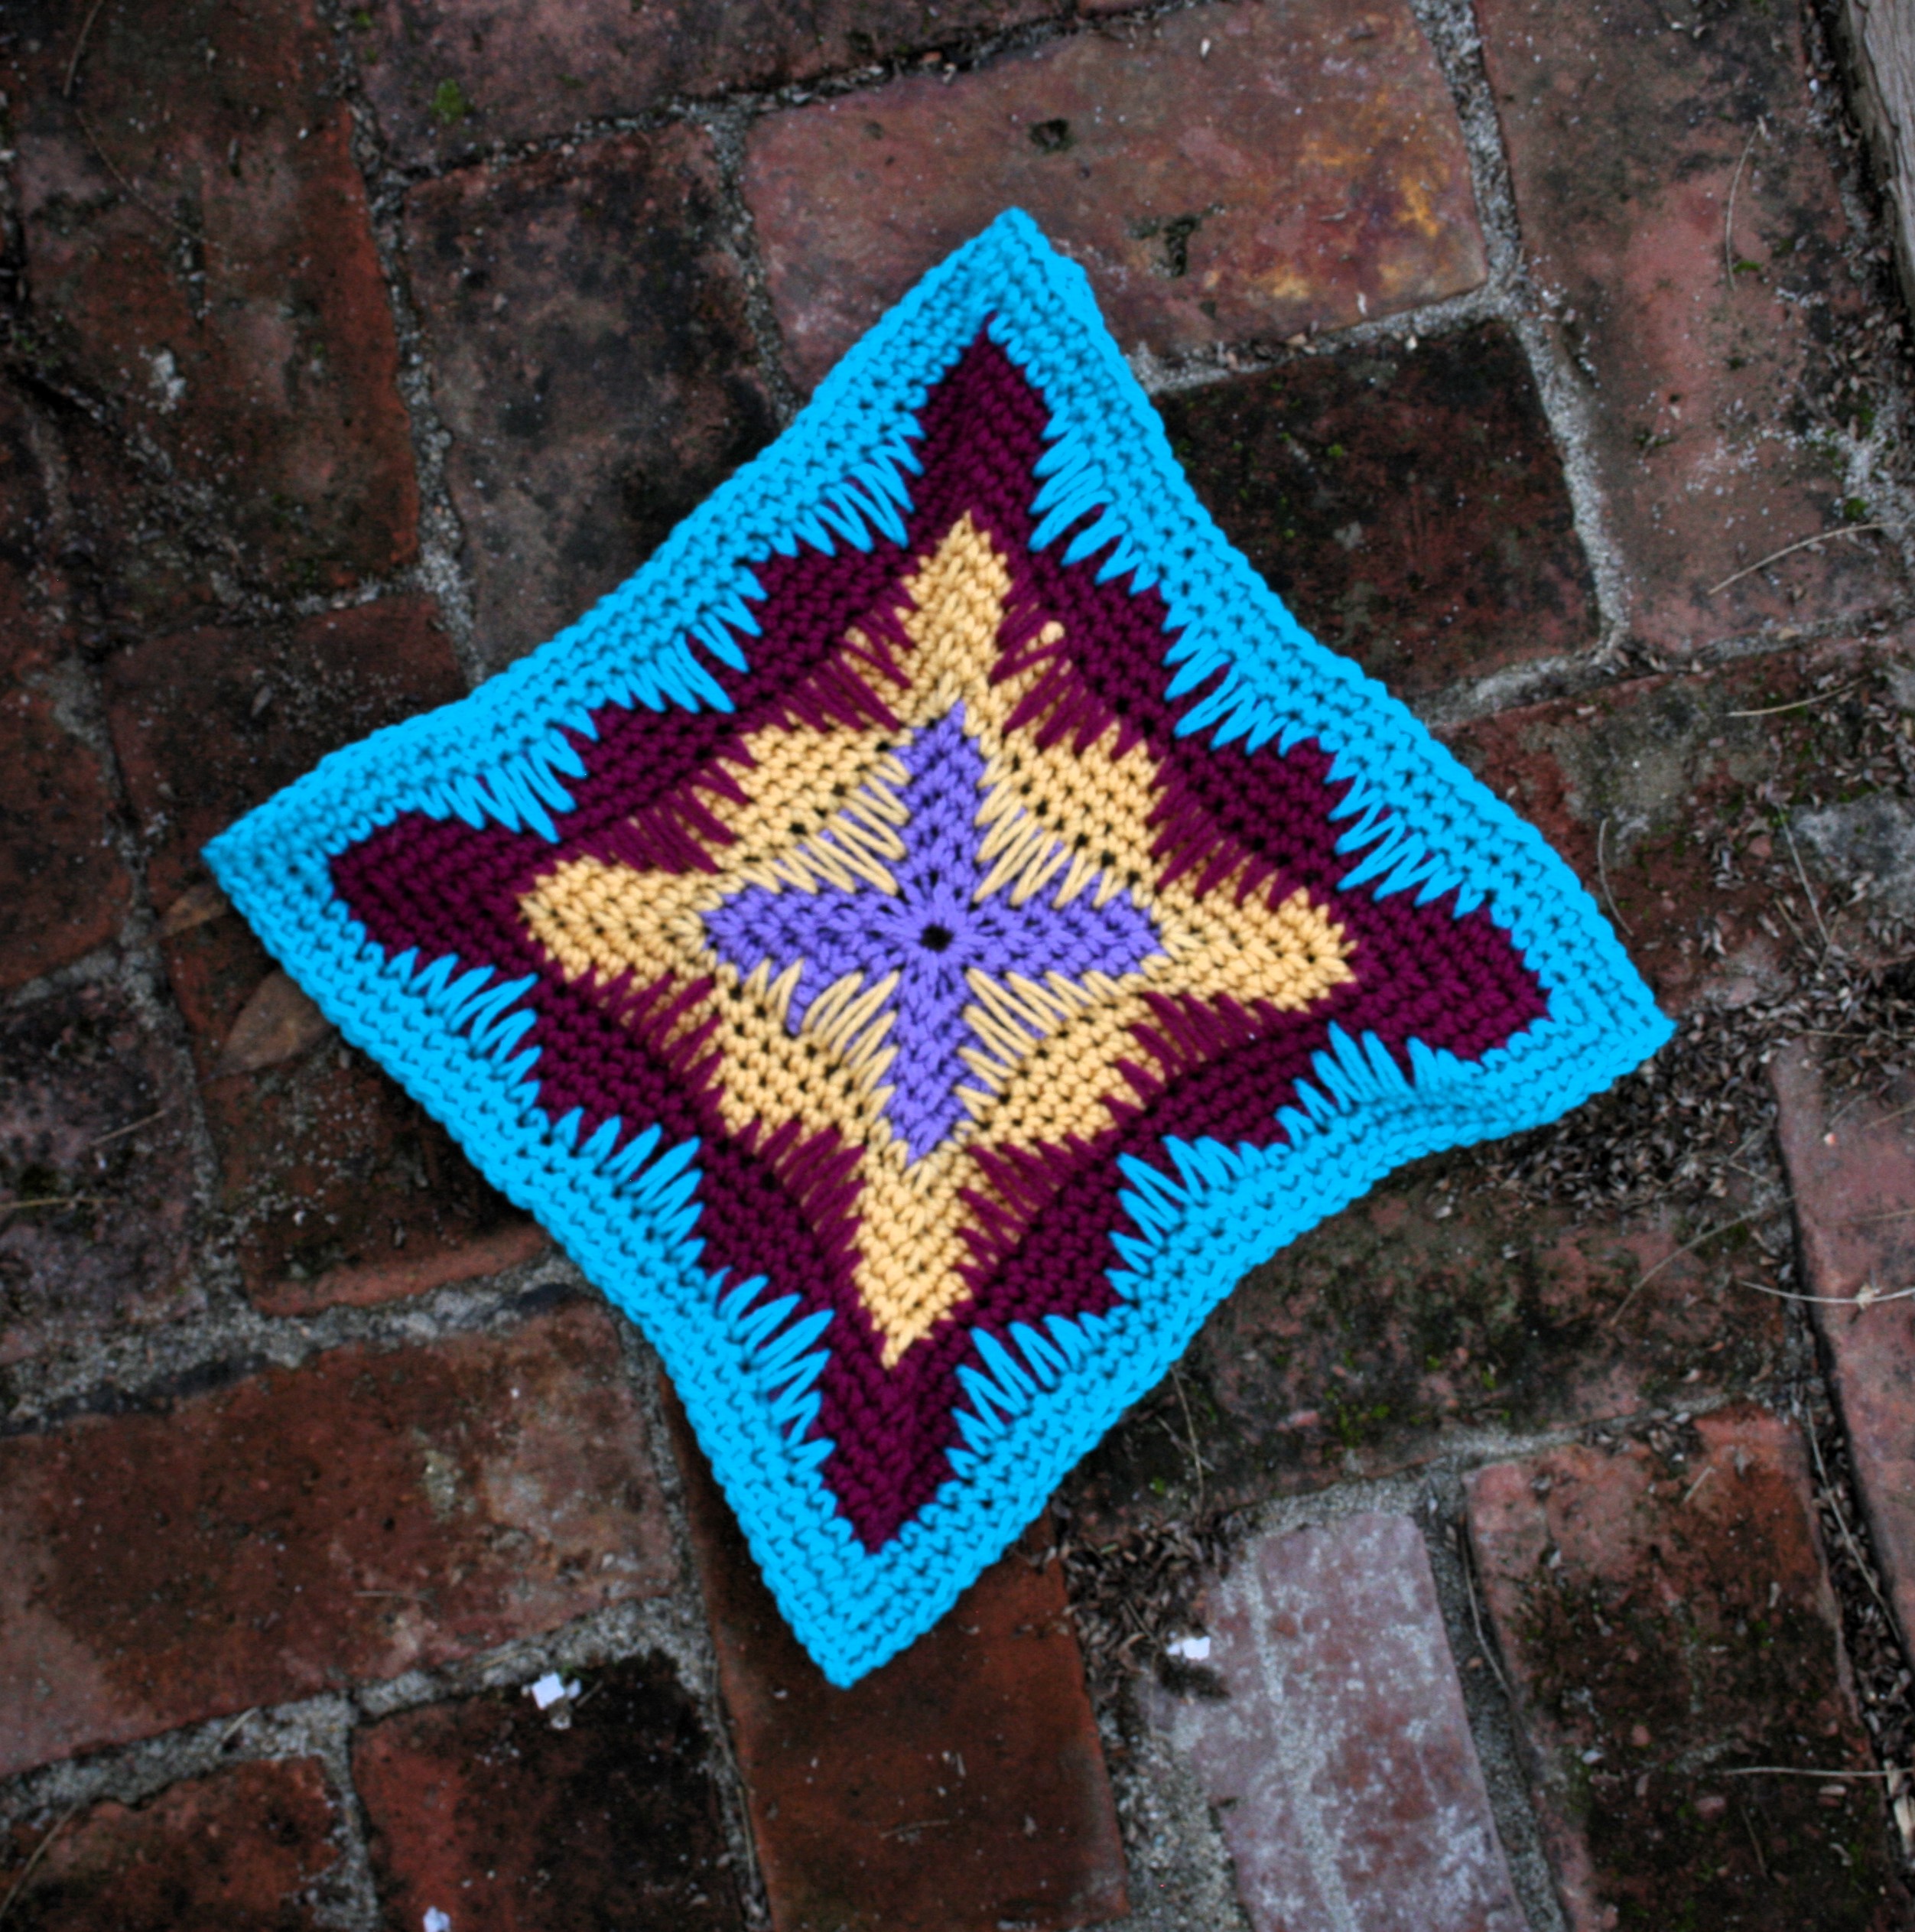
Diamonds Reflected Block
Materials
- Red Heart With Love medium weight 100% acrylic yarn colors: (A) #1538 Lilac, (B) #1207 Cornsilk, (C) #1907 Boysenberry, (D) #1304 Santorini
- J/10/6.00mm crochet hook
Special Stitfches and Notes
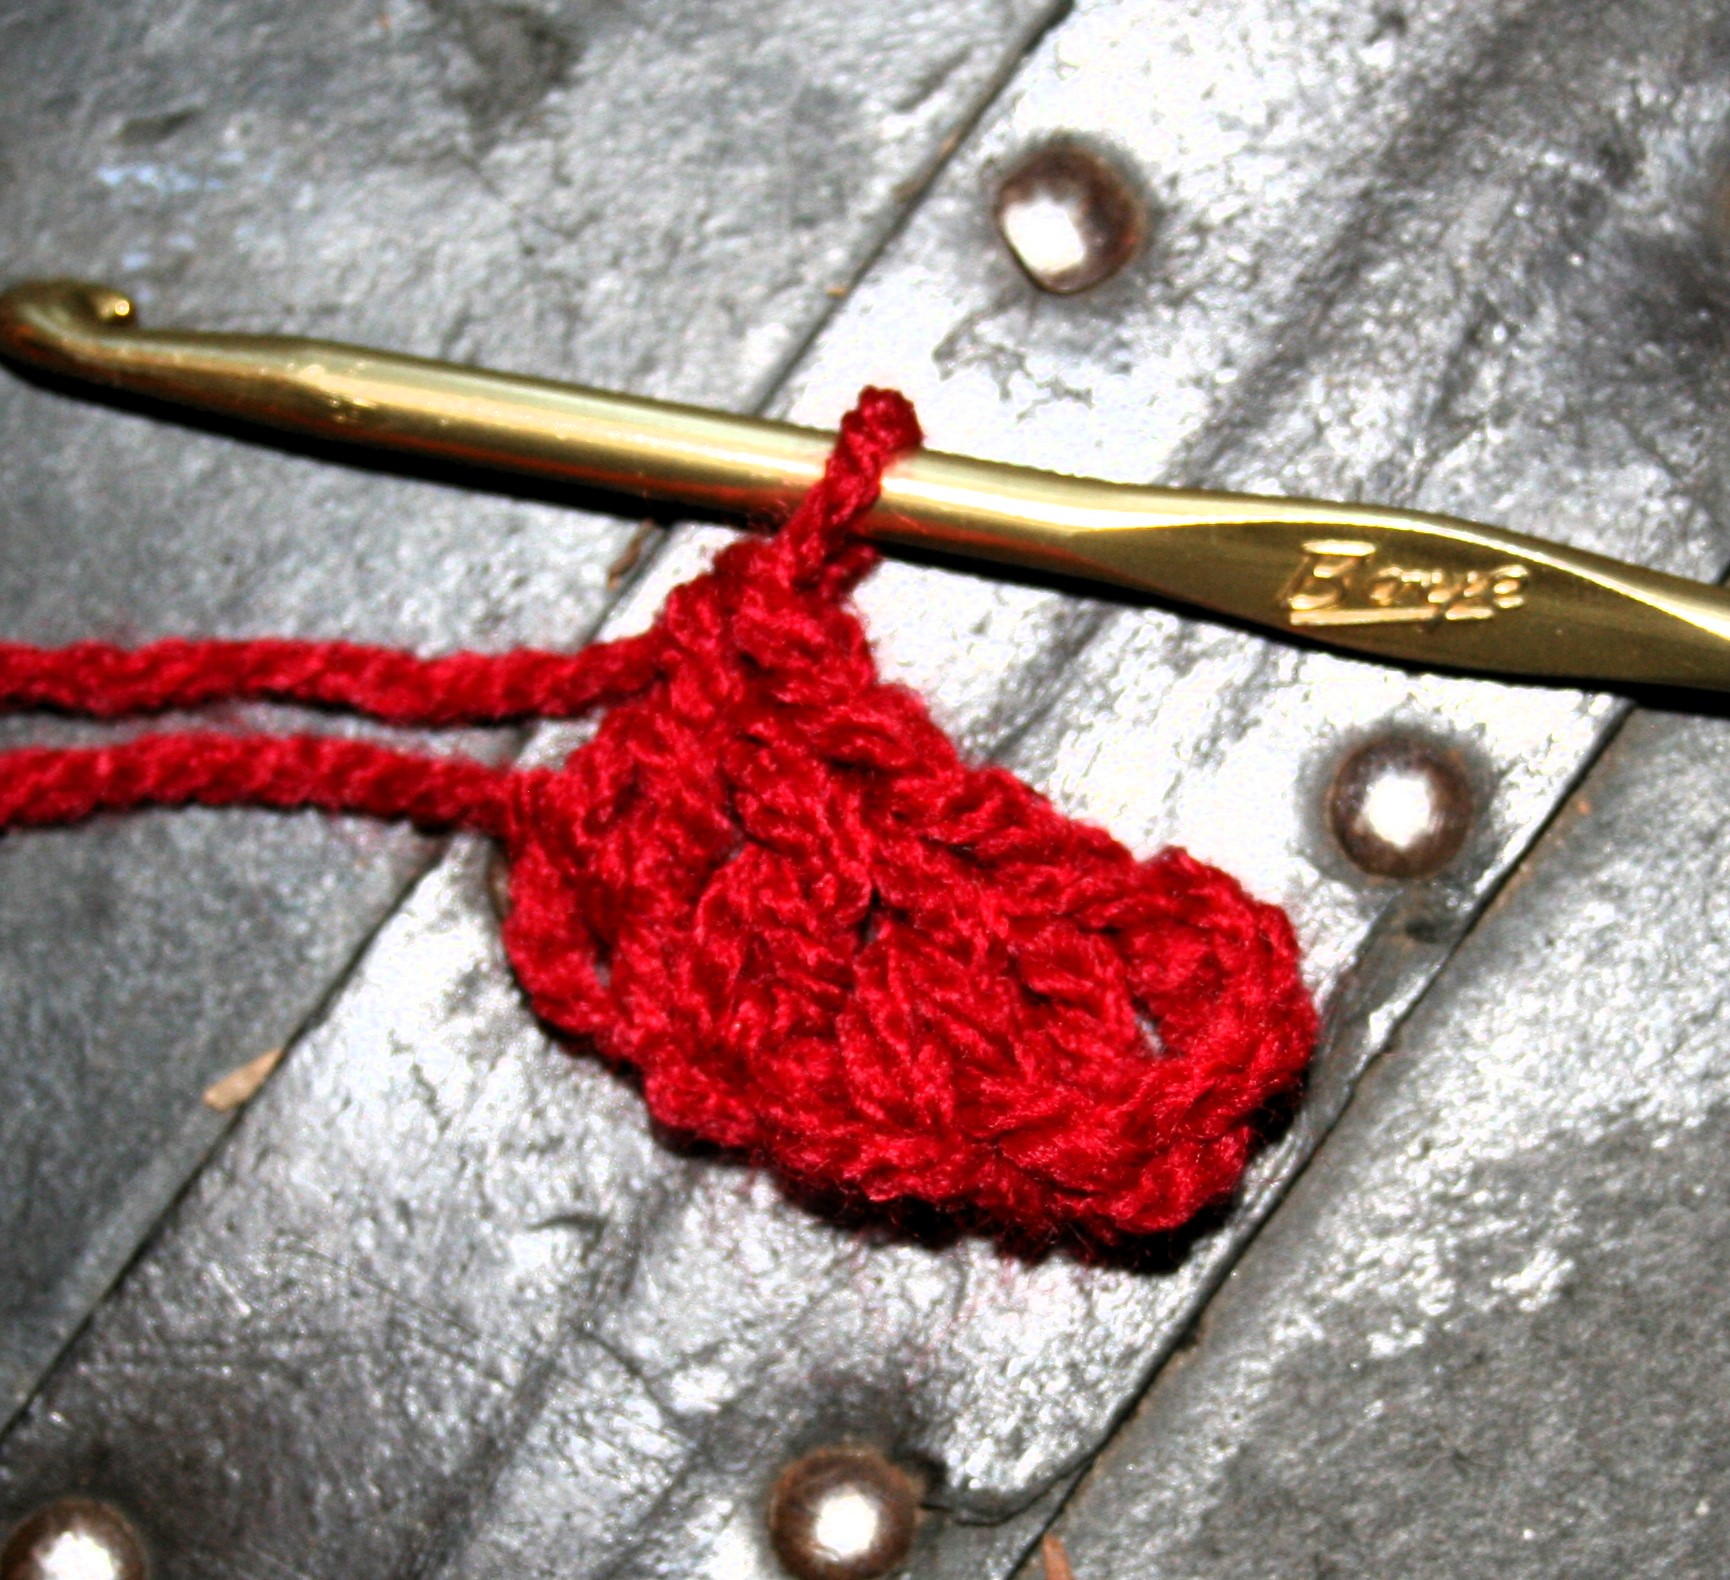
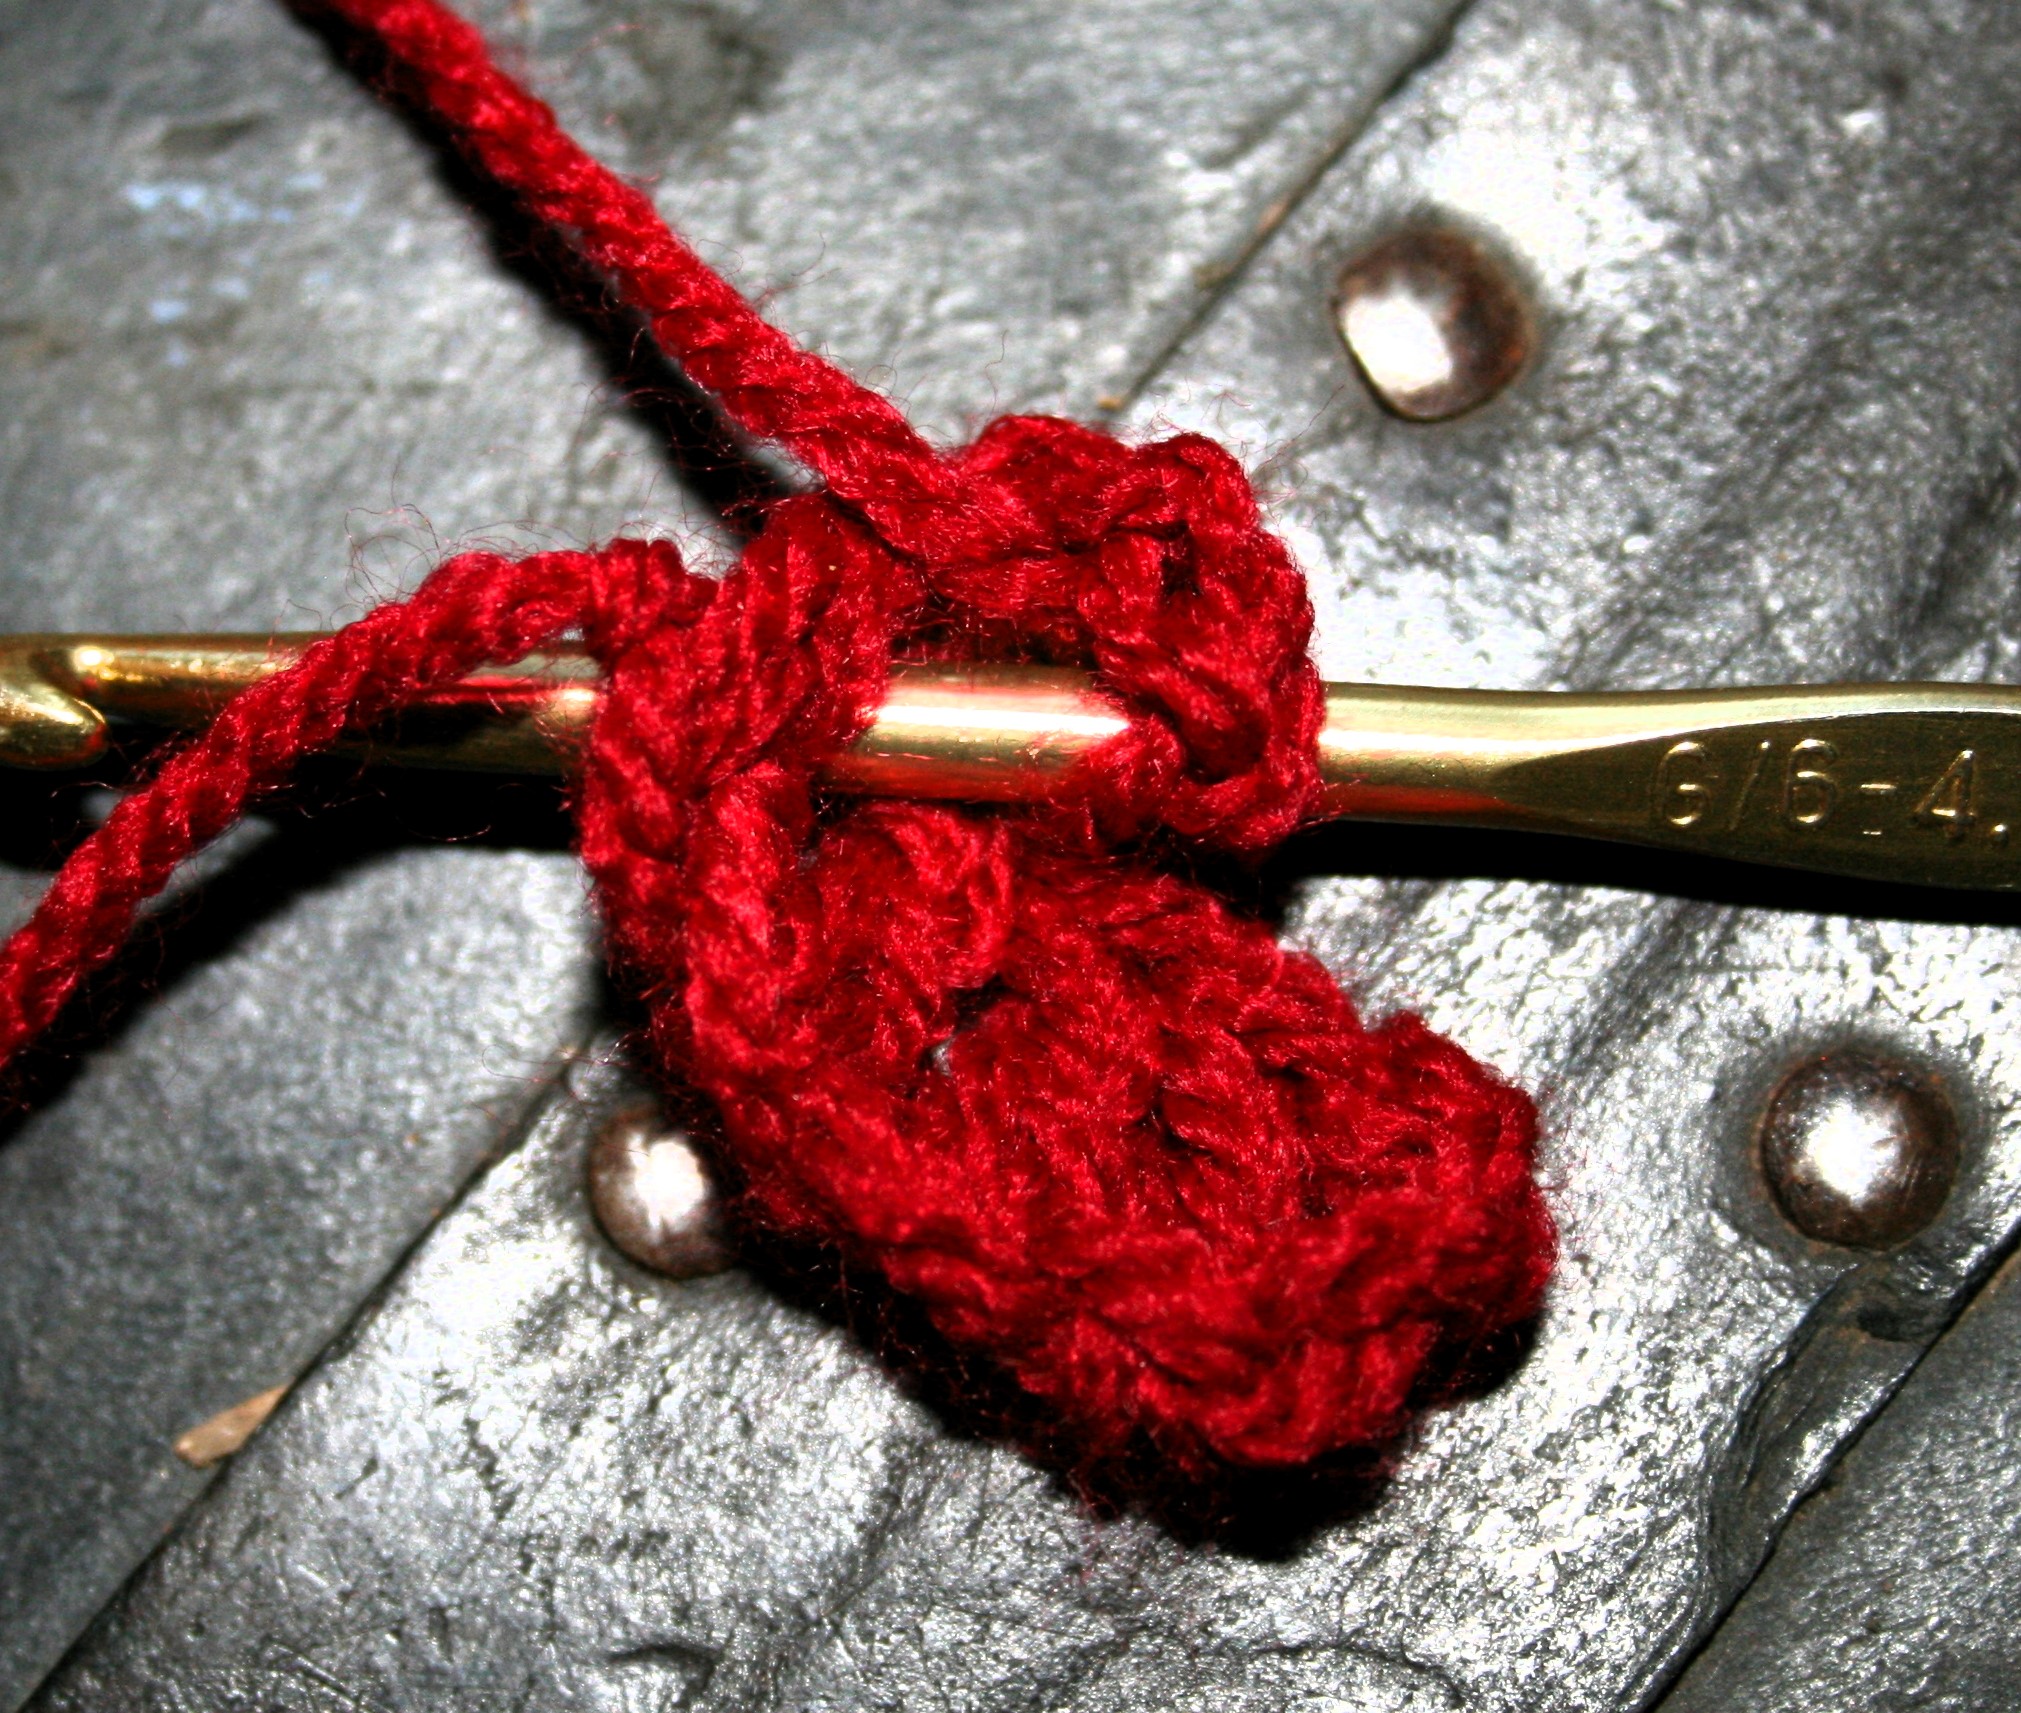
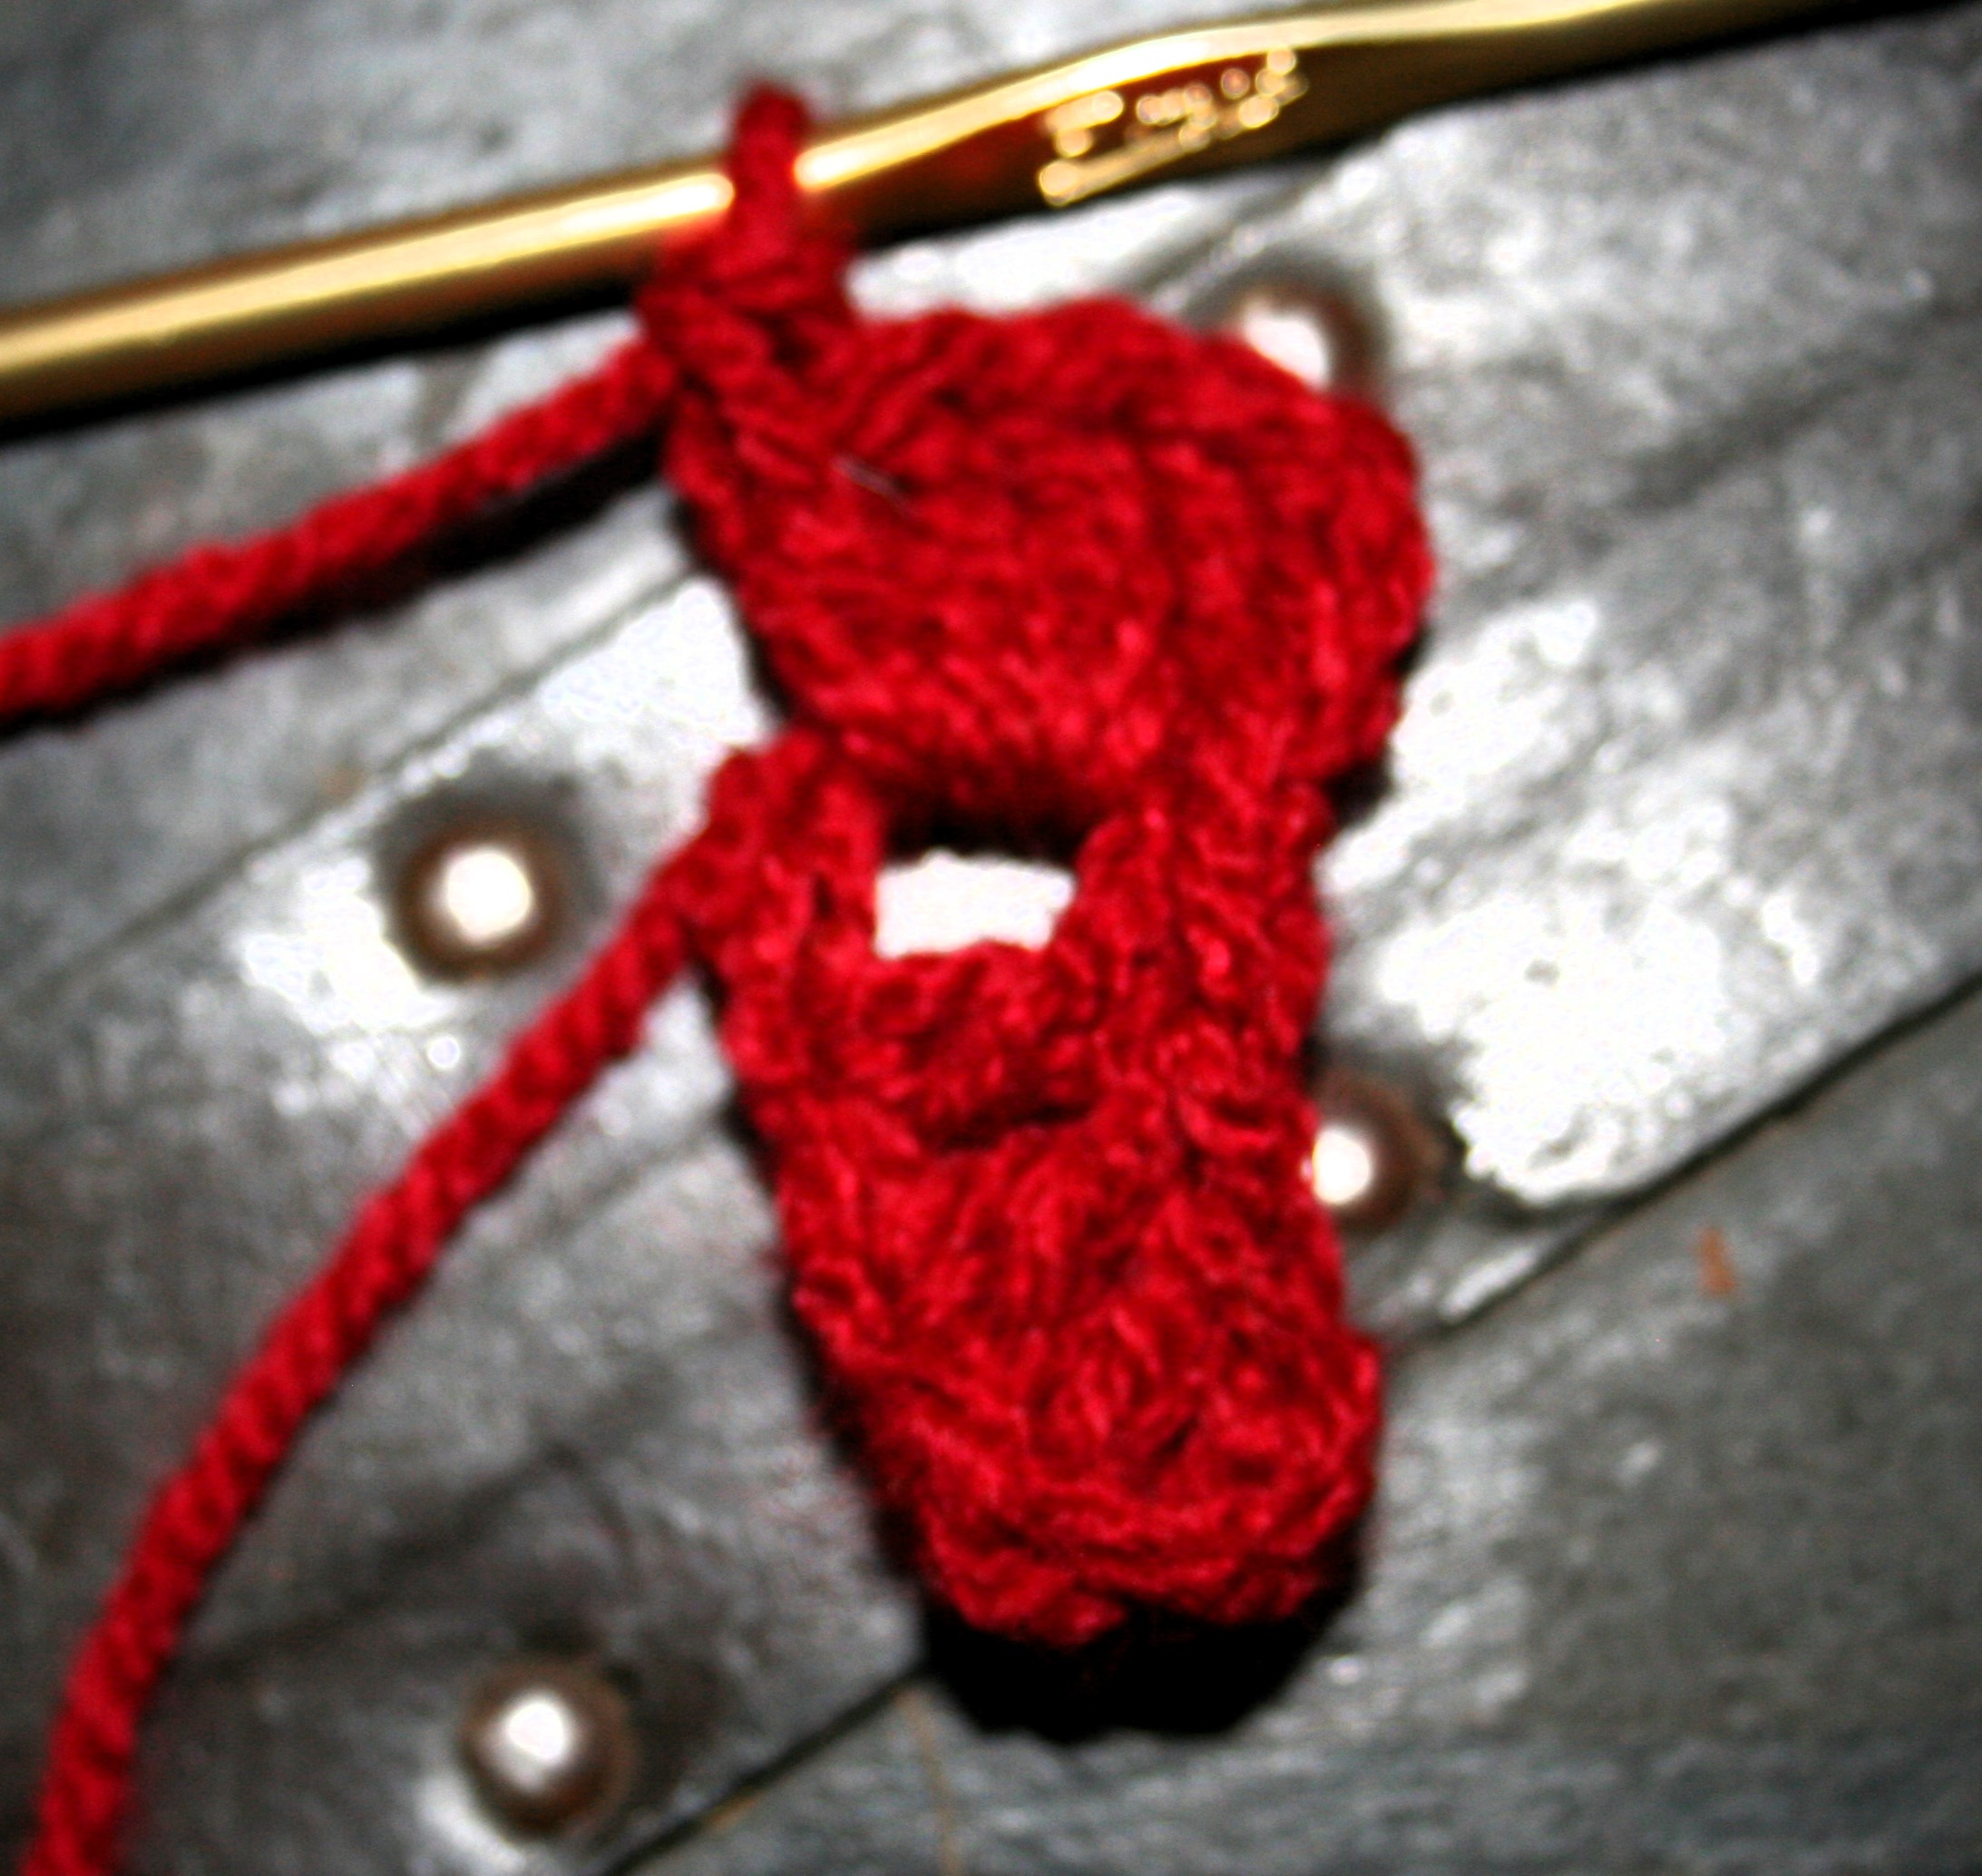
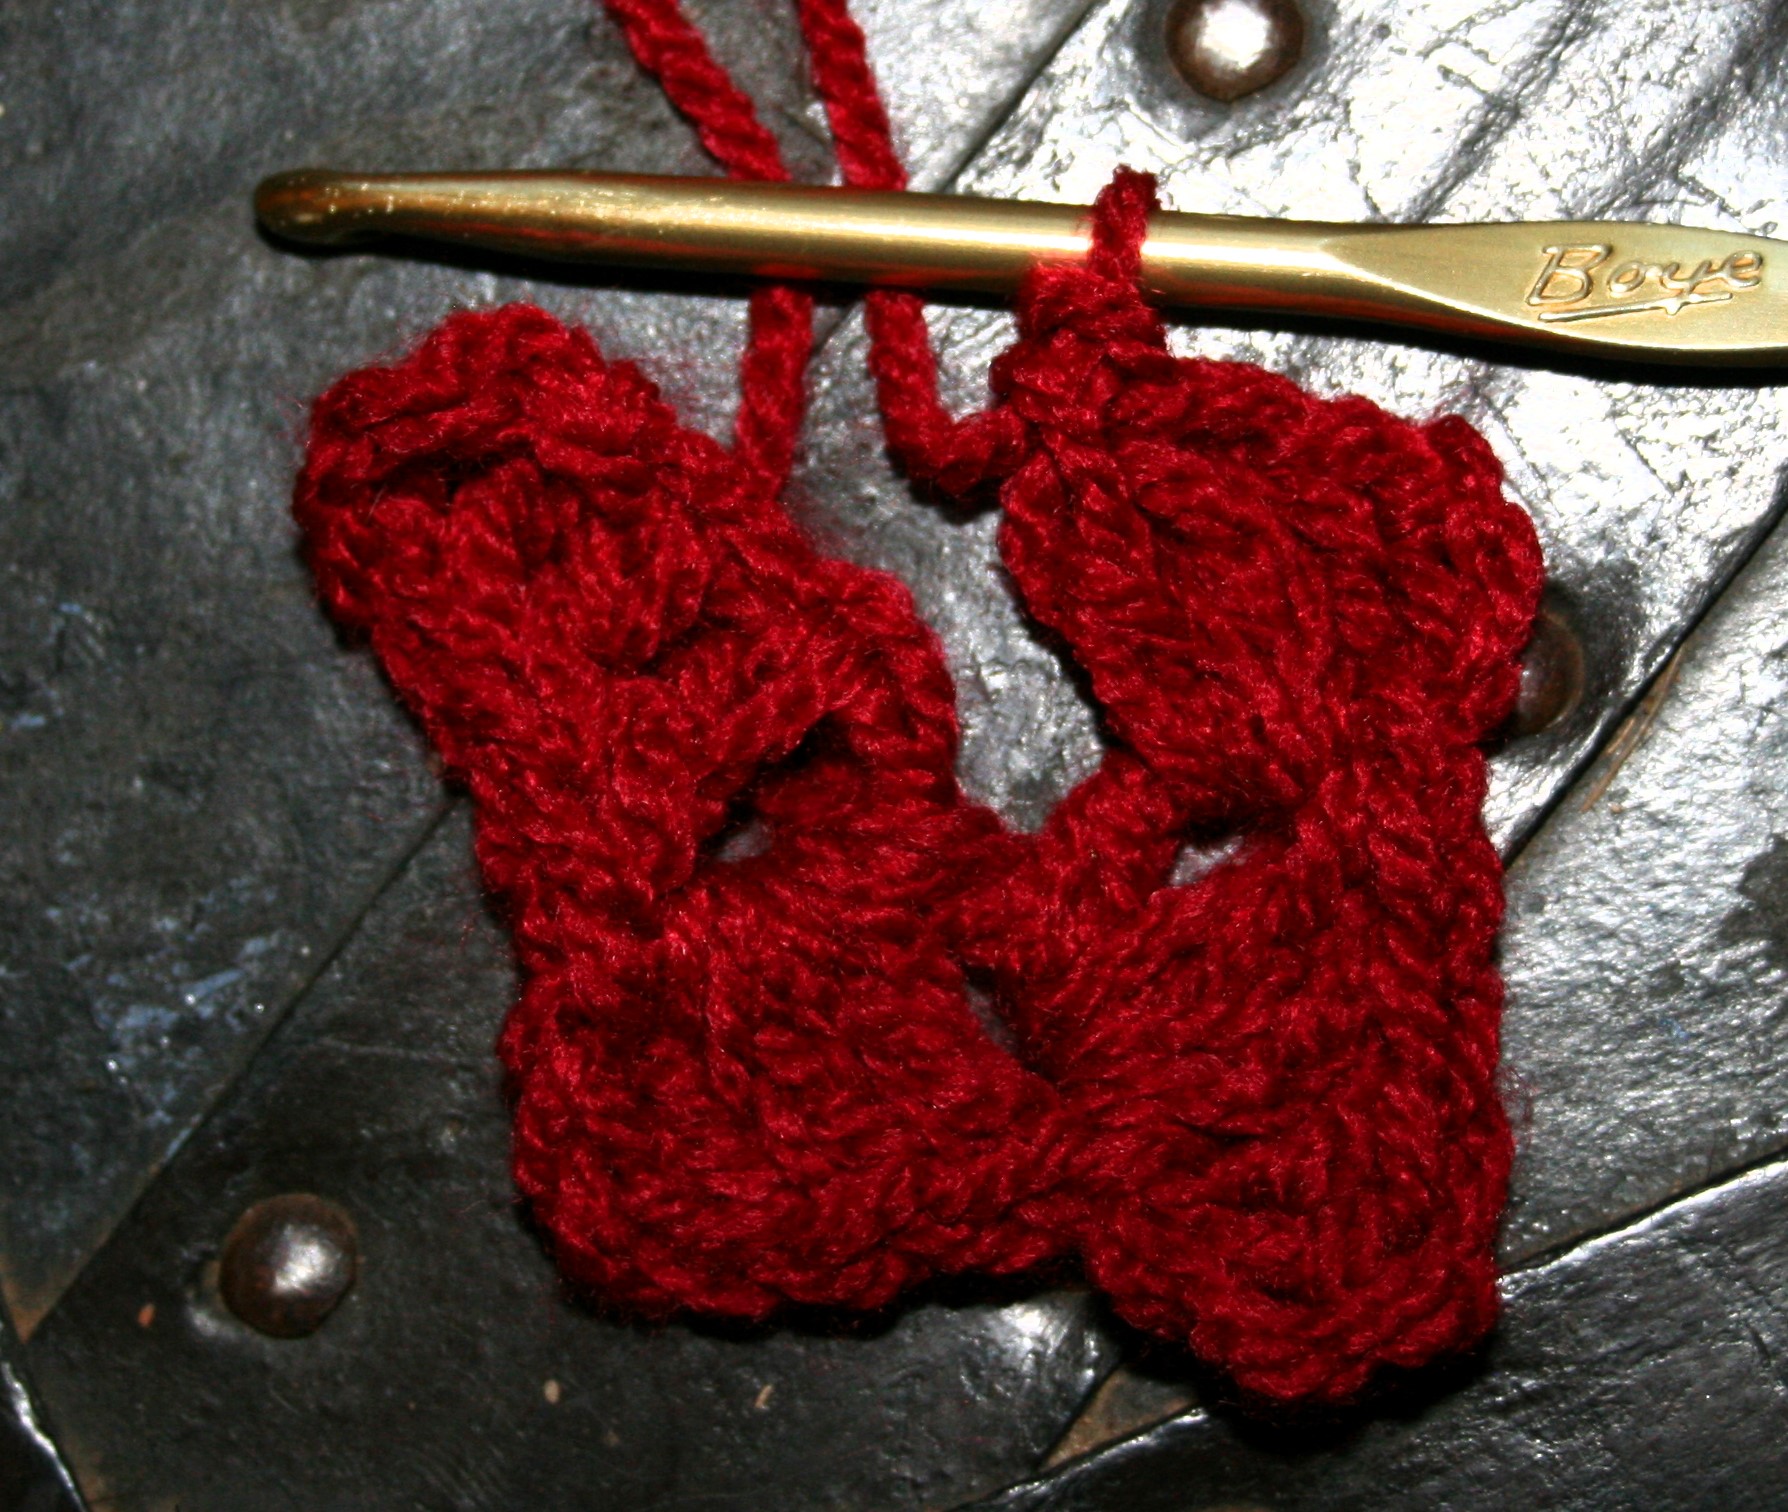
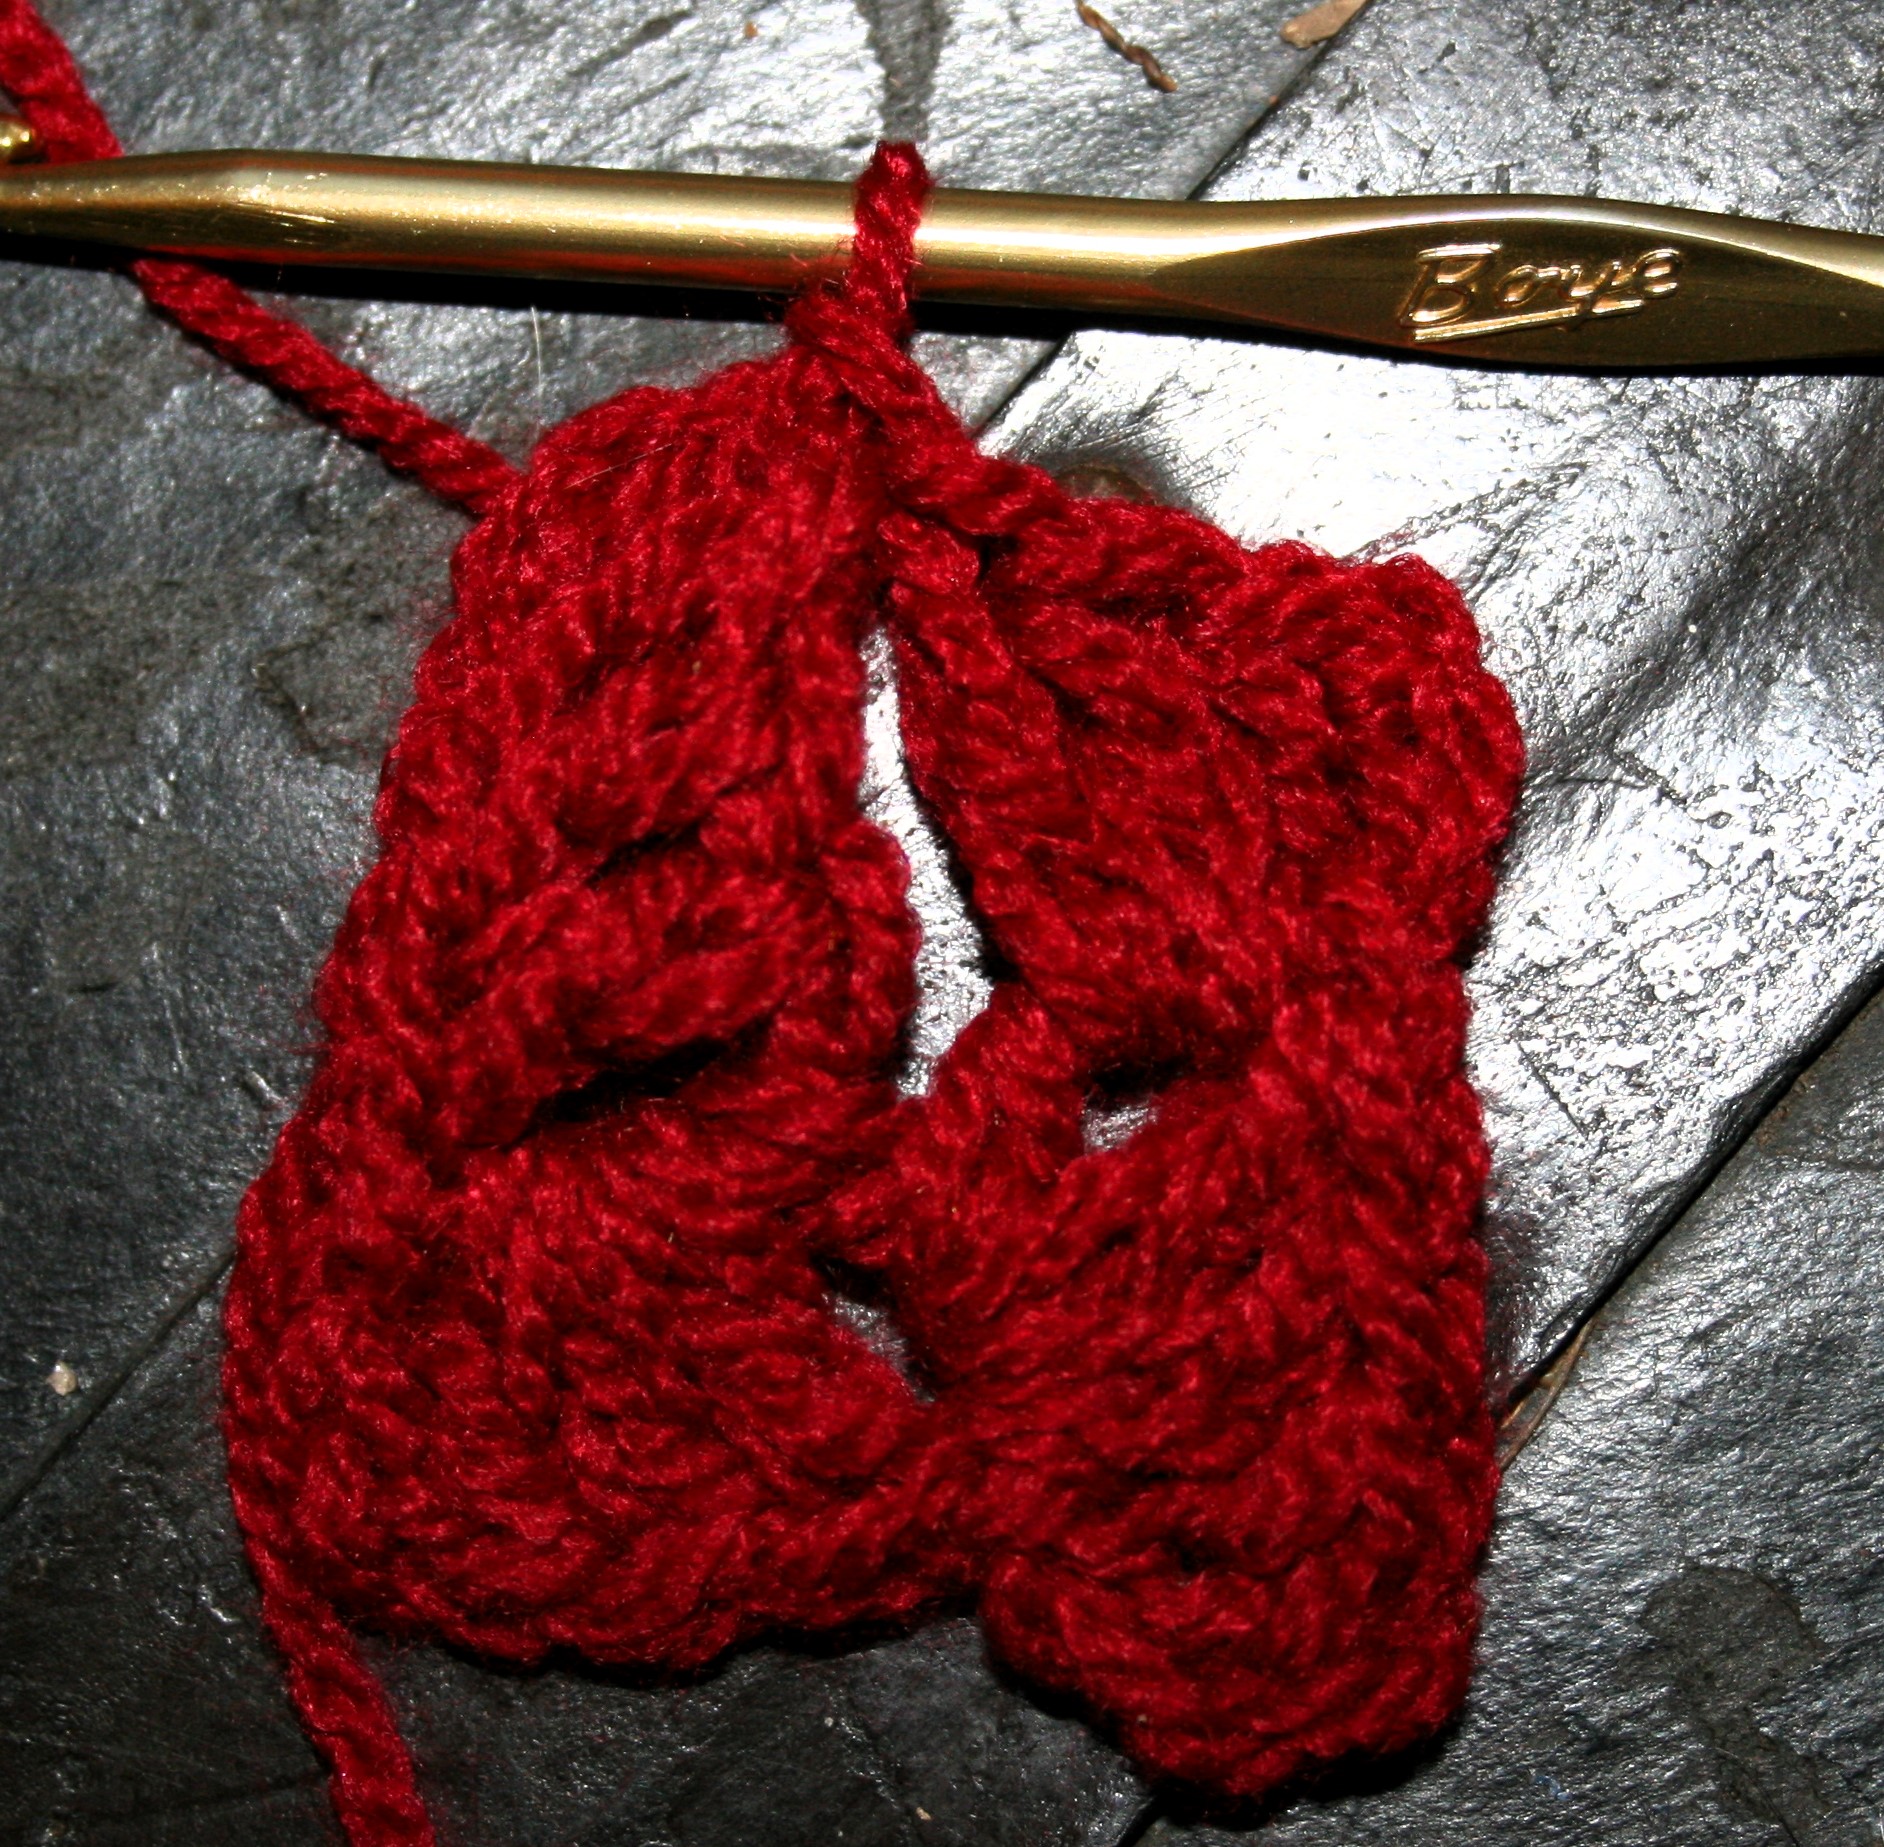
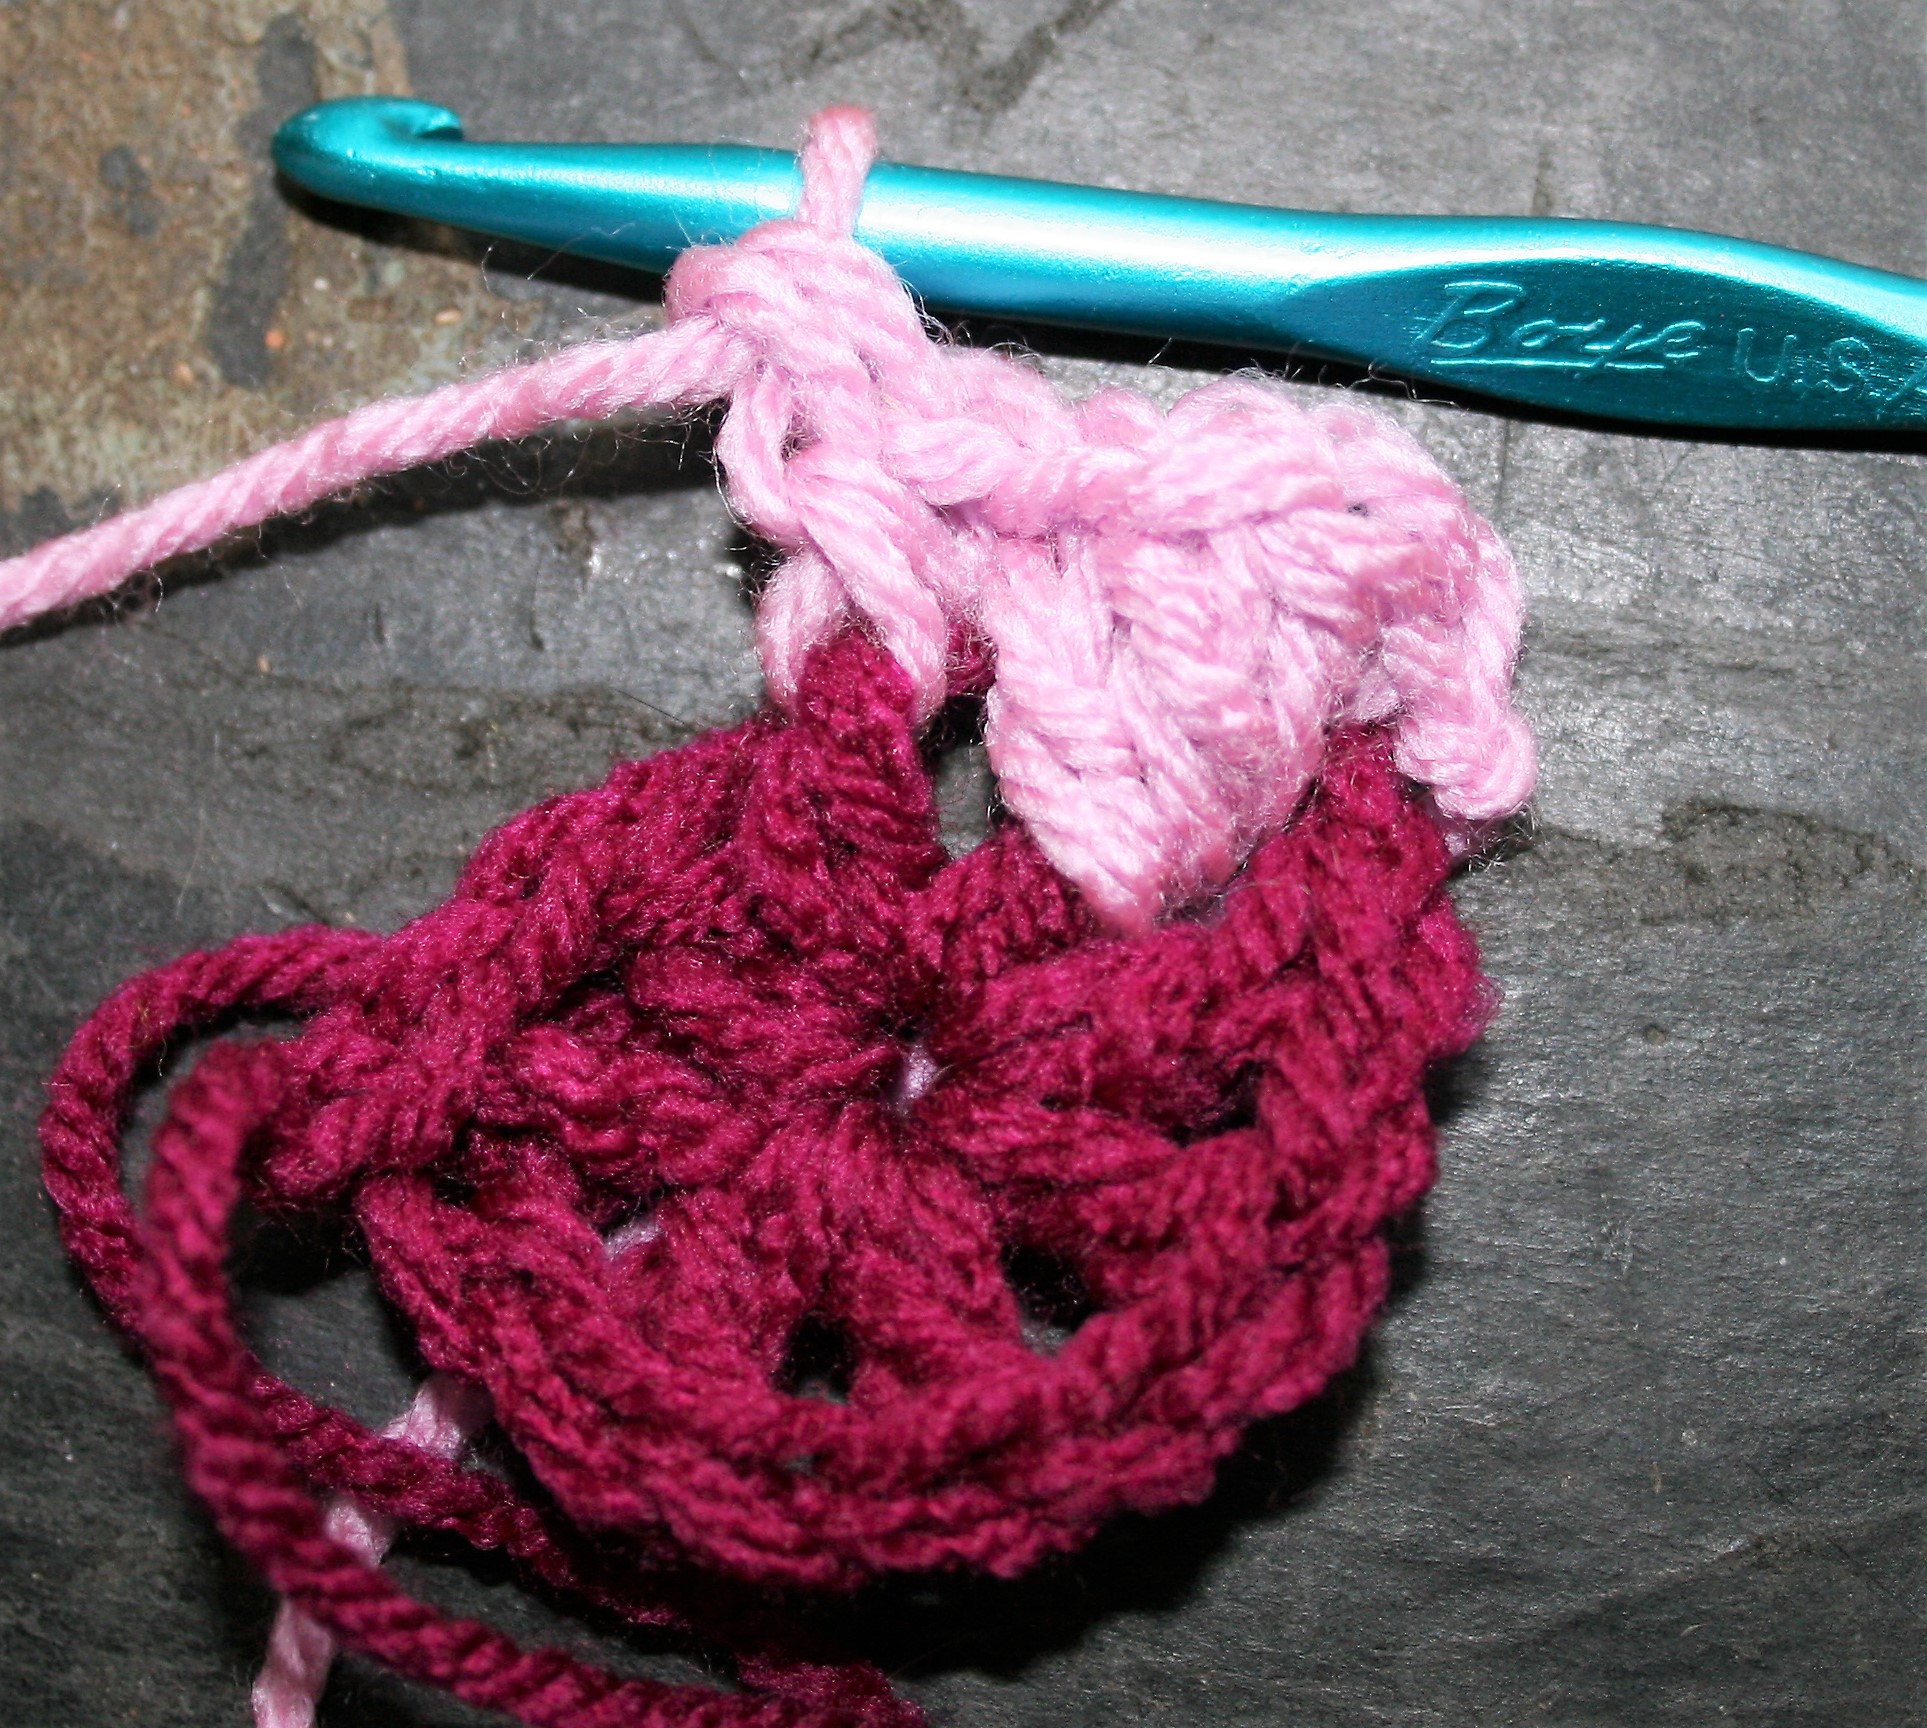
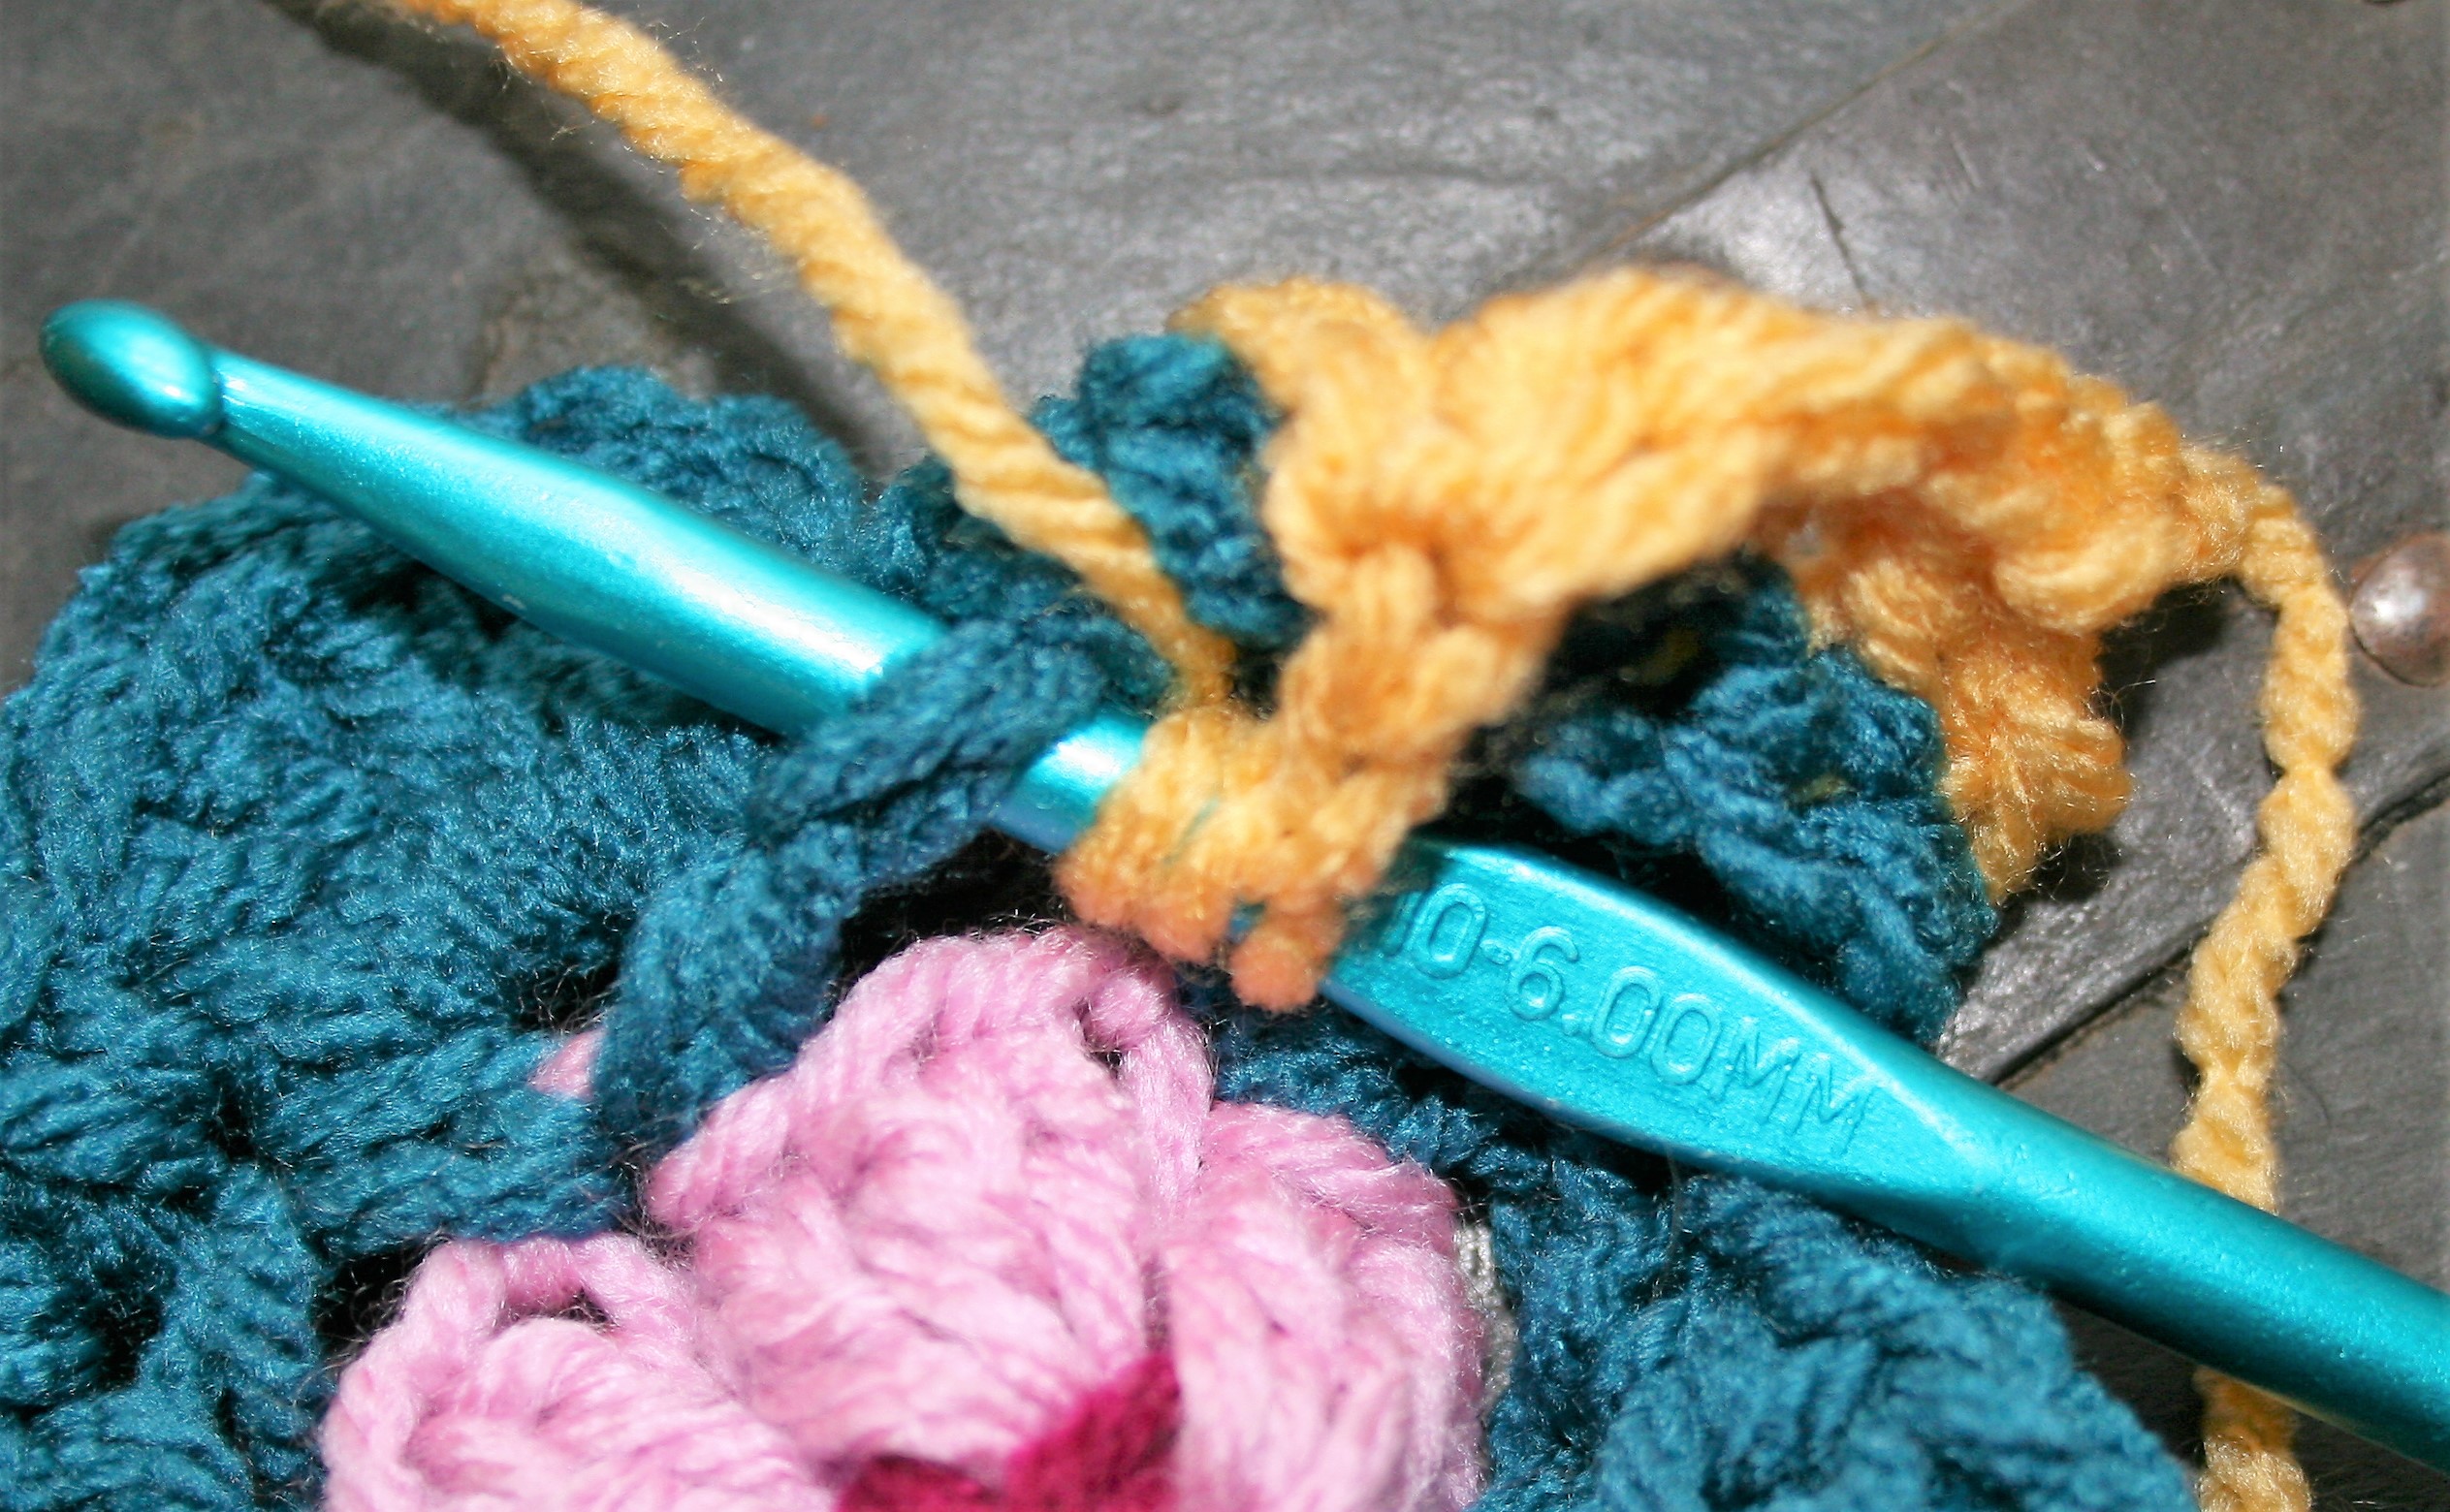
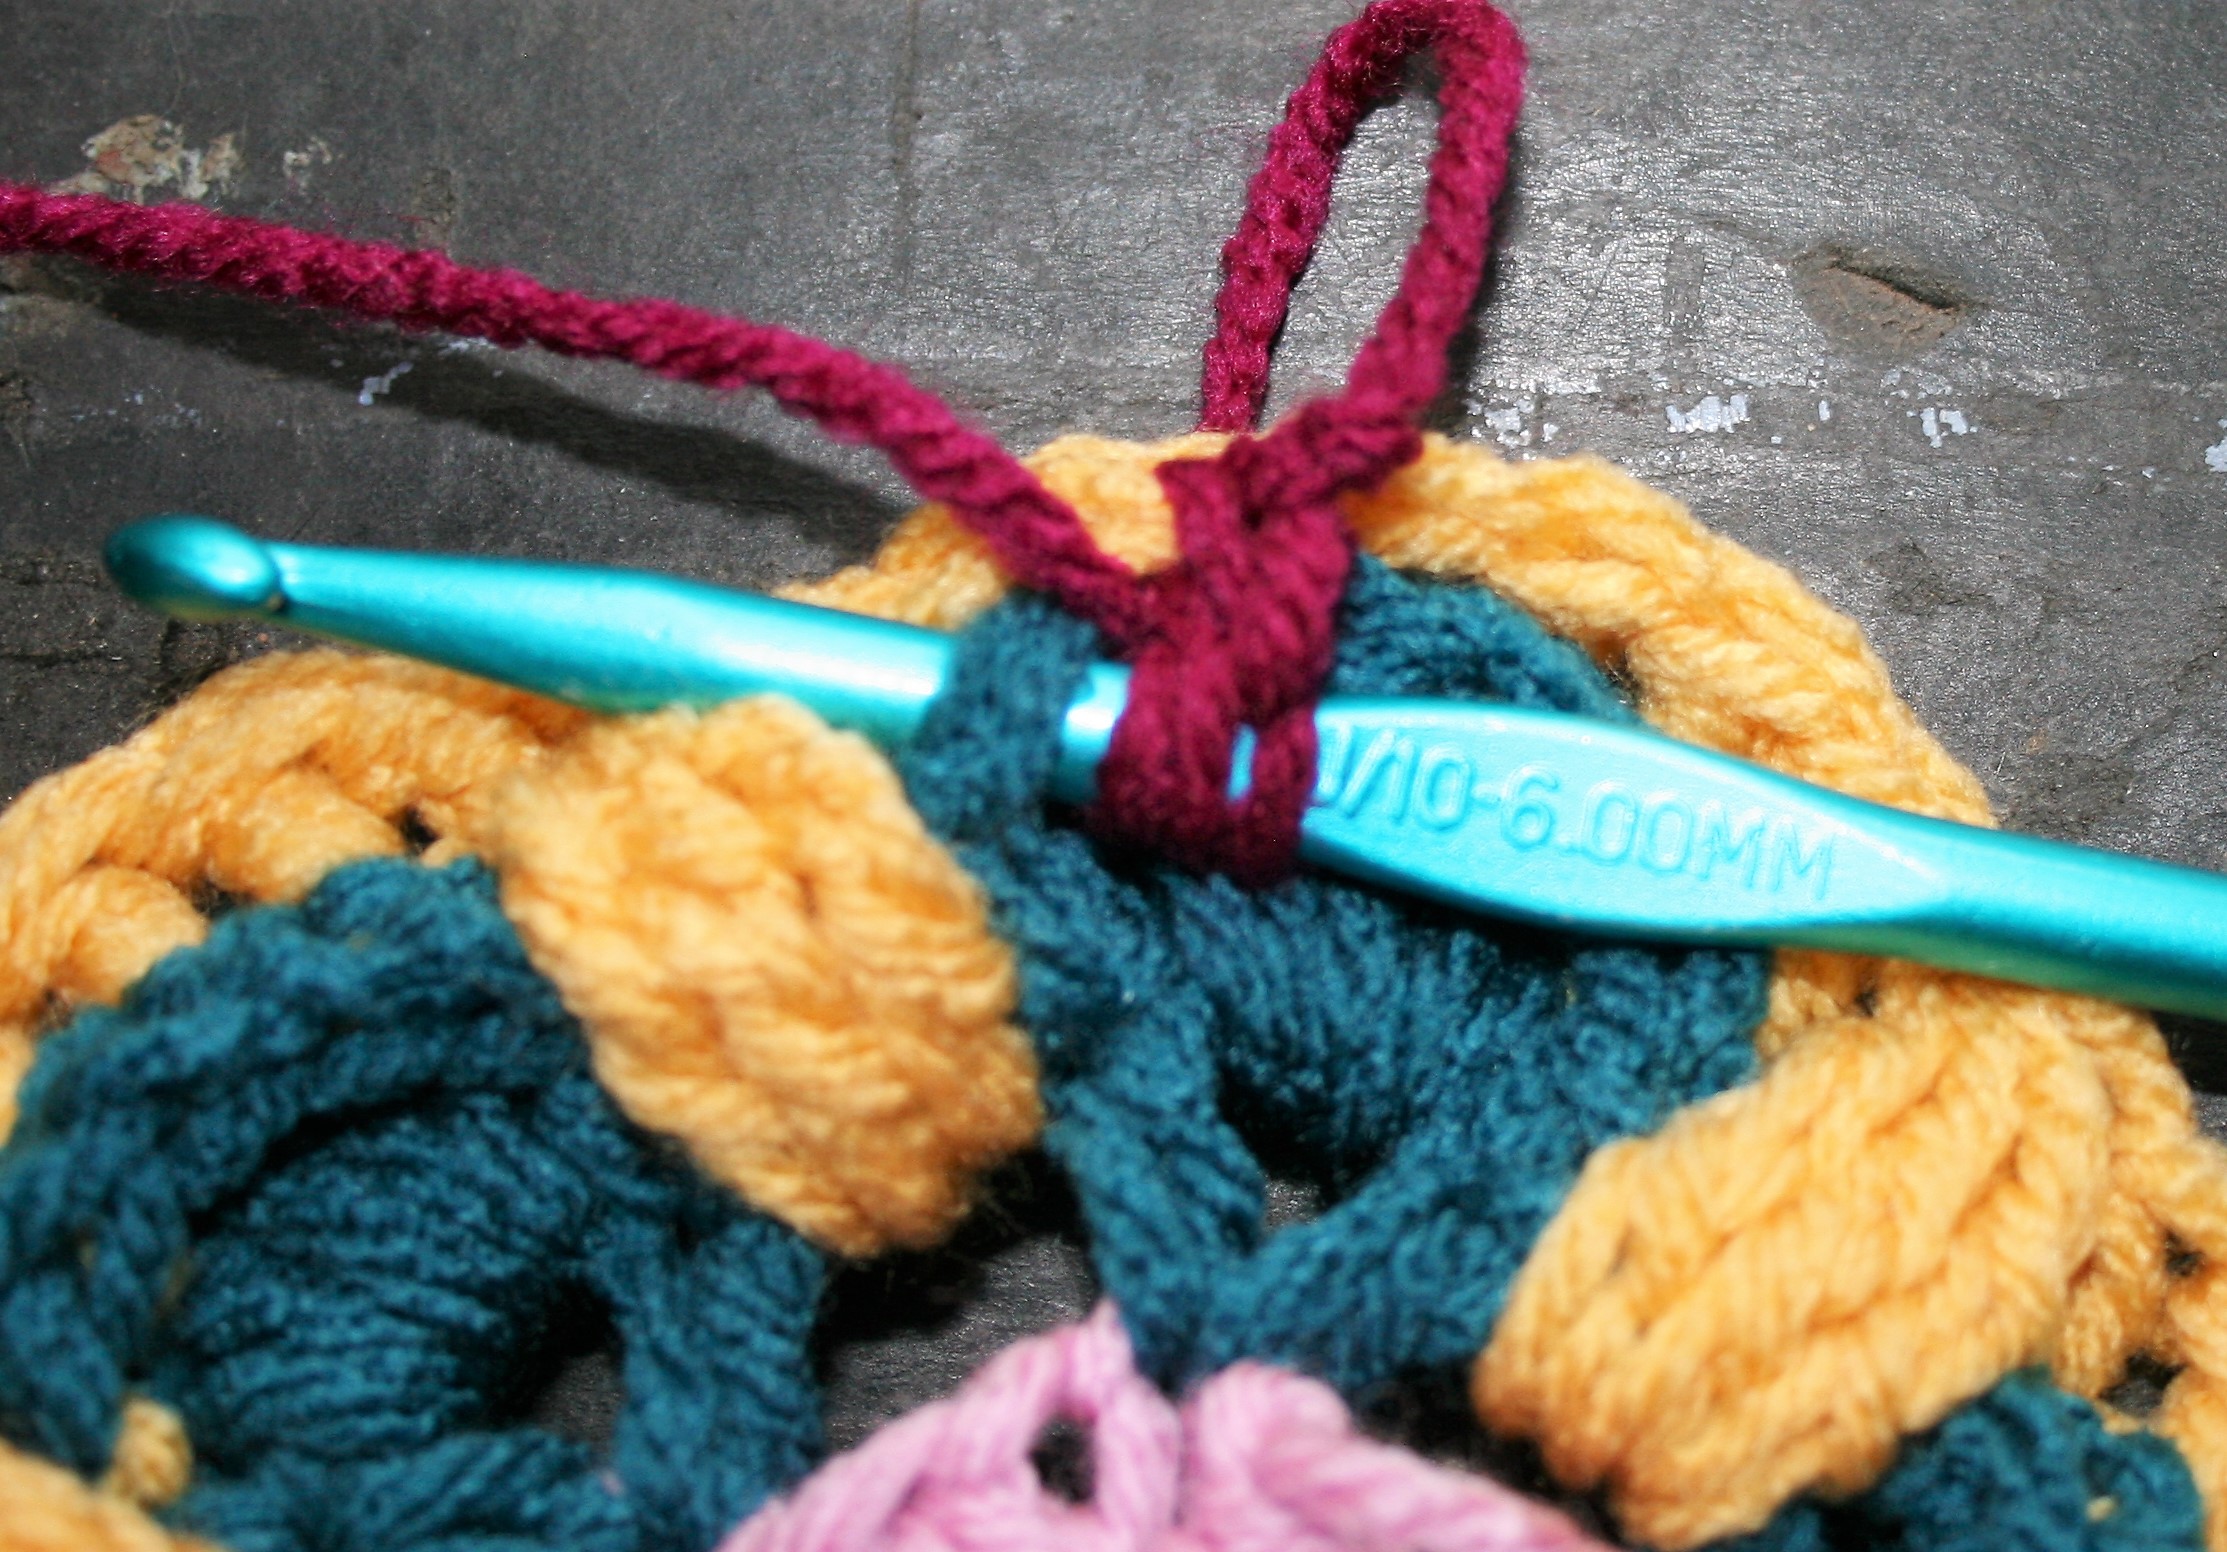
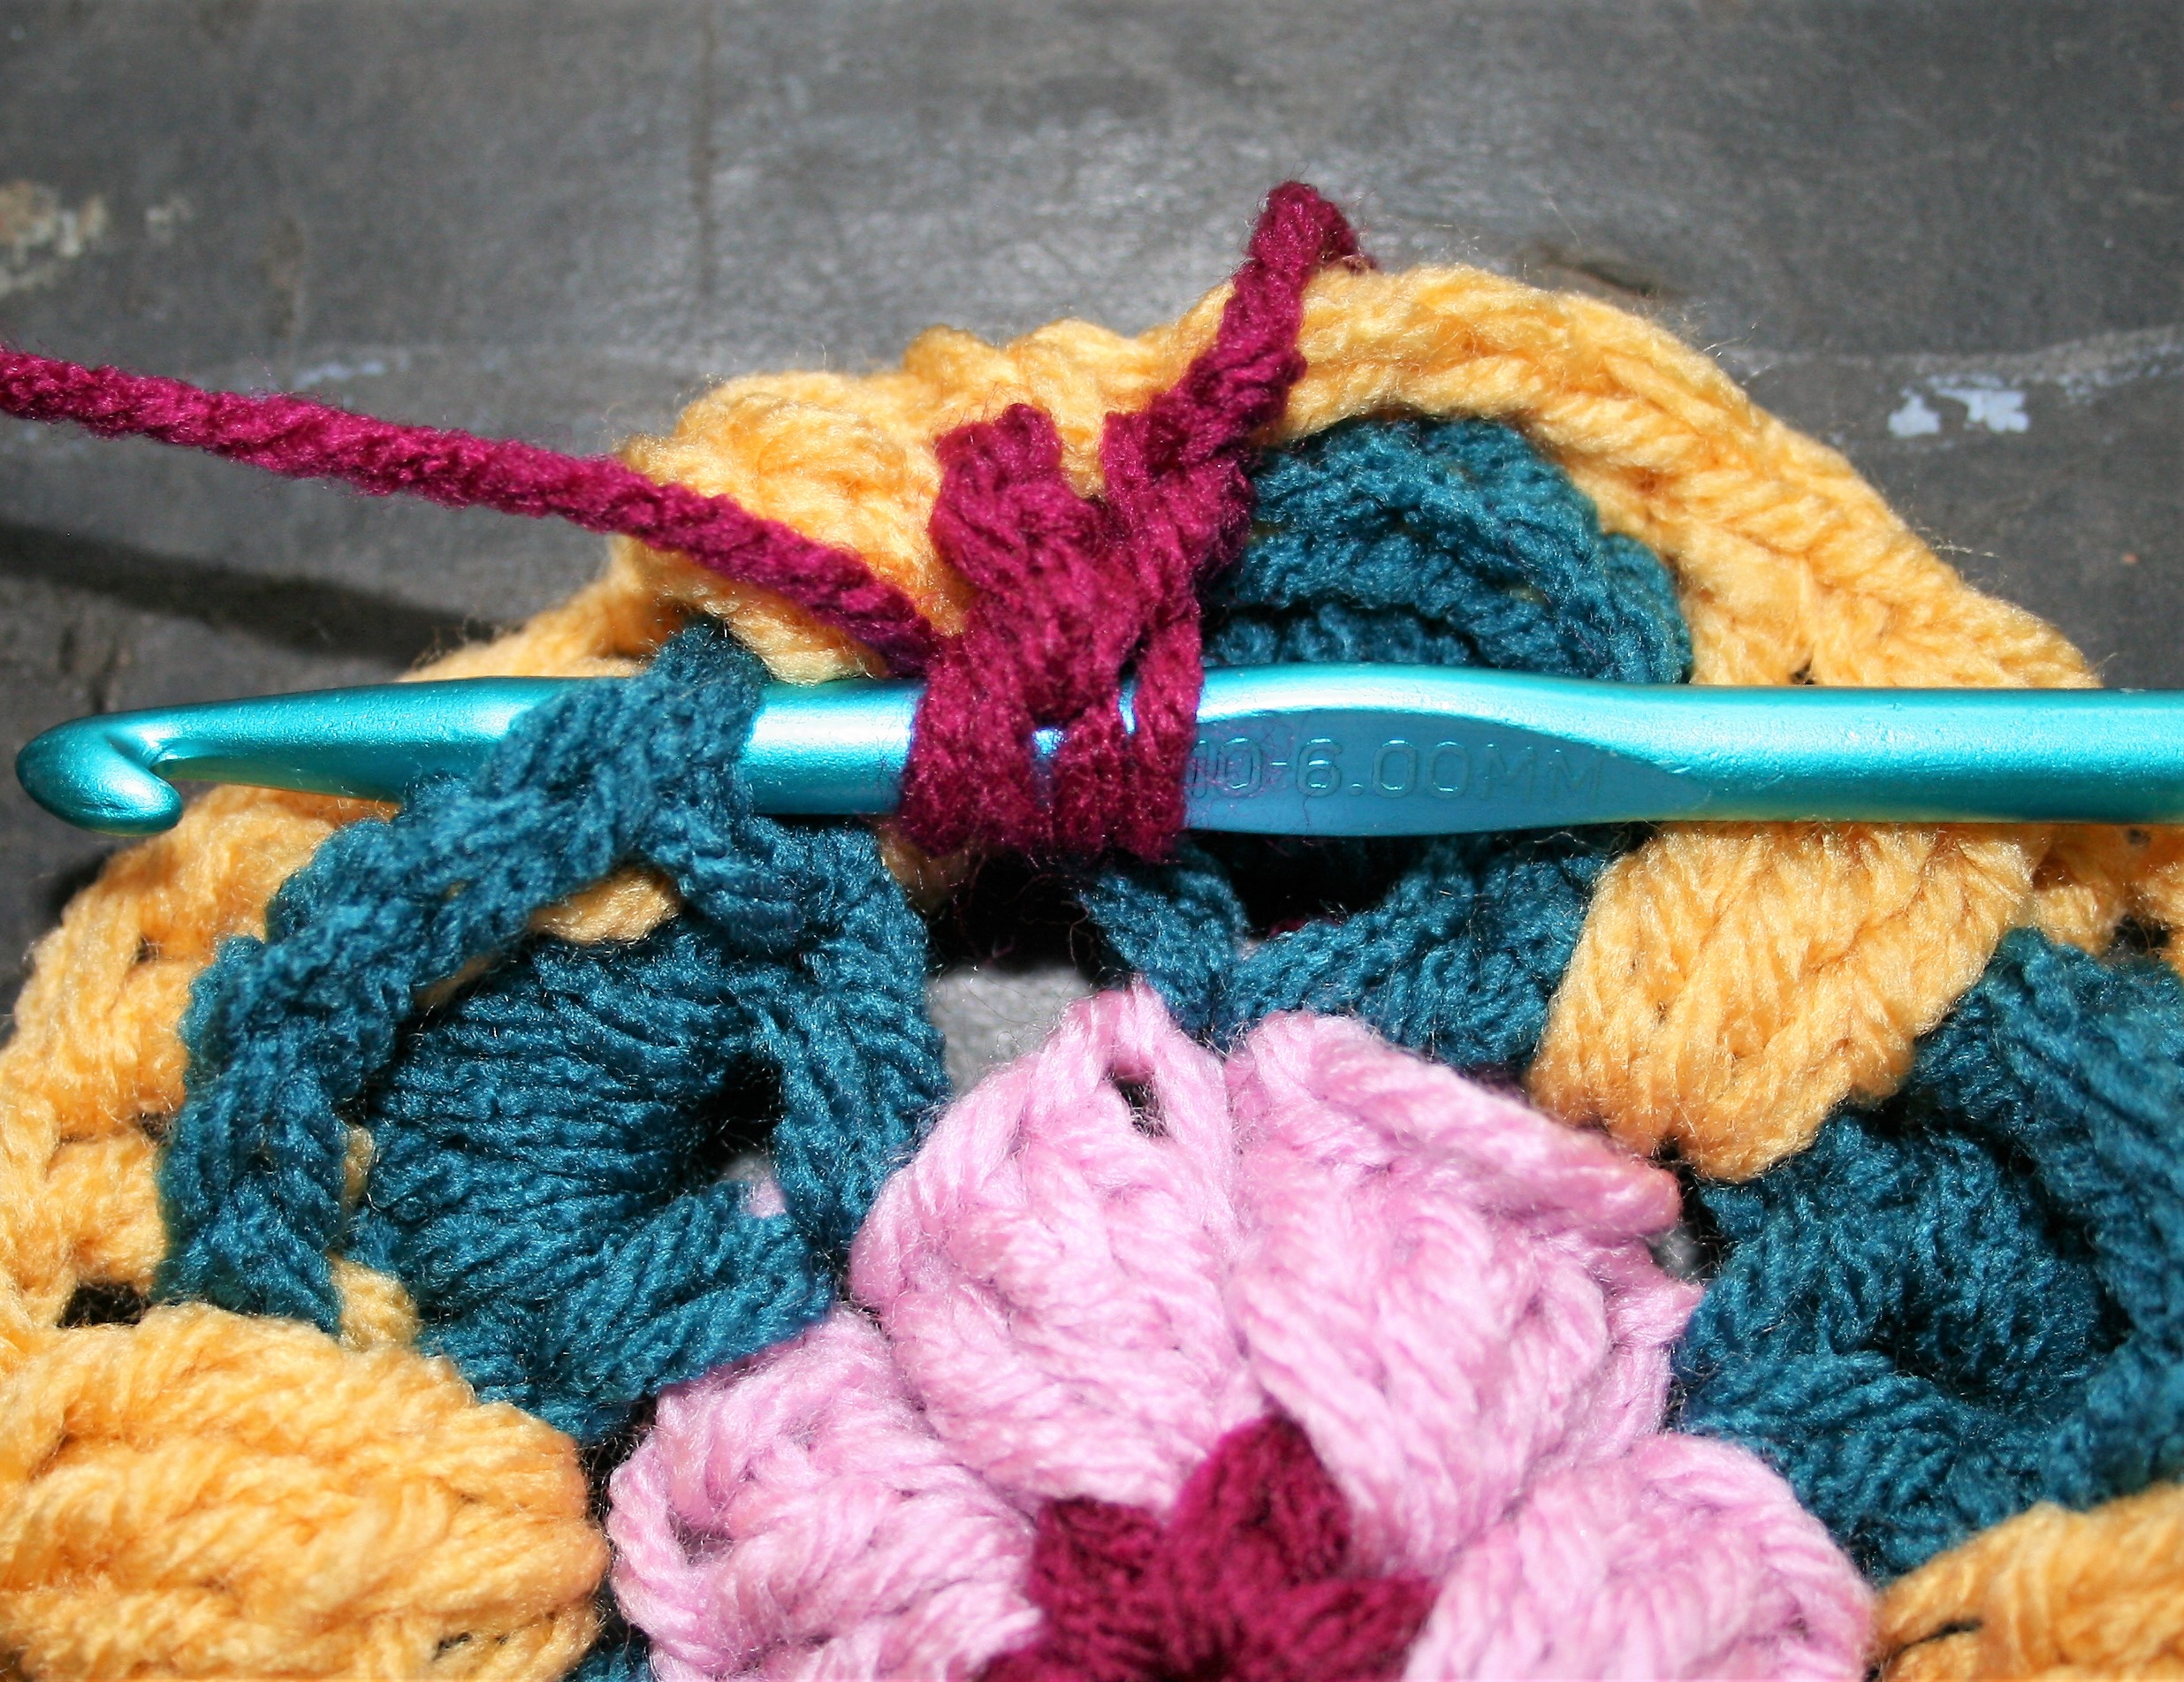
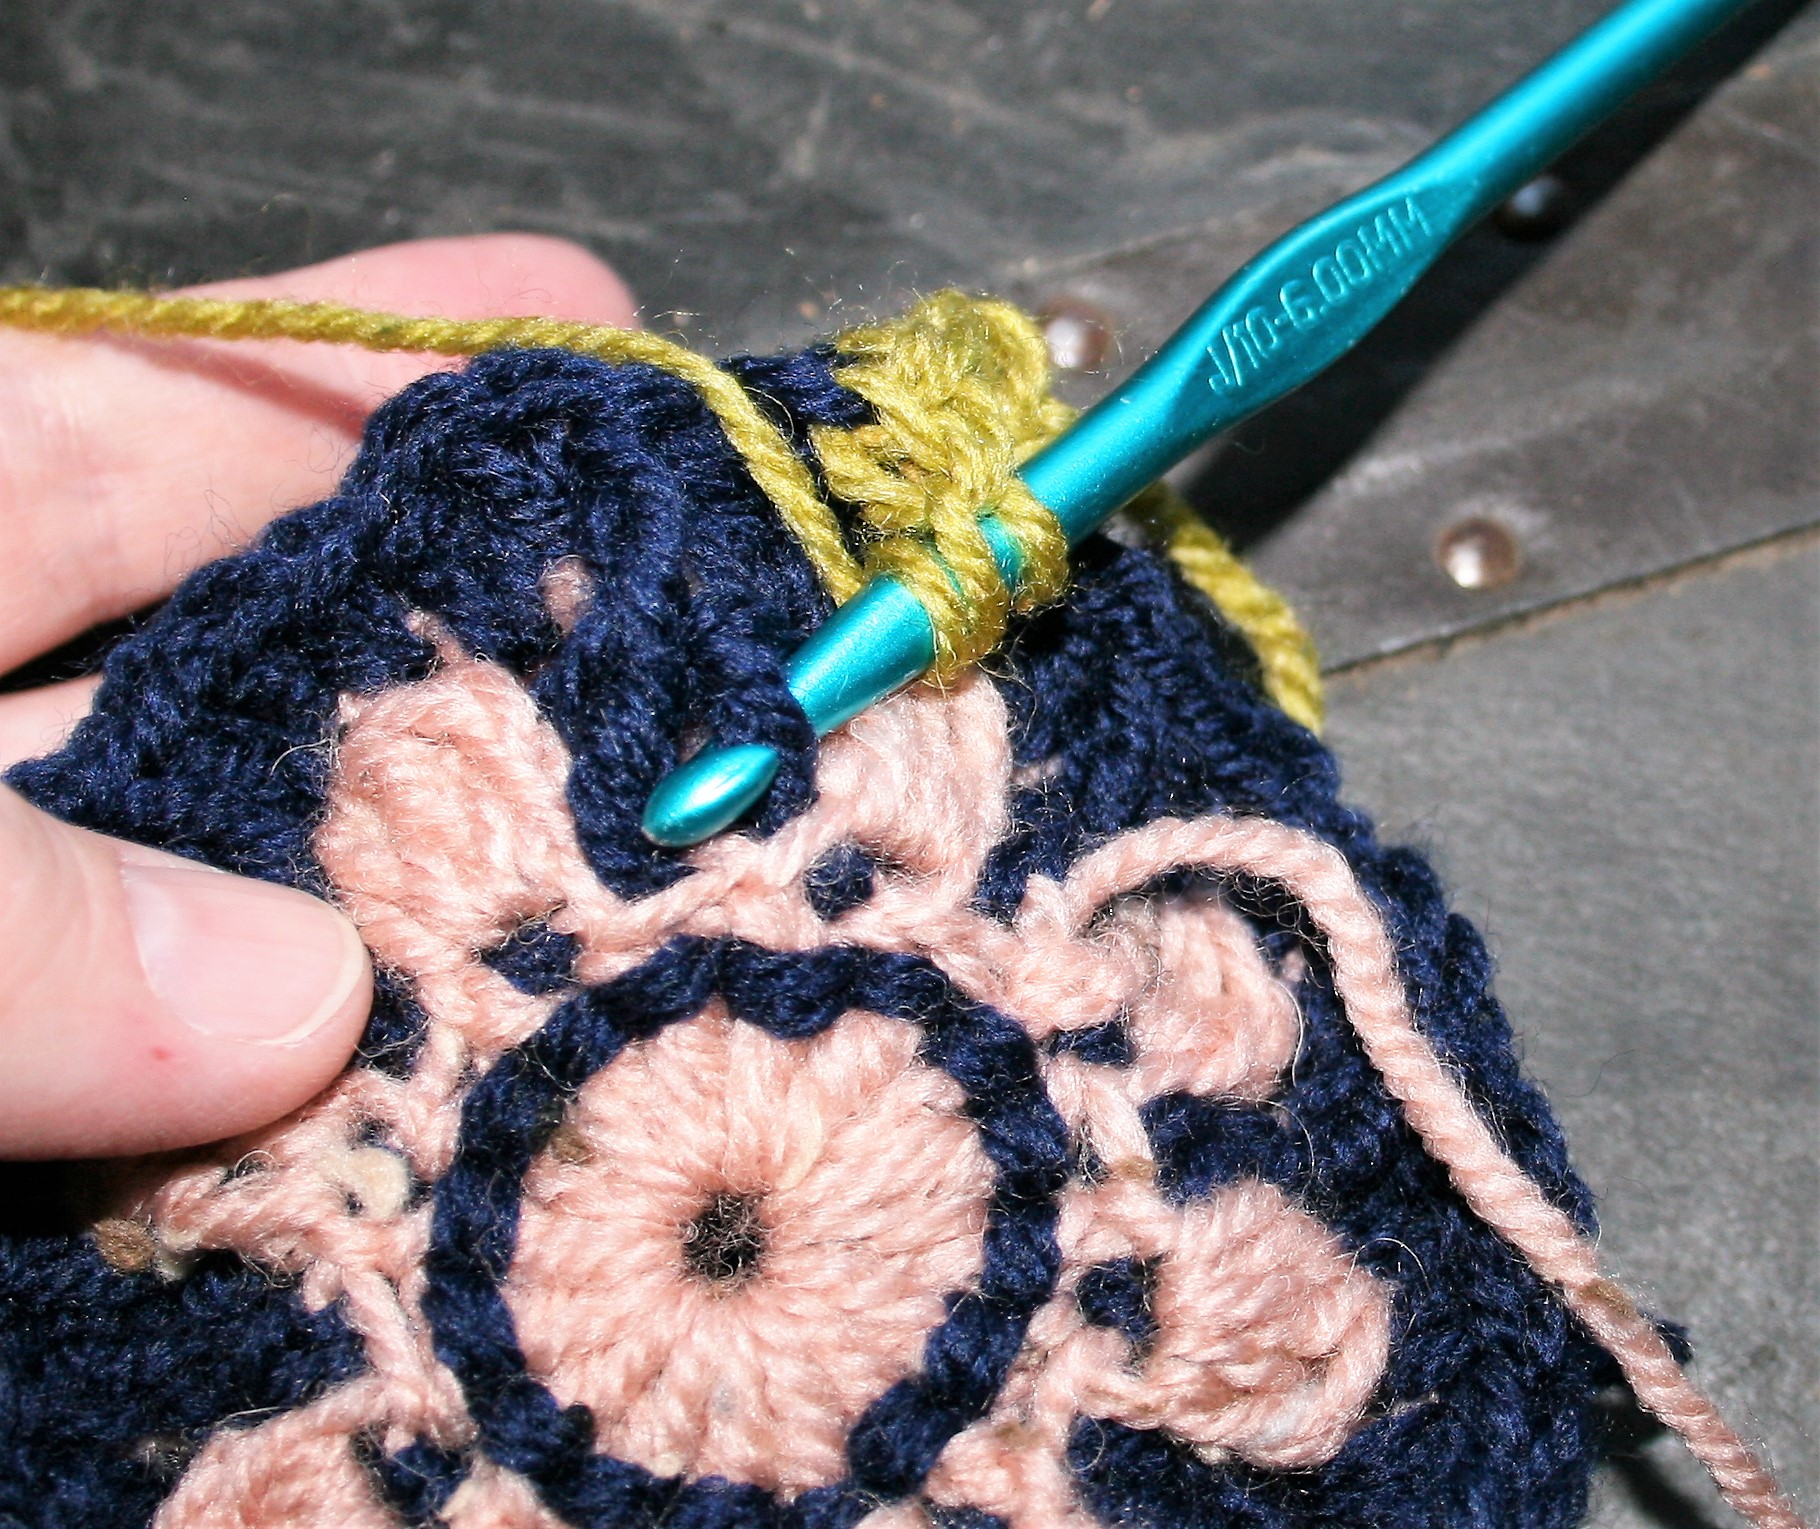
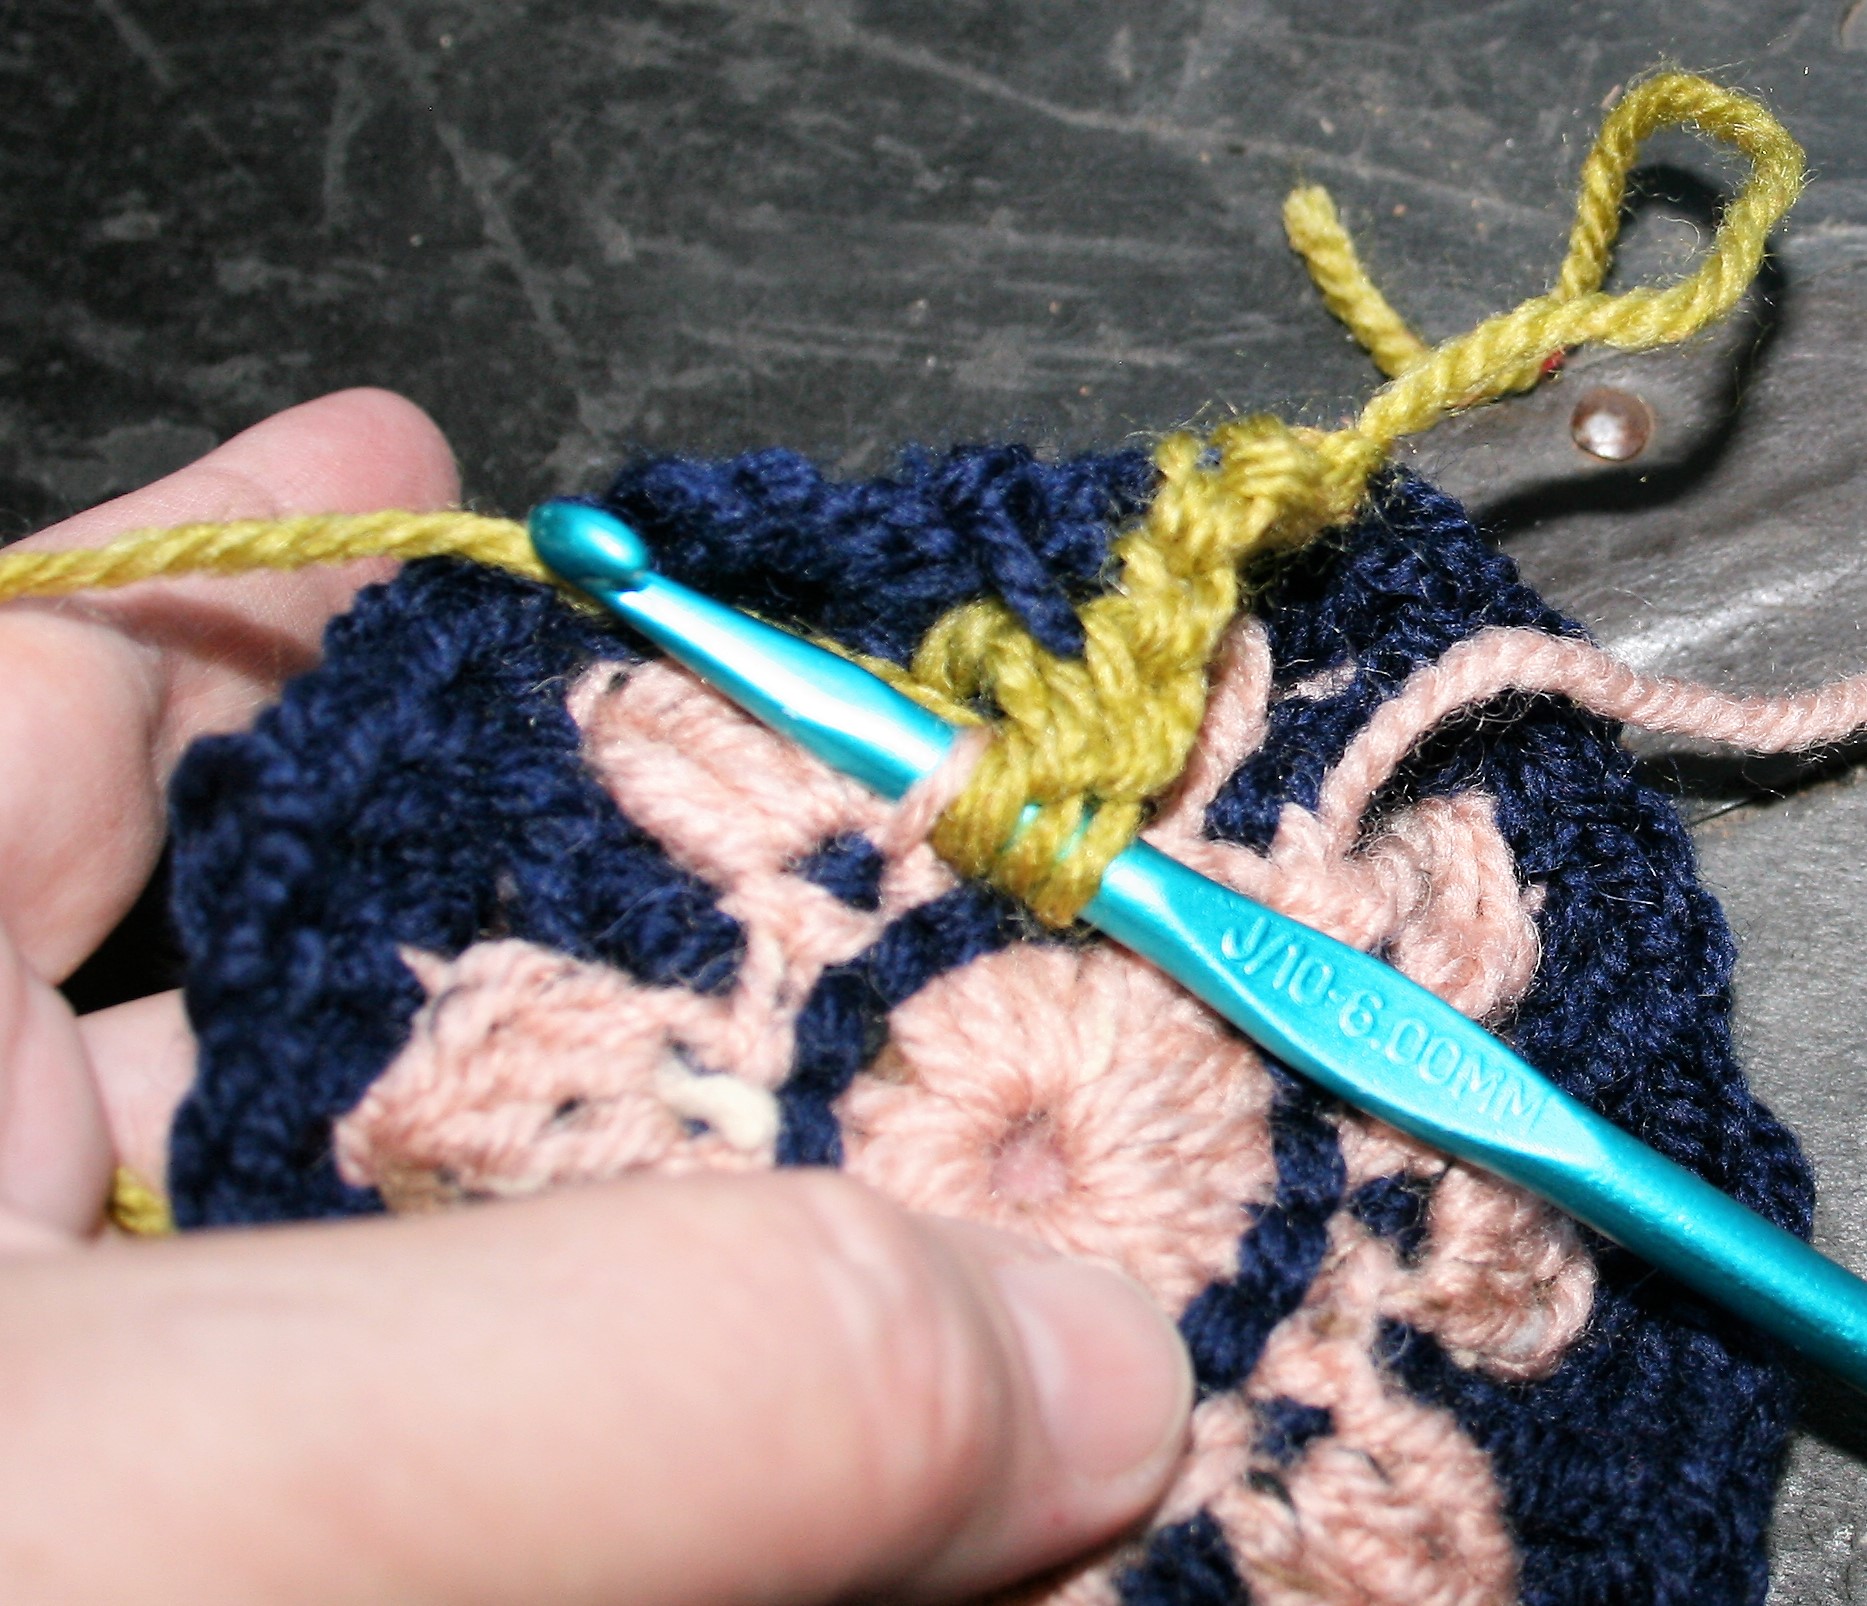
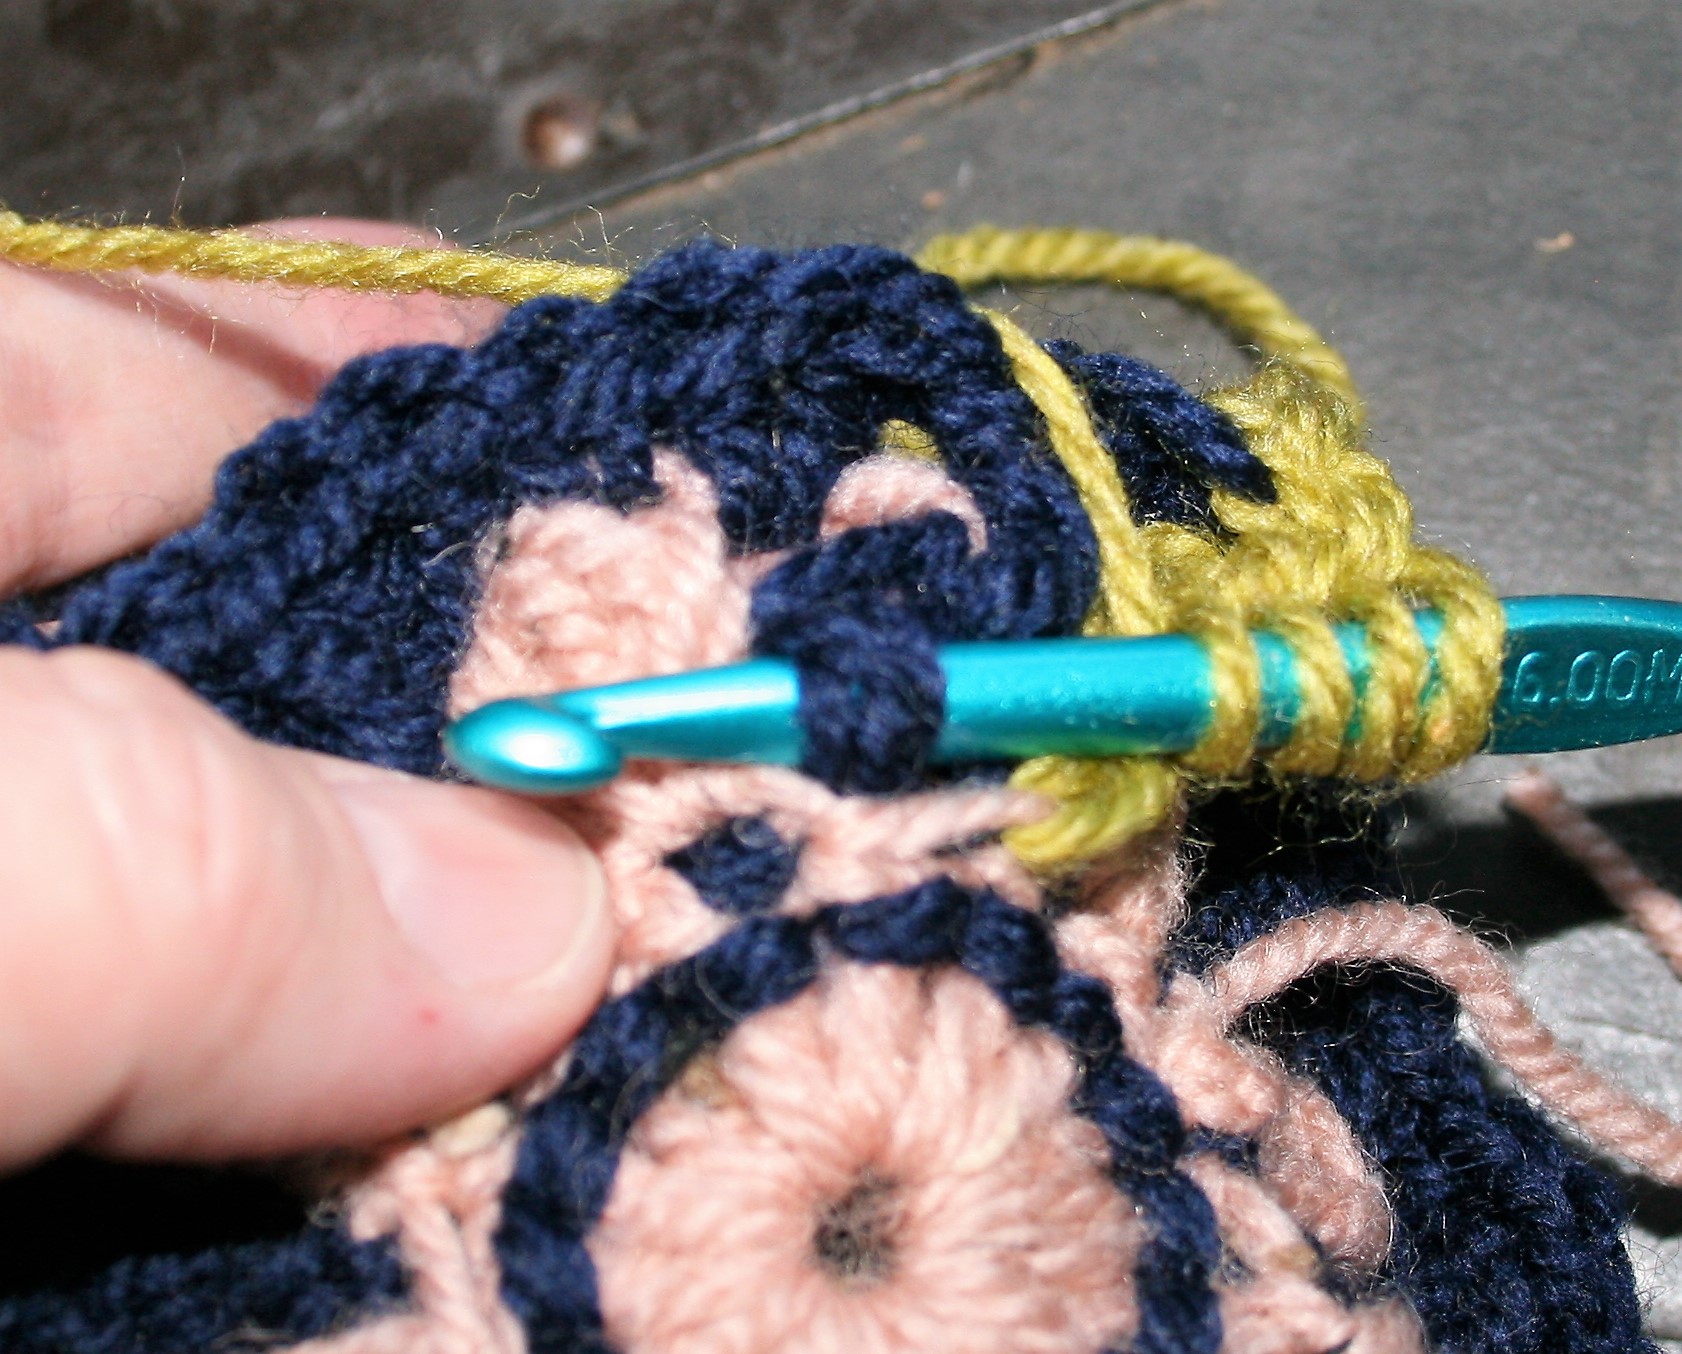
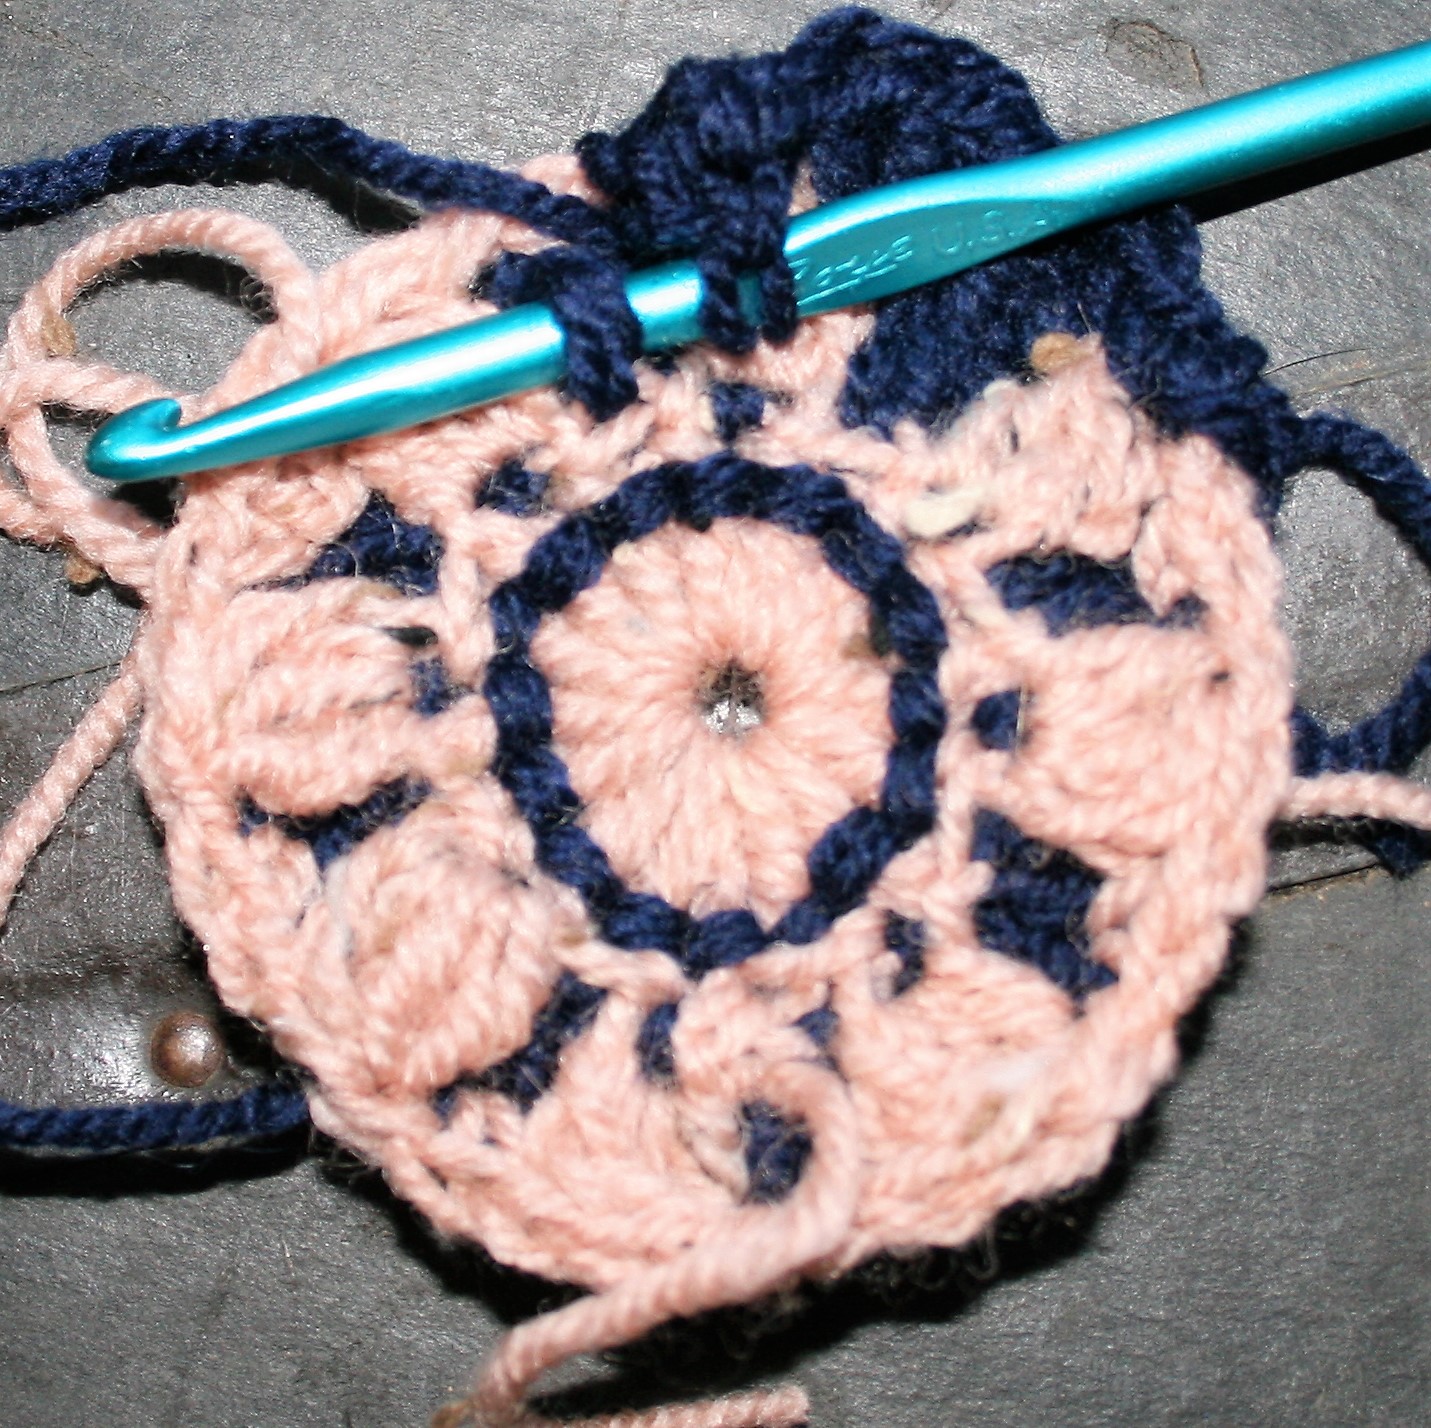
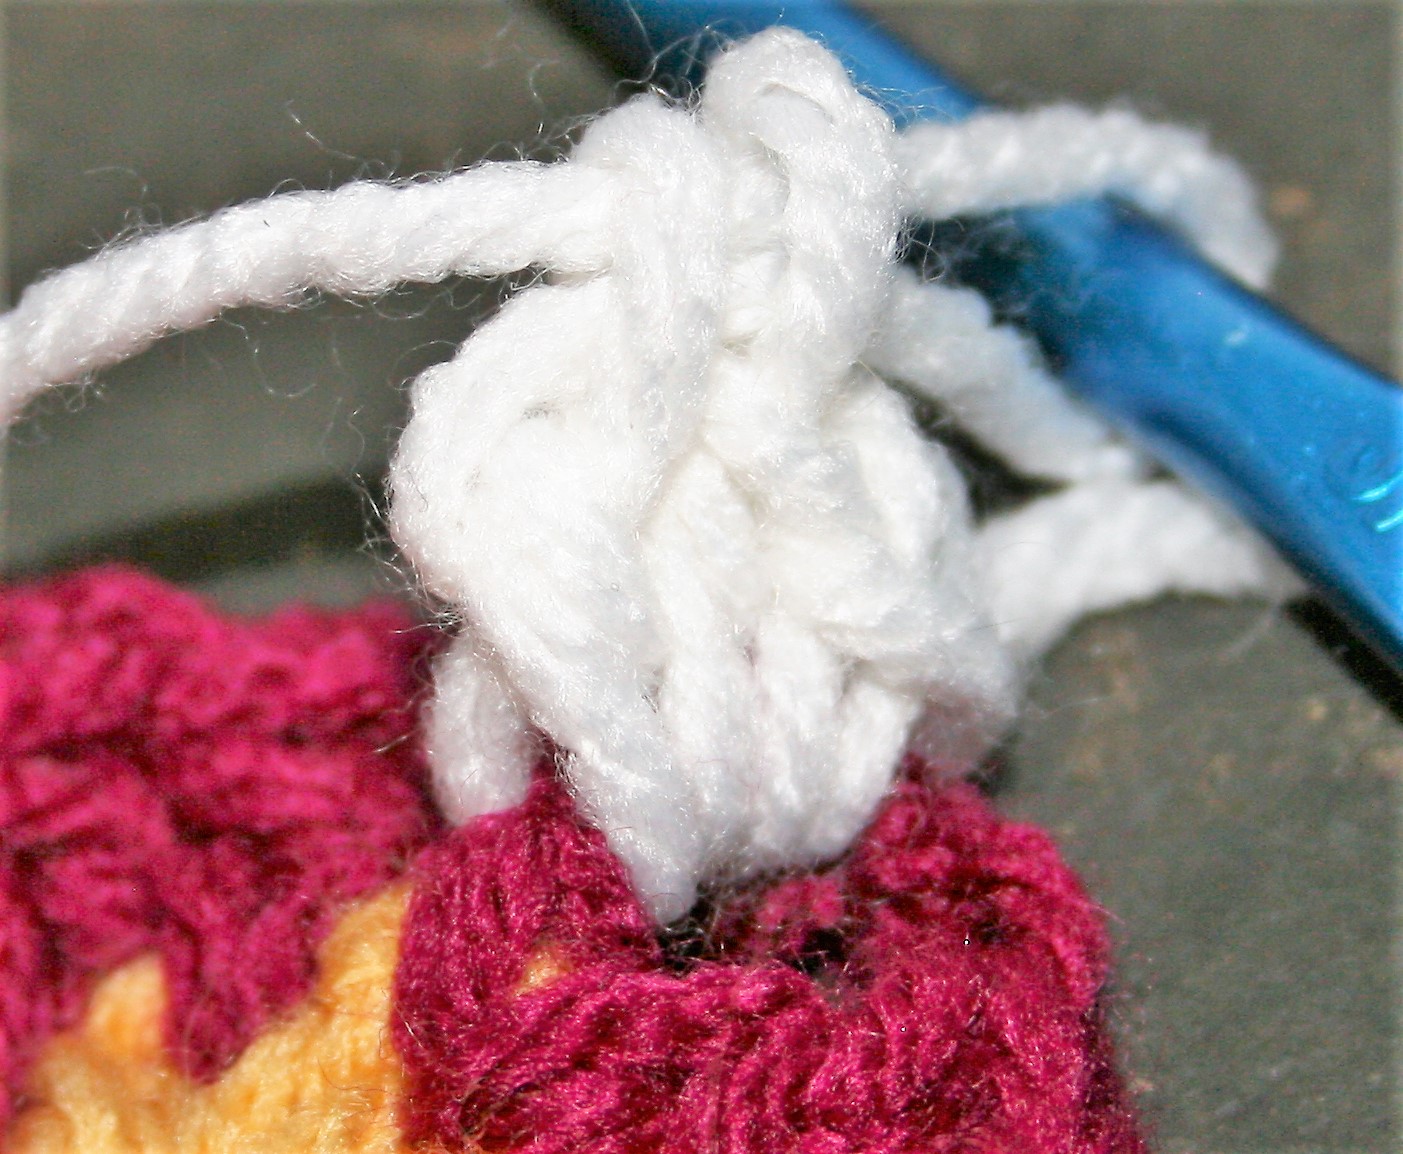
Long Loop Single Crochet (LLsc): Insert hook in indicated stitch, yo, pull a long loop up to height if the working row, yo, pull through 2 loops. (Need a visual, check out how I use this technique in a Spike Stitch Leaf)
Pattern
Rnd 1: With A, Ch 2, sc in 2nd ch from hook, 2 sc in same st, ch 2, [3 sc, ch 2] 3 times, sl st to join. – 12 sc (3 sc per side), 4 ch-2 sps
Rnd 2: Ch 1, sc in same st, sc in each st across to ch-2 sp [(sc, ch 2, sc) in ch-2 sp, sc in each st across] 3 times, (sc, ch 2, sc) in ch-2 sp, sc in rem sts to beg st, sl st to join. –20 sc (5 sc per side), 4 ch-2 sps
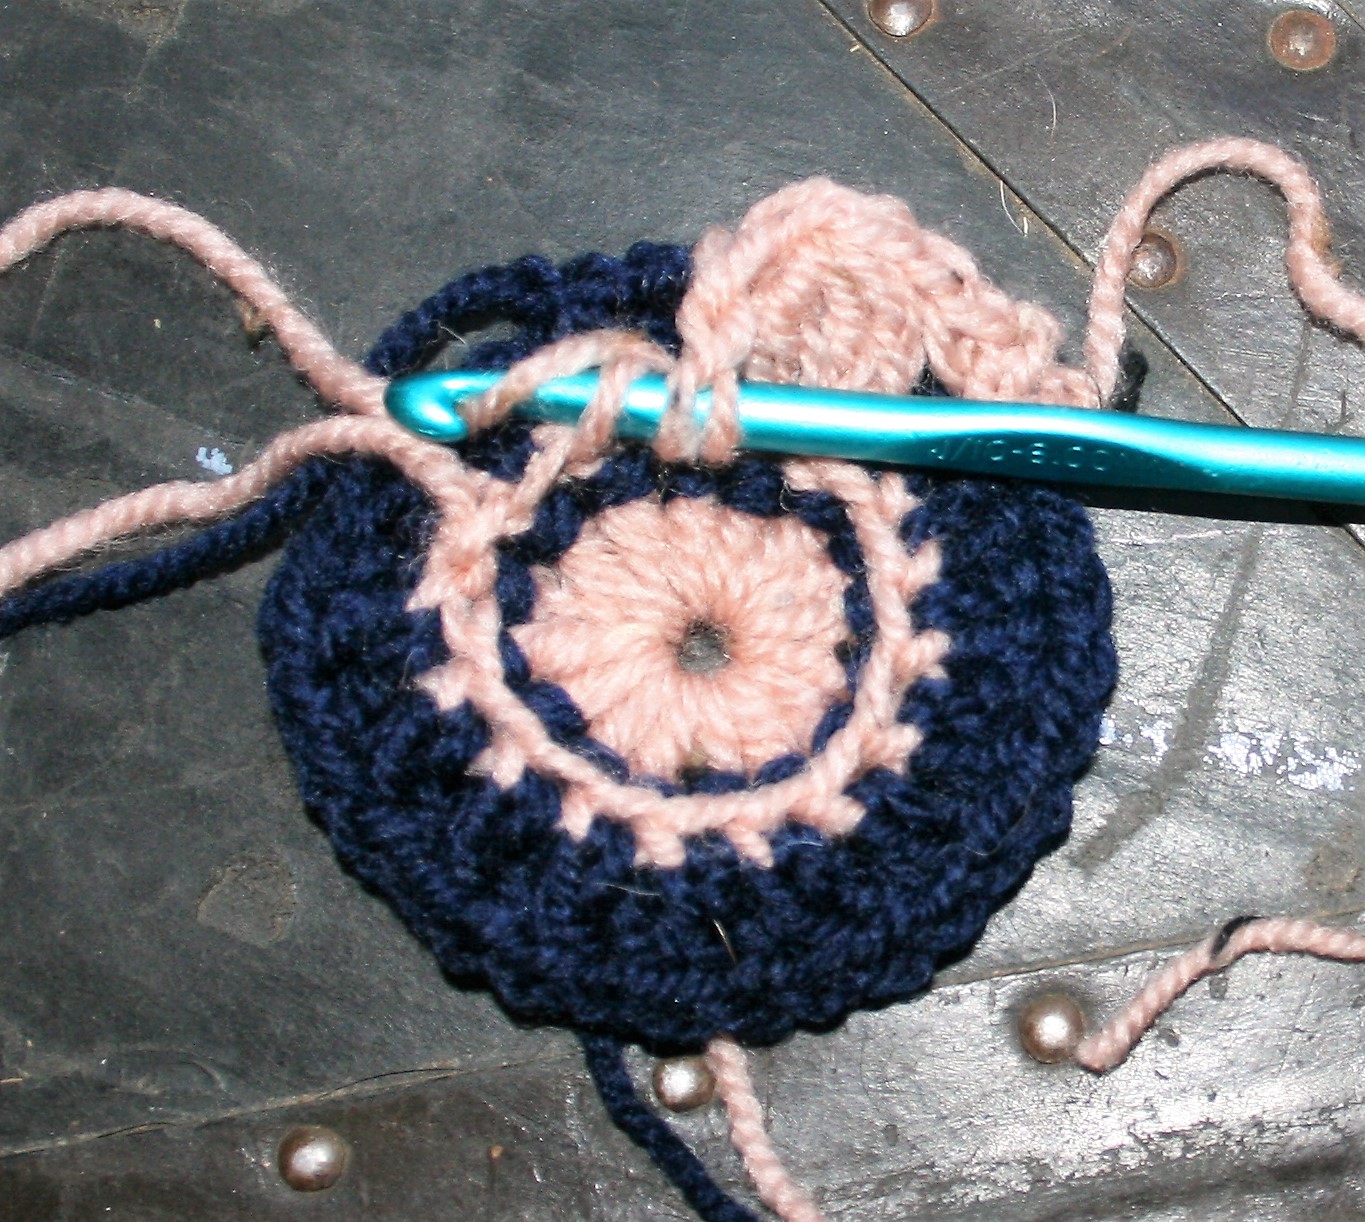
Rnd 3-5: Rep Rnd 2. Fasten off after Rnd 5. – 44 sc (11 sc per side) , 4 ch-2 sps
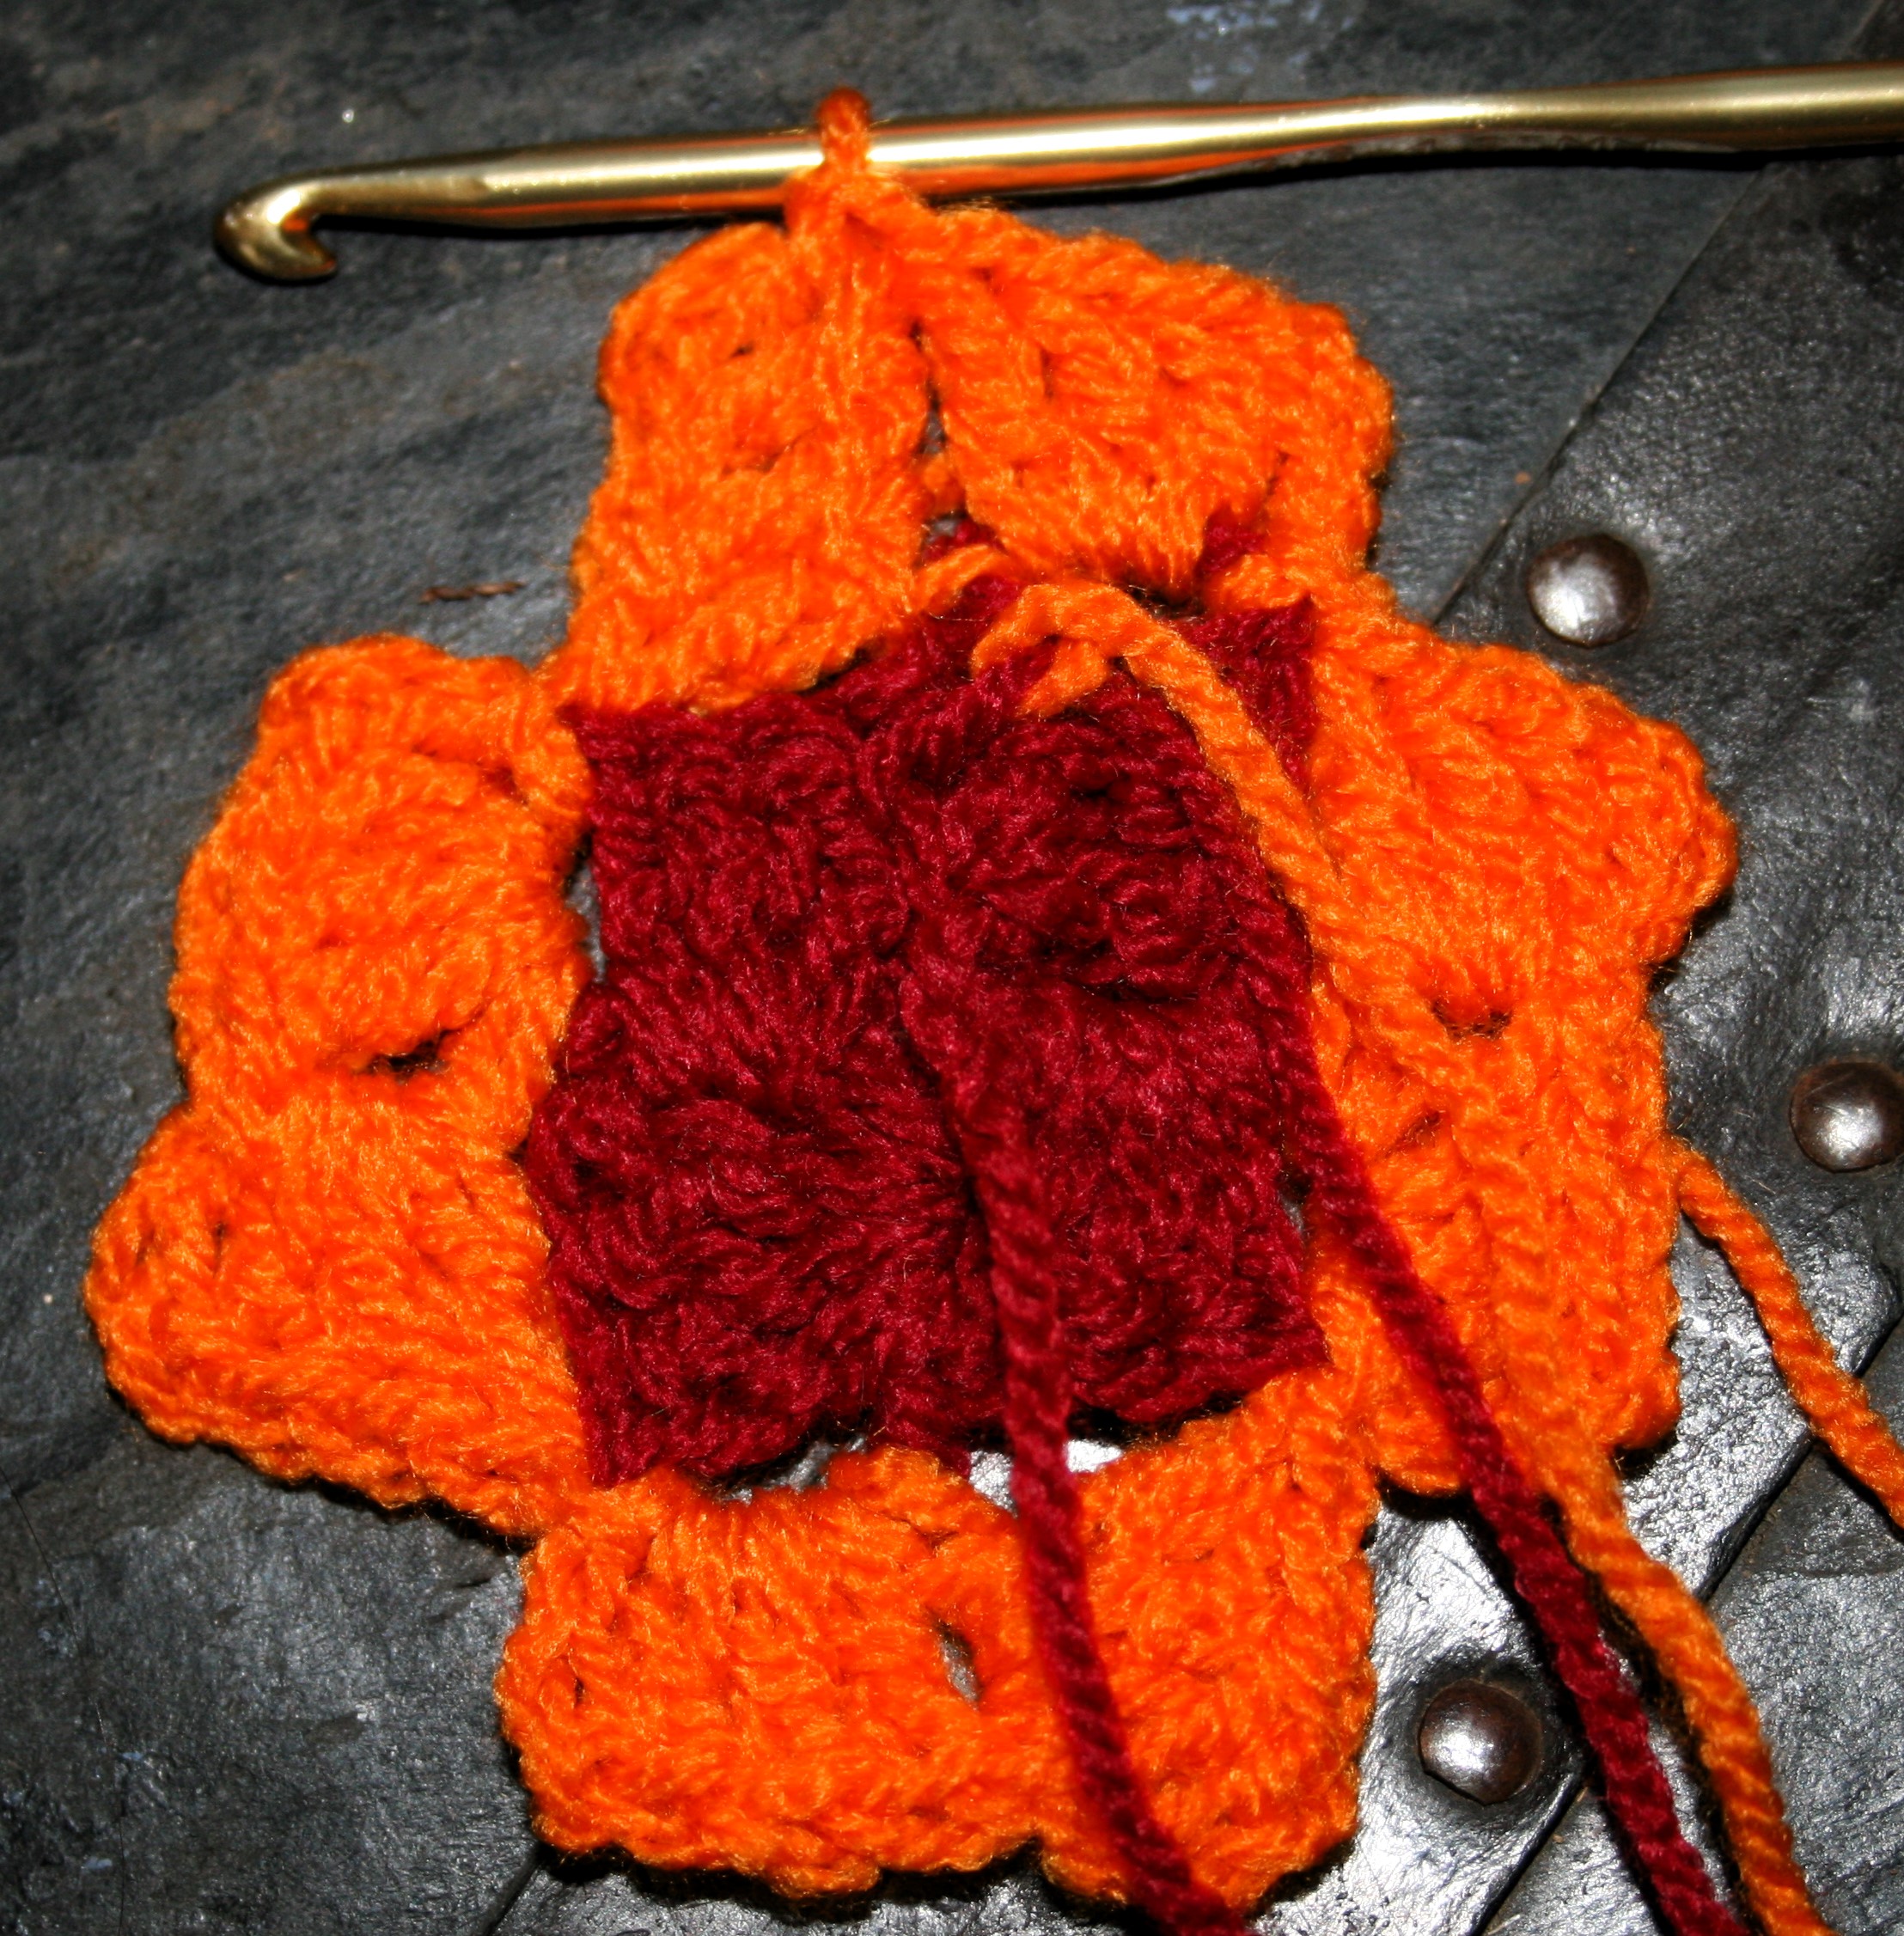
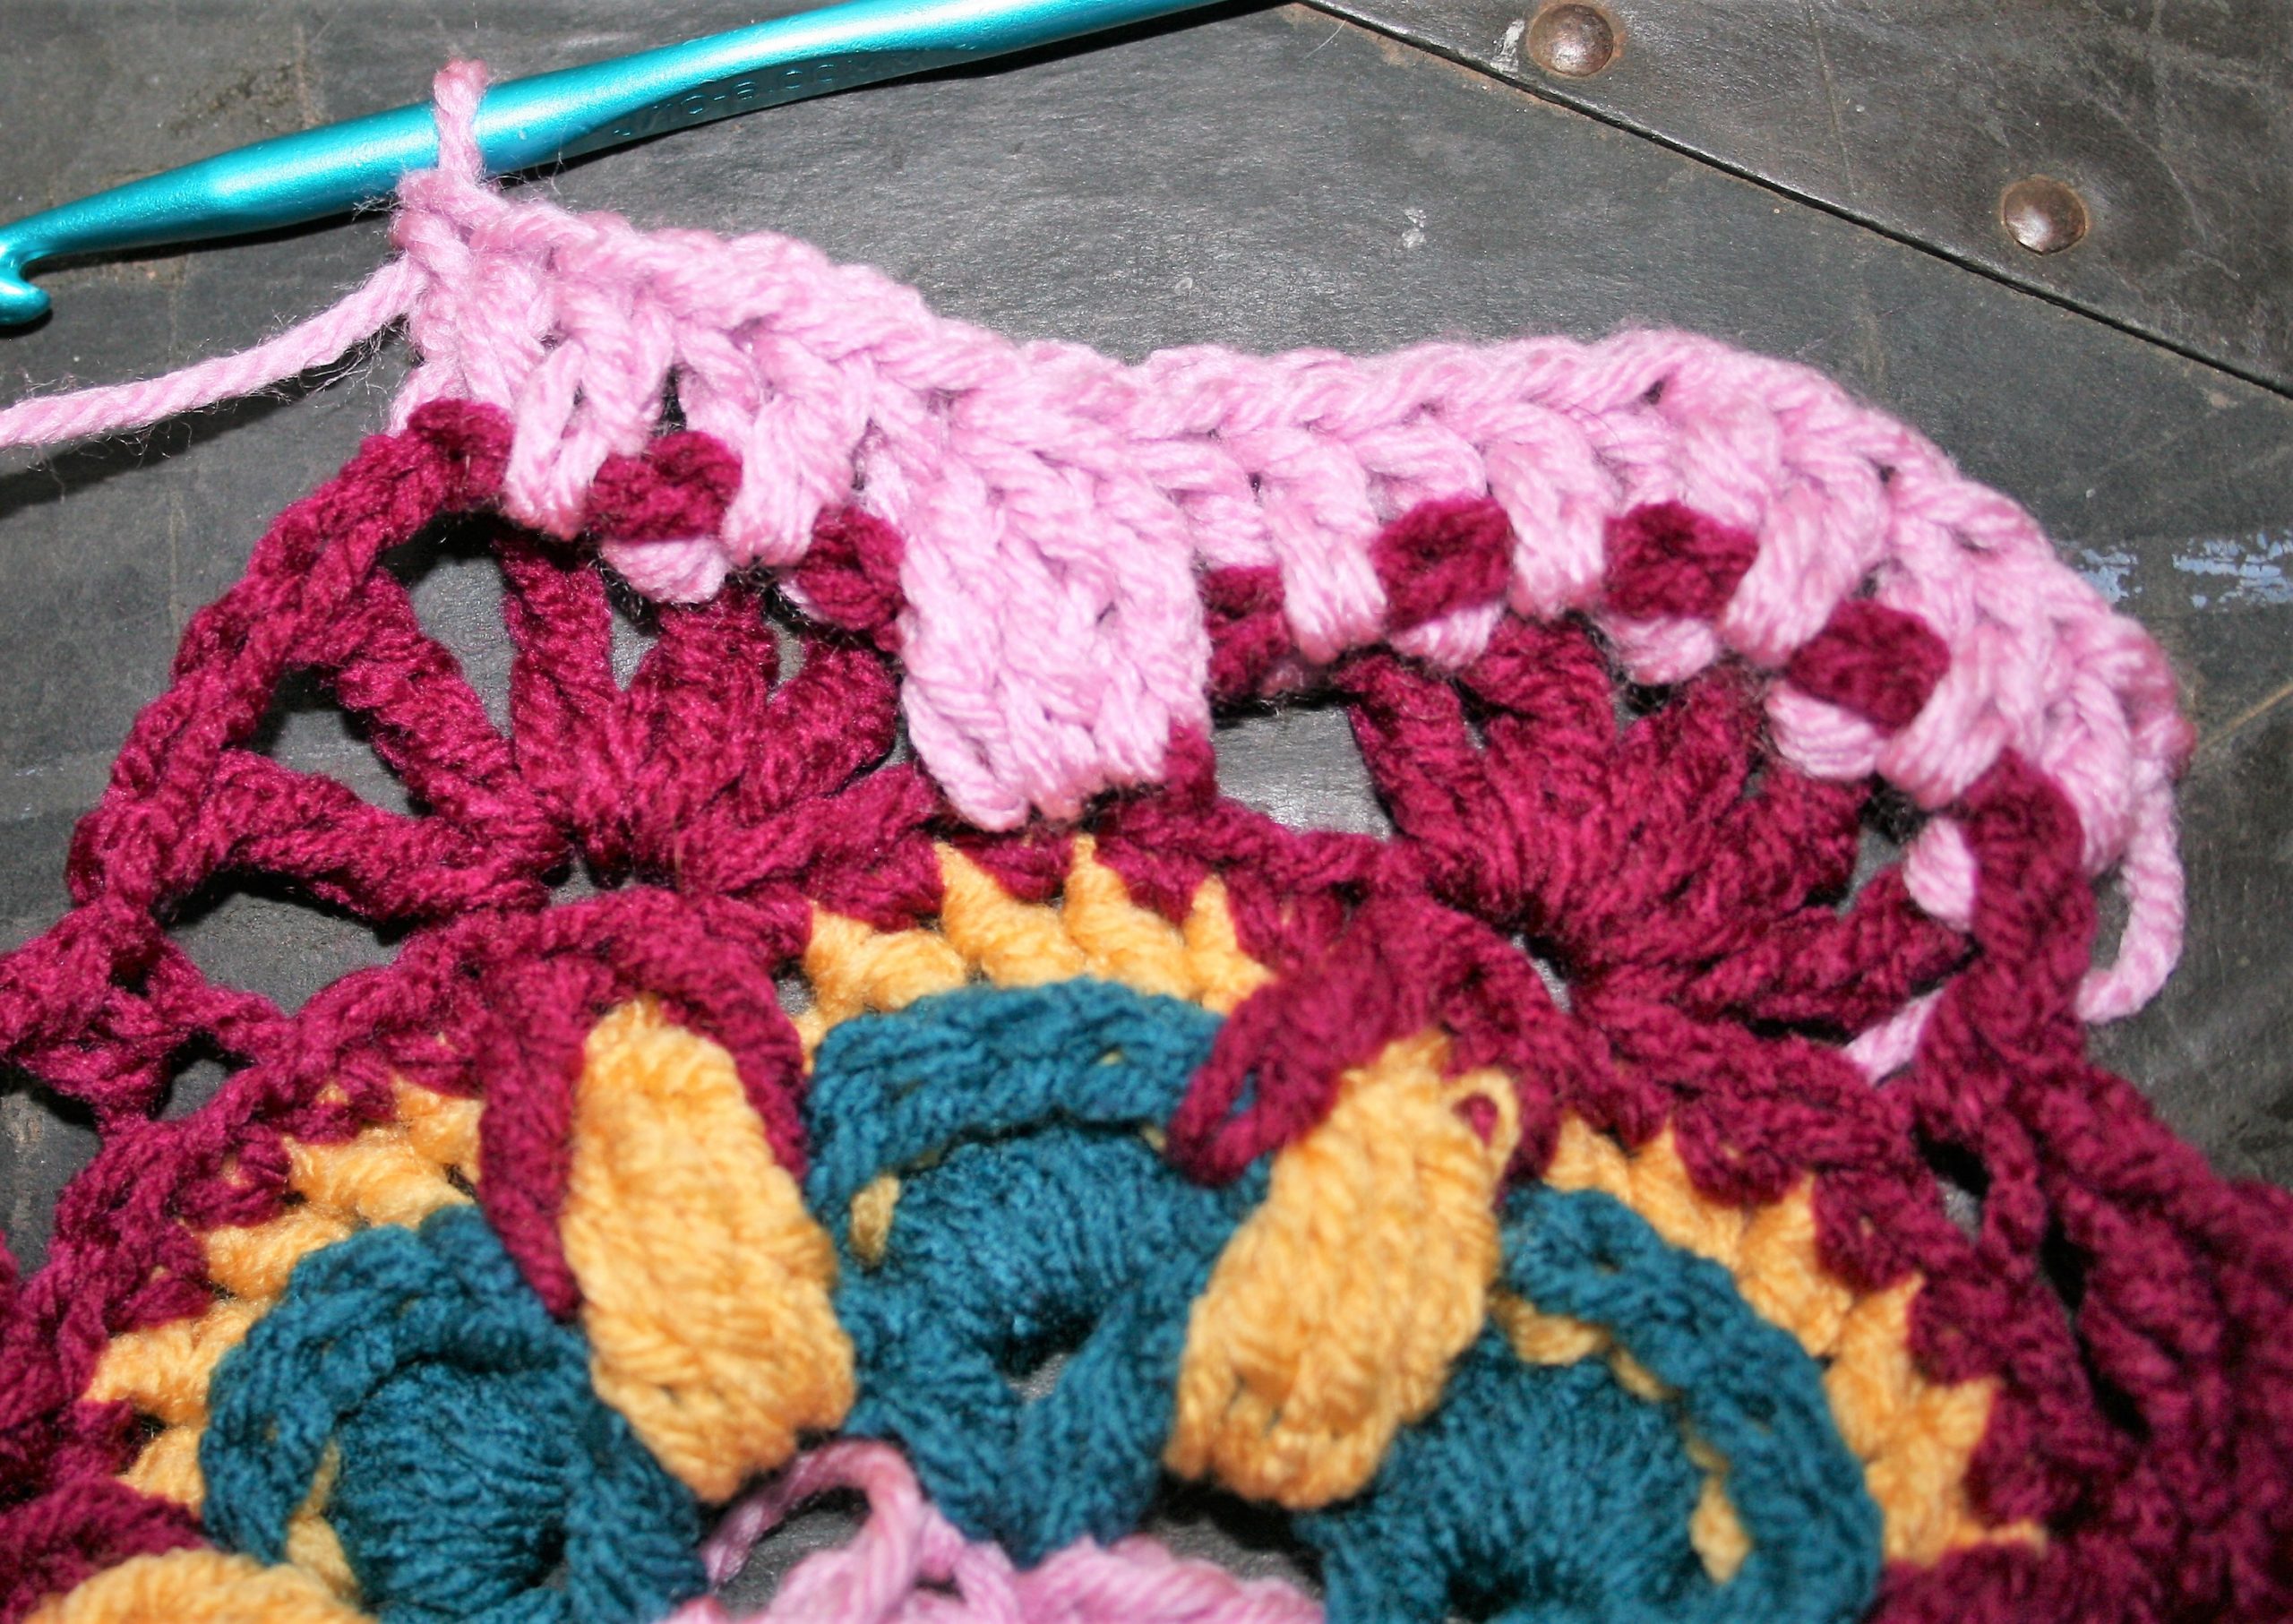
Start the long loops
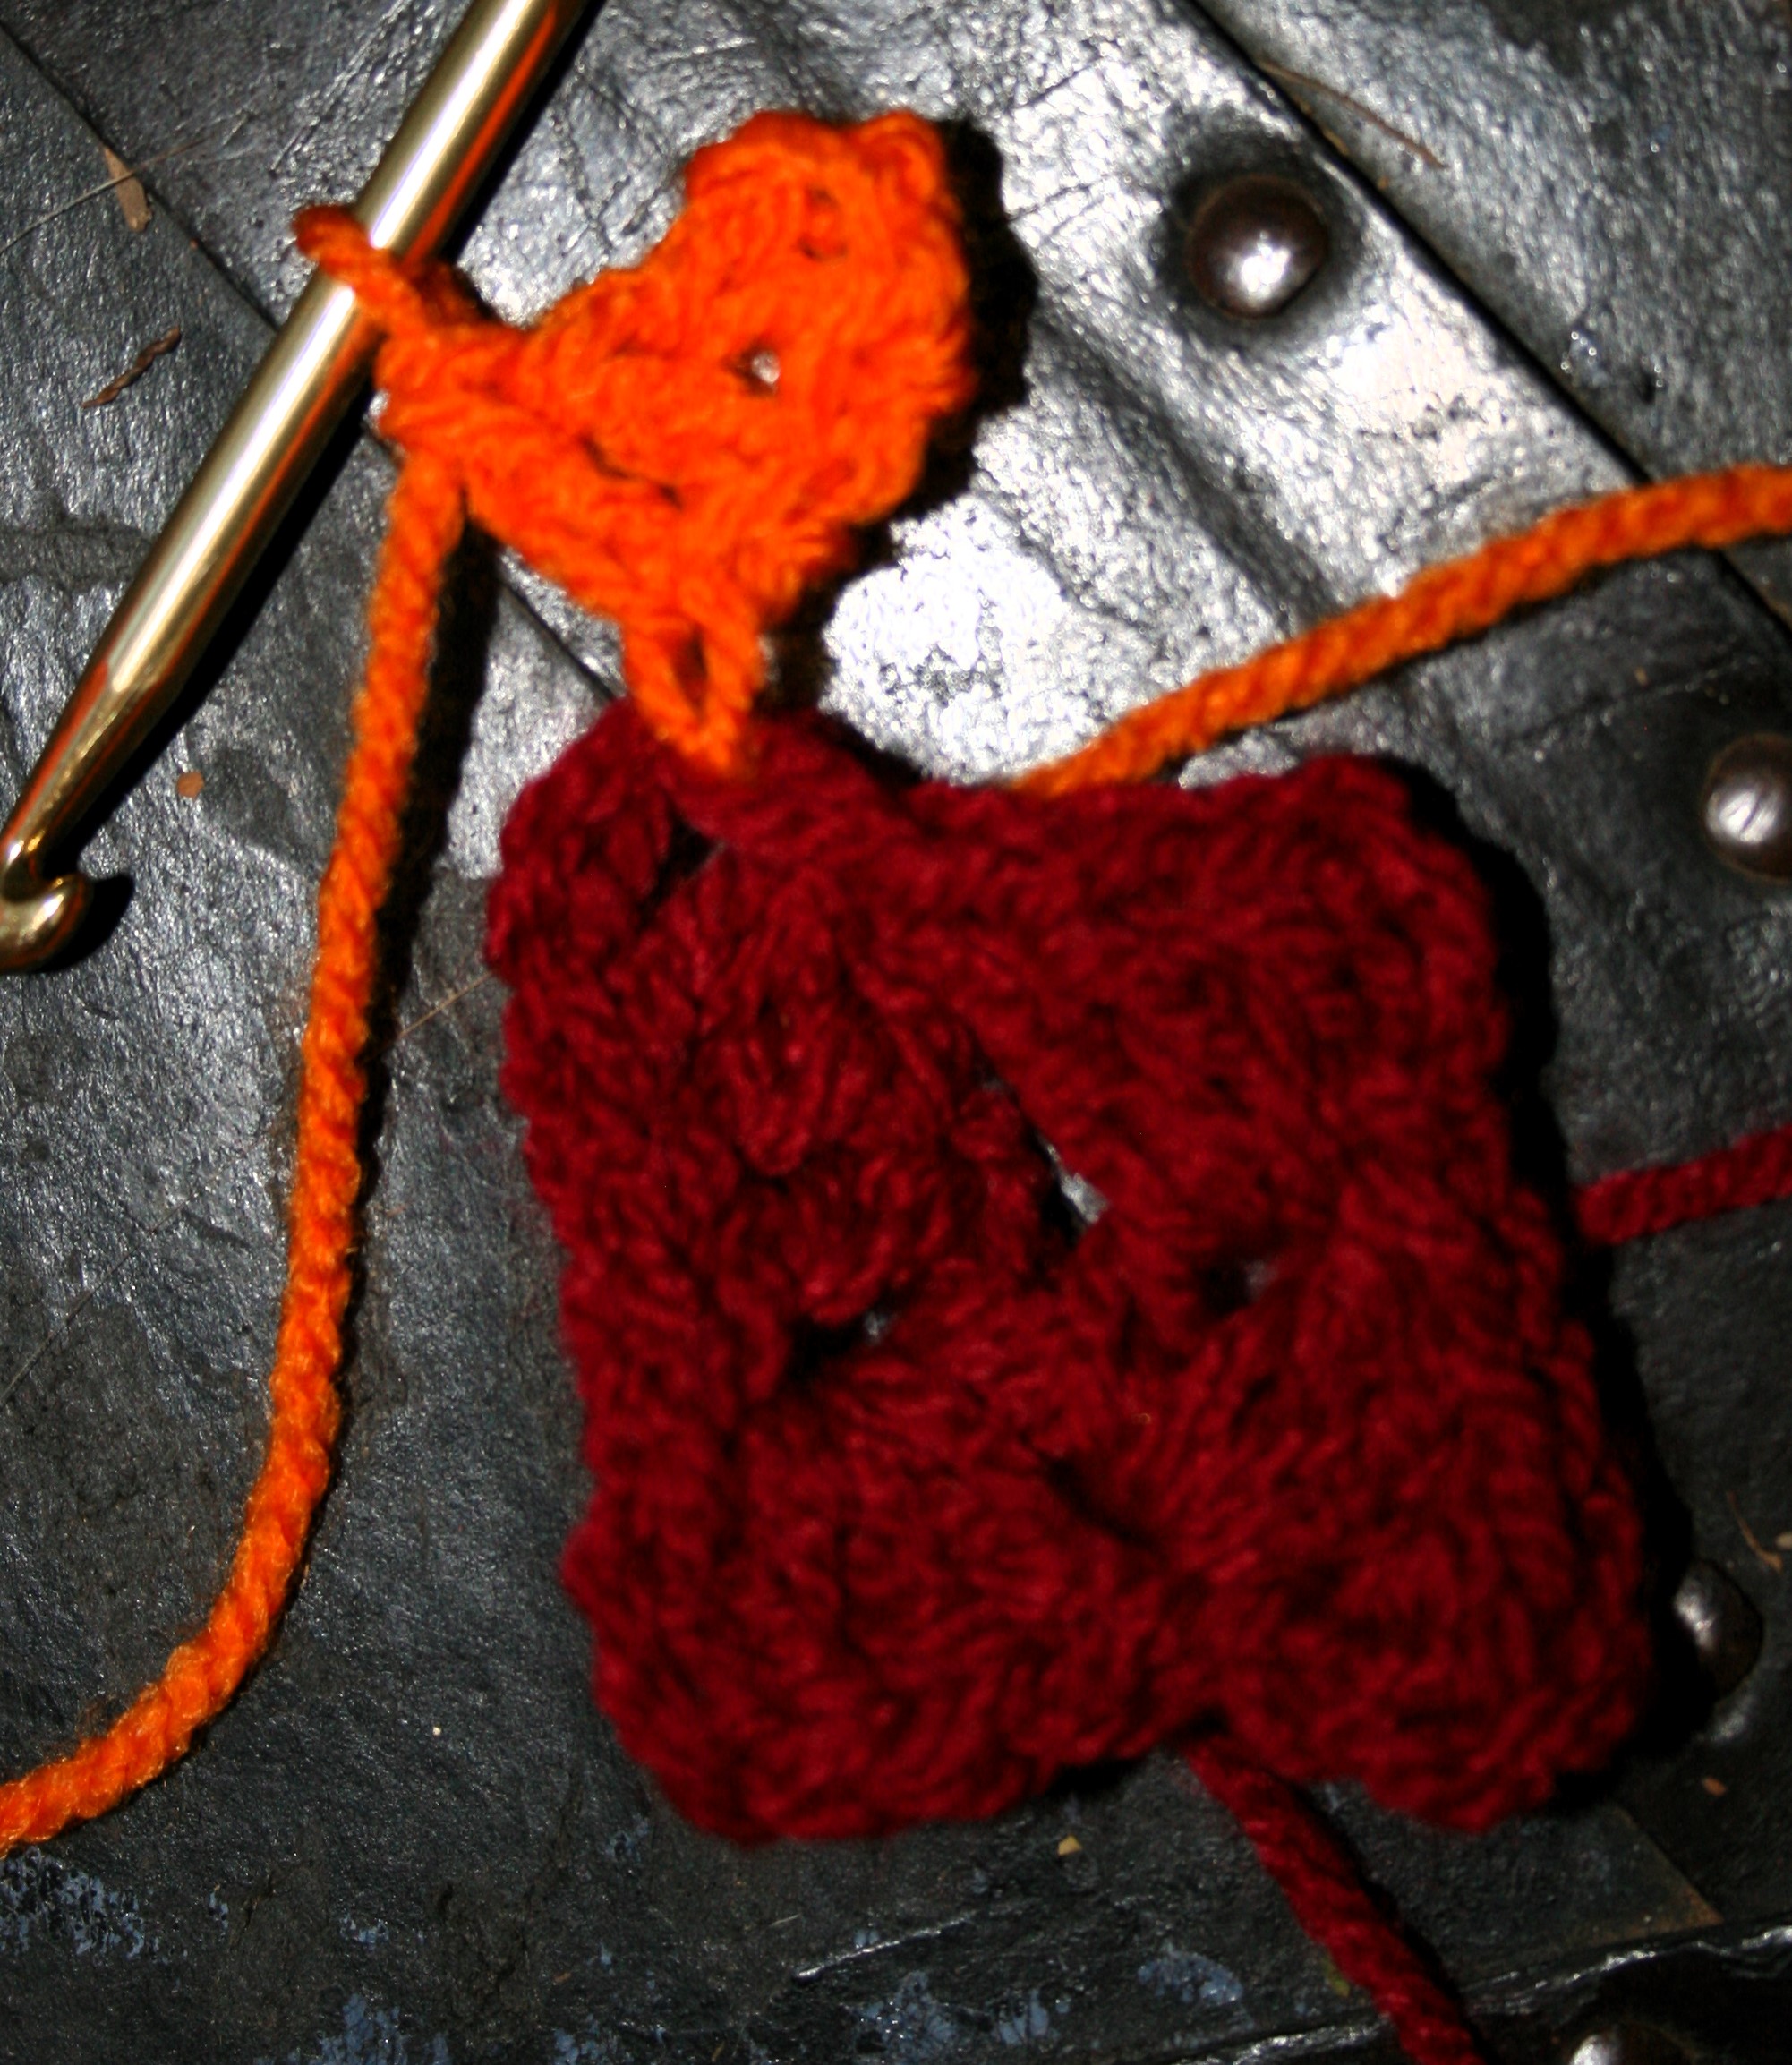
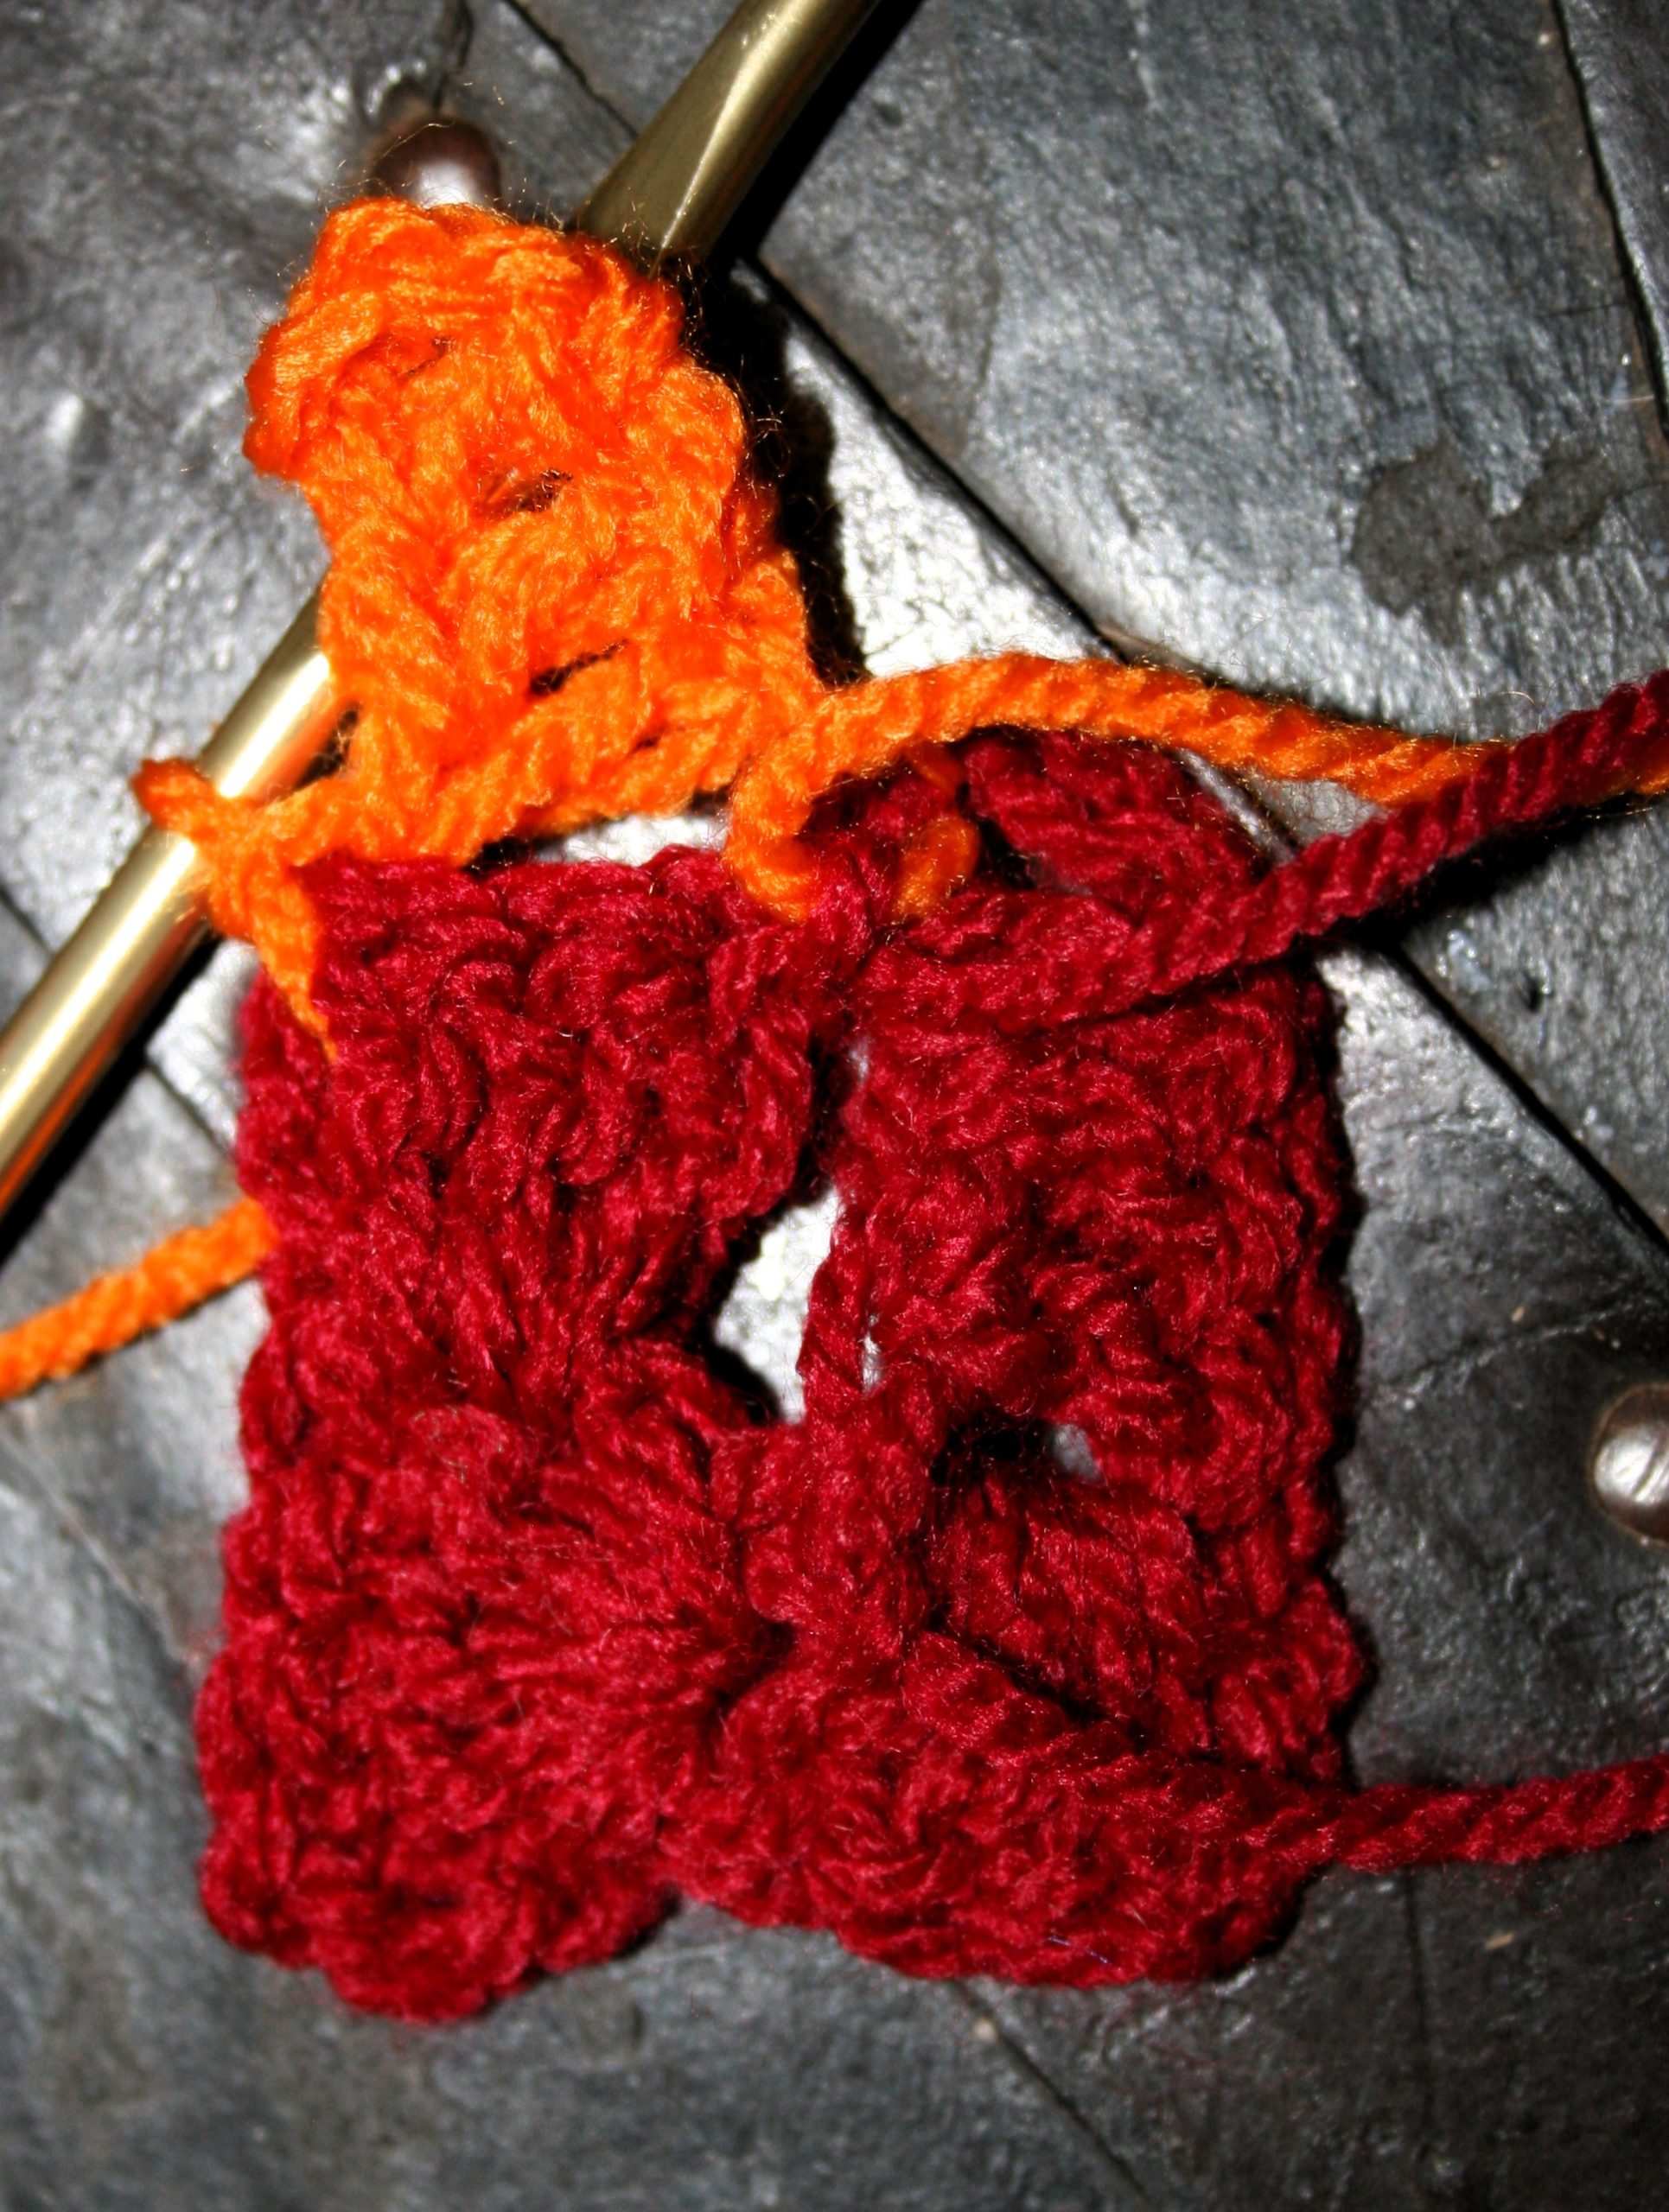
Rnd 6: With B, join with a ssc to any ch-2 sp, ch 2, sc in same sp, sc in next 2 sts, LLsc in next st 1 Rnd below working Rnd, LLsc in next st 2 Rnds below working Rnd, LLsc in next st 3 Rnds below working Rnd, LLsc in next st 4 Rnds below working Rnd, LLsc in next st 3 Rnds below working Rnd, LLsc in next st 2 Rnds below working Rnd, LLsc in next st 1 Rnd below working Rnd, sc in last 2 sts, (sc, ch 2, sc) in ch-2 sp, [sc in next 2 sts, LLsc in next st 1 Rnd below working Rnd, LLsc in next st 2 Rnds below working Rnd, LLsc in next st 3 Rnds below working Rnd, LLsc in next st 4 Rnds below working Rnd, LLsc in next st 3 Rnds below working Rnd, LLsc in next st 2 Rnds below working Rnd, LLsc in next st 1 Rnd below working Rnd, sc in last 2 sts] 3 times, sl st to join.– 24 sc, 4ch-2 sps, 28 LLsc sts
Rnds 7-10: Rep Rnd 2. Fasten off at the end of Rnd 10. – 84 sc (21 sc per side), 4 ch-2 sps
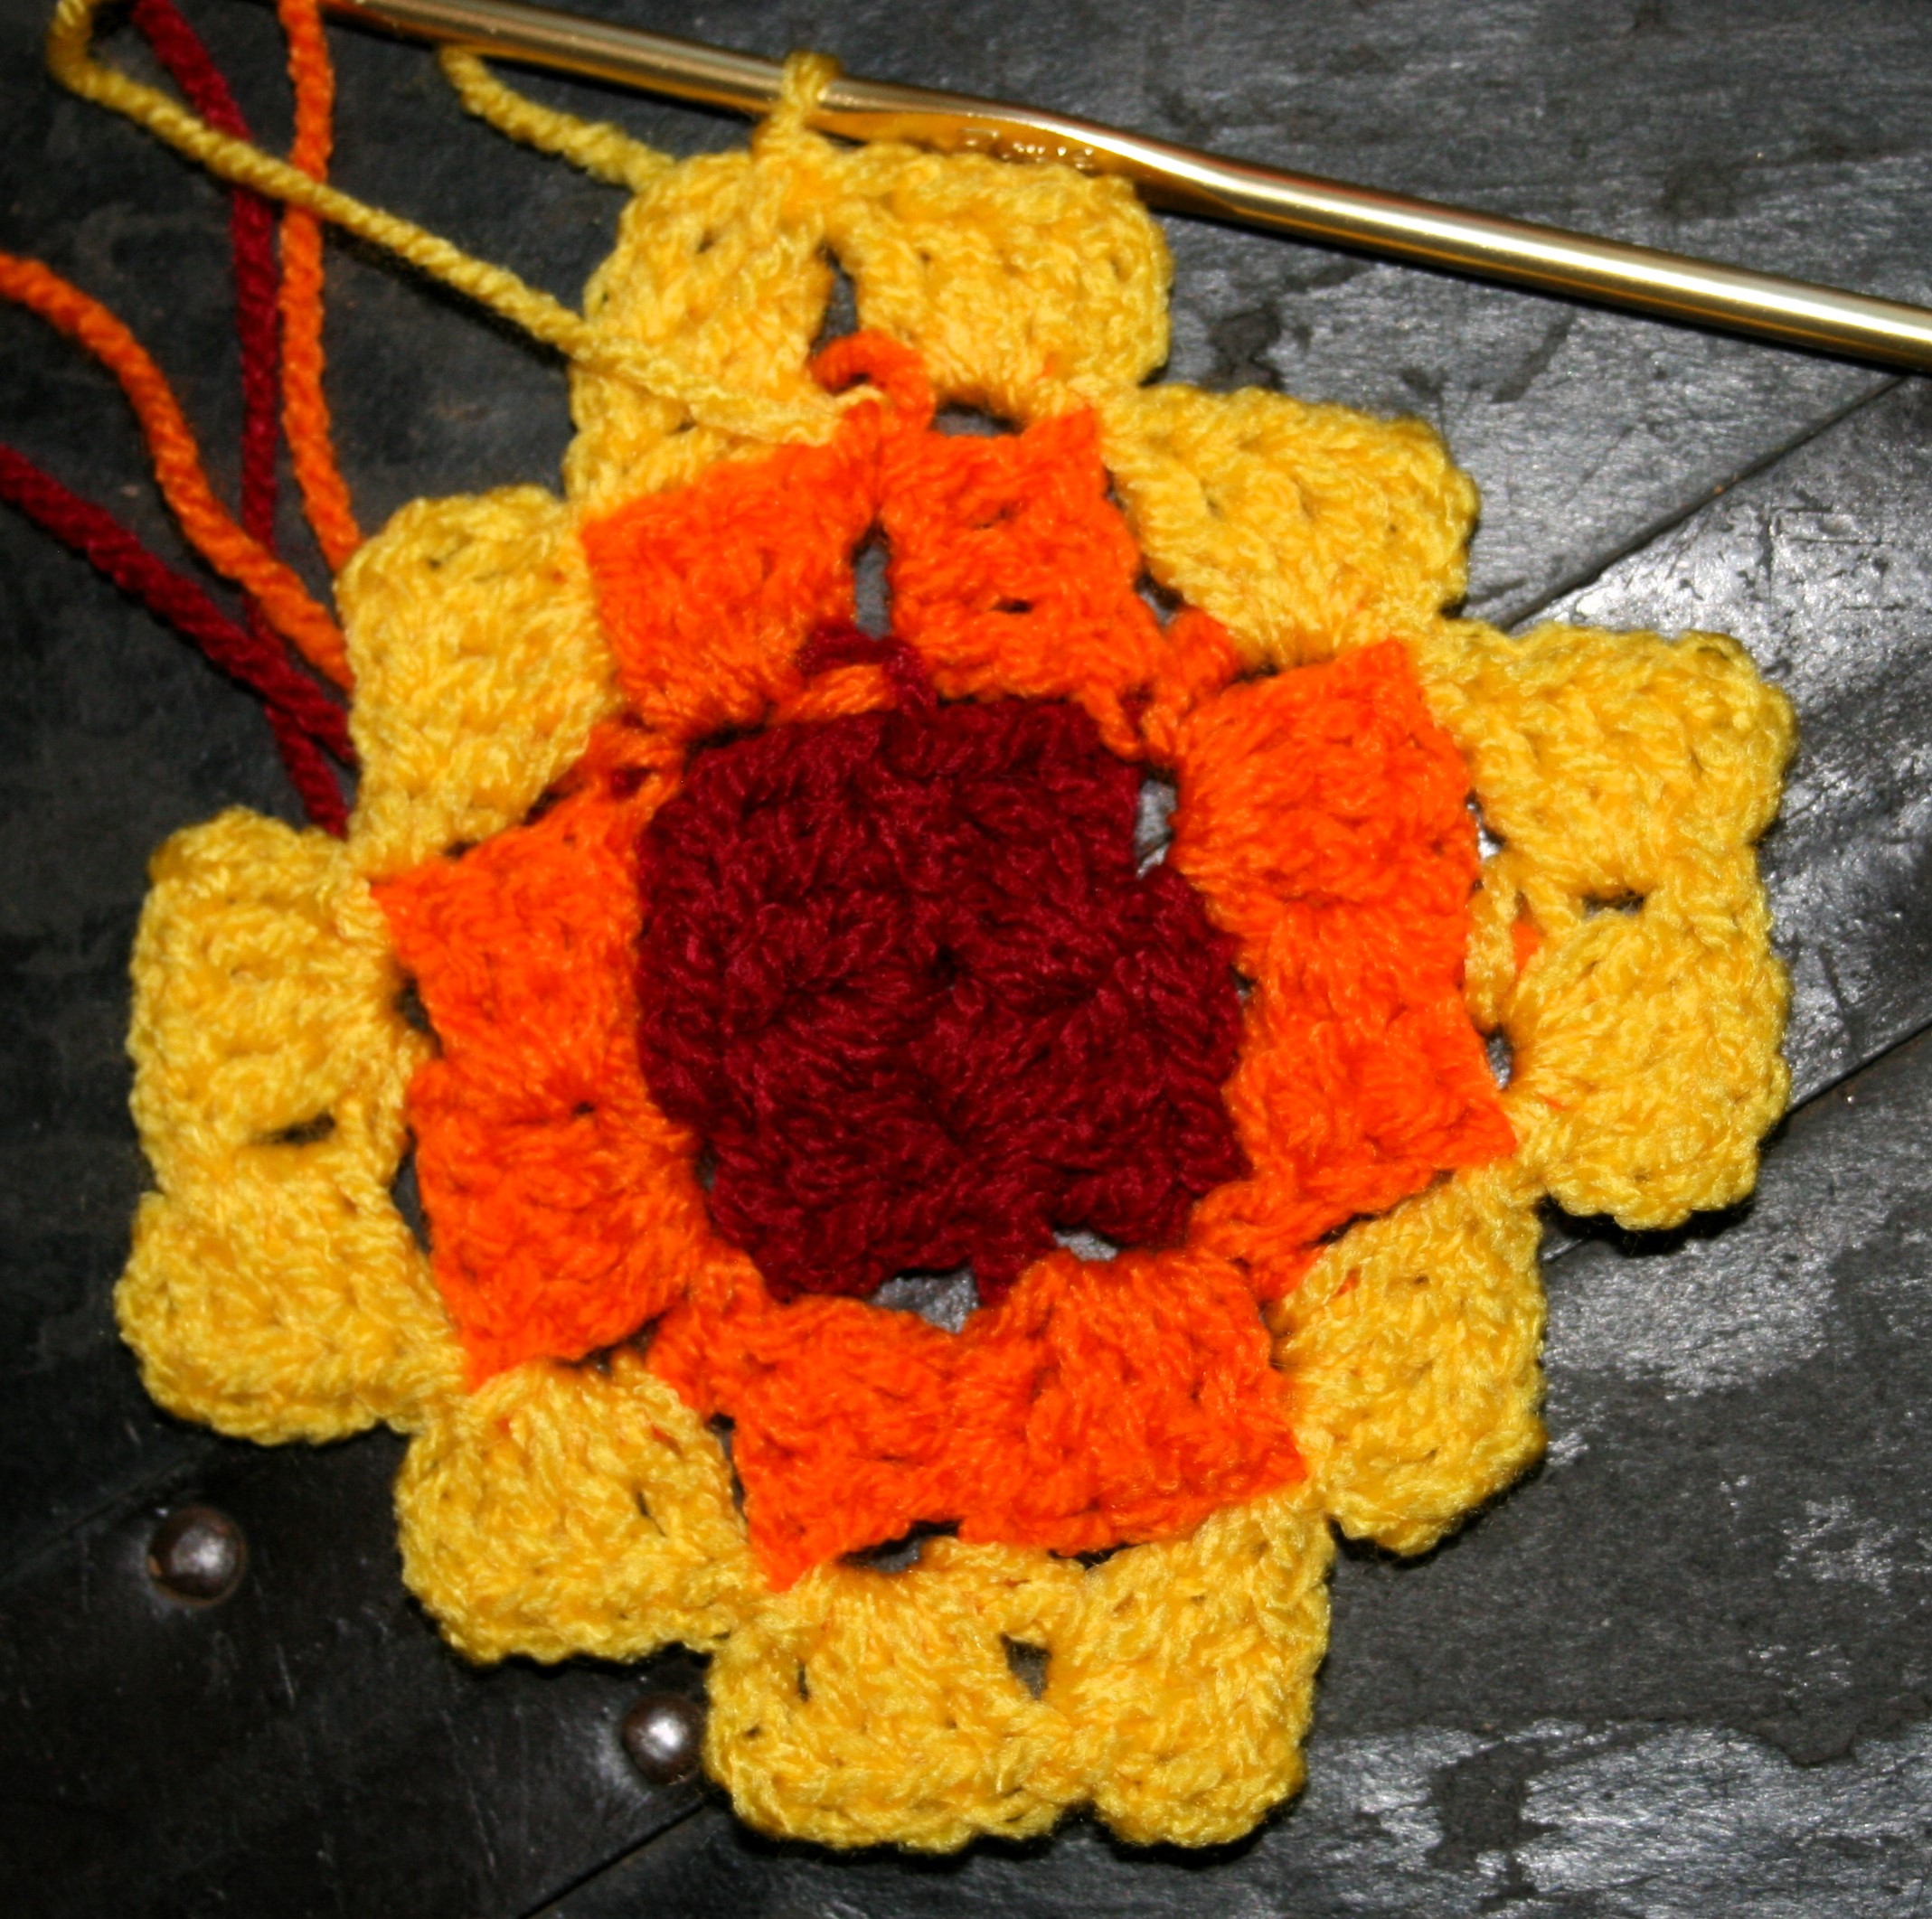
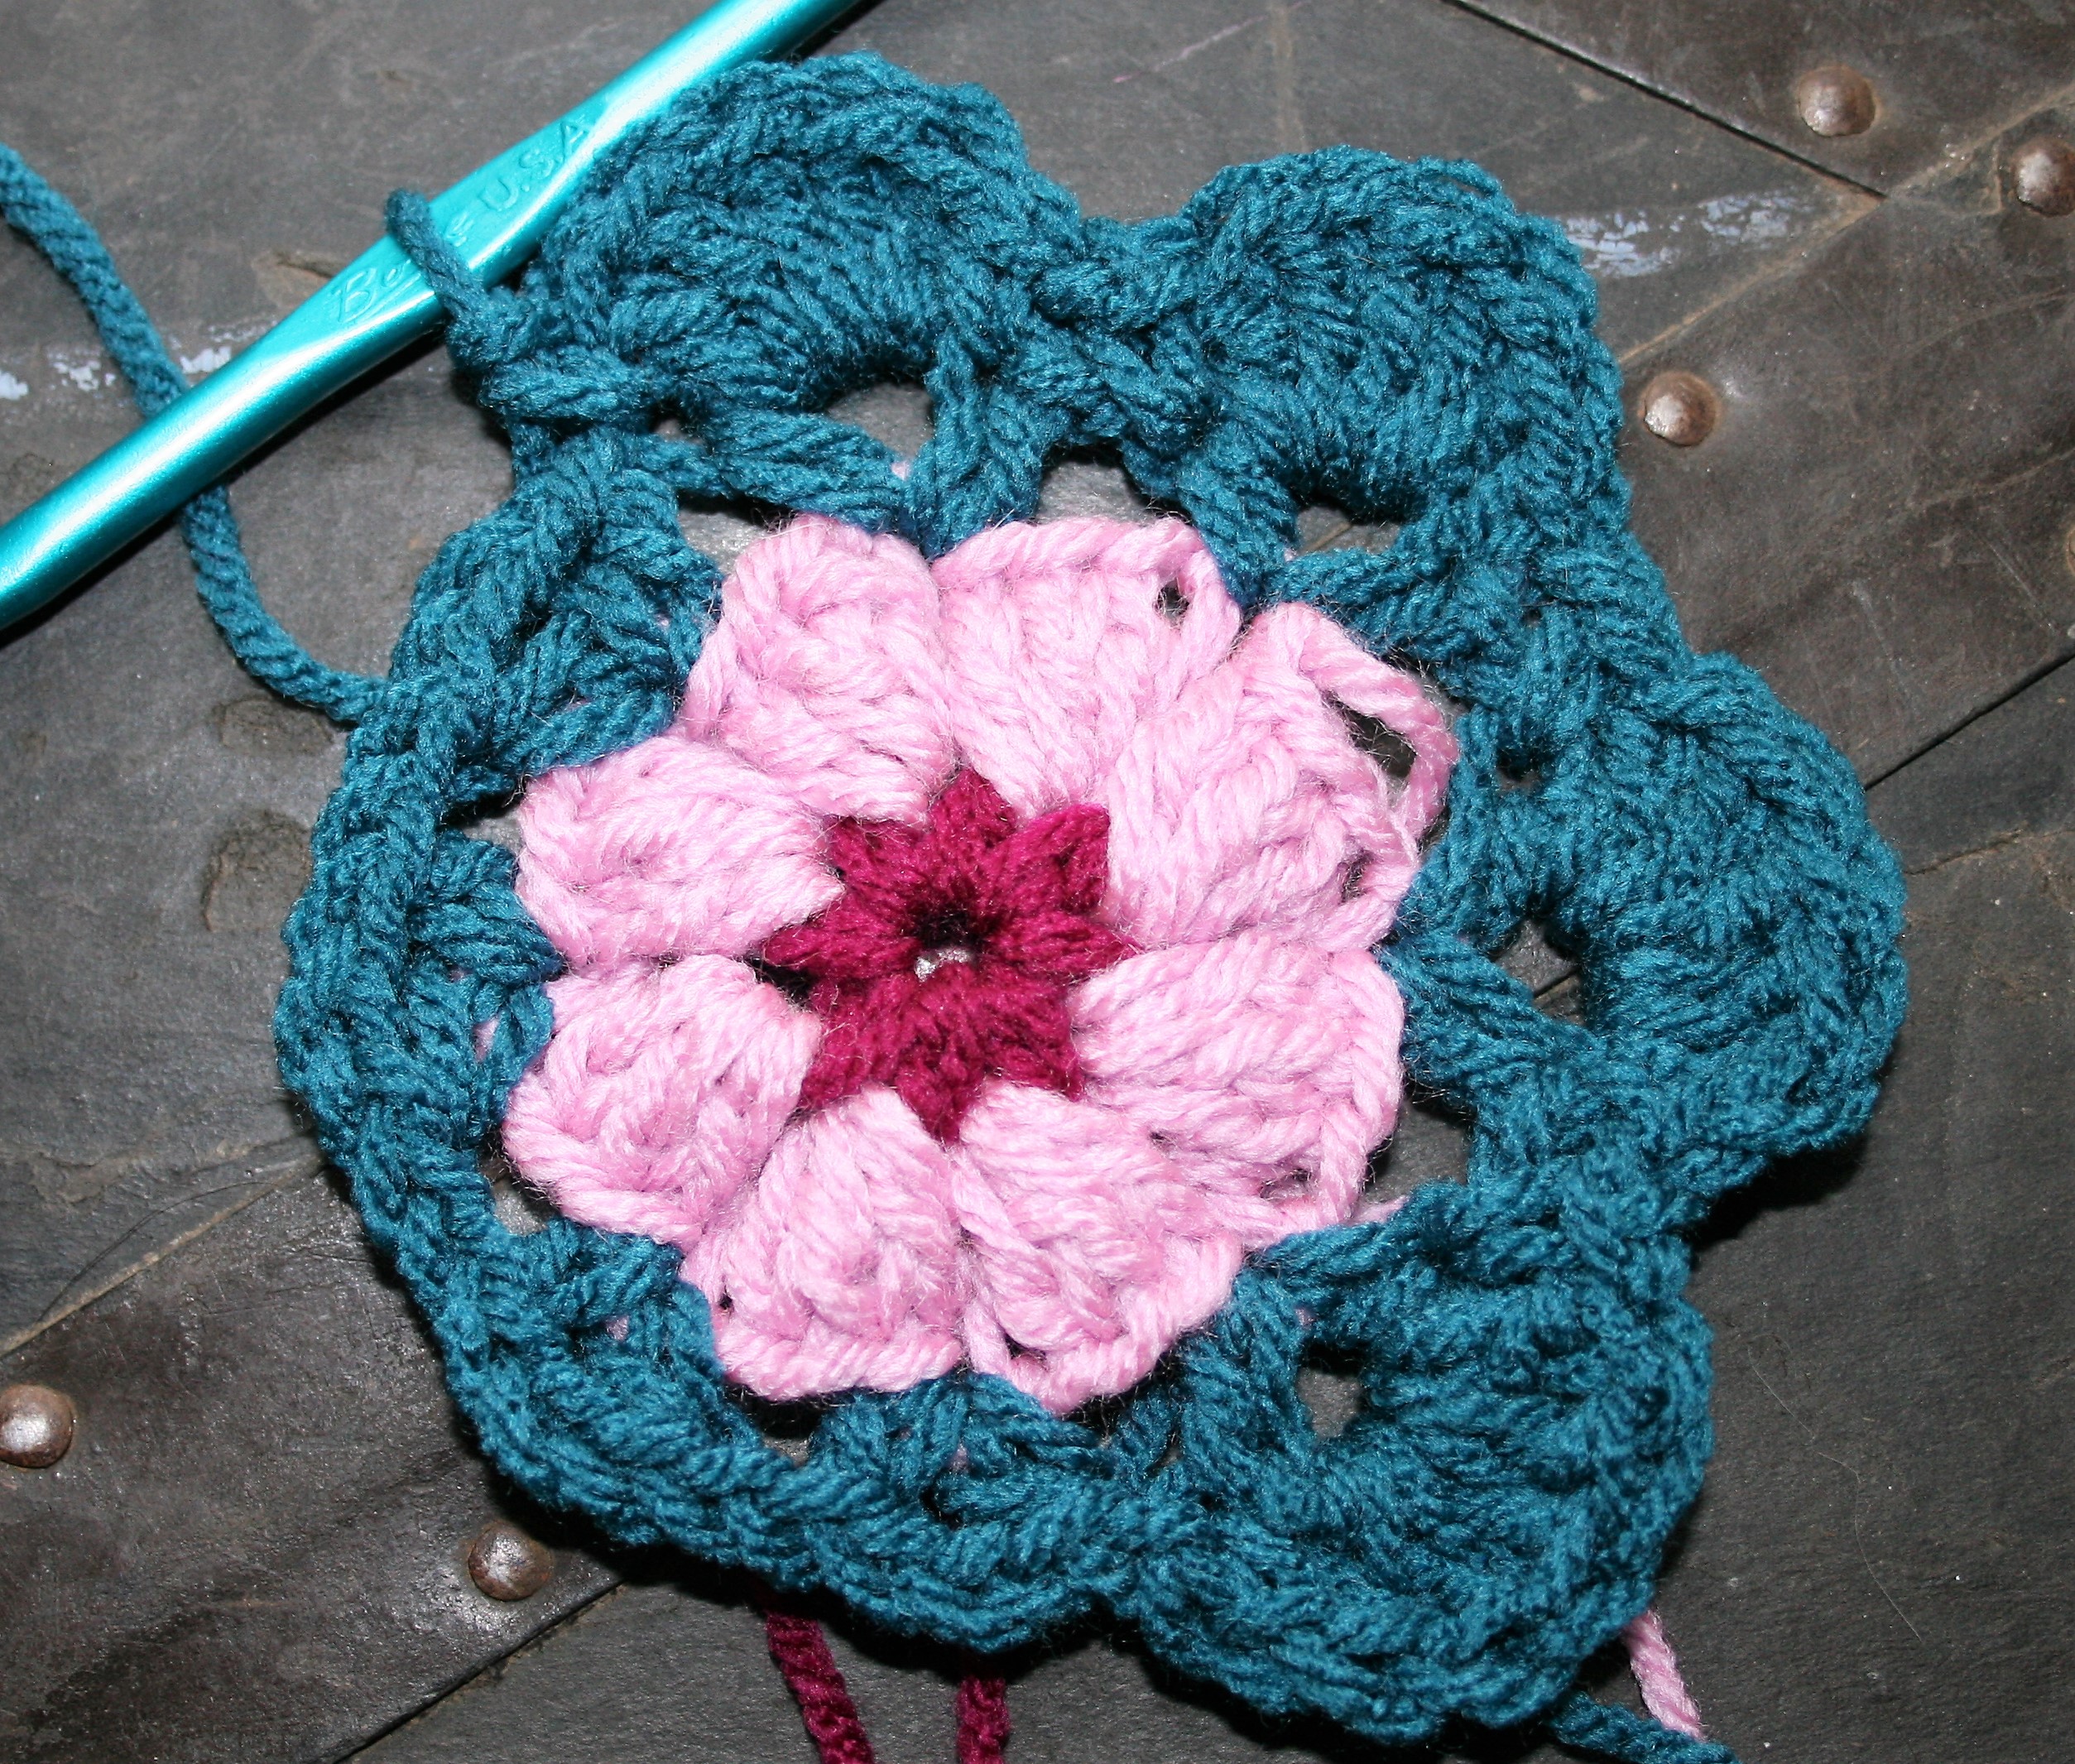
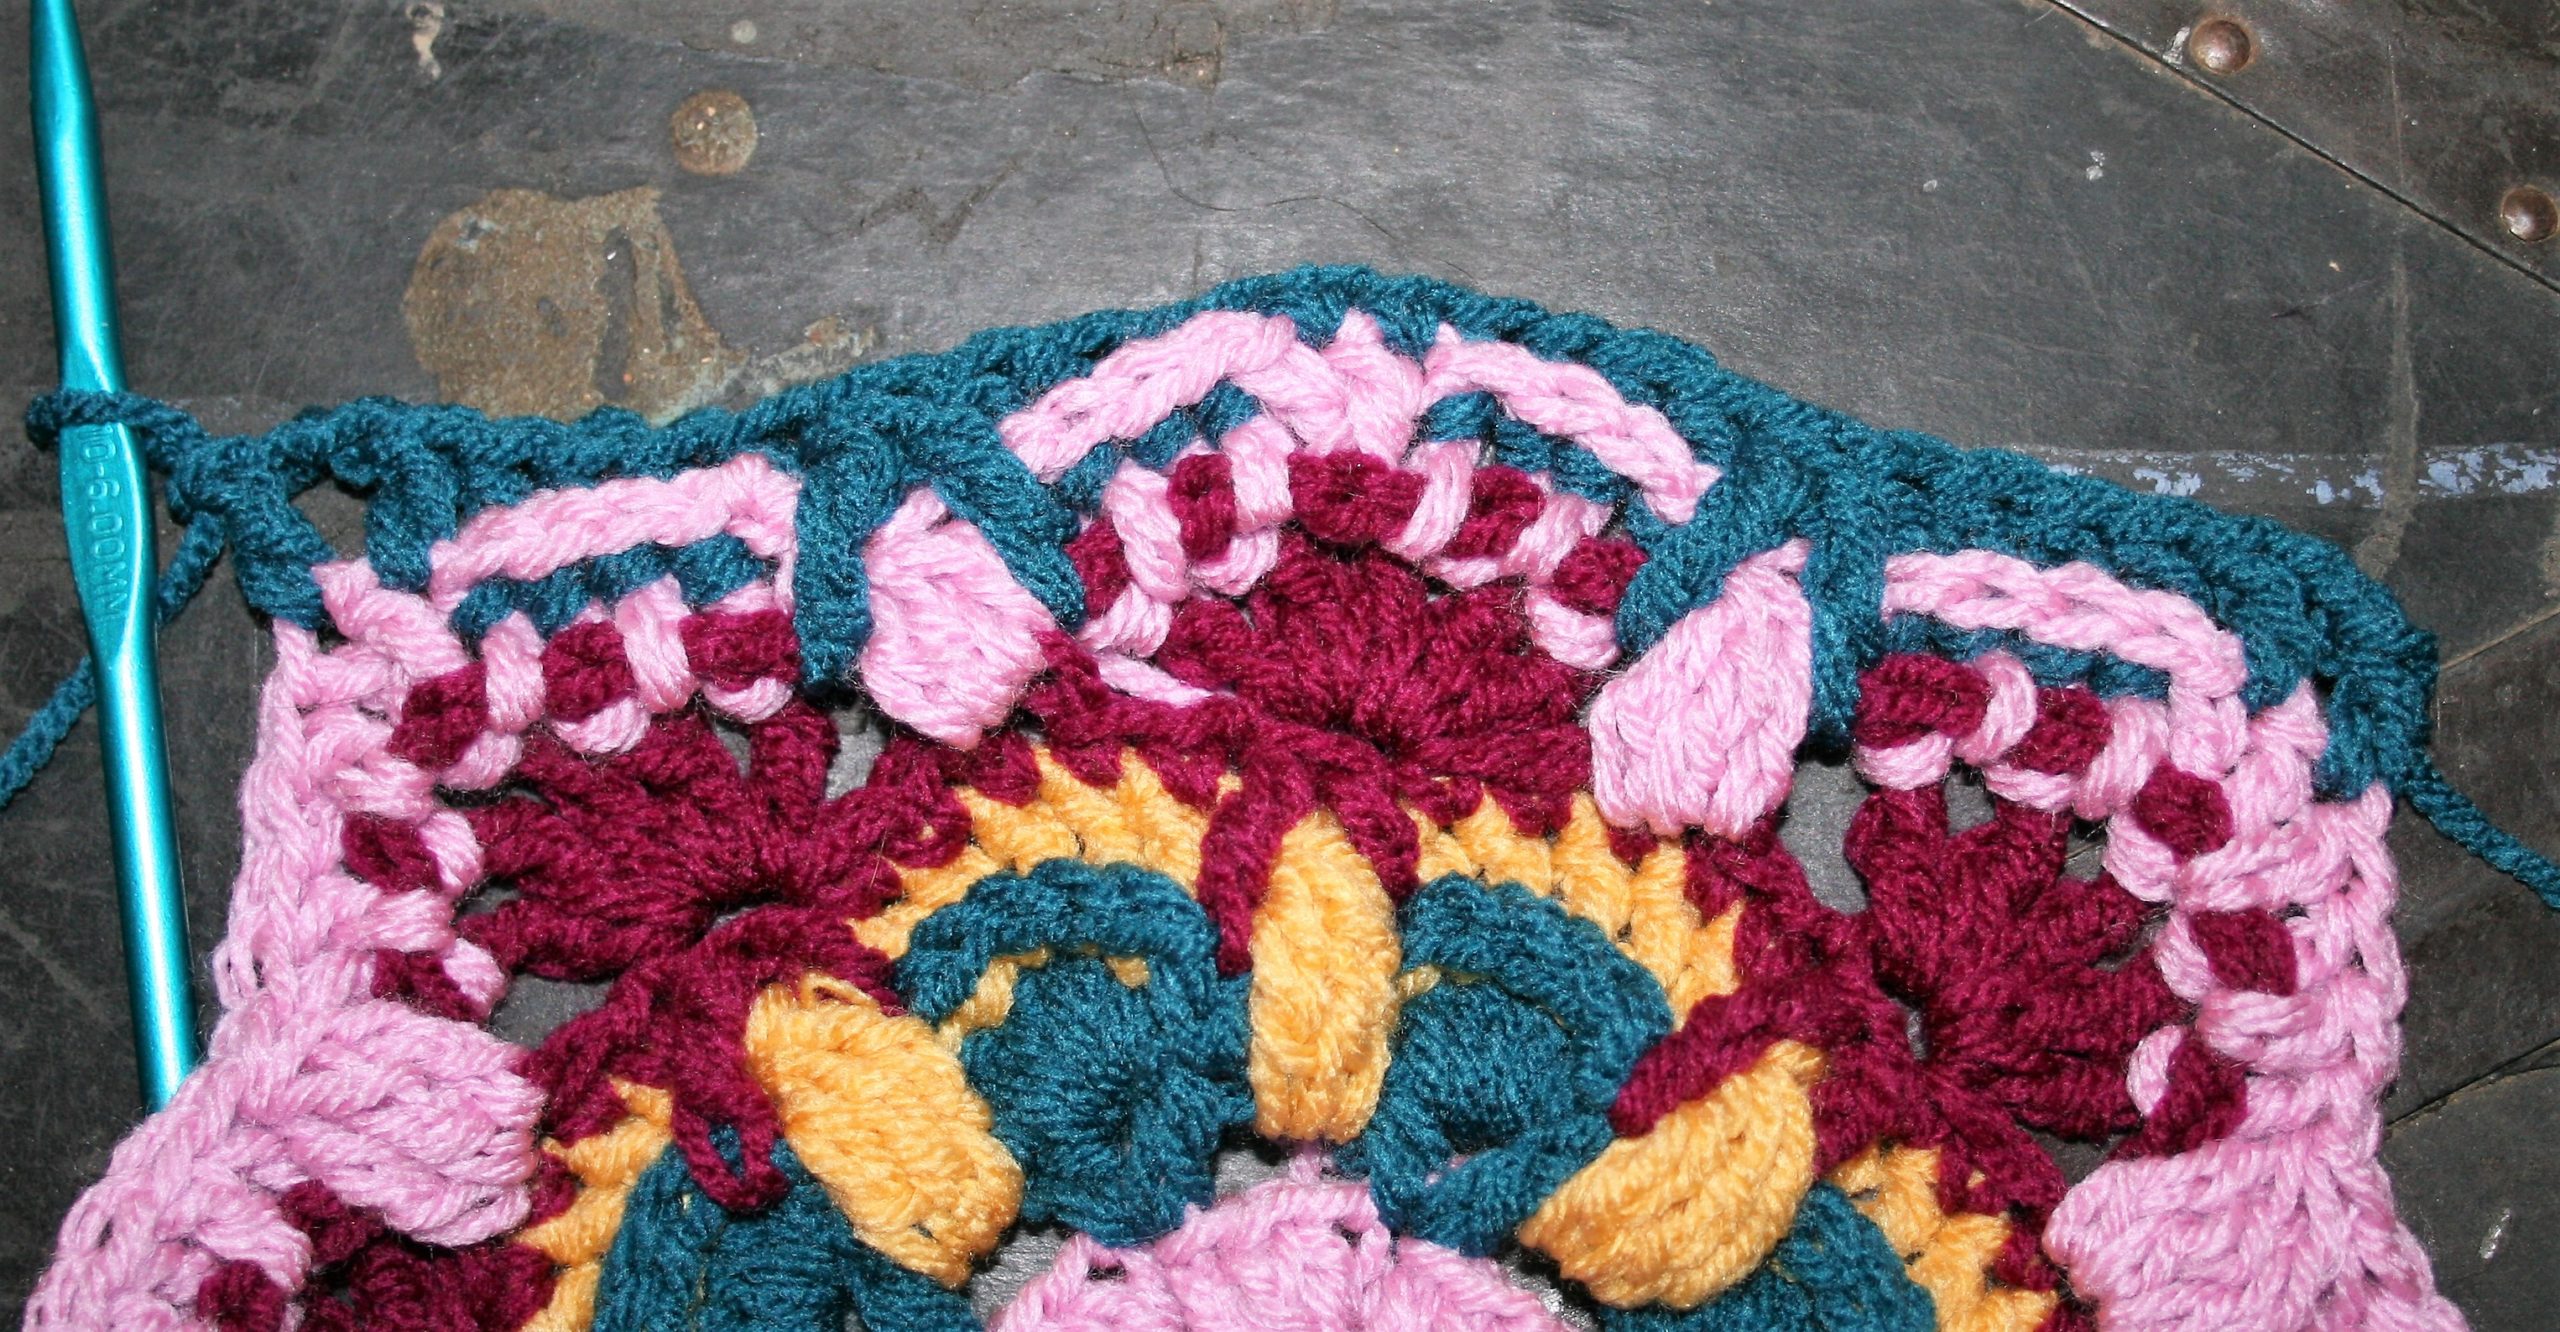
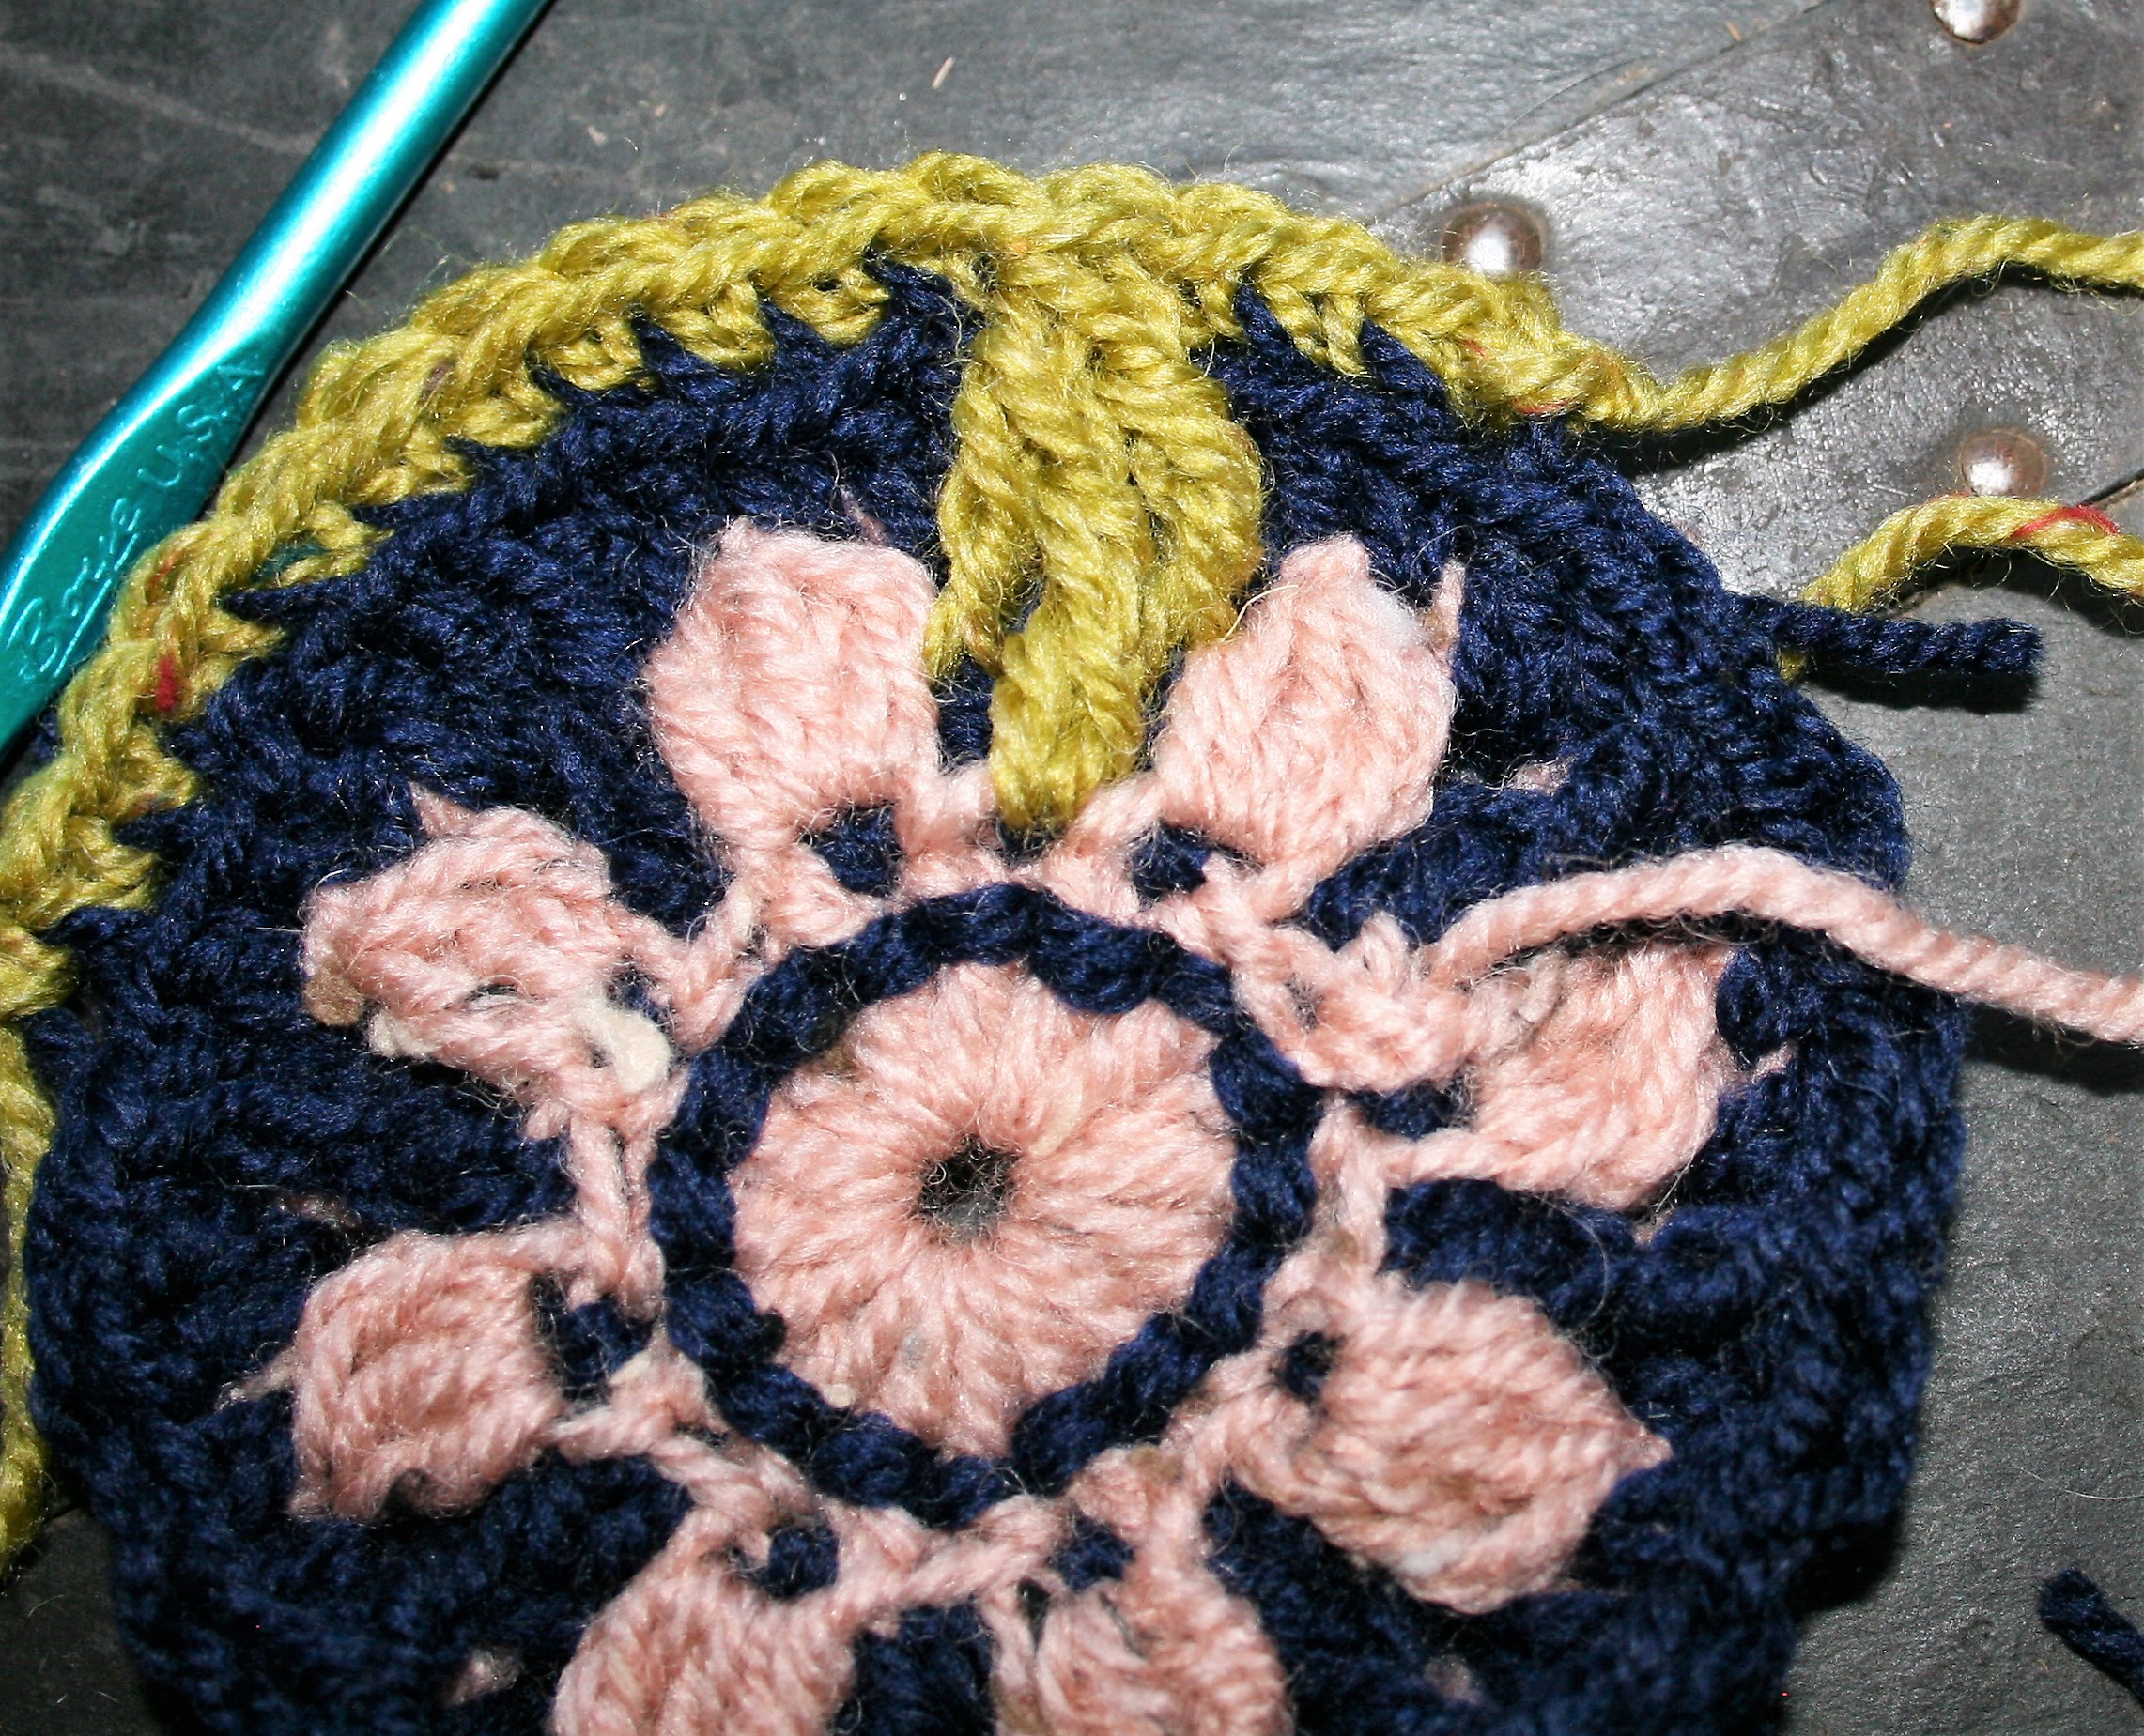
You should start seeing the diamonds…
Rnd 11: With C, join with a ssc to any ch-2 sp, ch 2, sc in same sp, sc in next 3 sts, LLsc in next st 1 Rnd below working Rnd, LLsc in next st 2 Rnds below working Rnd, LLsc in next st 3 Rnds below working Rnd, LLsc in next st 4 Rnds below working Rnd, LLsc in next st 3 Rnds below working Rnd, LLsc in next st 2 Rnds below working Rnd, LLsc in next st 1 Rnd below working Rnd, sc in next st, LLsc in next st 1 Rnd below working Rnd, LLsc in next st 2 Rnds below working Rnd, LLsc in next st 3 Rnds below working Rnd, LLsc in next st 4 Rnds below working Rnd, LLsc in next st 3 Rnds below working Rnd, LLsc in next st 2 Rnds below working Rnd, LLsc in next st 1 Rnd below working Rnd, sc in next 3 sts, [(sc, ch 2, sc) in ch-2 sp, sc in next 3 sts, LLsc in next st 1 Rnd below working Rnd, LLsc in next st 2 Rnds below working Rnd, LLsc in next st 3 Rnds below working Rnd, LLsc in next st 4 Rnds below working Rnd, LLsc in next st 3 Rnds below working Rnd, LLsc in next st 2 Rnds below working Rnd, LLsc in next st 1 Rnd below working Rnd, sc in next st, LLsc in next st 1 Rnd below working Rnd, LLsc in next st 2 Rnds below working Rnd, LLsc in next st 3 Rnds below working Rnd, LLsc in next st 4 Rnds below working Rnd, LLsc in next st 3 Rnds below working Rnd, LLsc in next st 2 Rnds below working Rnd, LLsc in next st 1 Rnd below working Rnd, sc in next 3 sts] 3 times, sl st to join. –36 sc, 56 LLsc, 4 ch-2 sps
Rnds 12-15: Rep Rnd 2. Fasten off after Rnd 15. –124 sc (31 sc per side), 4 ch-2 sps
Last time with the long loops…
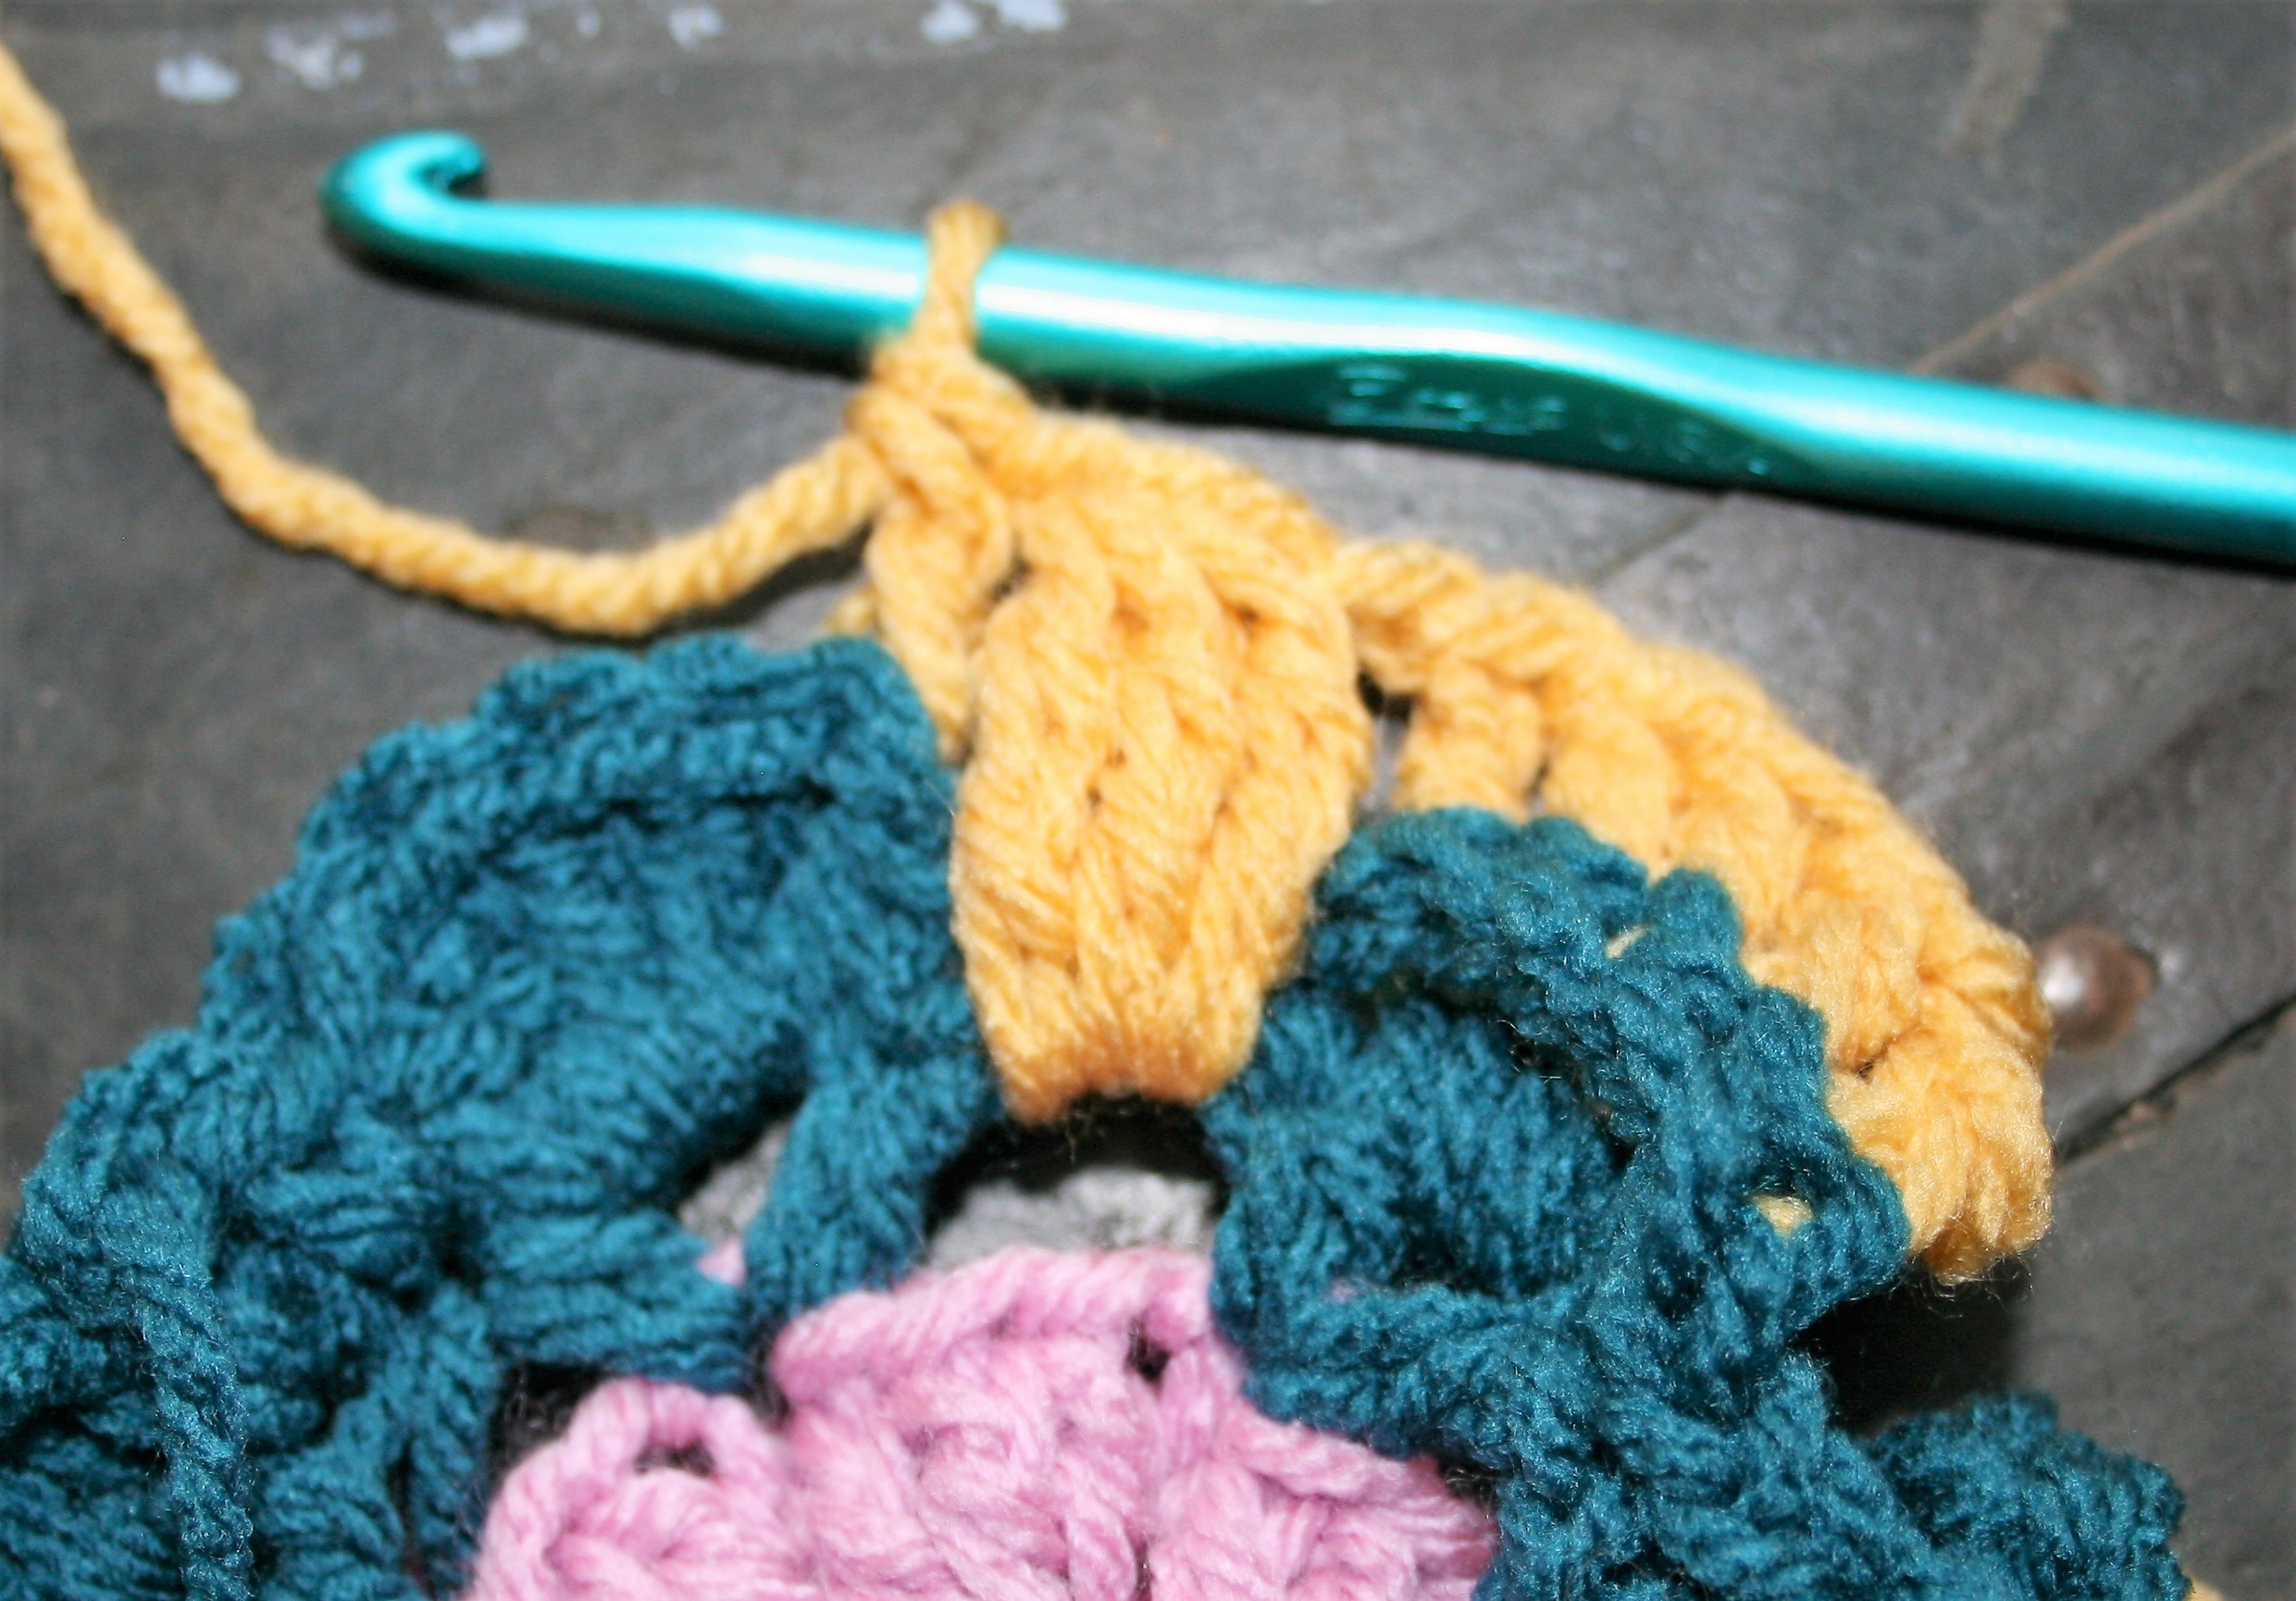
Rnd 16: With D, join with a ssc to any ch-2 sp, ch 2, sc in same sp, sc in next 4 sts, LLsc in next st 1 Rnd below working Rnd, LLsc in next st 2 Rnds below working Rnd, LLsc in next st 3 Rnds below working Rnd, LLsc in next st 4 Rnds below working Rnd, LLsc in next st 3 Rnds below working Rnd, LLsc in next st 2 Rnds below working Rnd, LLsc in next st 1 Rnd below working Rnd, [sc in next st, LLsc in next st 1 Rnd below working Rnd, LLsc in next st 2 Rnds below working Rnd, LLsc in next st 3 Rnds below working Rnd, LLsc in next st 4 Rnds below working Rnd, LLsc in next st 3 Rnds below working Rnd, LLsc in next st 2 Rnds below working Rnd, LLsc in next st 1 Rnd below working Rnd] 2 times sc in next 3 sts, {(sc, ch 2, sc) in ch-2 sp, sc in next 4 sts, LLsc in next st 1 Rnd below working Rnd, LLsc in next st 2 Rnds below working Rnd, LLsc in next st 3 Rnds below working Rnd, LLsc in next st 4 Rnds below working Rnd, LLsc in next st 3 Rnds below working Rnd, LLsc in next st 2 Rnds below working Rnd, LLsc in next st 1 Rnd below working Rnd, [sc in next st, LLsc in next st 1 Rnd below working Rnd, LLsc in next st 2 Rnds below working Rnd, LLsc in next st 3 Rnds below working Rnd, LLsc in next st 4 Rnds below working Rnd, LLsc in next st 3 Rnds below working Rnd, LLsc in next st 2 Rnds below working Rnd, LLsc in next st 1 Rnd below working Rnd] 2 times sc in next 3 sts, (sc, ch 2, sc) in ch-2 sp} 3 times, sl st to join. –48 sc, 84 LLsc, 4 ch-2 sps
Rnds 17-18: Rep Rnd 2. Fasten Off. Weave in ends. Block.