Celebrate Yarnsgiving with the Make U Smile Pillow

Yarnsgiving is a fun time of year! A time to think of practical gift giving and sharing of your favorite craft with those you care about.

You can find many other free patterns for yarnsgiving here.
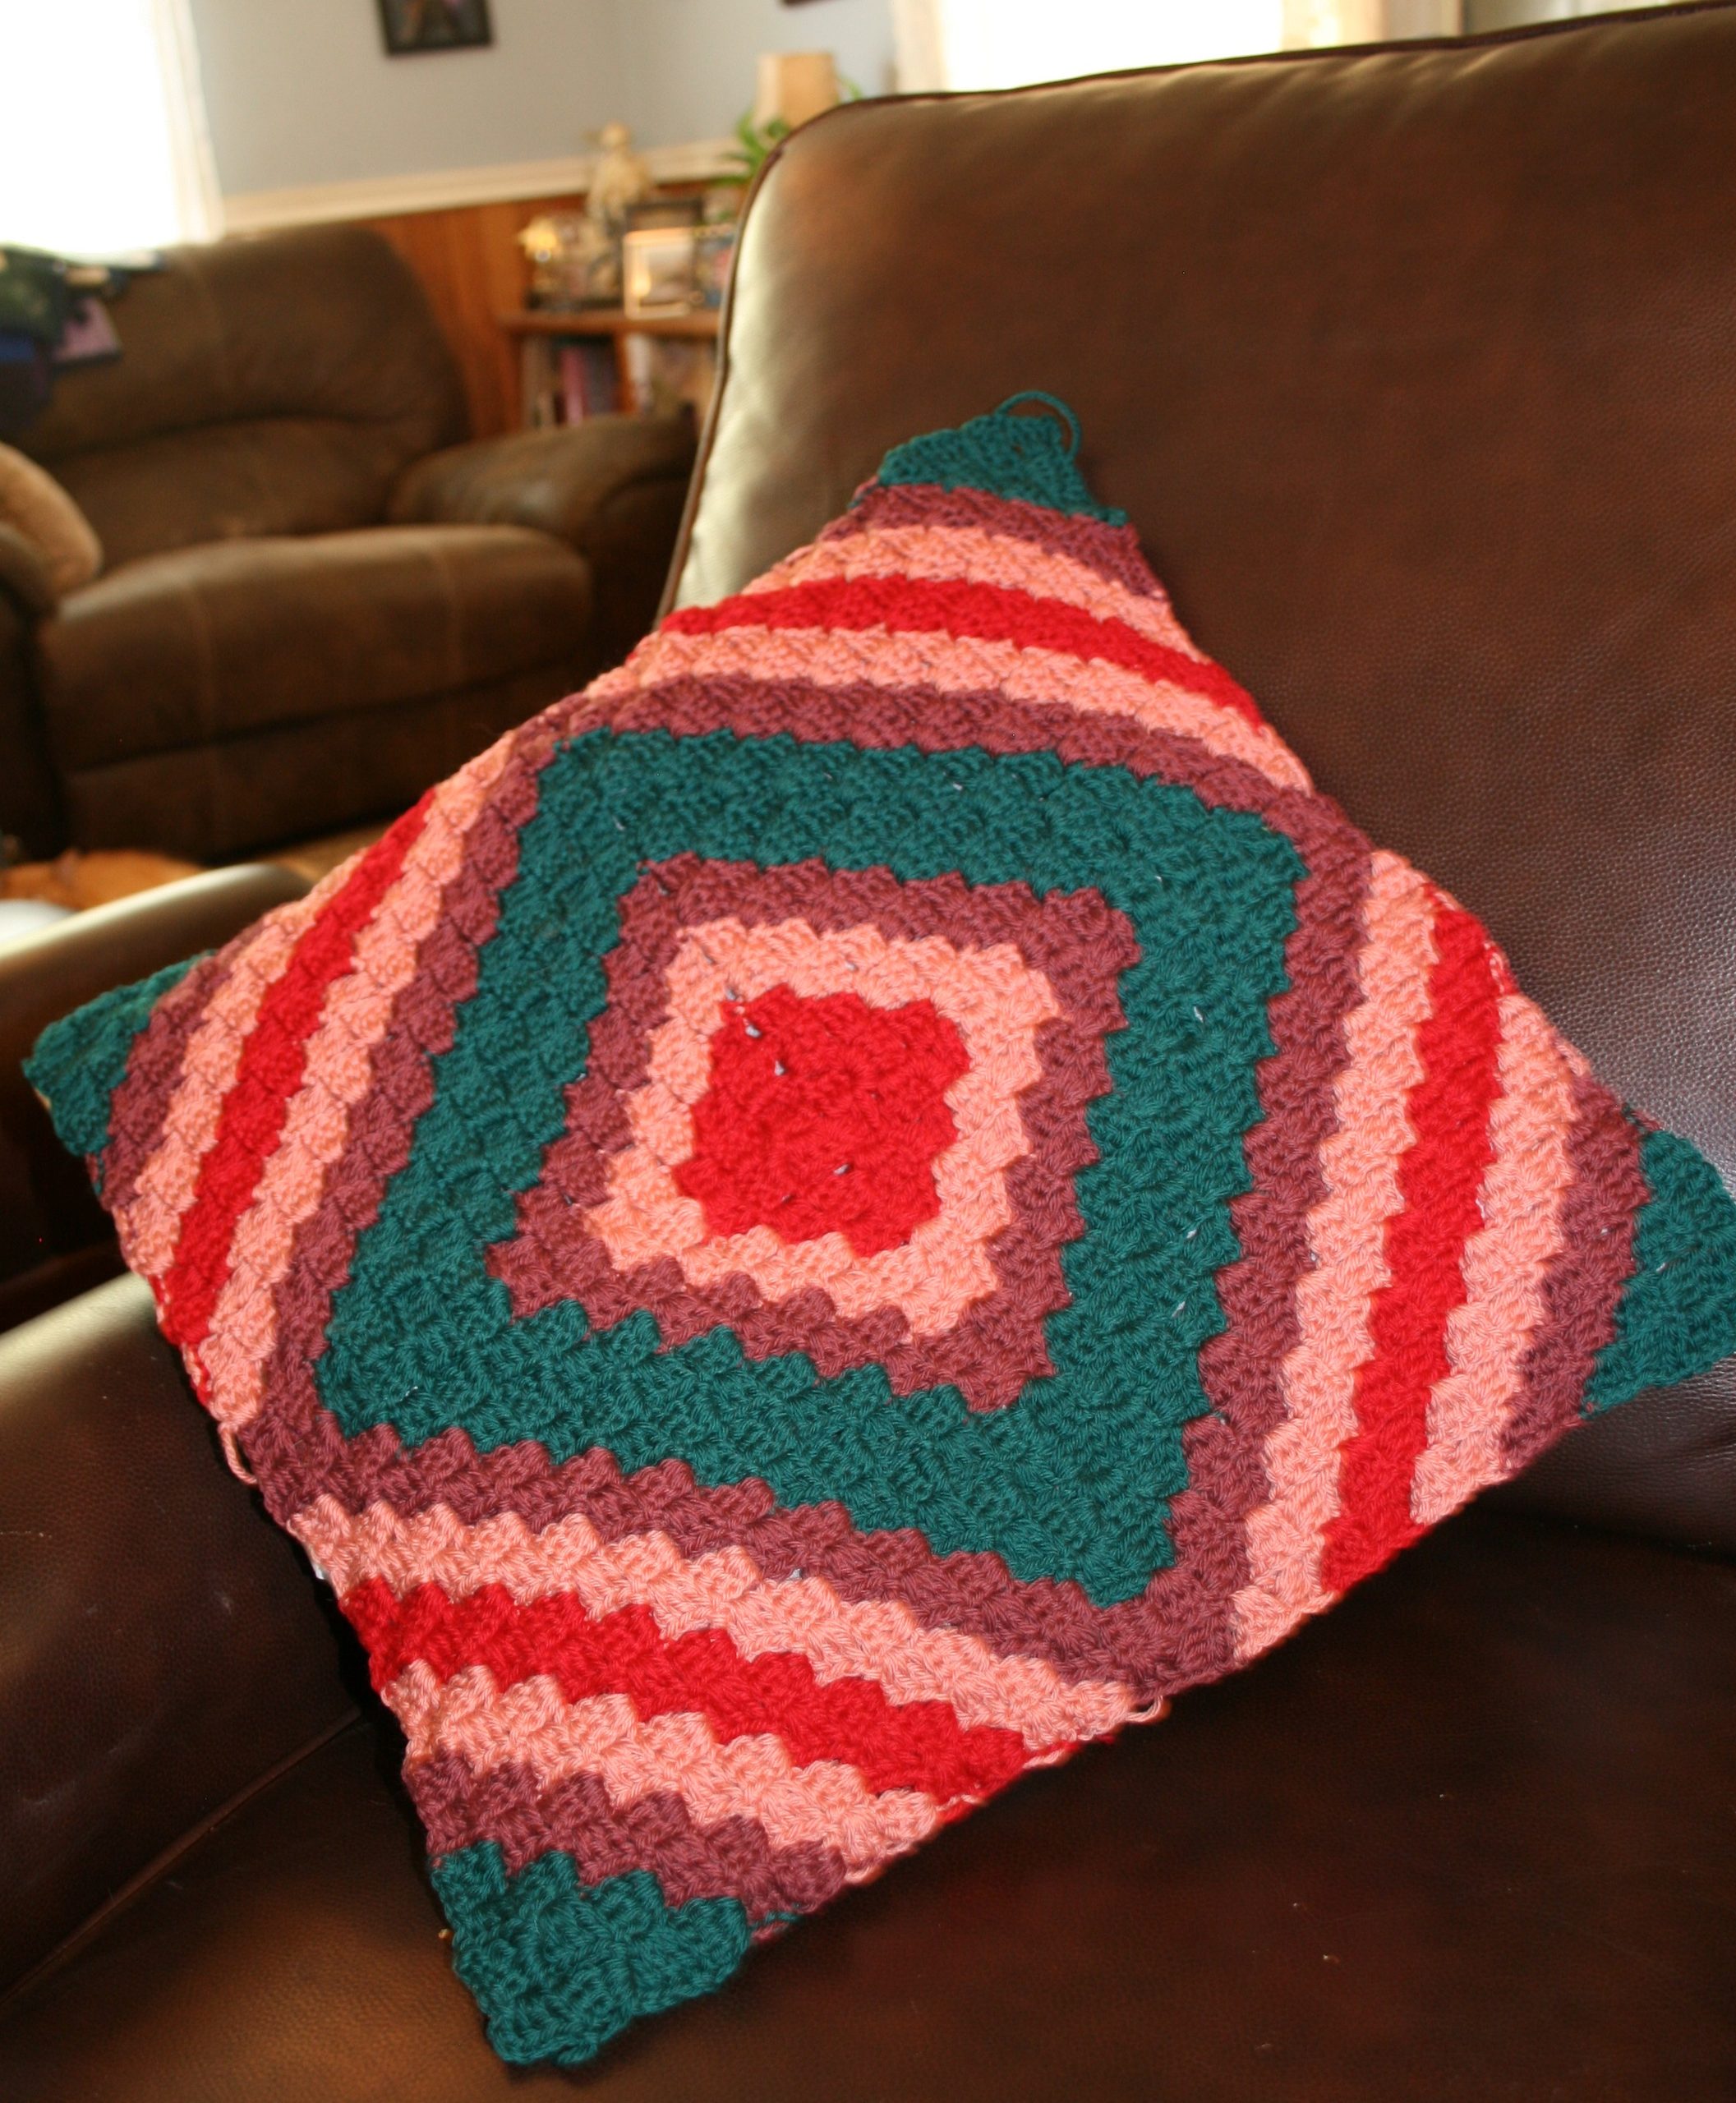
My contribution this year is the Make U Smile Pillow. It is worked as Corner to Corner (C2C) in the Round. Then squared up to a diamond on point.

Historically, I have many students who love this approach to Corner to Corner and I personally have it as my new go-to for scrap blankets. Once you get past the first couple of rounds it become an easy methodical project.

Materials

  • Cascade Yarns, Cascade 220; 100% Peruvian Highland Wool medium weigh yarn (100g/3.5ox/220yrd/200m) 1 skein each color: #9404 Ruby (A), #9681 Crabapple (B), #1077 Oxblood Red (C), #8893 Hunter Green (D)
  • 5mm/H/6 size crochet hook
  • 18″ (46cm) pillow form
  • yarn needle

Make 2

If you need a visual on how to work this technique, please check out my step by step tutorial here.

Rnd 1: With A, ch 7, dc in 4th ch from hook, dc in each ch across, rotate block, ch 3, 5 dc around post of last st created, rotate block, ch 3, 5 dc around post of last st created, rotate block, ch 3, 4 dc around post of last st created, sl st to nearest corner of first block, turn. – 4 blocks

From a Square to a Cross

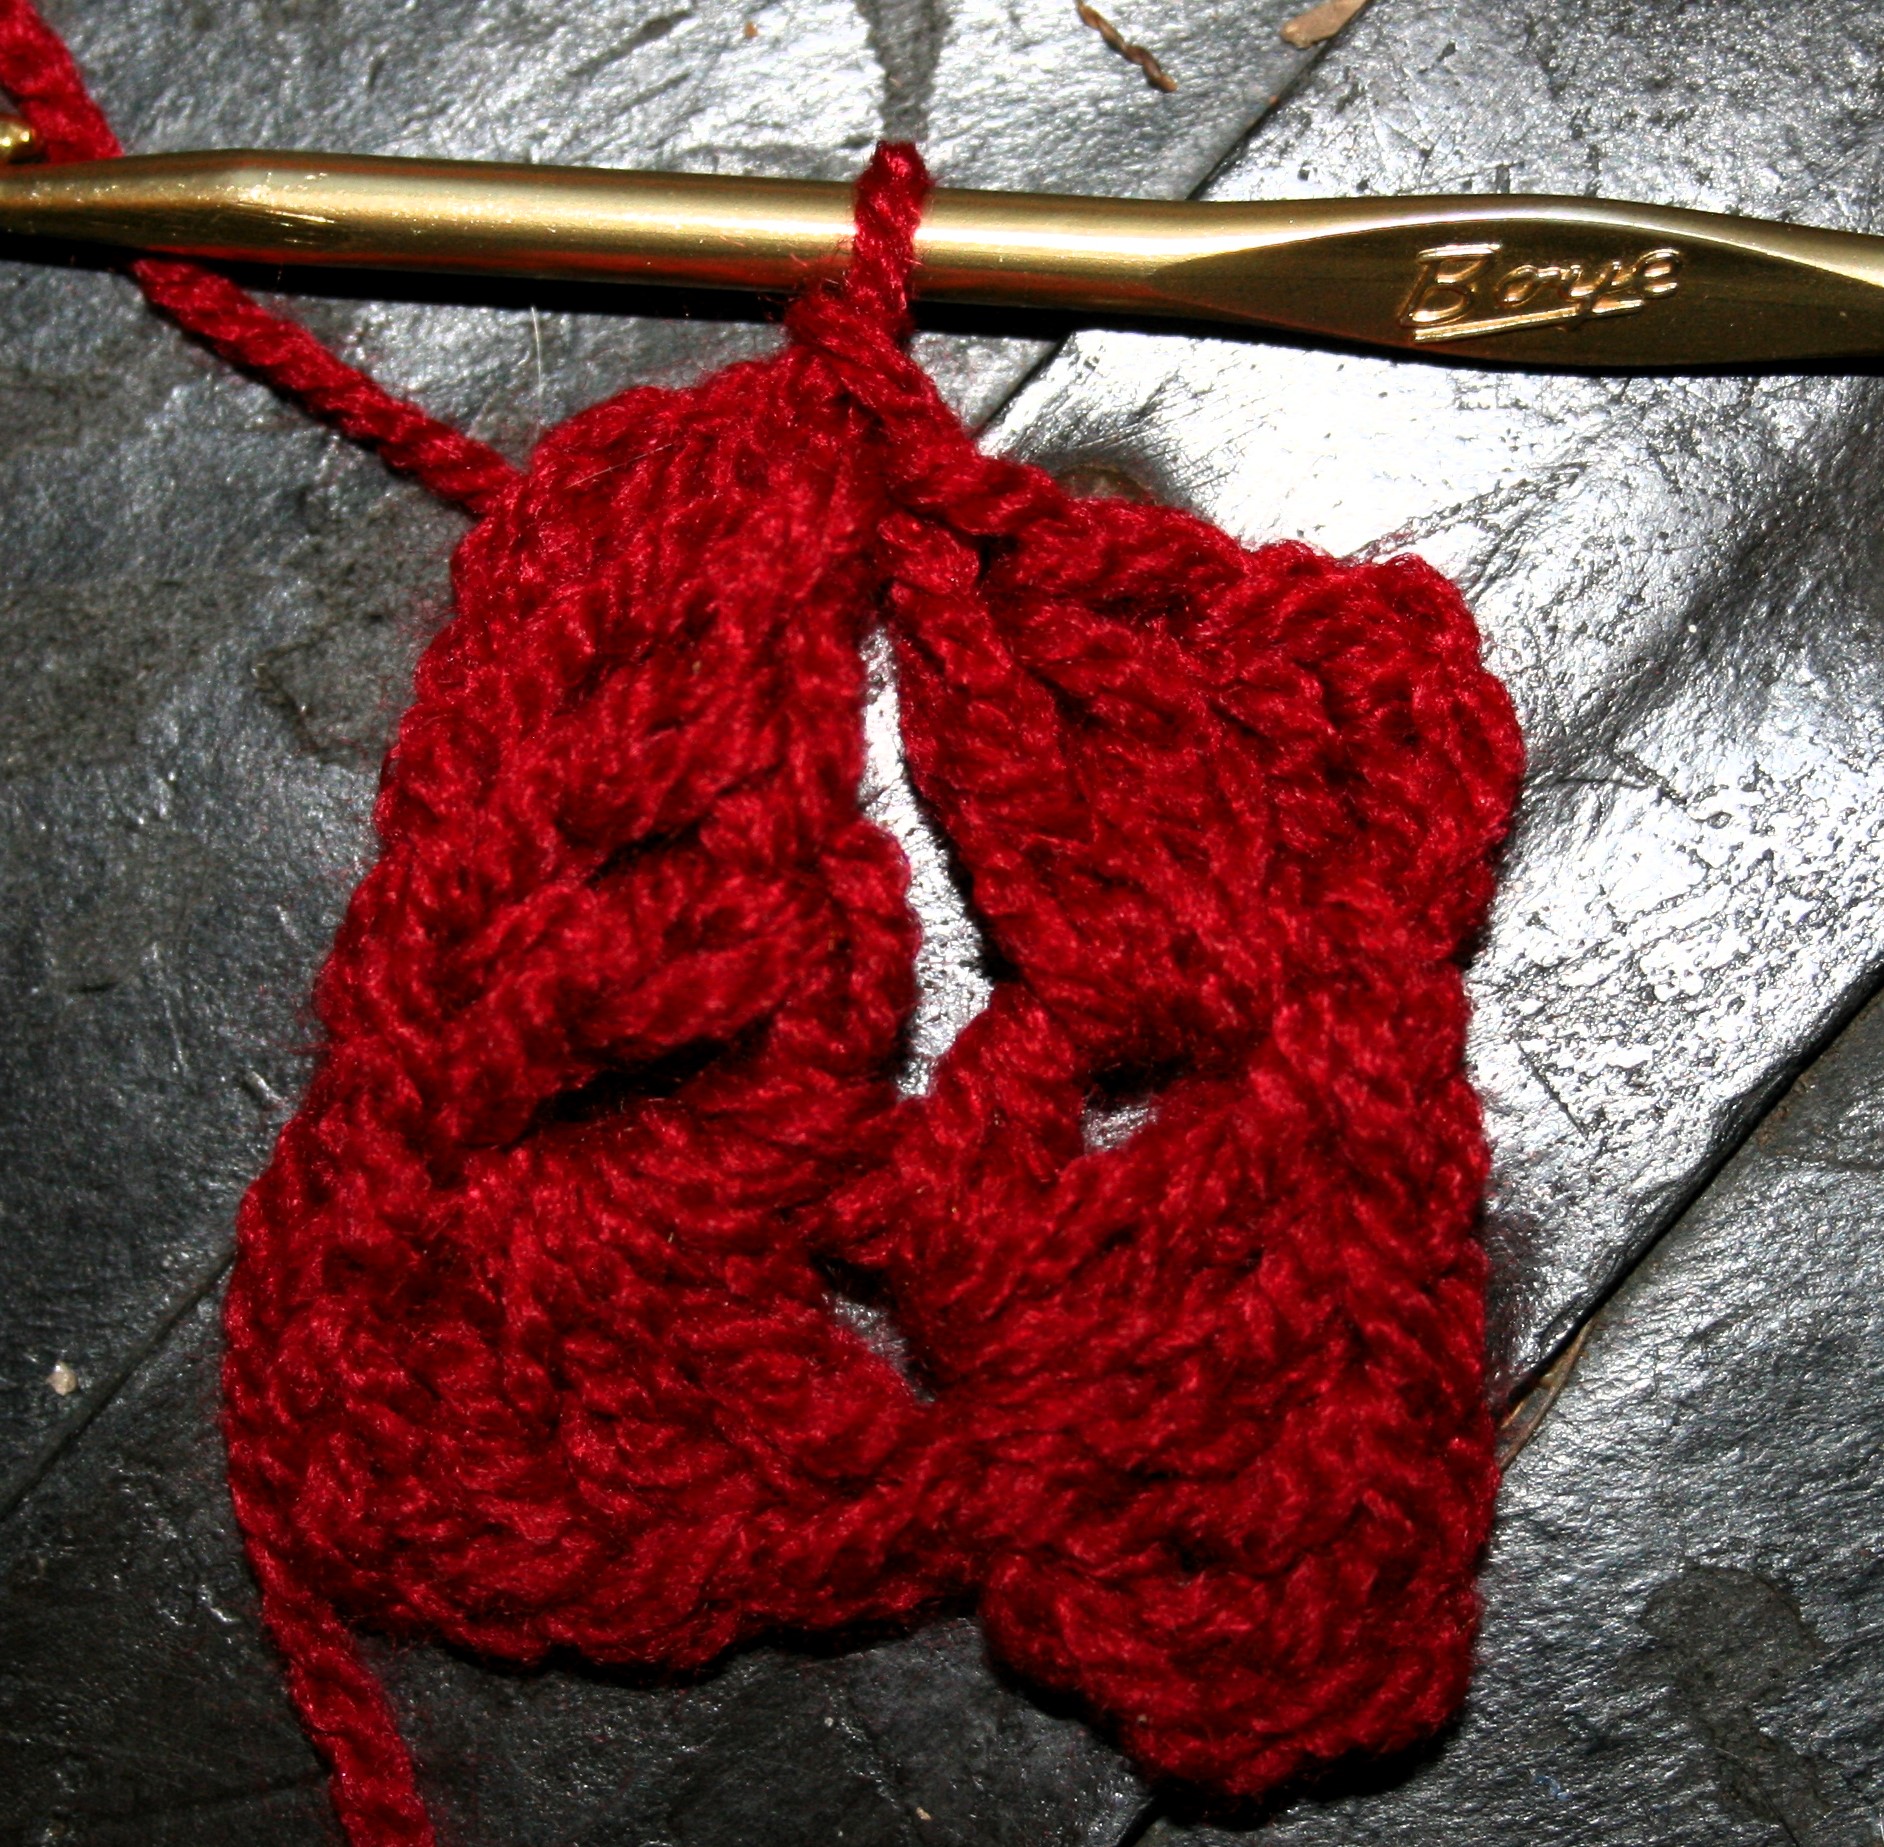
Rnd 2: Ch 6, dc in 4th ch from hook, dc in rem chs, sl st to corner of block below, [rotate, ch 3, 4 dc around post of block a rnd below, rotate, ch 3, 3 dc around post of last st created, sl st to corner of block below] 3 times, rotate, ch 3, 3 dc around post of block a rnd below, sl st to top of first block, turn. – 8 blocks (2 per side)

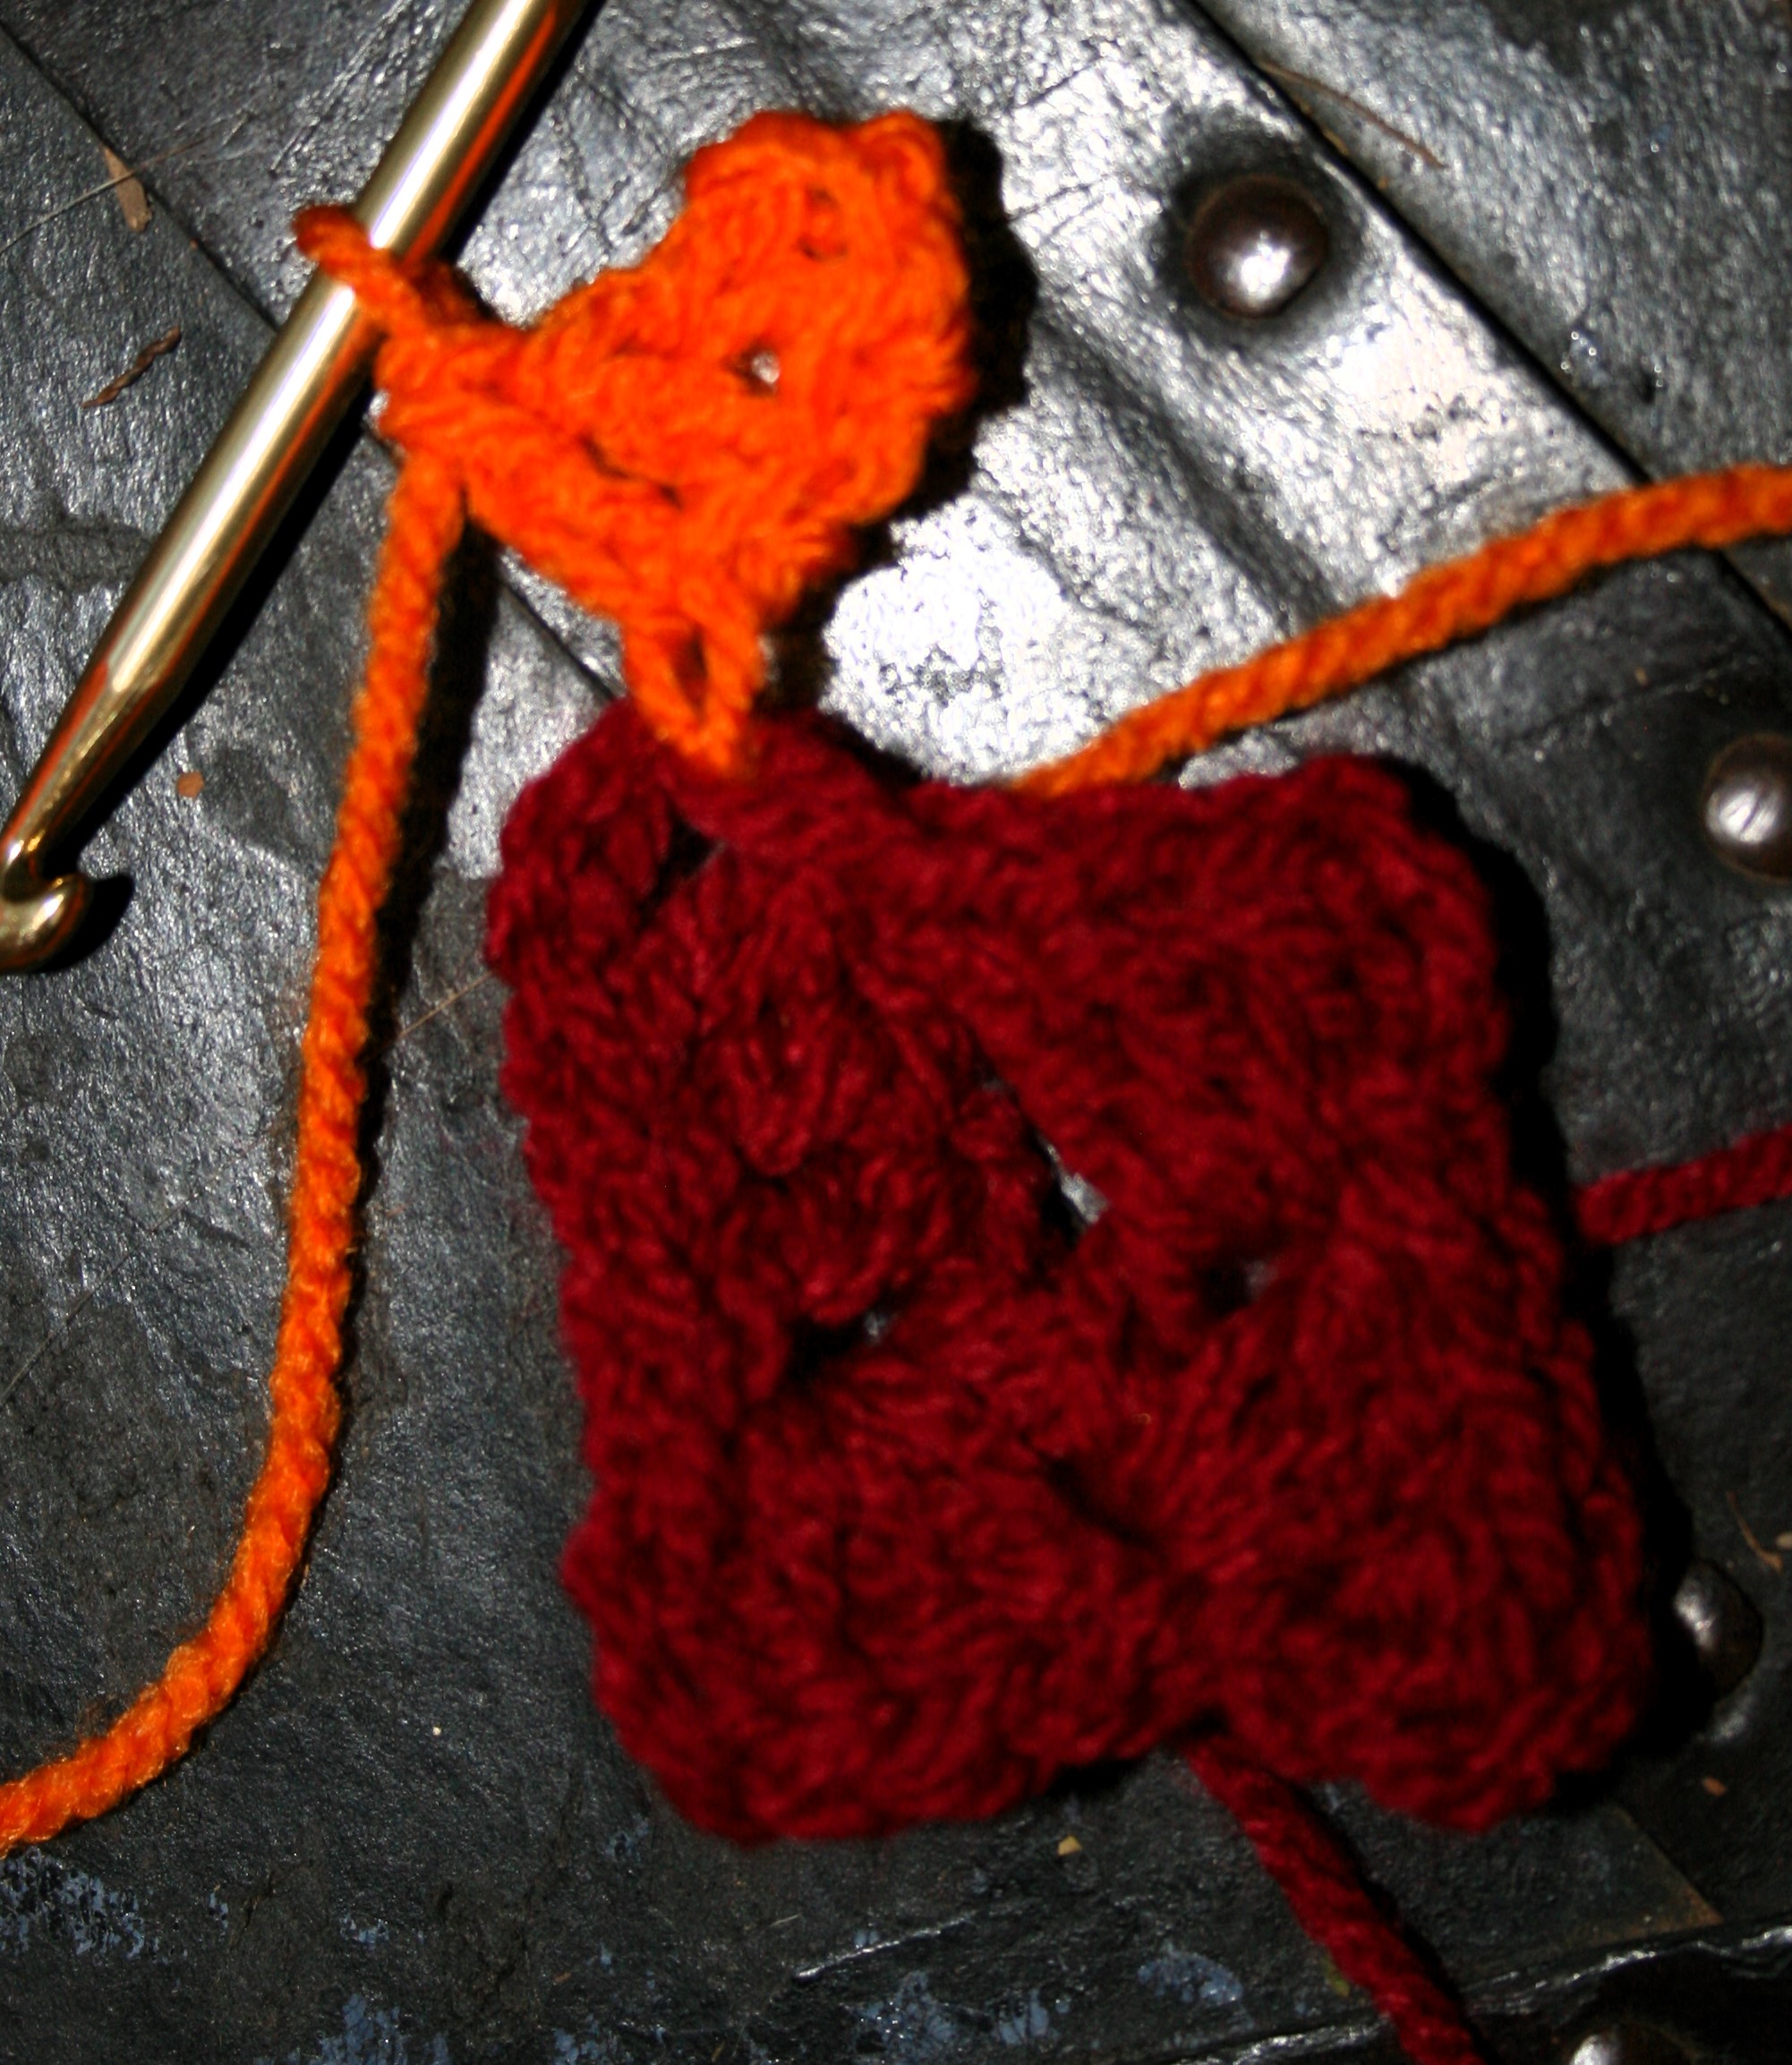
Rnd 3: Ch 6, dc in 4th ch from hook, dc in rem chs, sl st to corner of block below, rotate, [ch 3, 3 dc around post of block a rnd below, sl st to corner of block, ch 3, 4 dc around post of block a rnd below, rotate, 3 dc around post of last st created, sl st to corner] 3 times, rotate, ch 3, 3 dc in post of block a rnd below, sl st to top of first block, turn, change to B. -12 blocks (3 per side)

Just keep filling in the “Steps”

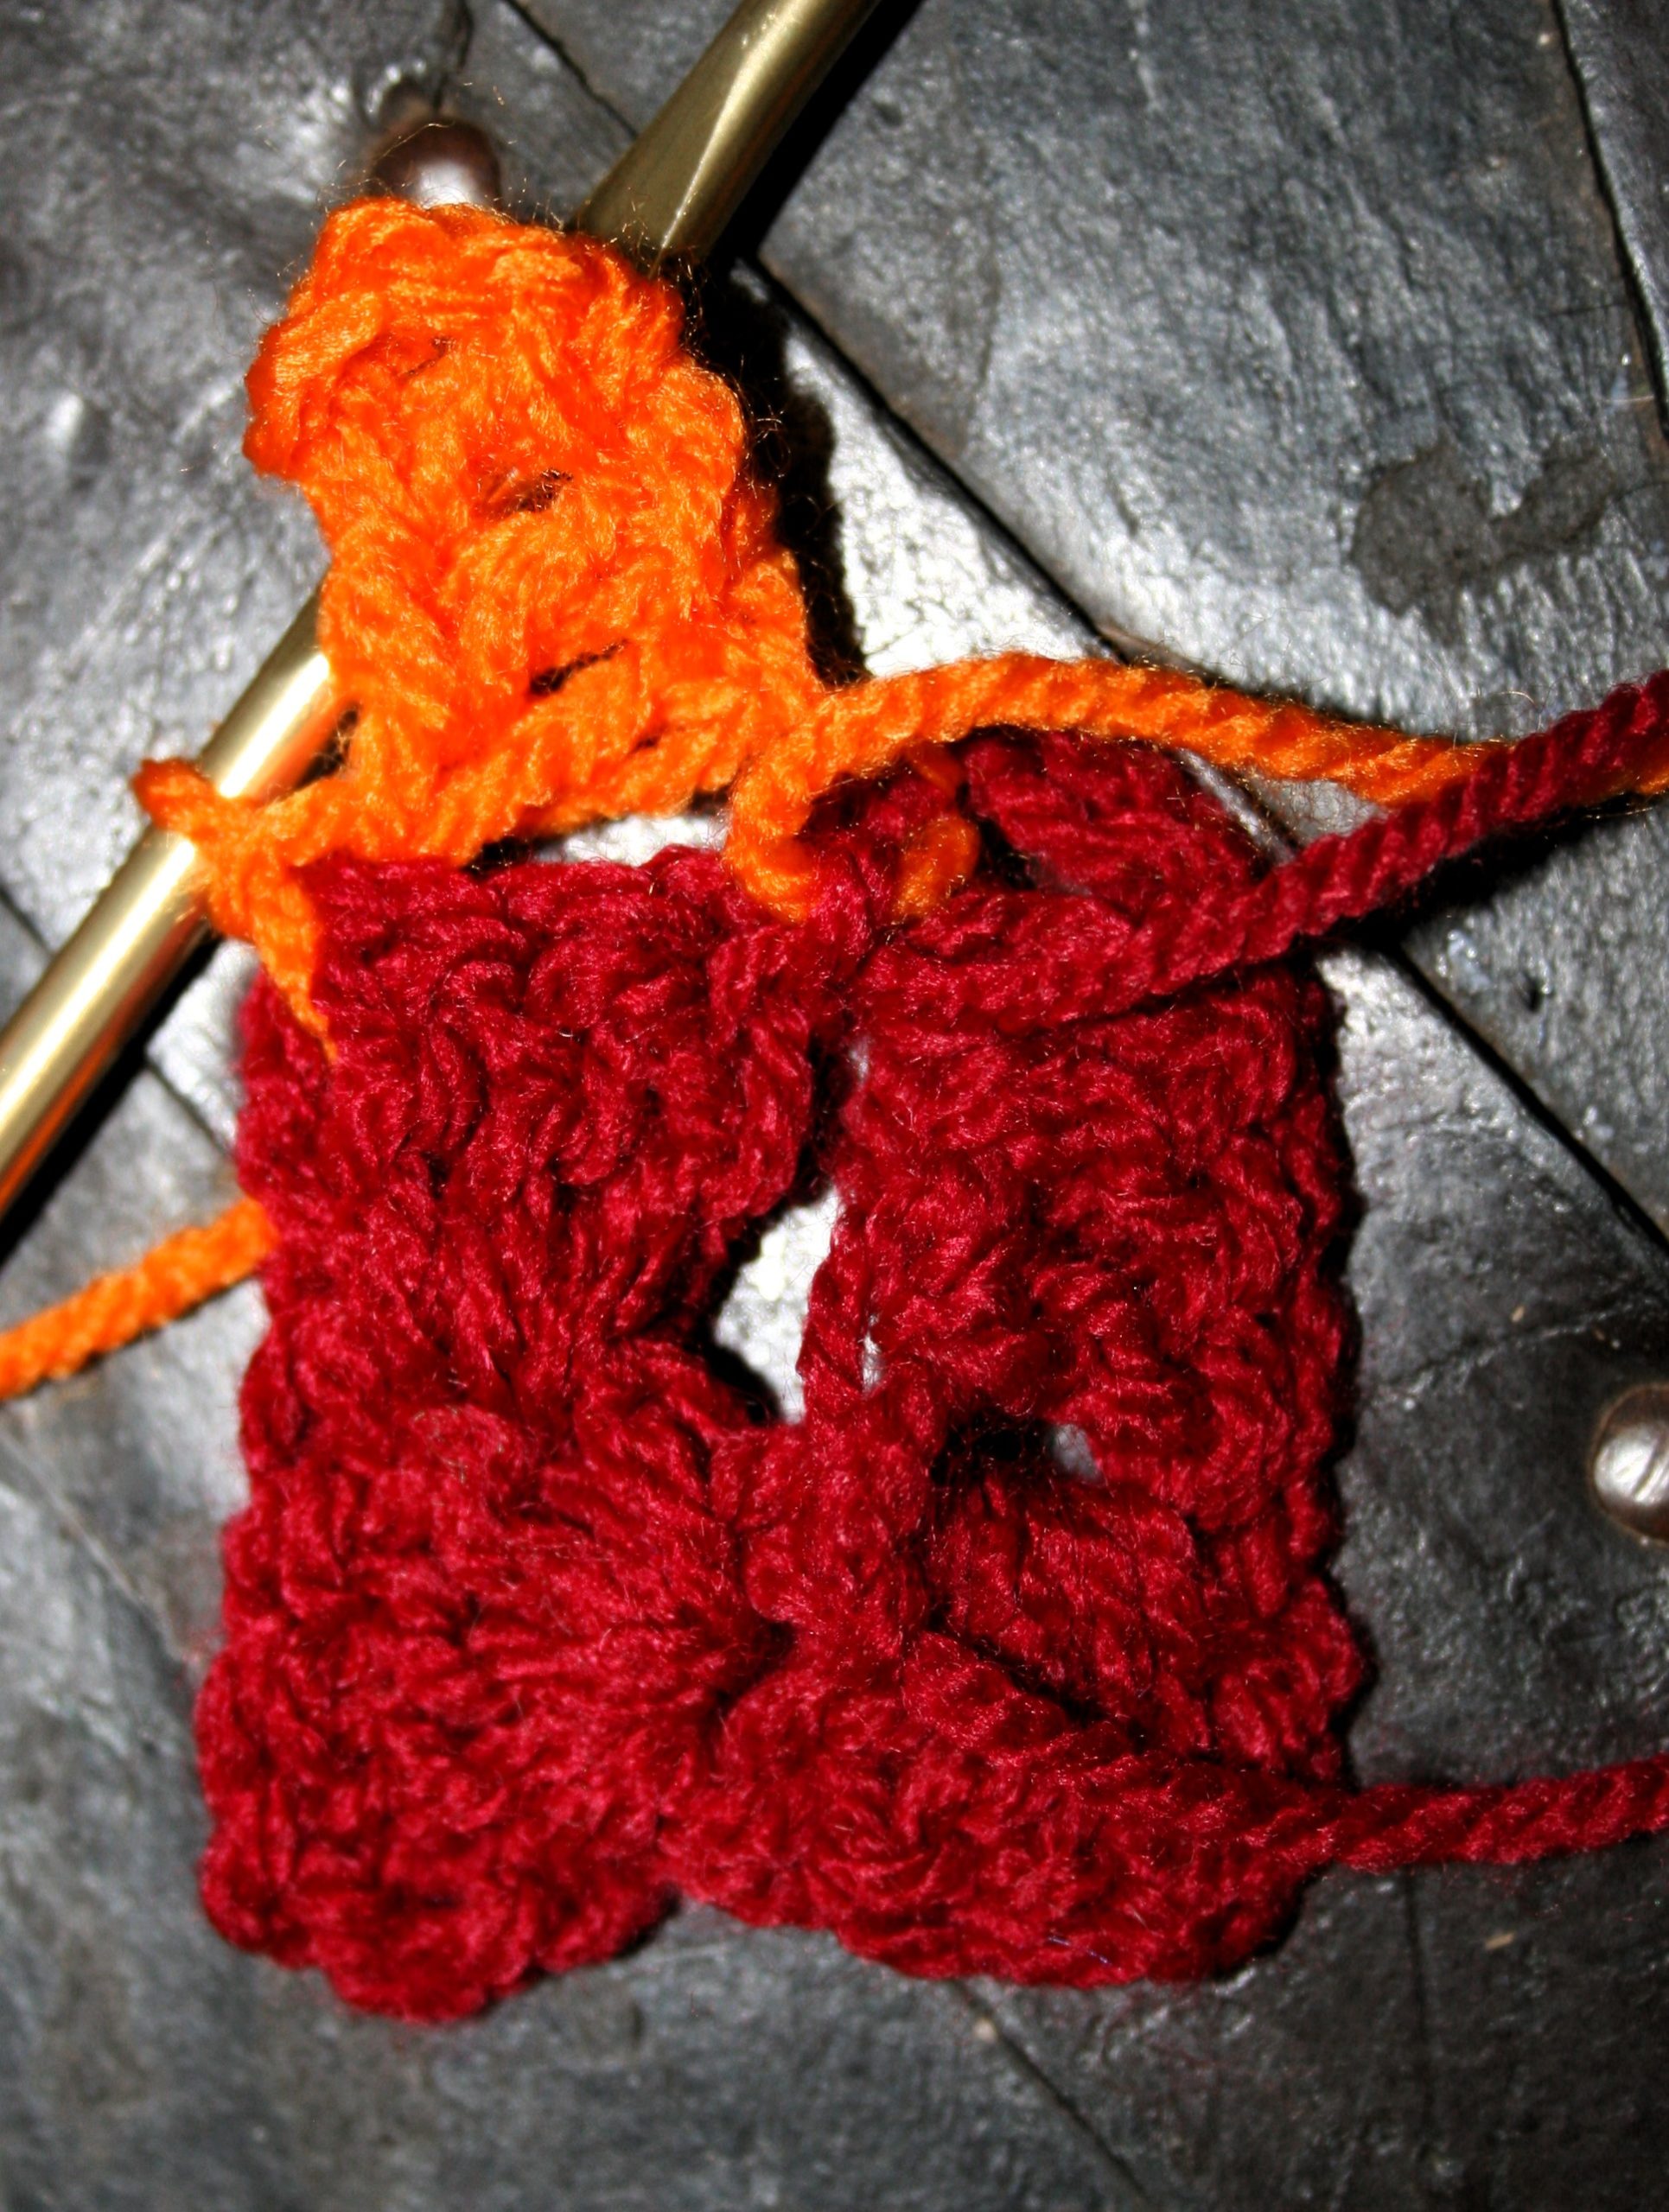
Rnd 4: Ch 6, dc in 4th ch from hook, dc in rem chs, sl st to corner of block below, rotate, [ch 3, 3 dc around post of block a rnd below (step), rep on next steps, until block is even with next block, ch 3, 4 dc around post of block a rnd below, rotate, ch 3, 3 dc around post of last block created] rep 3 times, ch 3, 3 dc around post of block a rnd below (step), rep on next steps, until last block of rnd, ch 3, 3 dc around post of block a rnd below, sl st to top of first block, turn. – 16 blocks(4 per side)

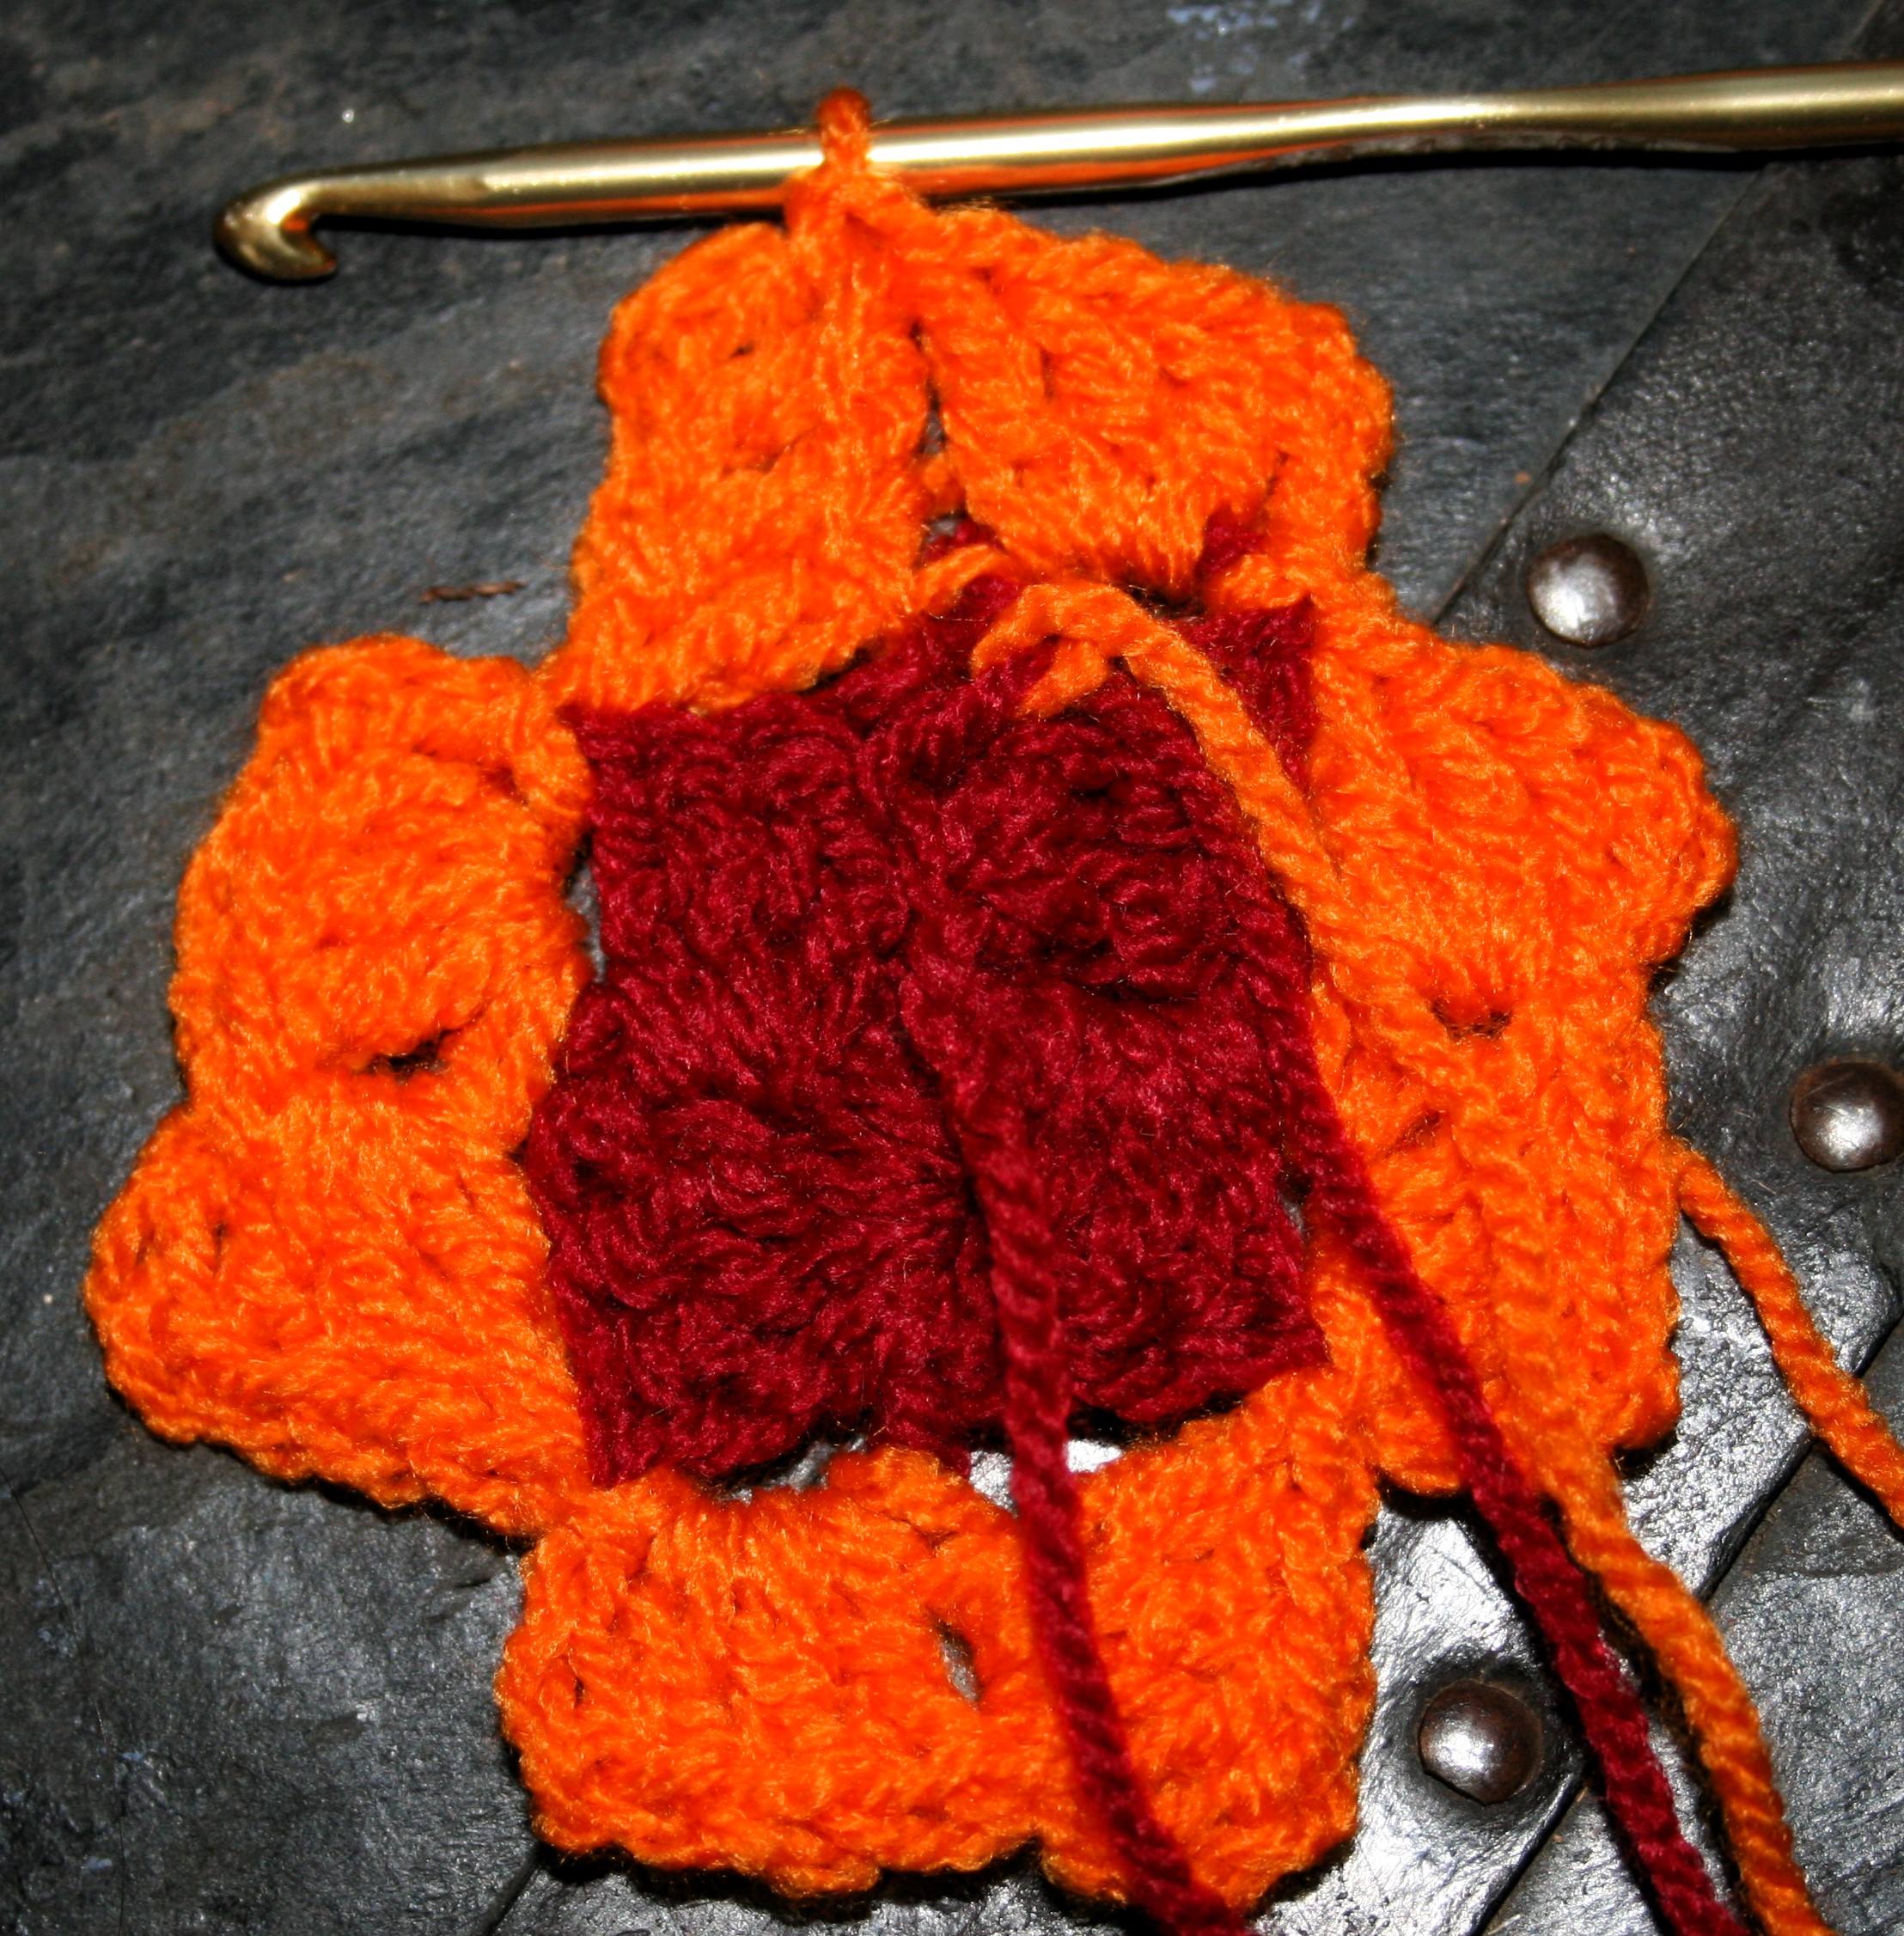
Just repeat the stitch pattern, but change to colors

Rnd 5: Rep Rnd 4, change to C

Rnds 6-13: Rep Rnd 4 working the following color sequence:

Rnds 6-7: C

Keep changing colors

Rnds 8-11: D

Rnds 12-23: C – 52 blocks (13 per side)

Fasten off.

Putting the Diamond on Point

To put the diamond on point, you use the decrease technique of the Corner to Corner method. If you need a visual, please check out my friend Moogly’s video.

Row 1: Turn fabric so that the wrong side of the last round is facing, working down 1 side, join color B to the first “step” of side, [ch 3, 3 dc around post of block below, sl st to next block] across to next corner, turn. DO NOT create a “block” on the top of the next corner.  -12 blocks

Lose a Block on each row

Row 2: Sl st across stitches just made, ch 3, 3 dc around post of block just made, sl st to next block, [ch 3, 3 dc around post of block below, st sl to next block] across until no more “steps” remain. -11 blocks

Row 3: Change to A, sl st across stitch just made, ch 3, 3 dc around post of block just made, sl st to next block, [ch 3, 3 dc around post of block below, sl st to next block] across until no more “steps” remain. -10 blocks

Repeat the process

Rows 4-12: Rep process of Row 3 following the color sequence of:

Row 4: A

Work teh colors outward

Rows 5-6: B

Rows 7-8: C

Almost there….

Rows 9-12: D

Repeat on each side. Fasten off. Weave in ends, block.

Work it on each side and Finish!

Seam 3 sides of blocks together, insert 18” pillow form and seam remaining side.
Corner to Corner in the Round

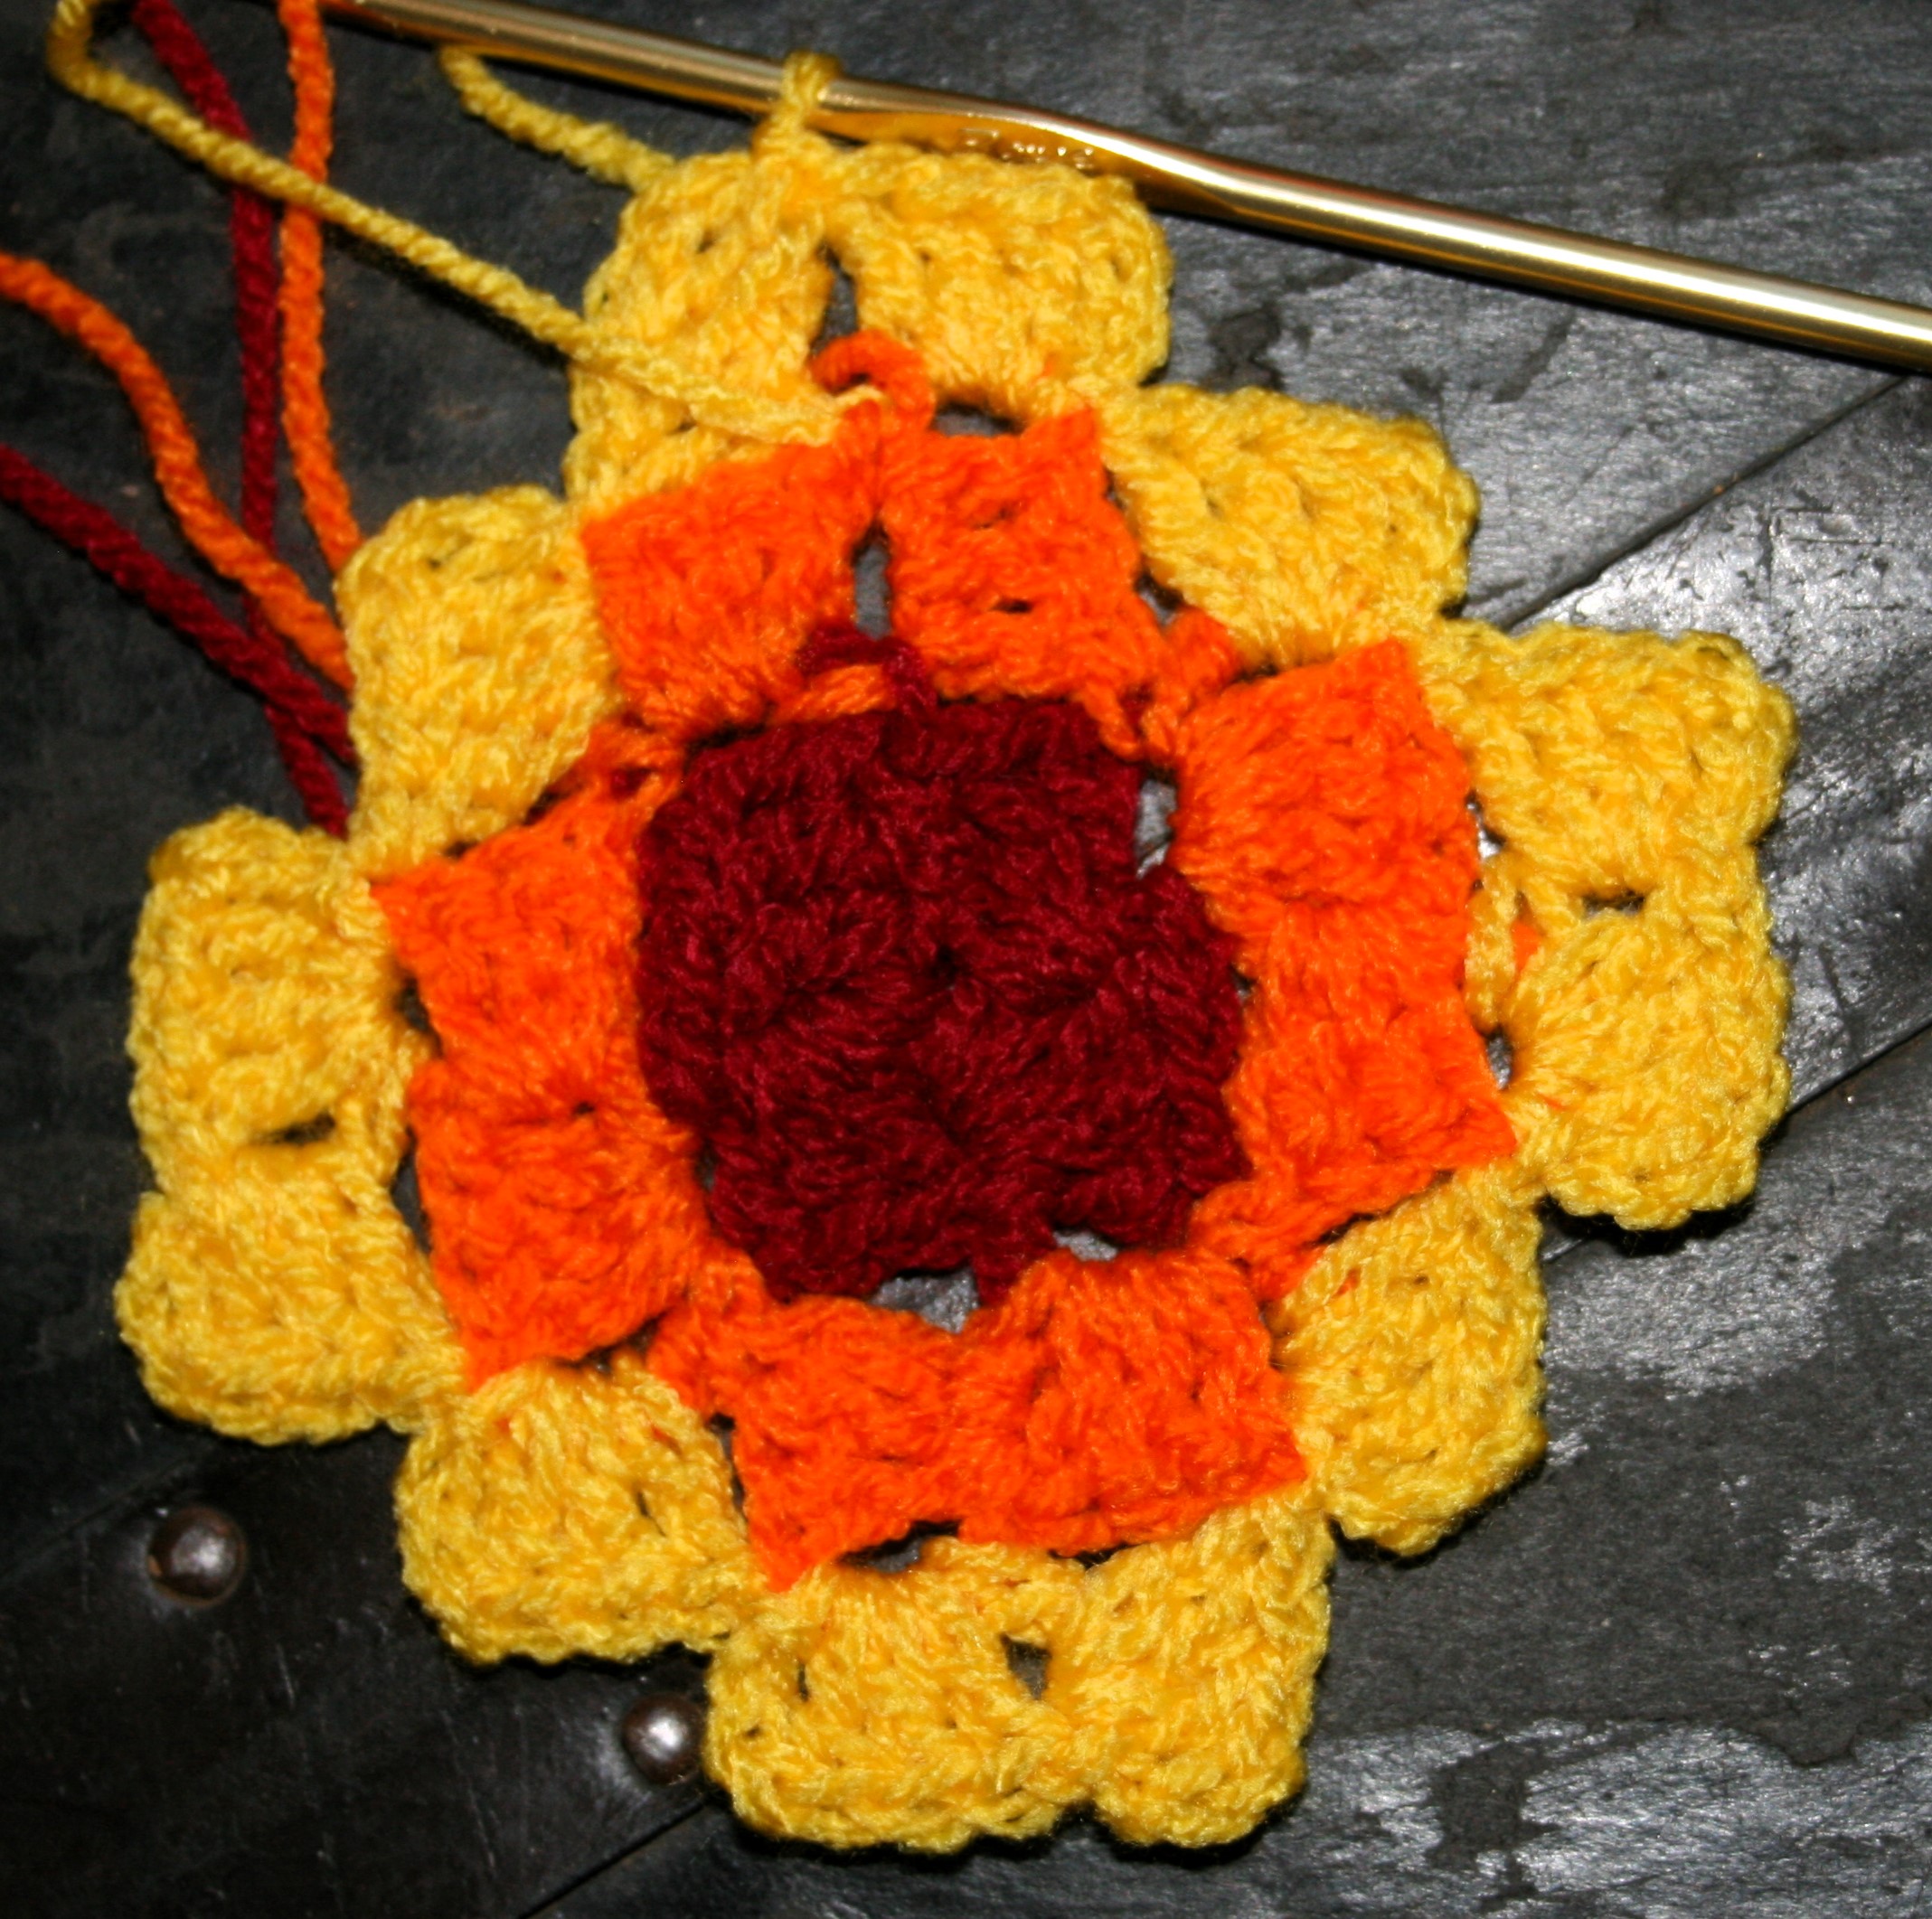
Corner to Corner in the round is a great technique that lends itself to a fun look while being a relaxing project. This technique was brought to my attention by one of my students, as she was asking how to create it. After some research I discover it here.

Essentially you are creating the beginning of 4 corner to corner blankets at the same time. You only have to work the increases, and just increase from the one corner of a blanket, to then work the next increase of the next blanket.

The first few rounds can be a bit fiddly, but after that it becomes pretty easy.

Getting Started

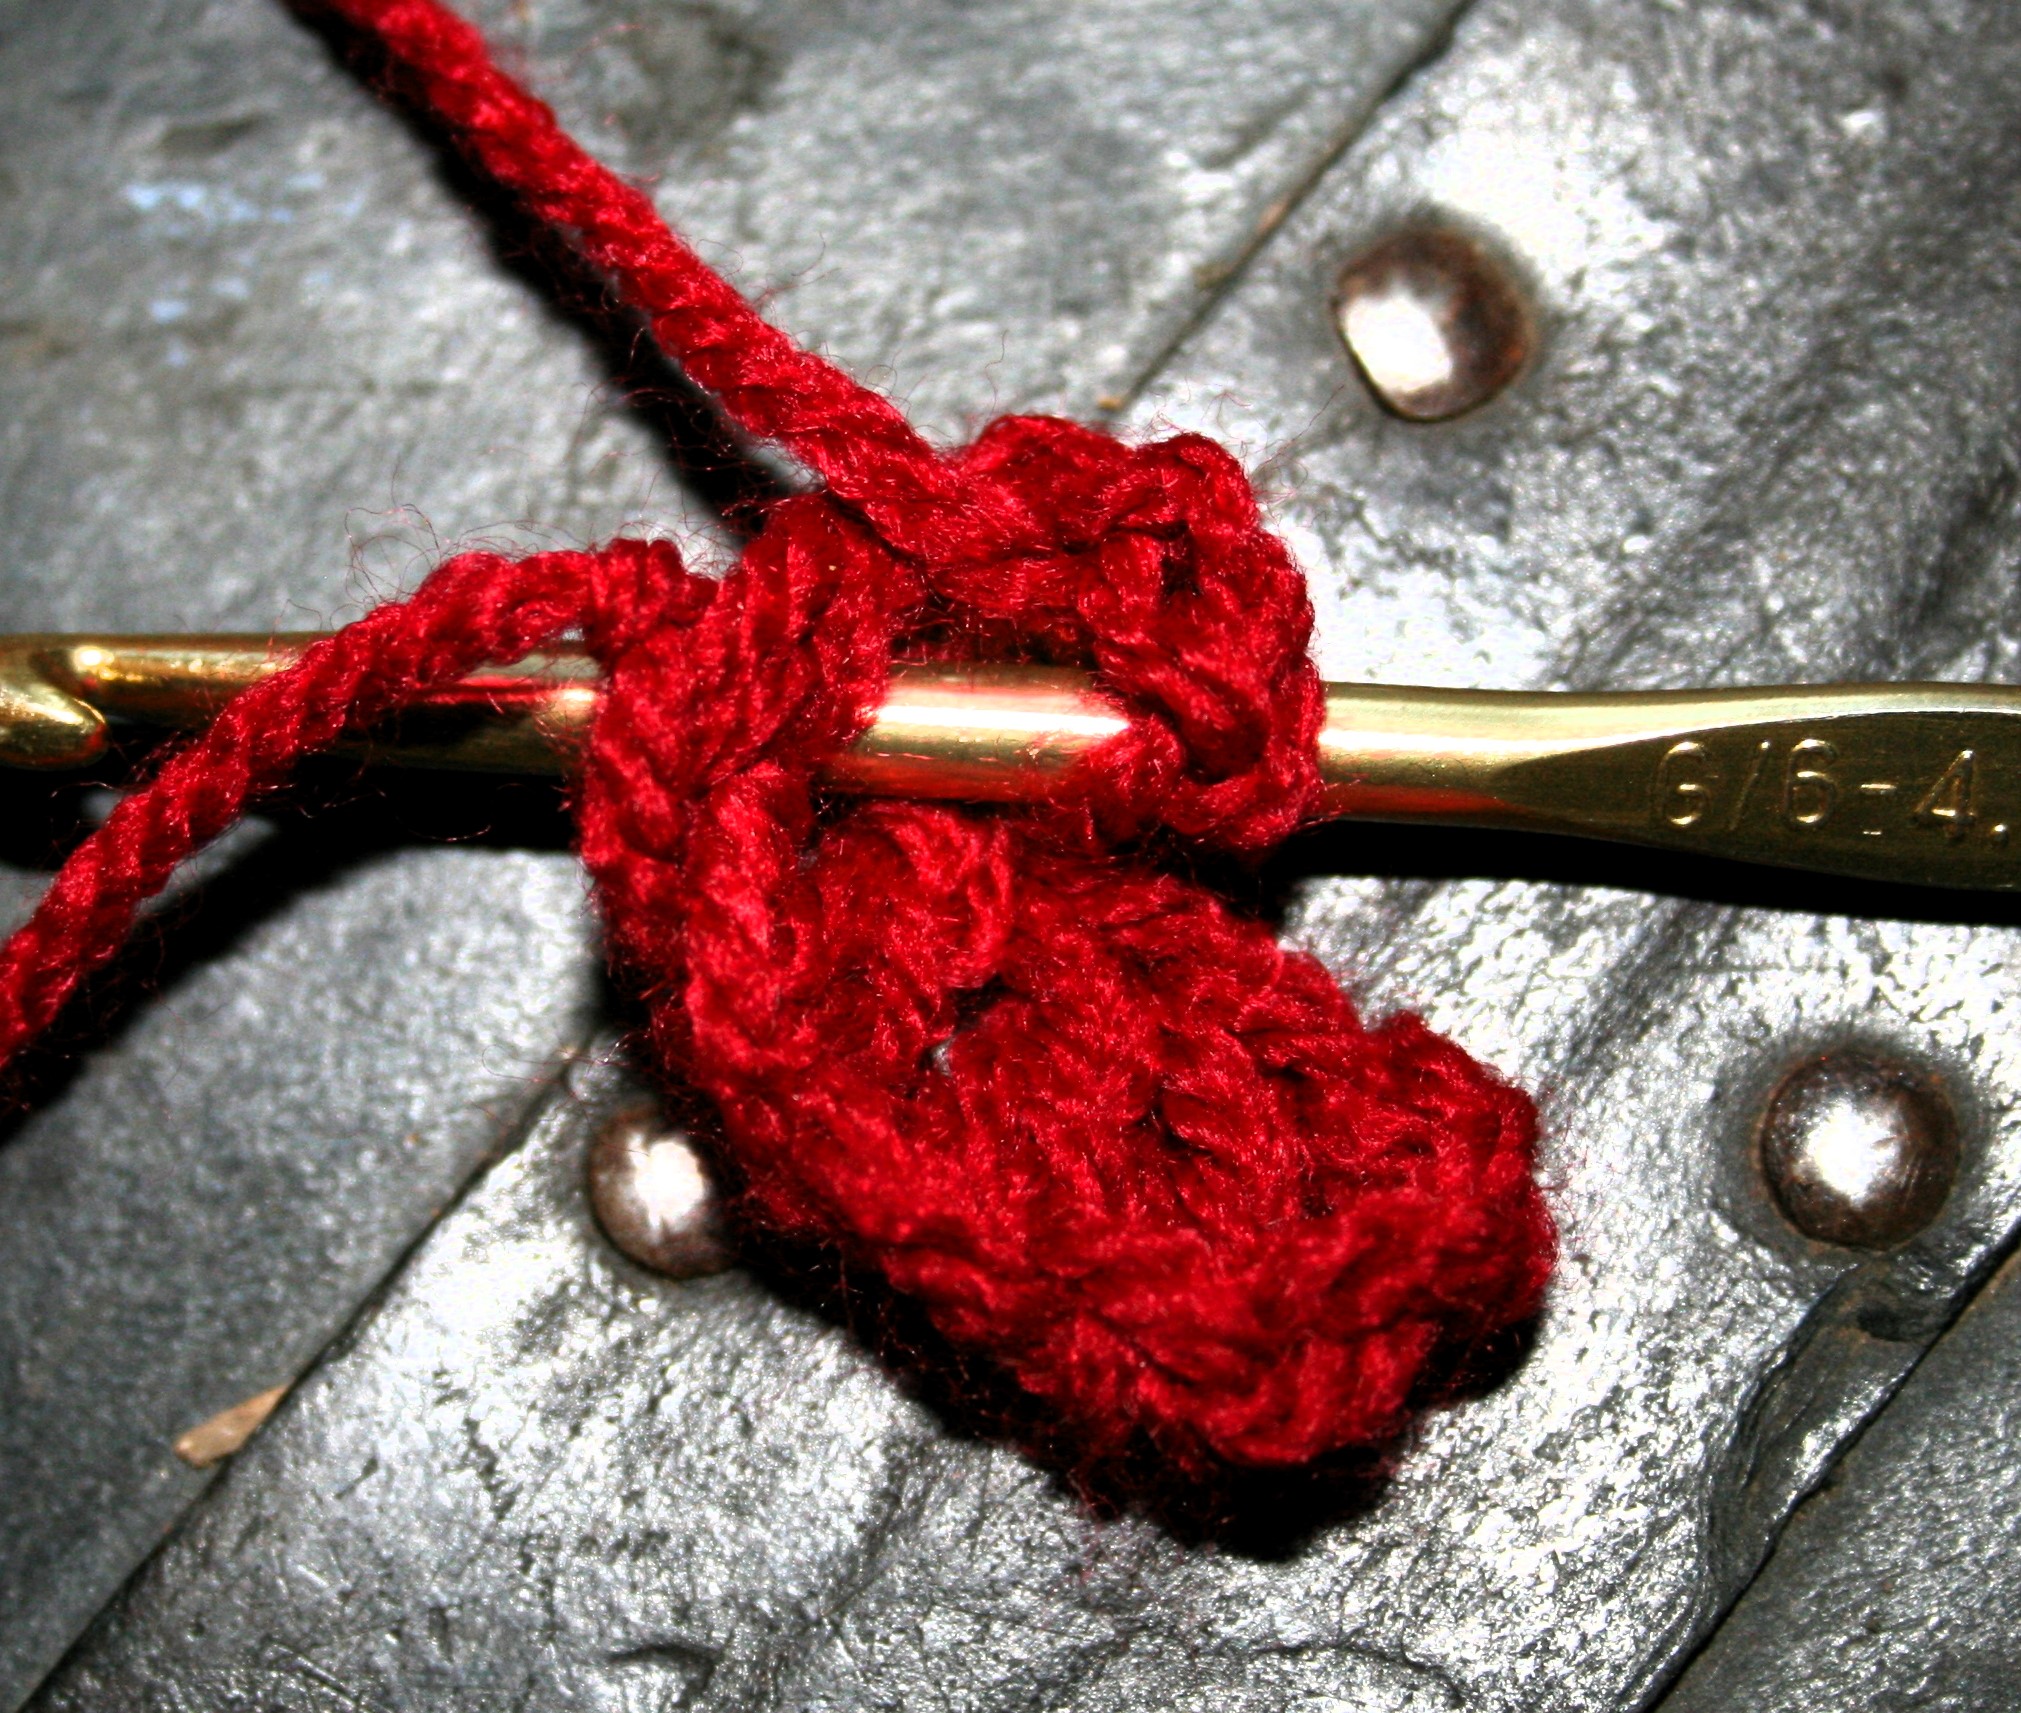
To get started you create a chain 7, dc in the 4th chain from the hook, and in each ch across. There will be 4 dc and the turning chain.

First block

Now chain 3, and rotate the little block clockwise if your right handed, counter-clockwise if you are left, so that you work the next 4 double crochet in around the post of the last dc created. Work these 4 double crochets.

Around the post of the last dc created
Block 2

Now 3 bocks

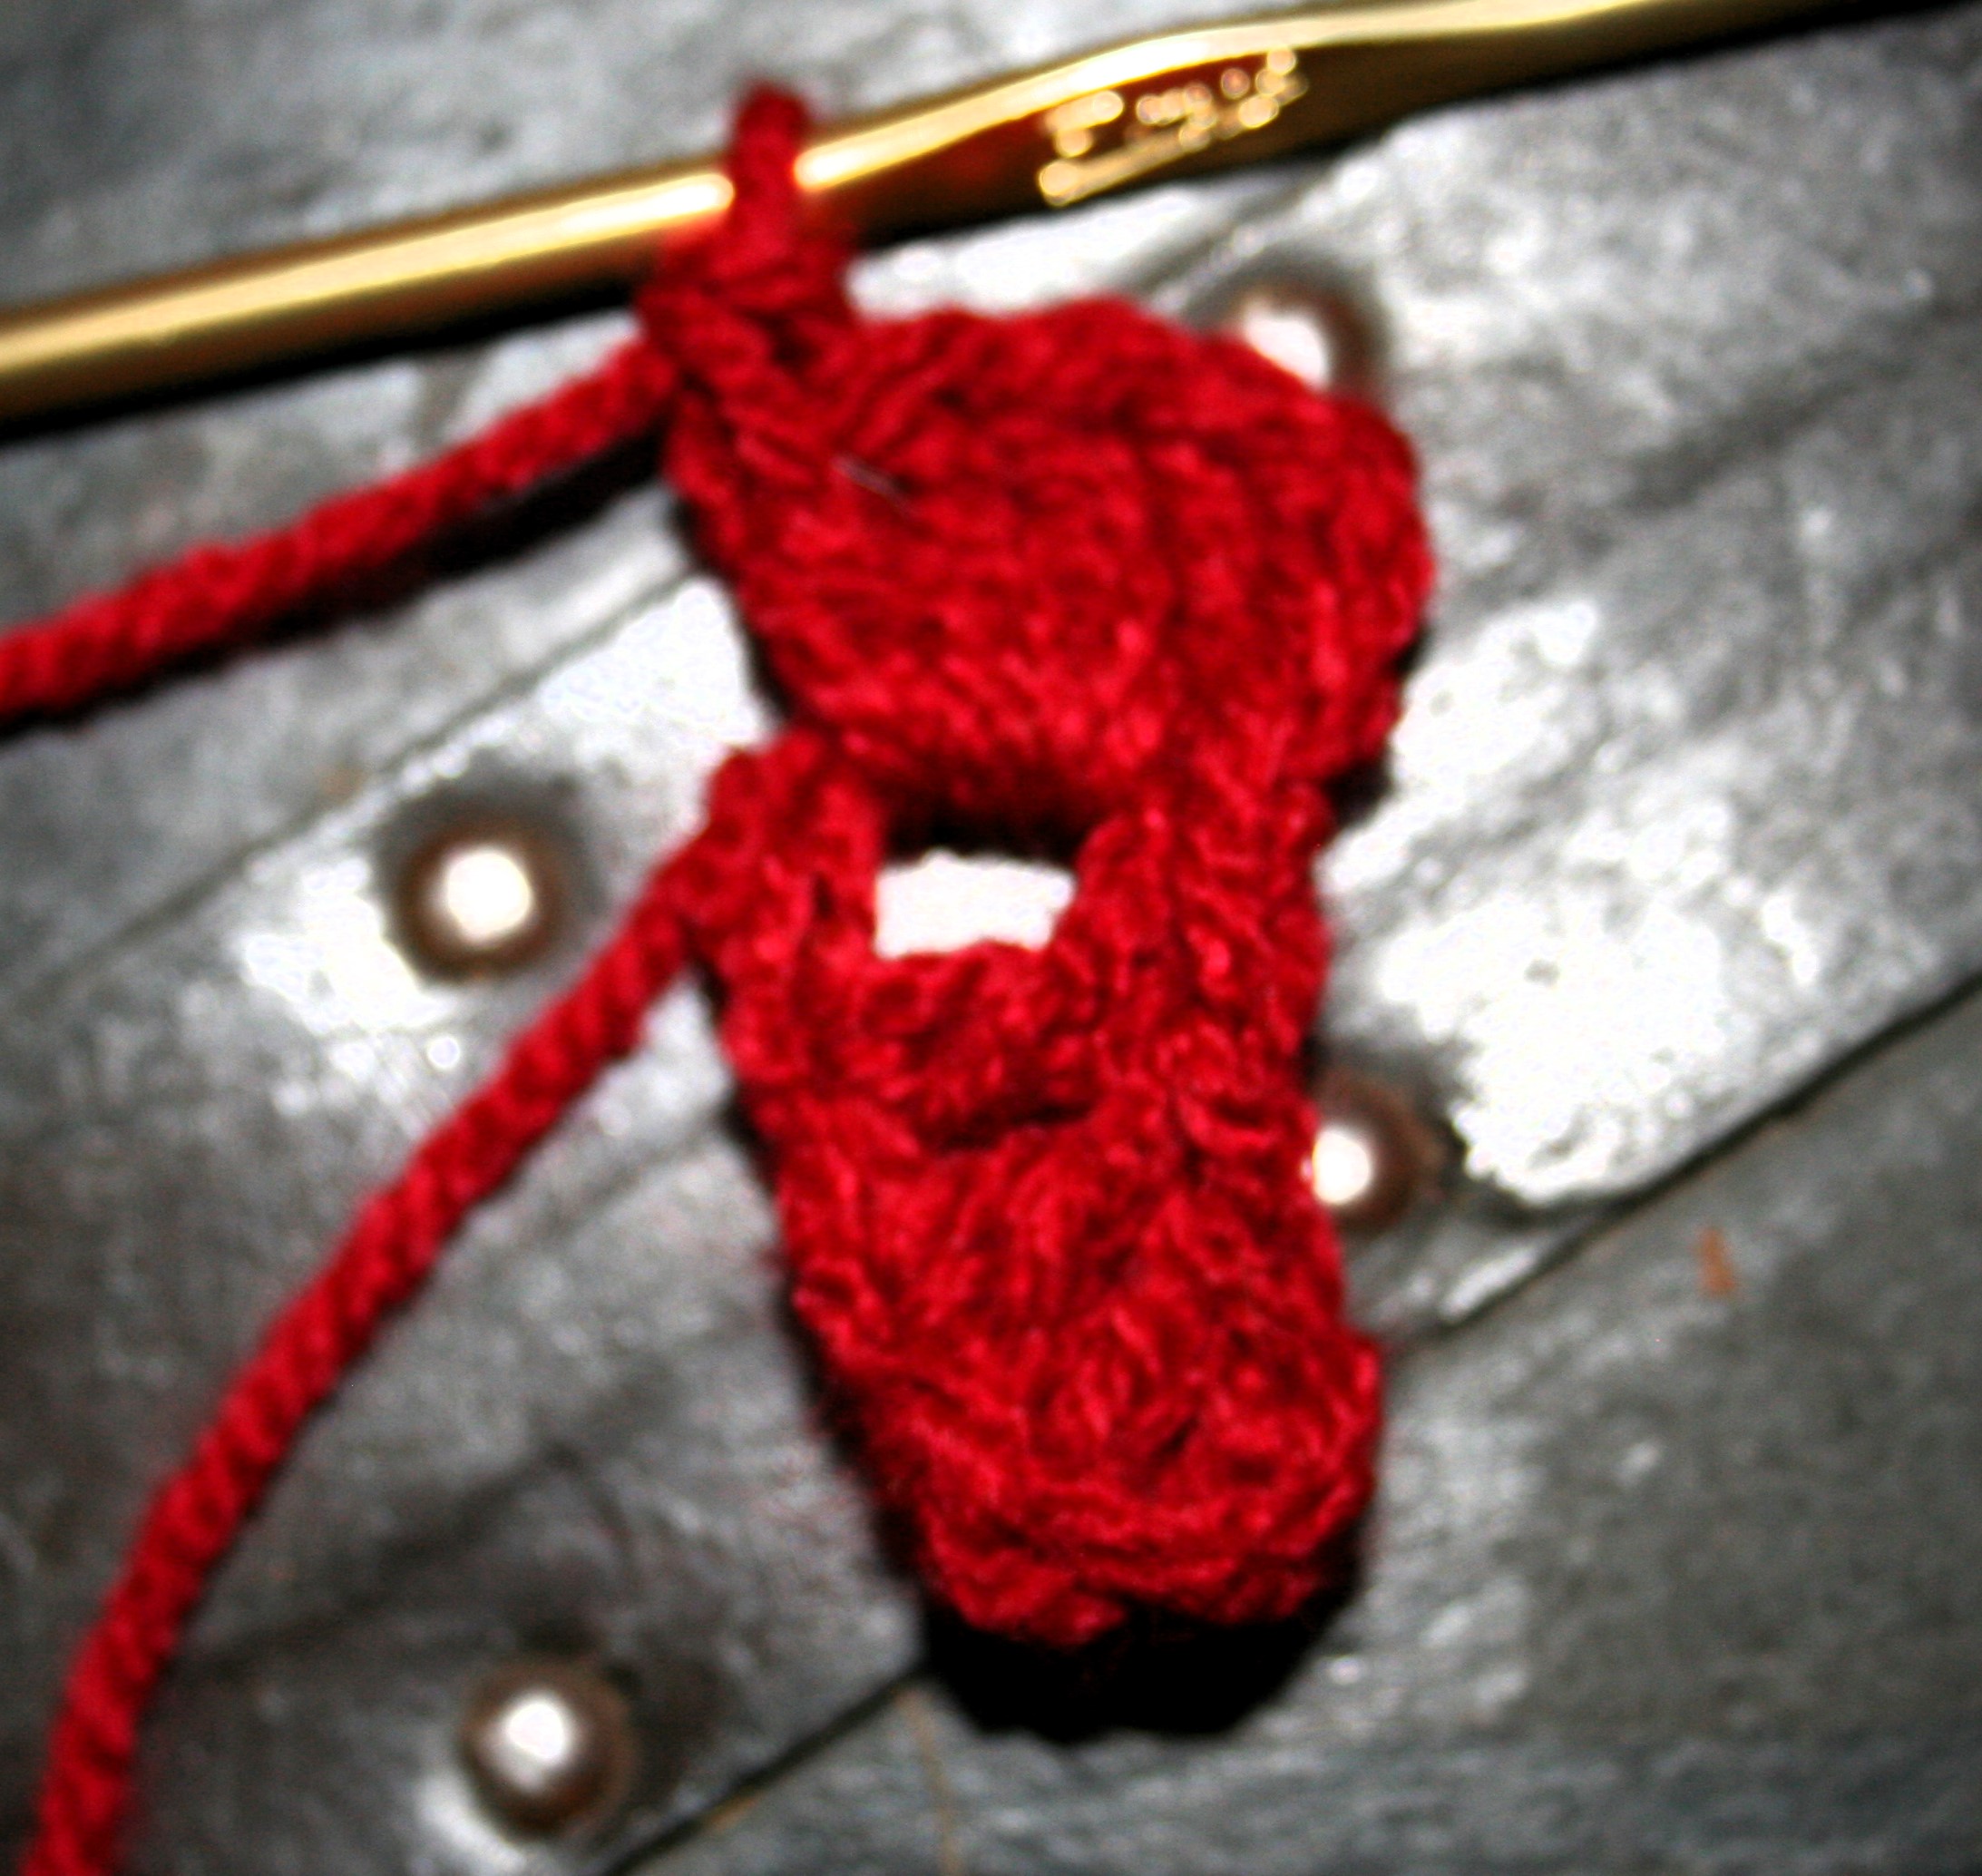
Rotate the blocks again in the same fashion, chain 3, and work 4 dc around the post of the last dc created. You will now have 3 blocks.

3 Blocks

Rotate the blocks one more time, chain 3 and work 3 dc around the last double crochet post created.

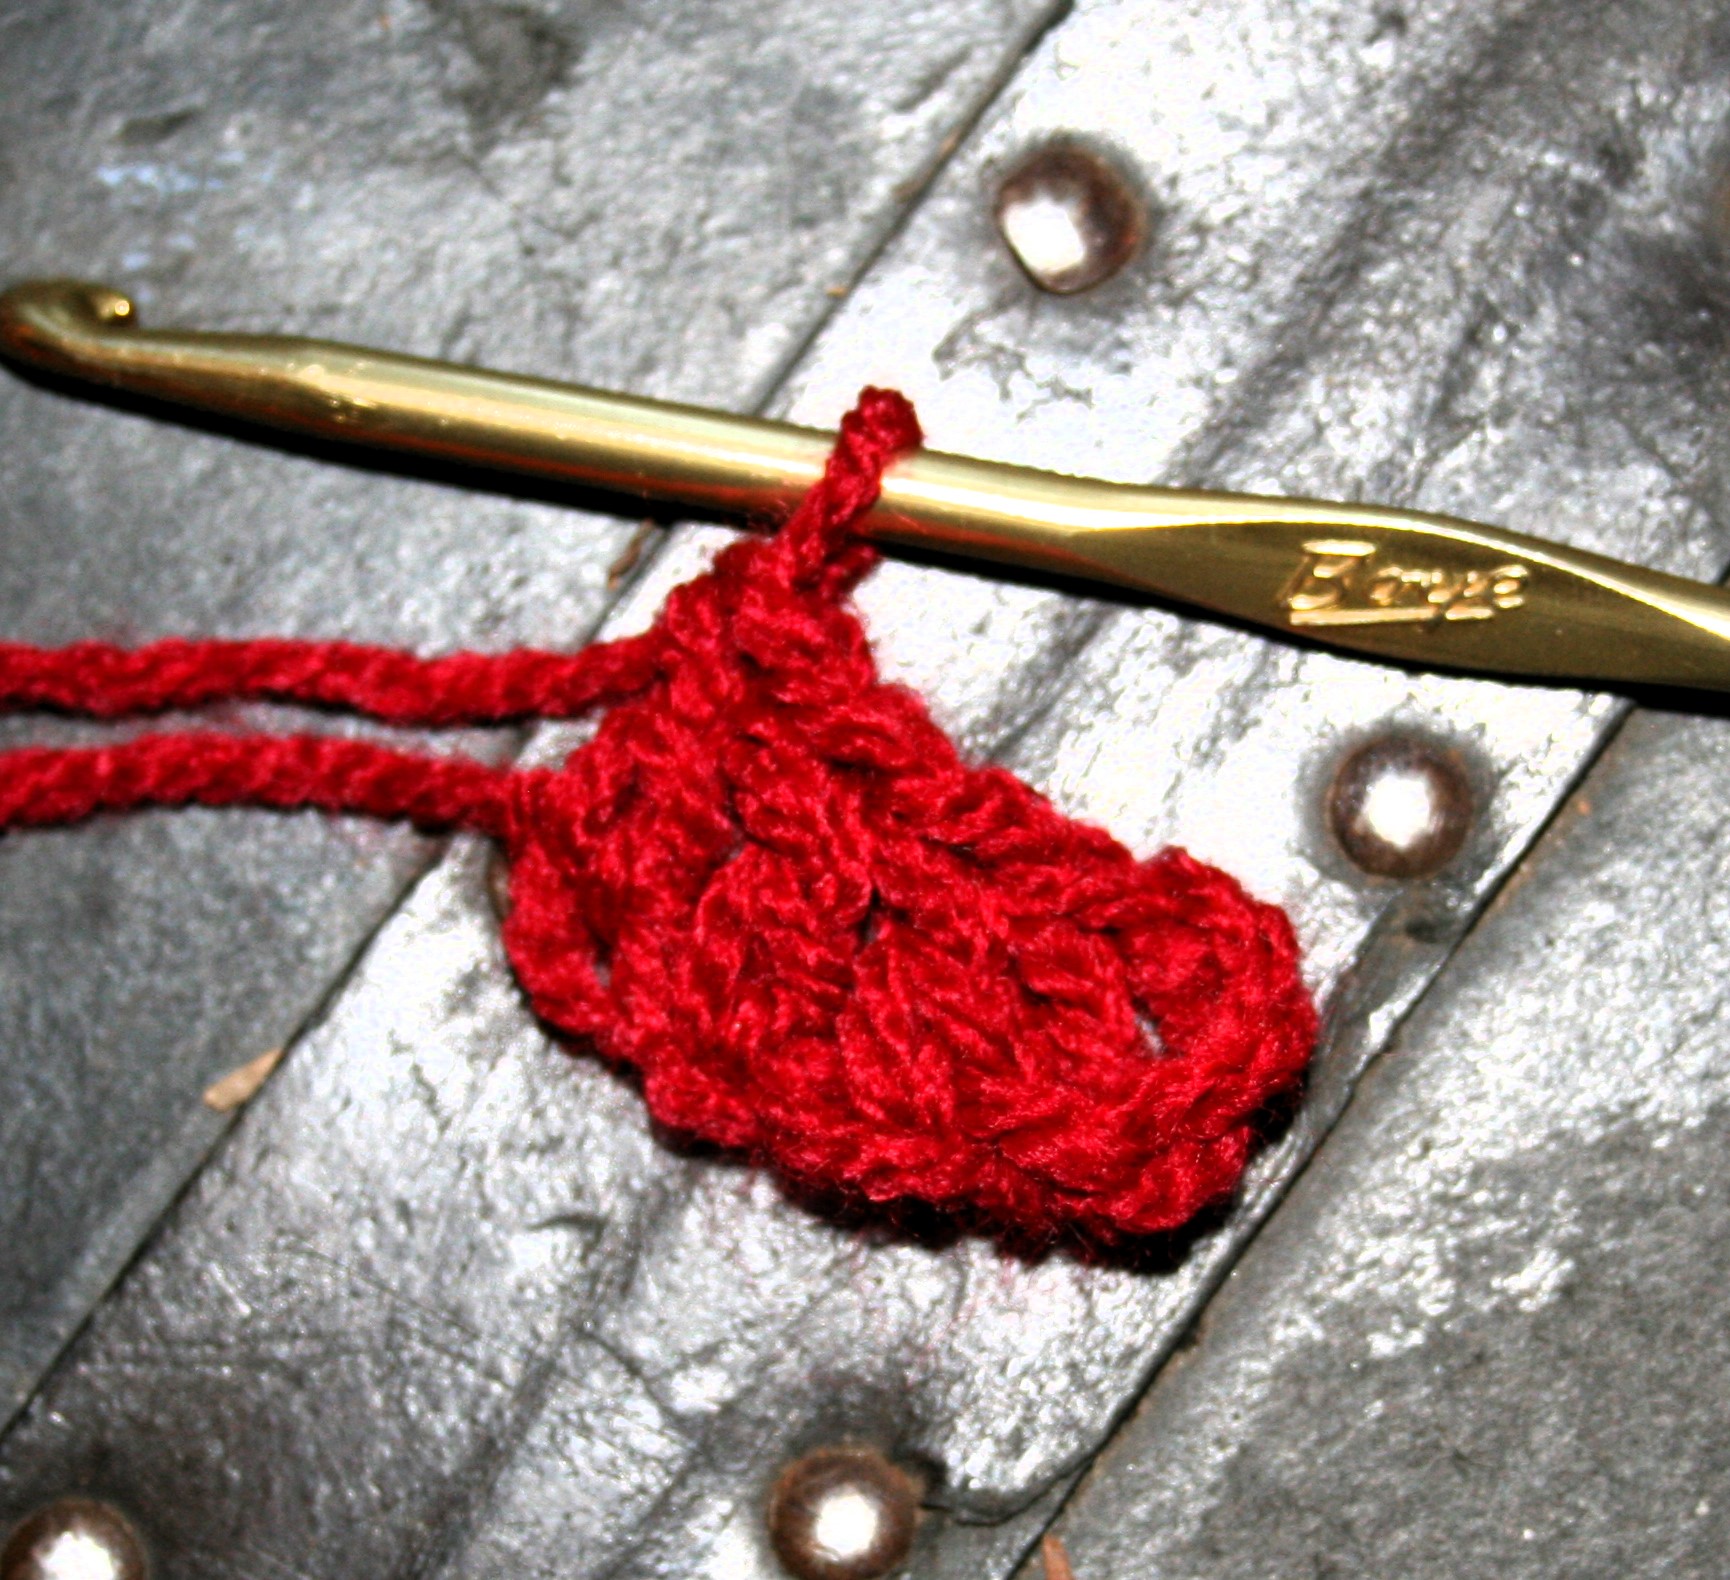
4 blocks, the center

The number of stitches changed in the last block because there is no new block to be created in this round, the reason all the previous blocks had 4 double crochets is because the last double crochet created is to be a base for the next block. As there is no new block after the 4th, it only needs 3 stitches.

Now slip stitch to the top of the adjacent square.

4 blocks

In my samples I have changed colors at this point, but you can easily continue with the same yarn.

Round 2

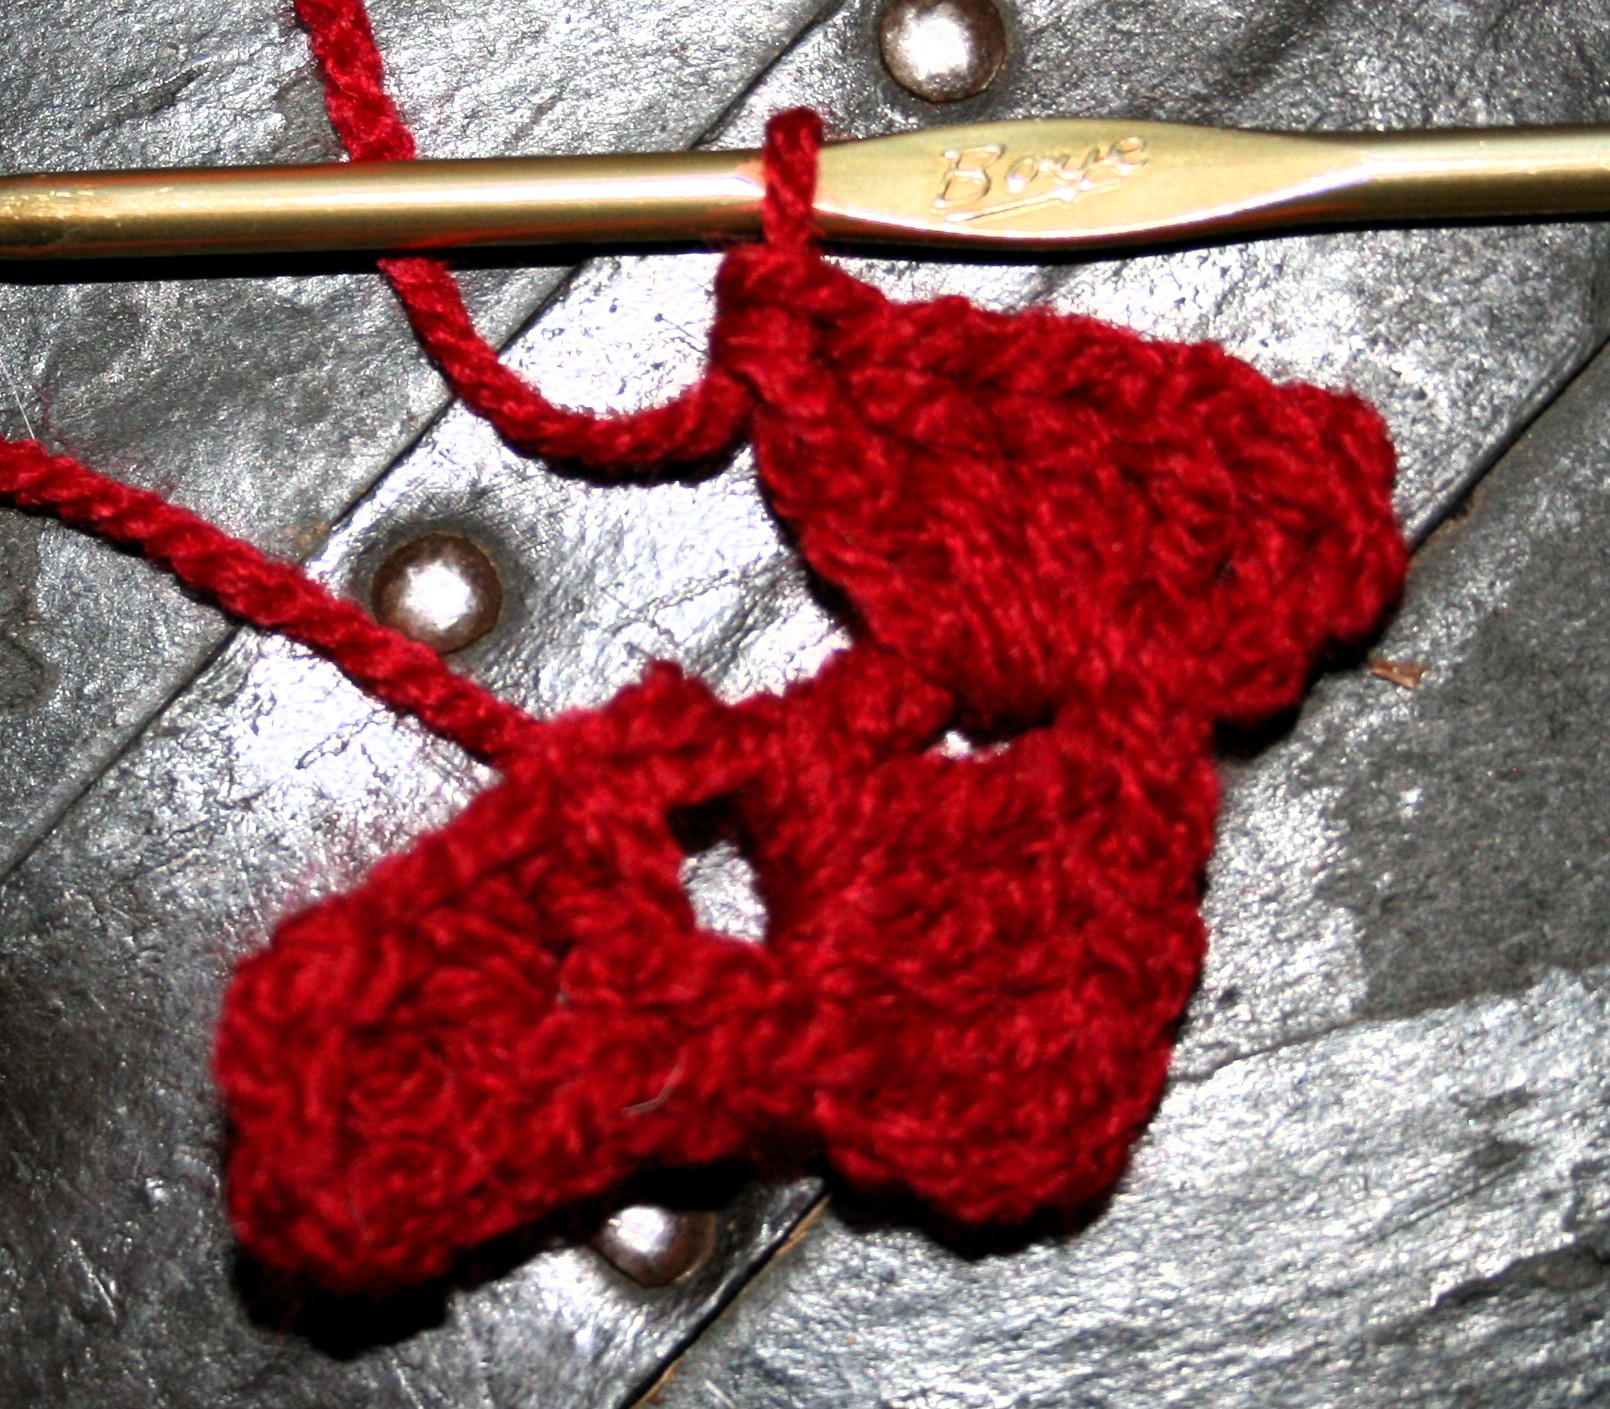
Turn the work like a page of a book, just like you do with your other crochet projects. Chain 6, dc in 4th chain from hook, and in each chain across. Now slip stitch to the opposite corner of the same block in round 1, this is the next corner from the chain.

Making the first block of Round 2
Slip stitch the block in place.

Rotate the blocks again, and chain 3. Work 4 dc in the side of the next block in round 1. Chain 3, and rotate the blocks again, work 3 dc around the post of the last dc made. Slip stitch to the next corner in round 1. This process is repeated for all or Round 2. Slip Stitch to join at the top of the corner of the adjacent block.

Round 2

Round 3 and Beyond

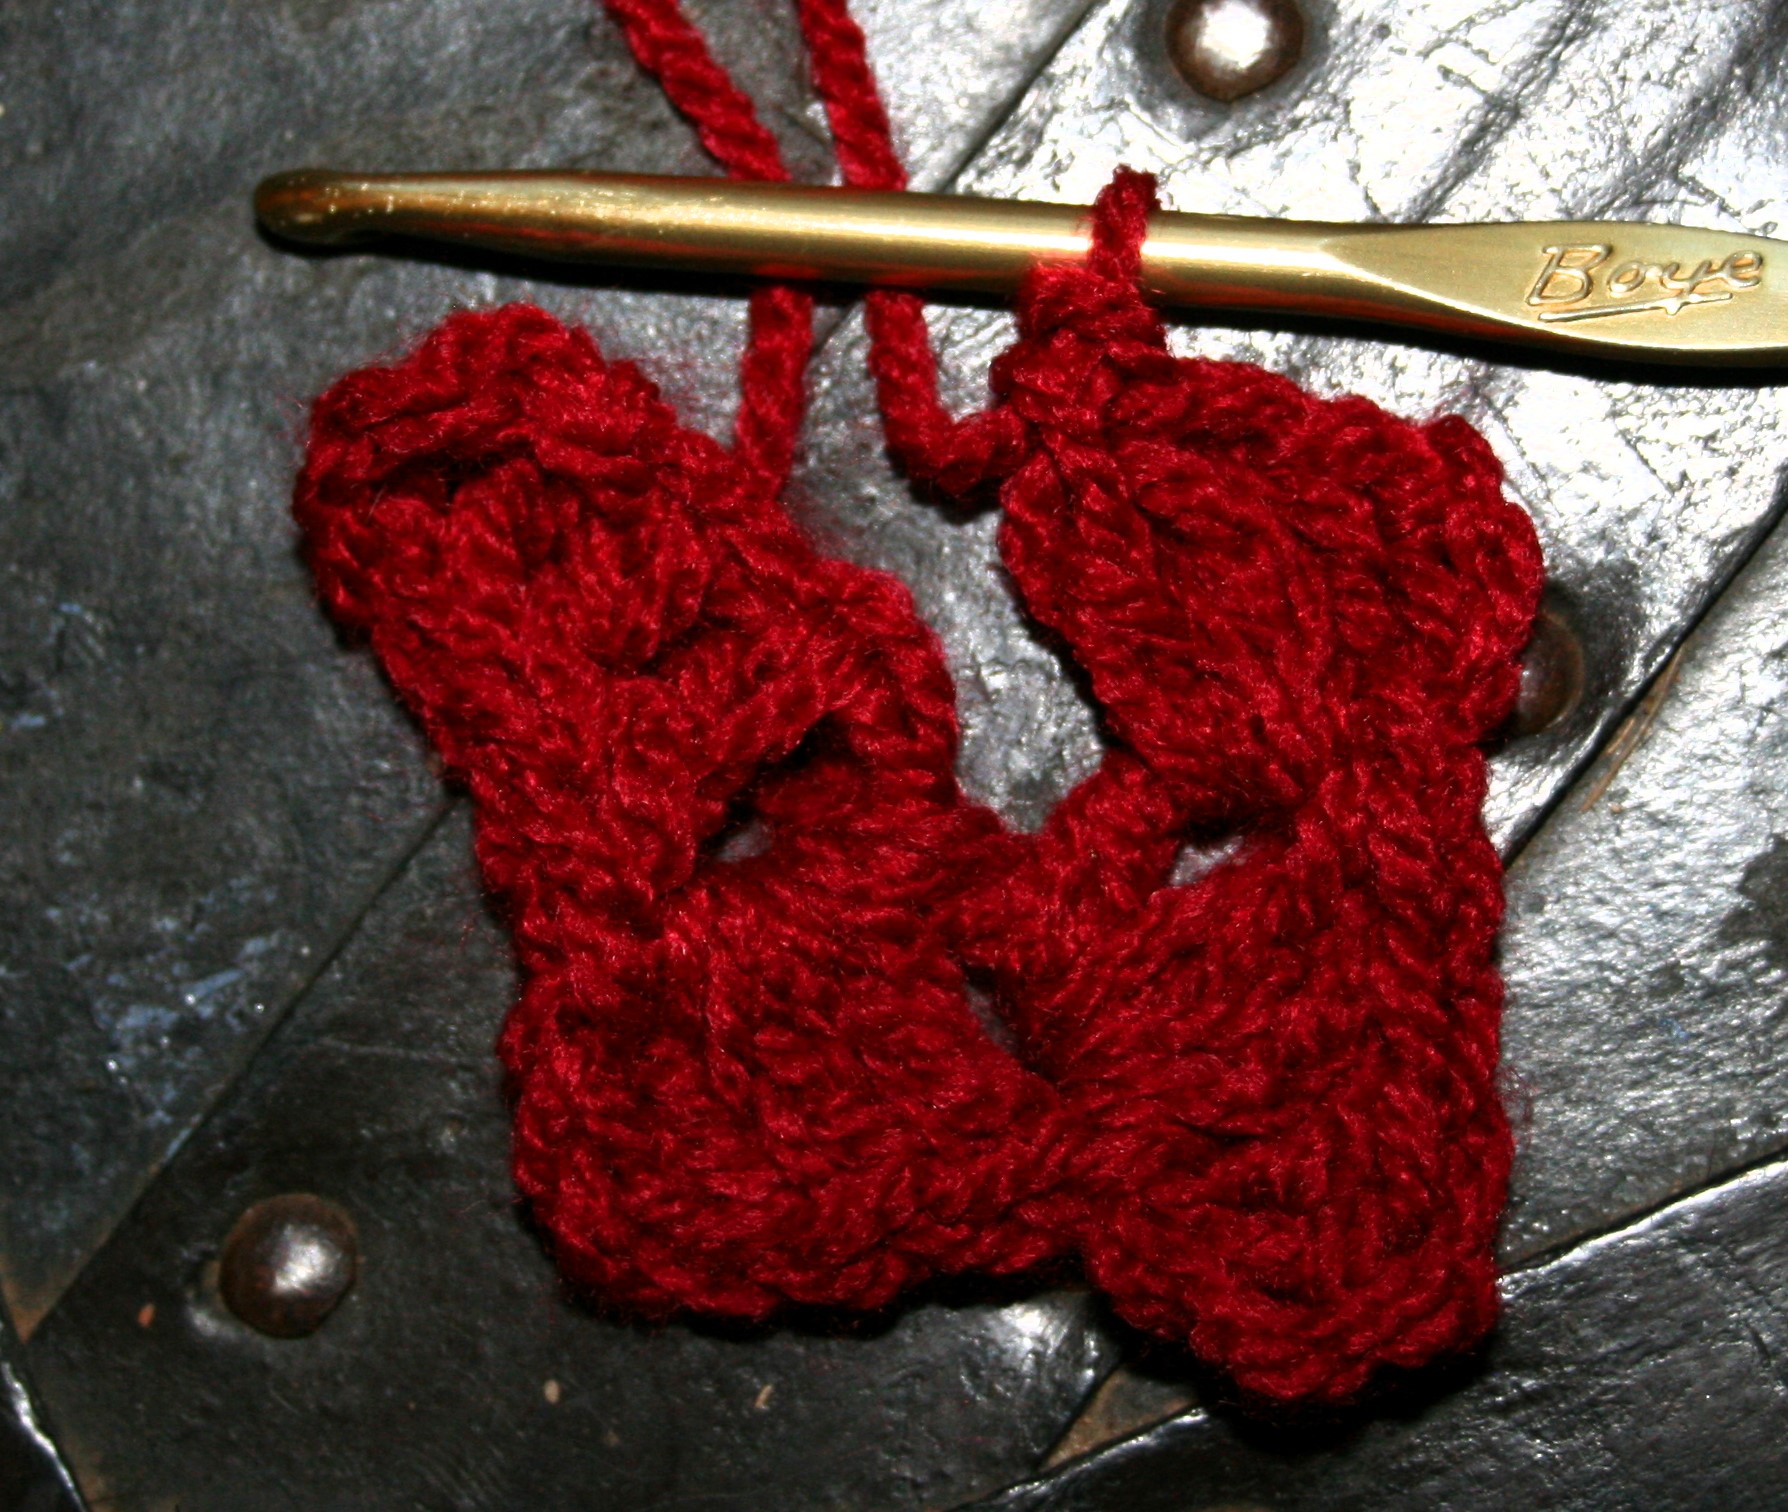
Beginning Round 3 is the same process, turn the work like a page of a book. Chain 6 dc in the 4th chain from the hook, and in each chain across. Now slip stitch to the opposite corner of the same block in round 2, this is the next corner from the chain.

Rotate the blocks again, and chain 3. Work 3 dc in the side of the next block, and skip stitch to the top of the next adjacent block. I refer to this as filling in the blocks, in the rounds after Round 3, there will be more steps, but you work them the same.

Round 3 complete

When you get to the top step, the top step created will be the first side worked into on the next rotation, so after creating a chain 3, work 4 dc in the side of the next block in the round below. Chain 3, and rotate the blocks again, work 3 dc around the post of the last dc made. Slip stitch to the next corner in round 1. This process is repeated for all or Round 3 and all subsequent rounds. Slip Stitch to join at the top of the corner of the adjacent block.

Free Pattern

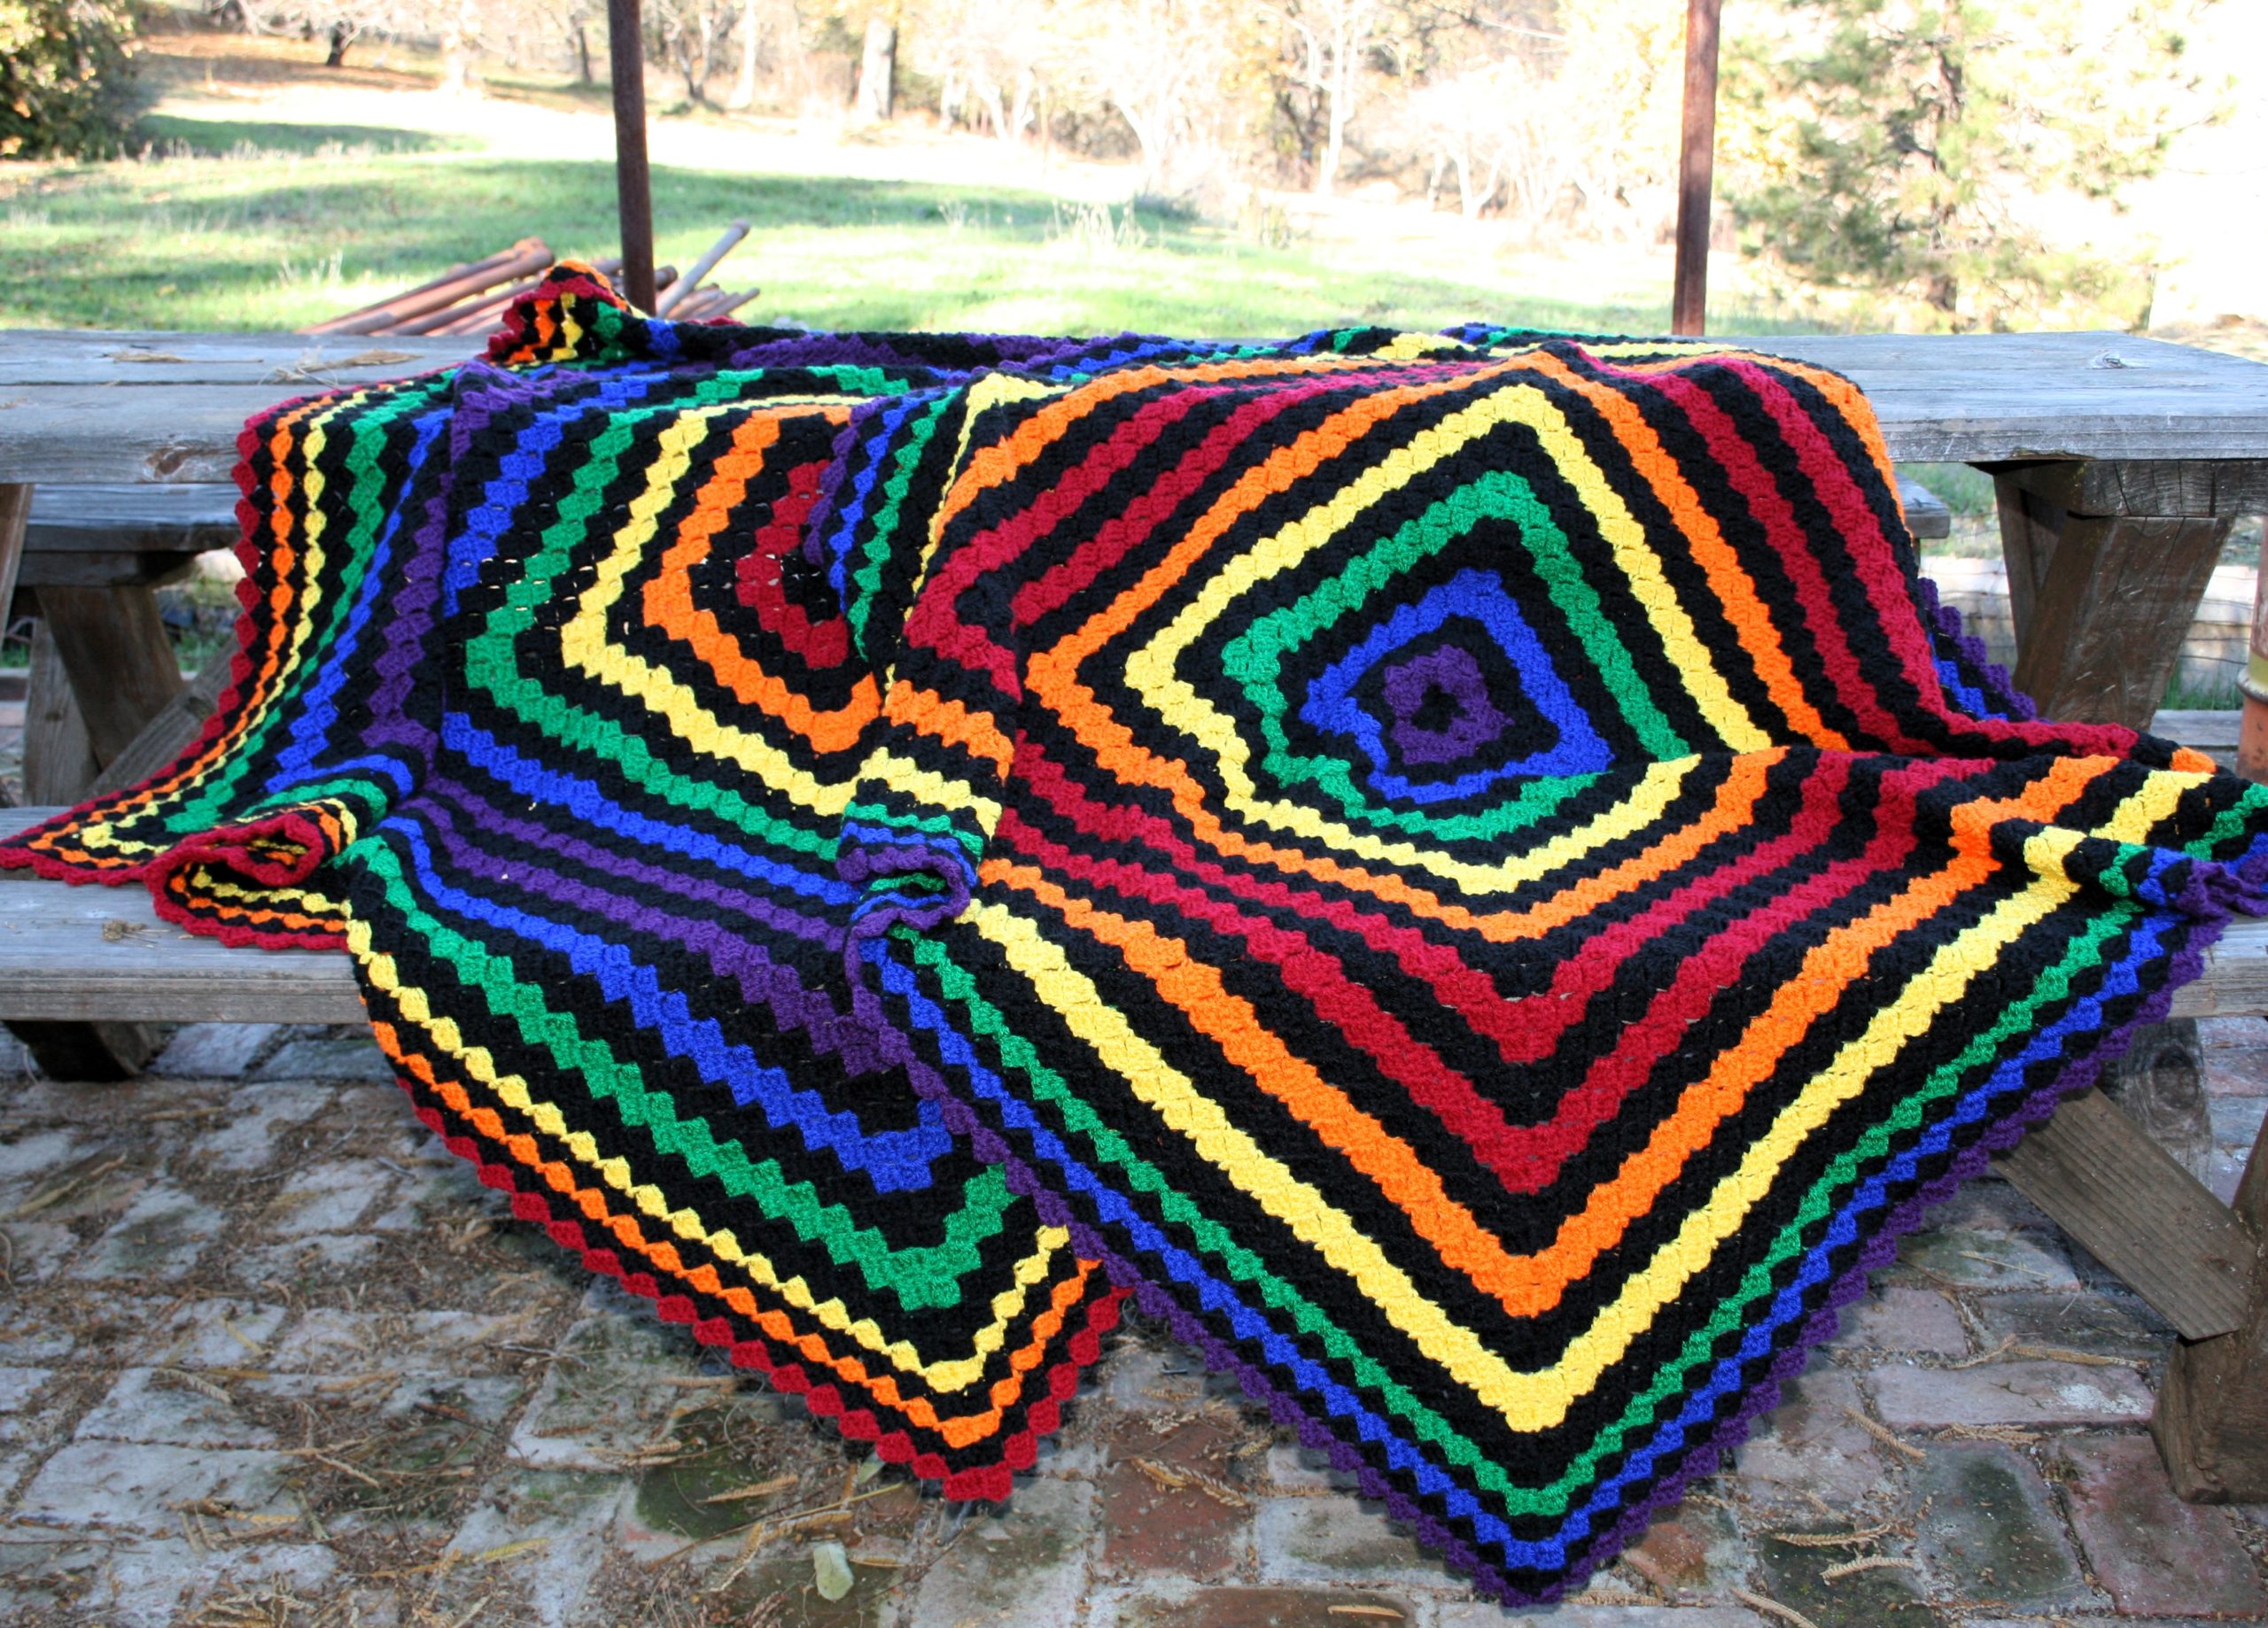
I have worked up a couple of toddler blankets in this technique. If you would like to work them, I have outlined the yarn and color changes I used below, but I used the pattern technique listed above.

Radiant Rounds Lapghan

Working corner to corner in the round creates a fun and easy blanket. The materials and pattern will make 2 blankets reversing the color orders.

Size: 41” square

Materials

  • Scheepjes Colour Crafter medium weigh 100% Acrylic yarn (100g/3.5oz/300m/328yrds)
    • 5 skeins #1002 Ede (A),
    • 1 skein each:
      • #1123 Roermond (B),
      • #2002 Gent (C),
      • #2004 Brussel (D),
      • #1116 Emmen (E),
      • #1117 Delft (F),
      • #1425 Deventer (G)
  • H/8/5.00mm crochet hook

Pattern

Rnd 1: With A, ch 7, dc in 4th ch from hook, and each ch across, rotate (clockwise if right handed, counter-clockwise if left handed), ch 3, 4 dc around post of last dc created, rotate, ch 3, 4 dc around port of last dc created, rotate, ch 3, 3 dc around post of last dc created, sl st to adjacent block, turn.

Rnd 2: Ch 6, dc in 4th ch from hook, and each ch across, sl st opposite corner of block below, rotate, [ch 3, 4 dc around post of block below, ch 3, rotate, 3 dc around post of last dc created, sl st to adjacent block] 3 times, ch 3, 3 dc around post of block below, sl st to top of adjacent block, turn.

Rnd 3-42: Ch 6, dc in 4th ch from hook, and each ch across, sl st to opposite corner of block below, {rotate, [ch 3, 3 dc around post of stitch below for each step block until top step] across to corner, ch 3, 4 dc around post of stitch in block below, rotate, ch 3, dc in around post of stitch just created, sl st to adjacent block} 2 times, [ch 3, 3 dc around post of stitch below for each step block until top step] across to corner, ch 3, 3 dc around post of stitch in block below, sl st to top of adjacent block, turn.

Fasten off at the end of Rnd 42

Weave in ends, block if desired.

Color Sequence (lapghan 1/ lapghan 2)

  • Rnd 1-2: A
  • Rnds 3-4: B/G
  • Rnds 5-6: A
  • Rnd 7-8: C/F
  • Rnds 9-10: A
  • Rnds 11-12: D/E
  • Rnd 13-14: A
  • Rnds 15-16: E/D
  • Rnds 17-18: A
  • Rnd 19-20: F/C
  • Rnds 21-22: A
  • Rnds 23-24: G/B
  • Rnd 25-26: A
  • Rnds 27-28: G/B
  • Rnds 29-30: A
  • Rnd 31-32: F/C
  • Rnds 33-34: A
  • Rnds 35-36: E/D
  • Rnd 37: A
  • Rnds 38: D/E
  • Rnds 39: A
  • Rnd 40: C/F
  • Rnds 41: A
  • Rnds 42: B/G