Hooks- Change Stitches

There are many things that I have taken for granted in my world of crochet over many years. One such things is the hook I use.

I have also found that it is one of the things that very few people consider when evaluating their crochet work, people consider the pattern, the yarn, even their ability before considering the tool that was used to make it. However there are differences between hook, aside from how it feels in your hand that can affect how you stitches looks.

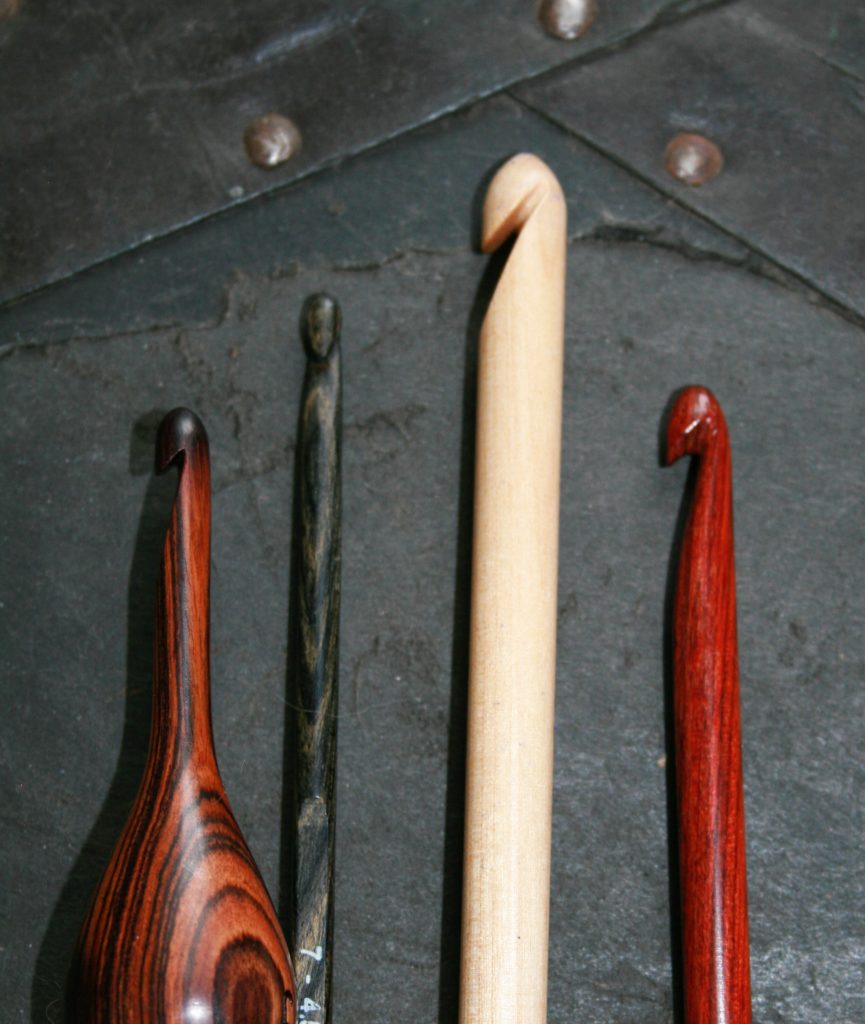
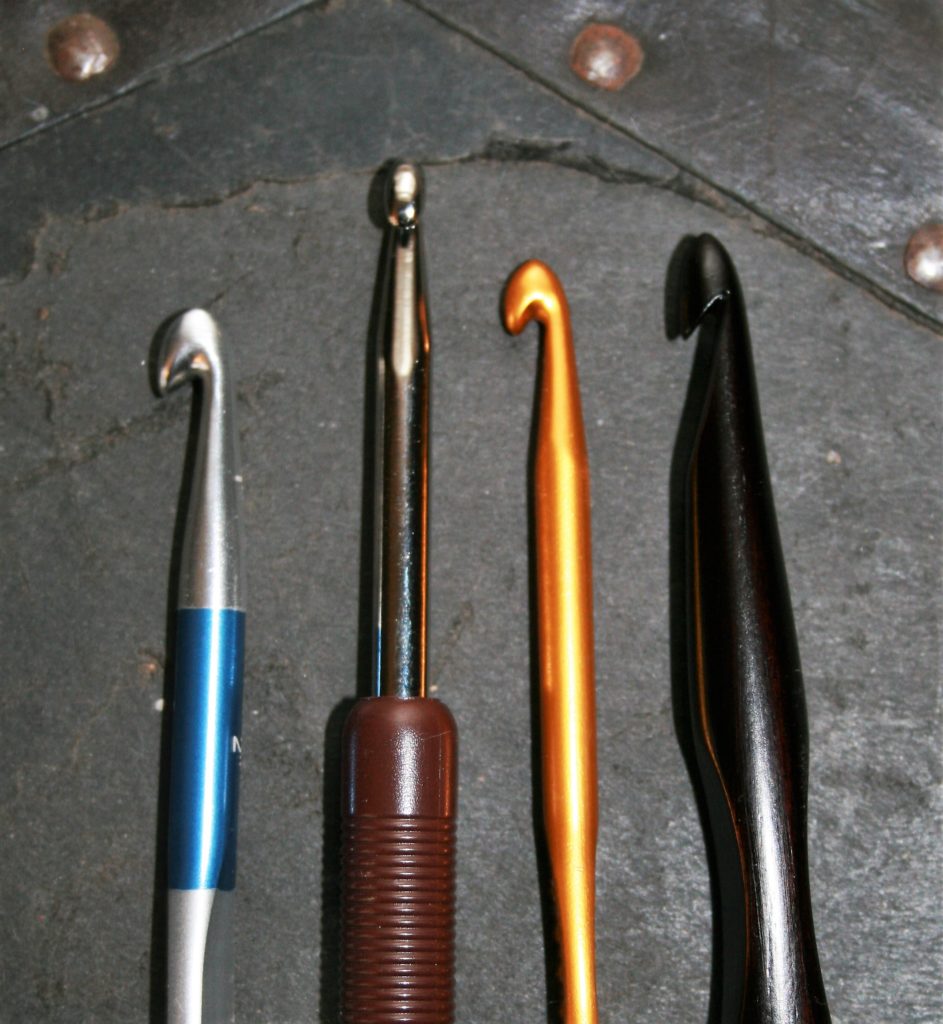
The main parts of a hook, are well first of the hook. Is it an in-line or a taper hook? An in-line is essentially a tube, nice and smooth that has a slit cut into it, while a taper has a shaft that gets smaller as it approaches the hook, then gets larger again at the head of the hook. The most common hooks on the market that reflect this are the Susan Bates- inline, and Boye- taper.

In-line Hooks

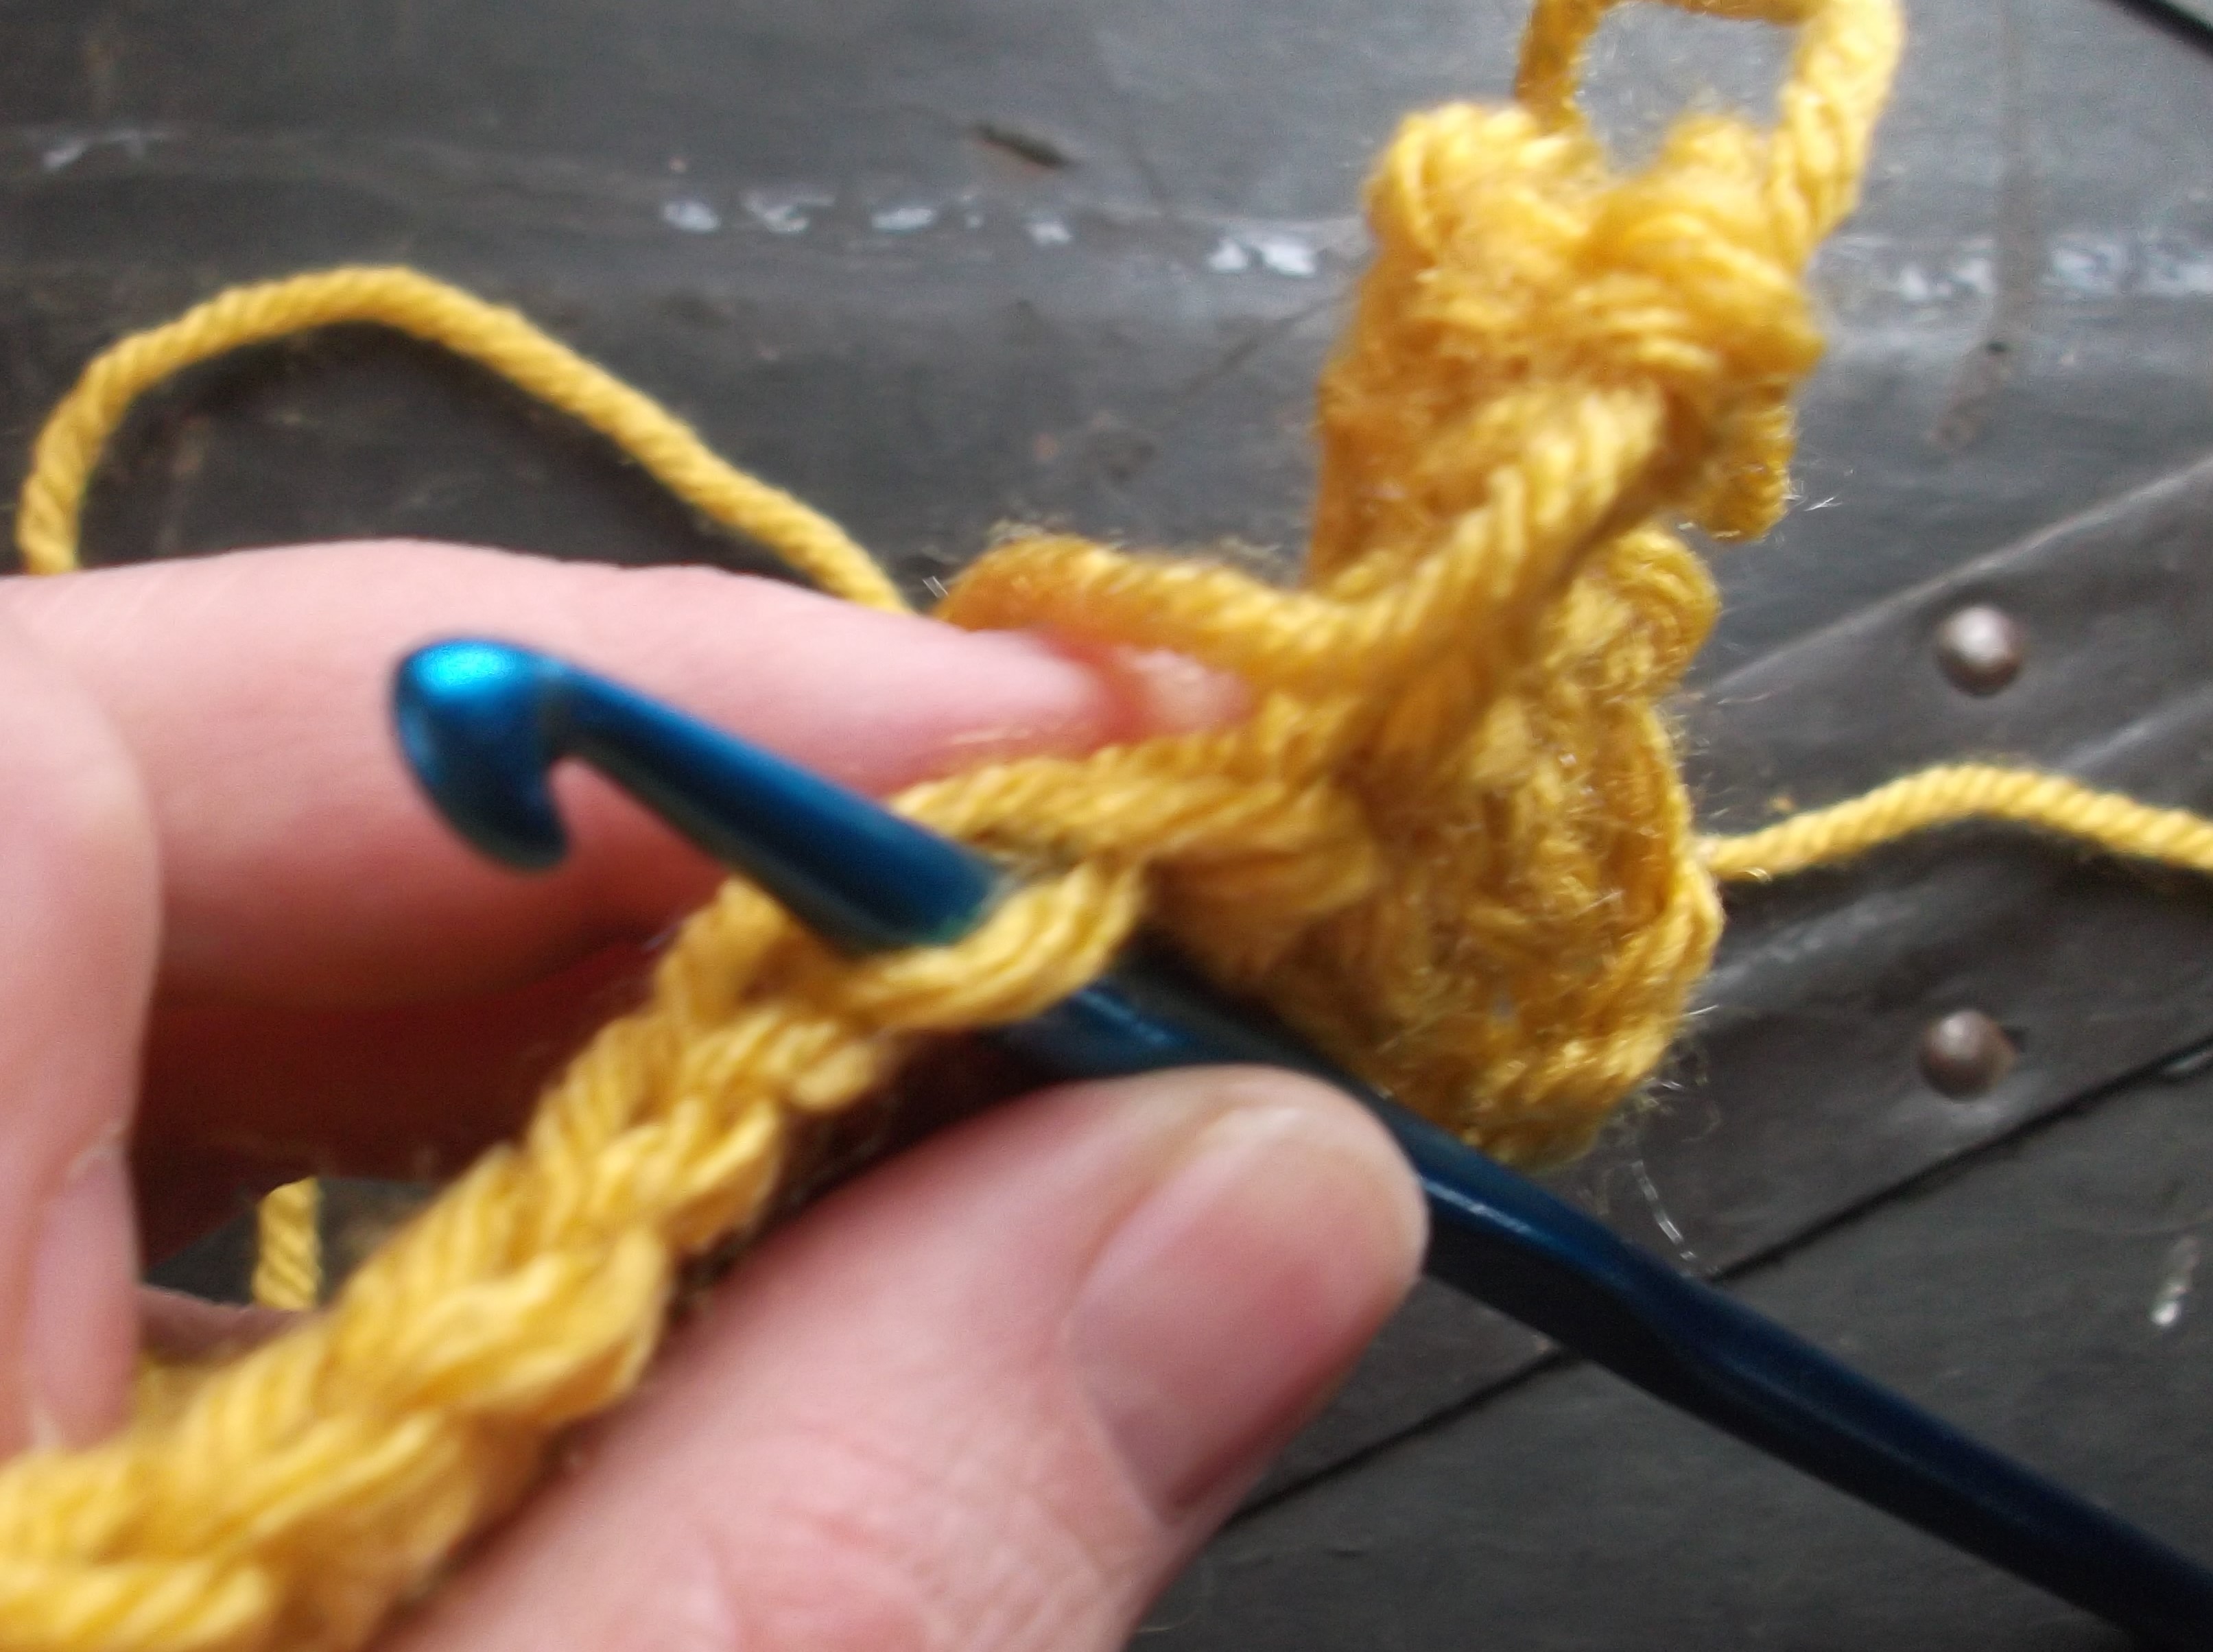
The biggest difference I have found with these hooks and my stitches come into play when working stitches that have several yarn overs or “loops” to pull through, such as a bullion stitch. (A bullion stitch can have a several yarn overs, in some cases 10, before pulling through all the loops on the hook). For me the taper makes it difficult to keep these loops even when pulling through, and I have a tendency to fit it a bit to get all the loops off, while an in-line hook seems a bit easier.

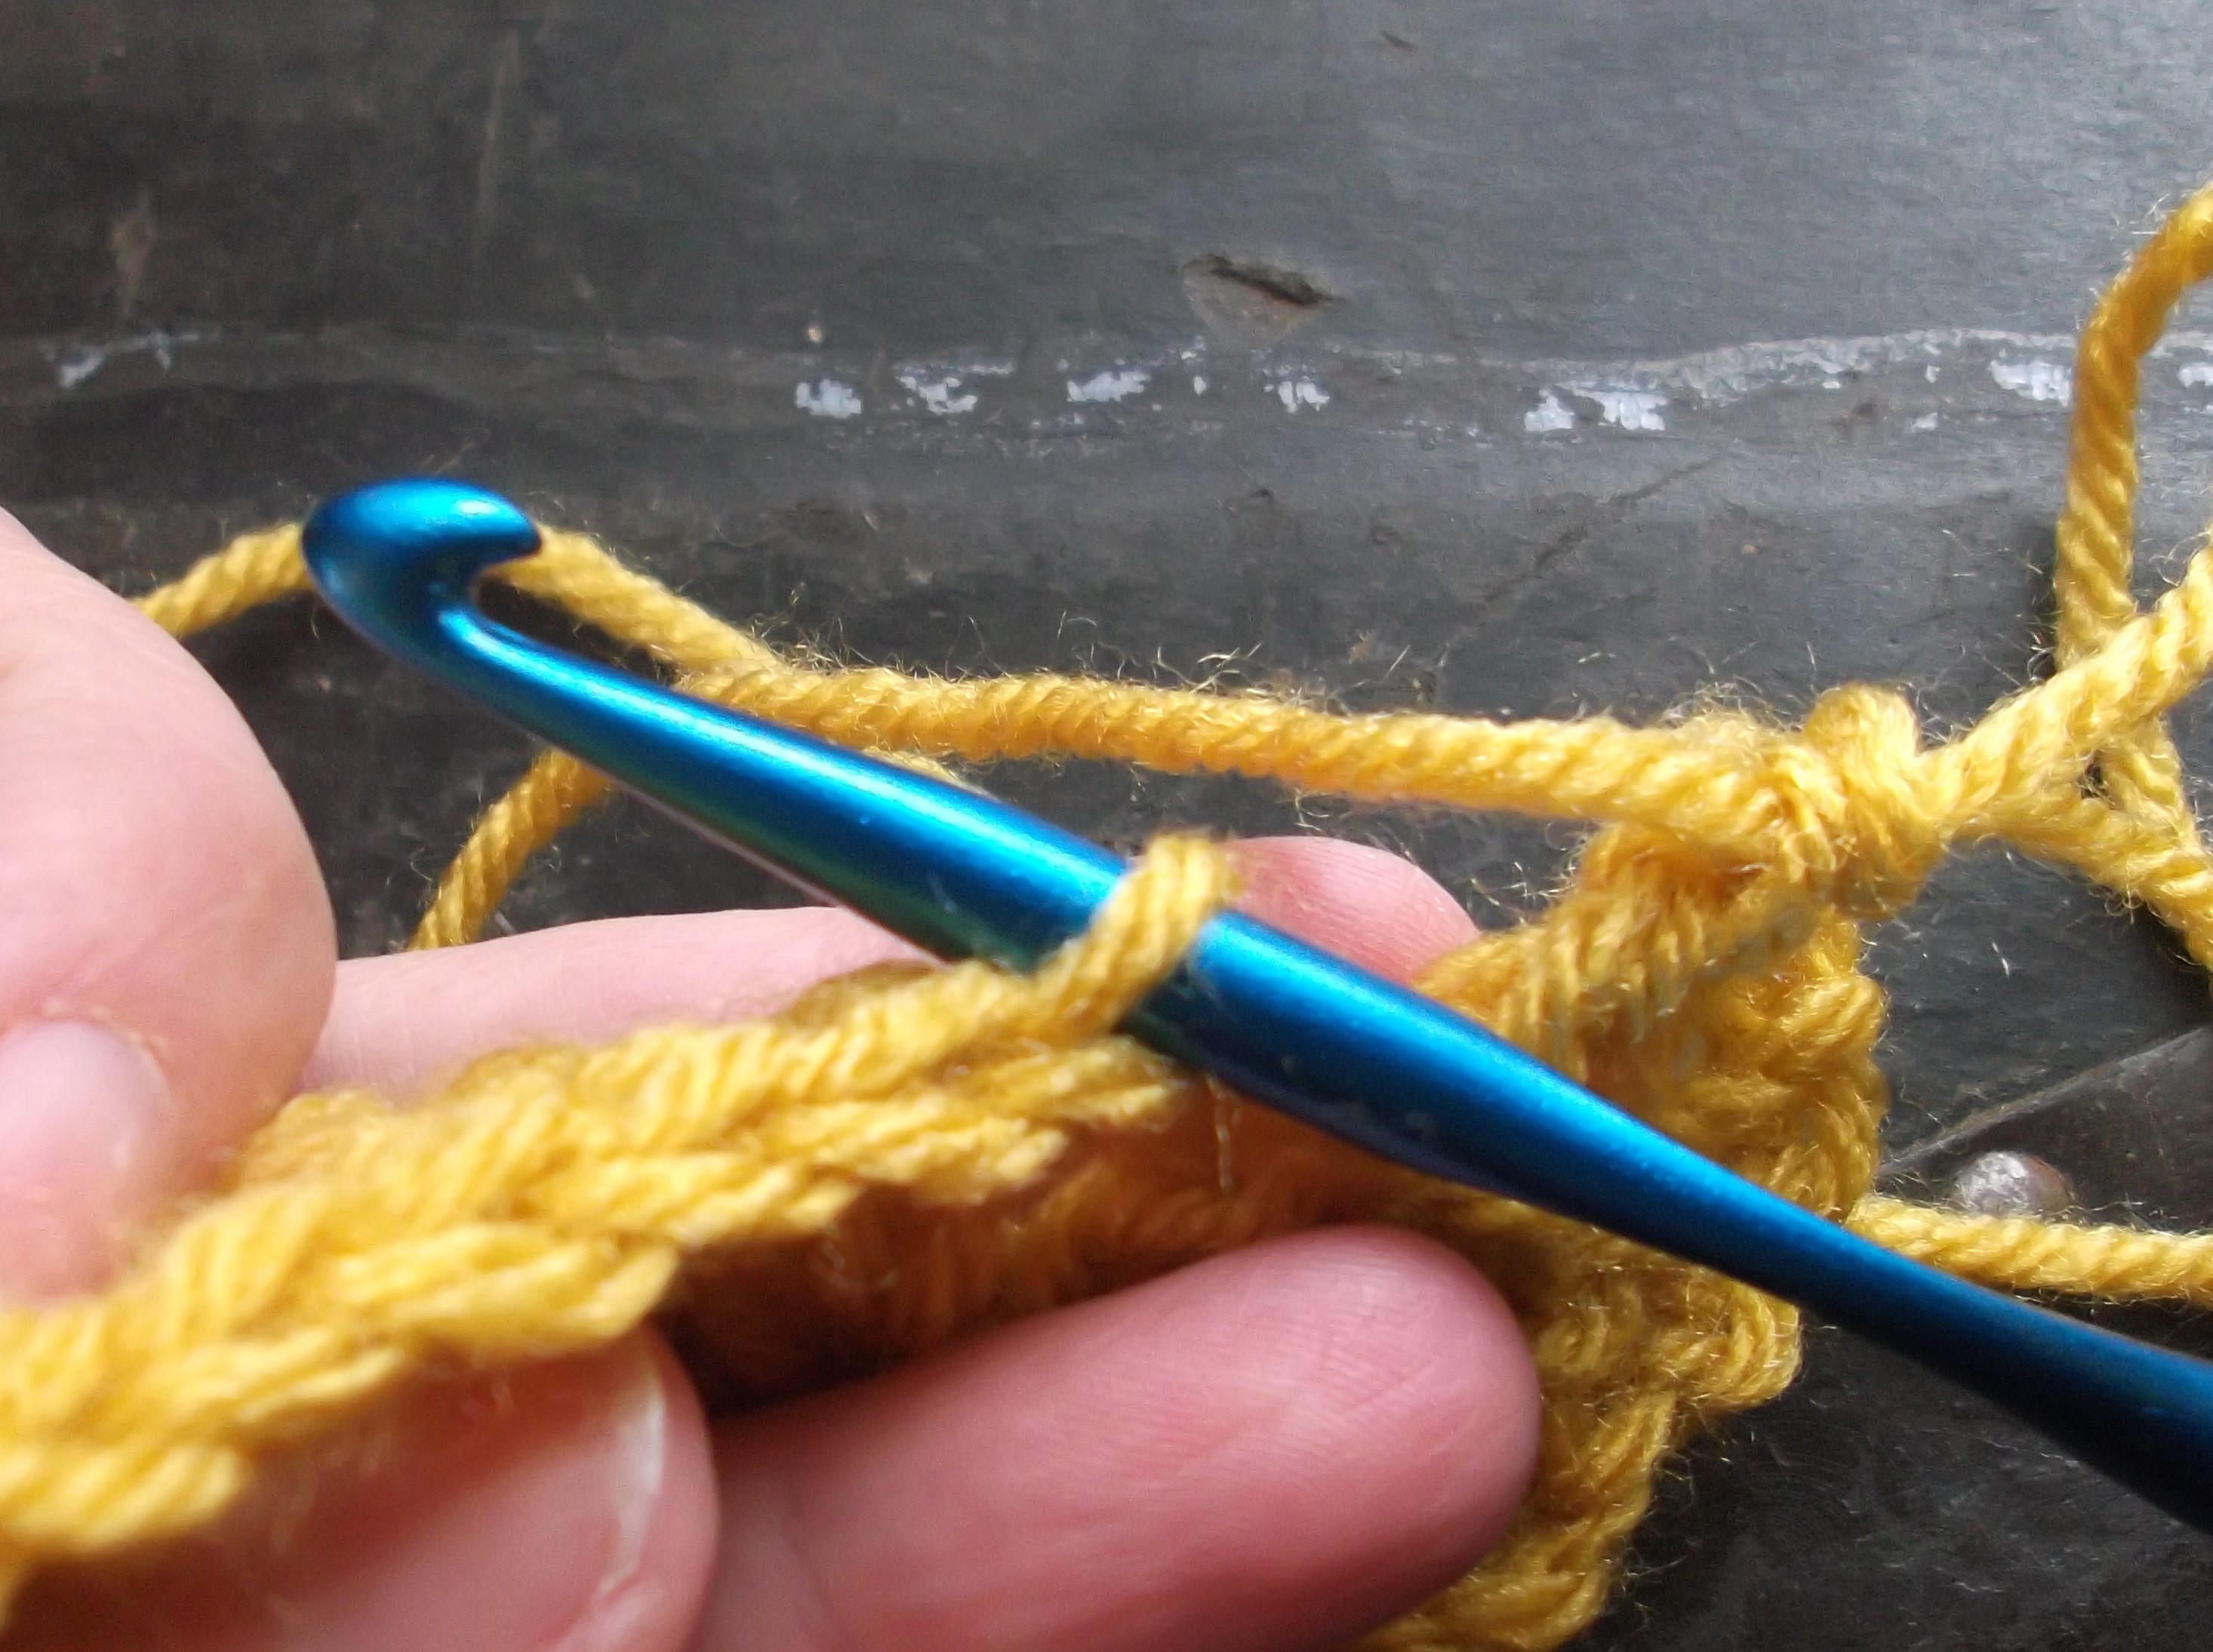
Yet the gentle increase of a taper hook in general helps me to enlarge loops that might be getting to tight to pull through, simply by sliding the hook up the shaft. It gives me a bit more flexibility when transitioning between various stitch techniques, especially where stitches can inadvertently be pulled tighter. Whereas an in-line does not give me as much variety and option in this area.

Taper Hooks

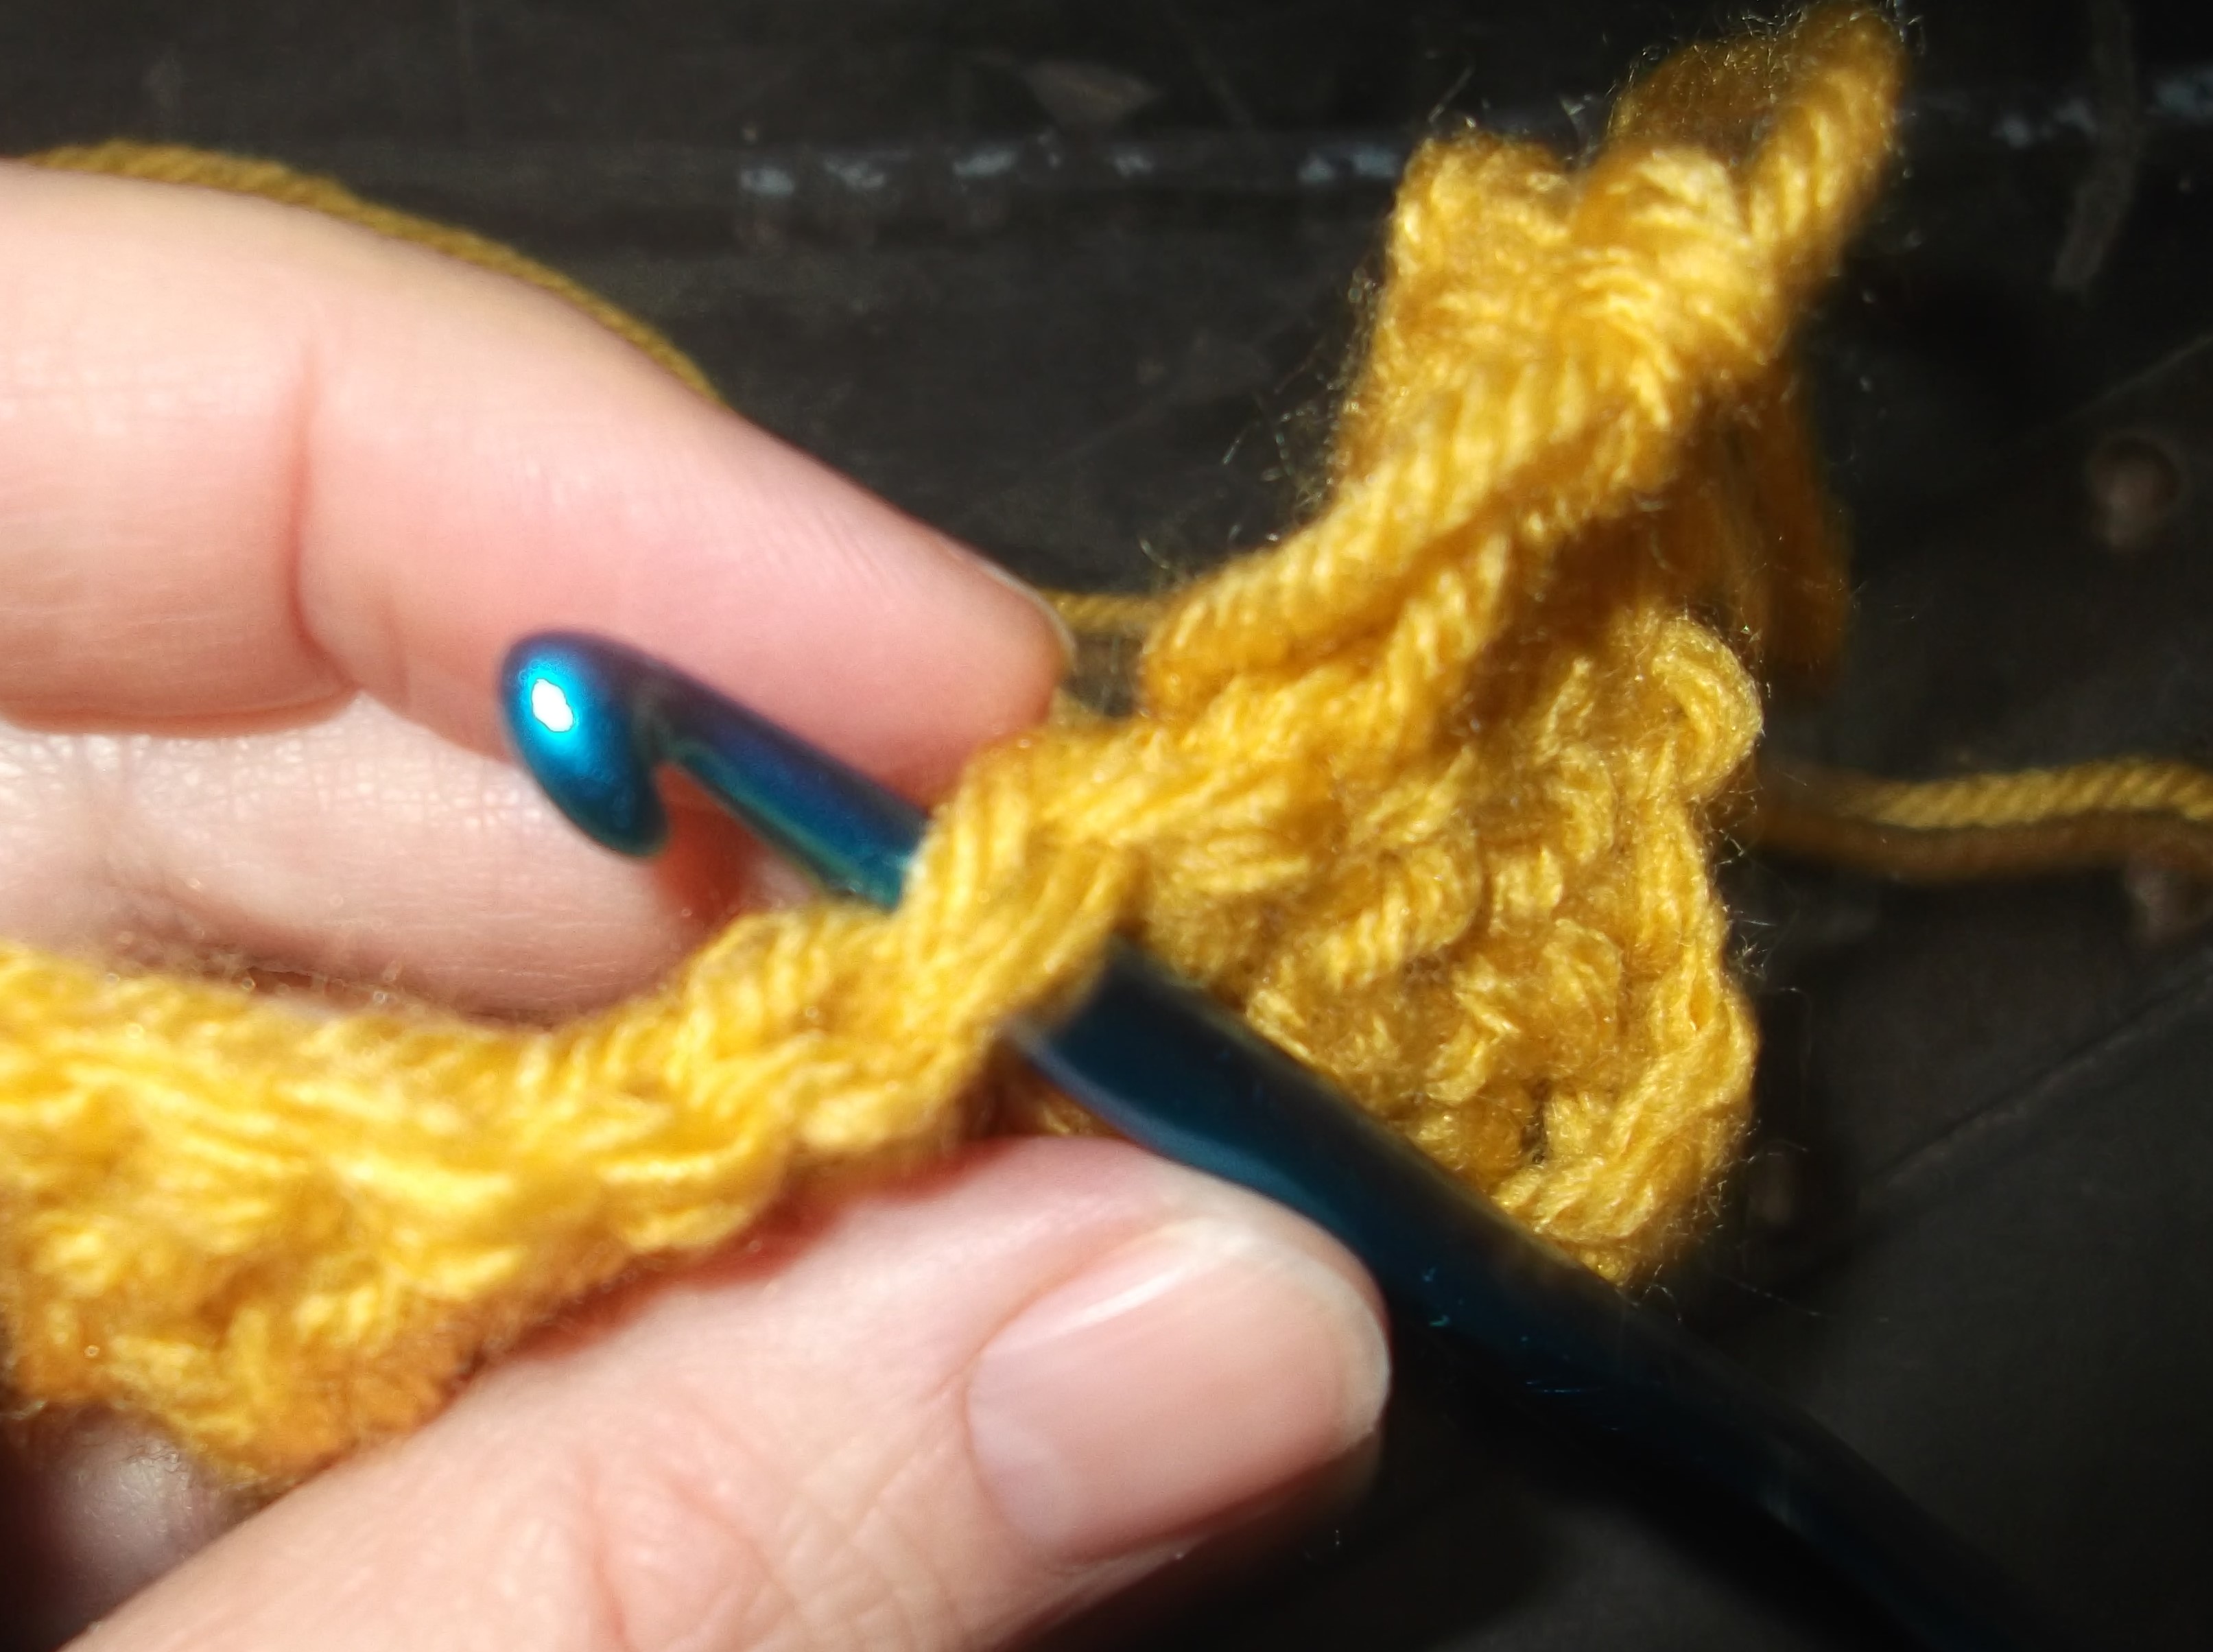
However, if the taper is too great, giving a large finger support that creates a larger increase in the taper I find that my loops become a bit more inconsistent when working decreases or clusters.  Where I have to keep loops from other stitches on the hook to be worked off together, the large taper prevents the loop from being easily adjusted on the hook, and instead makes one of the loops tight while the other end are a bit loose.

So just this one difference in hooks, the simple shaft, either in-line or taper, can affect my work and my look. There are other factors, but this is just one that relates to my current projects. Never be afraid to try a different style hook, you might learn some subtle differences for yourself too.

Fronts & Backs, the Confusion, the Difference

ScannedImageSometimes it can be the simplest things that trip us up; this is even true in crochet. Sometimes, it is just because we are overthinking things. This can be true when utilizing the front and back loops of a stitch. In crochet the standard fall back for all stitches is to work through both loops that are created at the top of a stitch, so if a pattern does not specify anything you are assumed to work through both loops, however there are times you do get a noted distinction….front loops and back loops.

DSCF1093

Working in the front loop, notice how the hook comes from the bottom of the loop upward.

It almost sounds too easy. Working in the front loops across….working in the back loops across….But I will admit, my brain sometimes holds onto the prior position of the loop, instead of where it really is right now. I think we have all had these moments. Our brain is a little groggy, a little overloaded, and a little set in its ways, so it just almost quits processing the information. By this I mean, when you work a stitch, the loop on the top closest to you is the front loop, and the on top furthest away is the back loop; when you turn your work, these same principles still apply, but now the names you just recognized for the loops to row before has switches. 

The position of the loops applies to the row you are currently working into, not the position of the loops on the stitch just being created.

DSCF1095

Working in the back loop, notice how the hook comes down from the top through this loop.

This does become an important distinction, as it gives the fabric a different look and structure. Working in the back loops of a row give a more textured feel to the fabric as well as creating a little more stretch. While working in the front loops adds a simple decorative element and a little extra height to the fabric overall. The reason for these differences is actually the nature of crochet stitches. If you really look at a row of stitches, you will find that they actually are a little tapered, with the right side facing you the back of a stitch will be a little taller than the front. It is this slant that creates the ribbing effects of some stitches, and the decorative effect of others.

DSCF1089

The standard method of beginning a stitch, if not otherwise stated, working under both loops.

Just keep in mind, that we all have those days, so if your fabric doesn’t look how you have expected, revisit if you are placing your stitch in the right location; it can make all the difference.