Help me help local communities by creating blocks for Warm Up America, by making a block for yourself and one for a community project with this free pattern. I will be creating a new block every two weeks and sharing it with you, I just ask that make one for donation.
Warm Up America is a nation wide organization that encourages local donations, but will also except donations to be sent to their office so that blocks can be assembled and then blankets can be donated through the United States.
Even if you do not want to participate with Warm Up America, please consider creating blocks, or blankets for your local community. There are various places in every community that accept donations.
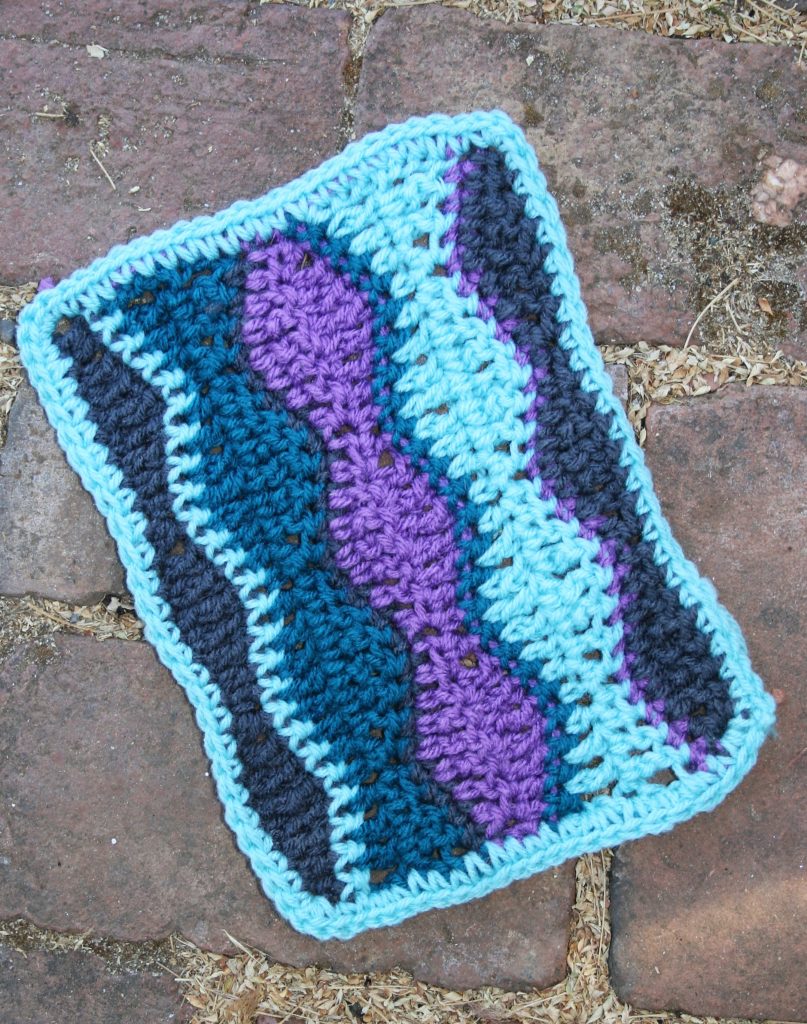
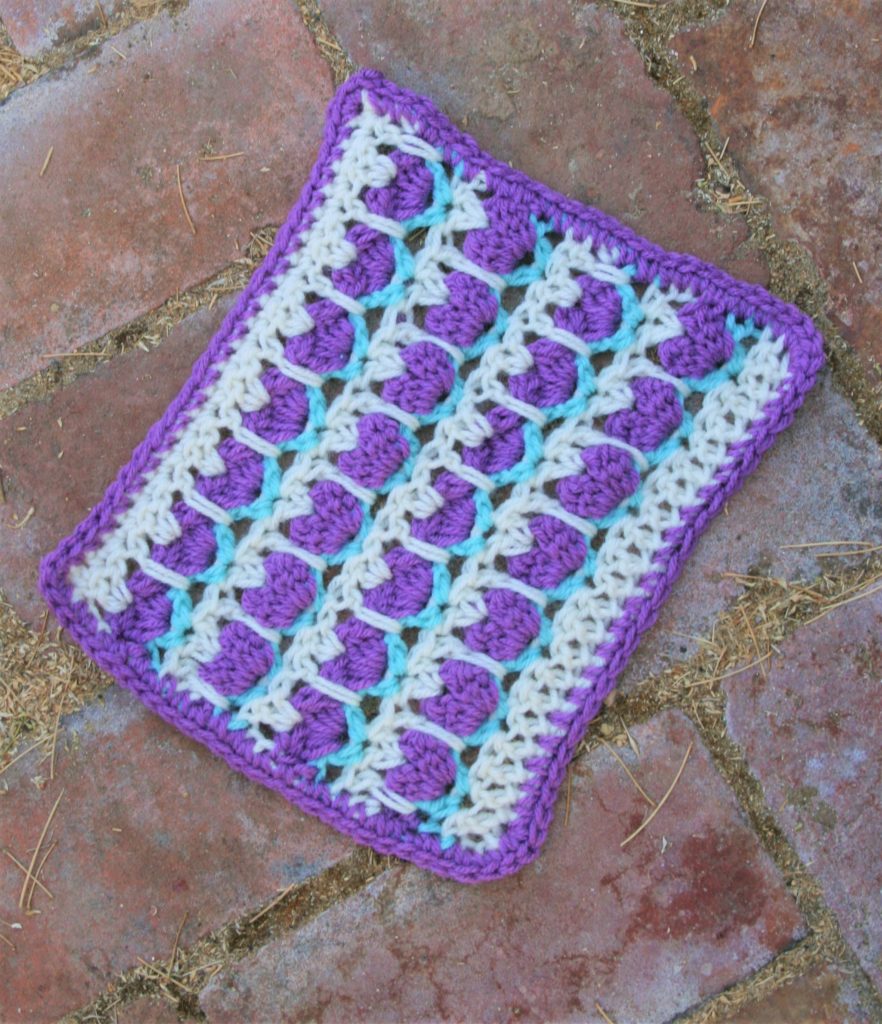
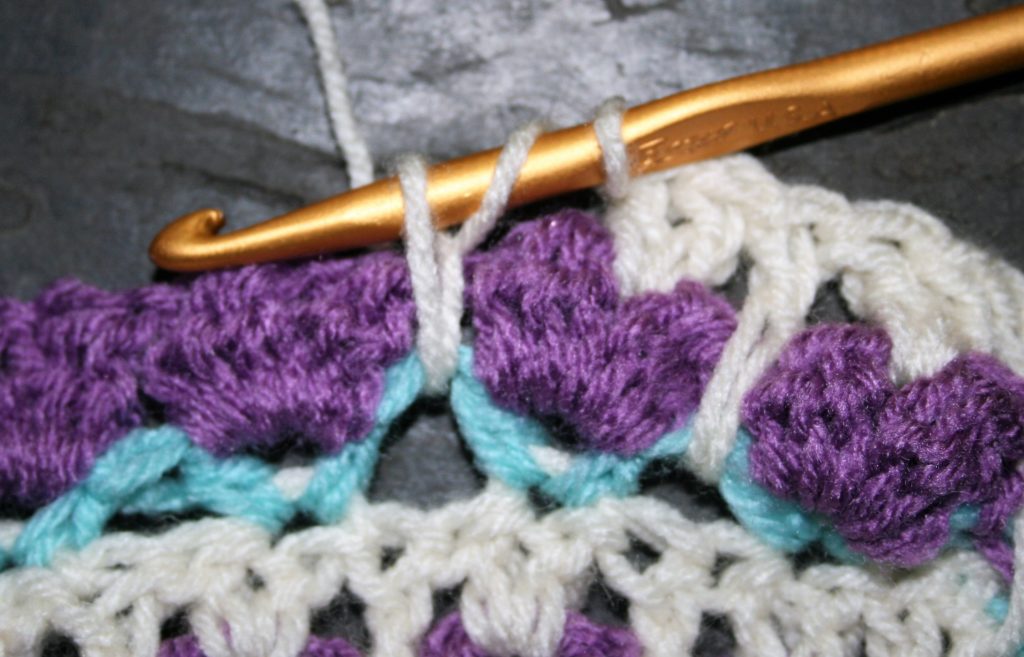
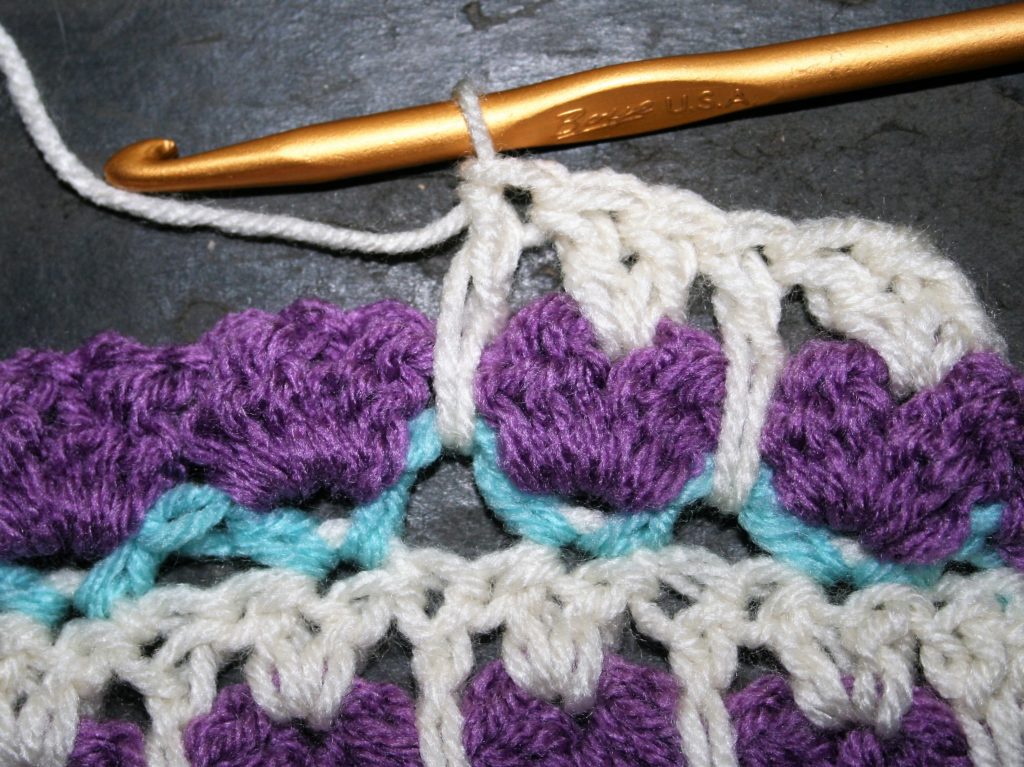
Wave Block
This block uses varying stitch height to create “waves” of color. This is a great way to easily create a “ripple” effect without having to use increase or decrease stitches. This block also uses extended stitches, these are a great way to add just a little bit of height to standard stitches.
I have also added a simple row of single crochet stitches to add a visual break between the waves.
This stitch technique always reminds me of hills and valleys, giving me a little sense of home.
Gauge: Square measures 7”x 9”
Materials
Medium weigh yarn, four colors (A), (B), (C), (D)
K/10 1/2 /6.50mm crochet hook
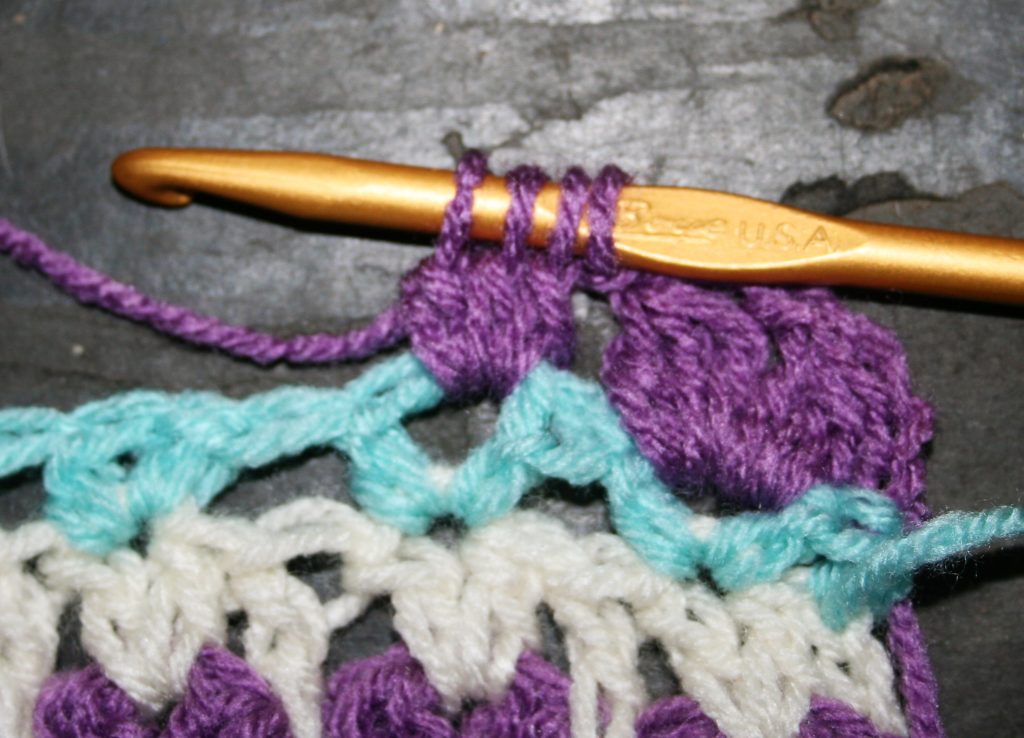
Special Stitches
Extended Double Crochet (edc): Yo, insert hook in indicated stitch, yo, pull up a loop, yo pull through 1 loop, yo, pull through 2 loops, yo, pull through last 2 loops.
Block Pattern
Ch 26
Row 1: With (A), sc in 2nd ch from hook, [hdc in next ch, dc in next ch, edc in next ch, tr in next ch, edc in next ch, dc in next ch, hdc in next ch, sc in next ch] rep 3 times, change to (B), turn. -4 sc, 6 hdc, 6 dc, 6 edc, 3 tr
Row 2: Ch 1, sc in each st across, change to (C) turn. -25 sc
First Full Wave
Row 3: Ch 4, [edc in next st, dc in next st, hdc in next st, sc in next st, hdc in next st, dc in next st, edc in next st, tr in next st] rep 3 times, change to (C) turn. -4 tr, 6 edc, 6 dc, 6 hdc, 3 sc
Row 4: Rep Row 3, change to A at end of row.
Row 5: Rep Row 2, change to D at end of row.
The Next Wave
Row 6: Sc in same st from hook, [hdc in next st, dc in next st, edc in next st, tr in next st, edc in next st, dc in next st, hdc in next st, sc in next st] rep 3 times, turn. -4 sc, 6 hdc, 6 dc, 6 edc, 3 tr
Row 7: Rep Row 6, change to C at end of row.
Row 8: Rep Row 2, change to B at end of row.
The Final Full Wave
Rows 9-10: Rep Rows 3-4, change to D at end of row.
Row 11: Rep Row 2, change to A at end of row.
Row 12: Rep Row 6. Fasten off.
Rnd 1: Join with B to any corner, working around edges of block, sc evenly working 3 sc in each corner. Fasten off. Weave in ends.