Cable Braided Fingerless Gloves- Free Pattern

I have been playing the Horizontals cables quite a bit over the last year. I have done this for a few reasons. One, I find it interesting to understand different aspects of crochet. Two, I feel like I need to know a lot of the ins and outs of a technique if I am going to teach it. So, to help teach and understand, Cable Braided Gloves were created.

This is a technique that I am teaching in a few places around the world this year, and if you can’t make it to a class I still want to share the concepts.

To understand this Braided approach to Horizontal Cables, I have a photo tutorial. Please check it out here.

This pattern is actually worked with some left over yarn, so if you want to create it in 1 color it will work up in less than 1 skein of the yarn listed. I just didn’t have enough to make the gloves match, so I figured a complimenting set would be fun.

Cable Braided Fingerless Gloves

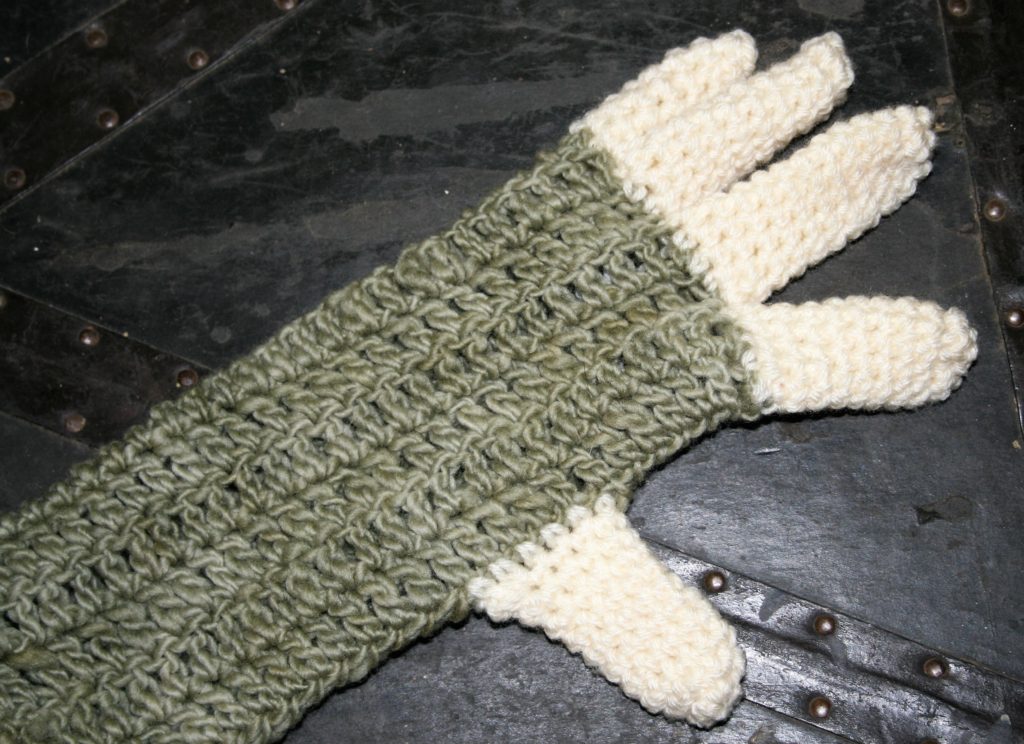
Take cables a little side ways by working this woven method of horizontal cables. These fingerless gloves are simple rectangles, allowing you to focus on the highlight, horizontal cables woven through each other.

Size: 8 ½” tall, 8” circumference

Skill Advanced Beginner

Gauge  16 dc/16 rows of sc=4”

Materials

  • 5.00mm/H/8 crochet hook
  • Madeline Tosh Vintage medium weight 100% Superwash Merino yarn (203yrds/186m/4.02oz/114g) 1 skein each color: (A) Carbon Dating, (B) Translation

Special Stitches/ Notes

Foundation Half Double Crochet (fhdc): Yo, insert hook into the pinched chain (at base of last fhdc st or base of ehdc, yarn over, pull through a loop, chain 1 (pinch this one as it is the place the next subsequent stitch will be worked), yarn over, pull through all three loops on hook.

Extended Half Double Crochet (ehdc): Yo, insert hook in indicated stitch, yarn over, pull up a loop, chain 1, yarn over, pull through all three loops on hook.

Joined Half Double Crochet (Jhdc): Yo, insert hook into the chain of the last Foundation stitch created, yarn over, pull up a loop, insert hook into the next stitch of the row, yarn over, pull up a loop, yarn over, pull through all 4 loops on hook.

First Cable Braided Glove

Row 1: With A, Ch 36, sc in 2nd ch from hook, sc in each ch across, turn. – 35 dc

Rows 2-4: Ch 1, working in the back loop sc in each st across, turn.

Row 5: Ch 1, sc in each st across, change to color B, turn.

Make the first set of arches

Row 6: Ch 2, hdc in next st, [ehdc in next st, 9 fhdc, sk 5 sts, Jhdc in next st, hdc in next st] 4 times, hdc in last st, change to color A, turn. – 4 Arches

Row 7: Ch 1, sc in each st across, change to color B, turn. -51 sc

Weave the next arch

Row 8: Ch 2, ehdc in next st, 4 fhdc, [working behind arch, sk 1 st of Row 5, Jhdc in next st, hdc in next st, ehdc in next st, pull loop to front of work under arch, 9 fhdc] 3 times, working behind arch, sk 1 st of Row 5, Jhdc, in next st, hdc in next st, ehdc in next st, pull loop to front of work under arch, 4 fhdc, working over last 2 sts of Row 7, Jhdc in 2nd to last st, hdc in last st, change to color A, turn. – 3 full arches, 2 partial aches.

Row 9: Ch 1, sc in each st across, turn. -51 sc

Row 10: Ch 1, sc in same st, sc in 2 next st, ch 1, [sc in each of the 3 topmost sts of next arch, ch 1,] 7 times, sc in the last 3 sts of row, turn. -35 sc

Rows 11-39: Ch 1, working in back loop, sc in each st across. -35 sc

Fasten off. Seam Row 1 to Row 39 2”, then skip 2” (this leaves the opening for the thumb), seam remain stitches of side.
Second Cable Braided Glove

Row 1: With B, Ch 36, sc in 2nd ch from hook, sc in each ch across, turn. – 35 dc

Rows 2-4: Ch 1, working in the back loop sc in each st across, turn.

Row 5: Ch 1, sc in each st across, change to color A, turn.

Making the first set of arches again

Row 6: Ch 2, hdc in next st, [ehdc in next st, 9 fhdc, sk 5 sts, Jhdc in next st, hdc in next st] 4 times, hdc in last st, change to color B, turn. – 4 Arches

Row 7: Ch 1, sc in each st across, change to color A, turn. -51 sc

Weave through the arches

Row 8: Ch 2, ehdc in next st, 4 fhdc, [working in front of arch, sk 1 st of Row 5, Jhdc in next st, hdc in next st, ehdc in next st, push loop to back of work under arch, 9 fhdc] 3 times, working in front of arch arch, sk 1 st of Row 5, Jhdc, in next st, hdc in next st, ehdc in next st, pushing loop to back of work under arch, 4 fhdc, working over last 2 sts of Row 7, Jhdc in 2nd to last st, hdc in last st, change to color B, turn. – 3 full arches, 2 partial aches.

Row 9: Ch 1, sc in each st across, turn. -51 sc

Row 10: Ch 1, sc in same st, sc in 2 next st, ch 1, [sc in each of the 3 topmost sts of next arch, ch 1,] 7 times, sc in the last 3 sts of row, turn. -35 sc

Rows 11-39: Ch 1, working in back loop, sc in each st across. -35 sc

Fasten off. Seam Row 1 to Row 39 2”, then skip 2” (this leaves the opening for the thumb), seam remain stitches of side.
Add Fingers to Fingerless Gloves

I see a lot of fingerless glove patterns, however not a lot of actual gloves. I have had some people tell me that they think that gloves are just too hard, well to this I disagree.

Making a Fingerless Glove

Turning any fingerless glove into an actual full fledged glove, is actually not that difficult. Begin with the basic fingerless glove, and if you want to create your own custom fit, check out more information here.

Mark your fingers

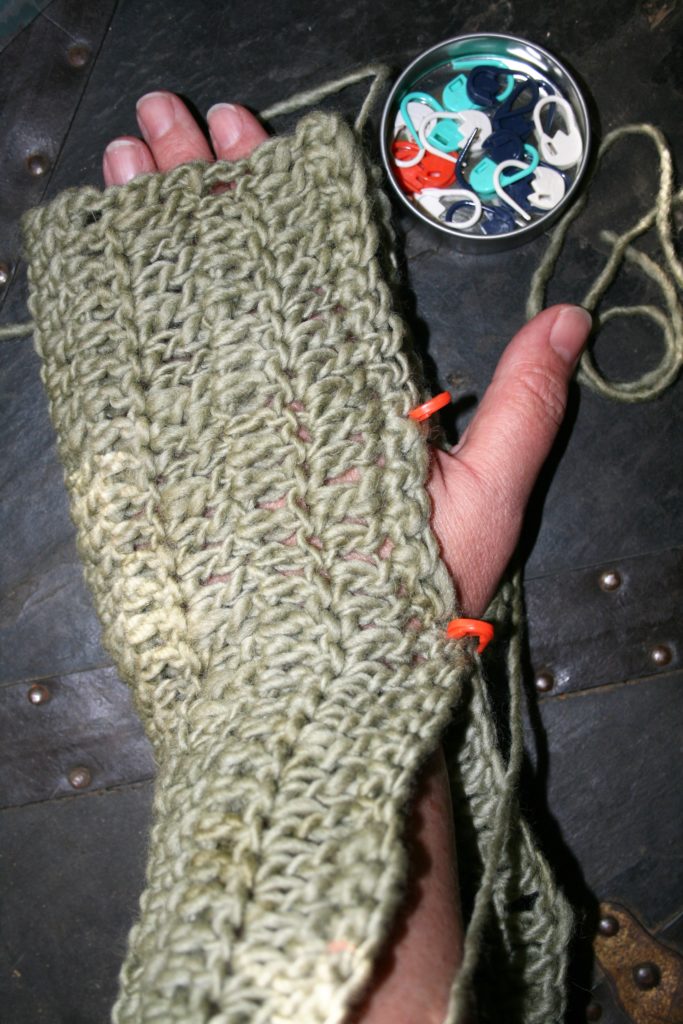
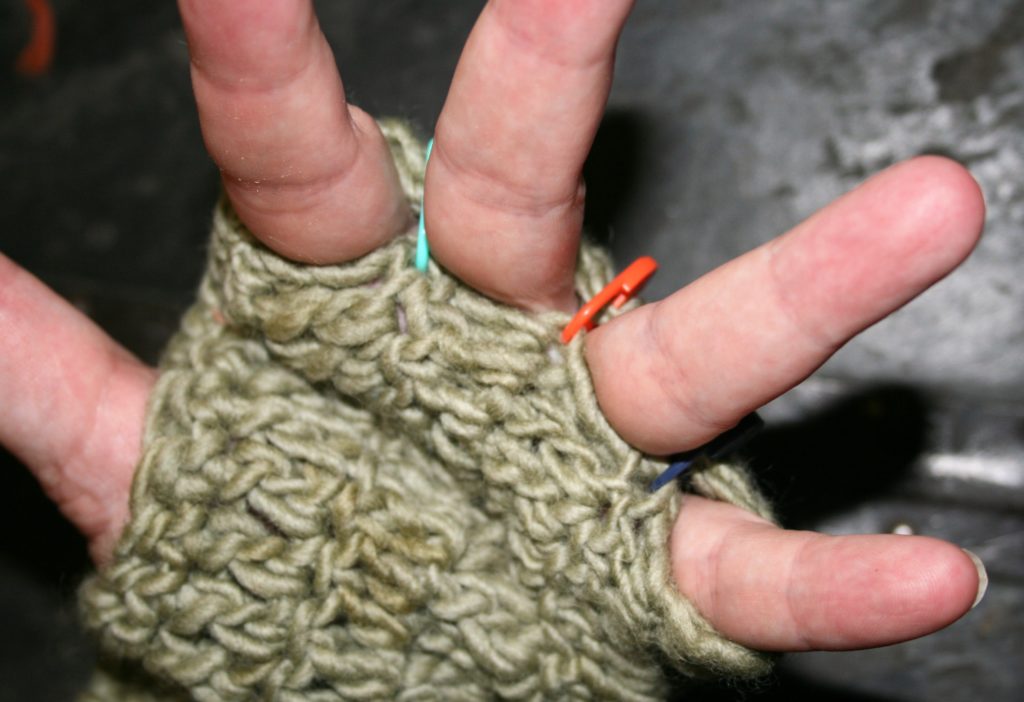
Once you have your fingerless glove made, the next set is to put it one. Take 3 removable stitch markers (or safety pins), insert them between your fingers through both the front and back of the glove fabric.

Insert stitch markers of safety pins between the fingers.

Join yarn anywhere along the finger edge of the fabric. If you were working a pattern that was stitched wrist to fingers, you can simply keep working the yarn from the last round without finishing off.

Start crocheting the “separations”

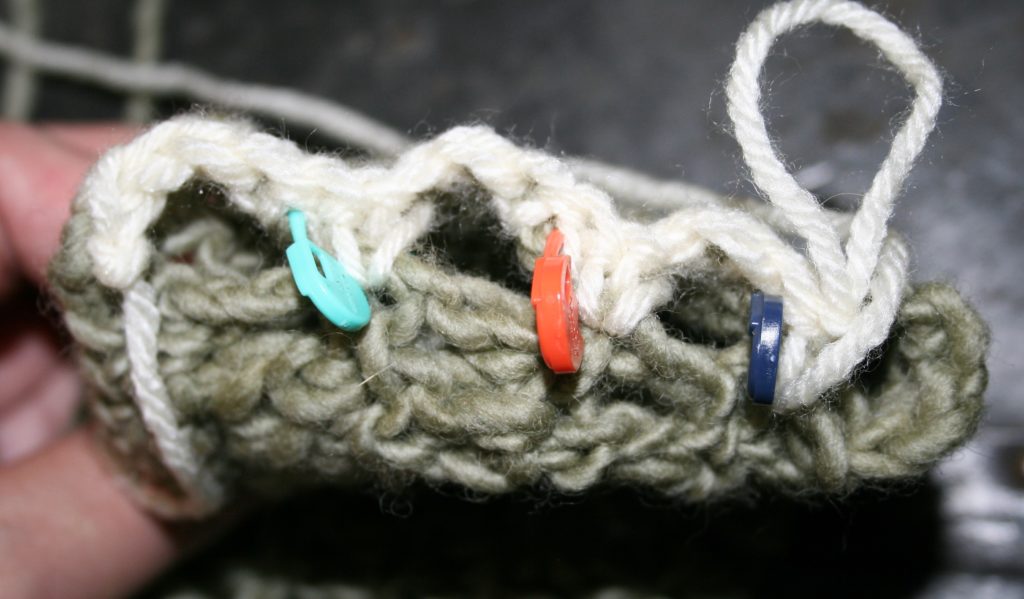
Work stitches, I recommend single crochet, evenly along edge. Work a slip stitch to the adjacent stitch (the one on the fabric on the other side of the hand) whenever you come to a stitch marker. This will create the “separation” between the fingers. I even just work this technique when I am still just creating fingerless gloves. I feel like it helps them stay in place and not twist around my hand.

When working the single crochets, slip stitch across the fabric on the opposite side of the glove to create the finger “separations”.

Spiral your fingers

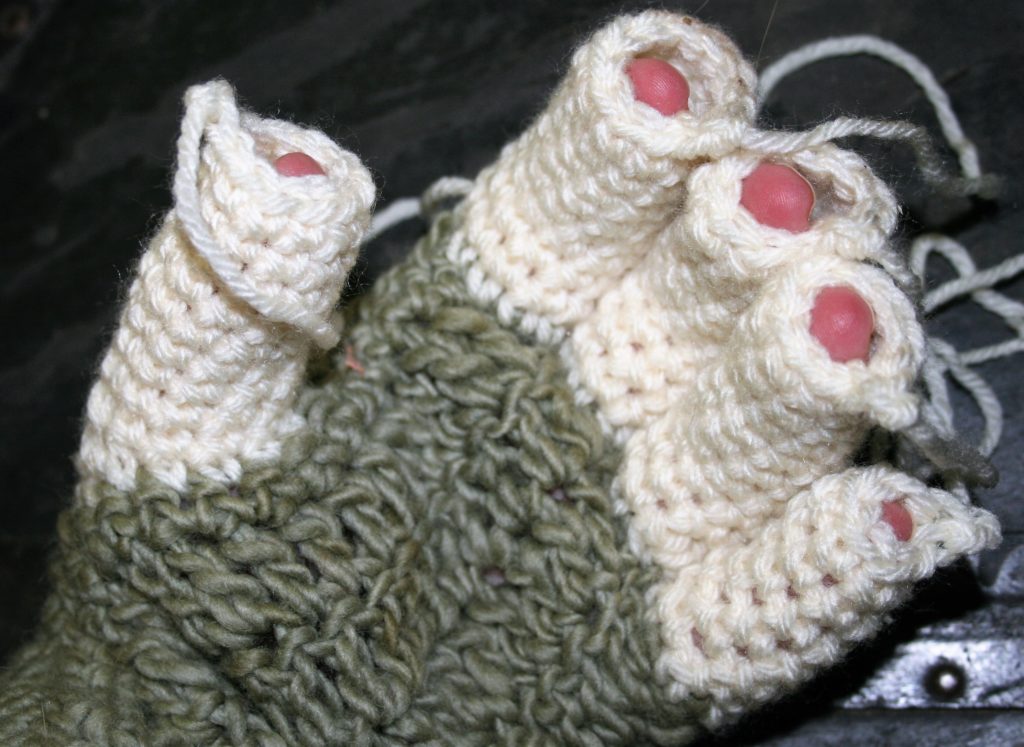
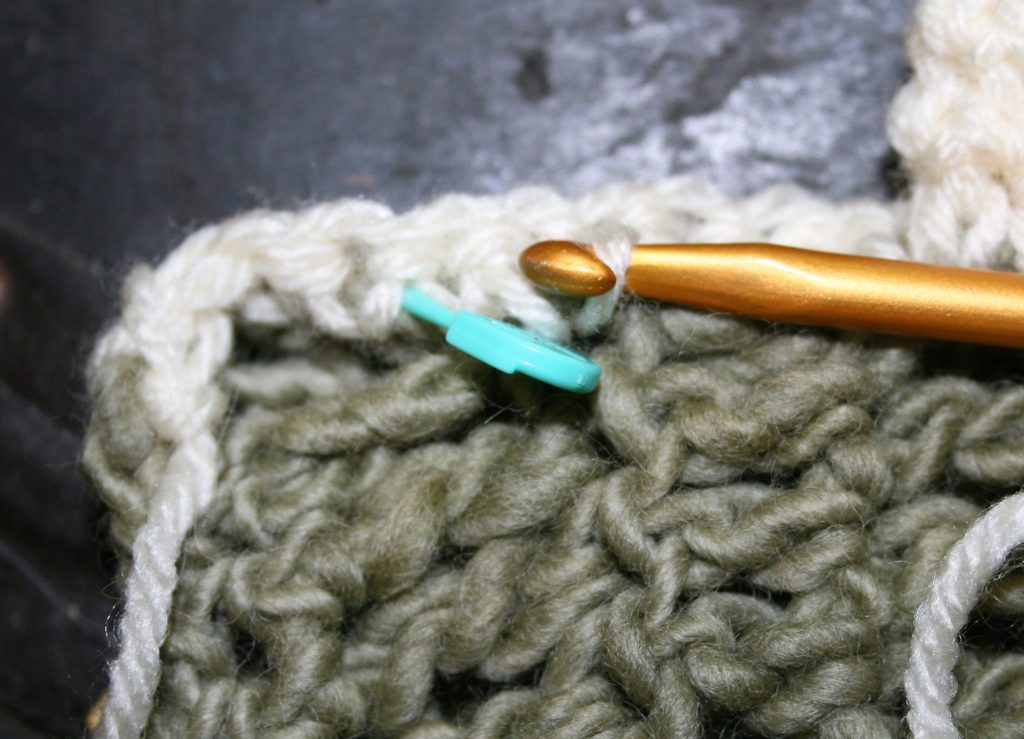
When you begin to work on the opposite side of the hand, and come to a slip stitch, work a single crochet in the one leg of the slip stitch that is closest to the last single crochet worked. Single crochet in a spiral by working on the fabric side previously worked, and work a tube the length of your finger.

Finish off your yarn, and join to fabric right next to the finger just made. Make the next finger working a stitch in the “one leg” of the slip stitch, of each side of the finger, and continue with the spiral method until the length meets your need. Repeat this of the remaining two fingers.

Work a single crochet in “one leg” of the slip stitch.

Make a thumb

Work the thumb in the same manner, joining to the edge of the thumbing opening and crocheting around it. However this opening may be much larger than the end of your thumb. Work two single crochet together (sc2tog) once in the first and second round. Then continue until the desired length is reached.

Work the spirals until each finger is the desired length.

Cinch them closed

Prepare to weave in the ends. Thread the tails at the ends of the fingers through the stitches in the last round of each finger and pull tight to cinch closed.

Glove

I do recommend that working fingers, it is best to use thinner weight yarn, nothing above a sport weigh (number 3). I usually work most of my gloves, and even fingerless gloves out of wool blended yarns that are either a fine or medium weigh (number 2 or 3). This is because anything heavier just becomes too bulky and feel clumsy on my hands. The nice thing about gloves is that you can complete a pair with only one hank of yarn, and feel really accomplished in your skills.

Making Fingerless Gloves

Have a little yarn? Needing a quick gift? Want to get ready for cold weather? Crochet Fingerless gloves are the prefect answer.

I have created a few patterns for fingerless, and even fingered gloves over the years, but you can create your own custom fit pair pretty easily. All you need to do is create a rectangle.

That seems almost a little too simple, but this version of fingerless gloves really are that simple.

Want to follow a pattern instead, here are some of my glove patterns:

Types of Gloves

There are essentially two different approaches to creating gloves. One is to work in the round, making a tube. This approach needs a little more attention to detail, as the tube needs to adjust in size a bit to feel like a nice fit. When working from the cuff to palm there needs to be an increase a couple of rounds before the thumb and then create a loop for the thumb, while decrease a couple of stitches to help the gloves fit the fingers.

However if you work a rectangle in the length you want your gloves and continue until the width can wrap around your hand, then you can make a glove.

Pin the fabric on either side the thumb and seam the fabric together on either side.

Make your Gloves

This rectangle can be created in any stitch pattern, so you have complete creative control. If you want a bit of extra stretch I would recommend working a fabric of back loop single crochet. It offers a ribbing like effect and allows for a comfortable fit.

Then the beginning row is folded over to the last row. I place my hand in this fold and use stitch markers to mark either side of my thumb, essentially marking the opening for my thumb. Then it is as simple as seaming the edges together with the exception of the thumb opening.

It really is that simple.

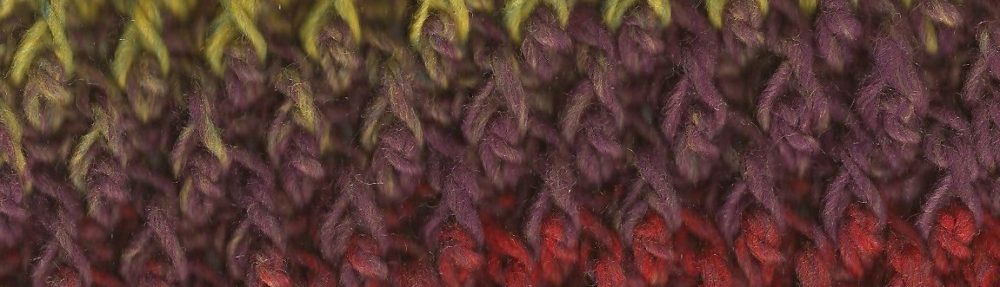
I have found to step these gloves up a bit more, I find a yarn that has a great color change, or nice texture. This makes the rectangle that can really be something that is fabulous.