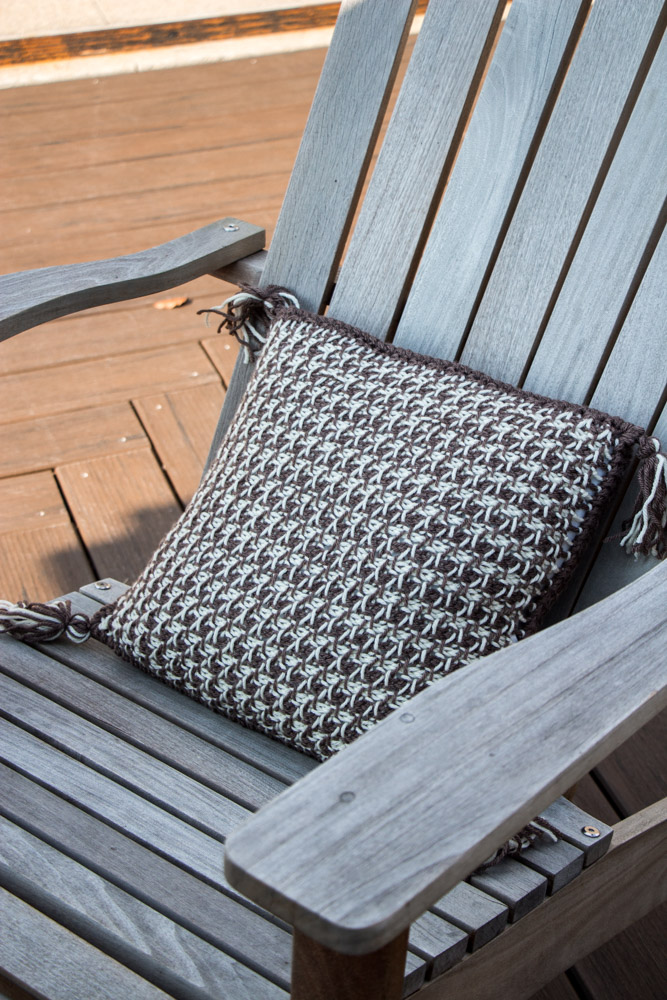
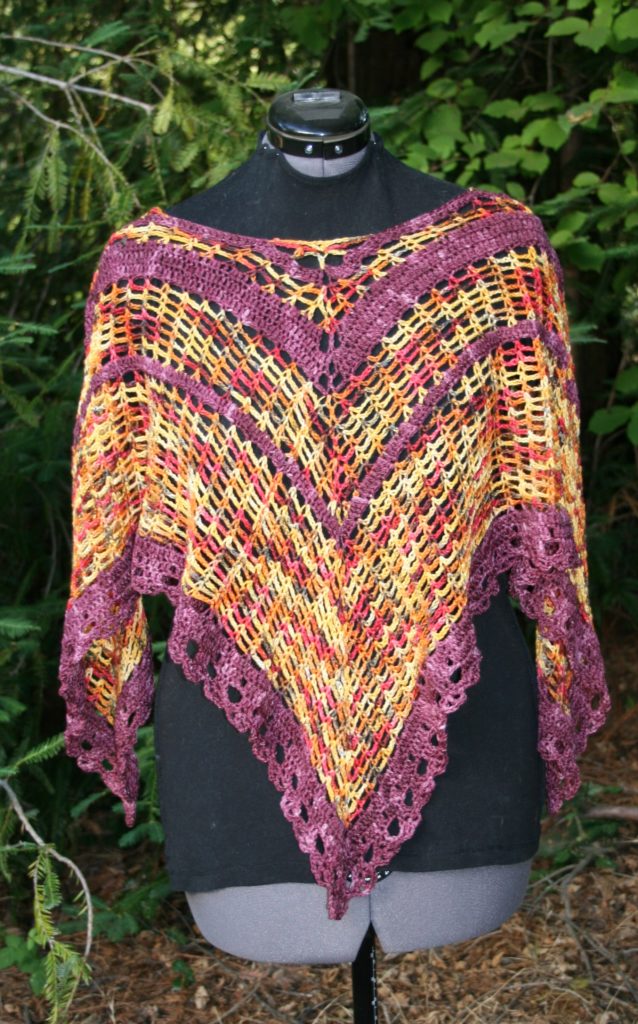
I think everyone needs a little pick me up in July, so I am releasing my latest free pattern. I hope to brightens the dances of your hook.
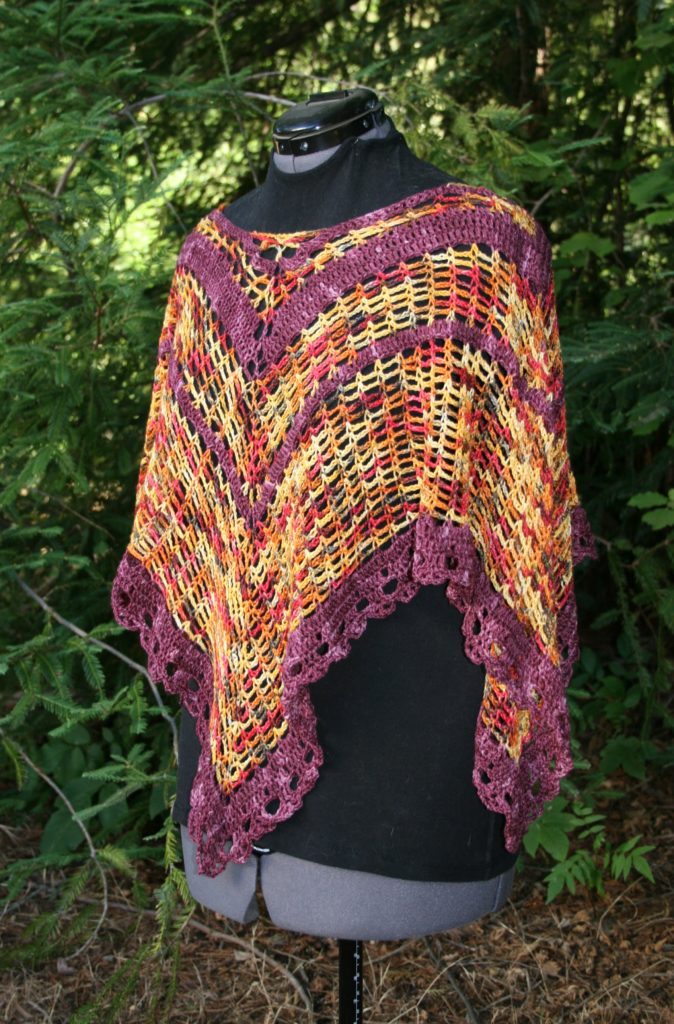
Worked from the neck outward, this is a poncho that easily adds a bit of flare to any wardrobe. The simple stitch pattern lends to great coloring pooling and a fabulous drape.
Size
40” square
Skill Level
Intermediate
Gauge
5 (sc, ch-3) sts/ 13 rows=4”
Materials
- H/8/5.0 mm crochet hook
- Alexandra The Art if Yarn Silverton Fine weight 75% Superwash Merino/ 15% Nylon/ 10% Tencel yarn (434yrds/397m/3.5oz/100g) 1 skein each color Wine (A), Fire (B)
Notes
When joining at the end of round 1 ensure that the round is not twisted.
Neck Edging is worked as four separated corner points.
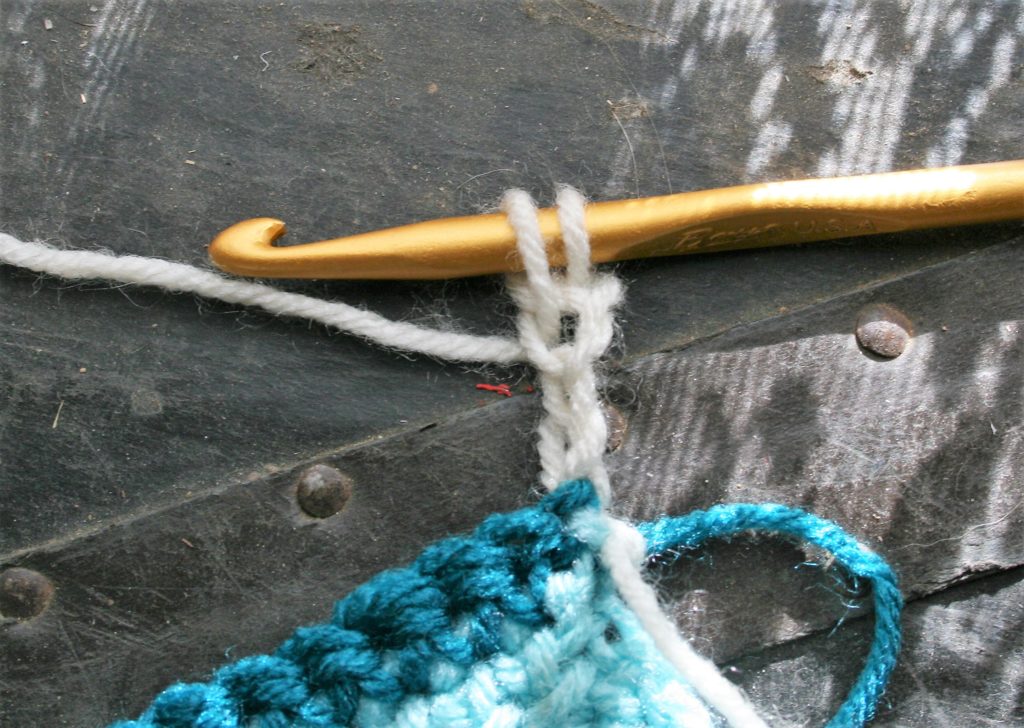
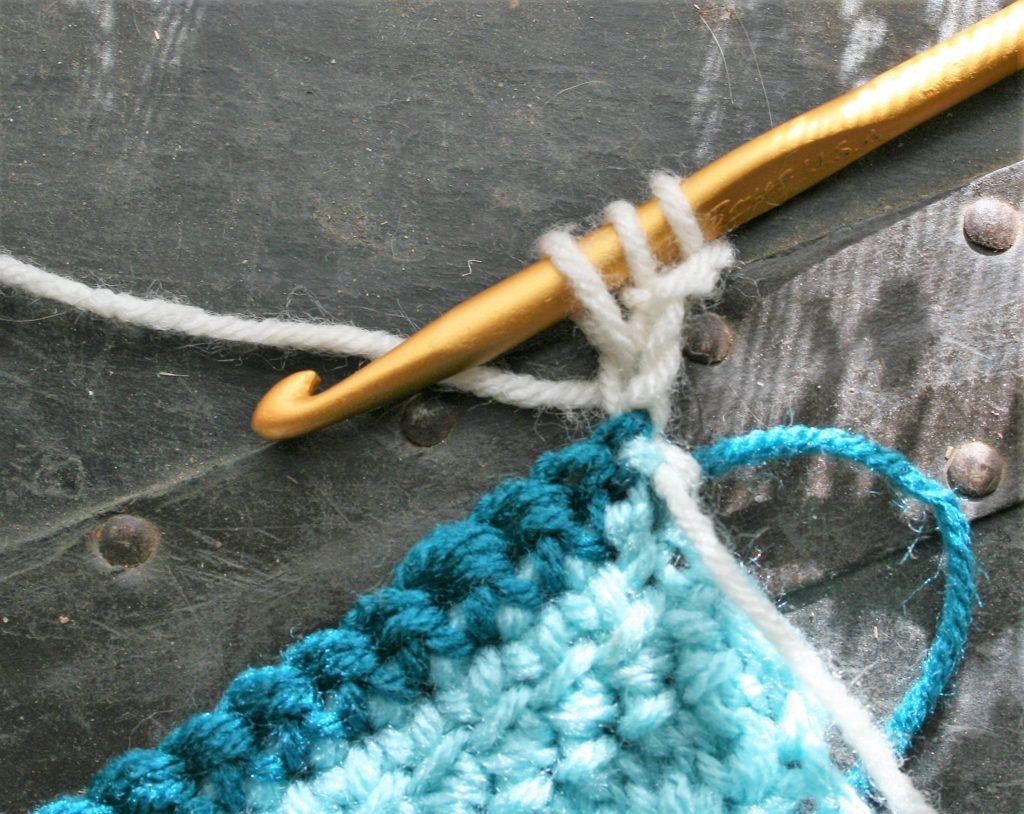
Pattern
Rnd 1: With A, ch 150, dc in 4th ch from hook, dc in next 36 chs, [ch 2 (corner made), dc in next 37 chs] rep 3 times, ch 2, sl st to top of beg ch, (weave tail into base of the beg chain to close ring) change to B. – 148 dc, 4 ch-2 sps
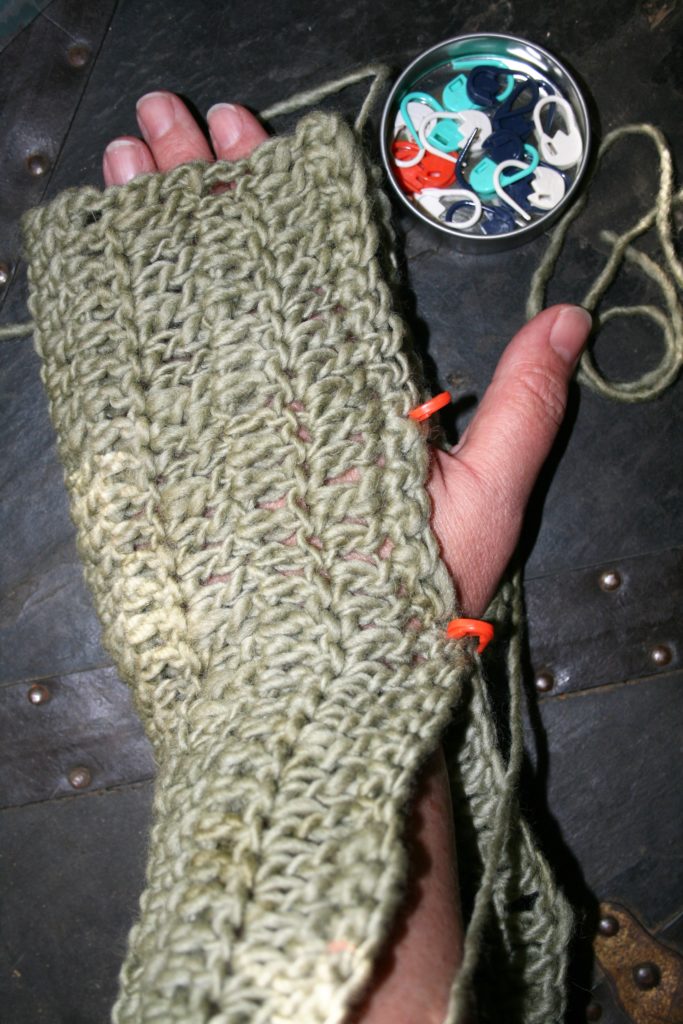
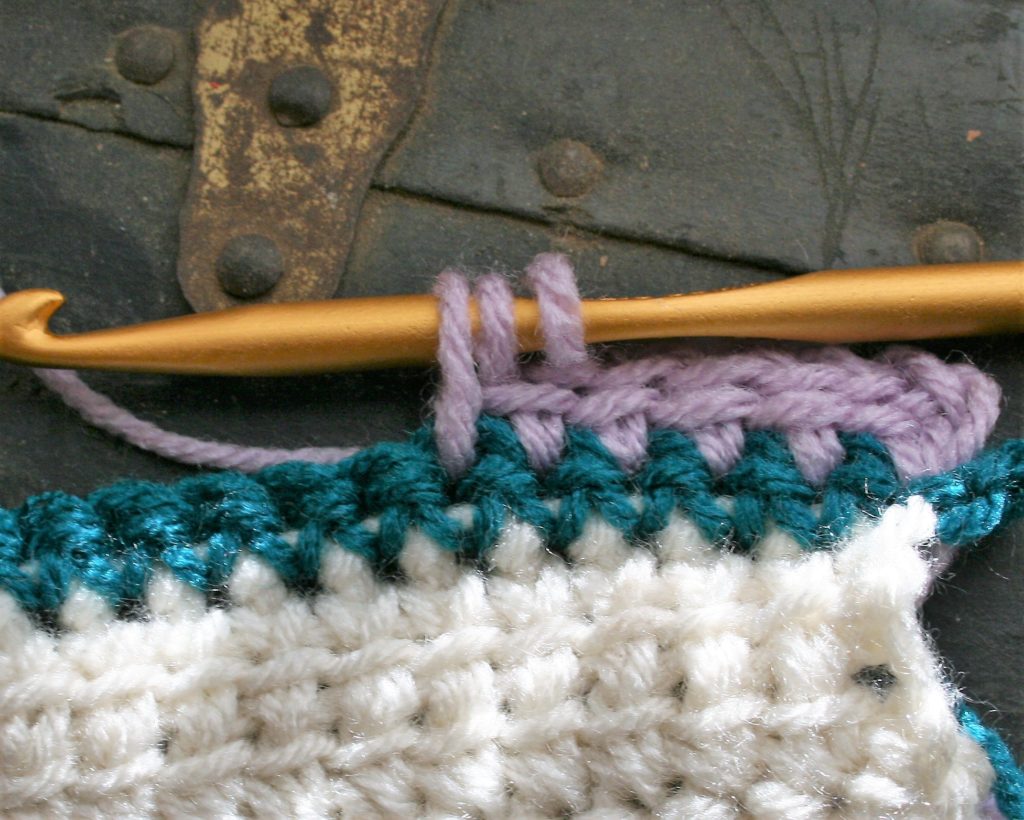
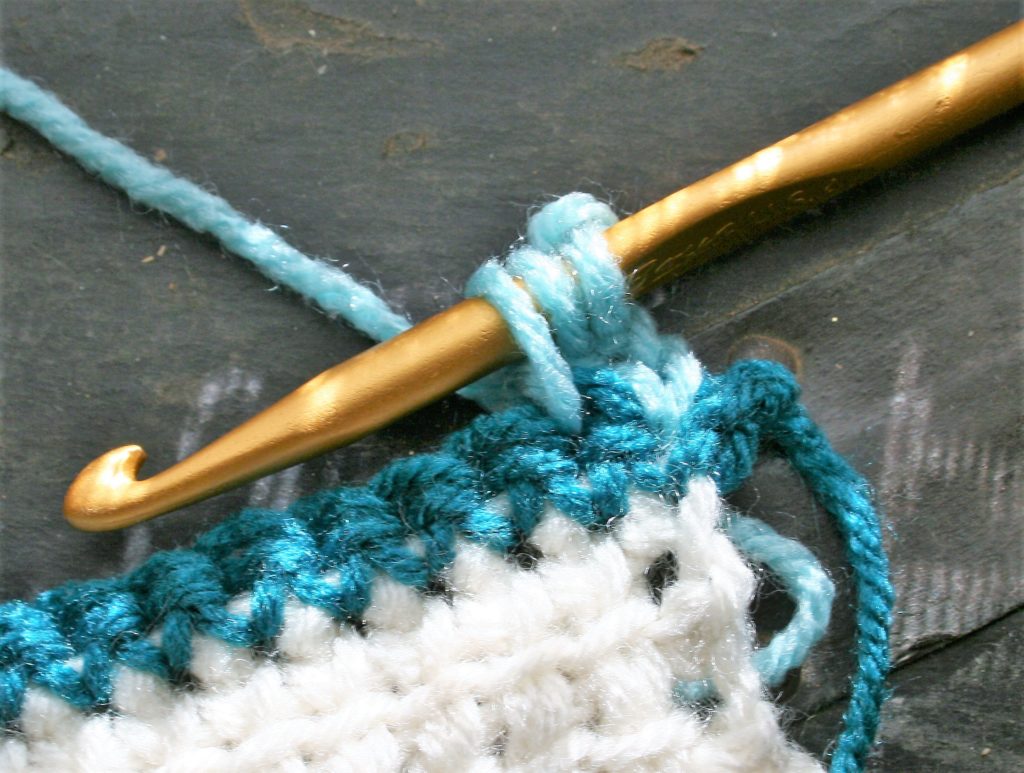
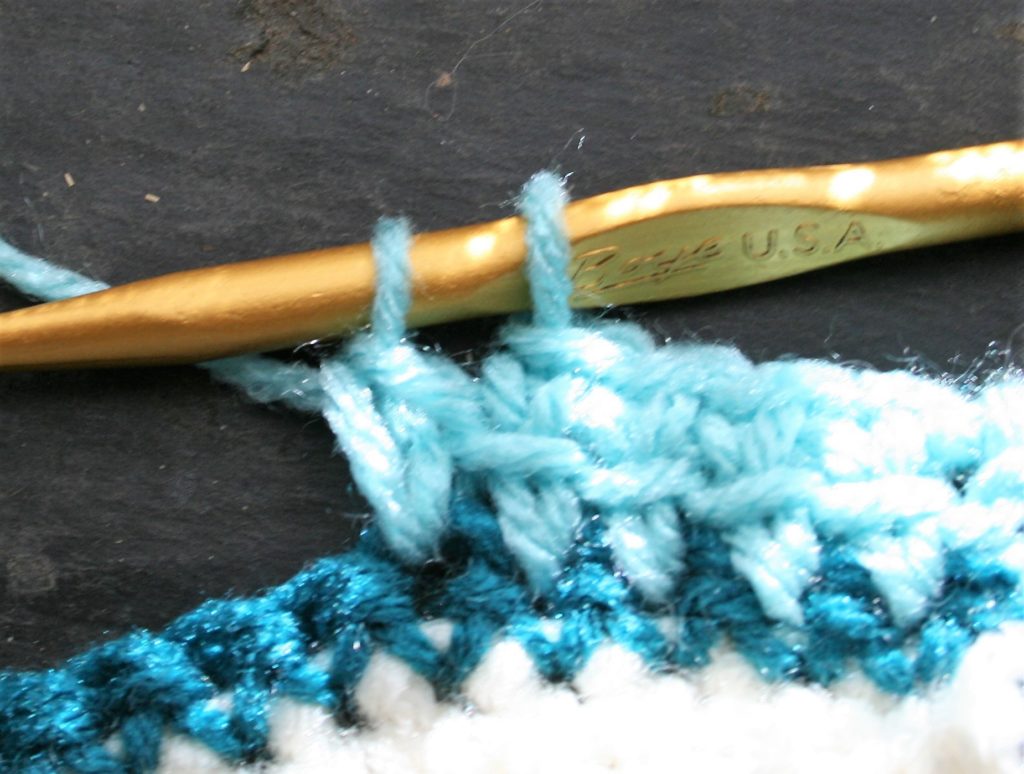
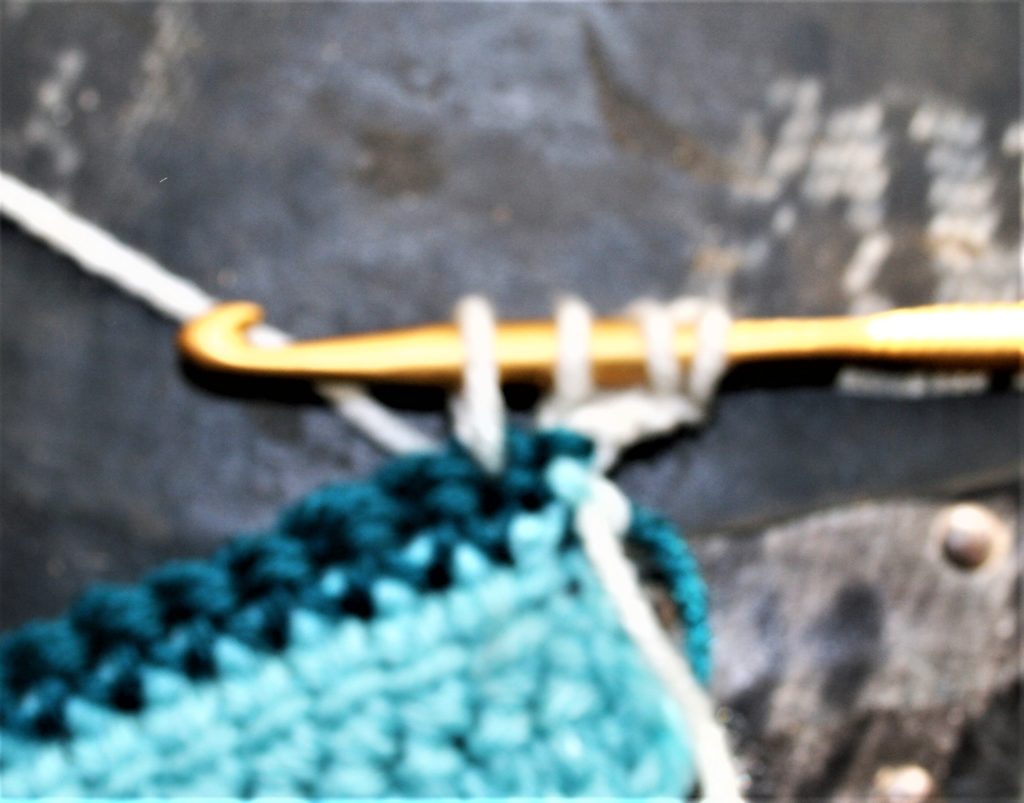
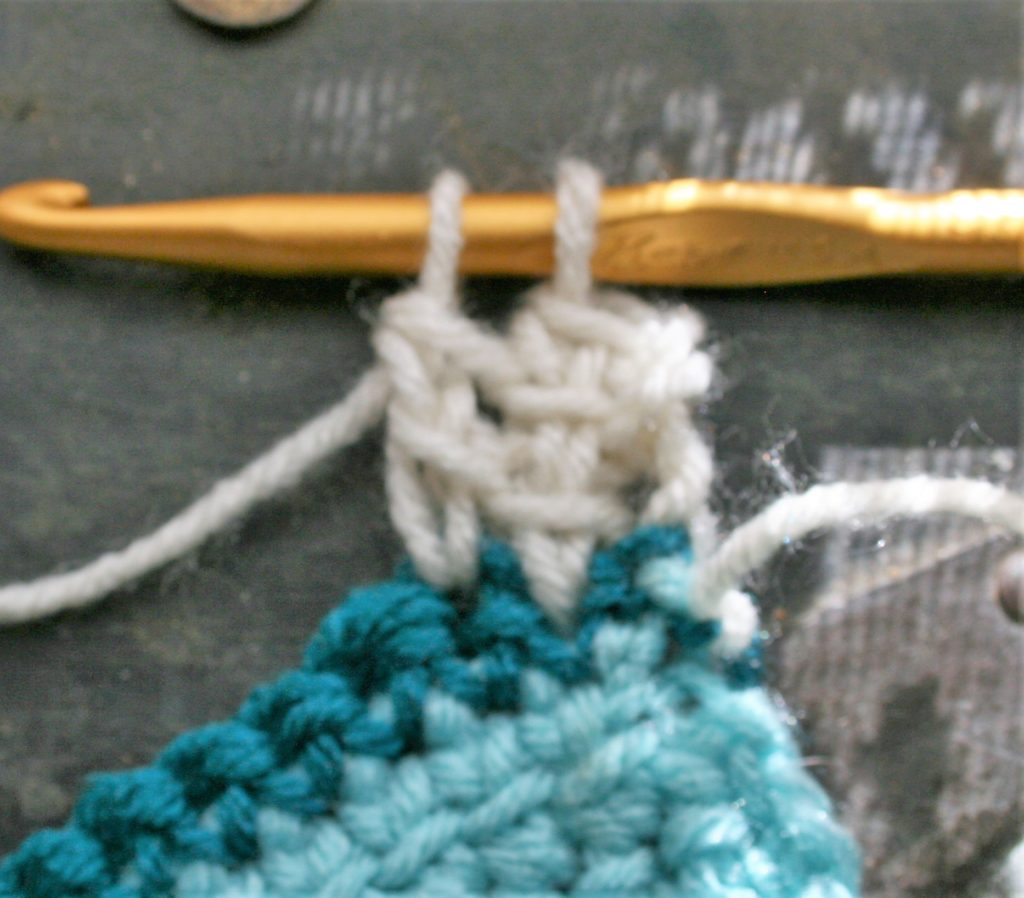
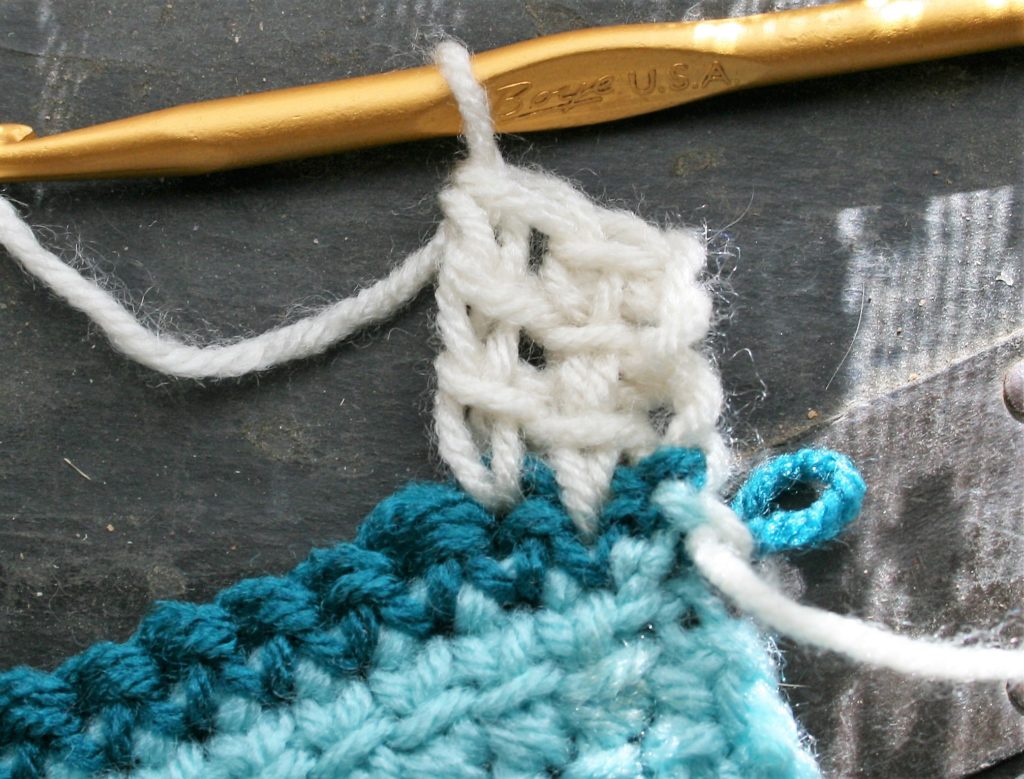
A little bit of an airy stitch…
Rnd 2: Ch 1, sc in same st, {[ch 3, sk 3, sc in next st] rep across to ch-2 corner, ch 1, (sc, ch 3, sc) in ch-2 sp, ch 1, sc in next st,} 3 times, [ch 3, sk 3, sc in next st] rep across to ch-2 corner, ch 1, (sc, ch 3, sc) in ch-2 sp, ch 1, sl st to join. – 40 (ch-3) sps, 8 (ch-1) sps
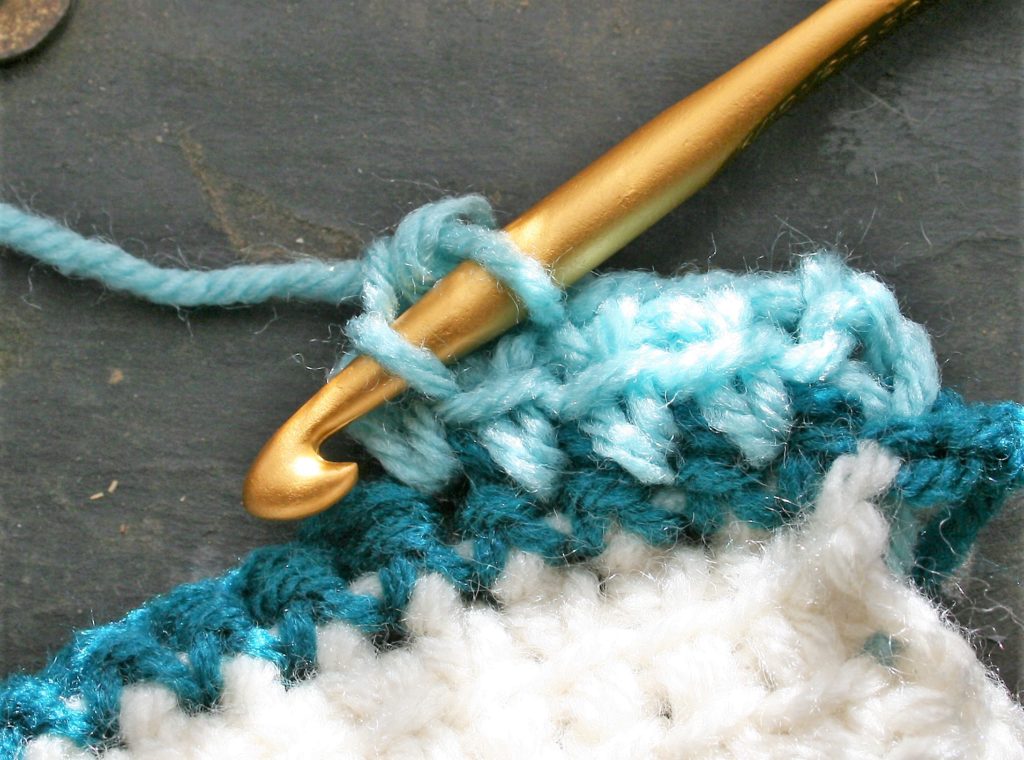
Rnd 3: Ch 1, sc in same st, {[ch 3, sc in next sc] across to corner, ch 3, dc in ch-3 sp of corner} rep 4 times, ch 3, sc in next sc, ch 3, sl st to join. – 4 dc, 52 (ch-3)sps
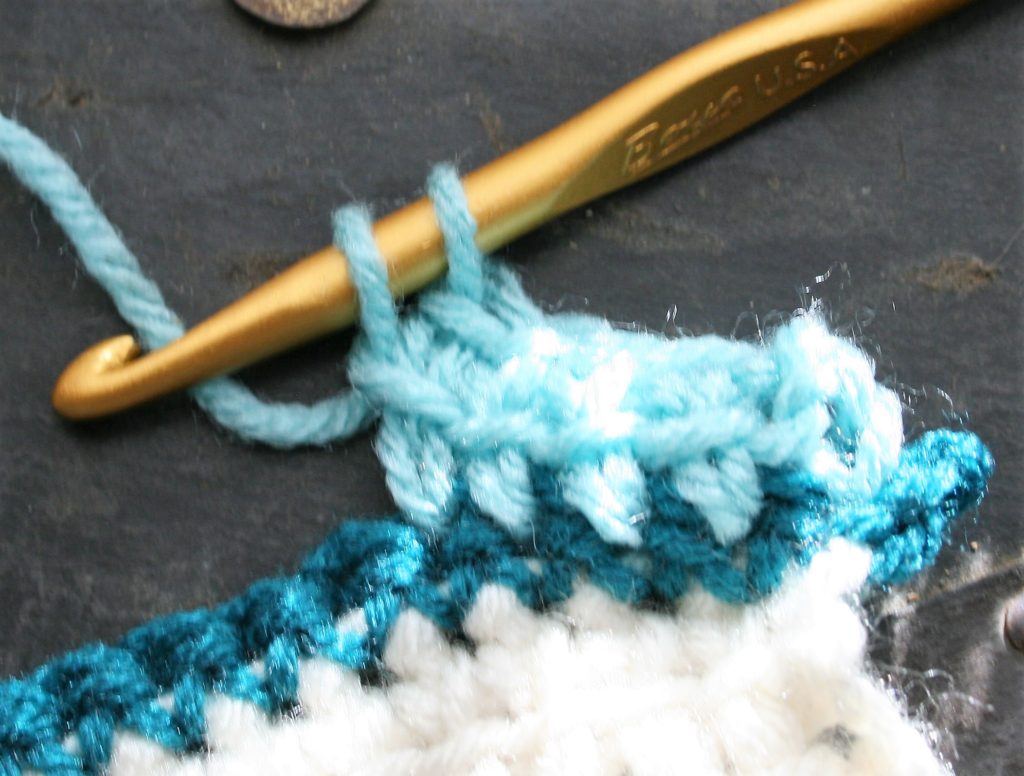
Rnd 4: Ch 1, sc in same st, {[ch 3, sc in next sc] across to corner, ch 3, (sc, ch 3, sc) in dc} rep 4 times, ch 3, sc in next sc, ch 3, sl st to join, change to A.
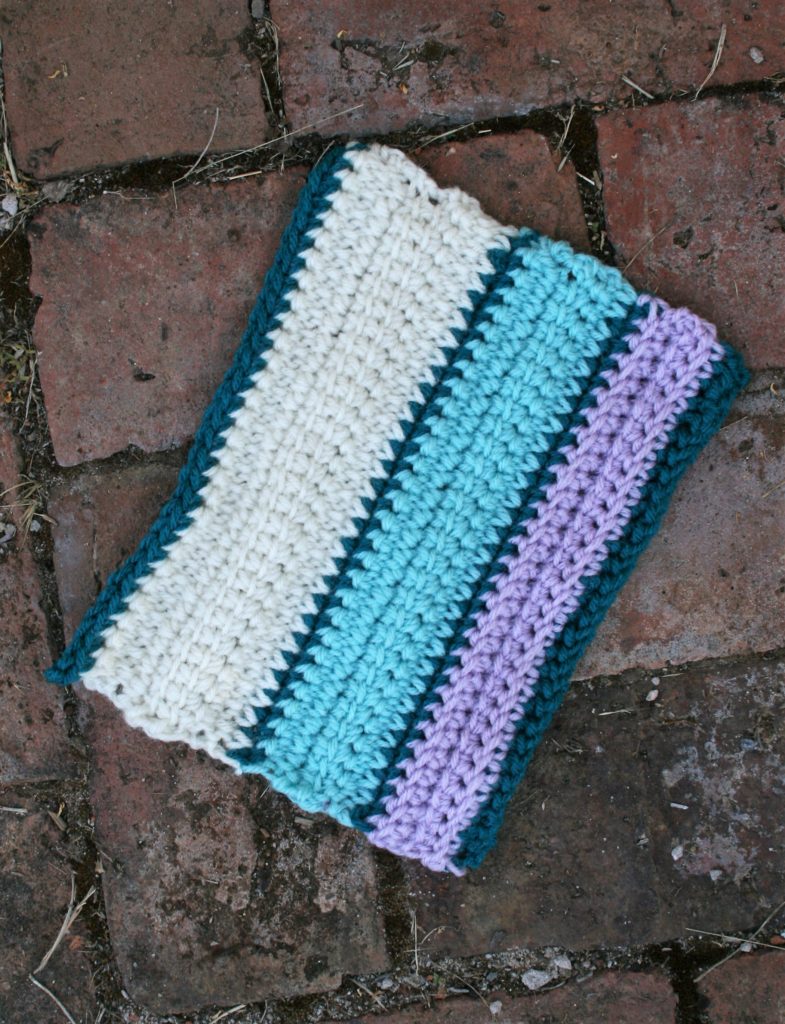
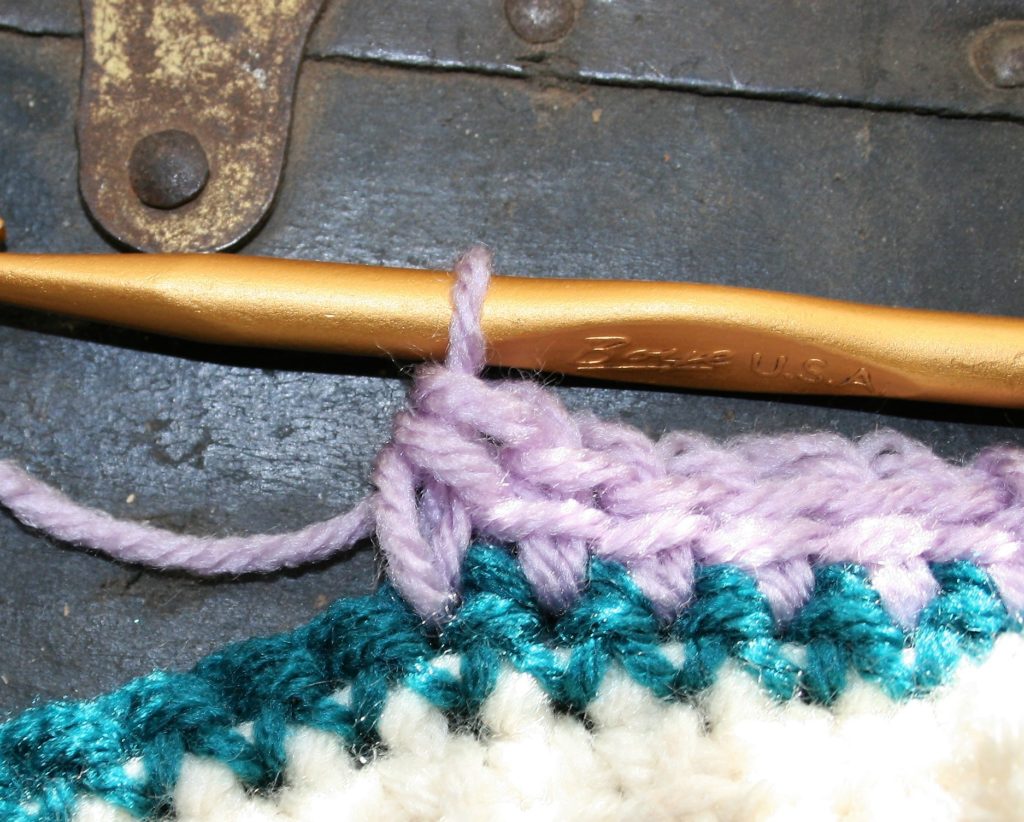
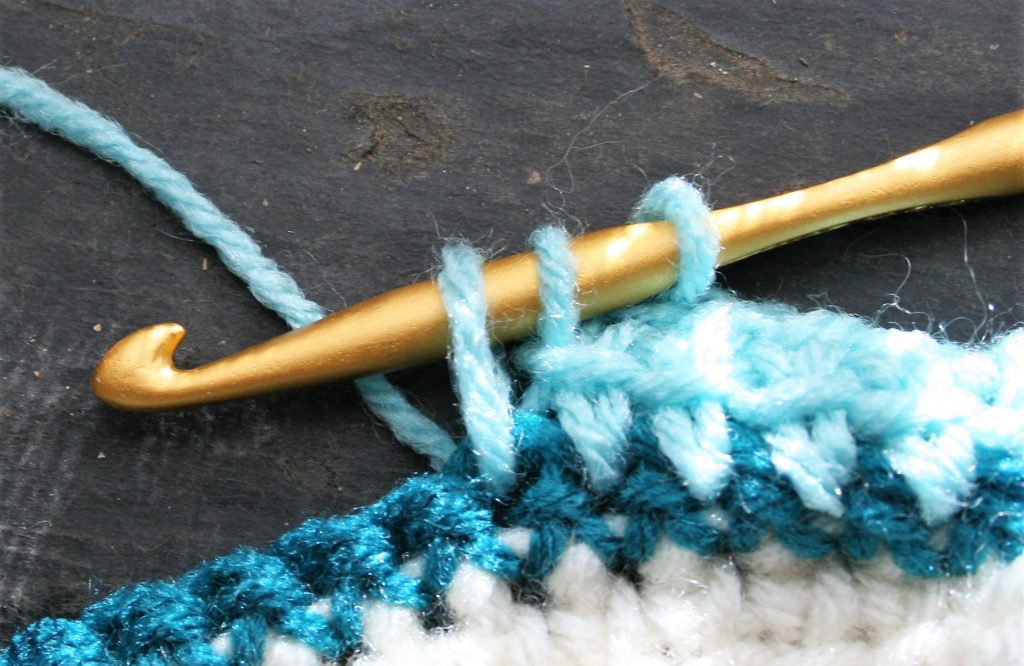
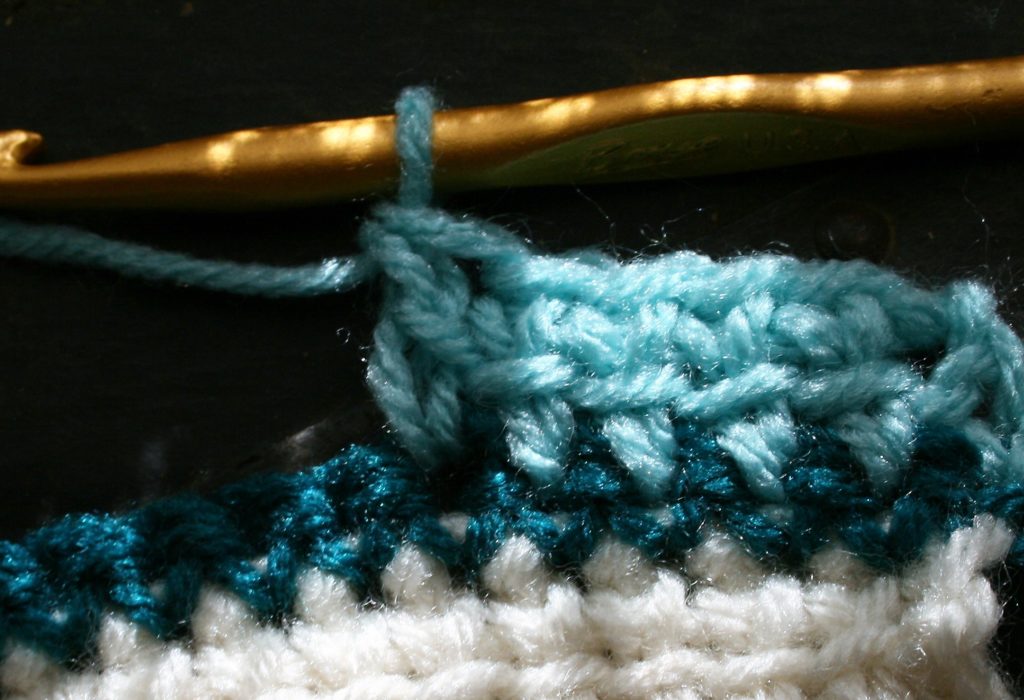
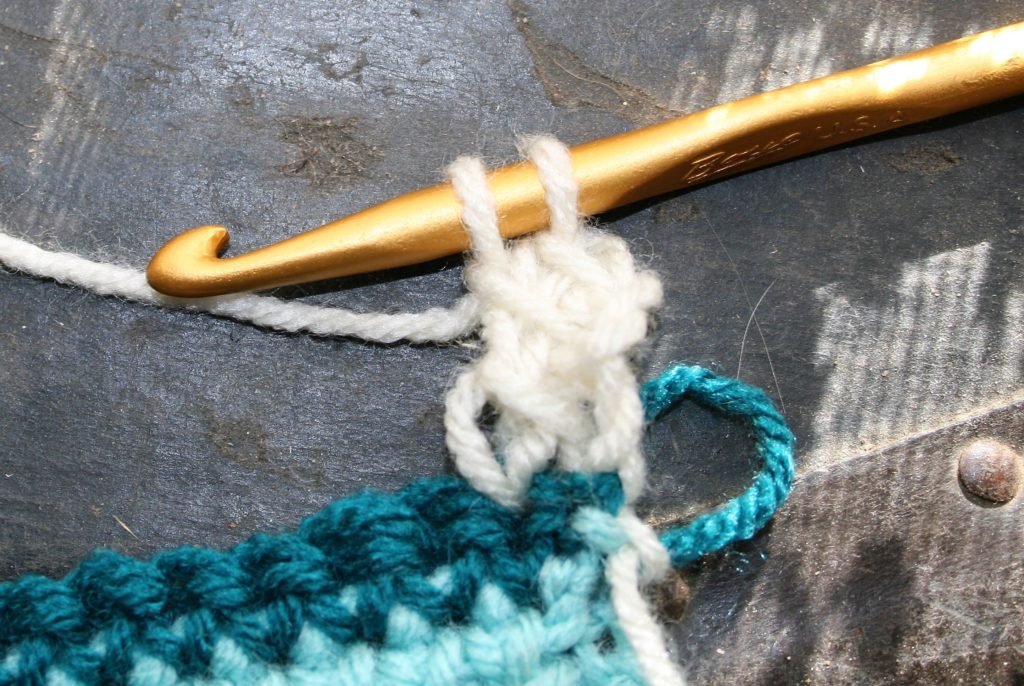
Making it a bit more solid…
Rnd 5: Ch 3, {[3 dc in ch-3 sp, dc in sc] rep across to corner, ch 3, dc in ch-3 corner sp, ch 3, dc in sc} rep 4 times, 3 dc in ch-3 sp, dc in sc, 3 dc in ch-3 sp, sl st to join.
Rnd 6: Ch 3, [dc in each dc across to corner, 3 dc in ch-3 sp, (dc, ch 3, dc) in dc, 3 dc in ch-3 sp] rep 4 times, dc across to first st, sl st to join.
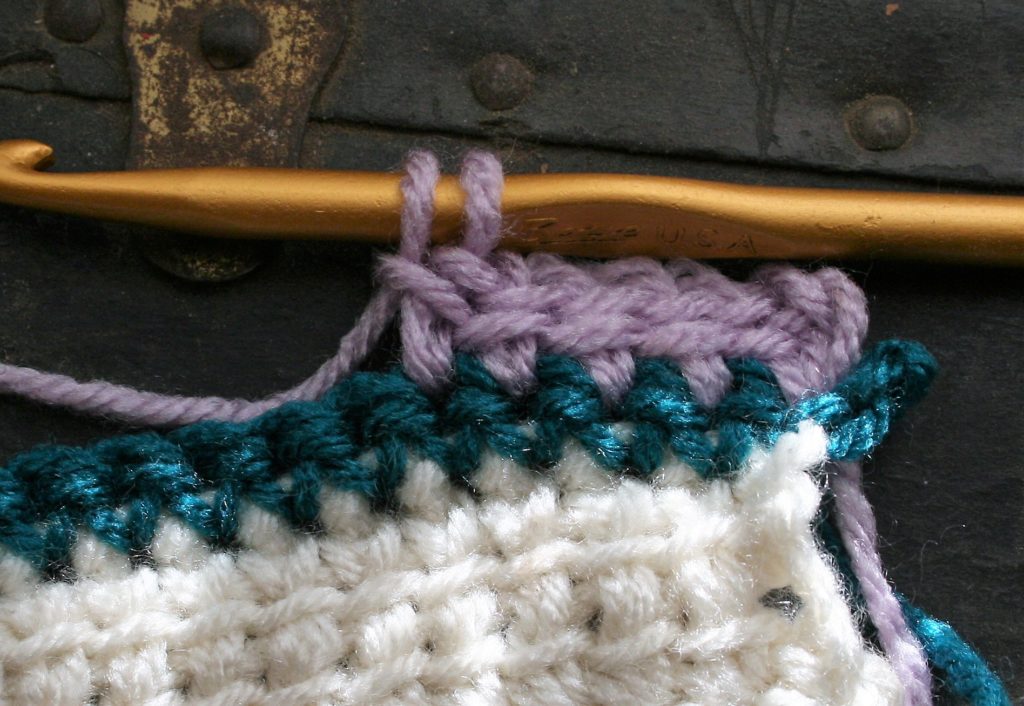
Rnd 7: Ch 3, [dc in each dc across to corner, ch 3, dc in ch-3 sp, ch 3] rep 4 times, dc across to first st, sl st to join, change to B.
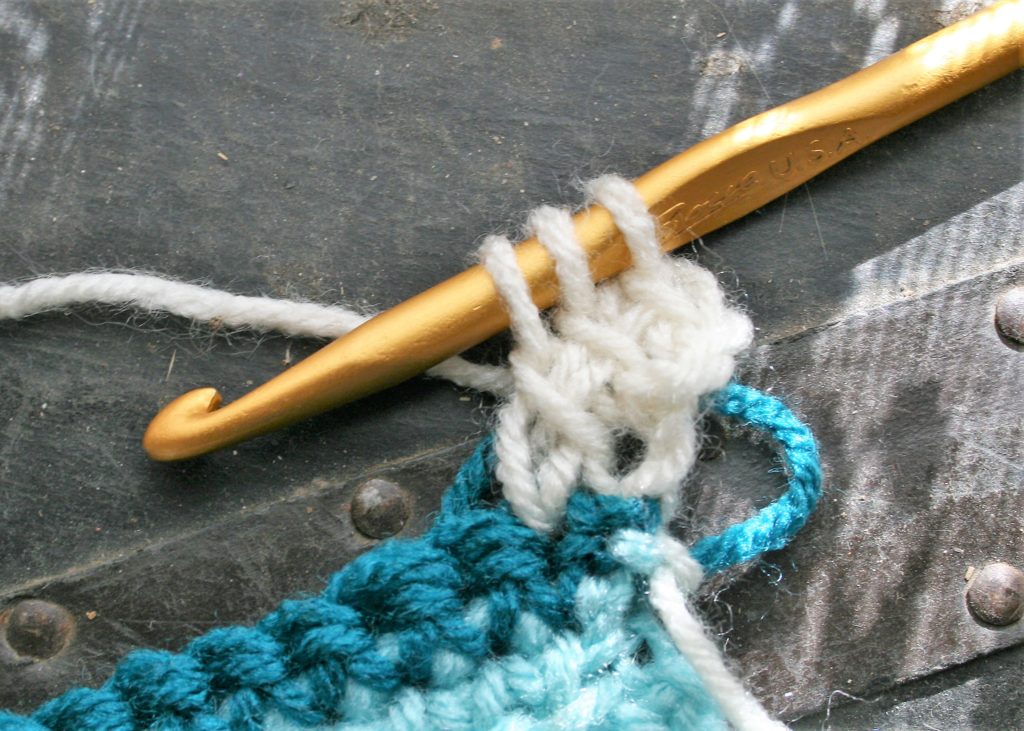
Back to being airy…
Rnd 8: Ch 1, sc in same st, {[ch 3, sk 3, sc in next st] rep across to corner, ch 3, (sc, ch 3, sc) in dc, ch 3, sc in next dc} rep 4 times, [ch 3, sk 3, sc in next st] 3 times, sl st to join.
Rnd 9: Ch 1, sc in same st, {[ch 3, sc in next sc] across to corner, ch 3, dc in ch-3 sp of corner} rep 4 times, ch 3, [sc in next sc, ch 3] across to first st, sl st to join.
Rnd 10: Ch 1, sc in same st, {[ch 3, sc in next sc] across to corner, ch 3, (sc, ch 3, sc) in dc} rep 4 times, ch 3, [sc in next sc, ch 3] rep across to first st, sl st to join.
Rnd 11-14: Rep Rnds 9 & 10.
Rnd 15: Rep Rnd 9, changing to A at join.
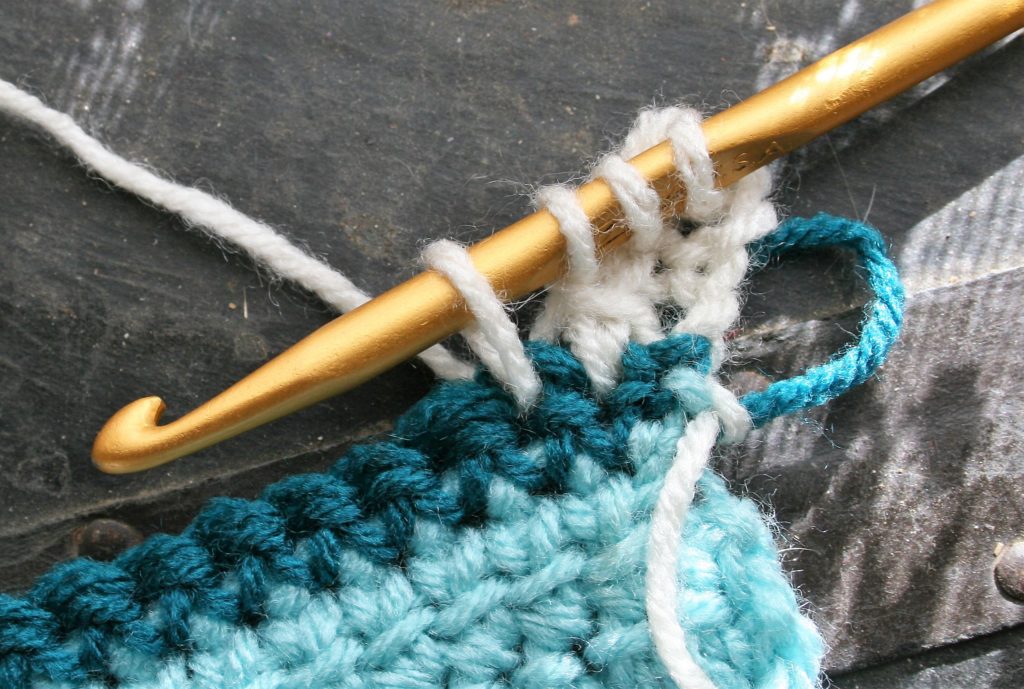
A bit of solid…
Rnd 16: Ch 3, {[3 dc in ch-3 sp, dc in sc] rep across to corner, 3 dc in ch-3 sp, (dc, ch 3, dc) in dc} rep 4 times, 3 dc in ch-3 sp, [dc in sc, 3 dc in ch-3 sp] rep across to first st, sl st to join, change to B.
Needs to be airy…
Rnd 17: Rep Rnd 8.
Rnds 18-33: Rep Rnds 9 & 10, change to A at the join of Rnd 33.
Rnd 34: Rep Rnd 9.
Rnd 35: Rep Rnd 16.
Let’s finish it up…
Rnd 36: Sl st in next st, ch 3, dc in next 4 sts, ch 1 sk 1, {[dc in next 5 sts, ch 1, sk 1] rep across to corner, (dc, ch 1, dc, ch 1, dc) in ch- 3 sp, ch 1, sk 1} rep 4 times, [dc in next 5 sts, ch 1, sk 1] across to first st, sl st to join.
Rnd 37: Sl st in next st, ch 3, dc in next 2 sts, {[ch 3, sk dc, sk ch-1 sp, sk dc, dc in next 3 dc] rep across to corner, ch 3, sk dc, sk ch-1 sp, sk dc, dc in next ch-1 sp, ch 1, dc in next dc, ch 1, dc in ch-1 sp} rep 4 times, [ch 3, sk dc, sk ch-1 sp, sk dc, dc in next 3 dc] across to first st, ch 3, sl st to join.
Rnd 38: Sl st in next st, ch 5, (dc, ch 2, dc) in same st, sc in ch-3 sp, sk next dc, {[(dc, ch 2, dc, ch 2, dc) in next dc, sc in ch-3 sp] across to corner, sk next dc (dc, ch 2, dc, ch 2, dc, ch 2, dc, ch 2, dc) in corner dc, sc in ch-3 sp} rep 4 times, [(dc, ch 2, dc, ch 2, dc) in next dc, sc in ch-3 sp] across to first st, sl st to join. Fasten off. Weave in ends.
Neck Edging, Work in each corner
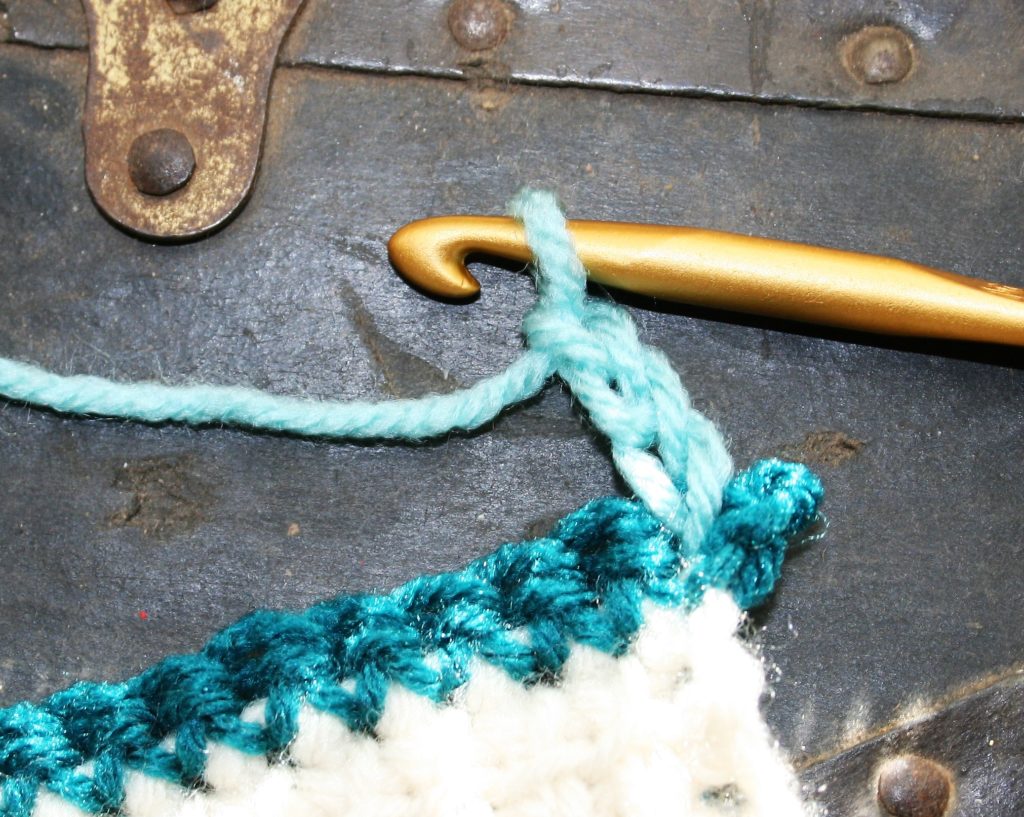
Row 1: From any corner, join with B to stitch 7 away from corner, ch 3 (counts as dc), dc in corner, sk next 6 sts, dc in next st, turn.
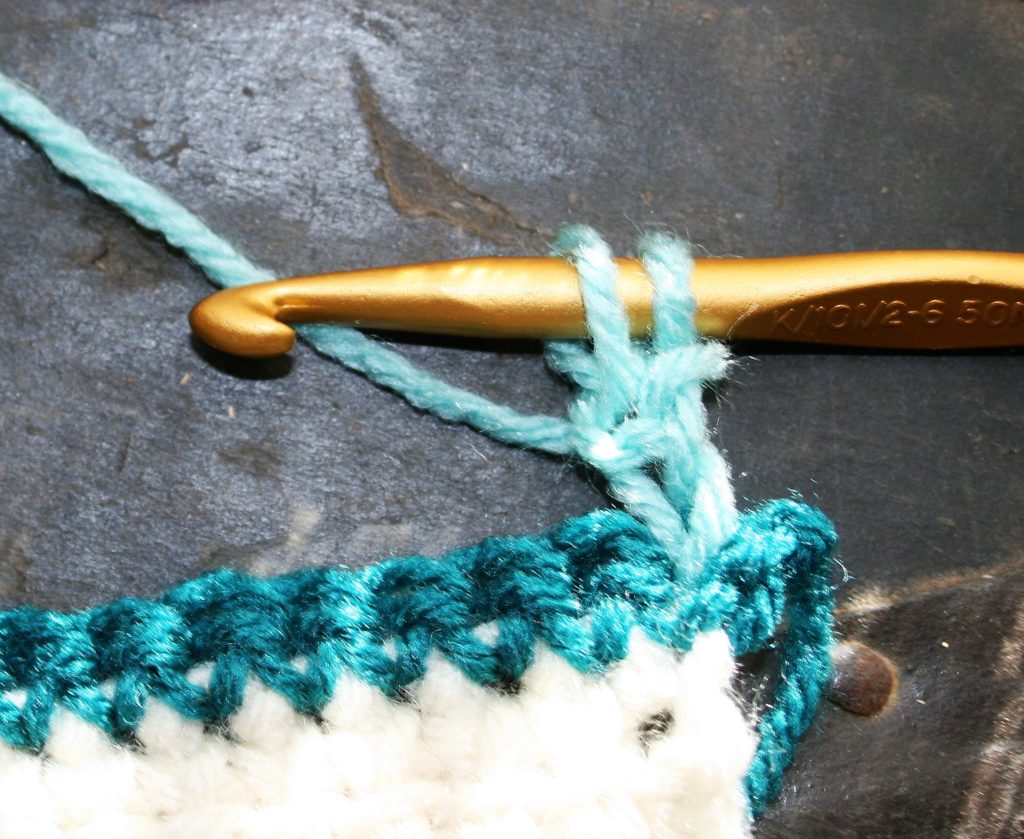
Edging: Ch 2 sc in base of dc, ch 3, sk 3 sts of neck, sc in next st, turn, ch 5, dc in center dc of Row 1, ch 1, dc in same st, ch 5, sk 3 sts from join of Row 1, sc in next st, turn, ch 3, sc in join of Row 1, ch 2, sl st to center dc in Row 1. Fasten off. Weave in ends.