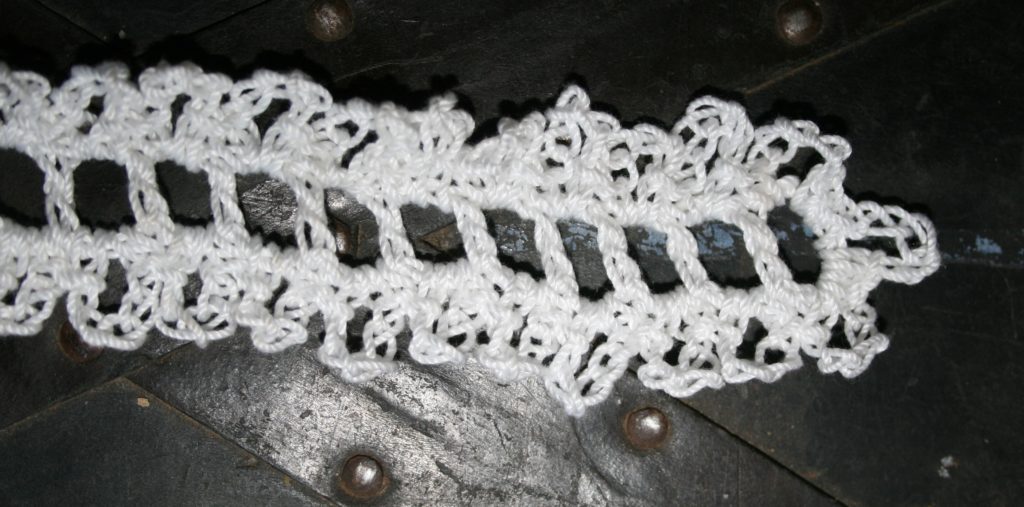
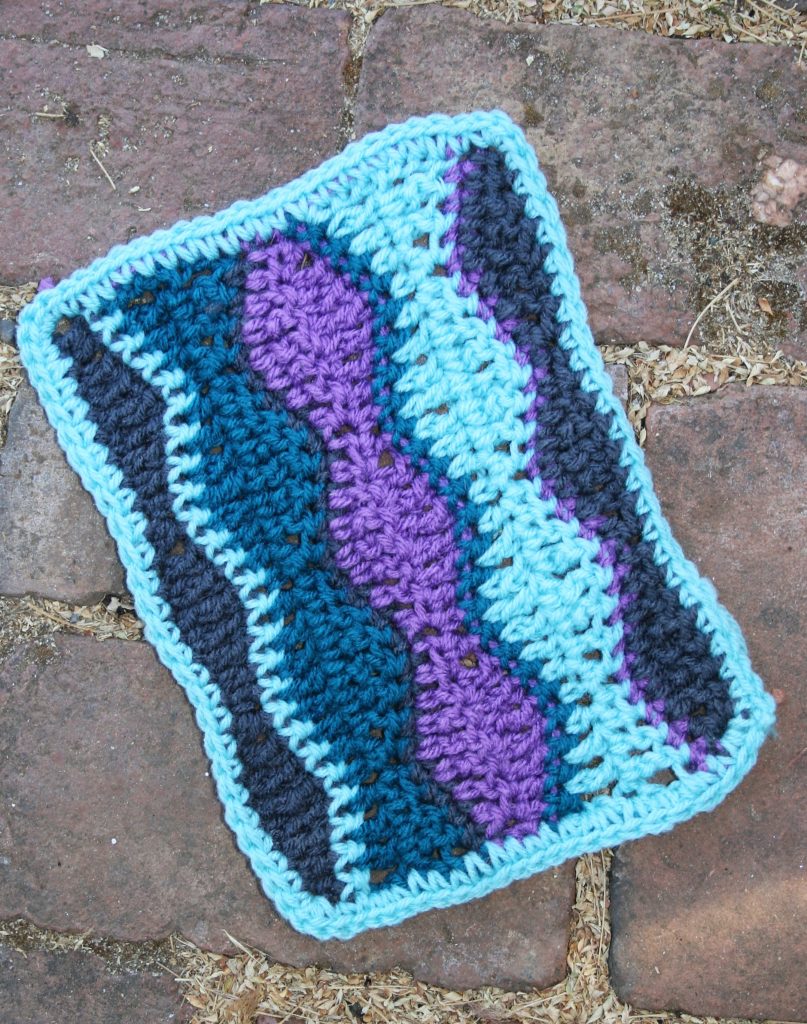
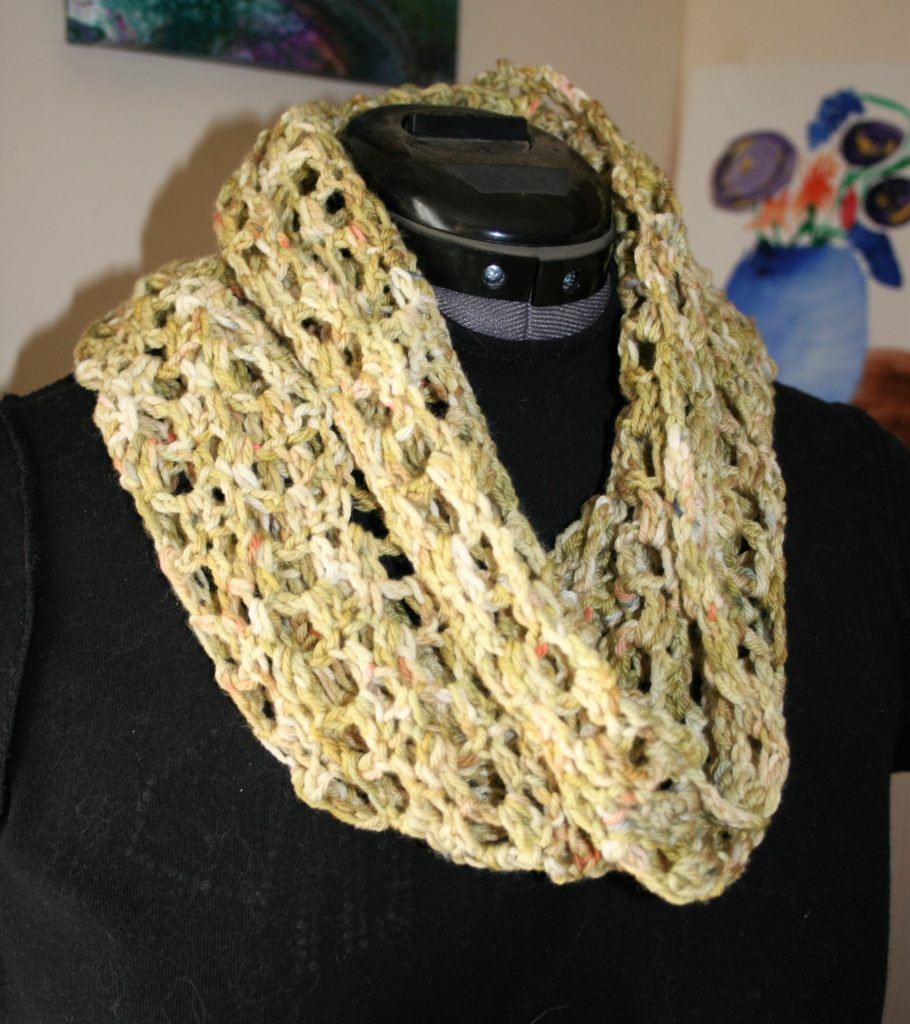
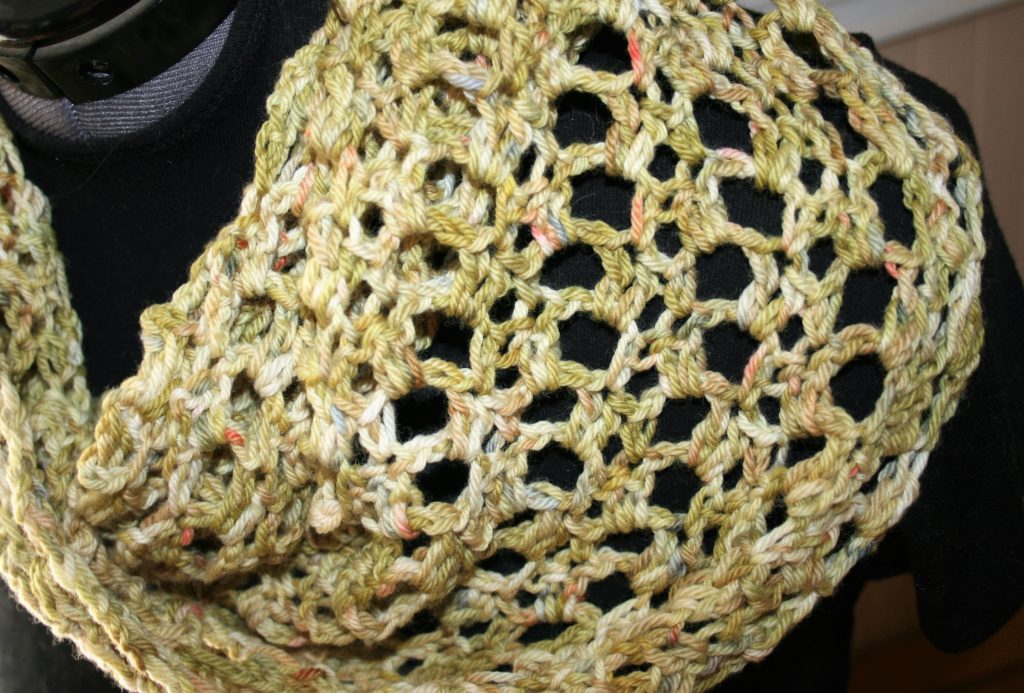
Creating unique reversible crochet fabric is a really fun thing to do. The Reversible Shell stitch is a great technique that can create a memorable blanket, scarf, hat, or really just about anything.
It looks more intimidating than it really is. This technique is worked as a 4 row repeat, working 2 rows in each color.
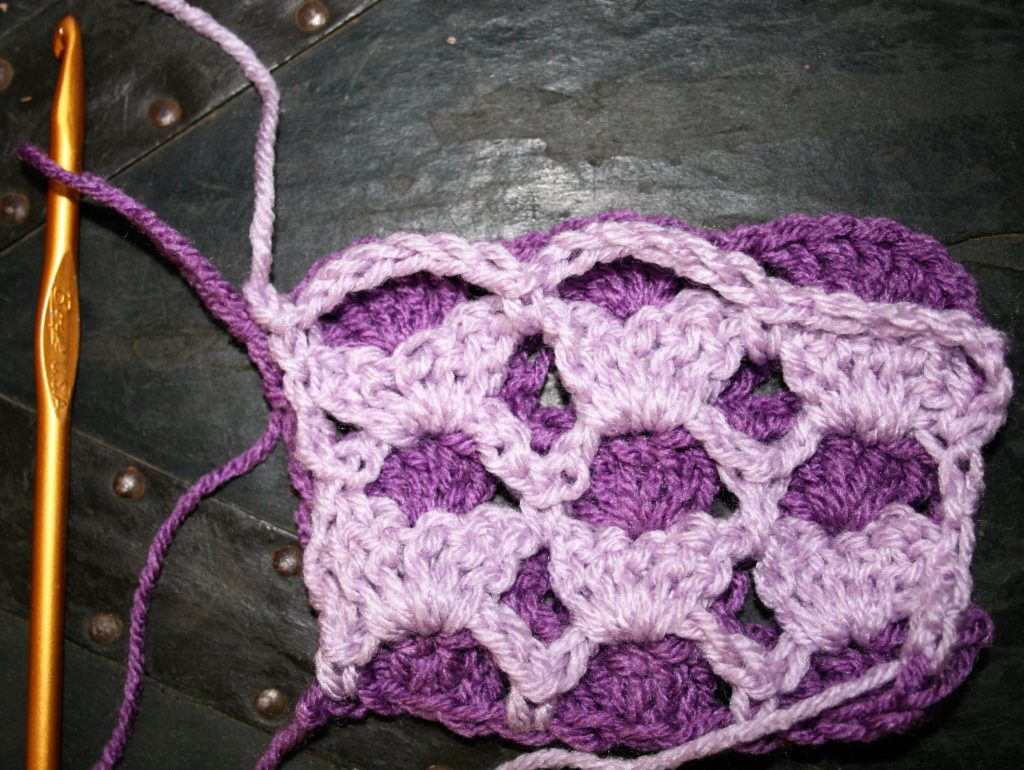
One of the things that can be a bit trying about this stitch is that after working 2 rows of one color, you remove the hook from the working loop and pick up the loop of the other color and work 2 more rows.
Lets Get Started
Start with a beginning chain of a multiple of 4. The first row has a little different stitch pattern in order to keep the project looking symmetrical.
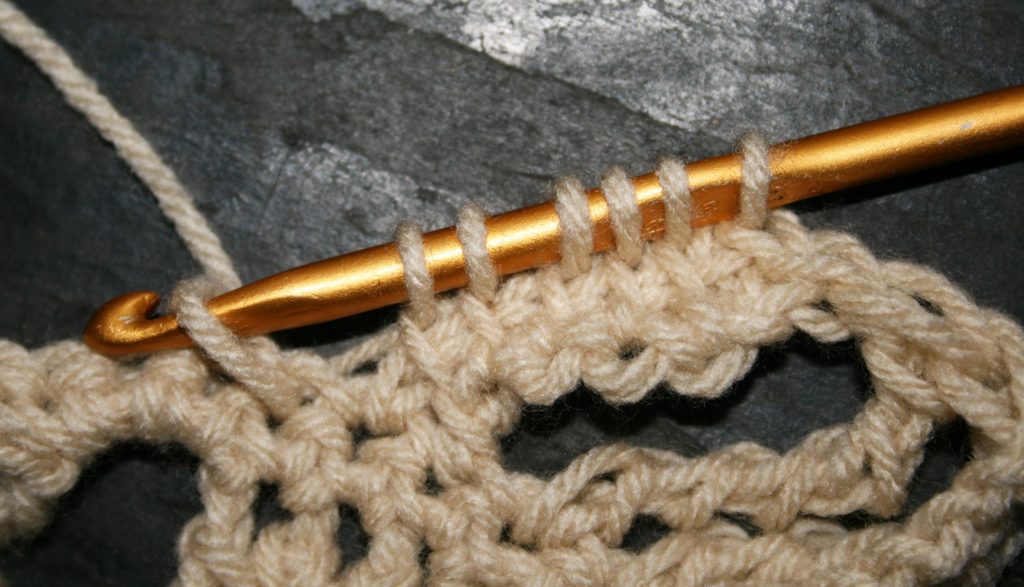
To work the first row, put a stitch marker in the 4th chain from the hook (this is to help find the location to join the second color), dc in 5th ch from hook, 3 dc in next ch, dc in next ch, [ch 1, sk 1, dc in next ch, 3 dc in next ch, dc in next ch] repeat across, leave last ch unworked. Do not turn.

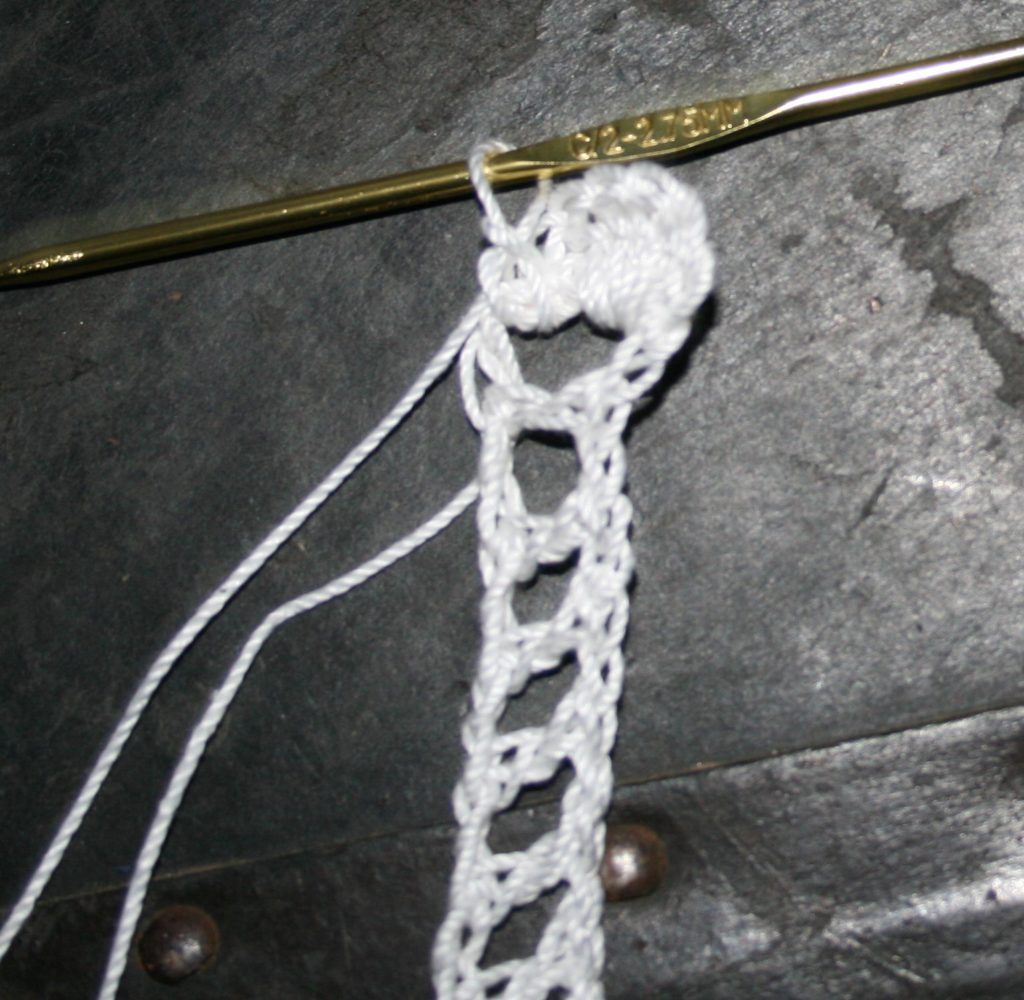
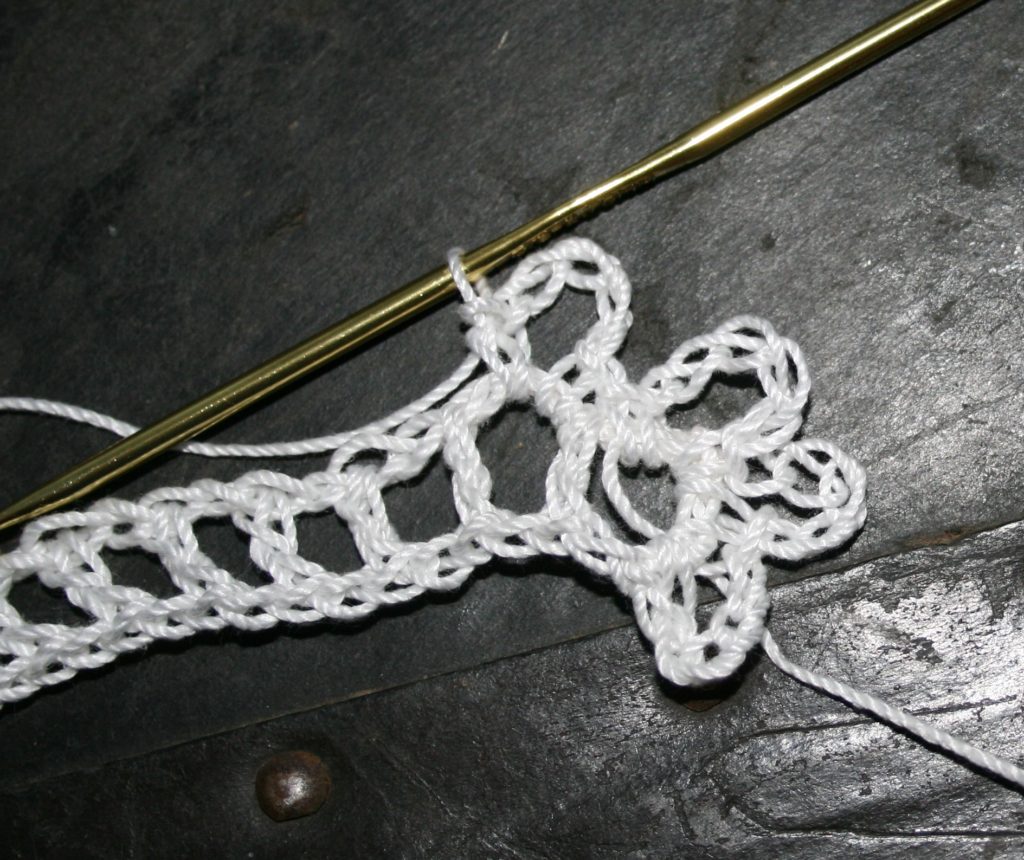
A Little Unnerving Way to Start A New Row
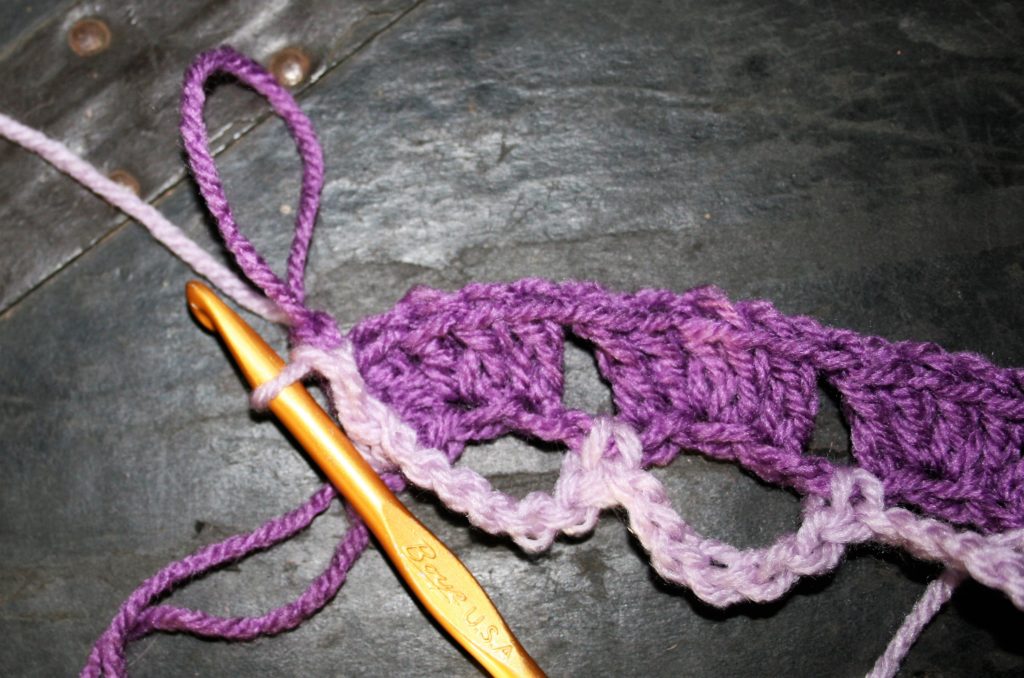
Now for the unnerving part, pull your working loop up kind of long and remove your hook. With the second color join with a sc in the marked chain (to work a standing sc, check it out here), now ch 6, sc in the skipped chain of the beginning, (ch 6, sc in next ch) across, working last sc in the unworked last chain. Chain 1, and slip stitch to the last stitch worked in the other color making sure to keep the long loop and the working yarn of the other skein out of the way. Now you turn the fabric.

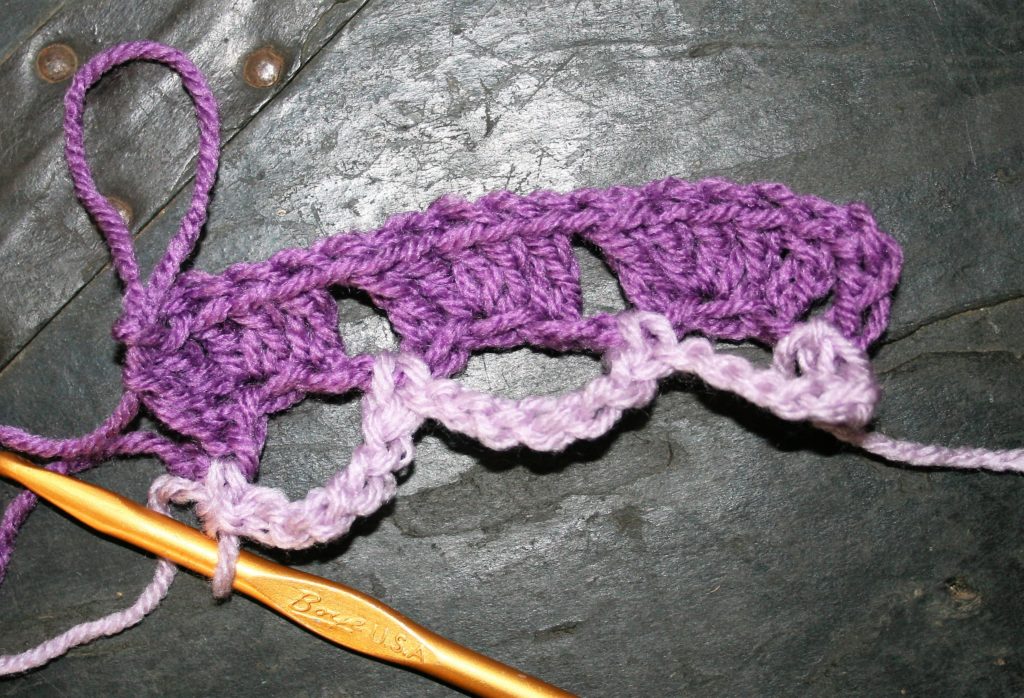
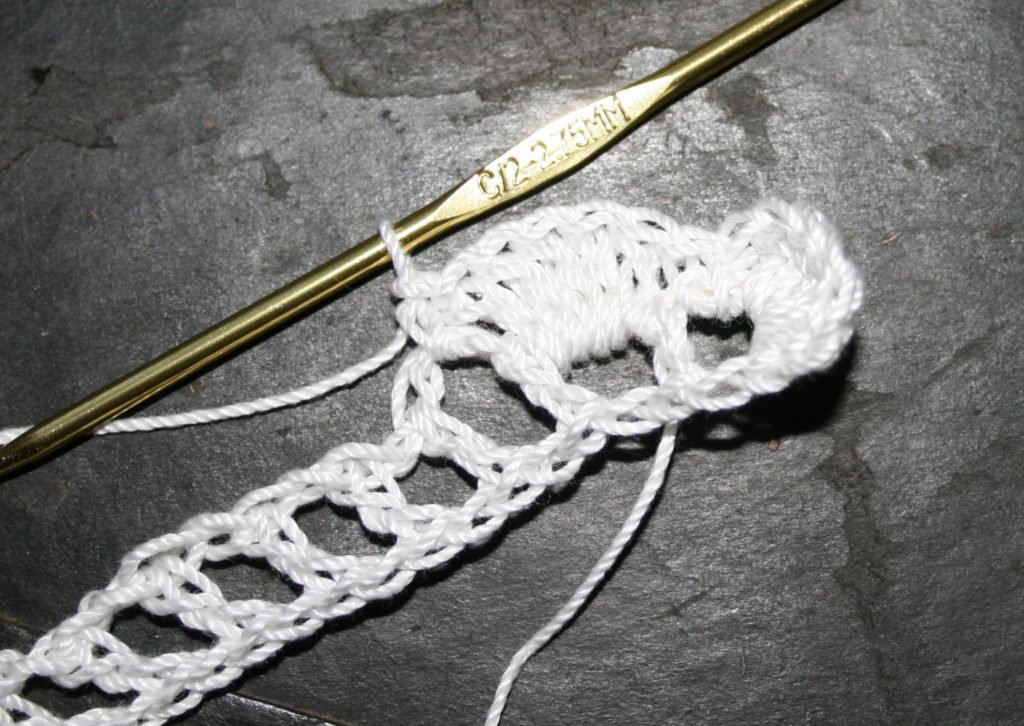
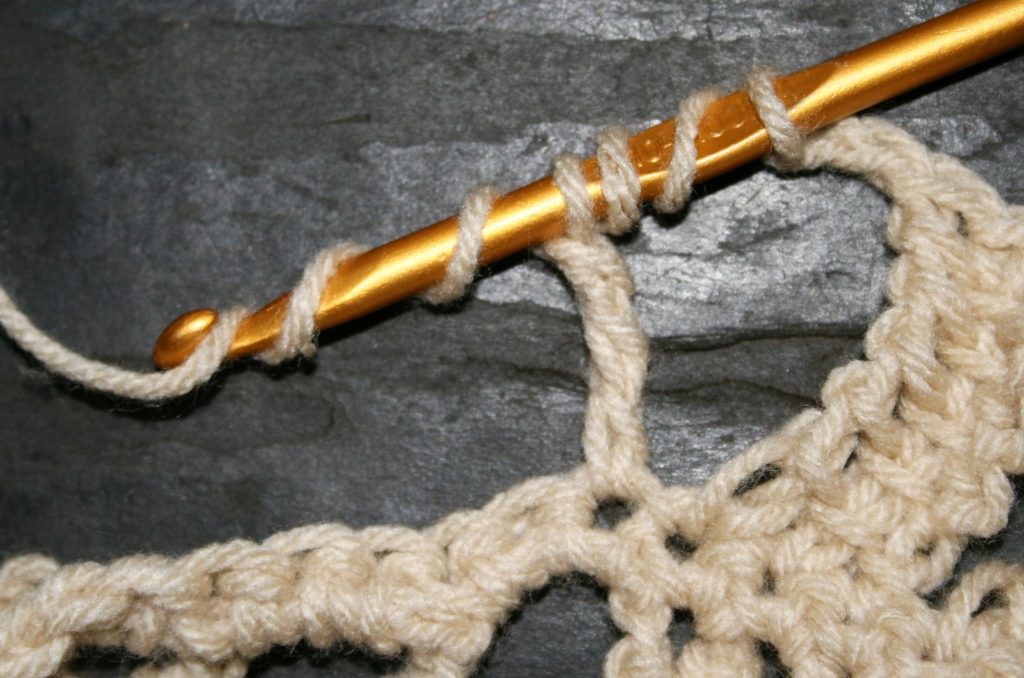
Join the Fabrics
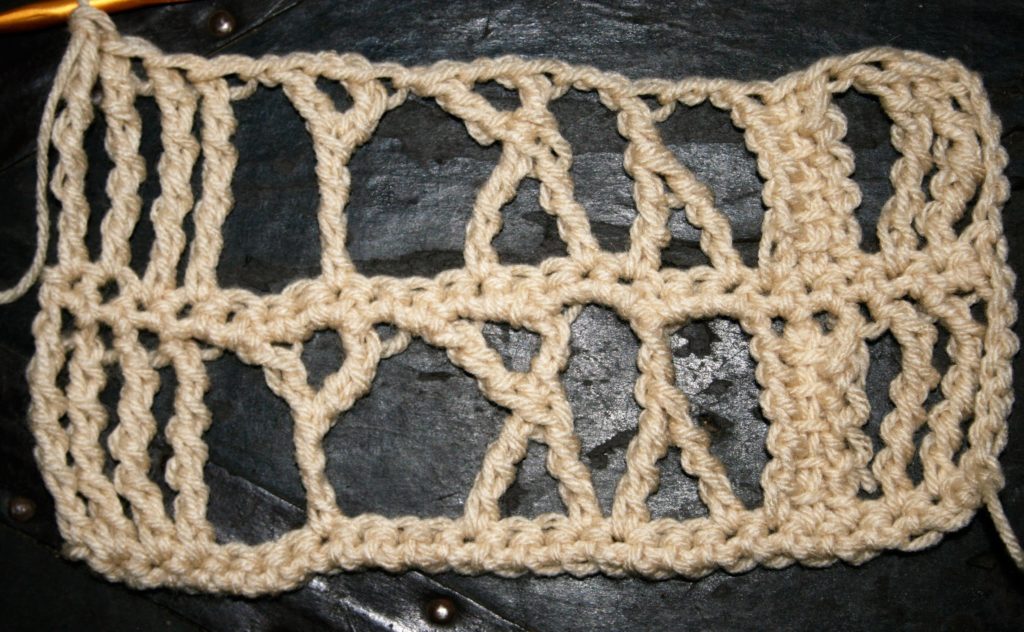
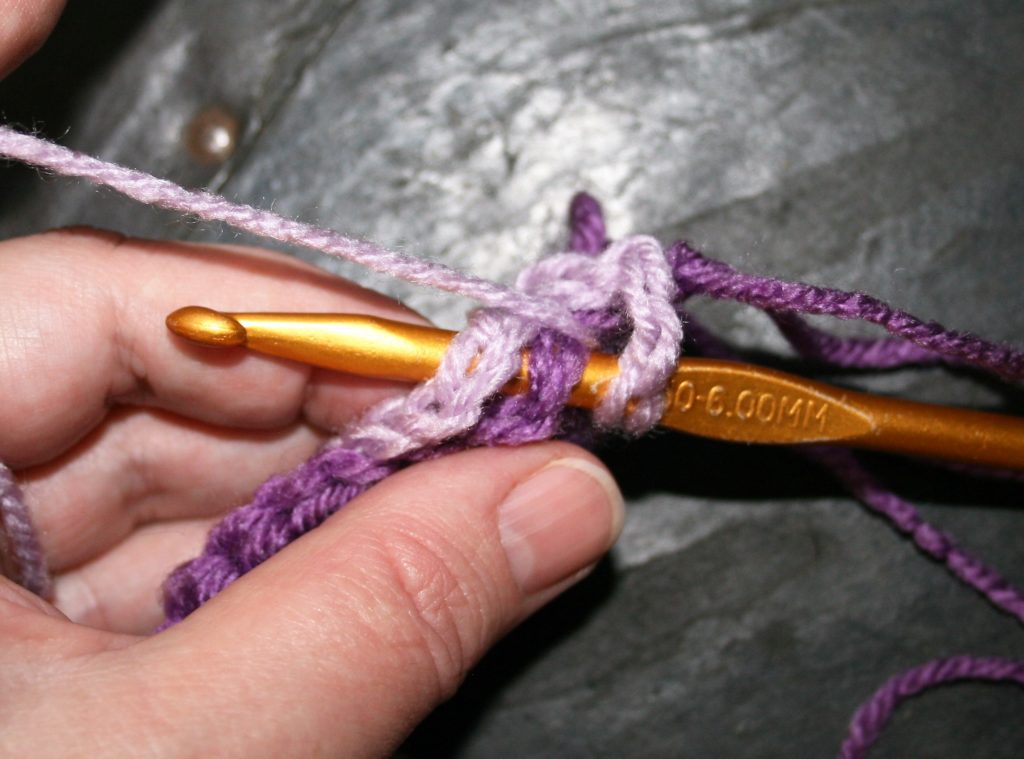
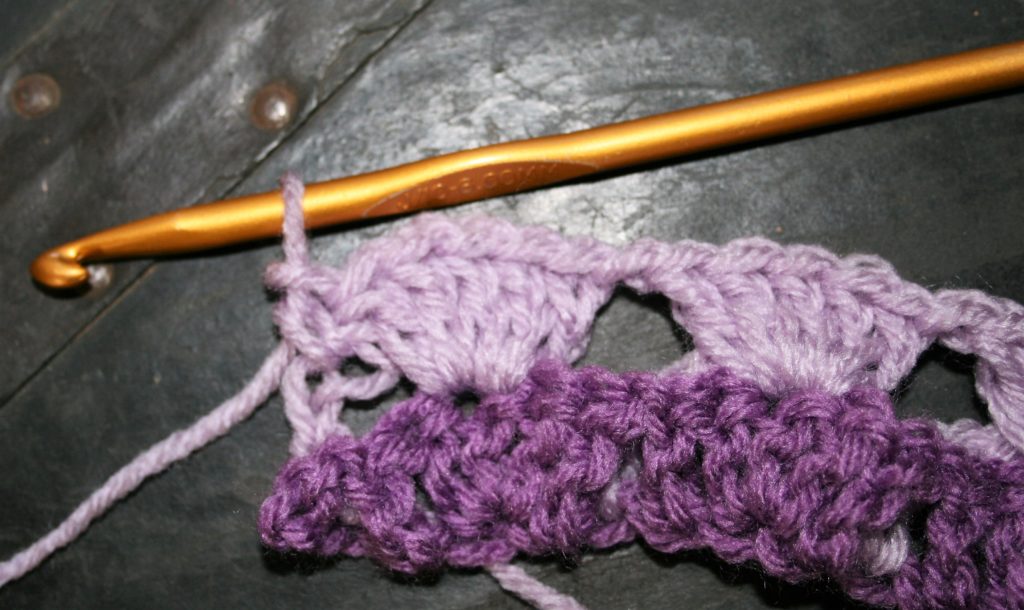
This row essentially joins the two colors. When working the shell the hook is inserted through the indicated double crochet and chain 6 loop of the same color that is being worked. Ch2, sk 1 dc, Shell (5 dc in next dc and ch-6 loop), [ch 1, sk 4 dc, Shell in next dc and ch-6 loop (this is the center dc and the chain loop)] repeat across, sc in turning chain. Pull up the working loop to a long loop and remove hook. Do not turn.
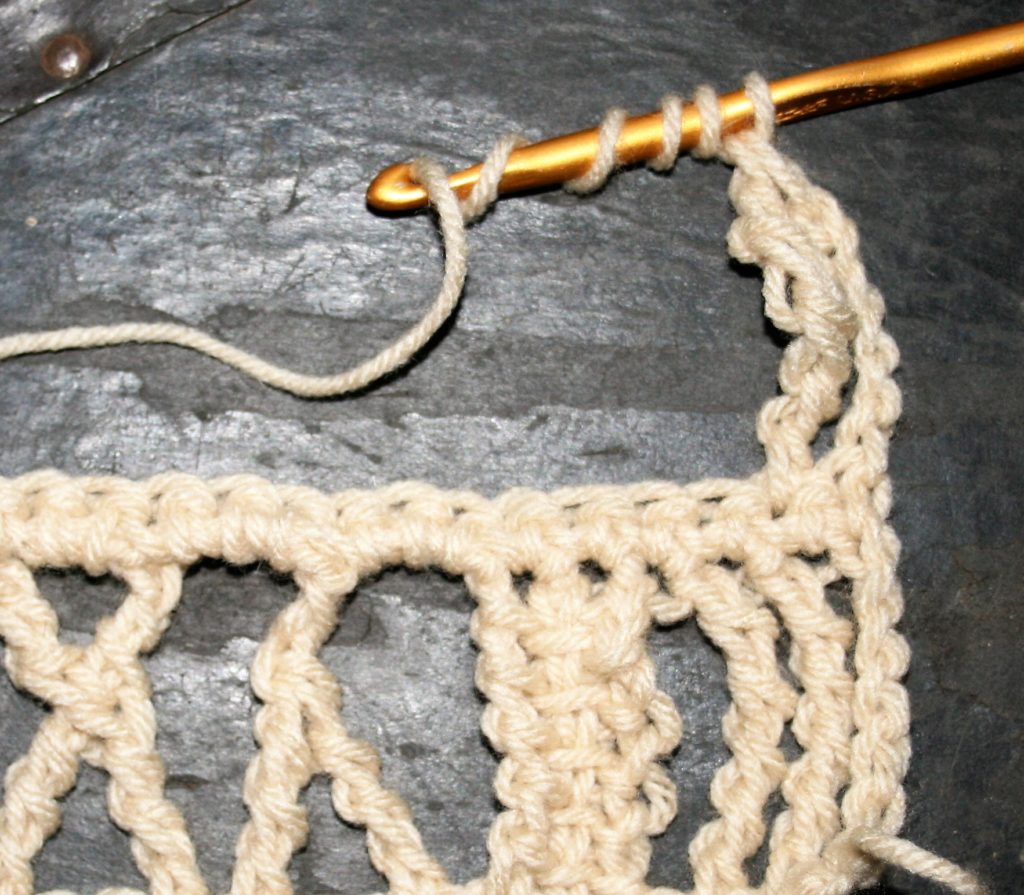
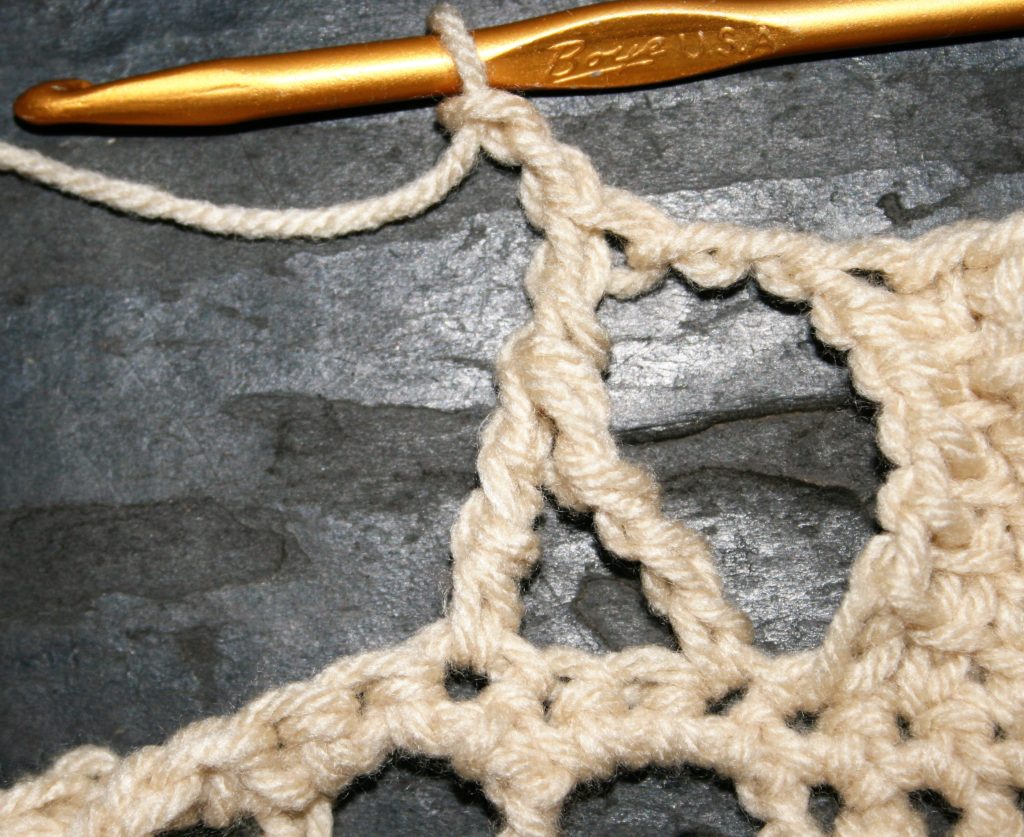
Back to Working Only the Same Color
This row works through the same color. Start by inserting the hook in the other color loop, and resize the loop to fit the hook. [Ch 6 and sc in the ch-1 sp (between the 5 dc stitches)] repeat across. Turn and work the Row of joining the two colors.
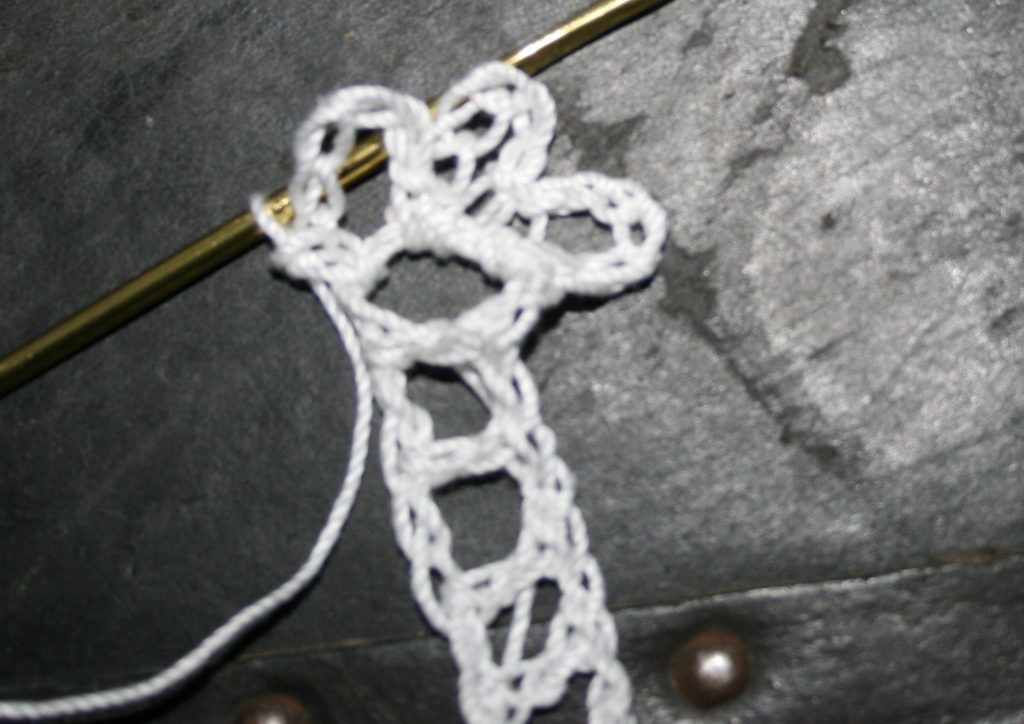
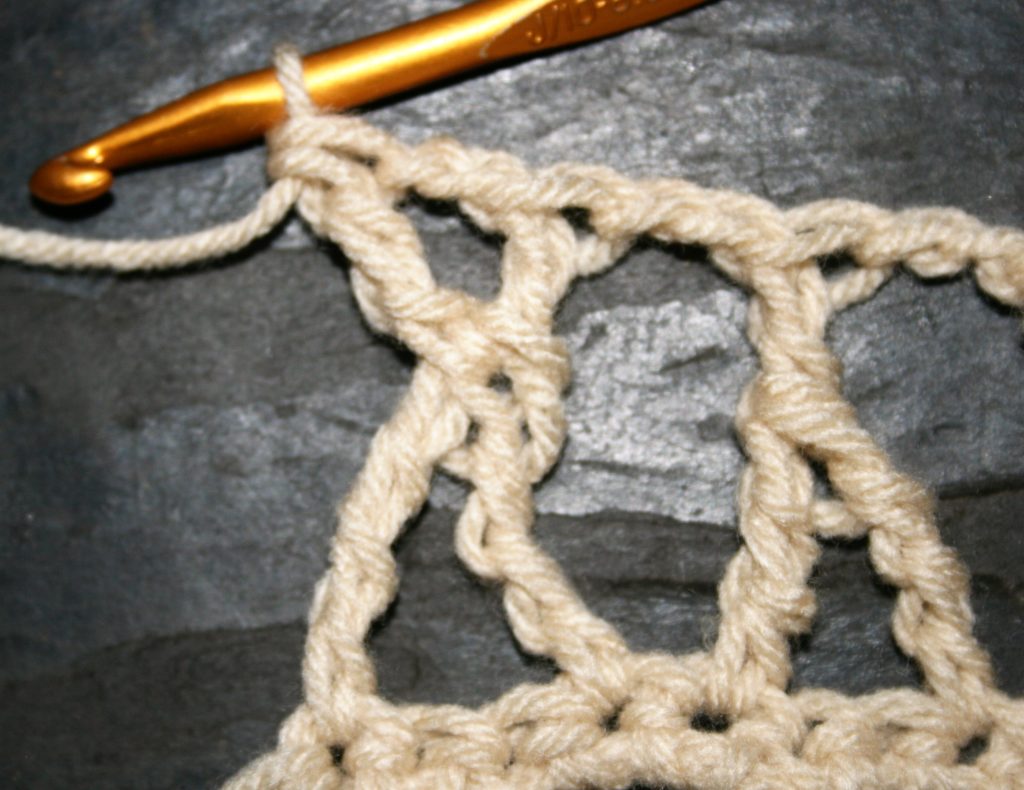
And Repeat
Repeat the stitch pattern rows or working ch-6 loops, turning and working a joining shell. Then you drop the working yarn, pick up the other color and work the same stitch repeat.
Work this until you have the desired length.
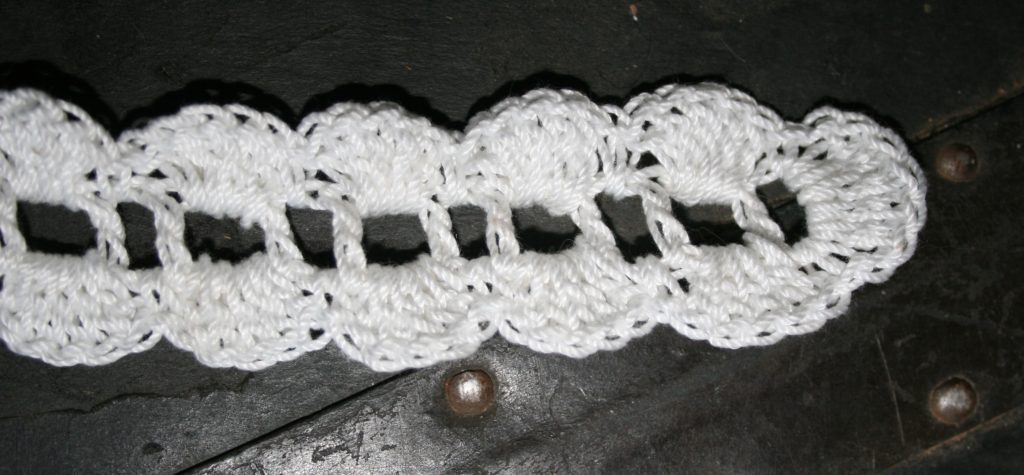
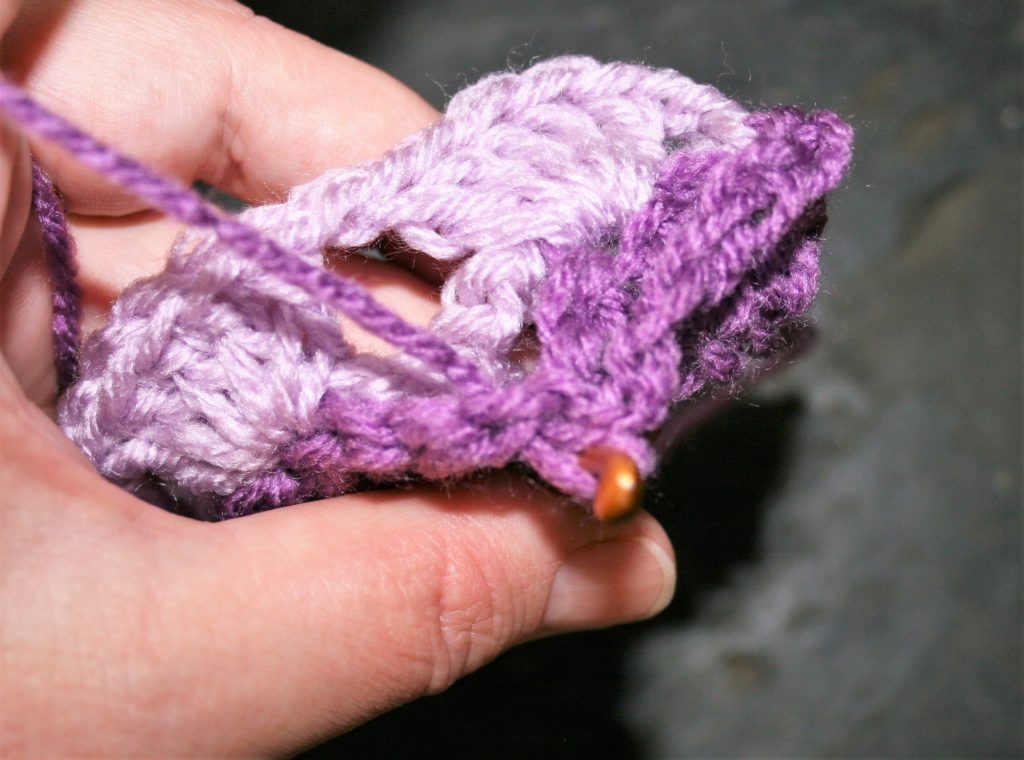
I like to finish my work so that it has a little visual balance, so I work a row of the ch-6 loops, and fasten off that color. I then turn and pick up the other color loop. Chain 4 and [sc in the same location I would work a shell, picking up the ch-6 loop, ch 3] repeat across, sc in 2nd ch of ch-6 loop. Then fasten off.
I have found that it works nicely with a wide range of colors and yarn types. Lending itself to endless possibilities.