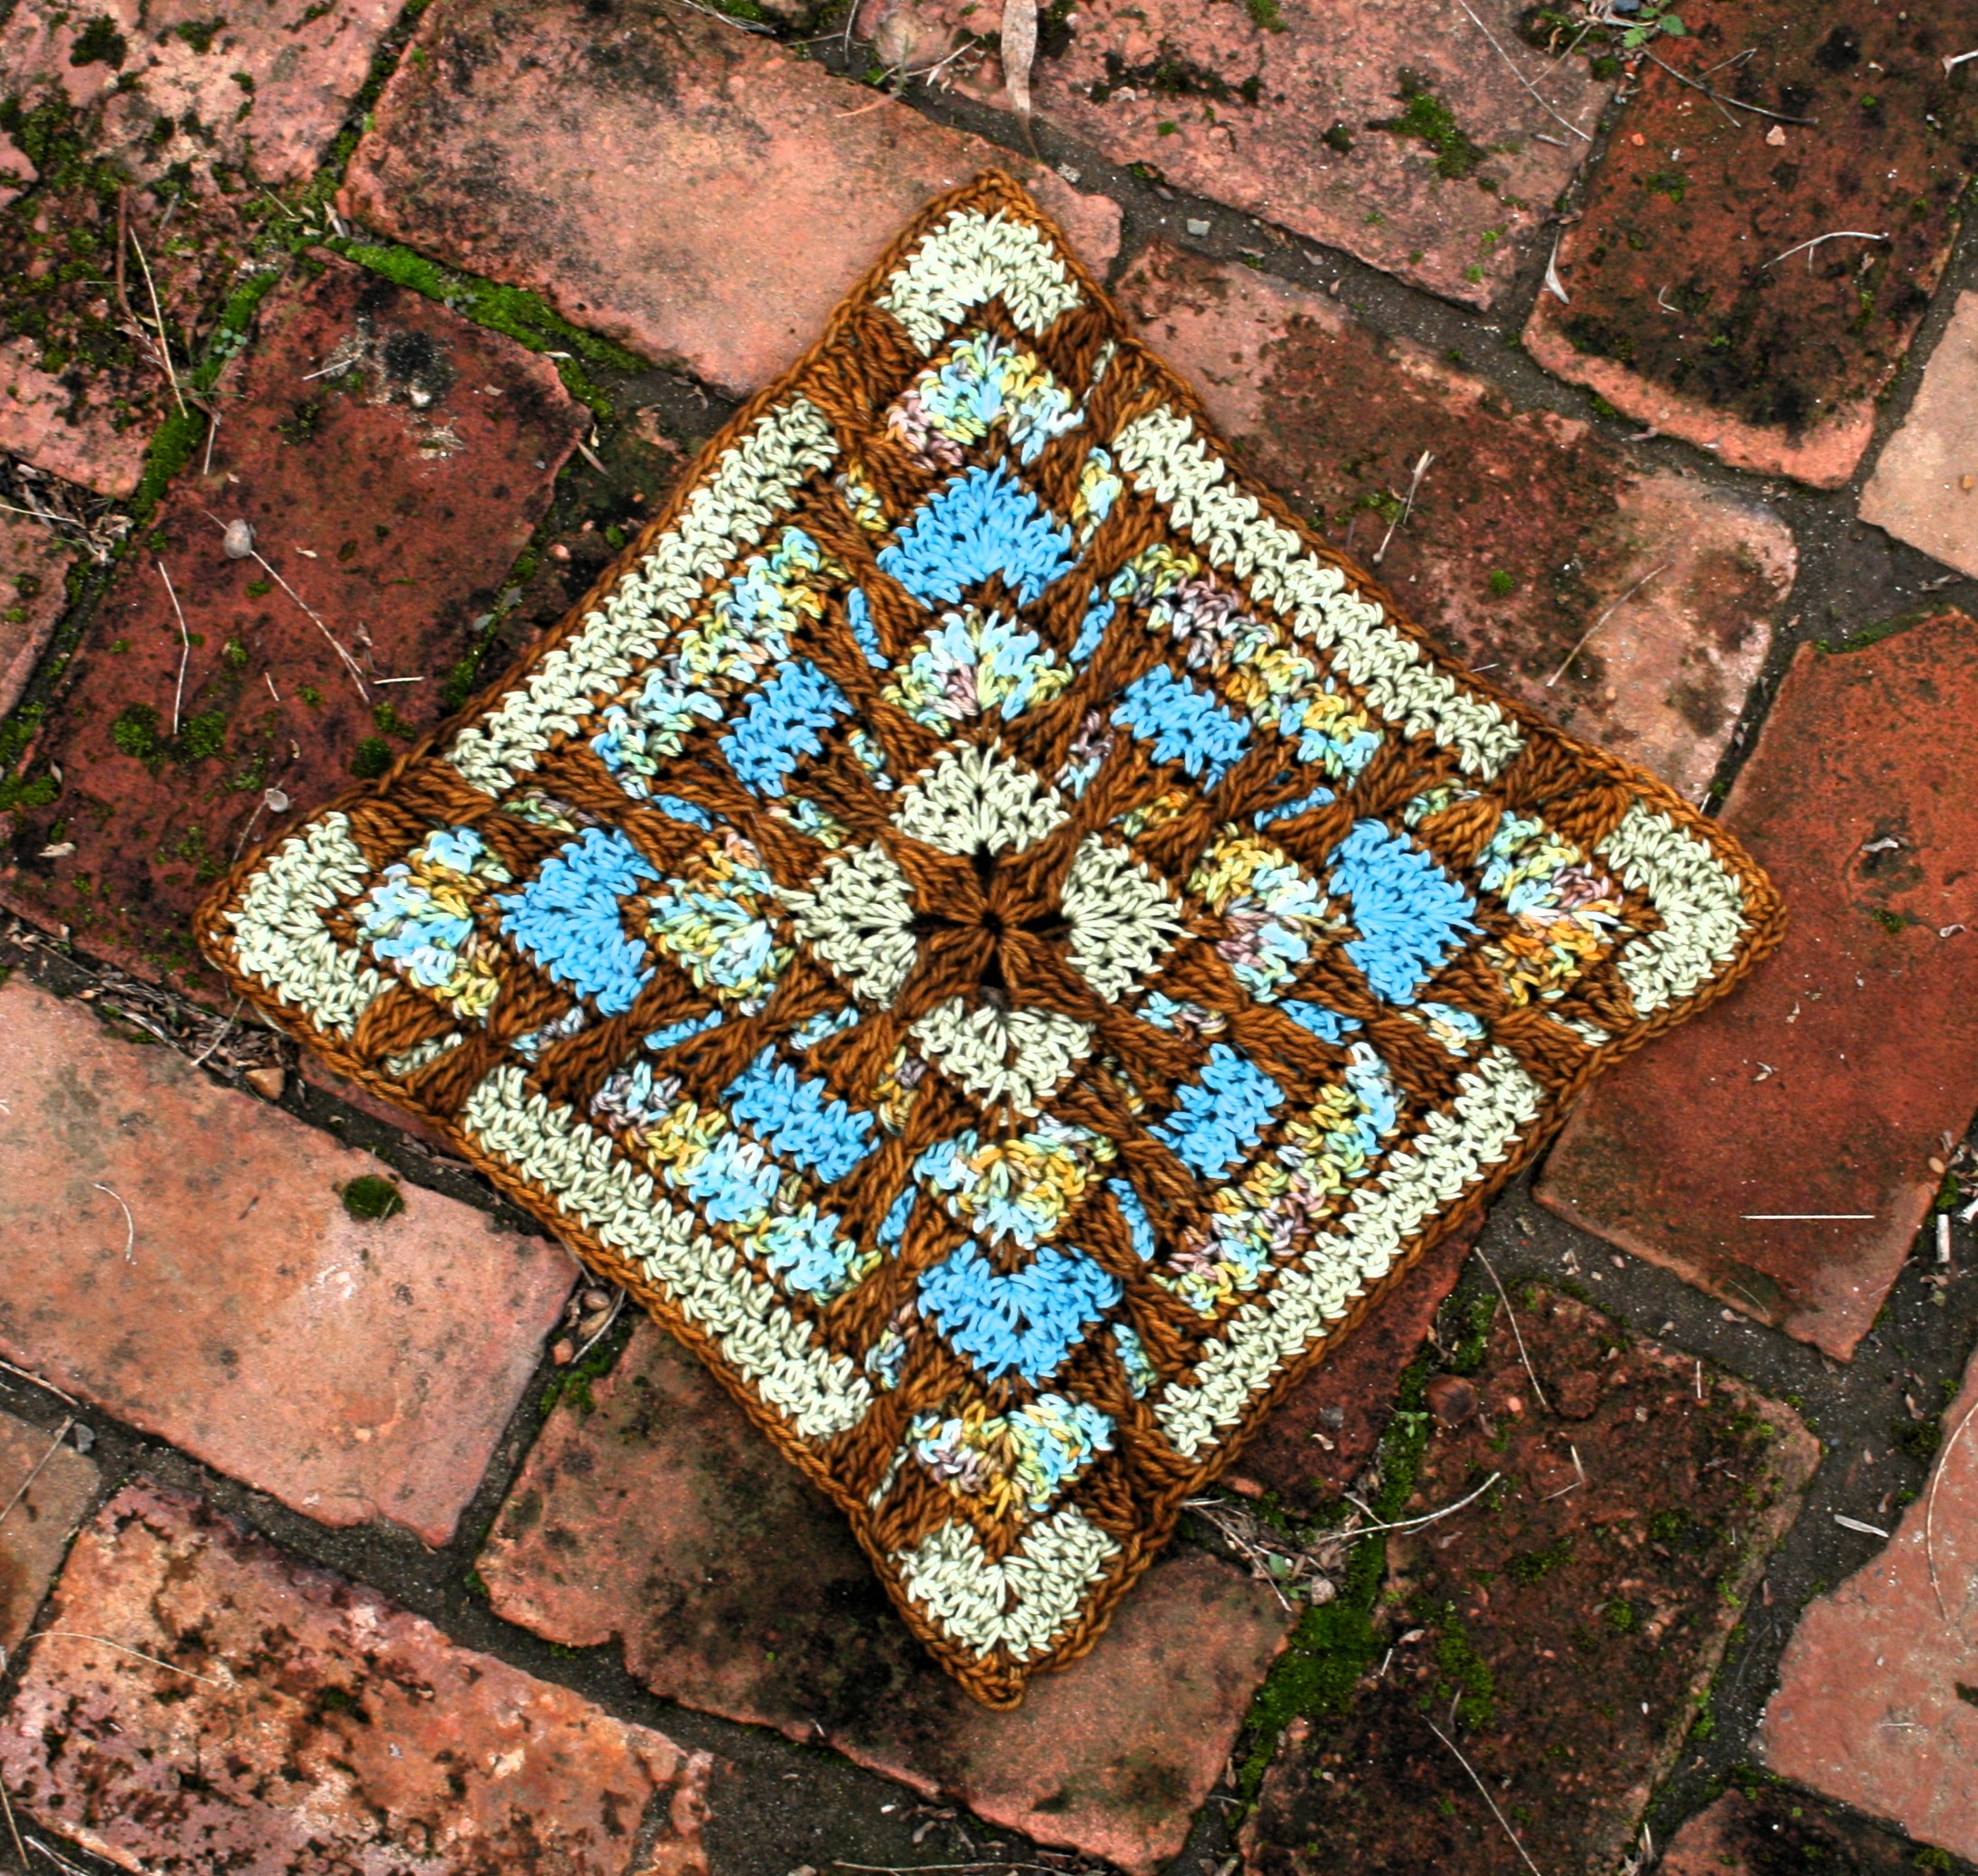
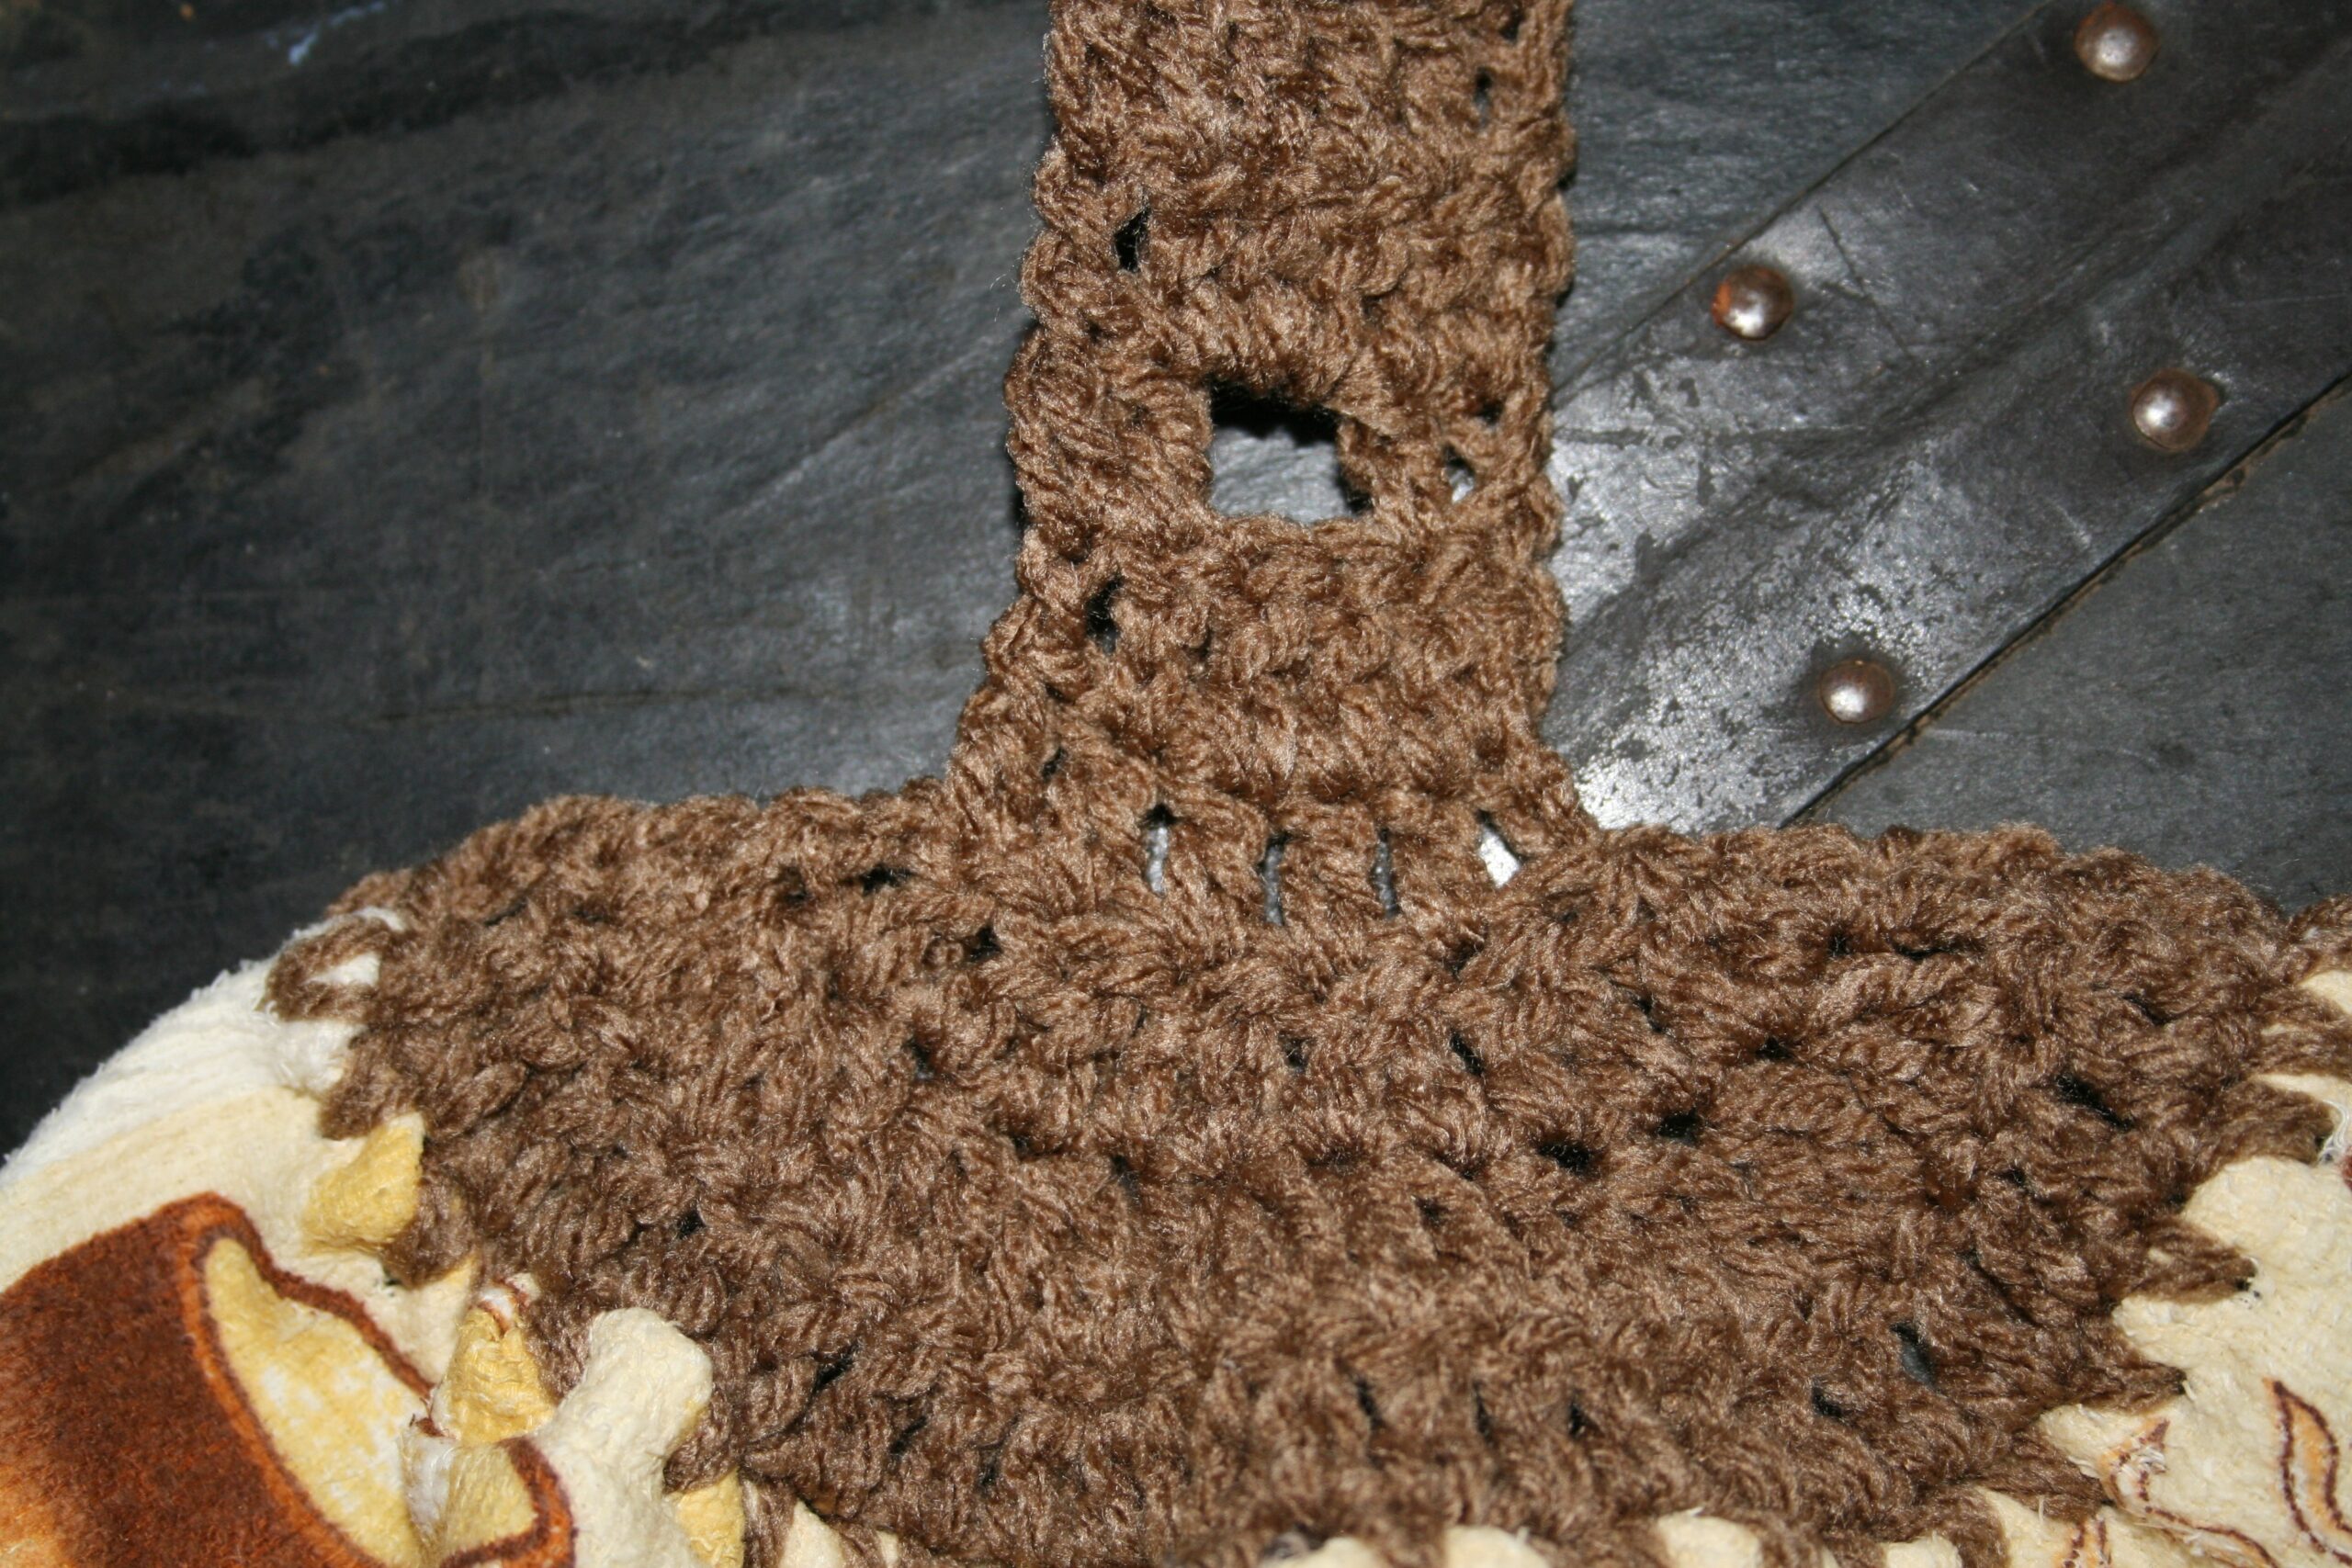
I have been playing the Horizontals cables quite a bit over the last year. I have done this for a few reasons. One, I find it interesting to understand different aspects of crochet. Two, I feel like I need to know a lot of the ins and outs of a technique if I am going to teach it. So, to help teach and understand, Cable Braided Gloves were created.
This is a technique that I am teaching in a few places around the world this year, and if you can’t make it to a class I still want to share the concepts.
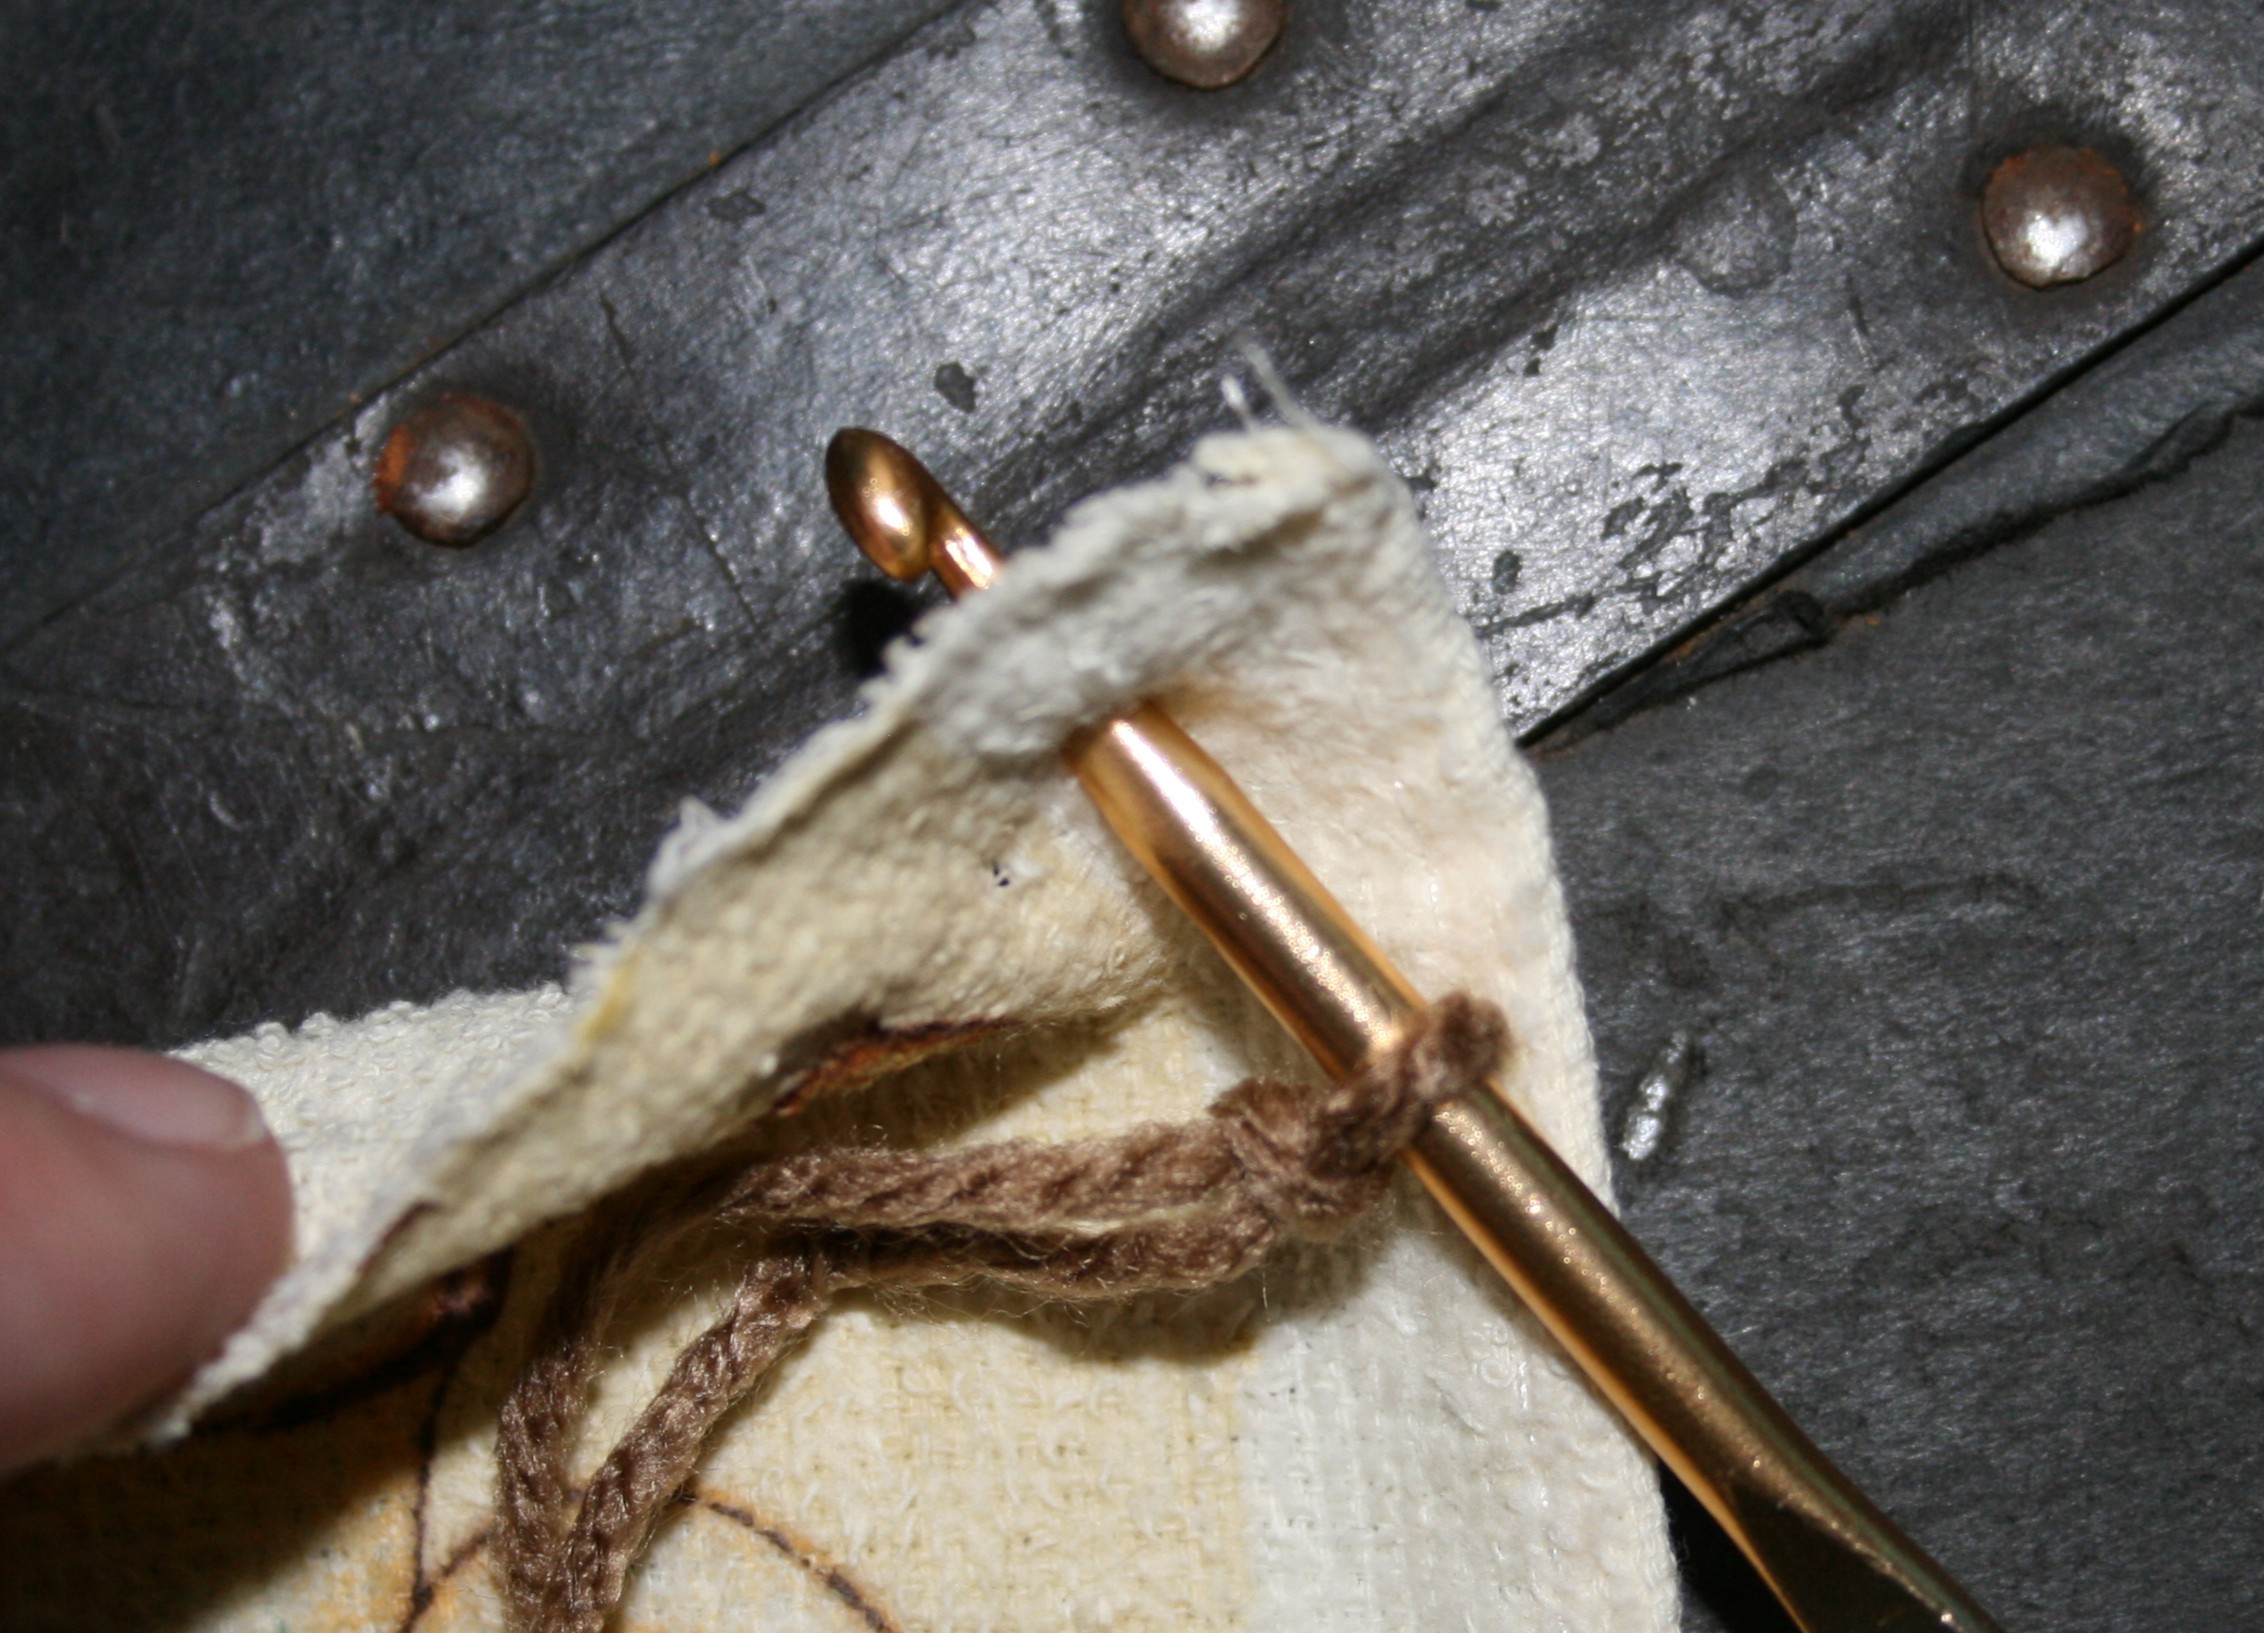
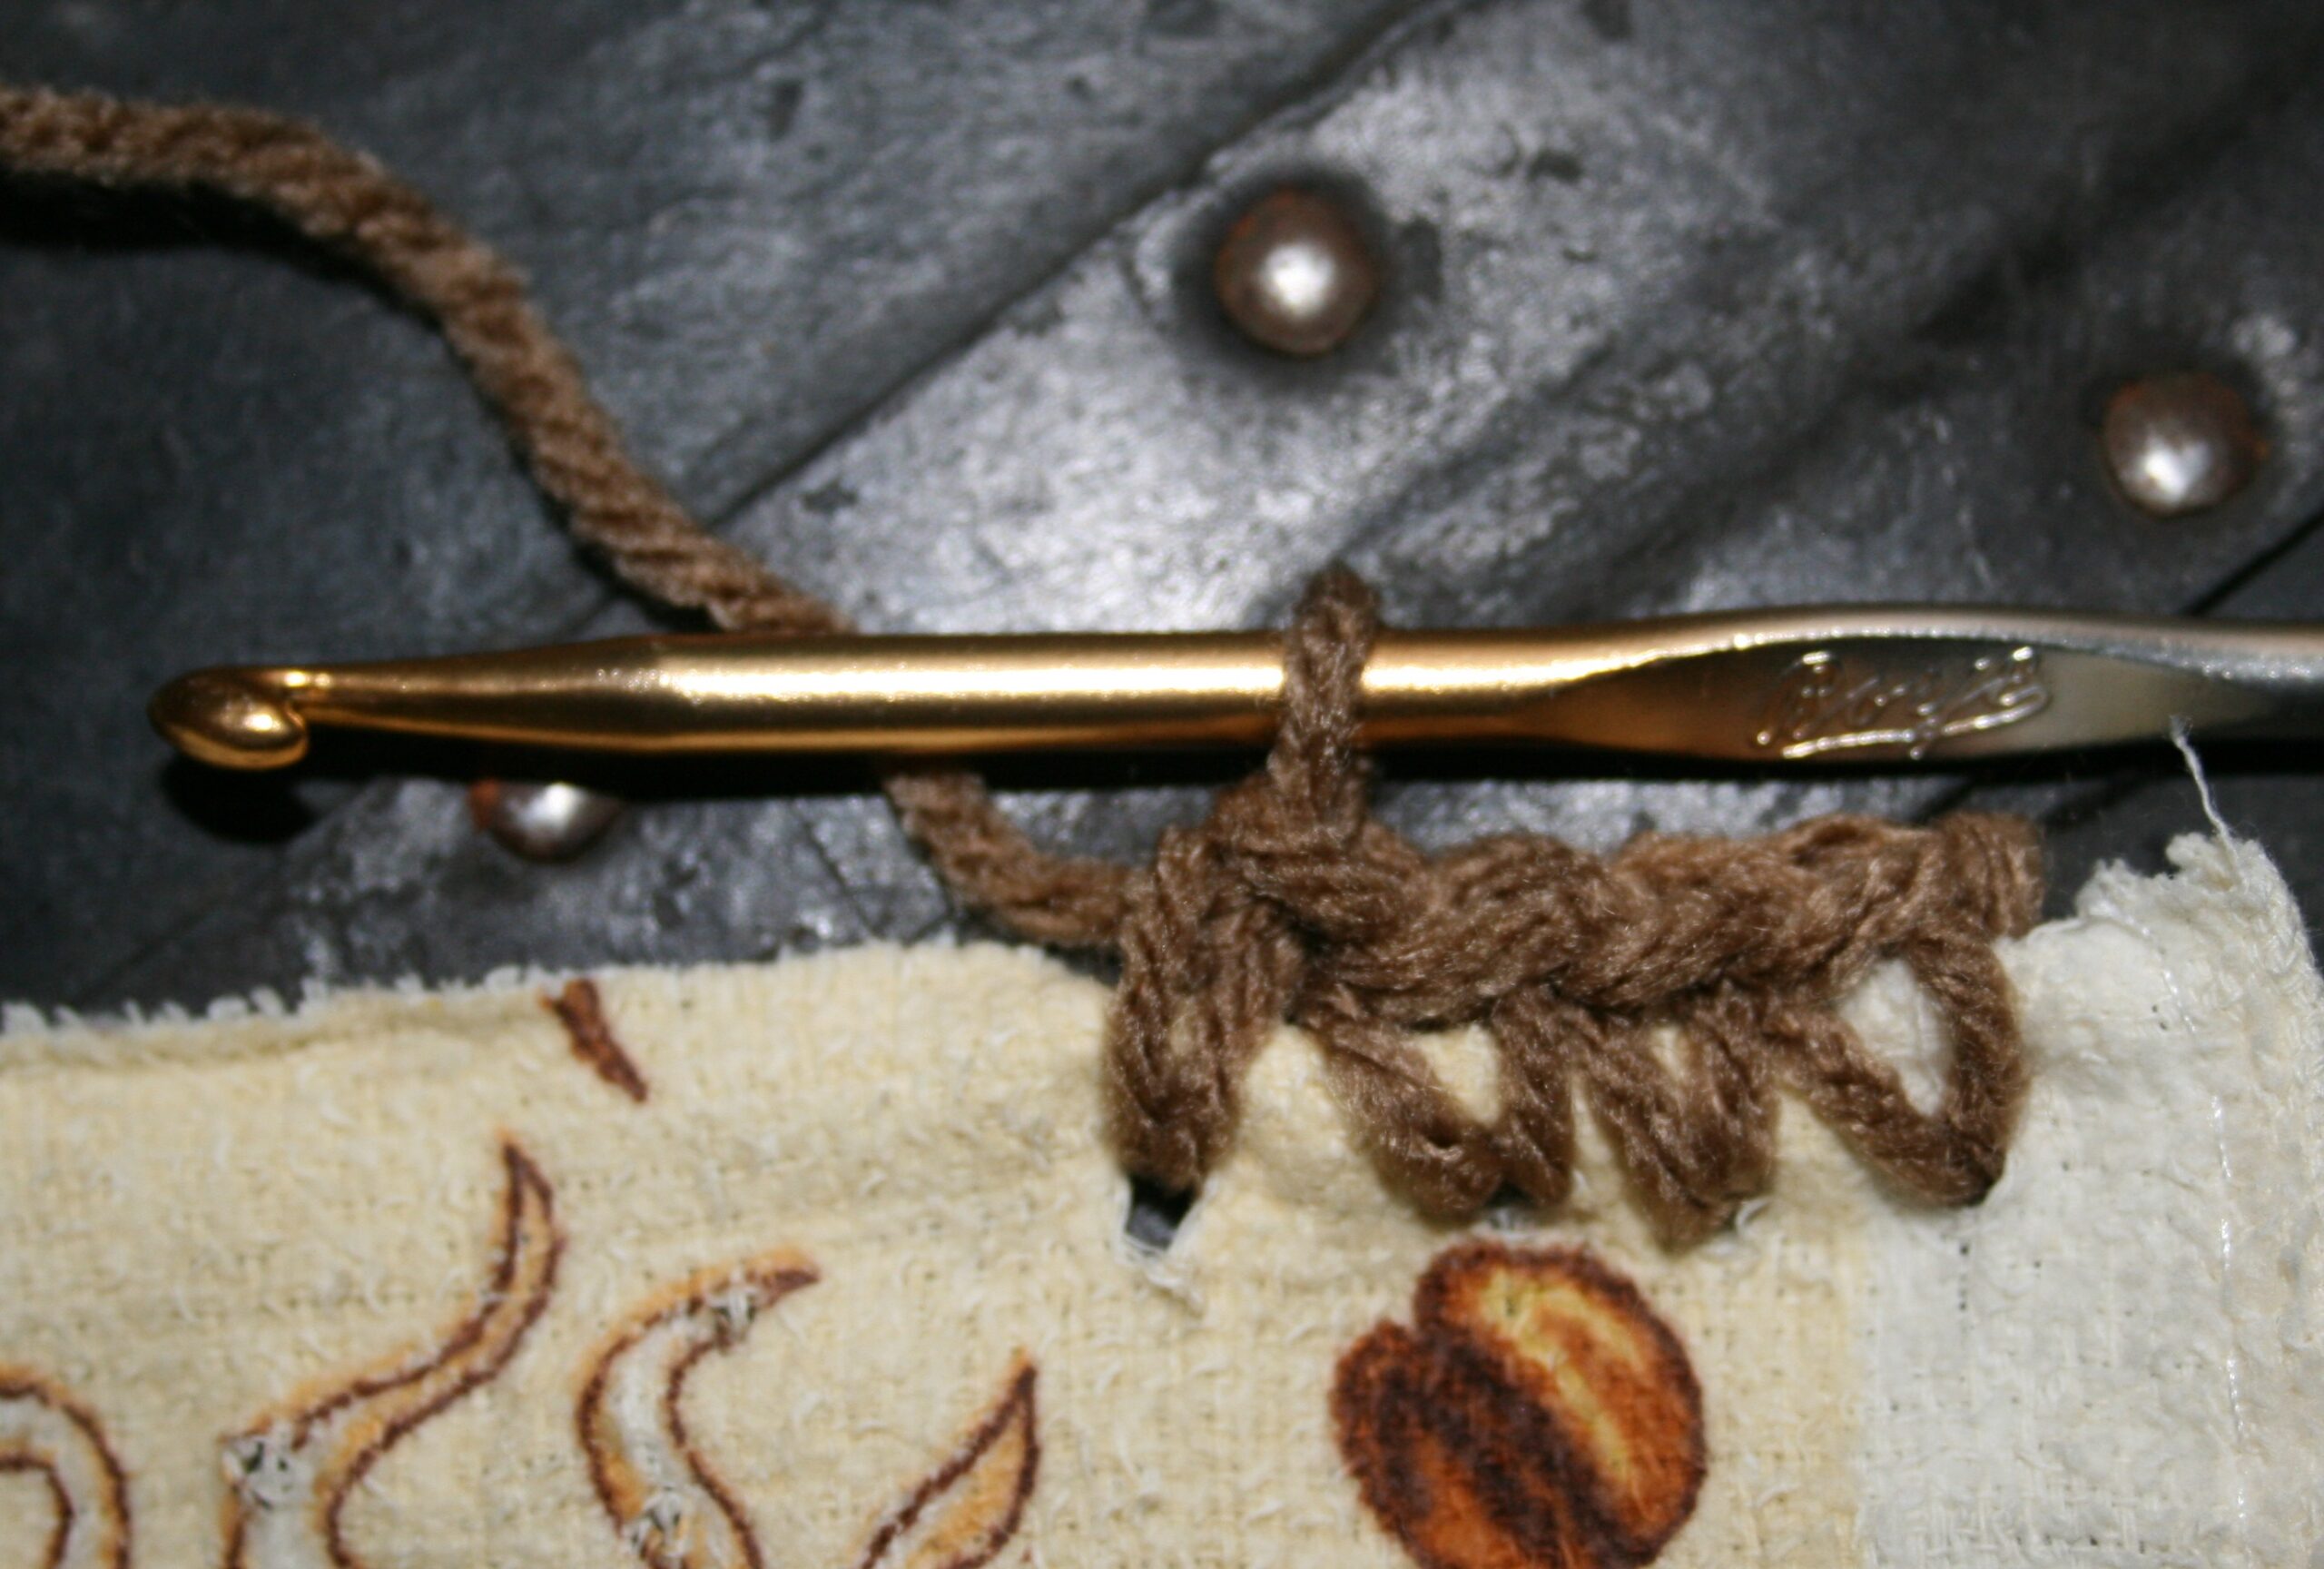
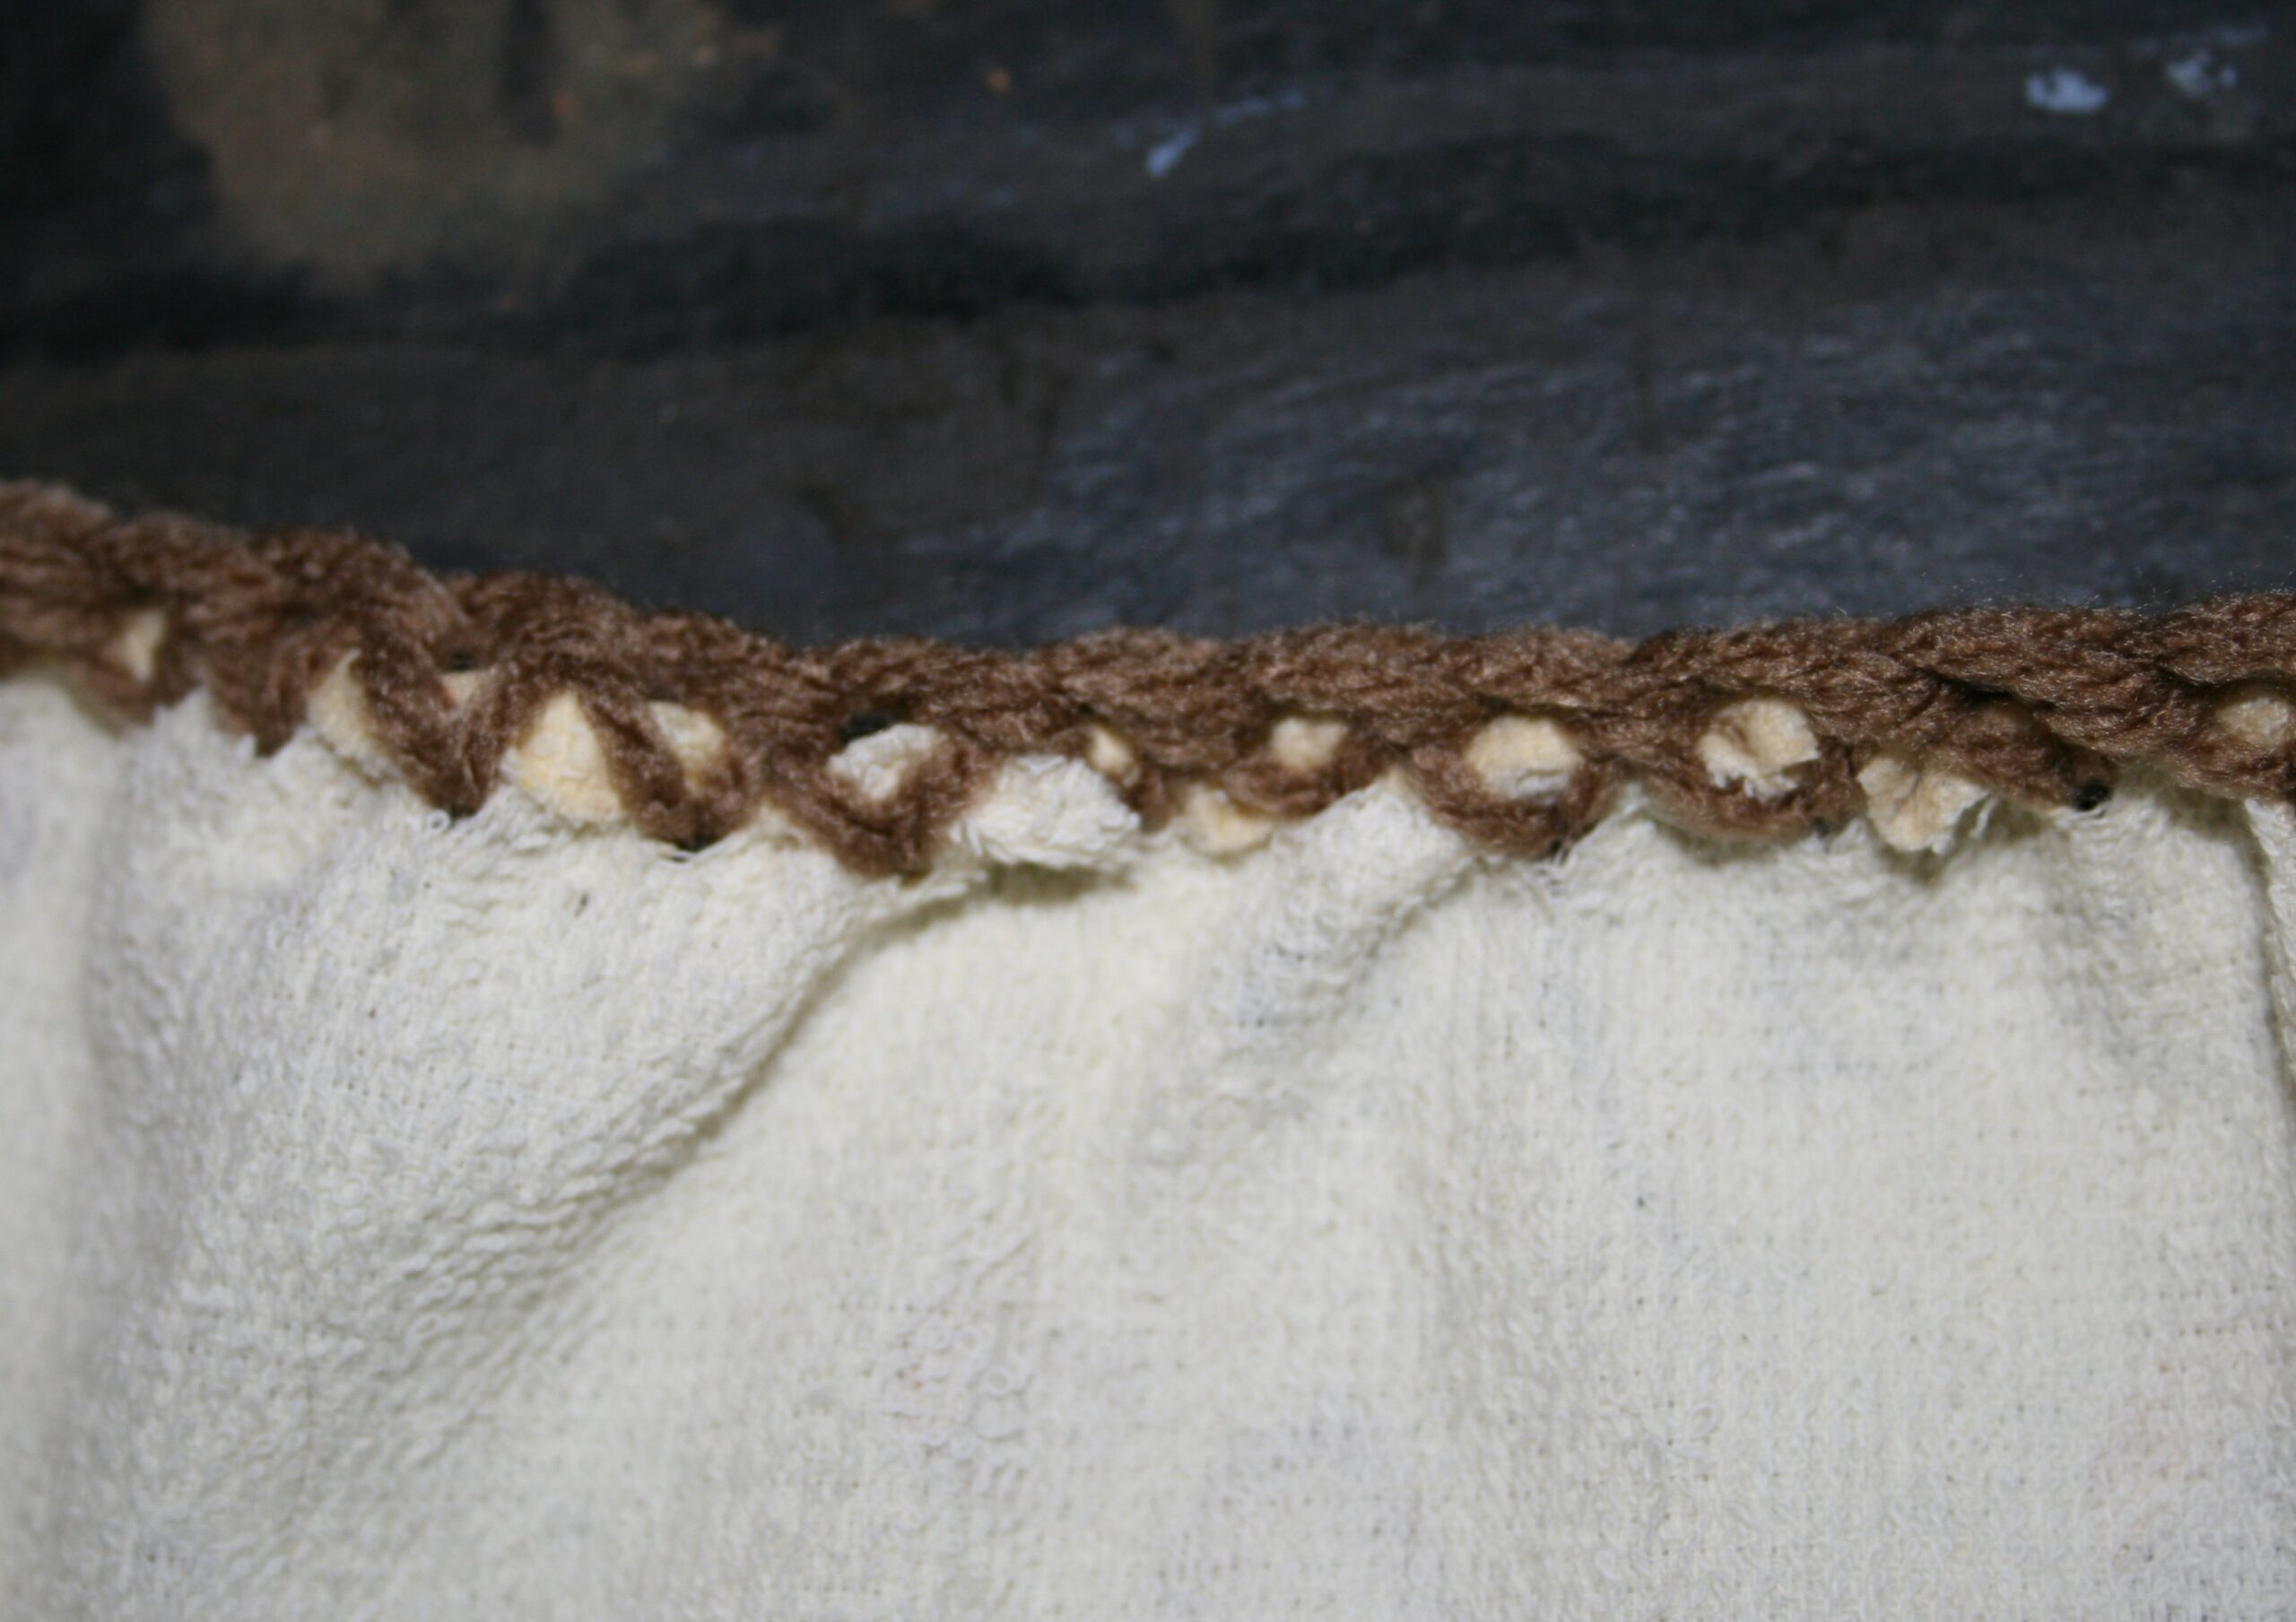
To understand this Braided approach to Horizontal Cables, I have a photo tutorial. Please check it out here.
This pattern is actually worked with some left over yarn, so if you want to create it in 1 color it will work up in less than 1 skein of the yarn listed. I just didn’t have enough to make the gloves match, so I figured a complimenting set would be fun.

Cable Braided Fingerless Gloves
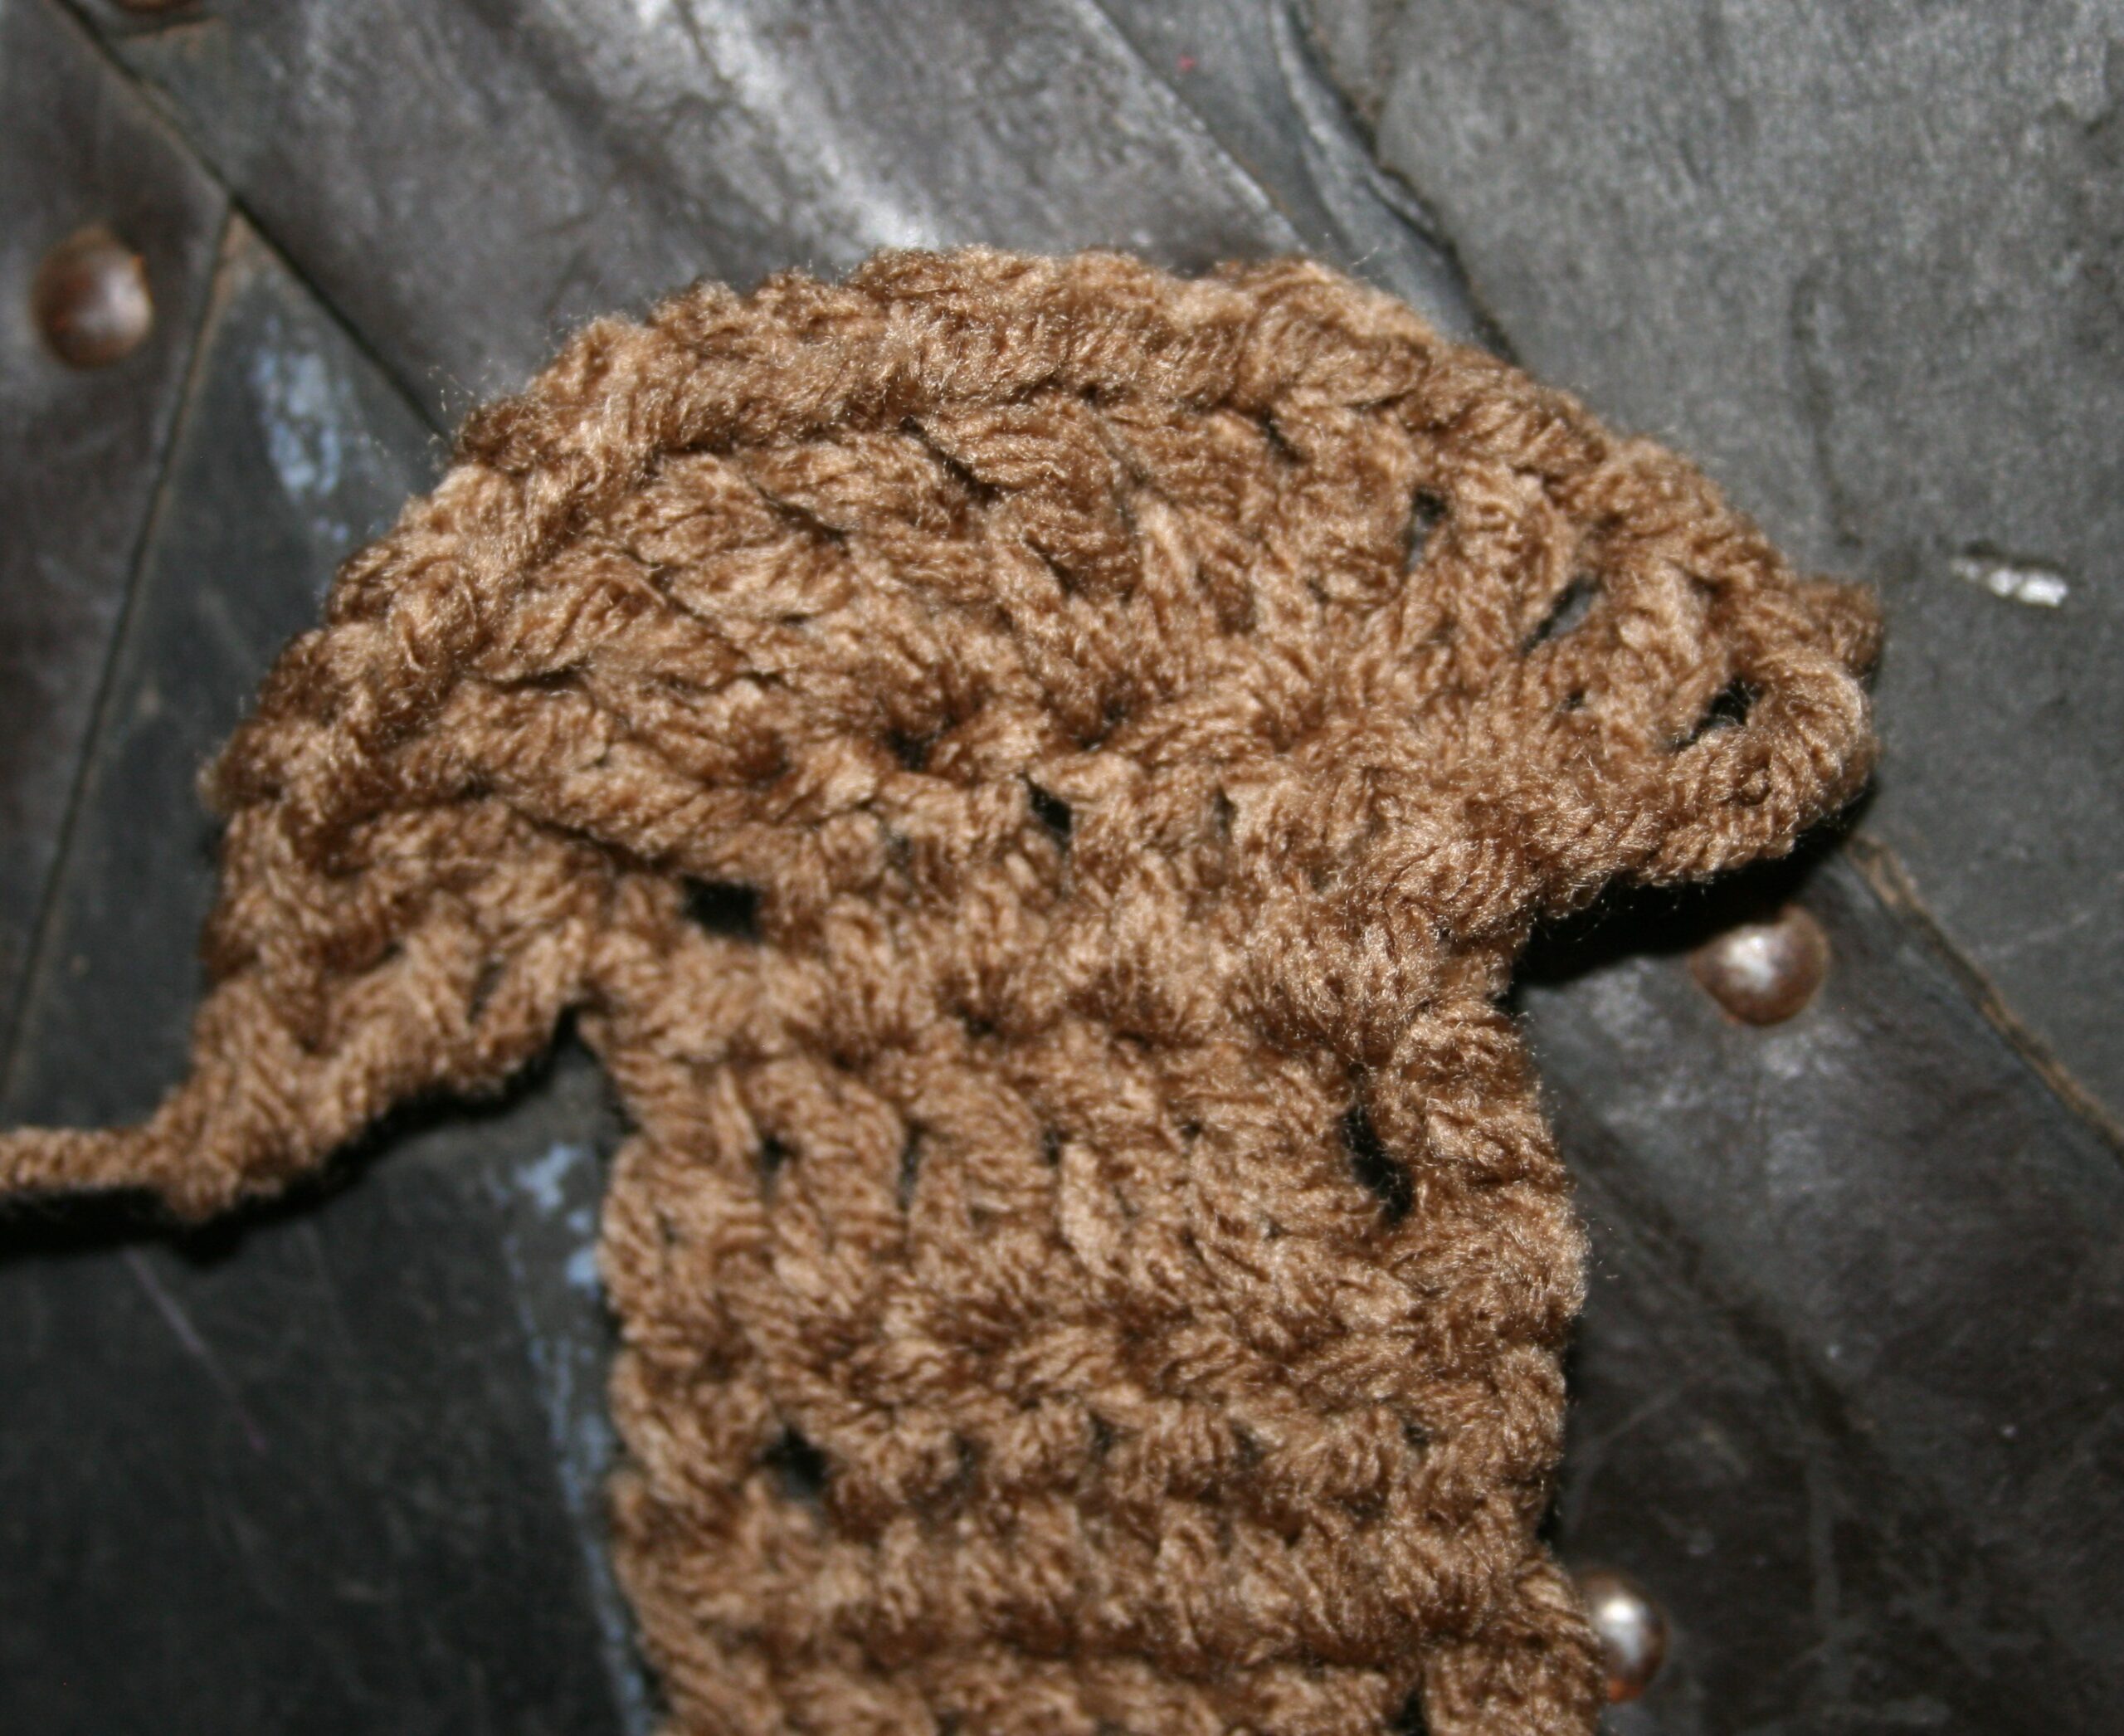
Take cables a little side ways by working this woven method of horizontal cables. These fingerless gloves are simple rectangles, allowing you to focus on the highlight, horizontal cables woven through each other.
Size: 8 ½” tall, 8” circumference
Skill Advanced Beginner
Gauge 16 dc/16 rows of sc=4”
Materials
- 5.00mm/H/8 crochet hook
- Madeline Tosh Vintage medium weight 100% Superwash Merino yarn (203yrds/186m/4.02oz/114g) 1 skein each color: (A) Carbon Dating, (B) Translation
Special Stitches/ Notes
Foundation Half Double Crochet (fhdc): Yo, insert hook into the pinched chain (at base of last fhdc st or base of ehdc, yarn over, pull through a loop, chain 1 (pinch this one as it is the place the next subsequent stitch will be worked), yarn over, pull through all three loops on hook.
Extended Half Double Crochet (ehdc): Yo, insert hook in indicated stitch, yarn over, pull up a loop, chain 1, yarn over, pull through all three loops on hook.
Joined Half Double Crochet (Jhdc): Yo, insert hook into the chain of the last Foundation stitch created, yarn over, pull up a loop, insert hook into the next stitch of the row, yarn over, pull up a loop, yarn over, pull through all 4 loops on hook.
First Cable Braided Glove
Row 1: With A, Ch 36, sc in 2nd ch from hook, sc in each ch across, turn. – 35 dc
Rows 2-4: Ch 1, working in the back loop sc in each st across, turn.
Row 5: Ch 1, sc in each st across, change to color B, turn.
Make the first set of arches
Row 6: Ch 2, hdc in next st, [ehdc in next st, 9 fhdc, sk 5 sts, Jhdc in next st, hdc in next st] 4 times, hdc in last st, change to color A, turn. – 4 Arches
Row 7: Ch 1, sc in each st across, change to color B, turn. -51 sc
Weave the next arch
Row 8: Ch 2, ehdc in next st, 4 fhdc, [working behind arch, sk 1 st of Row 5, Jhdc in next st, hdc in next st, ehdc in next st, pull loop to front of work under arch, 9 fhdc] 3 times, working behind arch, sk 1 st of Row 5, Jhdc, in next st, hdc in next st, ehdc in next st, pull loop to front of work under arch, 4 fhdc, working over last 2 sts of Row 7, Jhdc in 2nd to last st, hdc in last st, change to color A, turn. – 3 full arches, 2 partial aches.
Row 9: Ch 1, sc in each st across, turn. -51 sc
Row 10: Ch 1, sc in same st, sc in 2 next st, ch 1, [sc in each of the 3 topmost sts of next arch, ch 1,] 7 times, sc in the last 3 sts of row, turn. -35 sc
Rows 11-39: Ch 1, working in back loop, sc in each st across. -35 sc
Fasten off. Seam Row 1 to Row 39 2”, then skip 2” (this leaves the opening for the thumb), seam remain stitches of side.
Second Cable Braided Glove
Row 1: With B, Ch 36, sc in 2nd ch from hook, sc in each ch across, turn. – 35 dc
Rows 2-4: Ch 1, working in the back loop sc in each st across, turn.
Row 5: Ch 1, sc in each st across, change to color A, turn.
Making the first set of arches again
Row 6: Ch 2, hdc in next st, [ehdc in next st, 9 fhdc, sk 5 sts, Jhdc in next st, hdc in next st] 4 times, hdc in last st, change to color B, turn. – 4 Arches
Row 7: Ch 1, sc in each st across, change to color A, turn. -51 sc
Weave through the arches
Row 8: Ch 2, ehdc in next st, 4 fhdc, [working in front of arch, sk 1 st of Row 5, Jhdc in next st, hdc in next st, ehdc in next st, push loop to back of work under arch, 9 fhdc] 3 times, working in front of arch arch, sk 1 st of Row 5, Jhdc, in next st, hdc in next st, ehdc in next st, pushing loop to back of work under arch, 4 fhdc, working over last 2 sts of Row 7, Jhdc in 2nd to last st, hdc in last st, change to color B, turn. – 3 full arches, 2 partial aches.
Row 9: Ch 1, sc in each st across, turn. -51 sc
Row 10: Ch 1, sc in same st, sc in 2 next st, ch 1, [sc in each of the 3 topmost sts of next arch, ch 1,] 7 times, sc in the last 3 sts of row, turn. -35 sc
Rows 11-39: Ch 1, working in back loop, sc in each st across. -35 sc
Fasten off. Seam Row 1 to Row 39 2”, then skip 2” (this leaves the opening for the thumb), seam remain stitches of side.