
There essentially are 3 ways to begin a circle in crochet, and in most cases they can be used interchangeably. Each has its pros and cons, and everyone has a method they prefer.
Creating A Ring Method
In this method you create a chain, usually I find that many chain 4, and then you slip stitch to the first change created to form a ring. Then all the stitches of the first round are worked into this newly created ring, working over the chain.
This method is pretty straight forward, creating a stable base for the stitches to be worked. Yet, it can leave a pretty striking hole in the center of the fabric. It can be tightened up a bit when the ends are woven in, but it adds a bit of bulk, even more then the chain being worked over.
Working in the Beginning Chain
I admit this is my usual go to method. To begin this method you determine what the first stitch of the first round is, in most cases it is double crochets (UK-treble crochet). You then chain the number that is typically used when turning rows with this stitch, in double crochet’s case that is a chain 3. Then you add 1 more chain, now all the stitches are worked in the first chain created.
I find this method pretty easy and fast, with a minimal hole in the center, but in reality the base for the stitches is not as stable, because I am placing a lot of stitches into just one chain. It places a lot of pressure on the yarn that creates this one chain.
Magic Ring, Magic Circle, Magic Loop…Method
There tends to be many names to describe this technique that creates a very tight closure. The best way to describe this approach to someone new to it is “fiddly”. Granted it creates a very nice join point that does not have, really any, hole at all in the center, but it takes a bit of practice to feel comfortable with it.
To work this method there are couple of different approaches, yet the outcome is the same, you work over a loop of yarn. All stitches in the first round are worked over this loop of yarn, and then the end of the loop is pulled to close the loop bringing all the stitches to a tight closure.
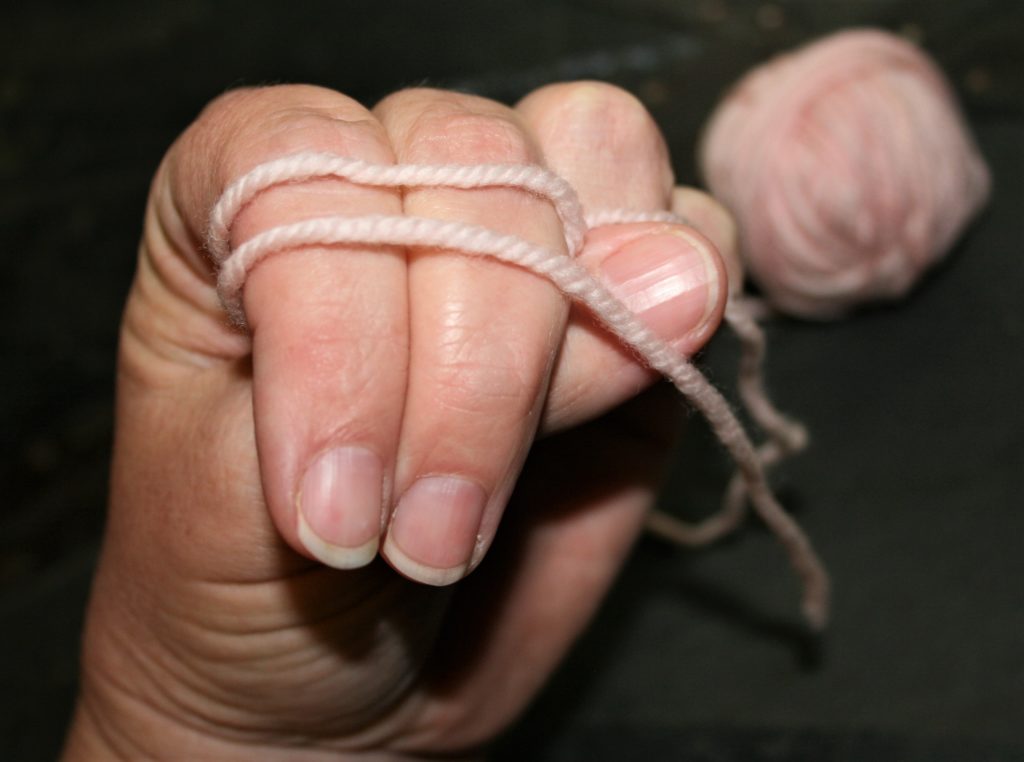
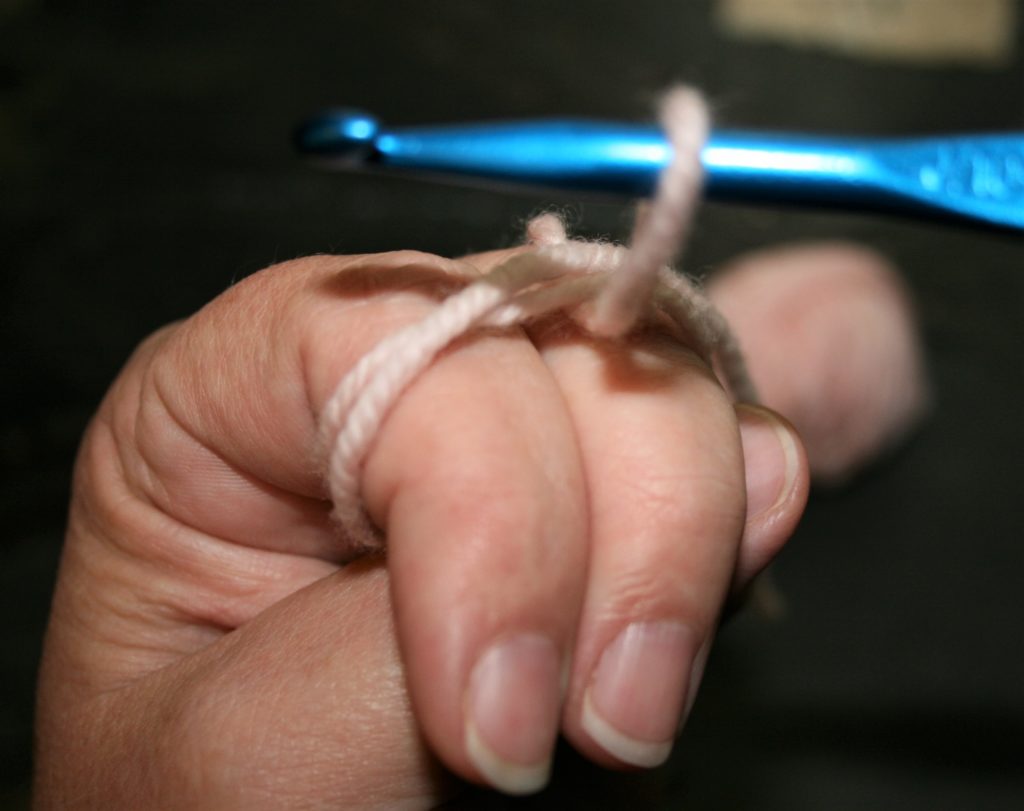
Make the Loop
The approach that I find to be the easiest to do for this method is to wrap yarn around my pointer and middle finger of my yarn tension hand. When wrapping I ensure that the end of the yarn nearest the skein is nearest my palm, with the tail of the yarn nearest my nails. I wrap at least twice around my fingers.
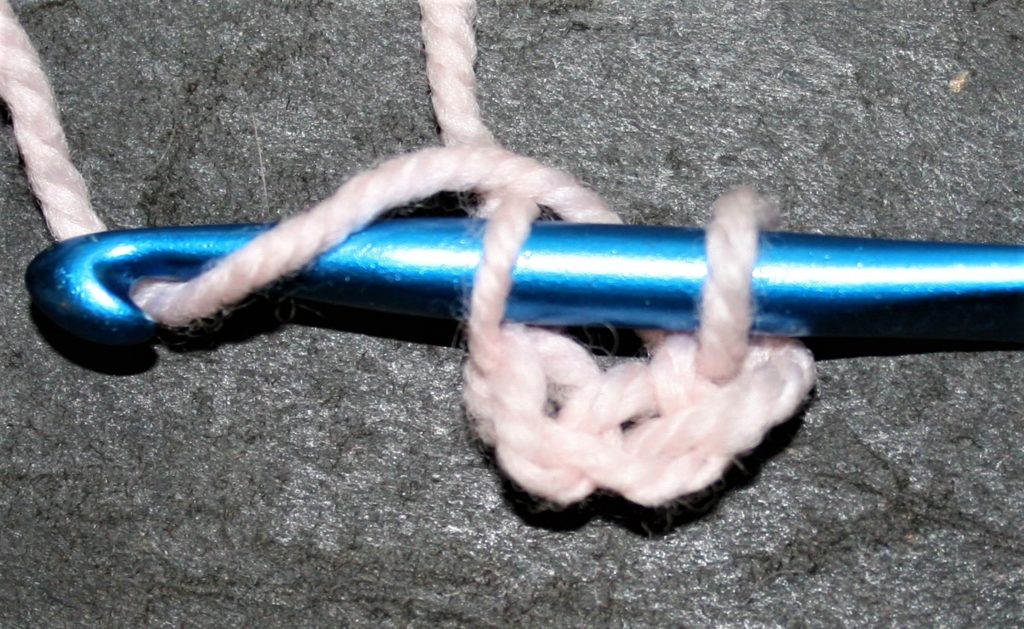
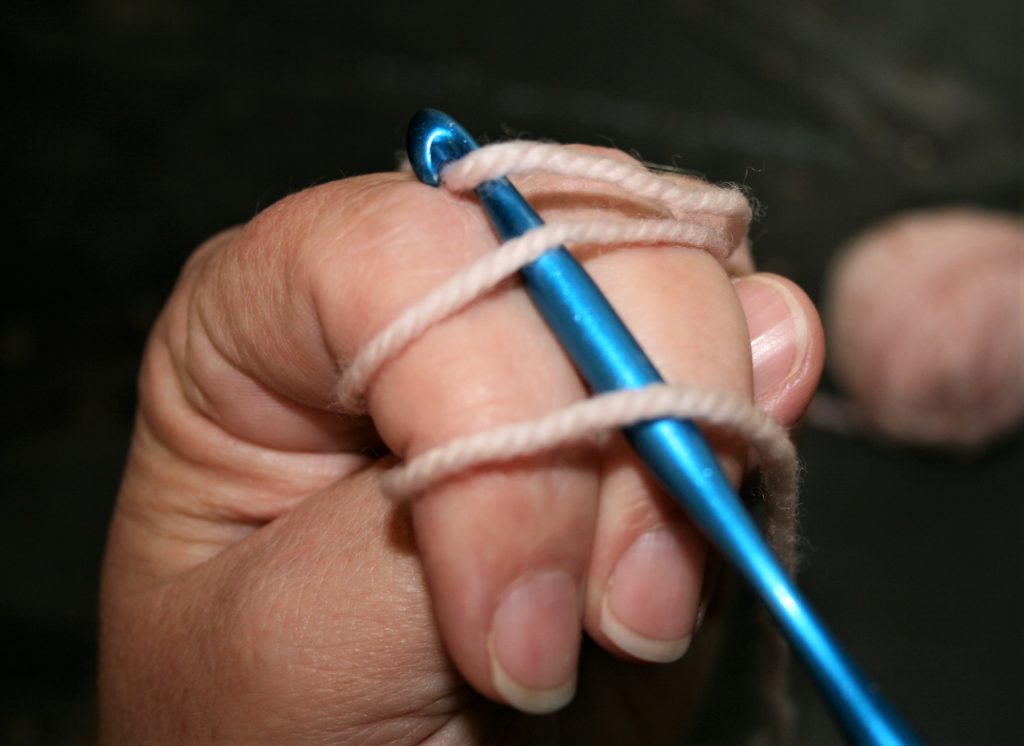
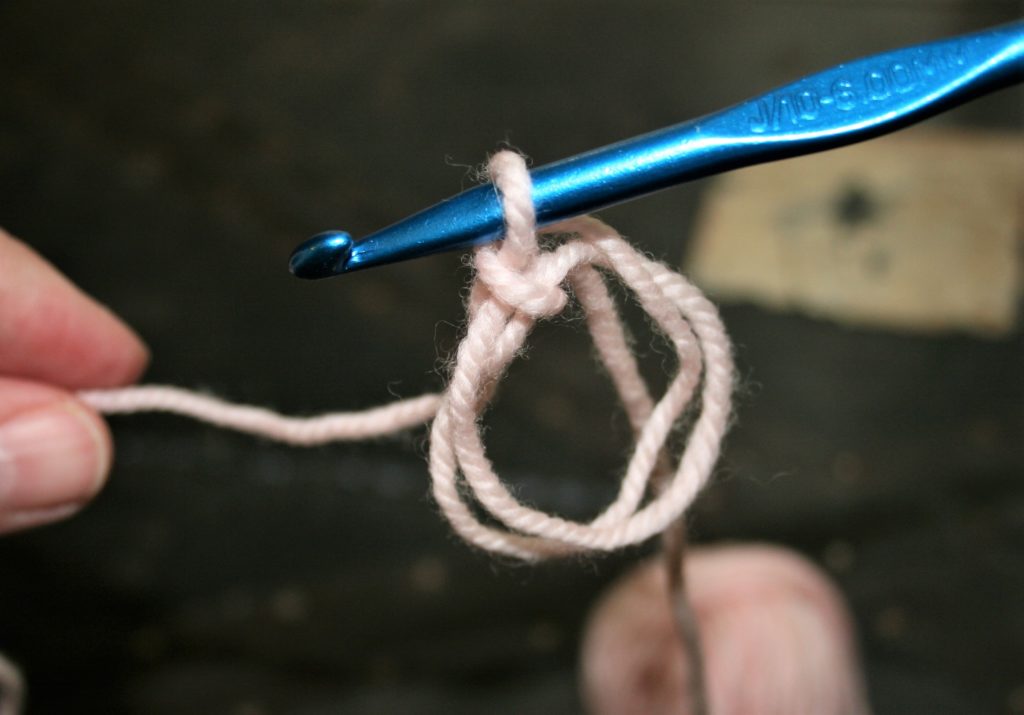
Work the Loop
Then I insert the hook over my fingers and under the yarn, yarn over the yarn from the skein and pull through the yarn on the fingers. At this point I usually remove my fingers, keeping the loop of yarn in at loop state, then chain 1. The chain secures the loop, so now you chain to the height of the stitches being worked in round one, and work all the stitches over loops of yarn.
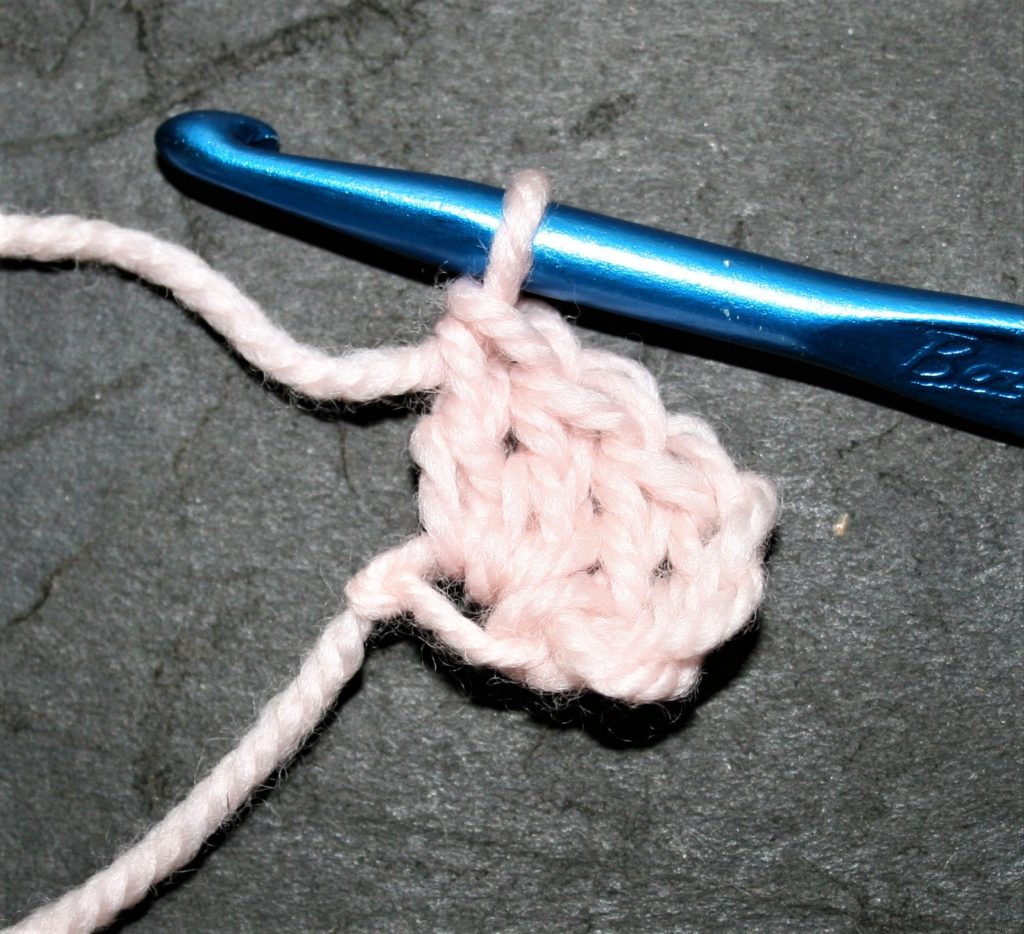
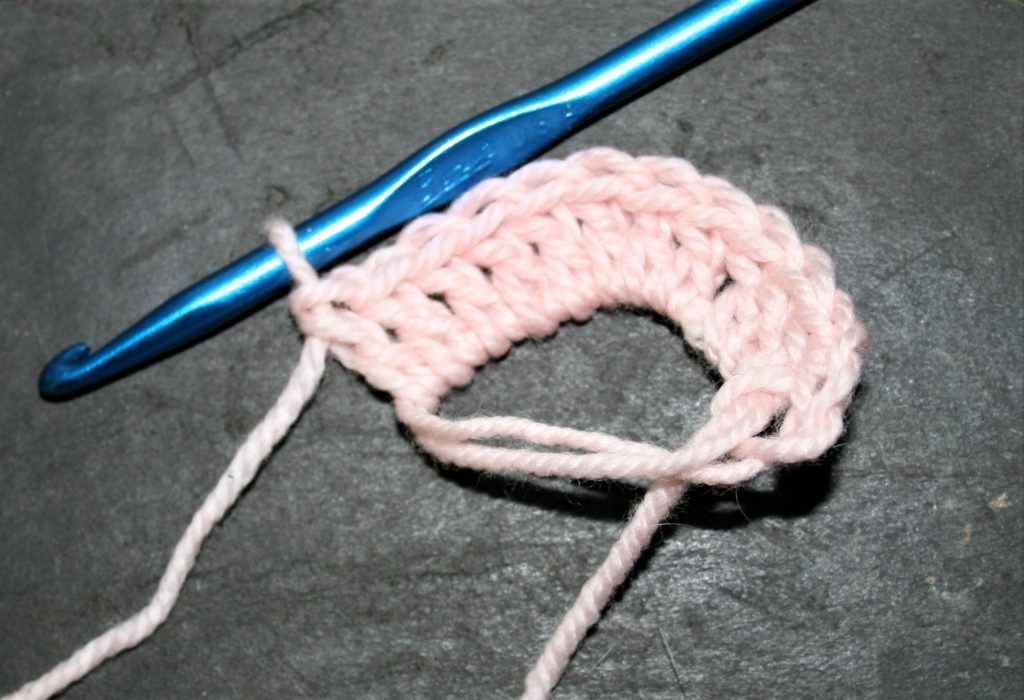
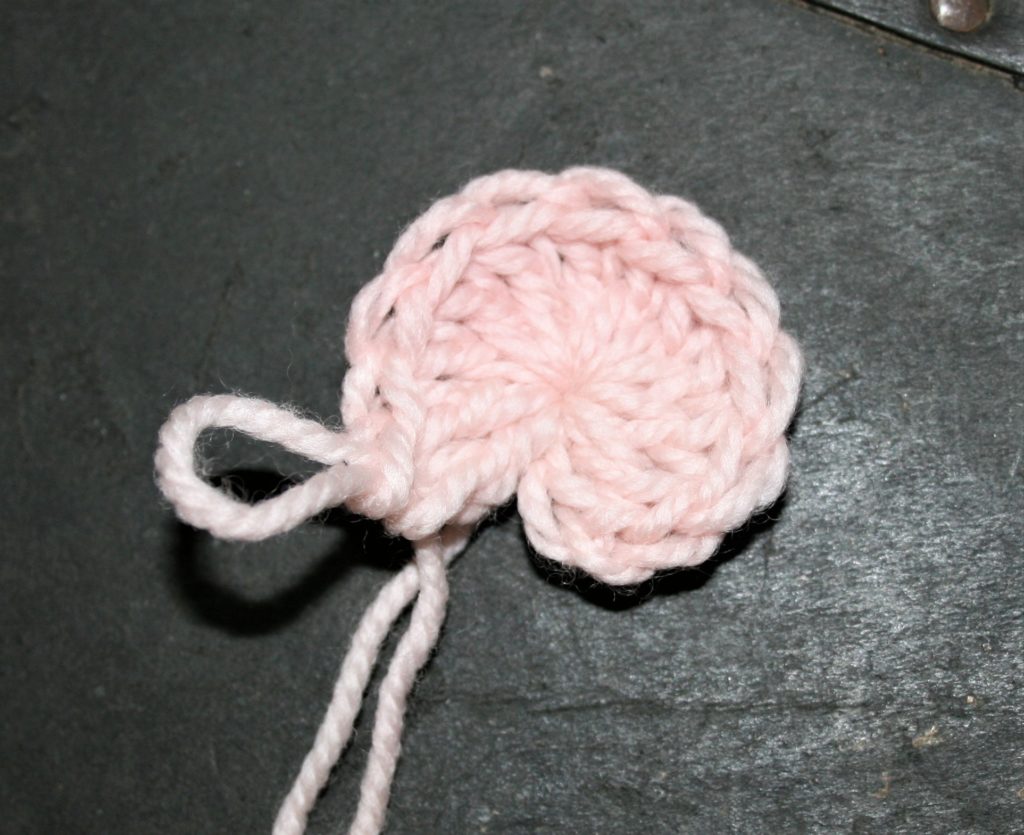
Close the Loop
When all the stitches of the round are worked, I then pull the tail of the yarn. Since I work over more than one loop, when pulling the tail it might leave a loop hanging out of the stitches. To remove this loop is simple, I simply begin pulling the hanging loop to tight. It is a bit of juggling to pull the yarn tight when it is wrapped more than once, but I find it gives a bit more of a secure base for the stitches to rest on. Since really, no one wants this loop to become unworked.
Check out some of my free patterns that begin in the round and practice using these techniques.
Patterns like: Beyond Basics Hat, Cented Flowers, Classic Granny Square, Deborah’s Diamond Square, Festive Julie Ann, Small Empress Ornament, and Spokes Tam